
Combining digital and physical techniques to create a complex diorama.
I started in 2015, paused when I moved to Germany in 2017, and in 2023 after a three-year hiatus due to COVID, began working on it whenever I visited my family, bringing new headaches, tools, and paints with me. Despite the ups and downs, the project is still in full swing today.
Set up:
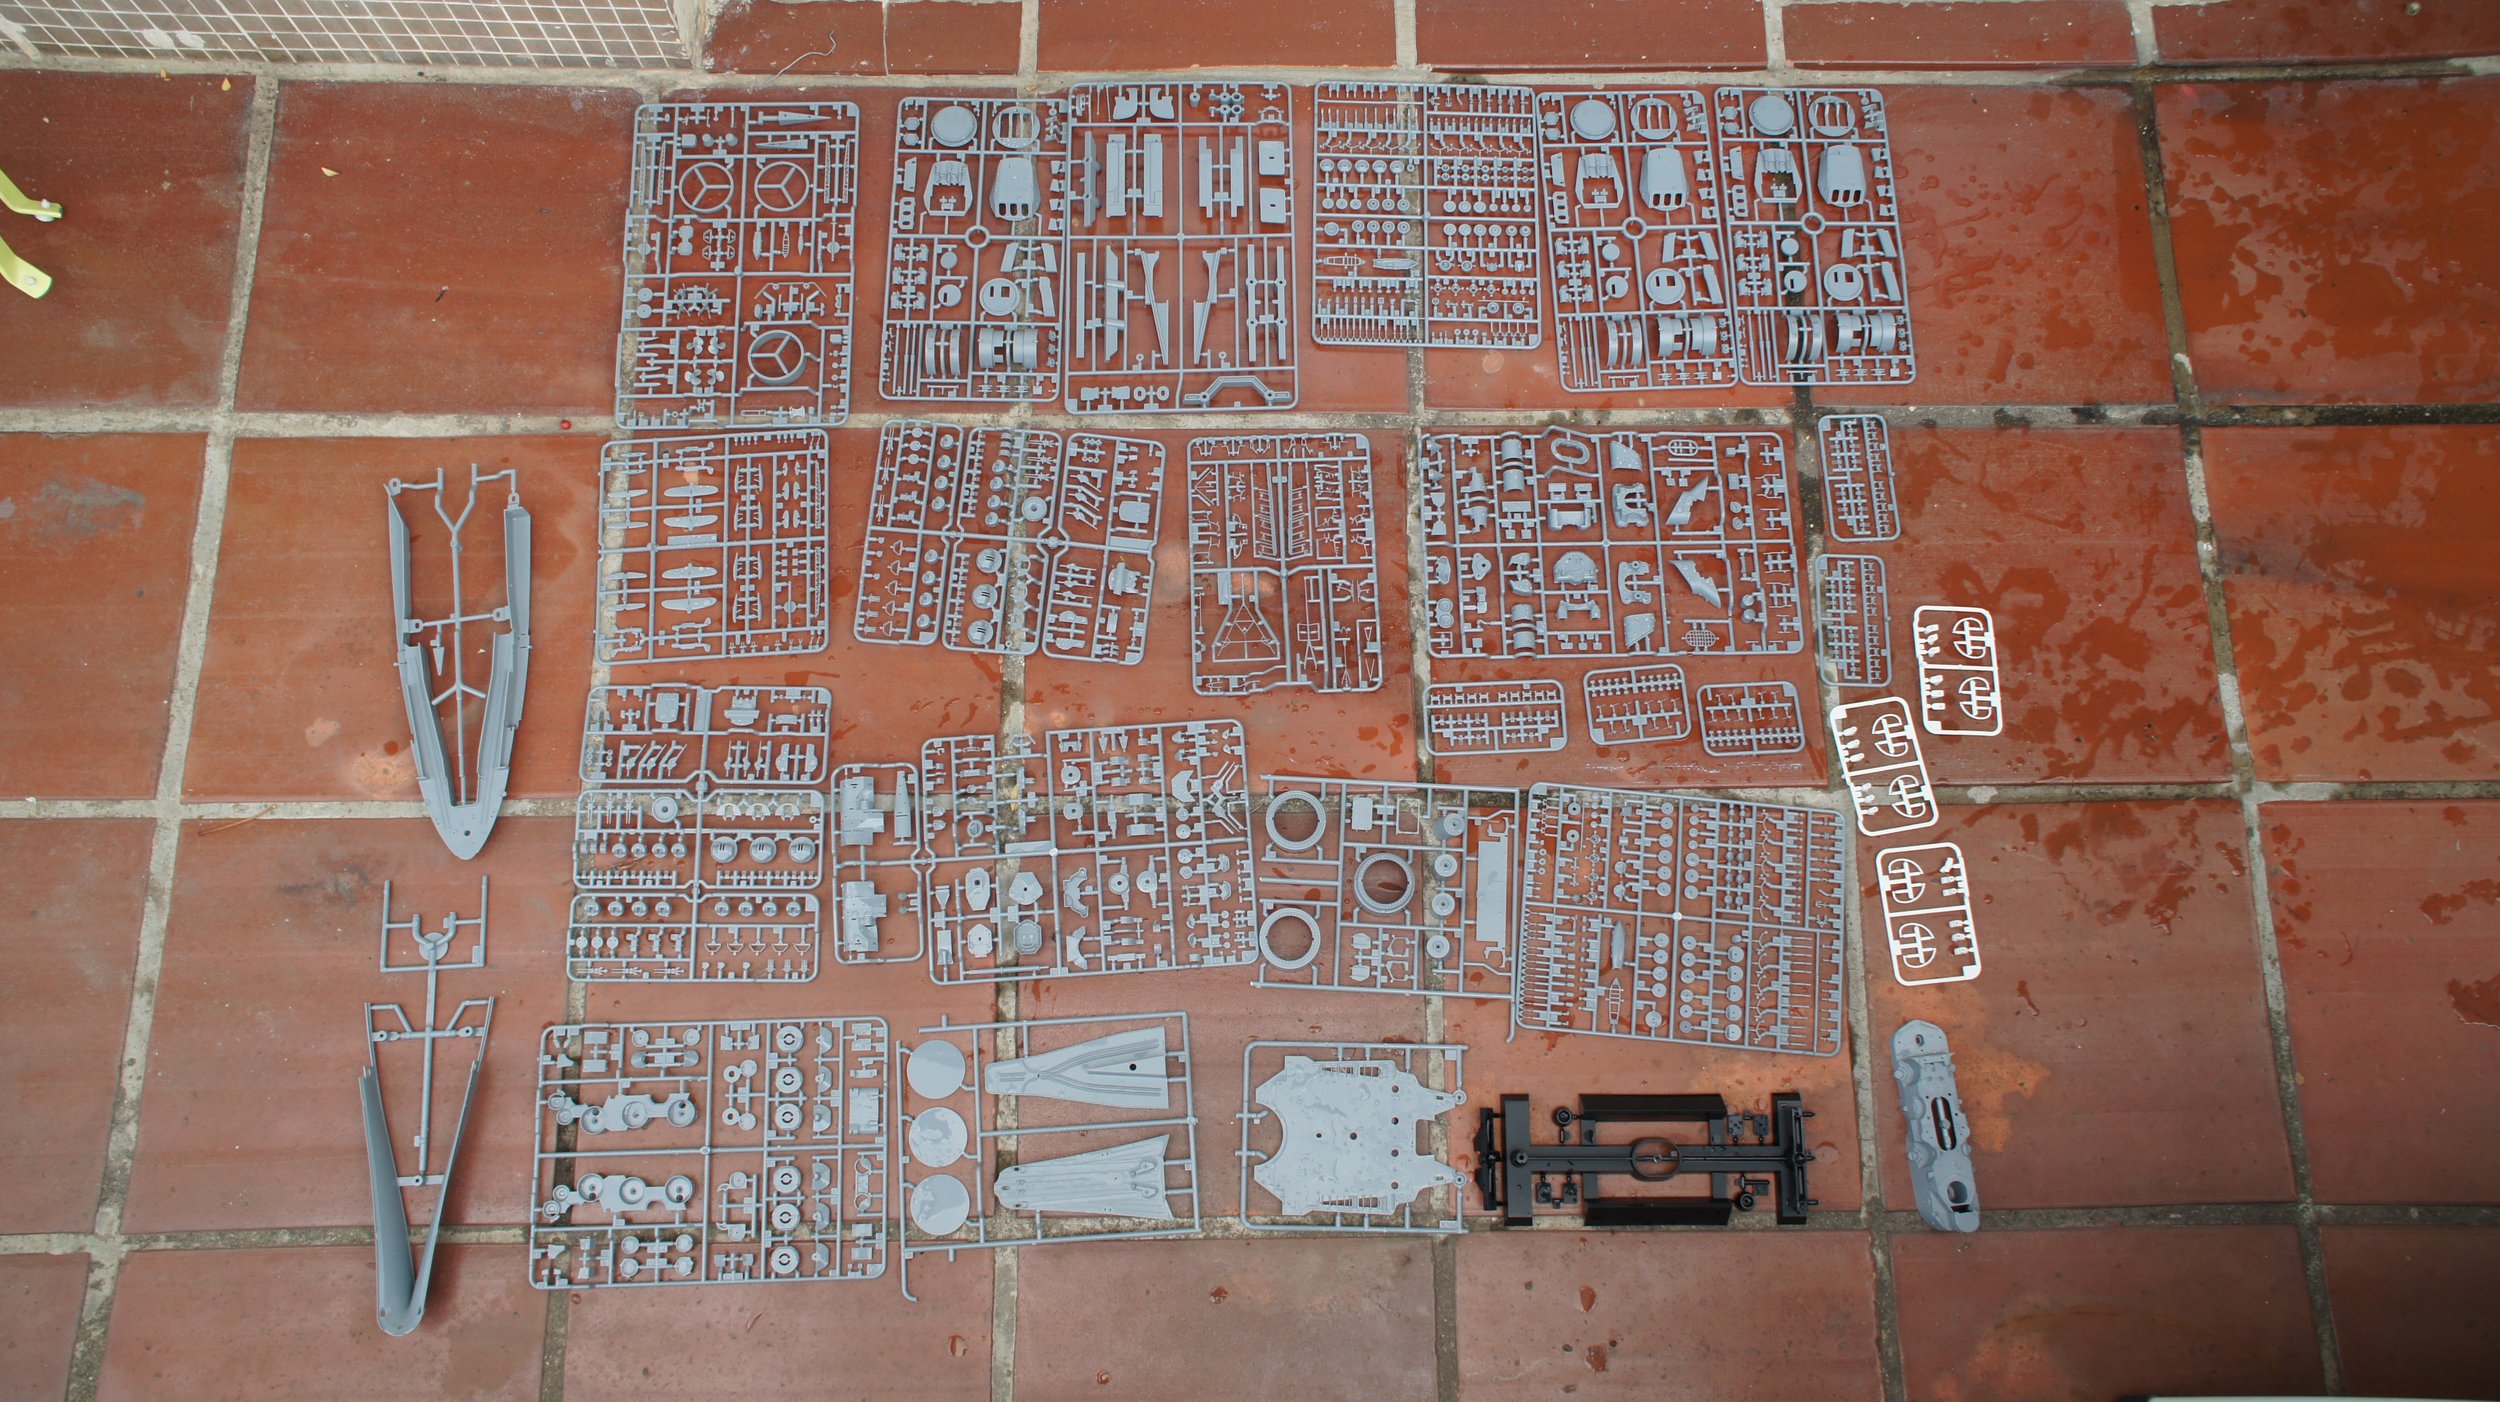
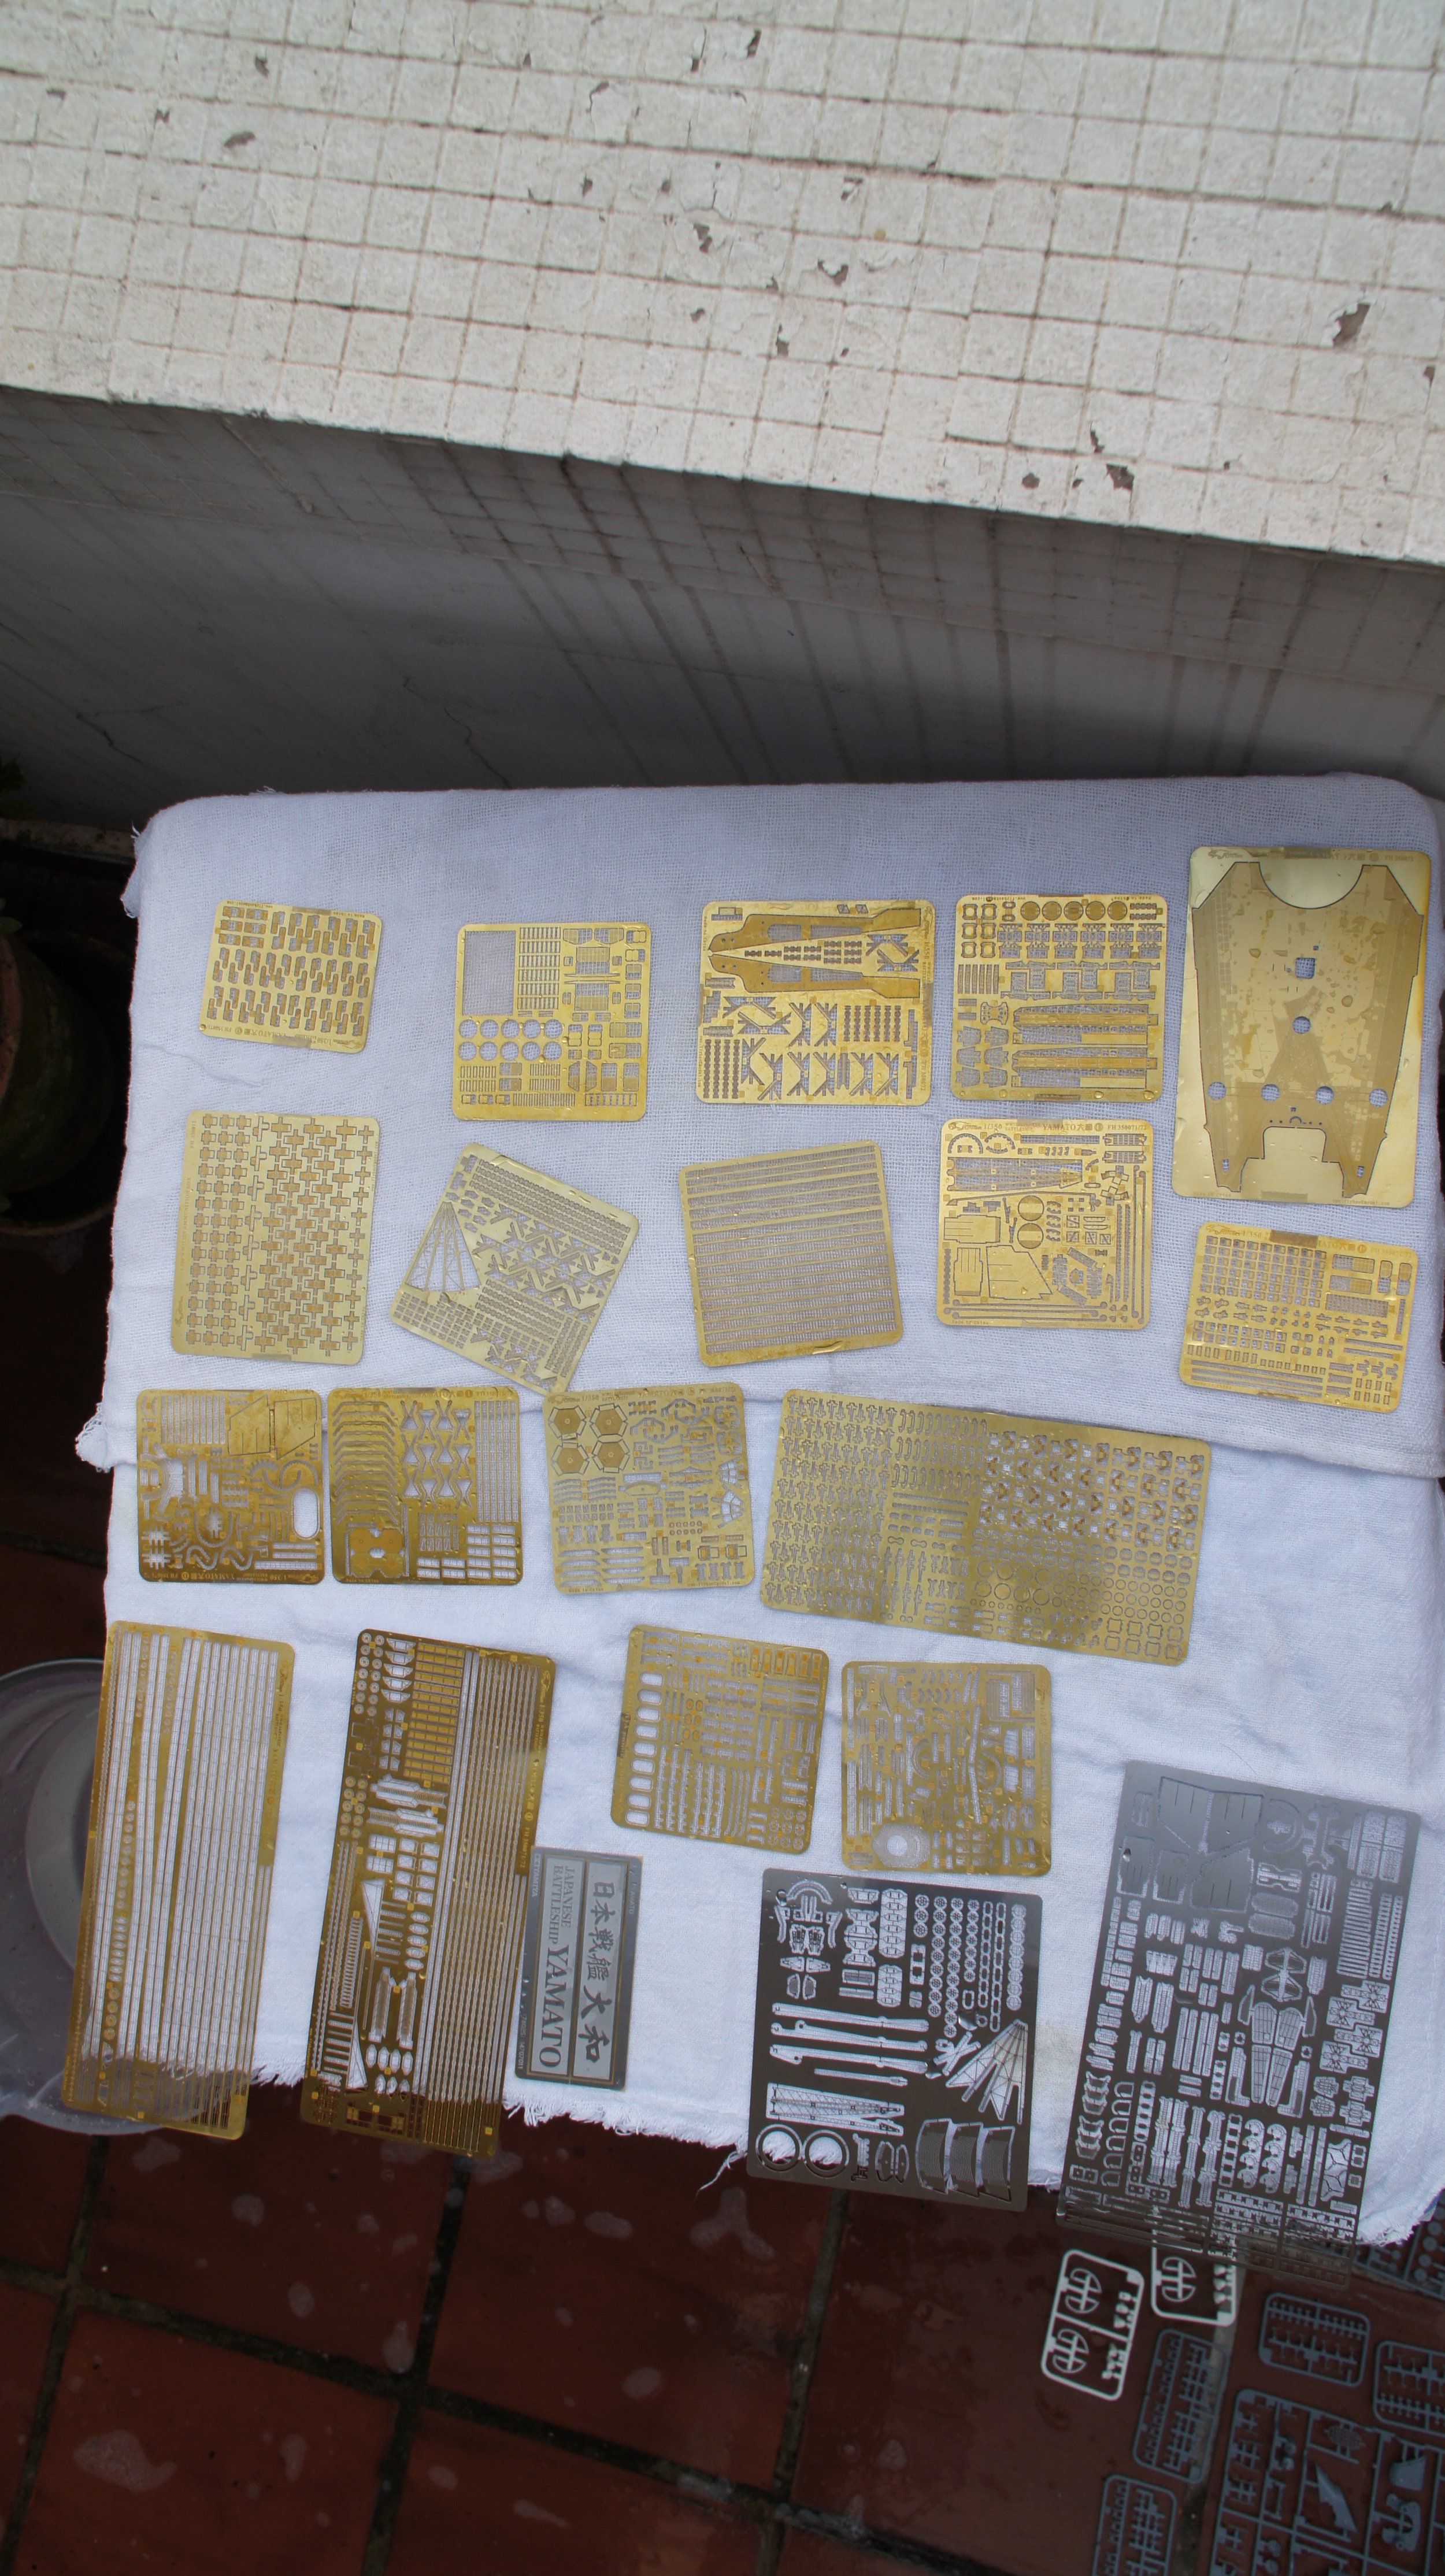
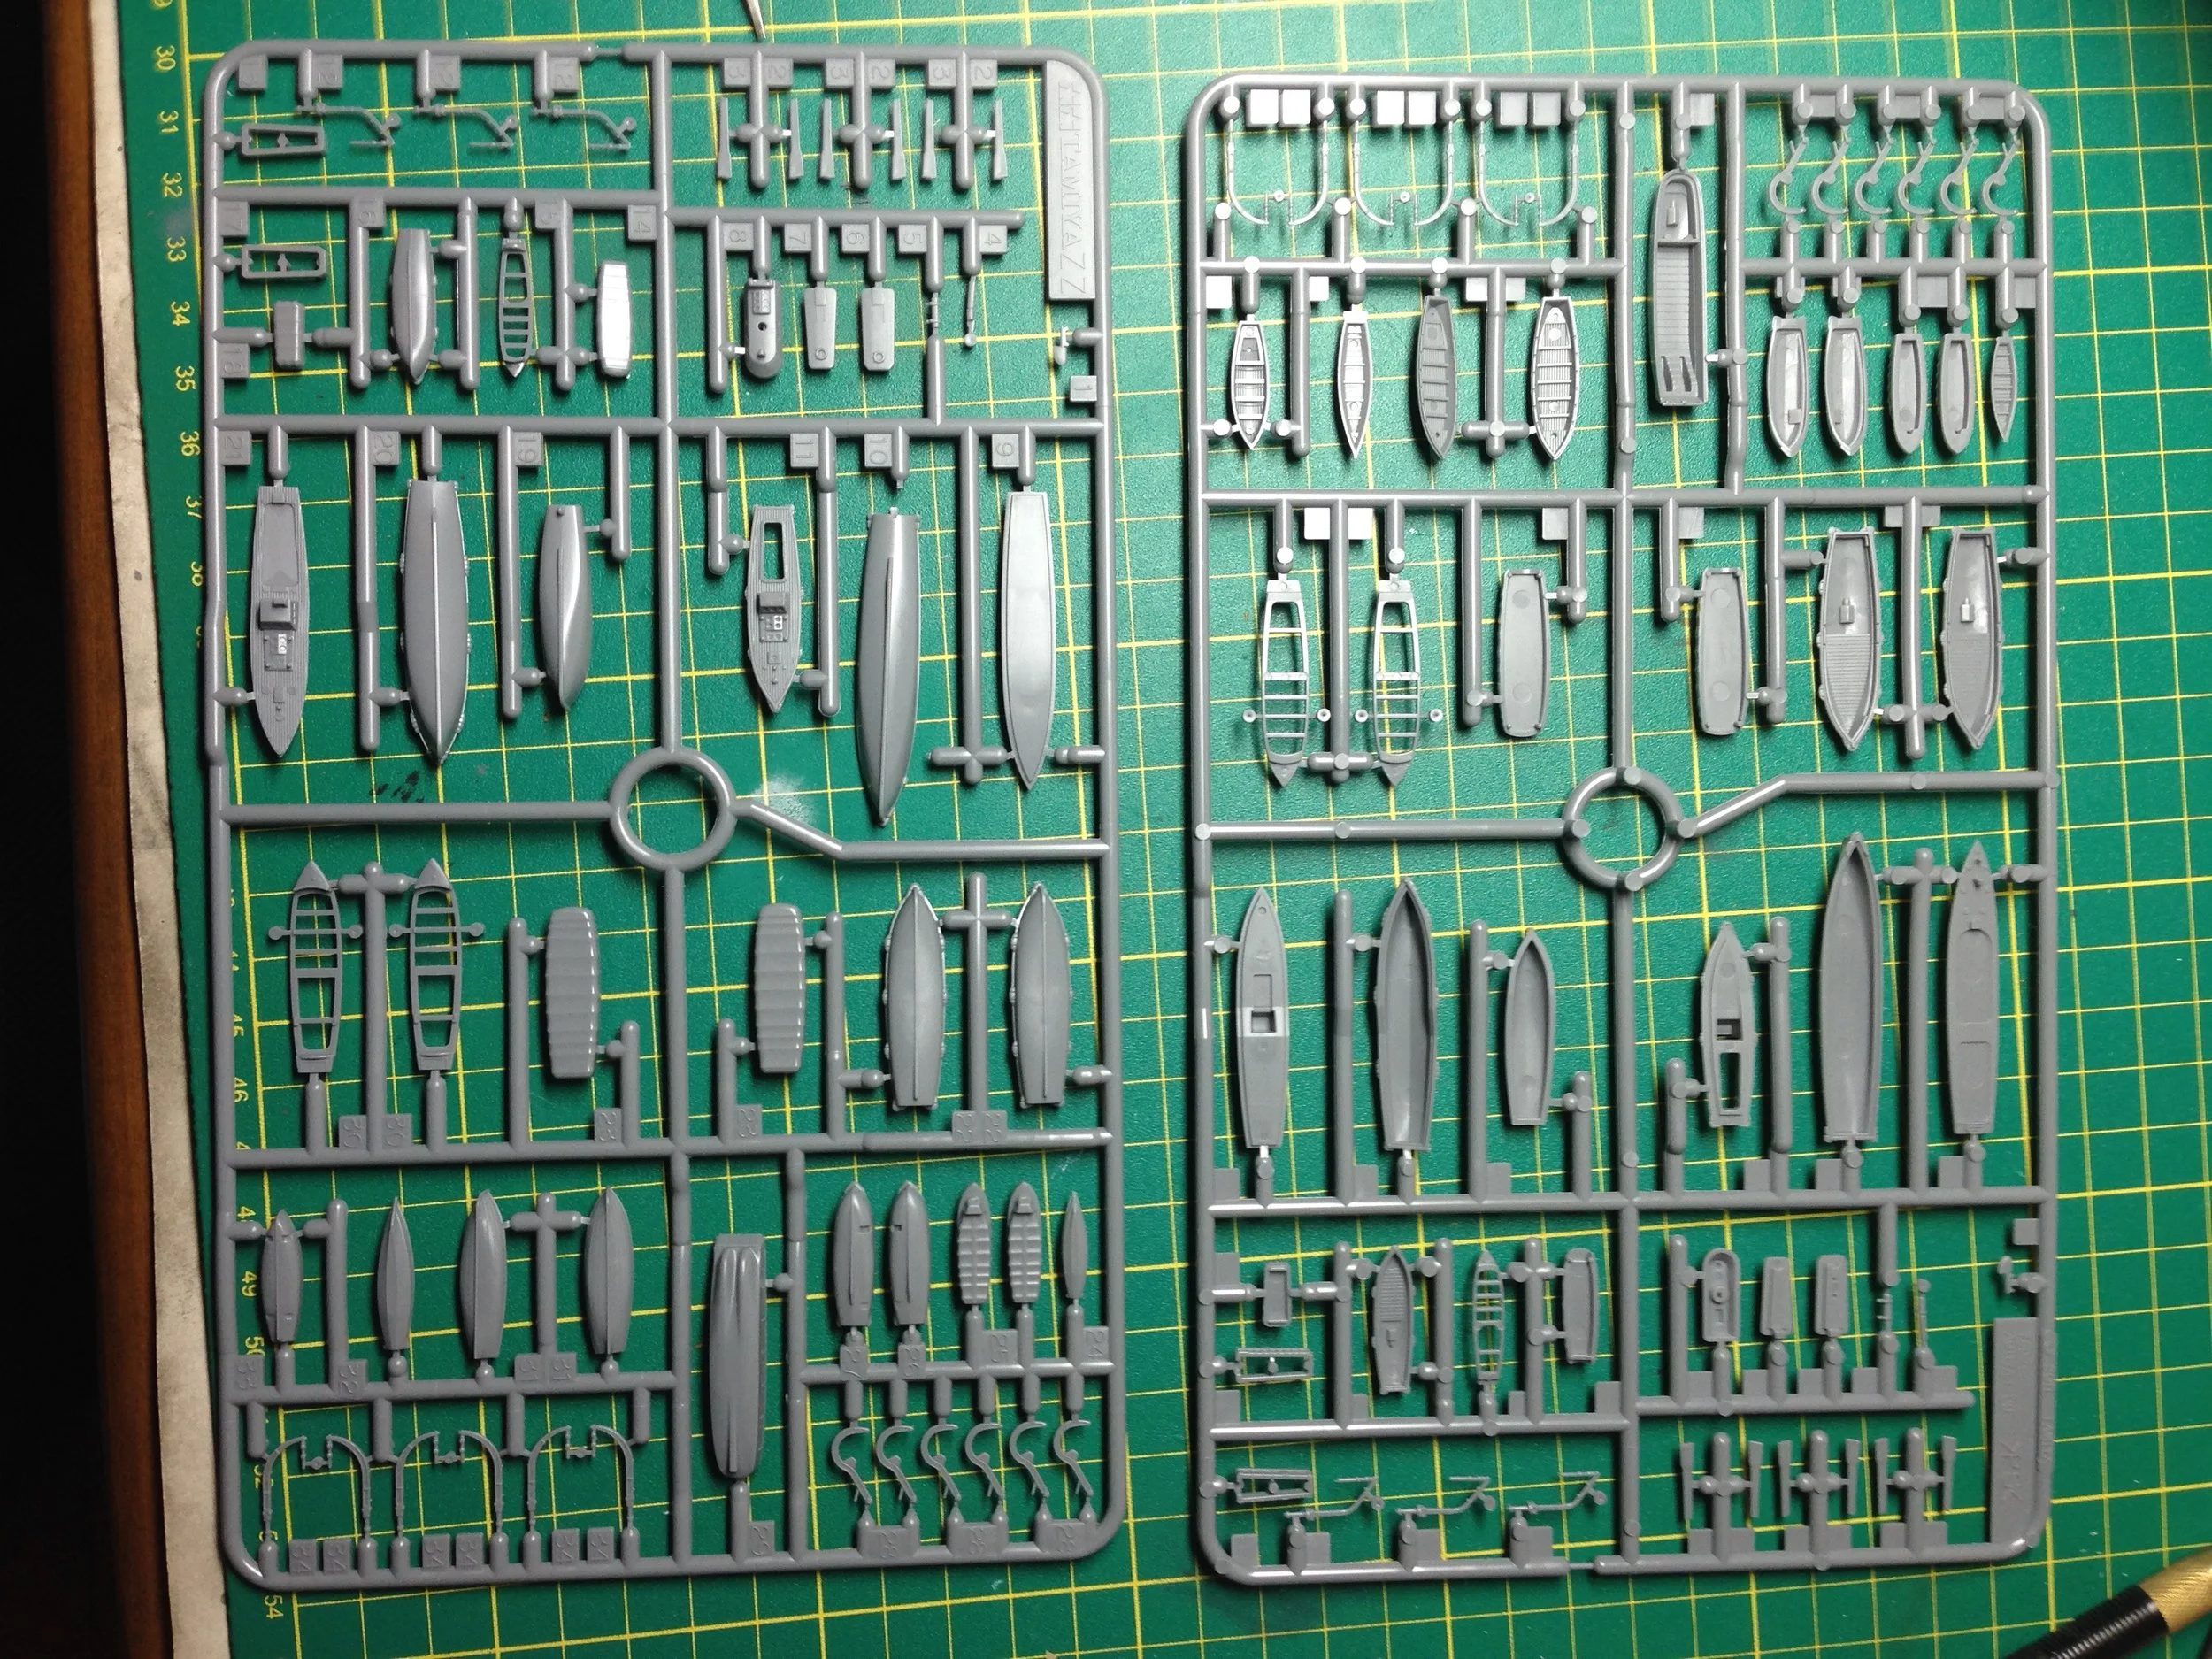
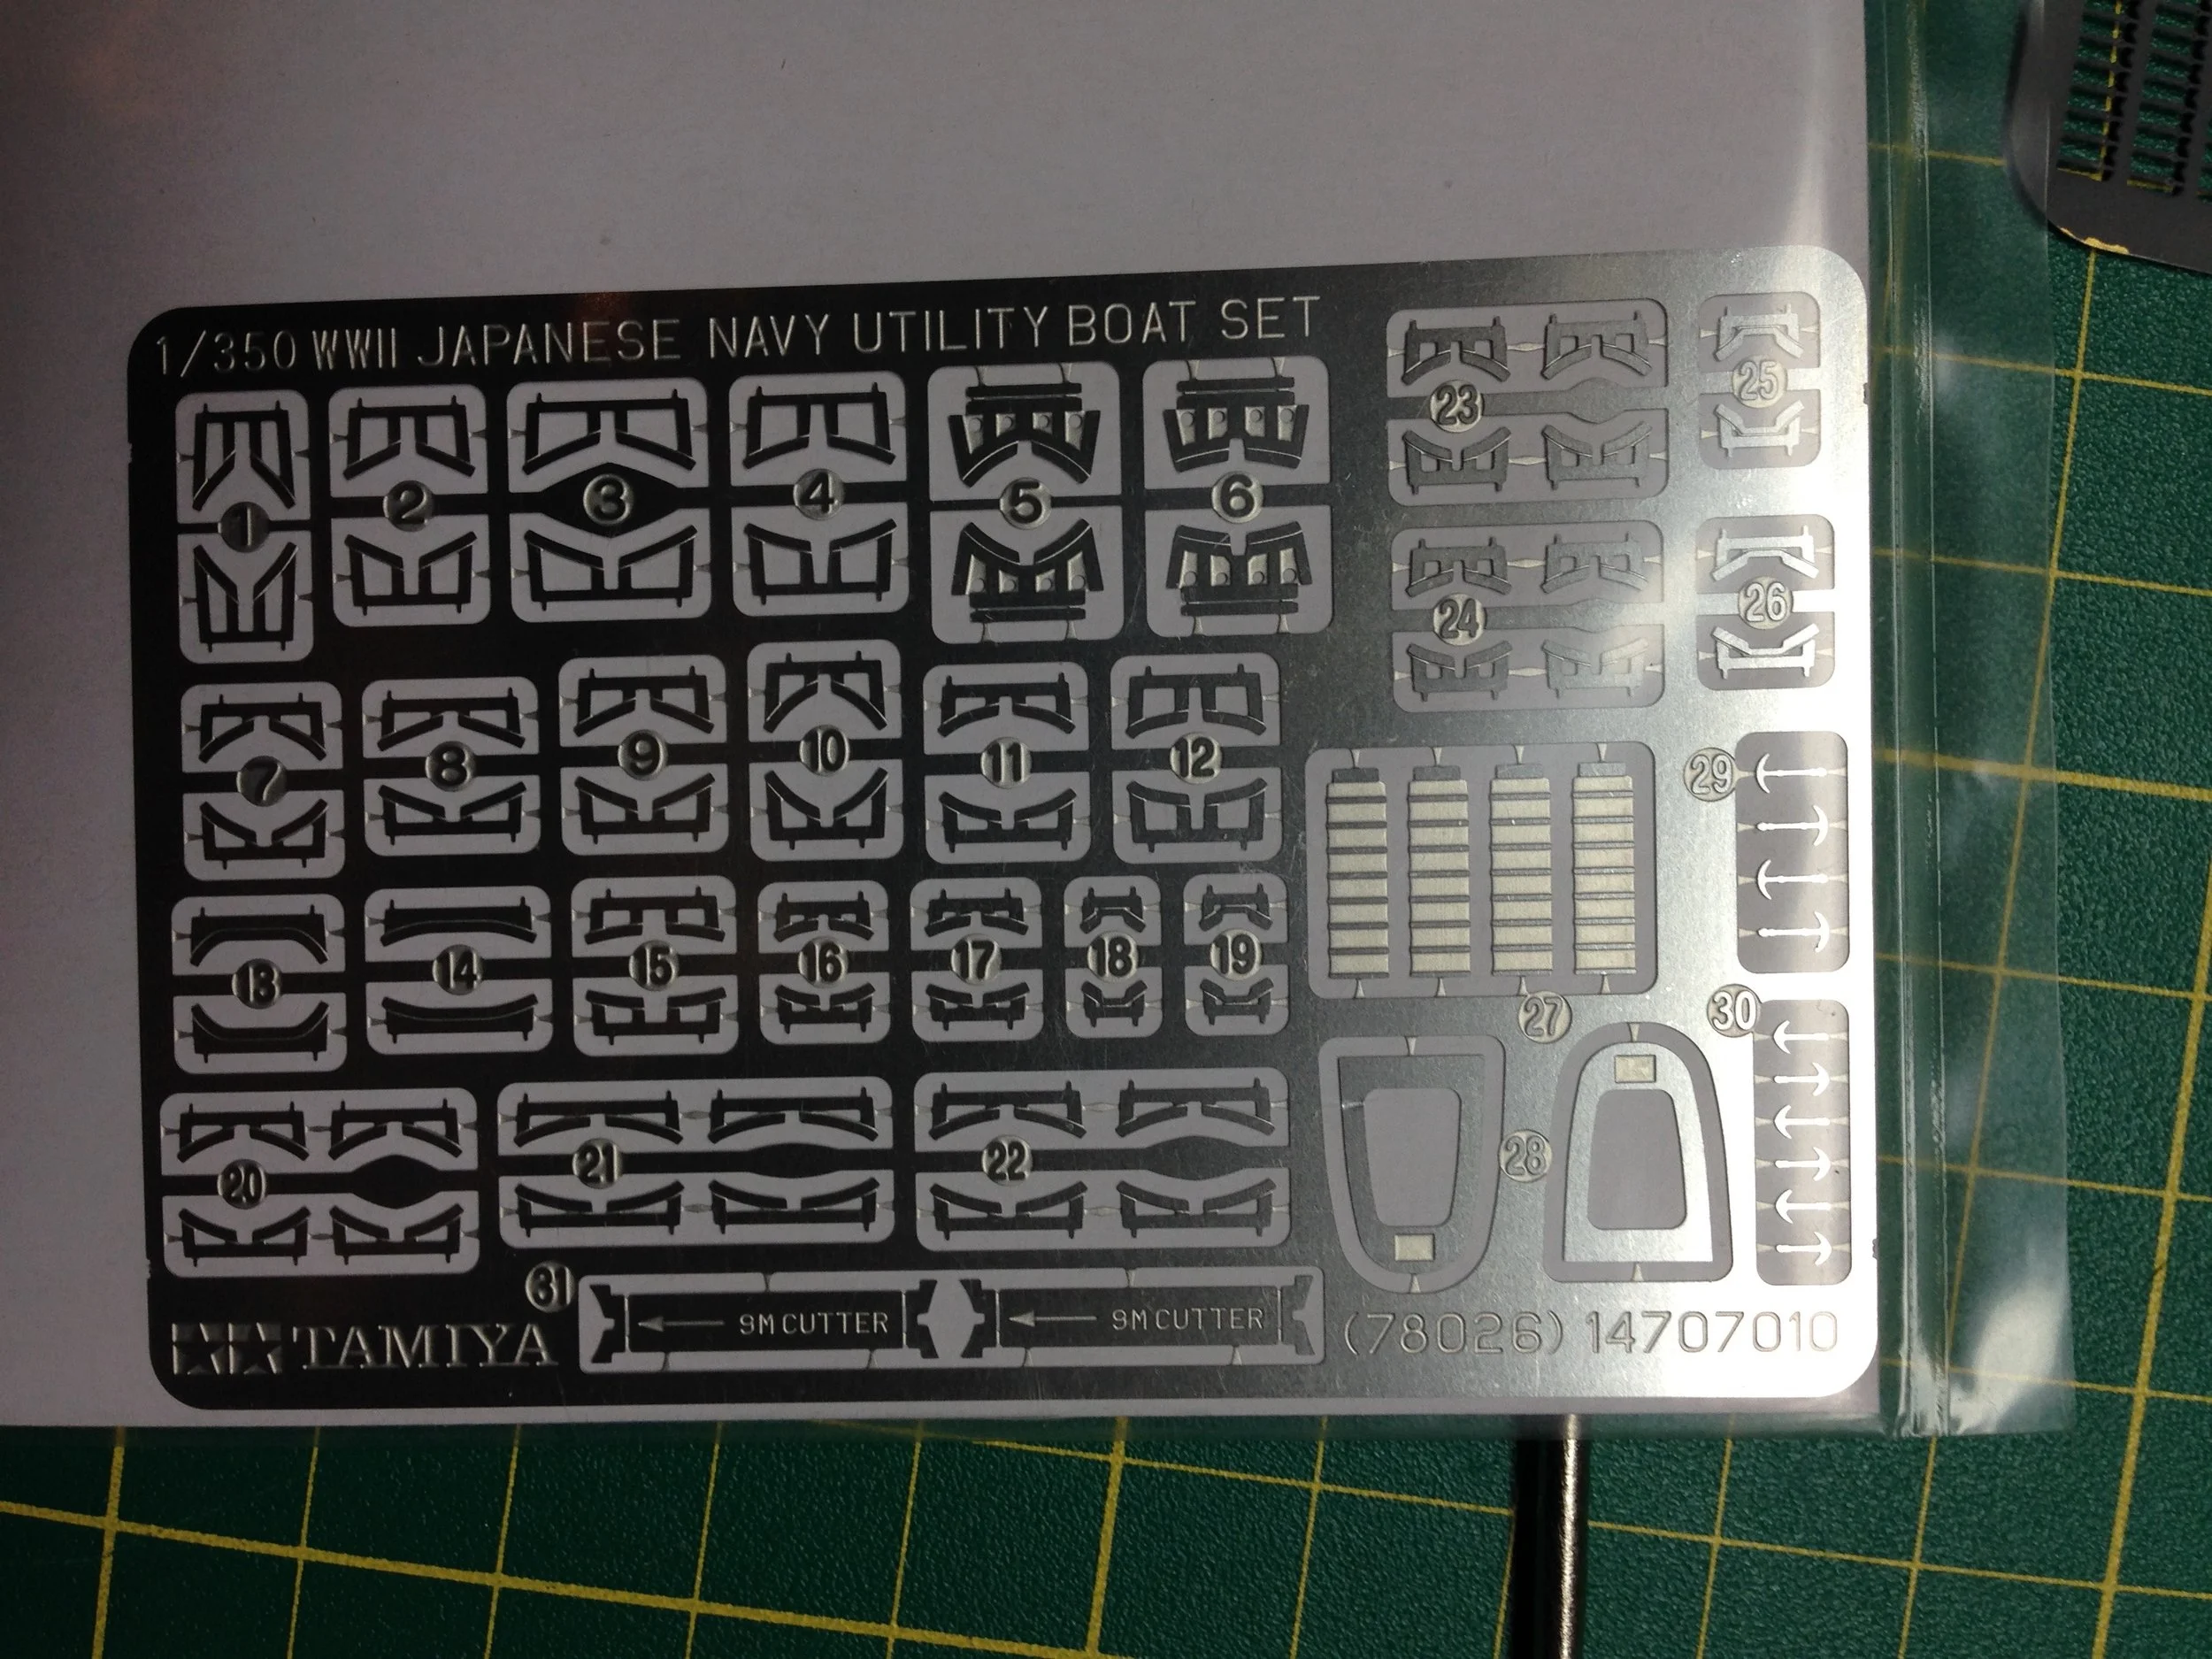
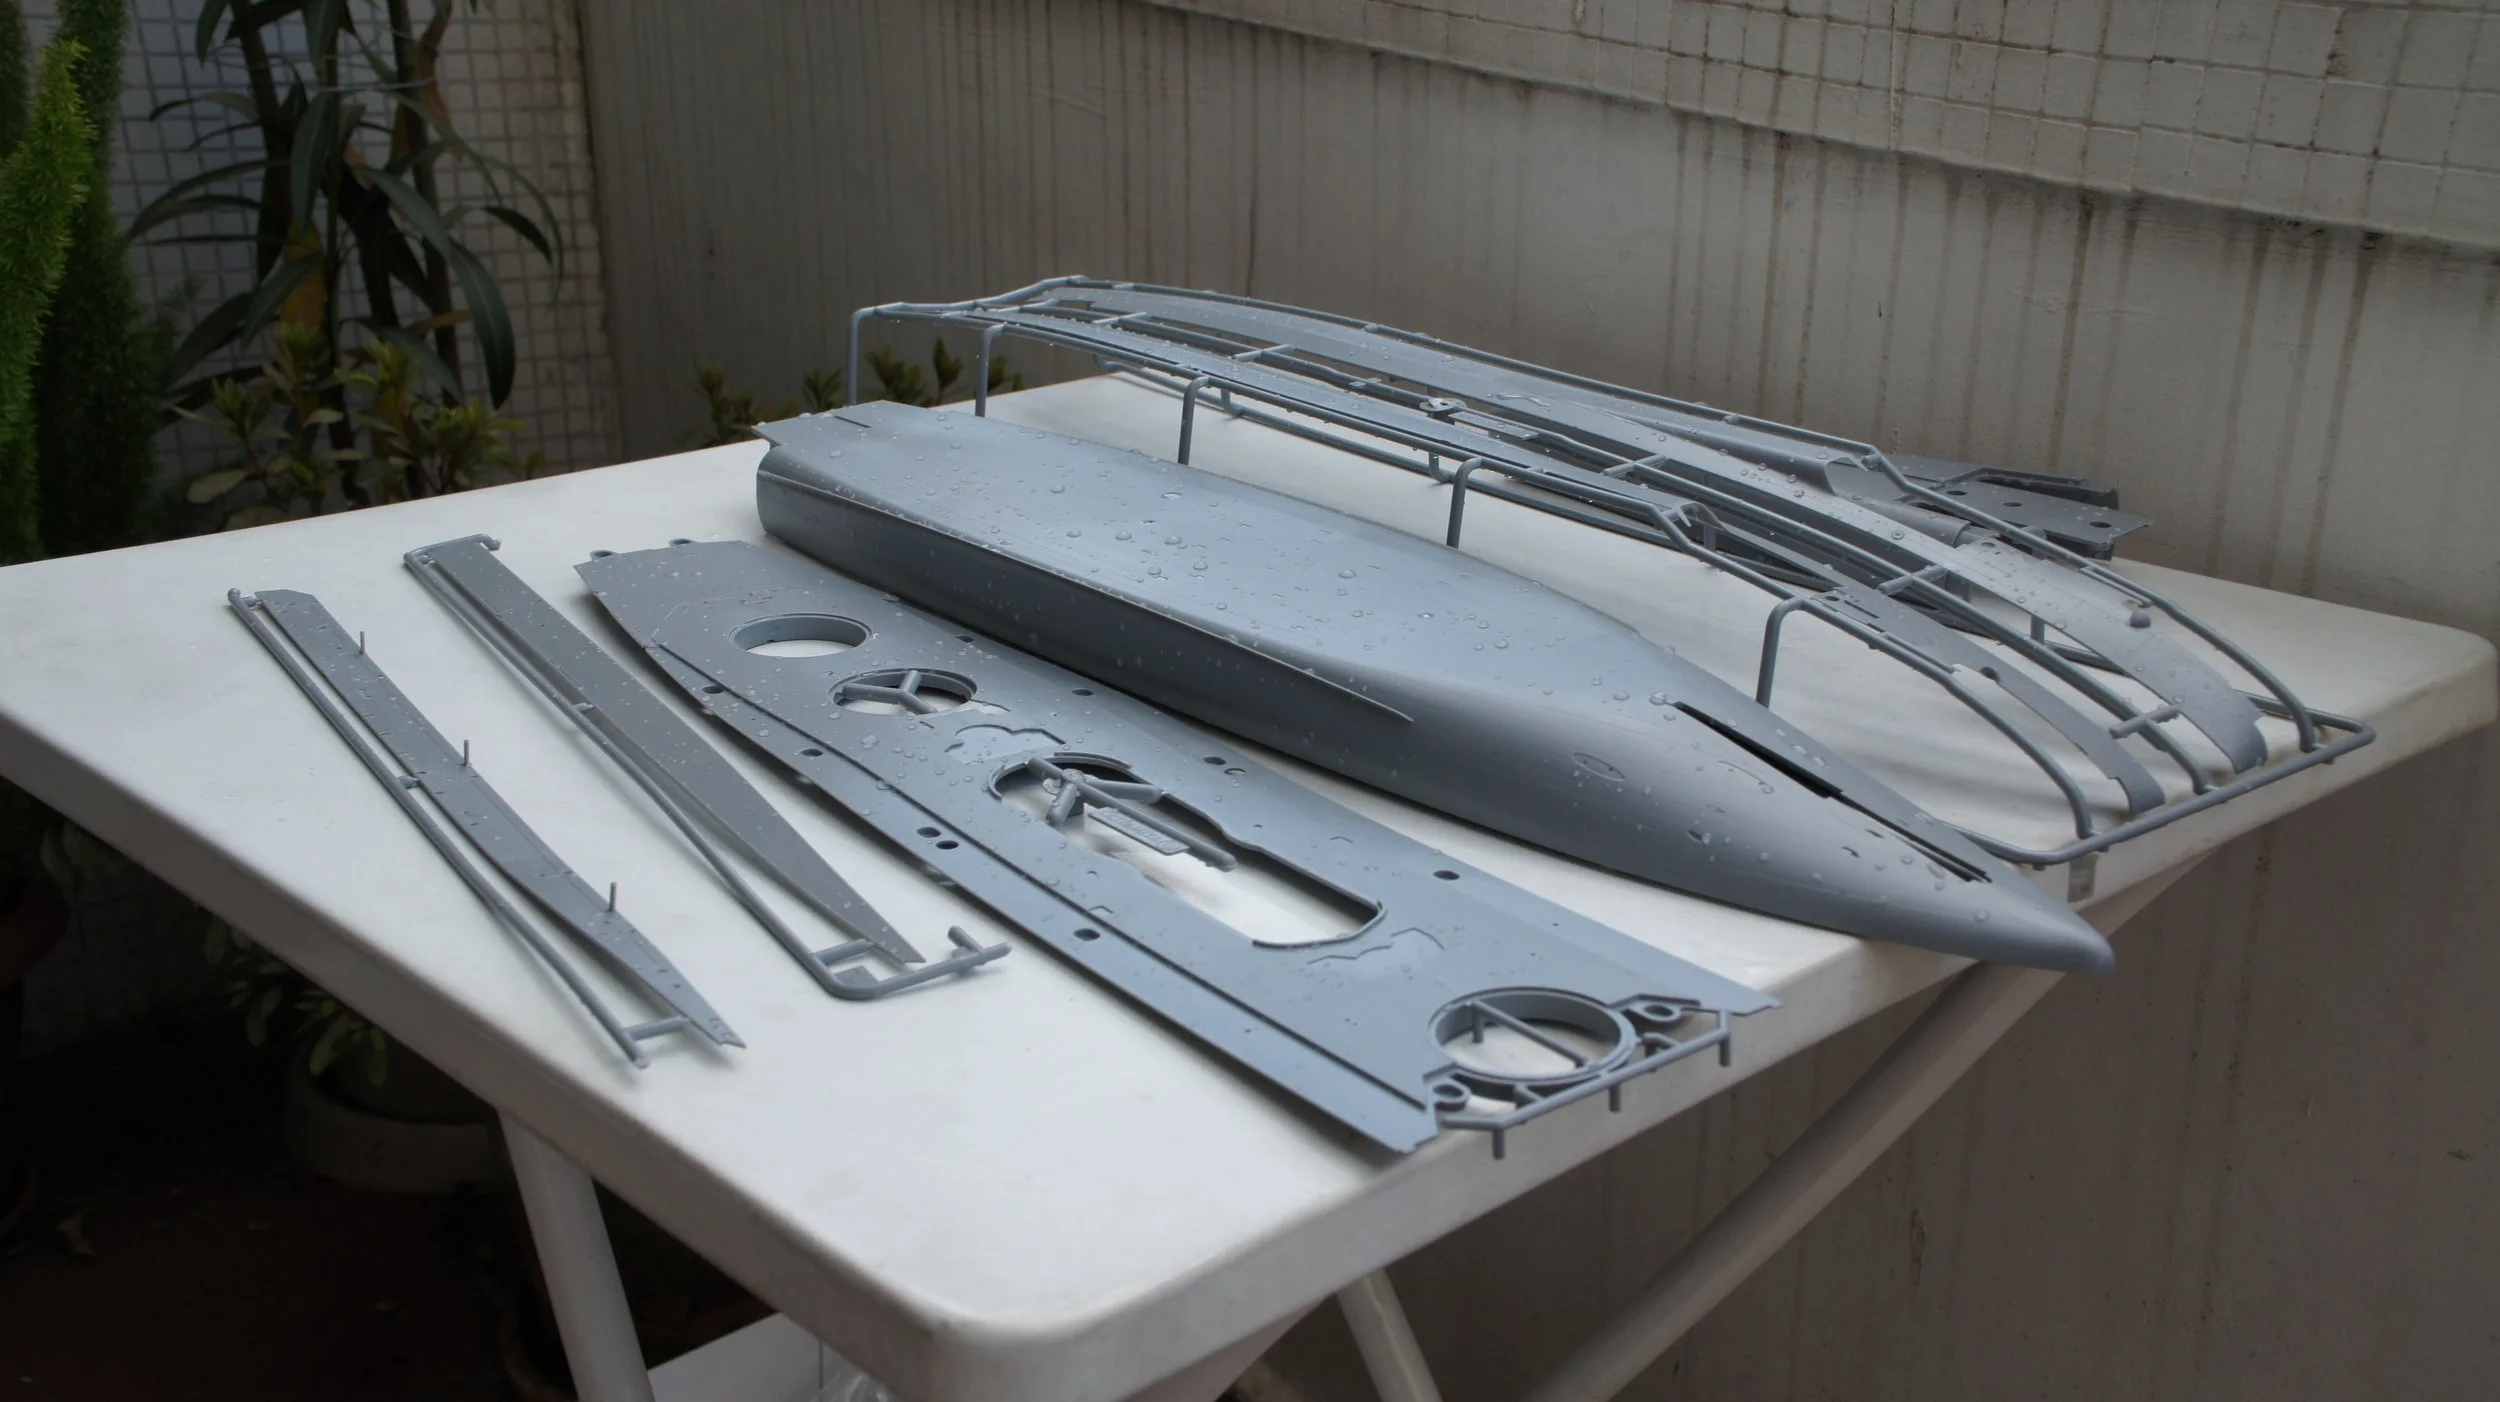
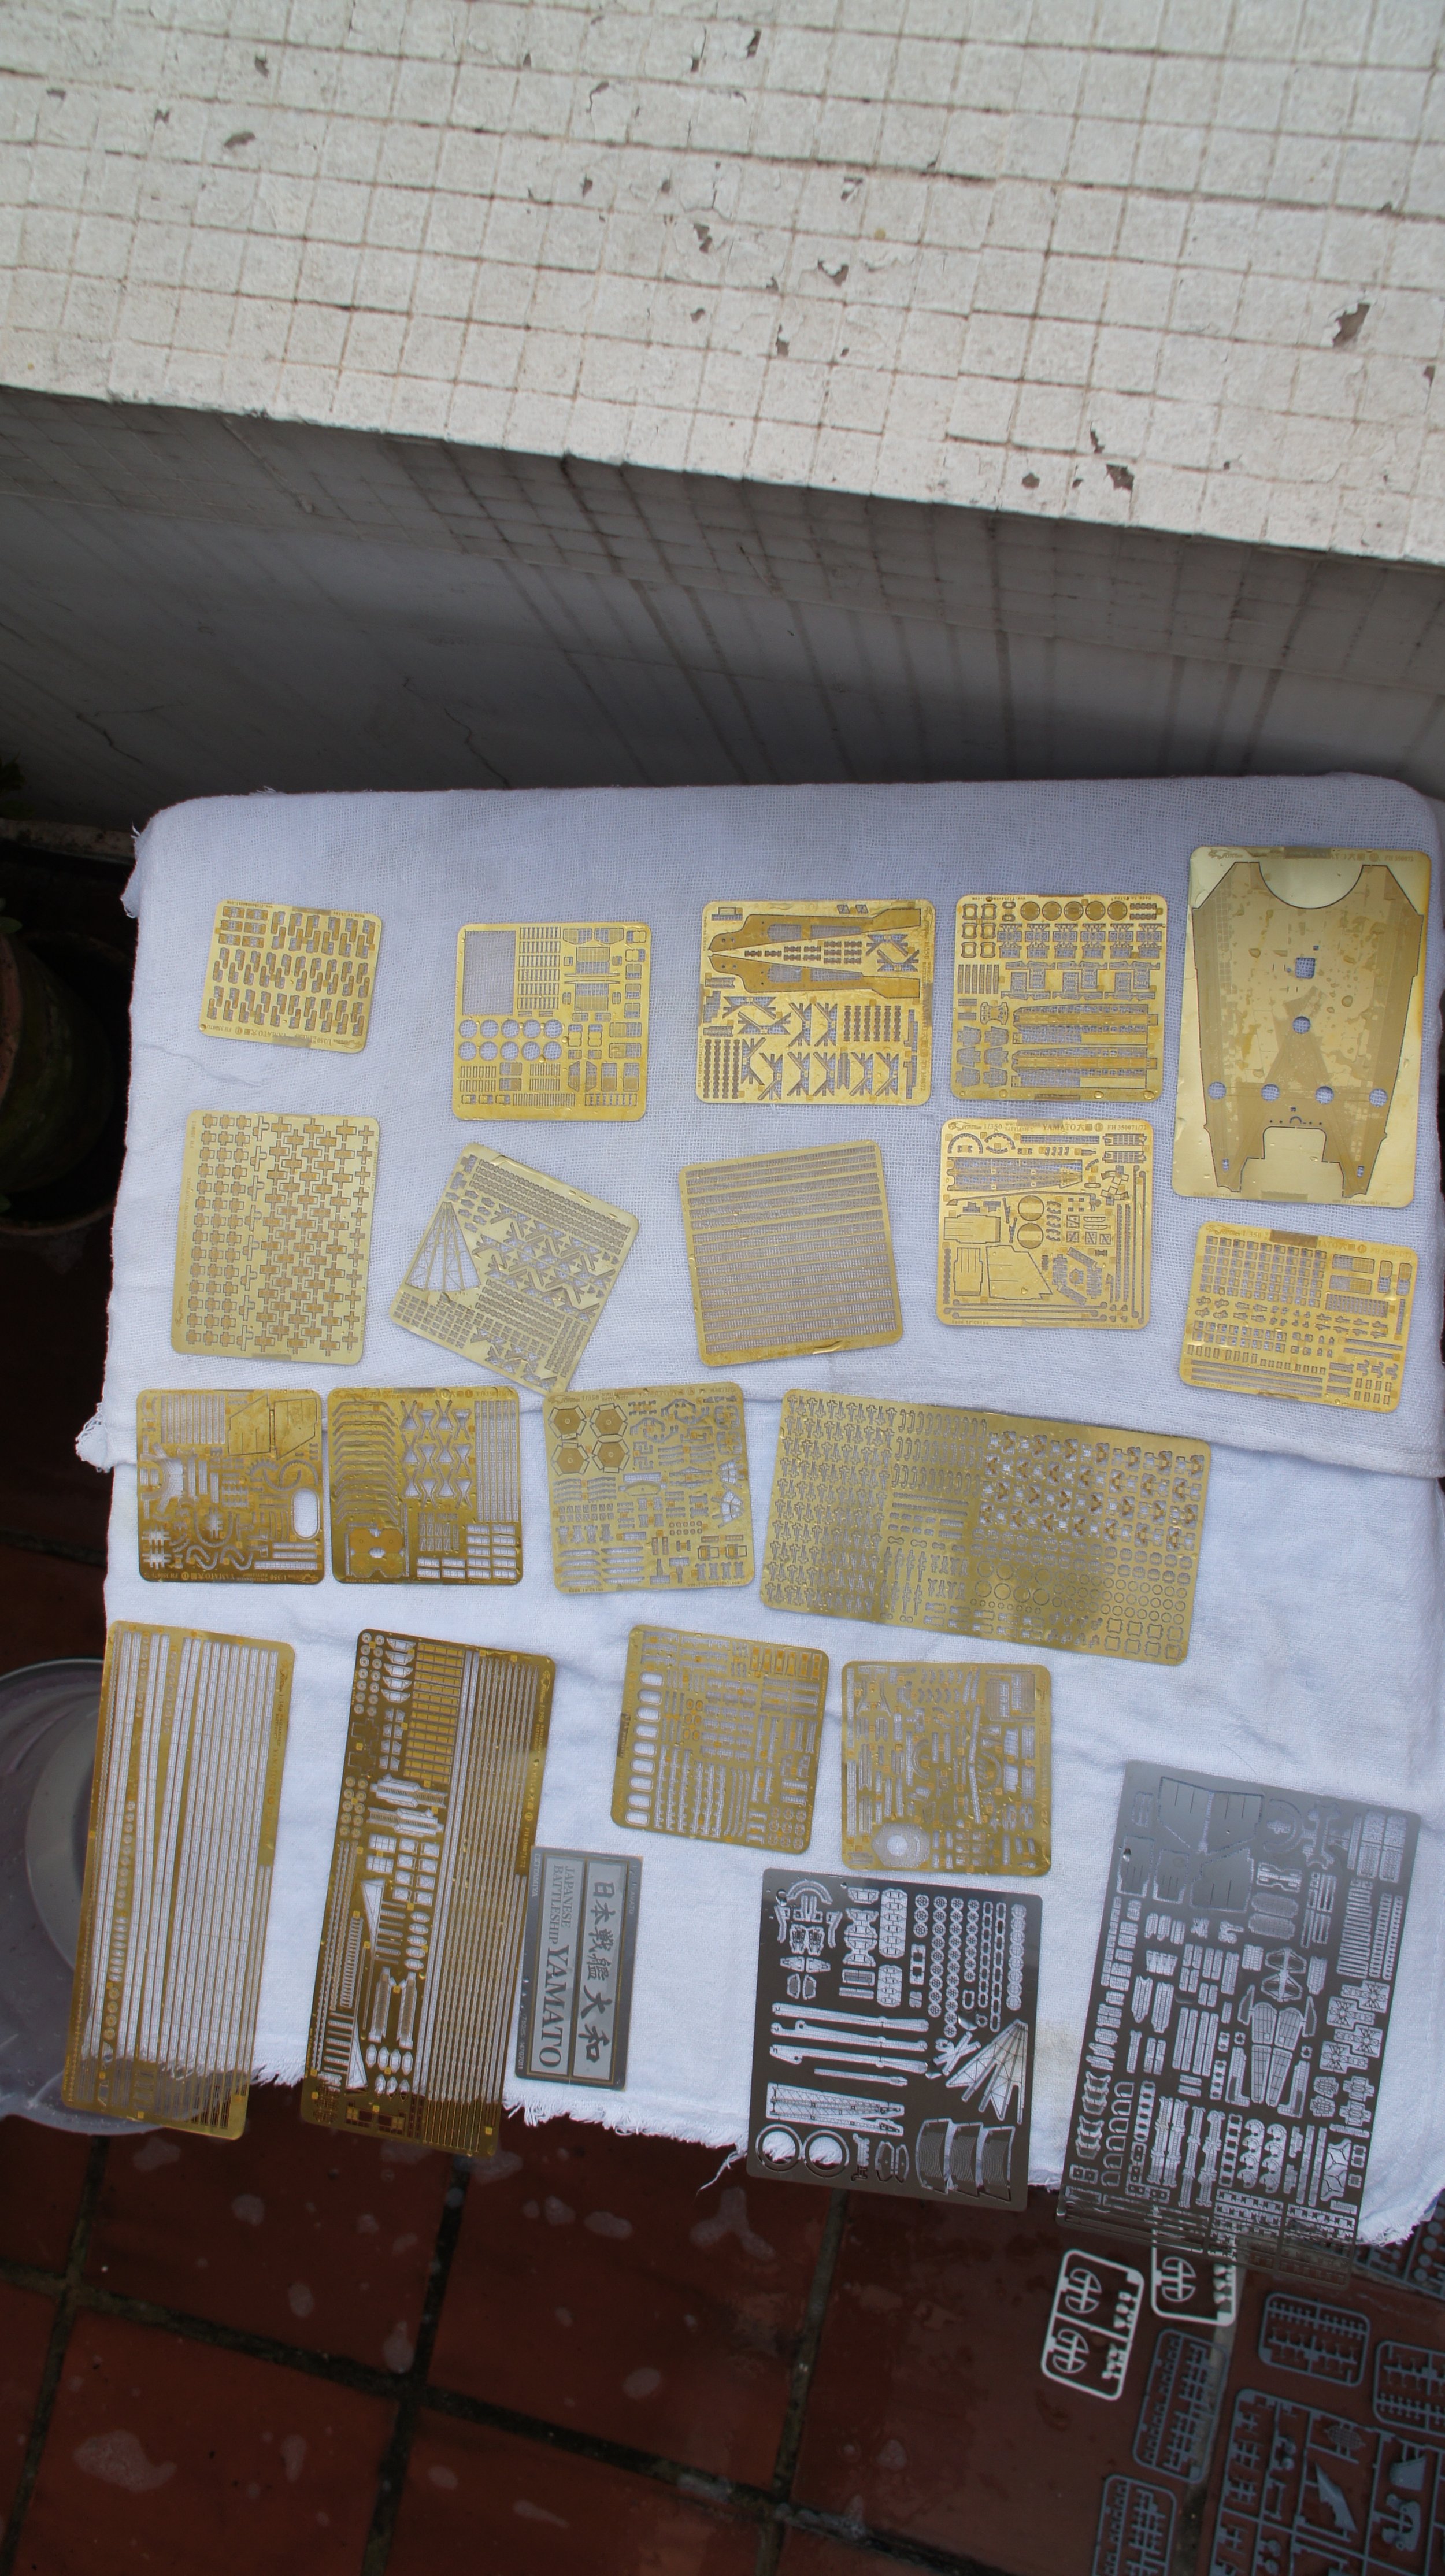
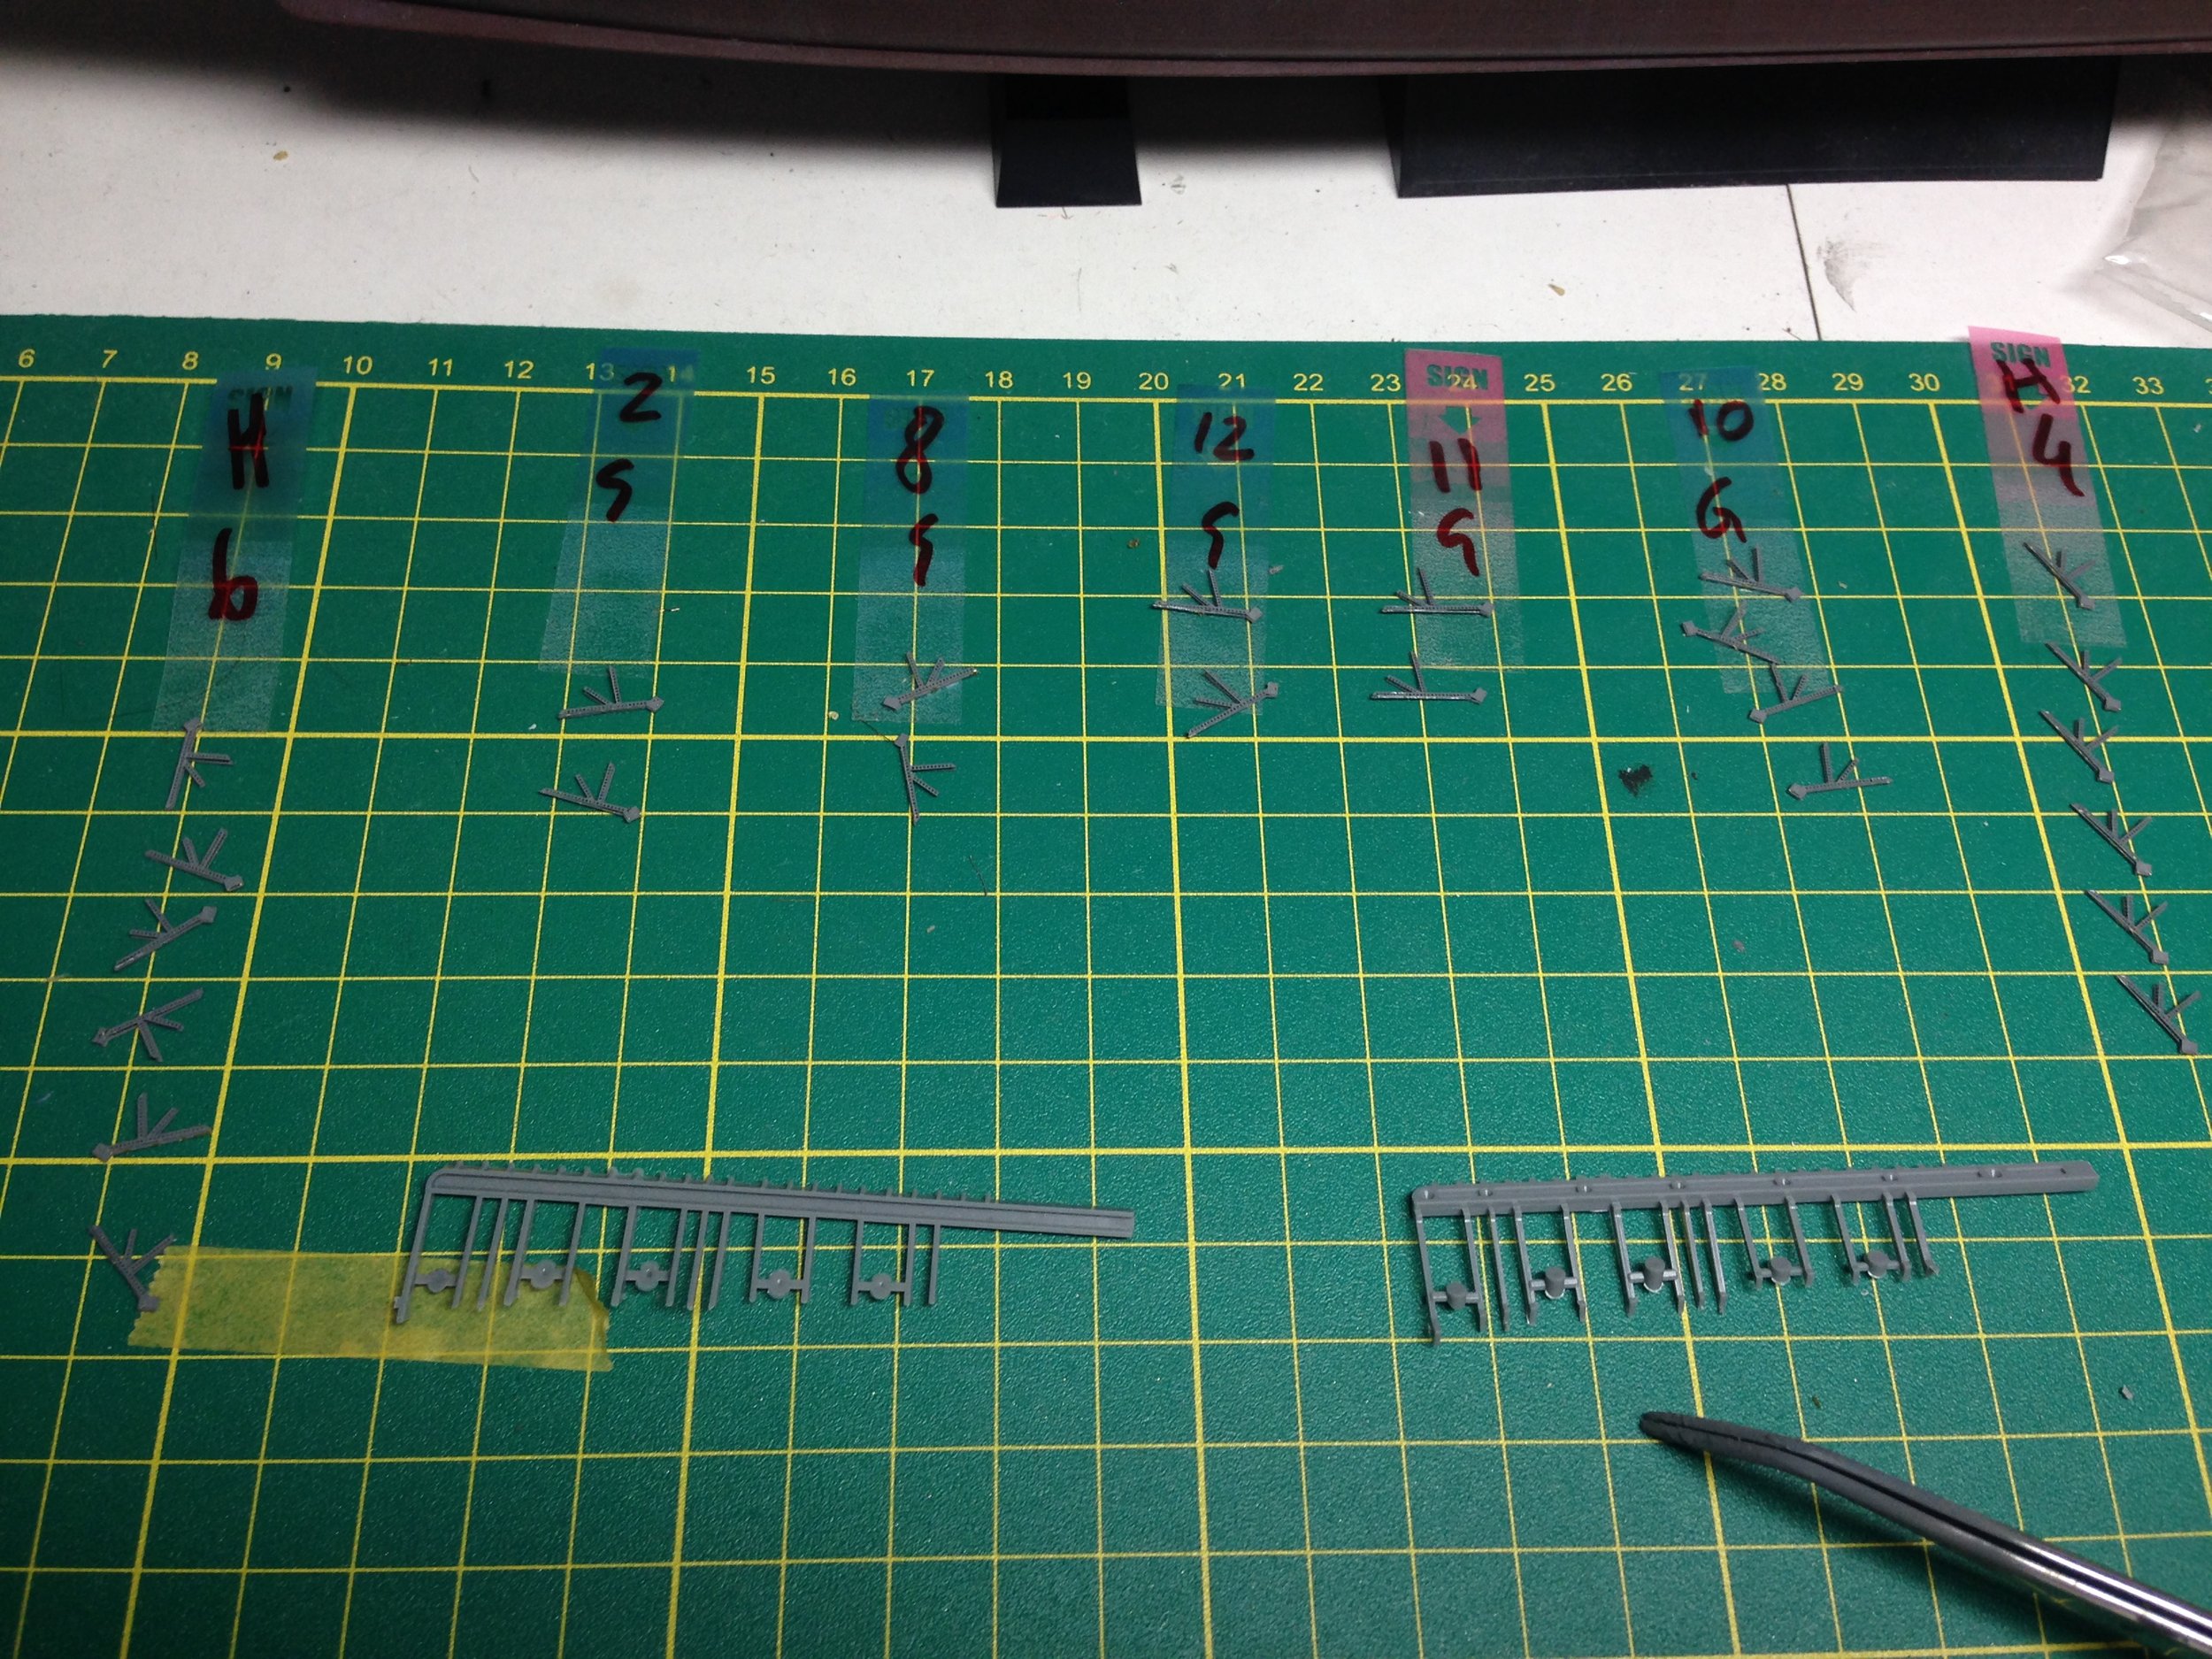
Sprues:
More than 6.000 thousands of pieces combined.
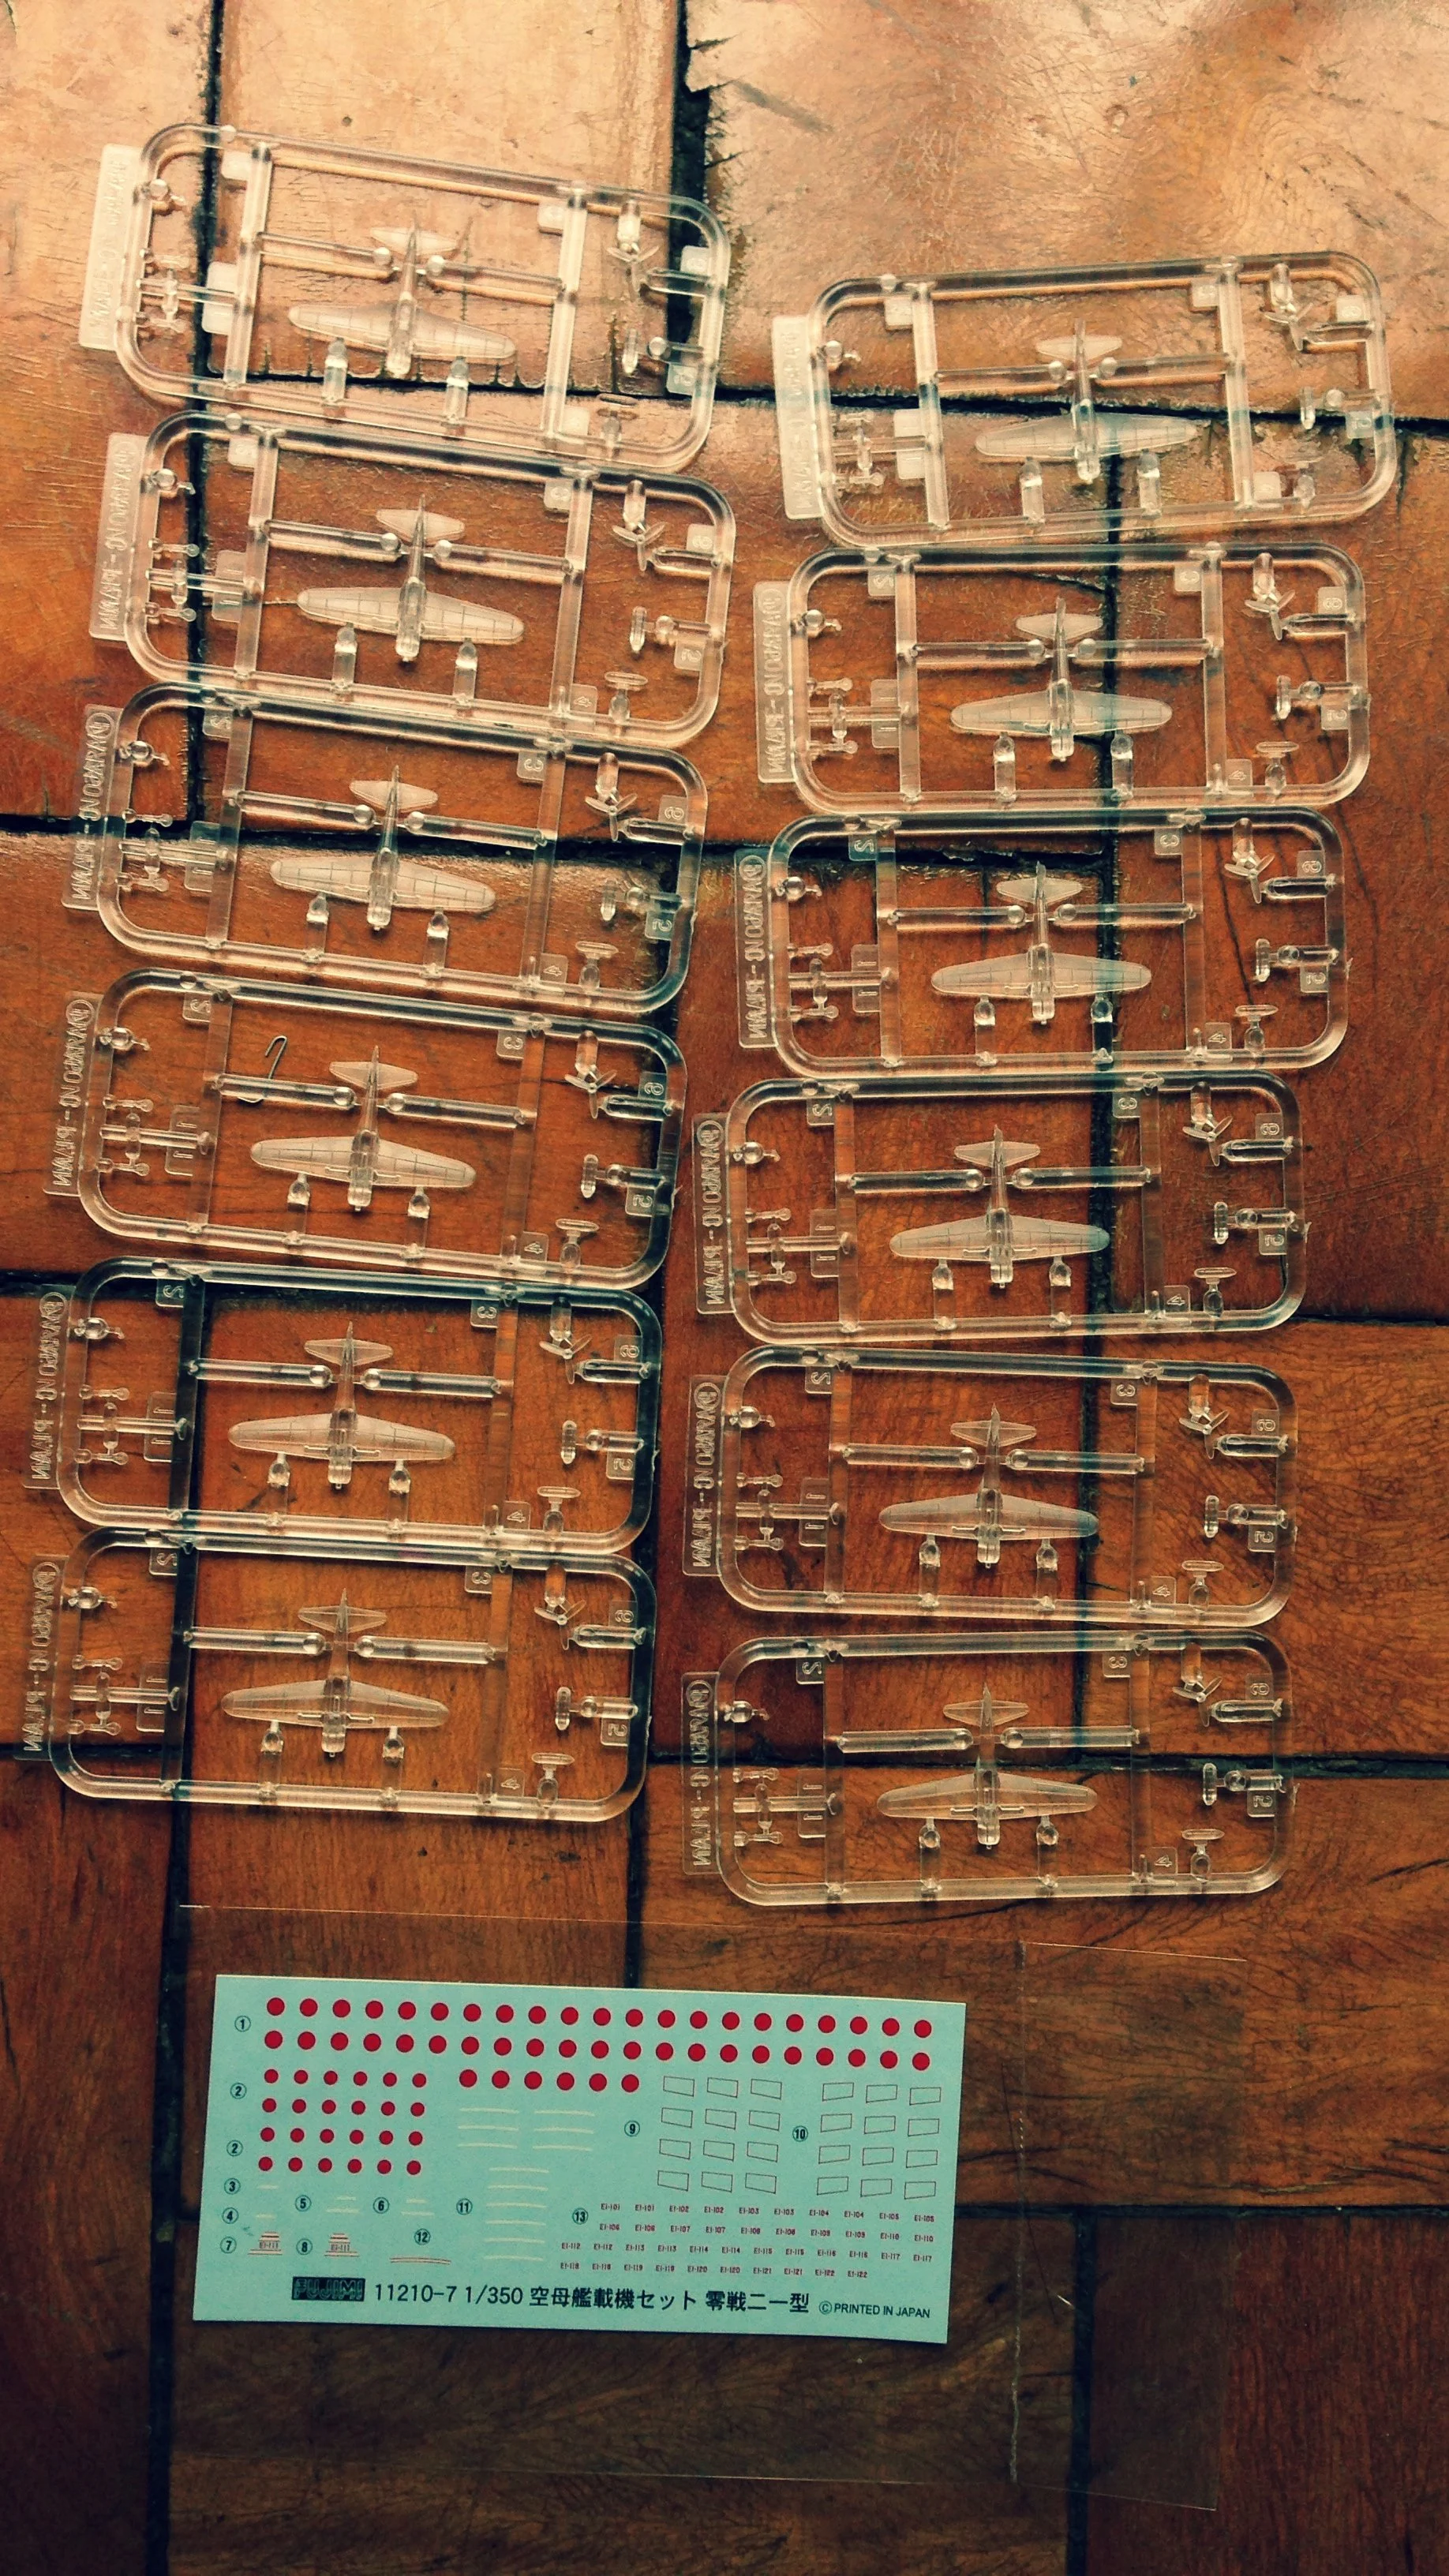
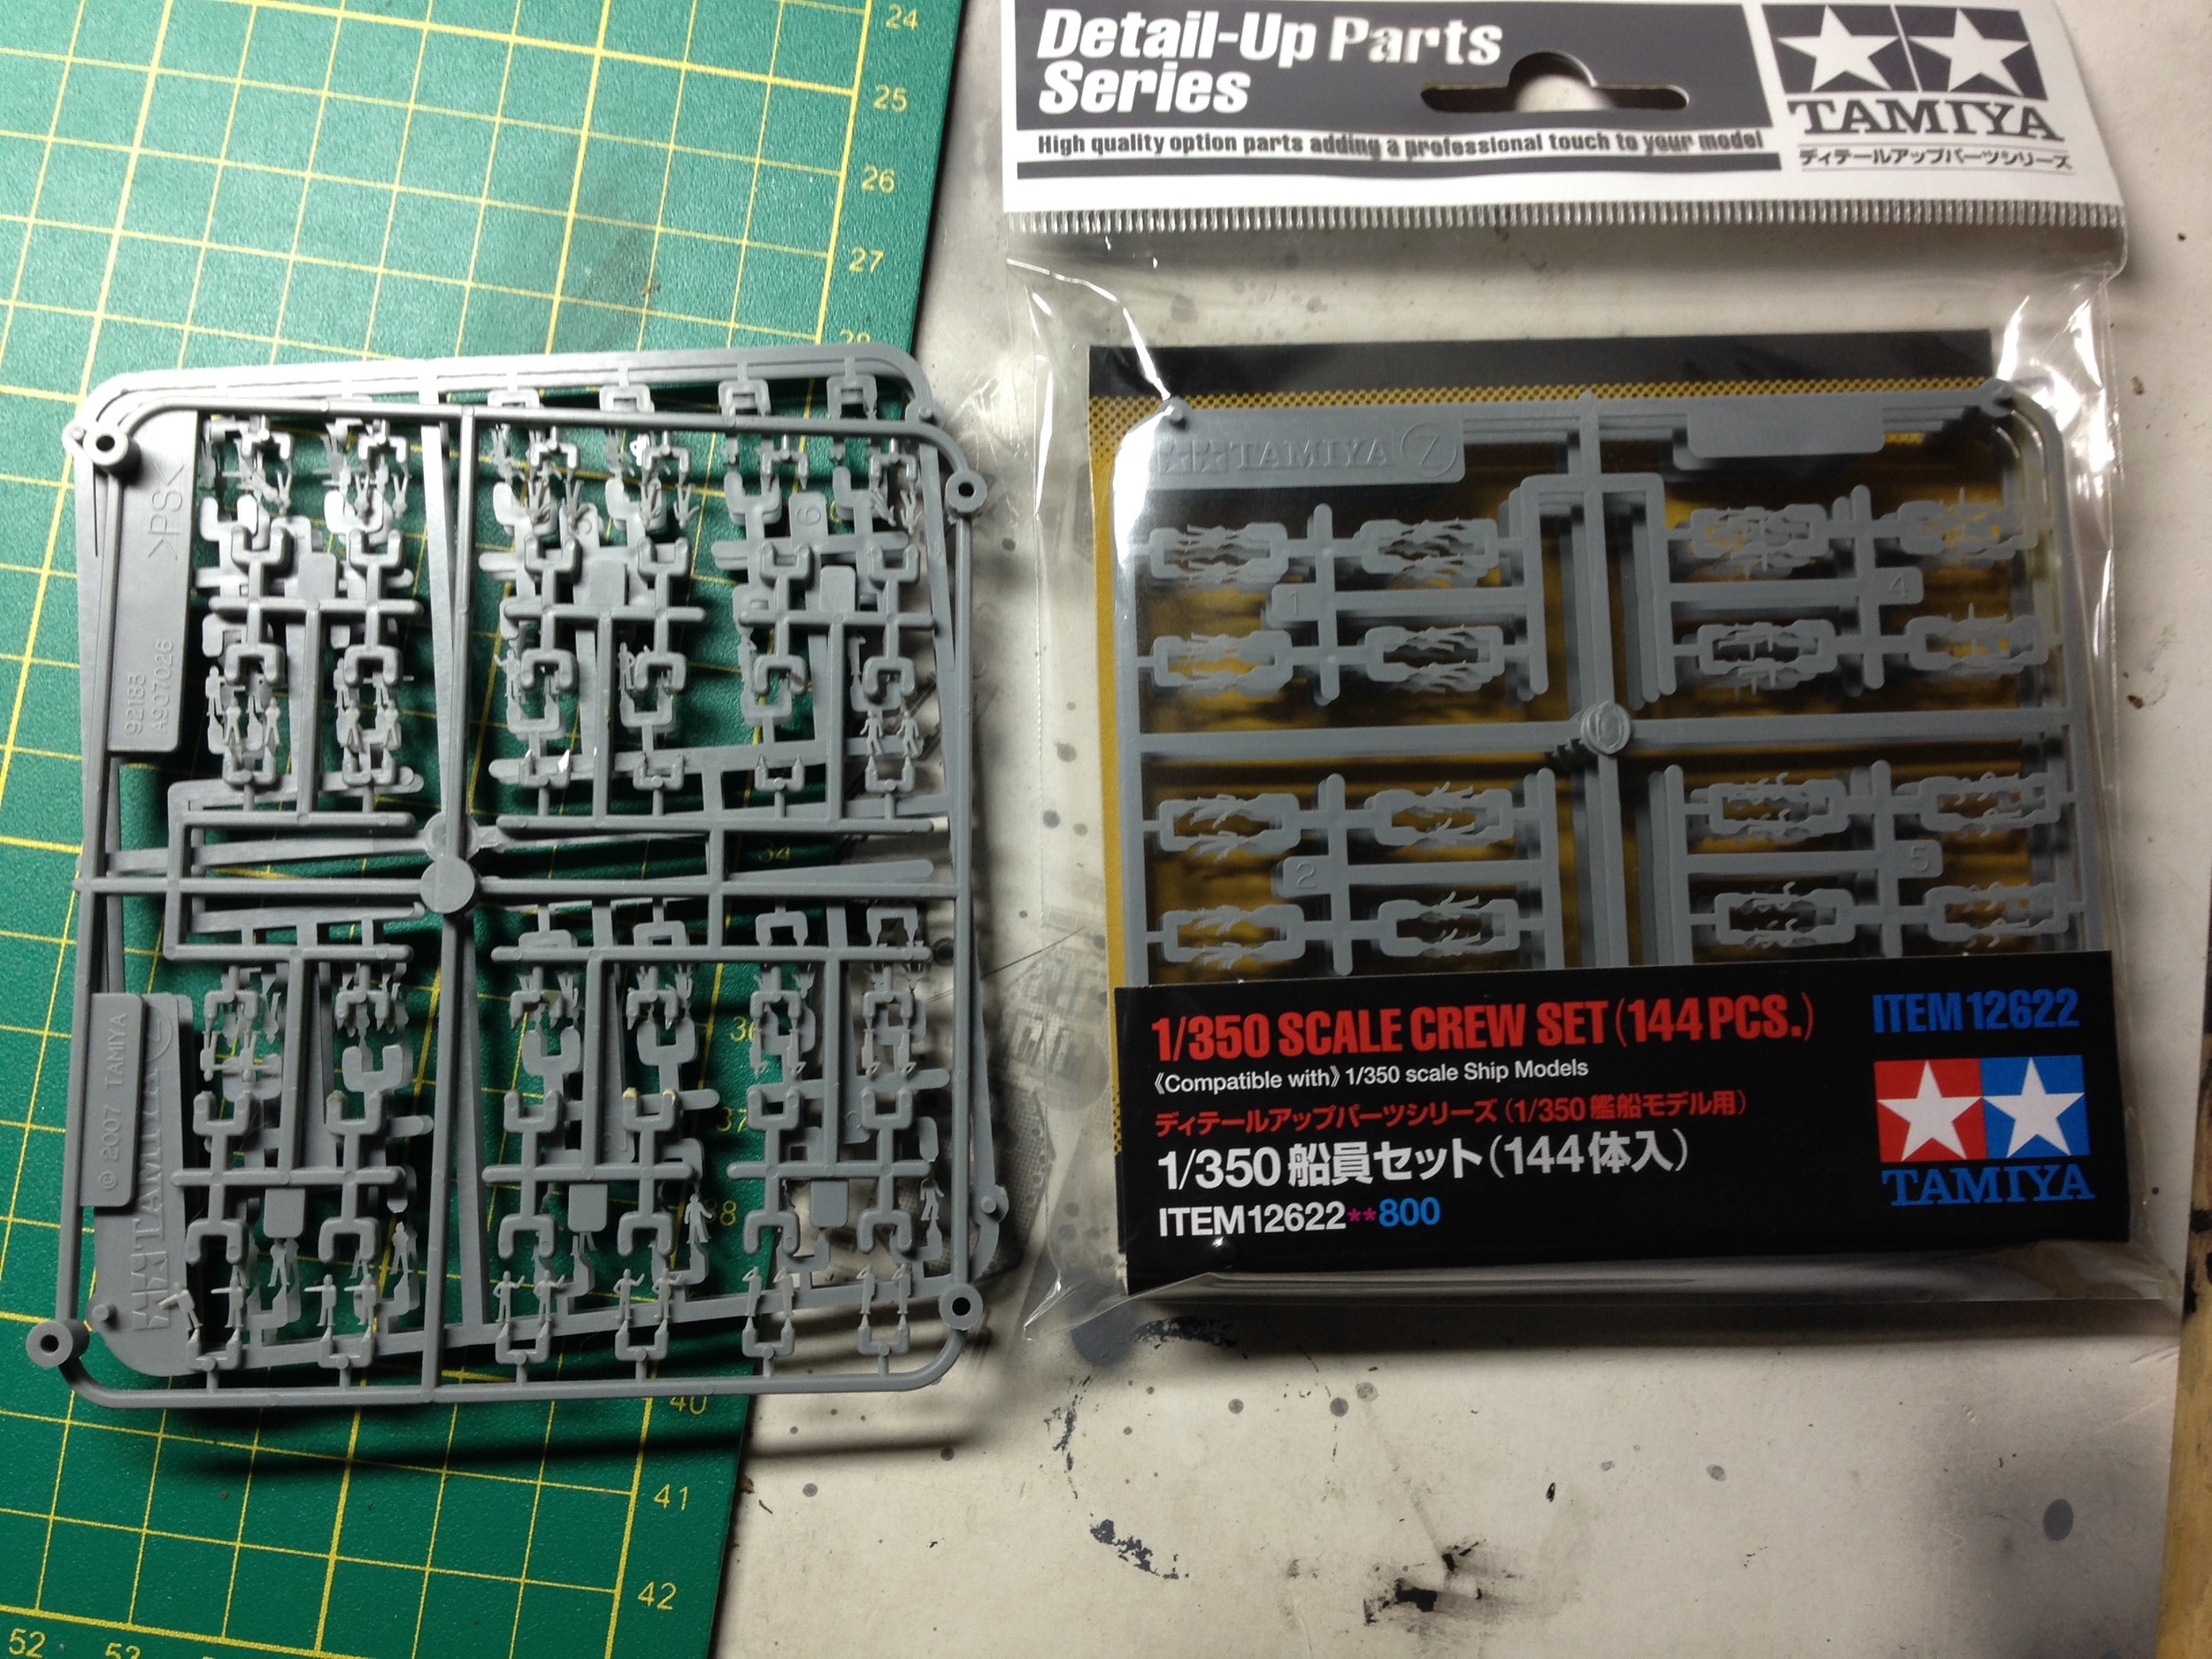
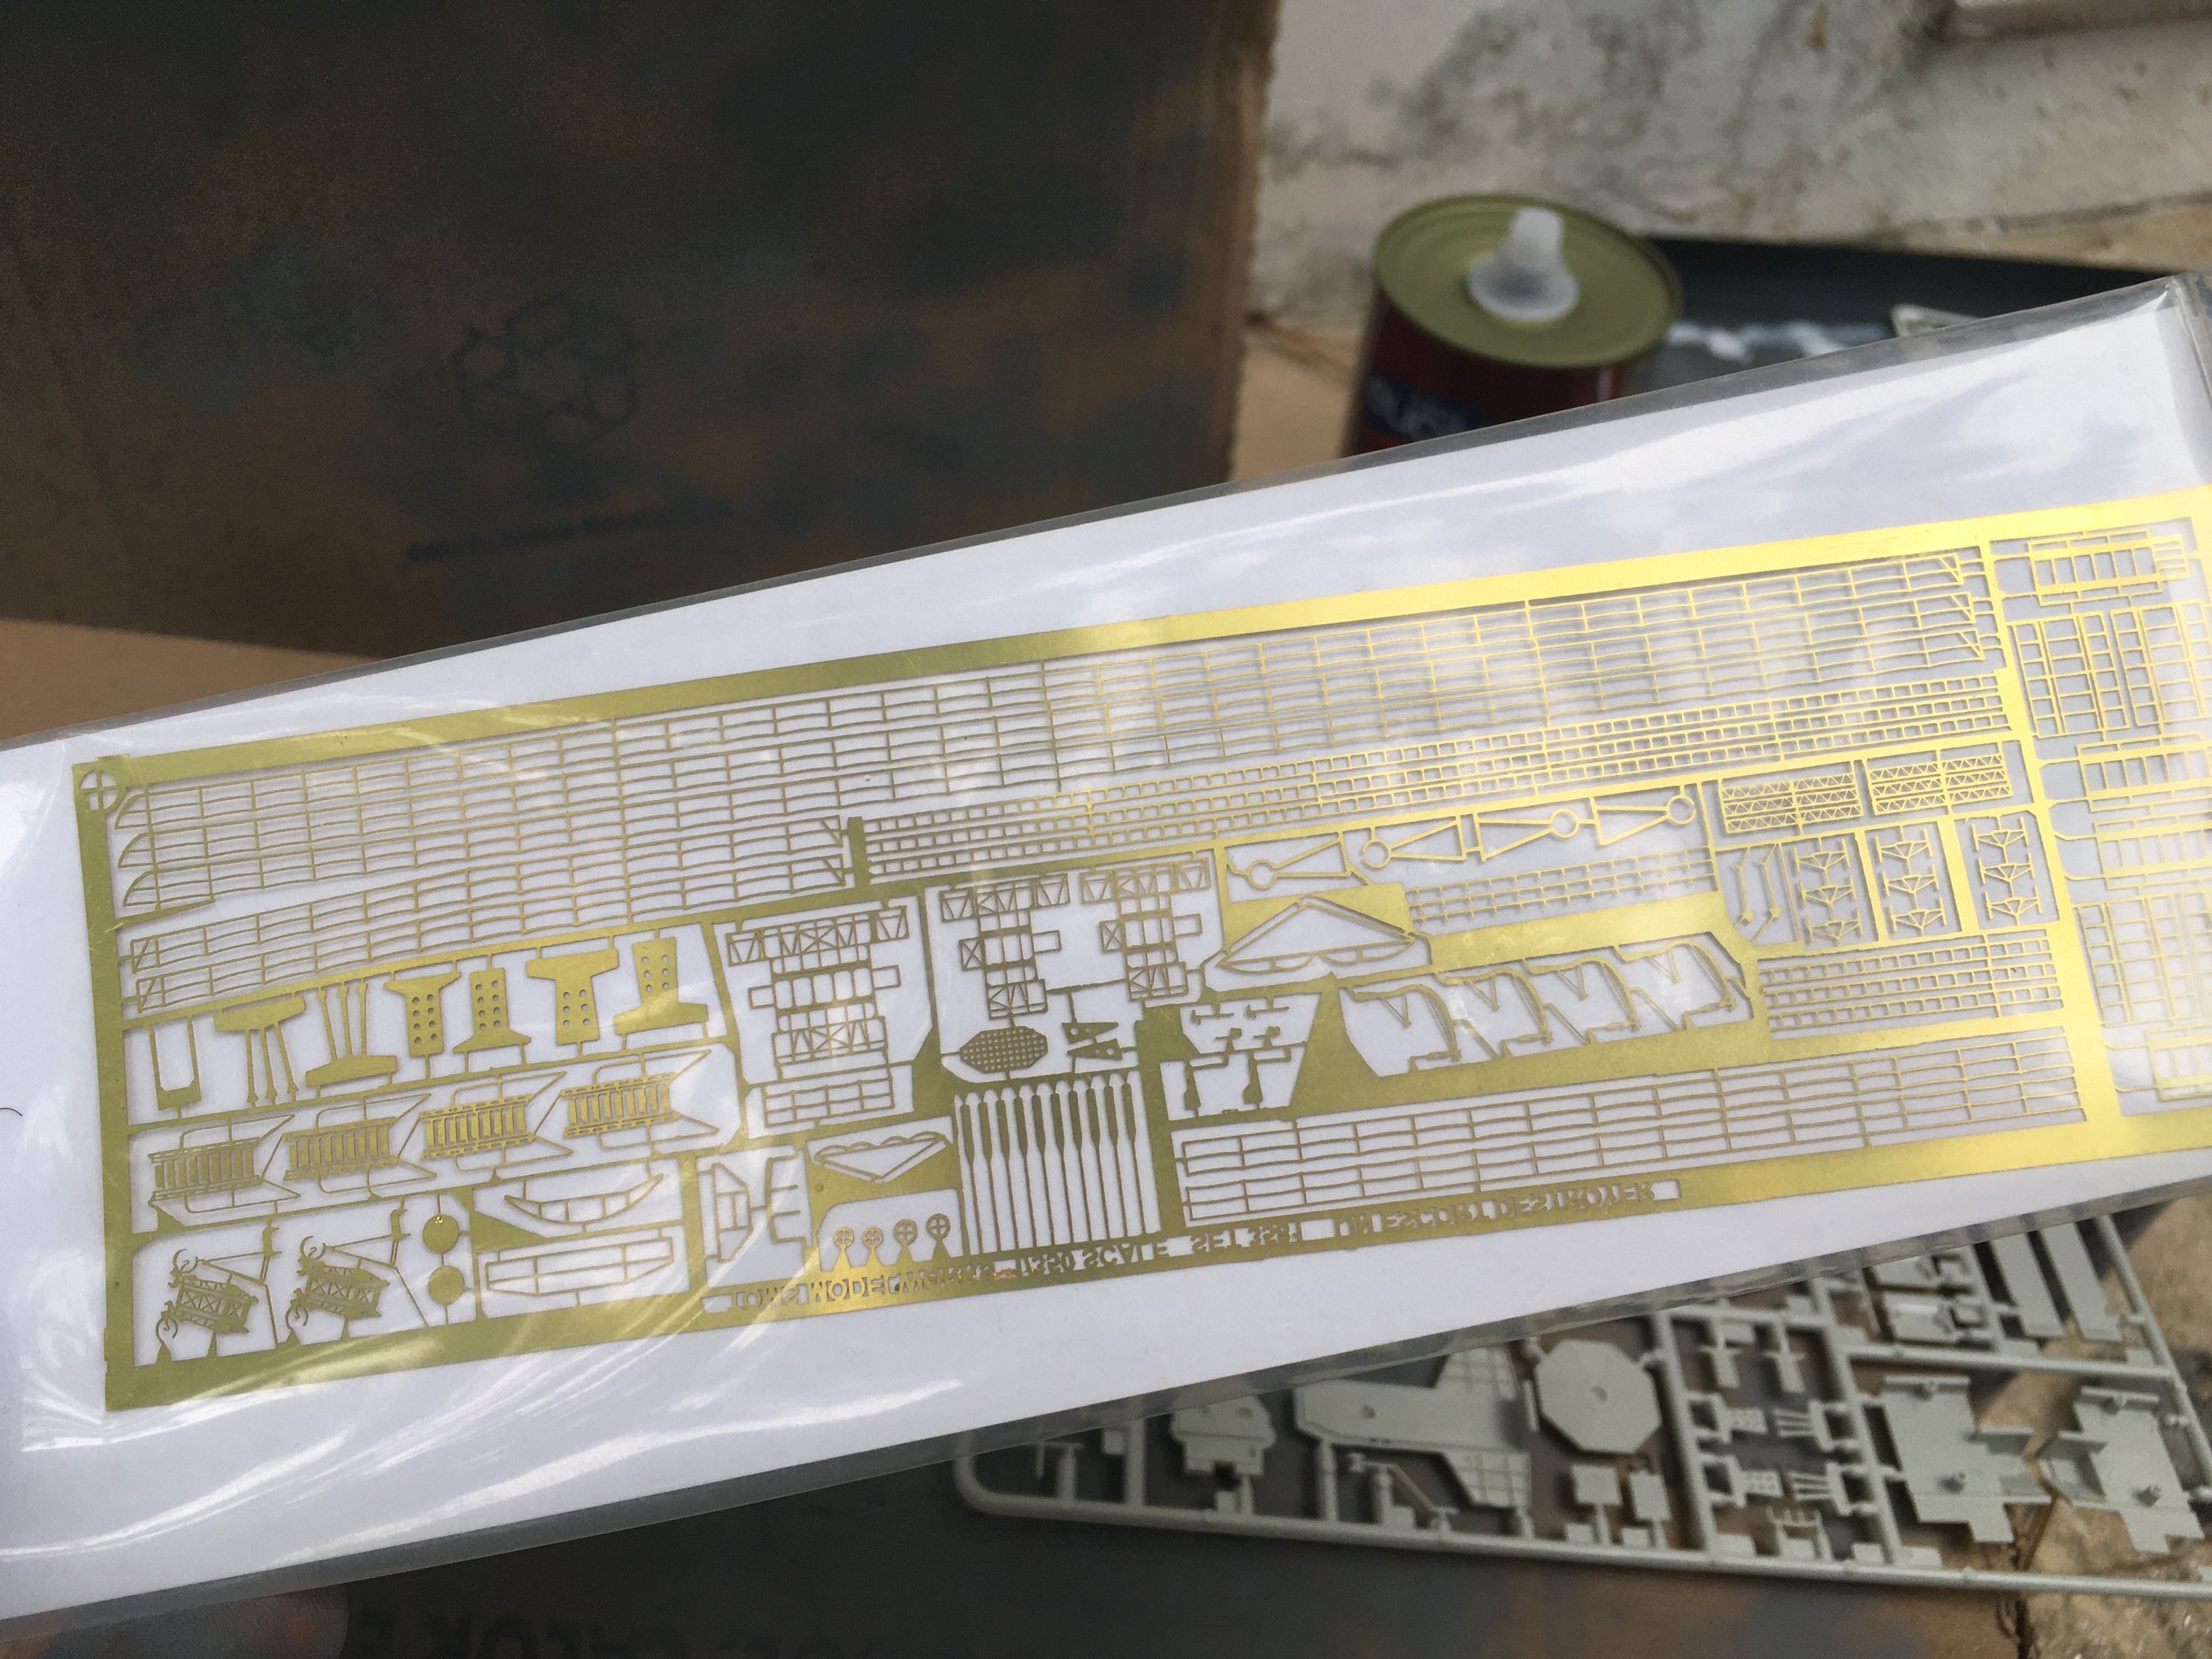
Tools:
Two types of airbrush, one with wide nozzle and a second one for detailing.
High quality prime and paints and a variety of pliers, tweezers, drills, files and brushes.
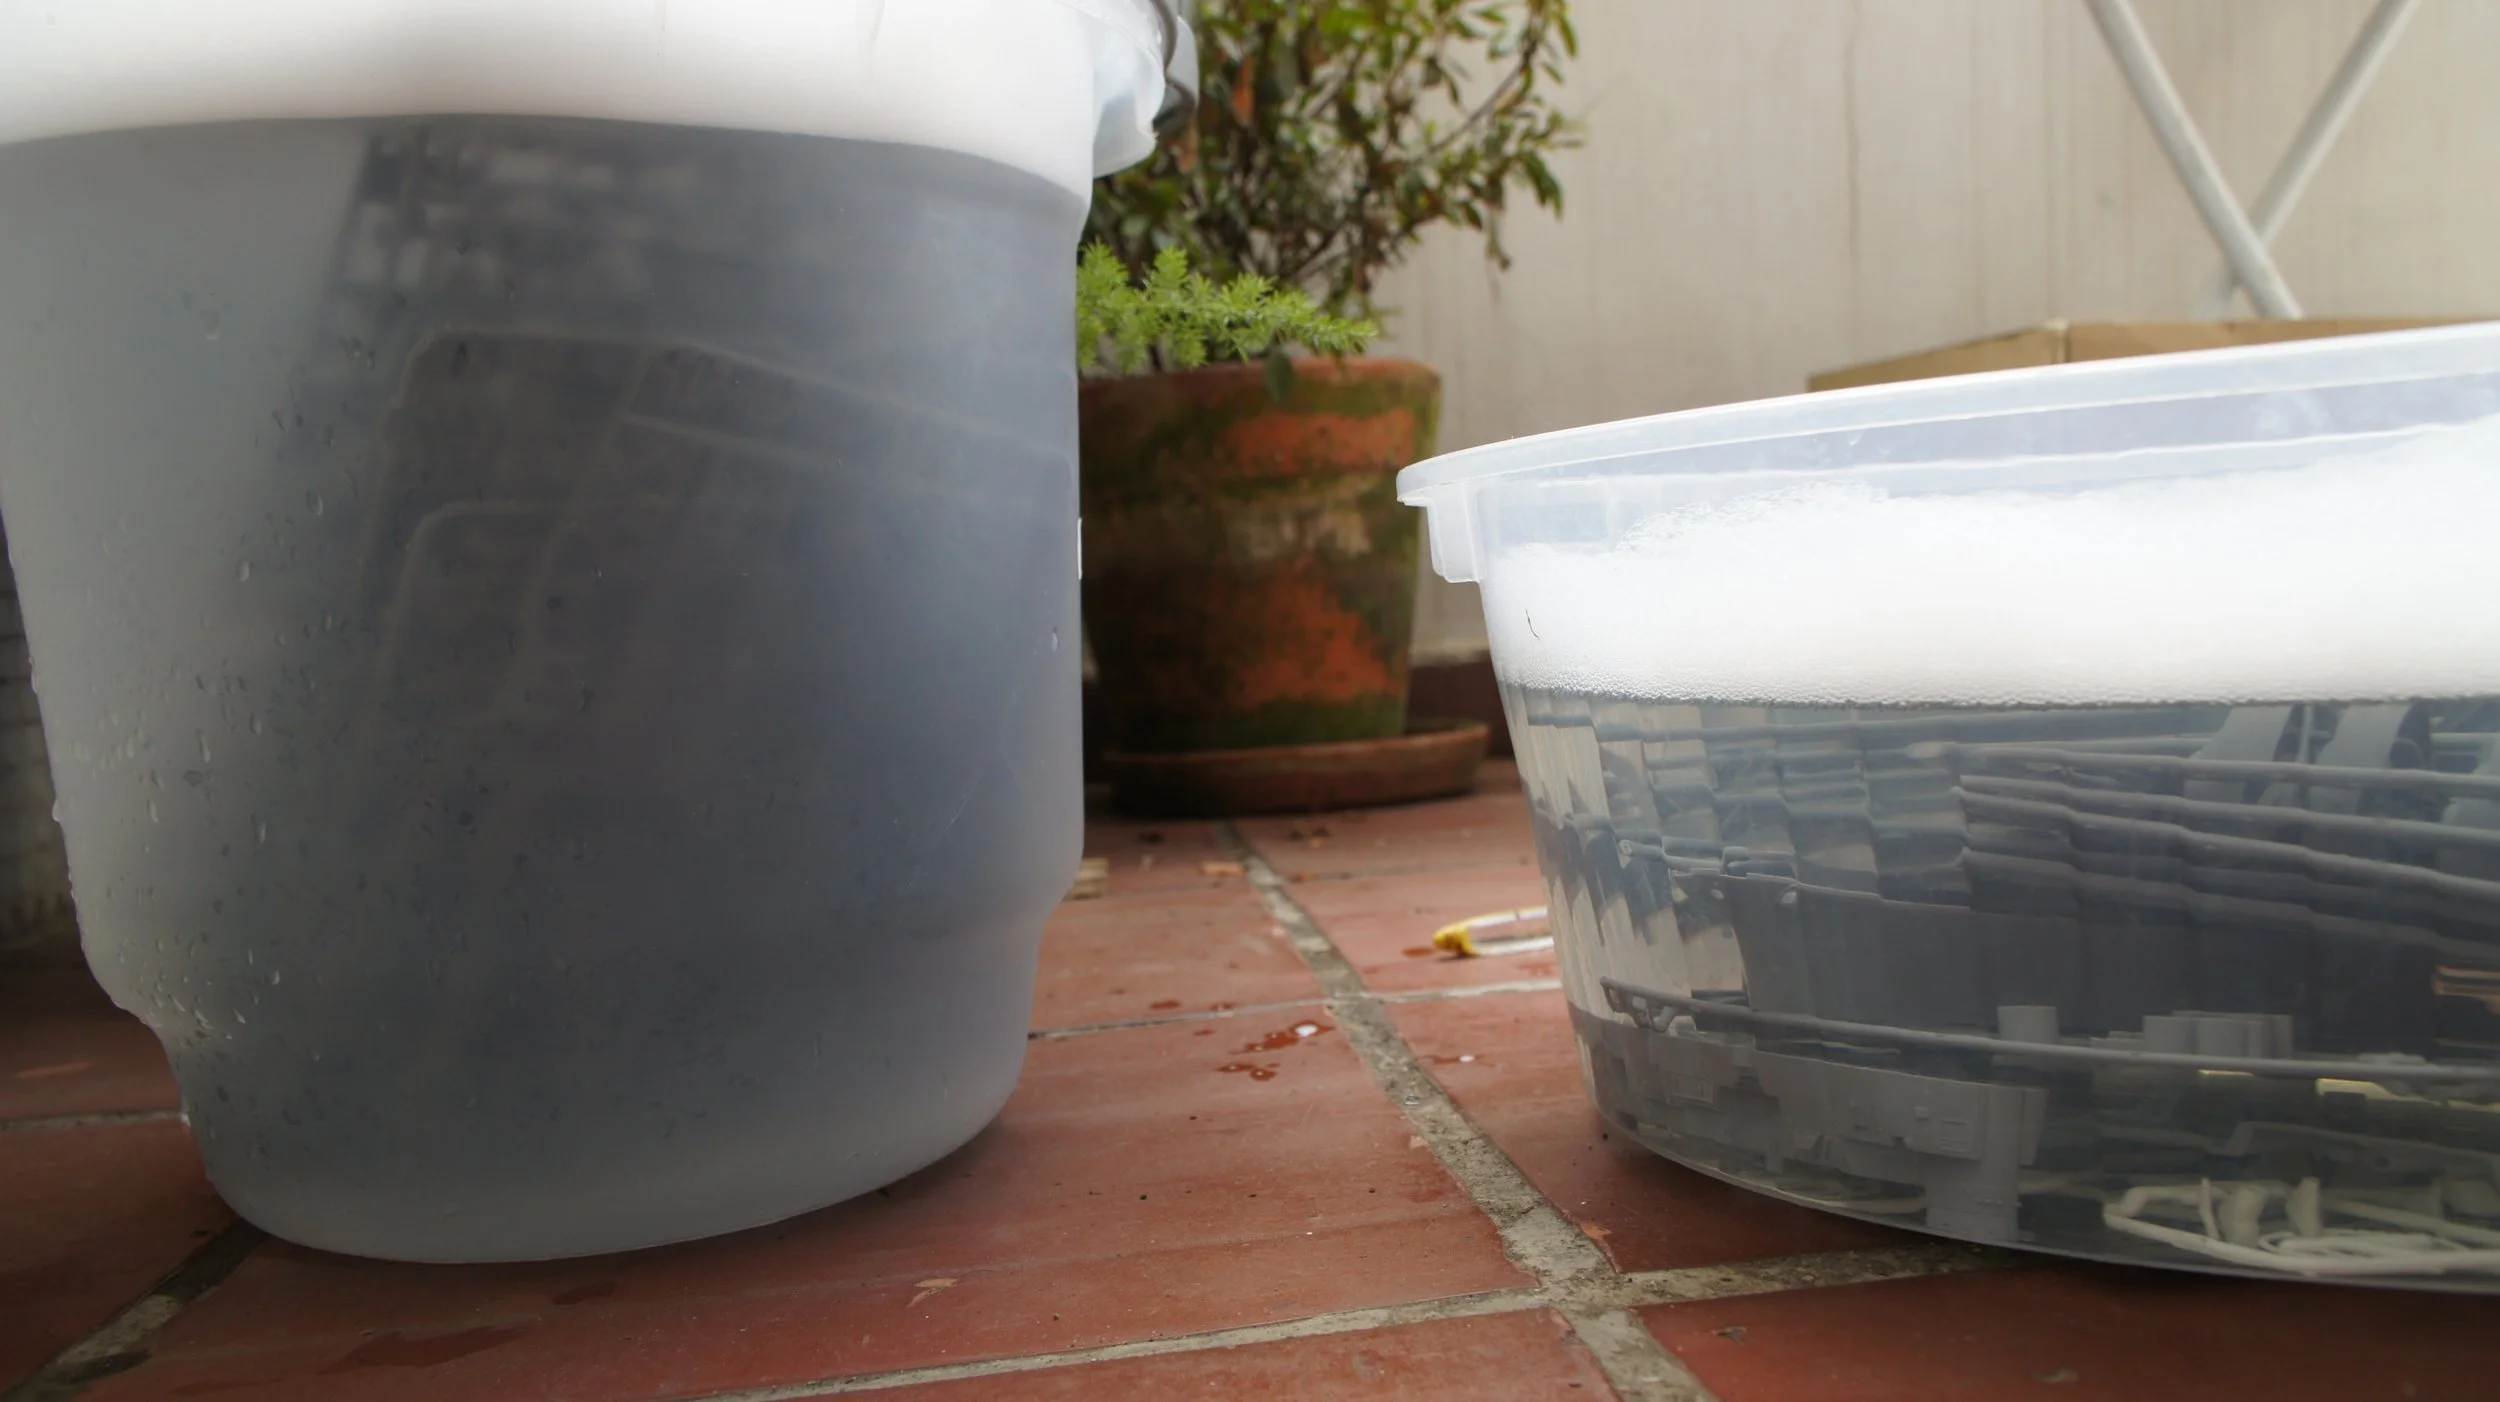
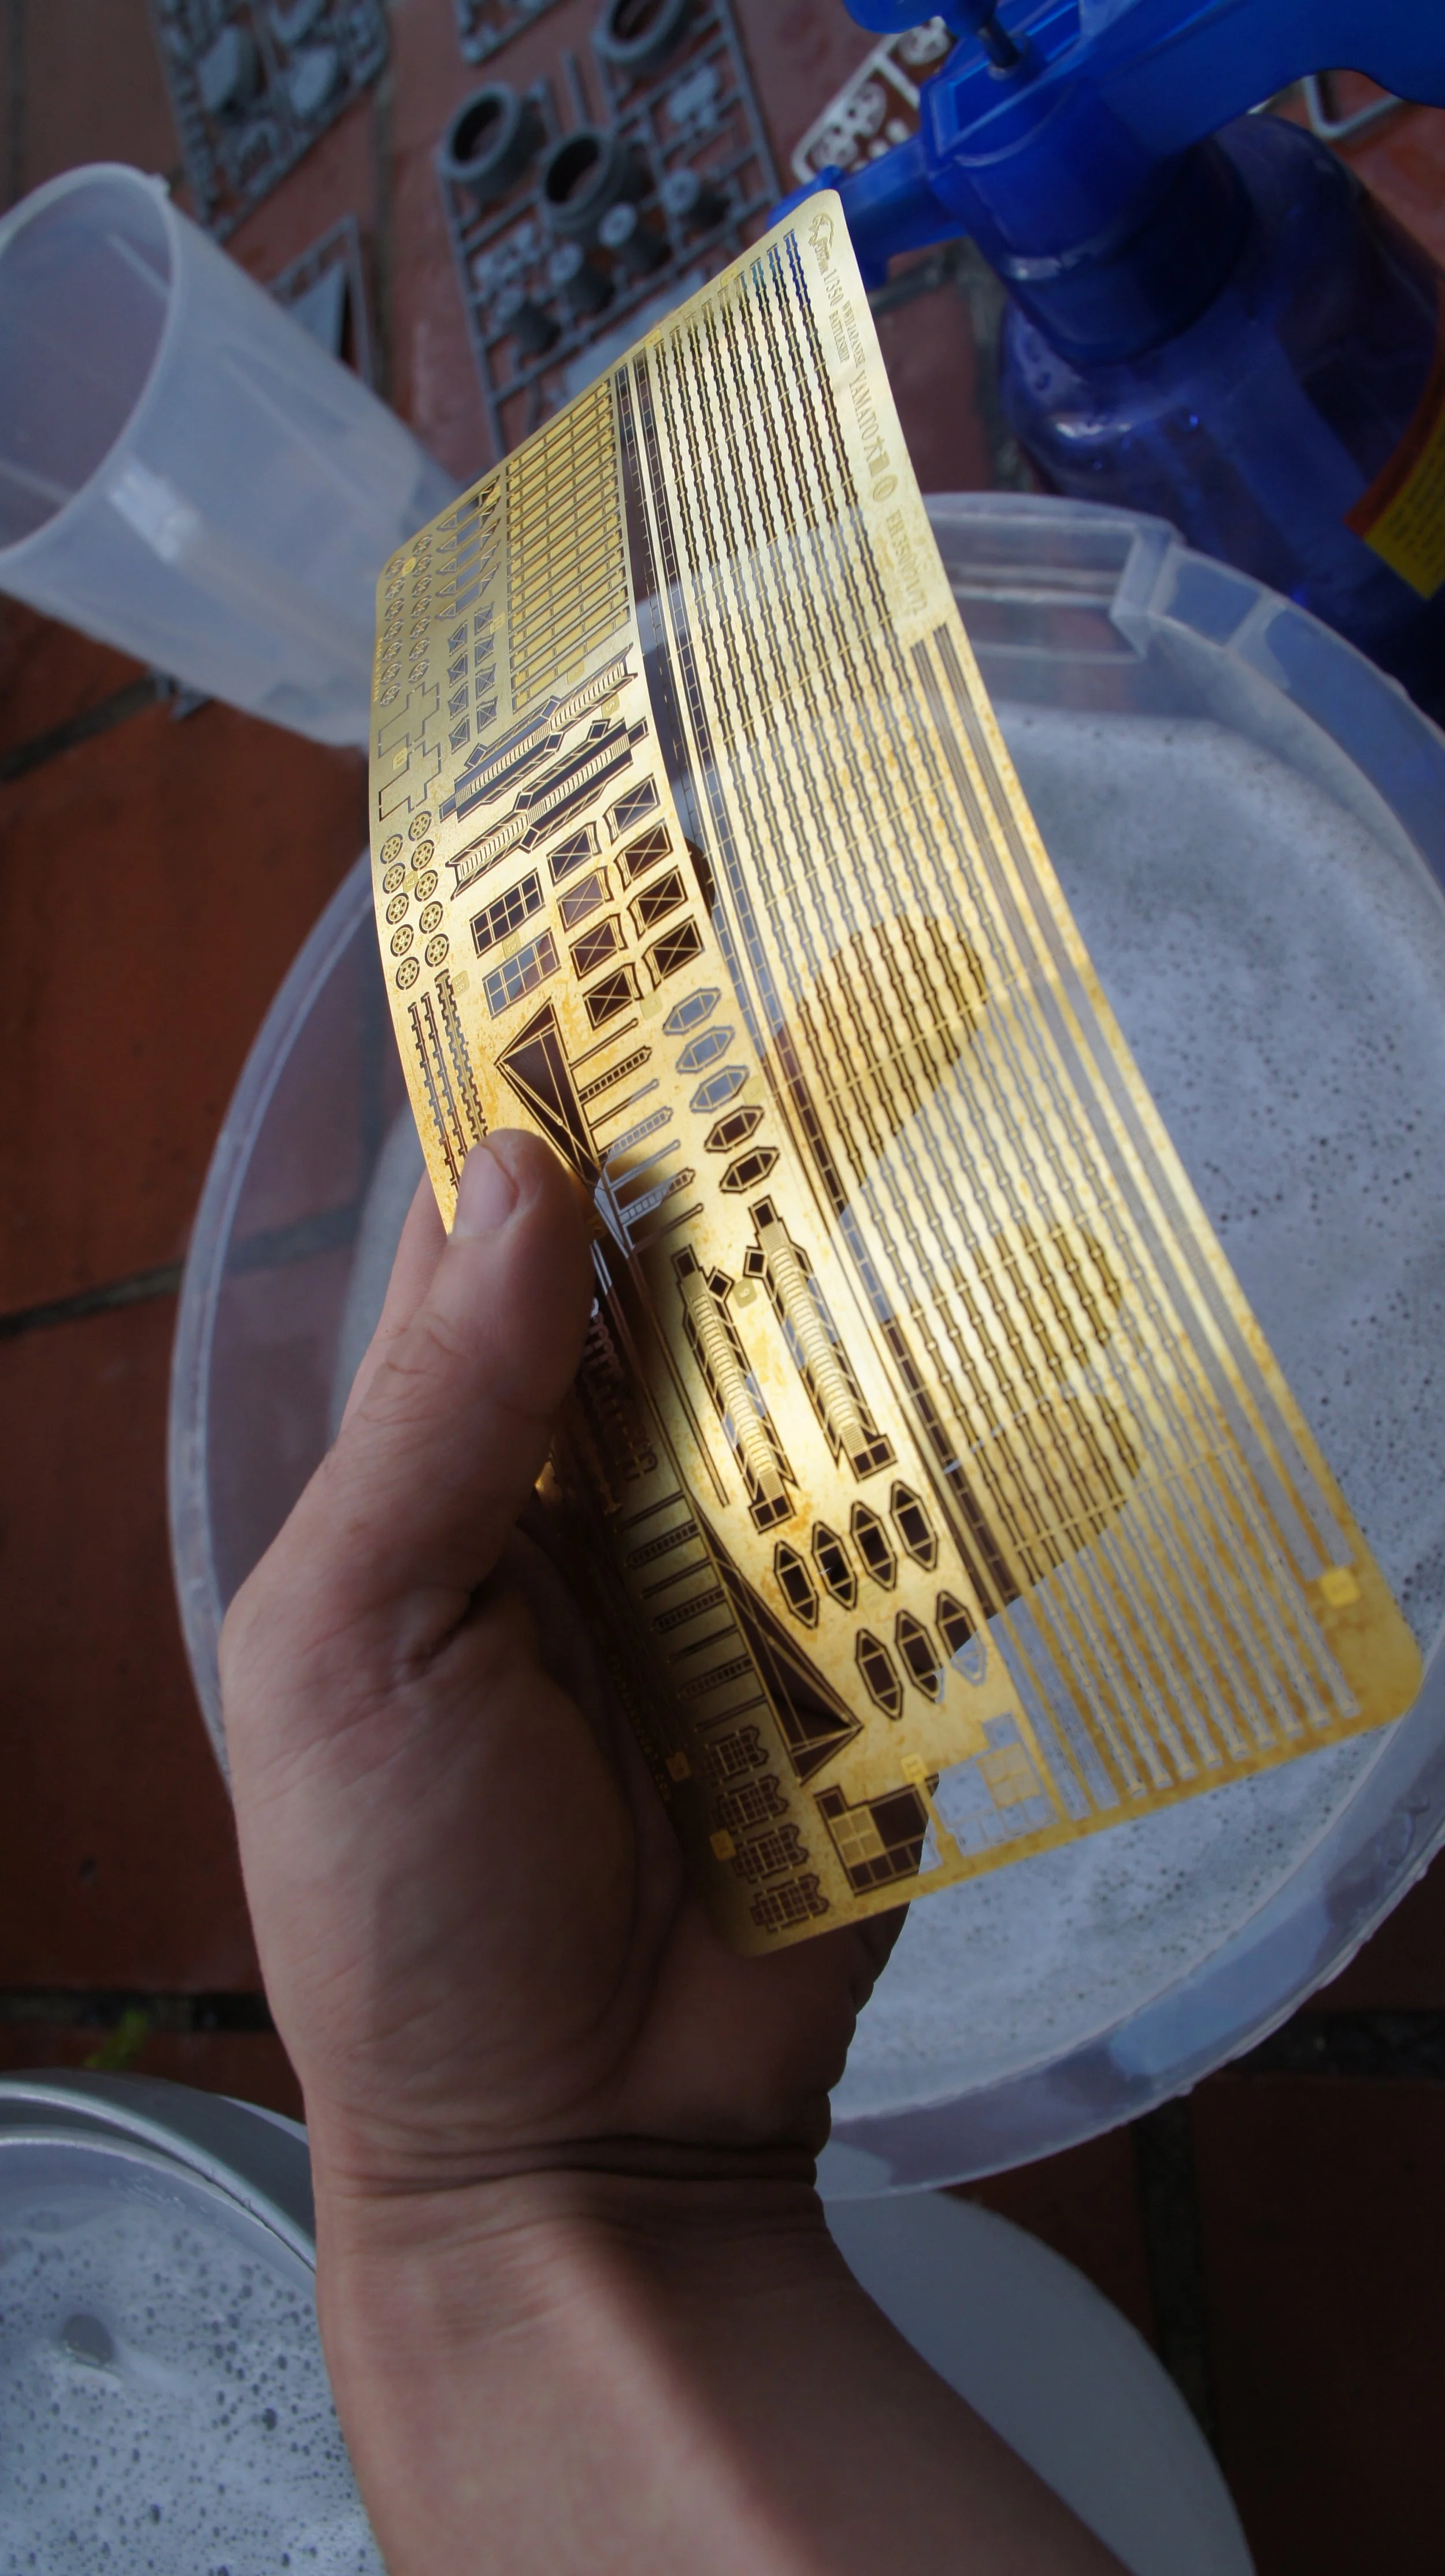
Decontaminating the sprues:
The sprues are treated with a chemical to release them from the molds, so it's important to wash them very thoroughly so the paint doesn't peel off the surfaces.
The Battleship:
Hull:
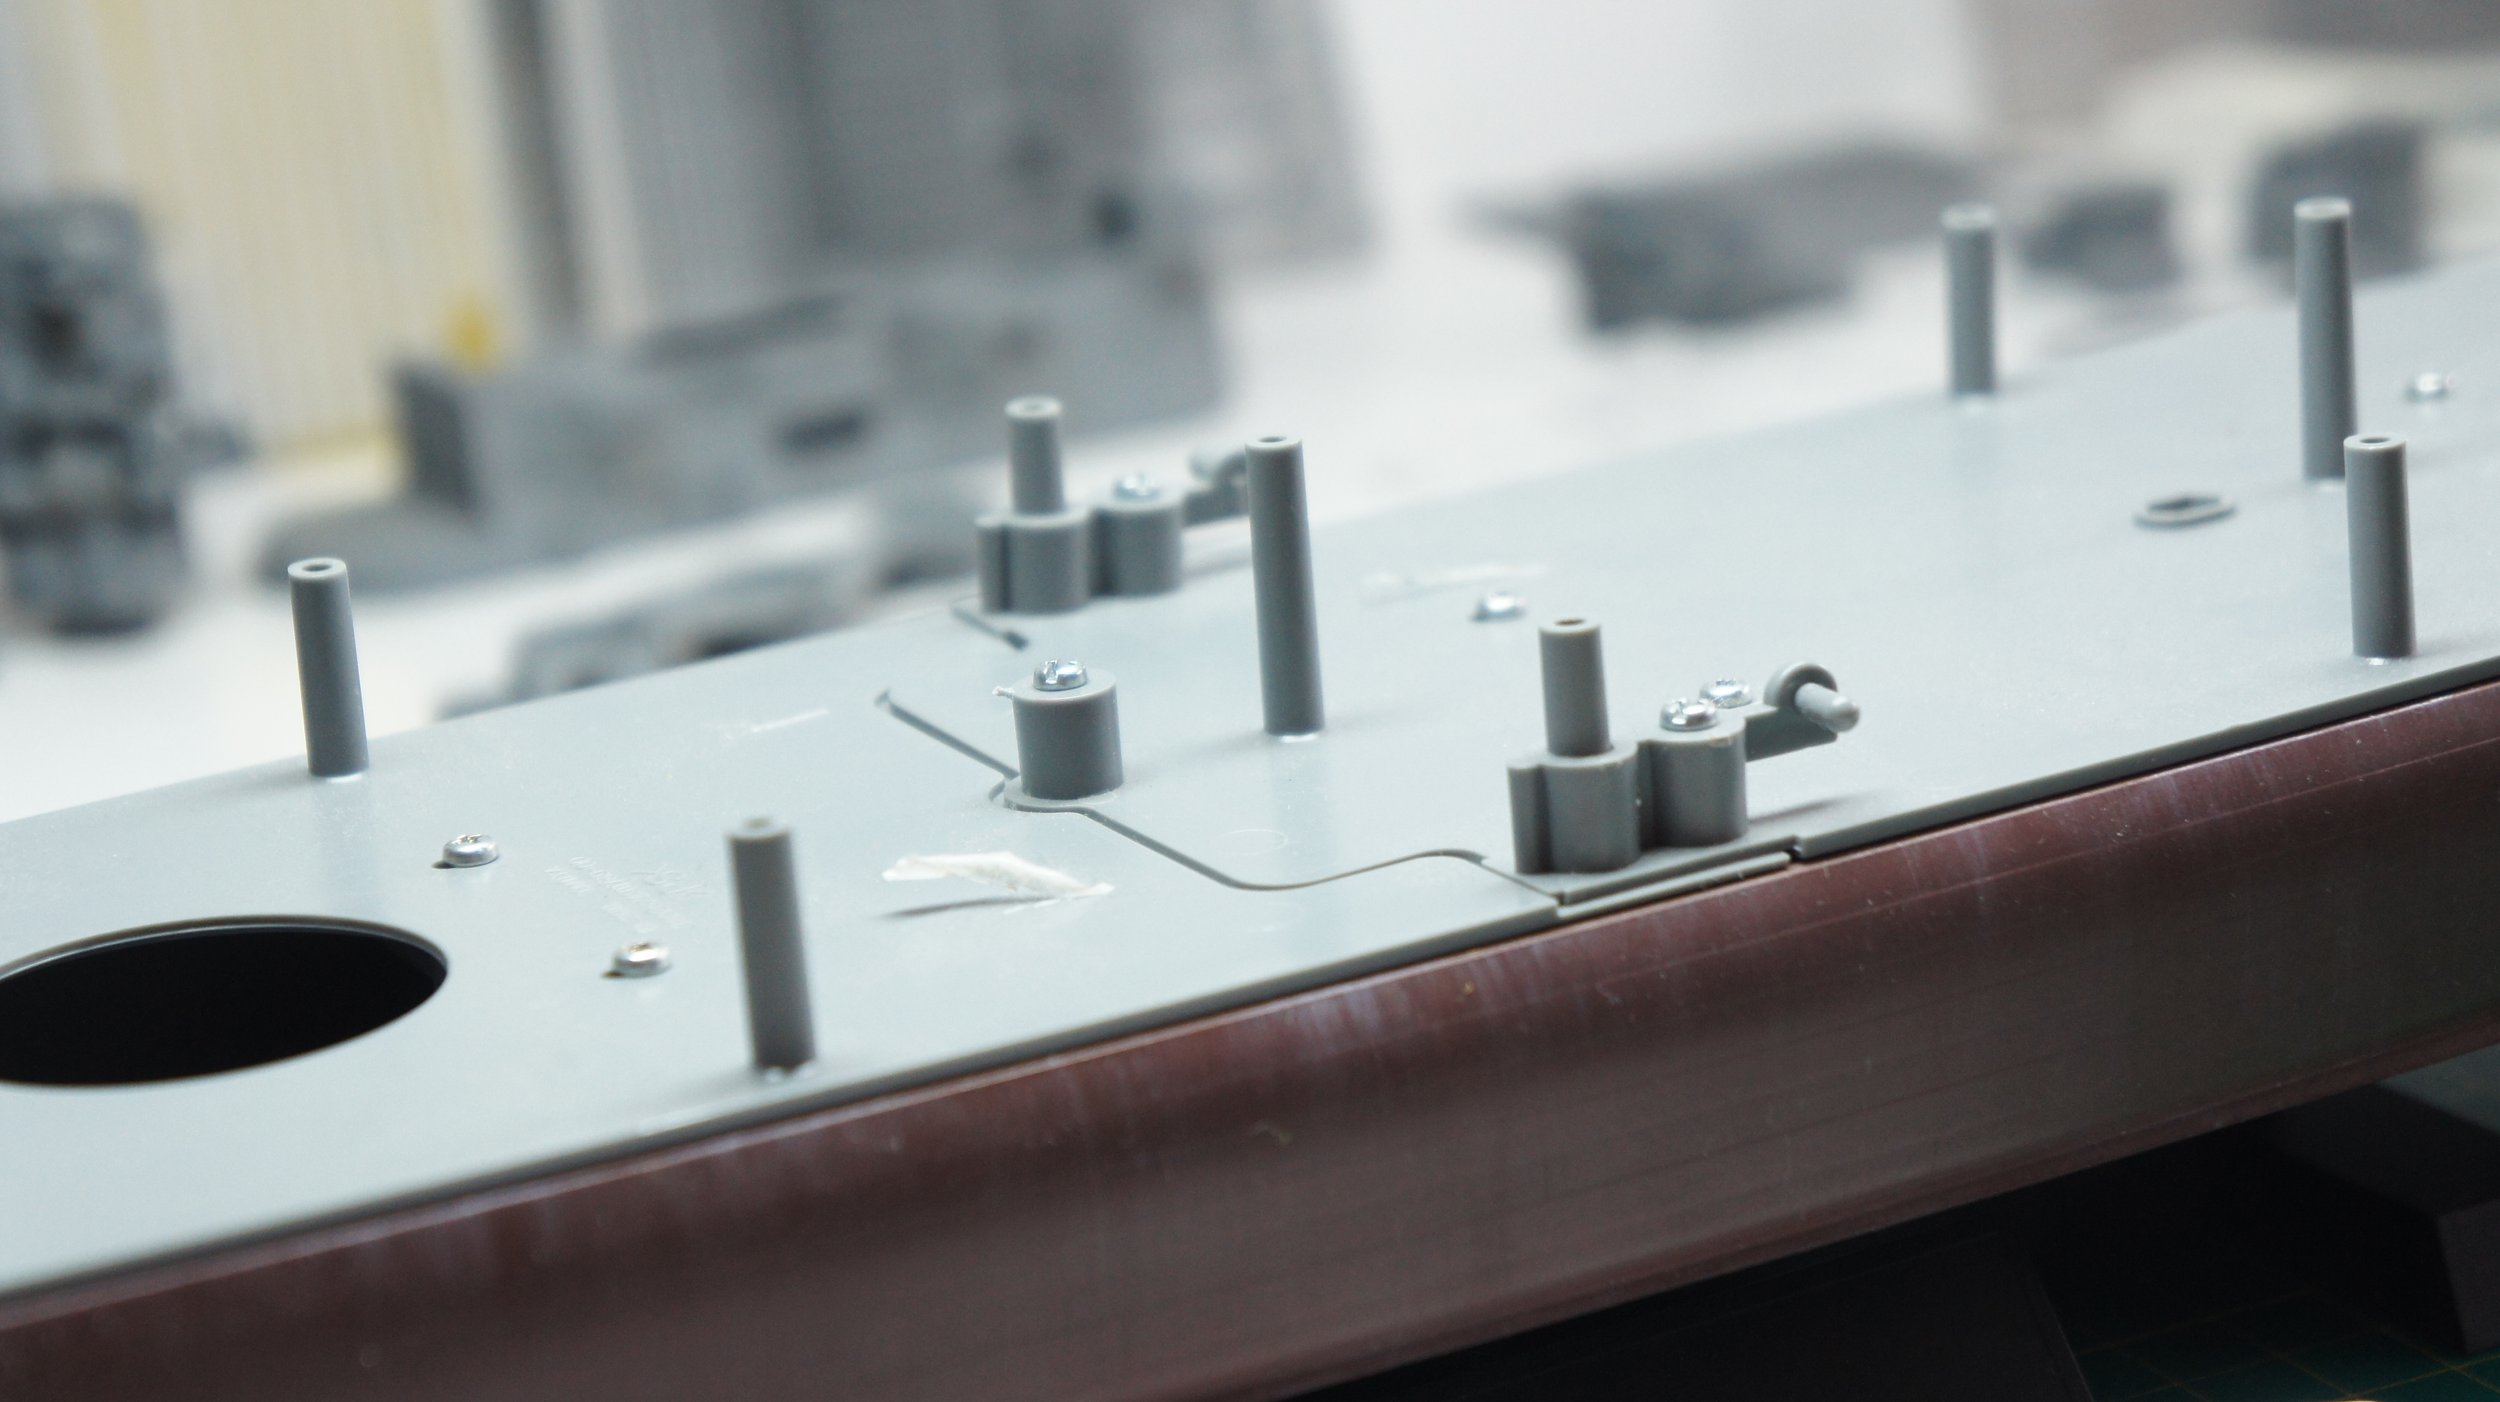
Lowerpart
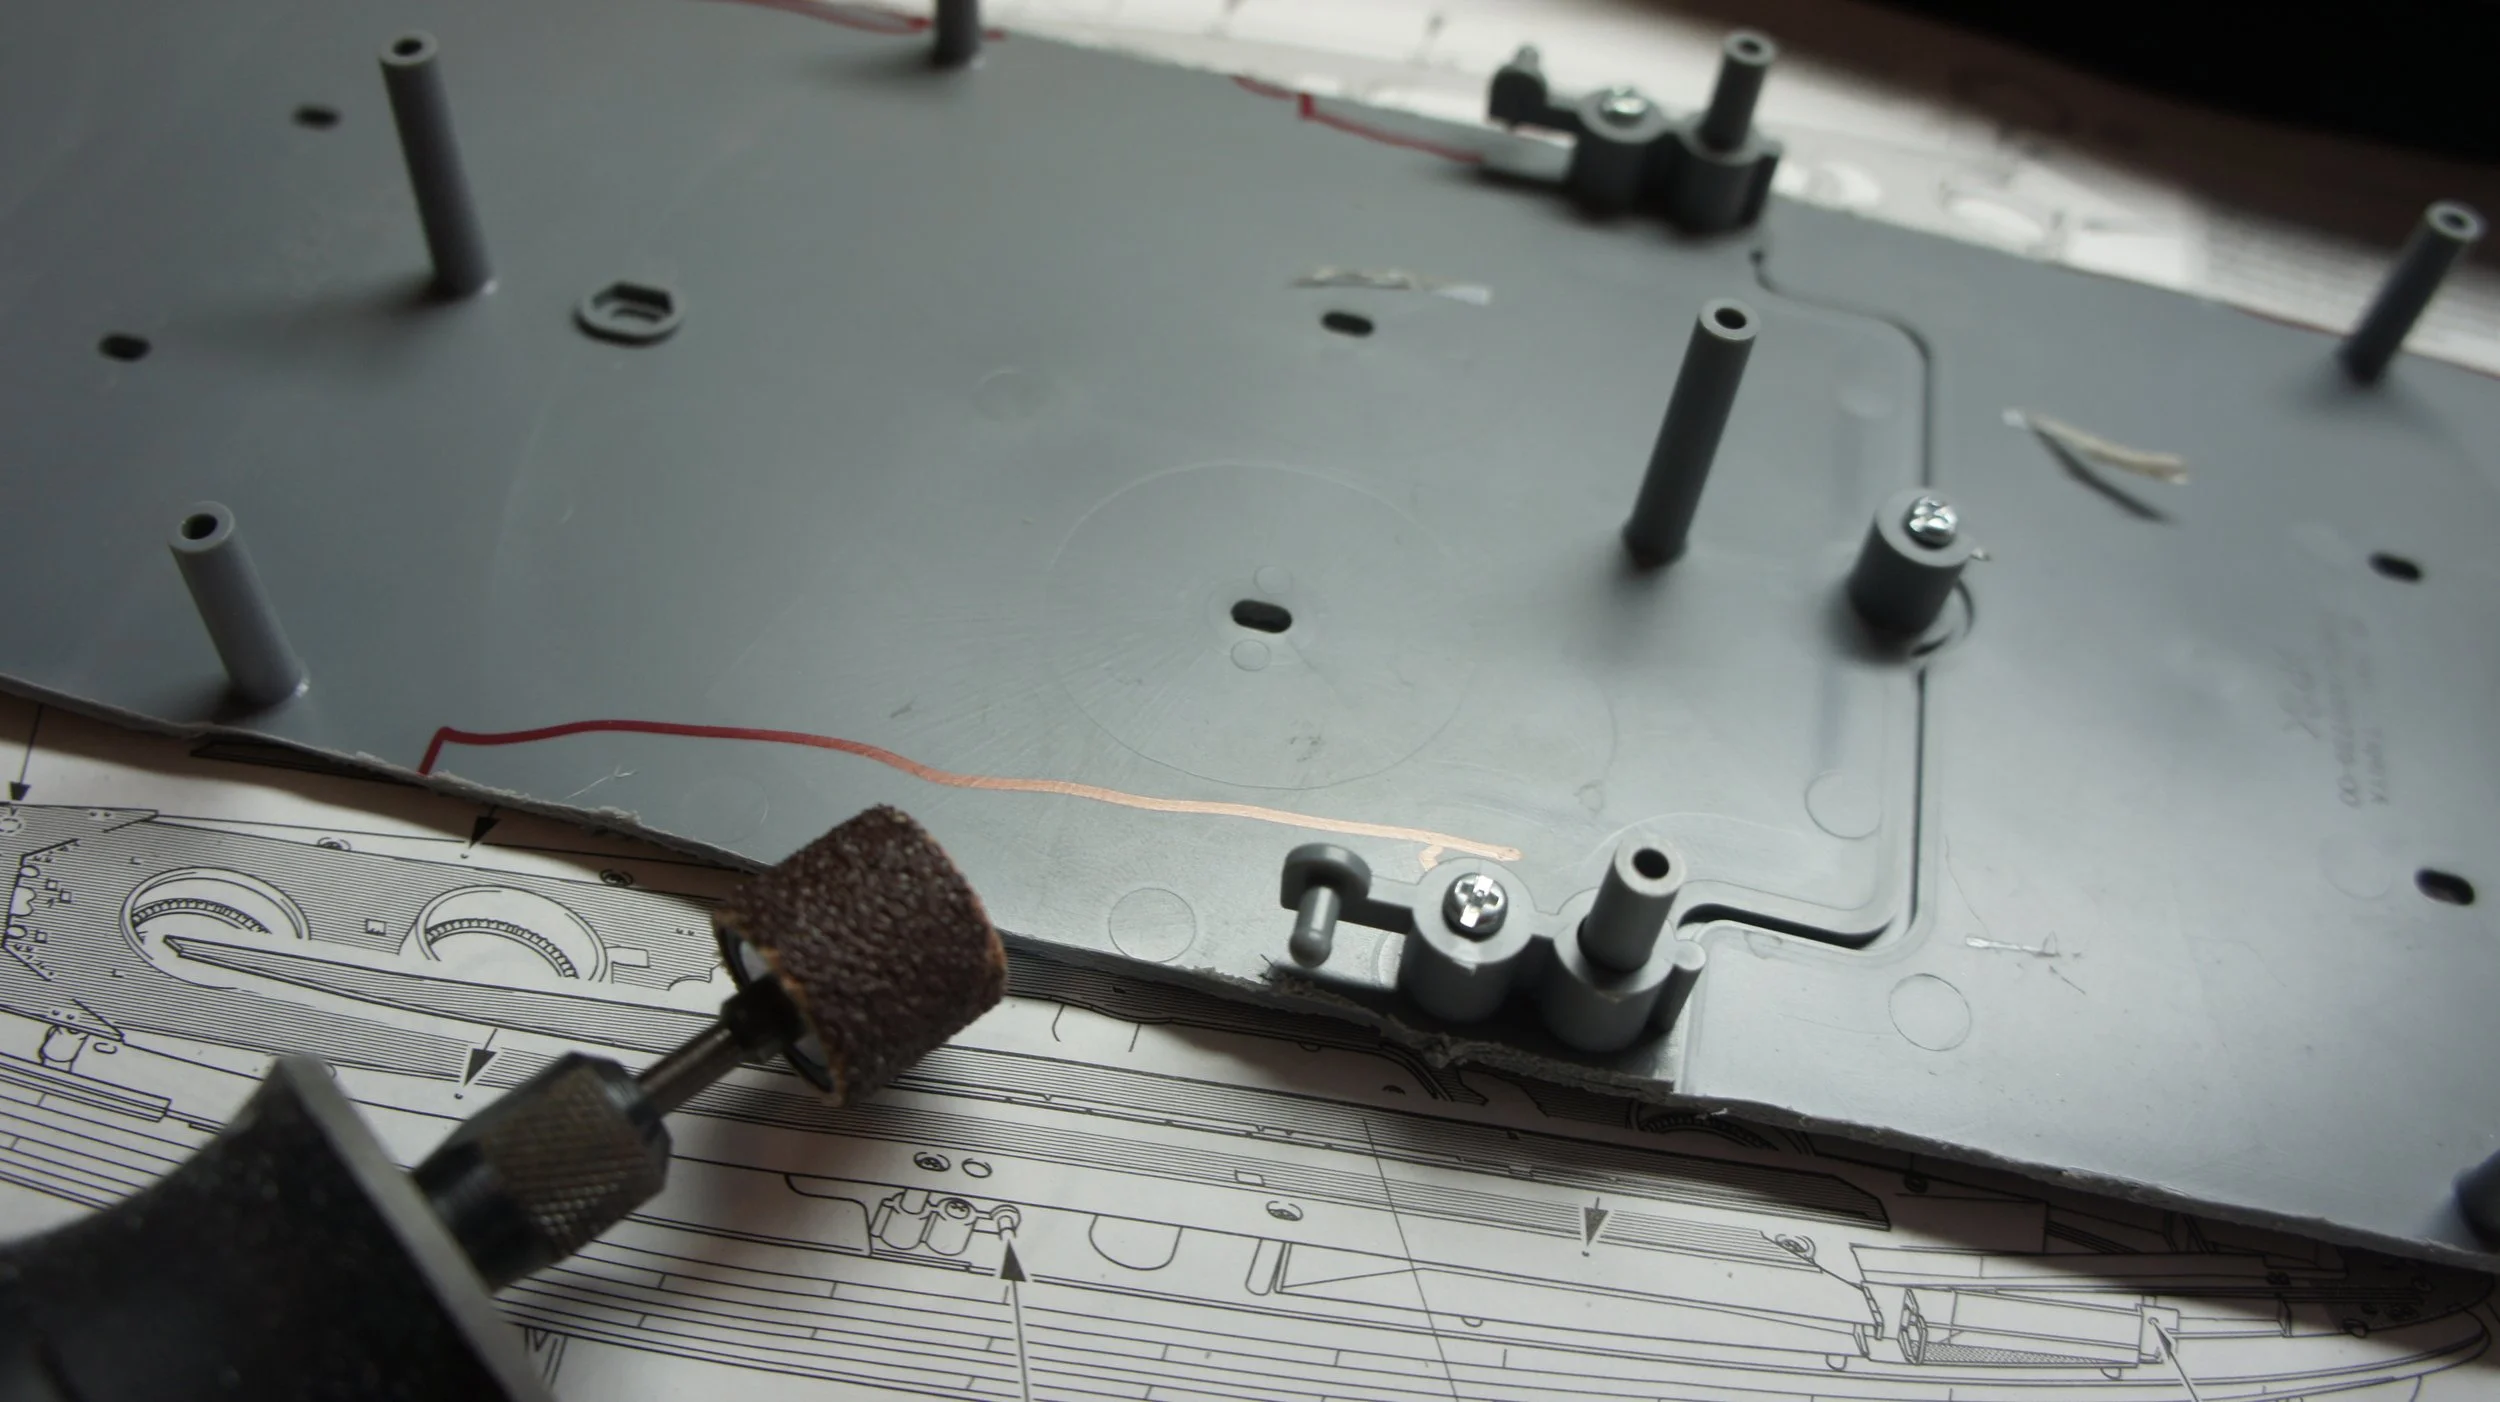
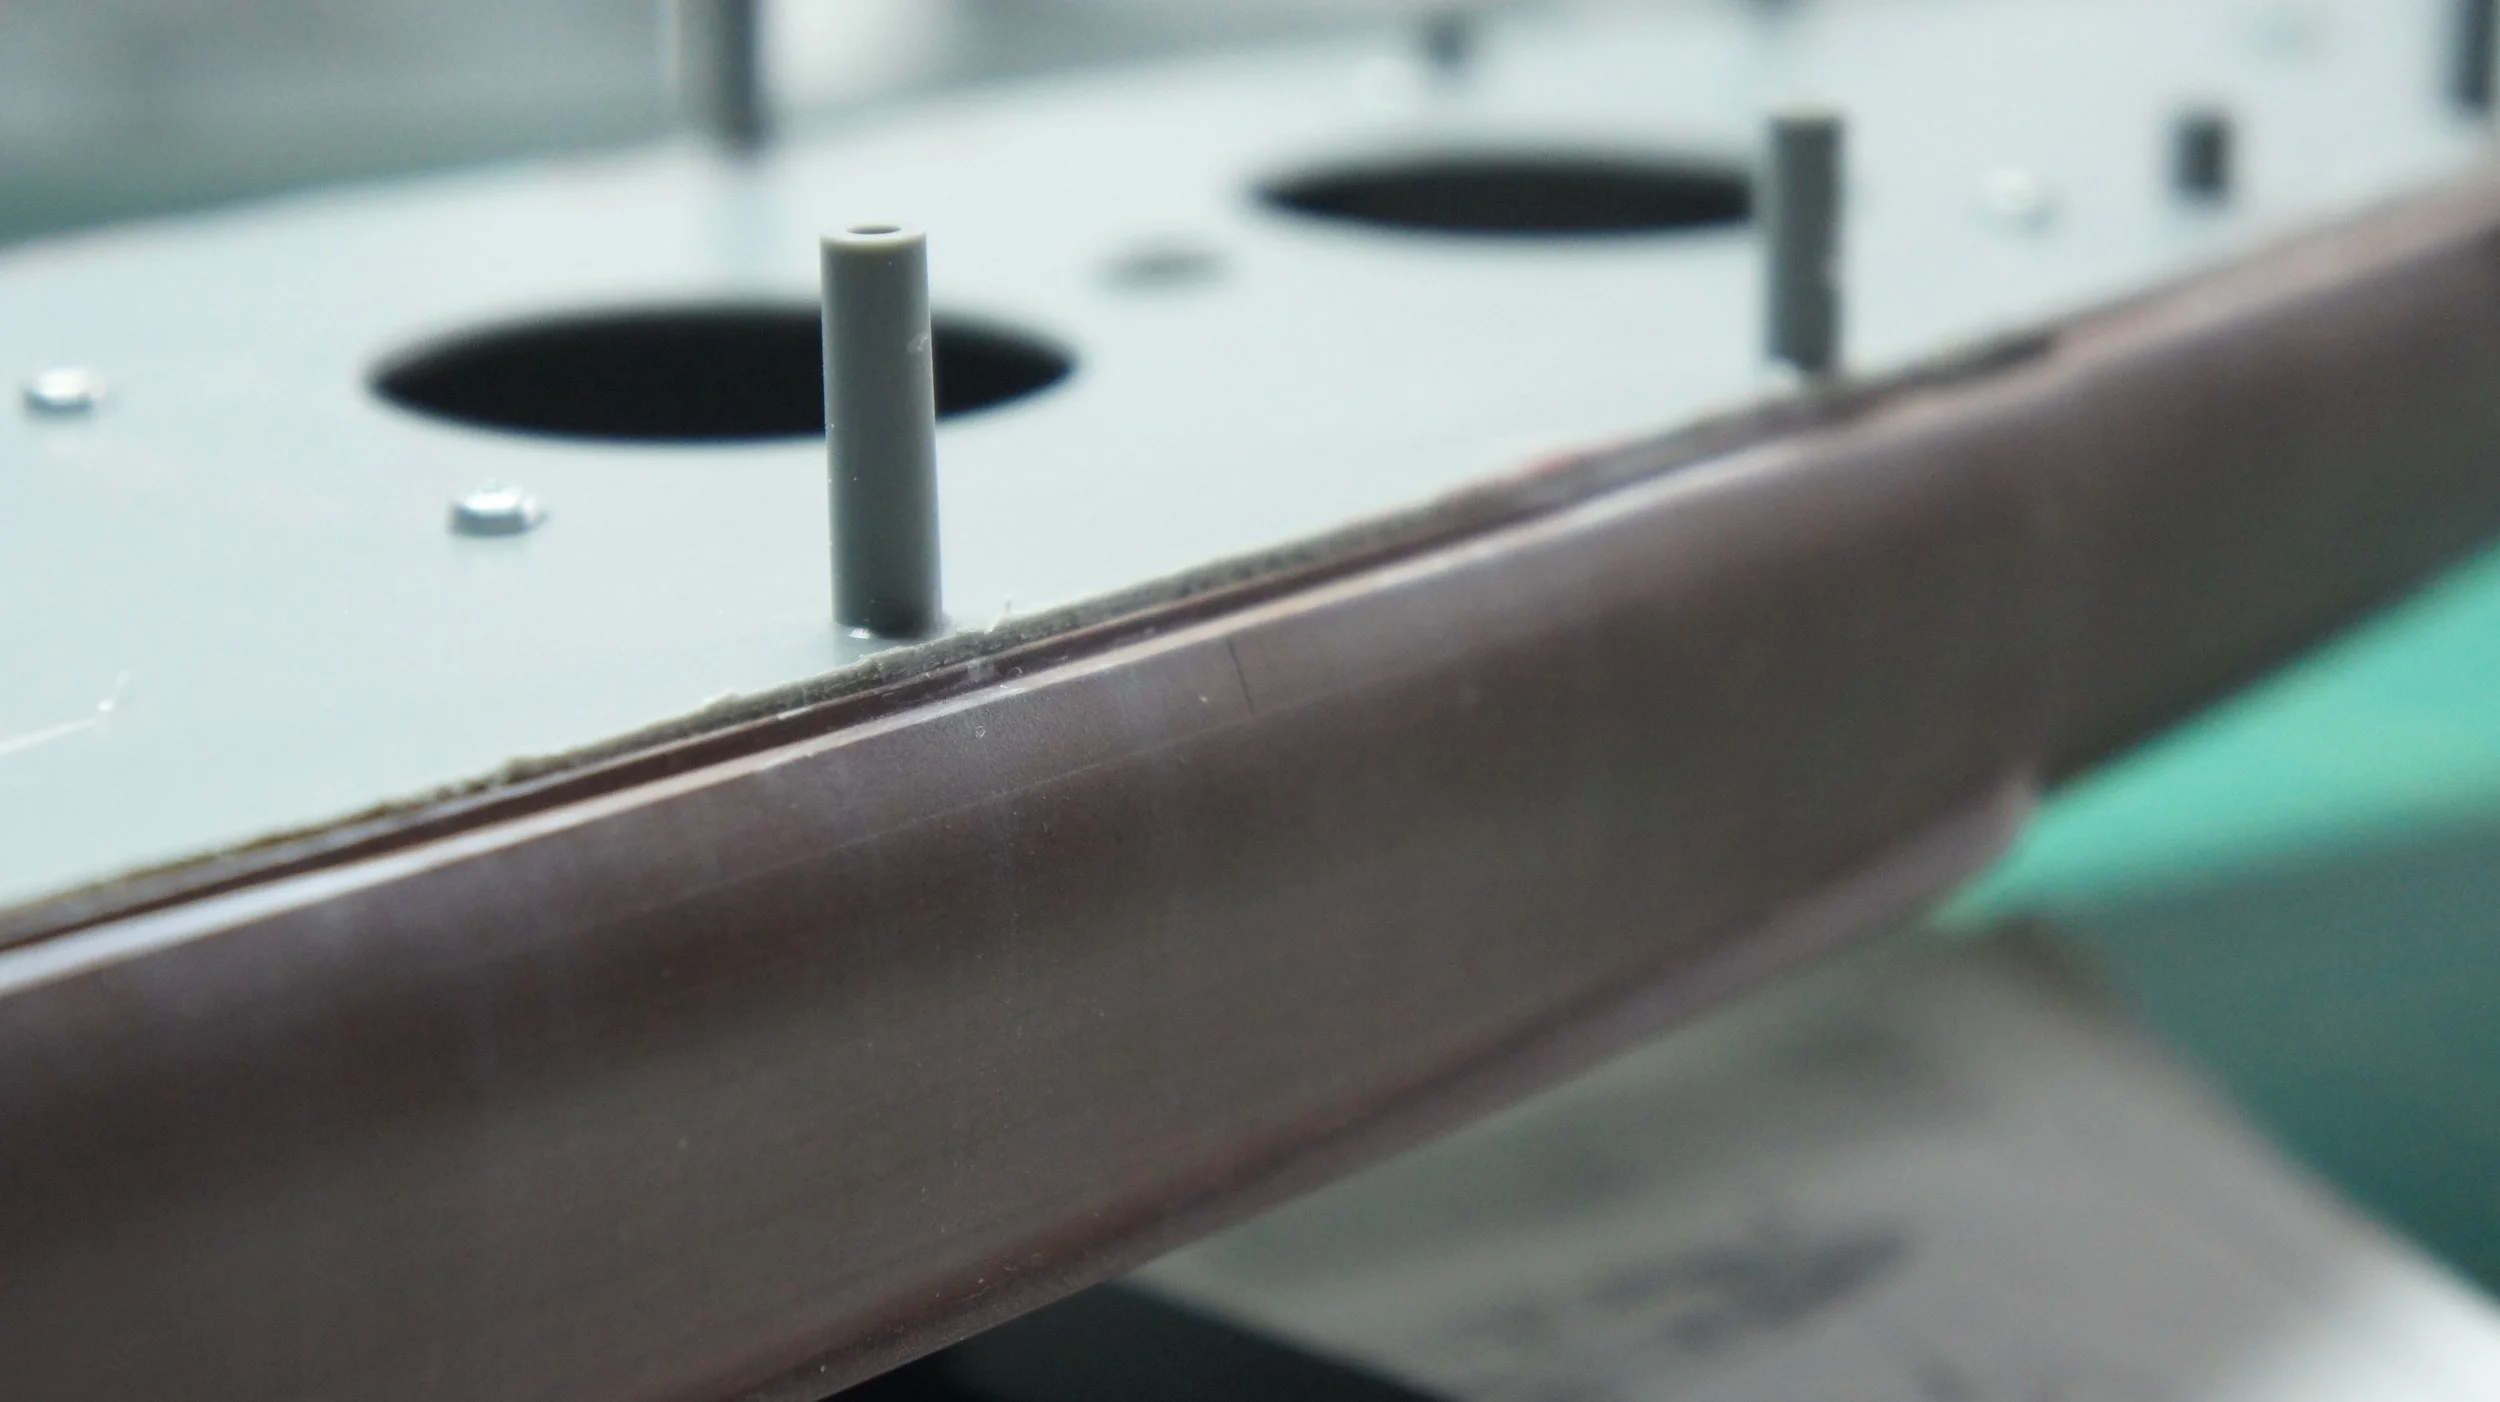
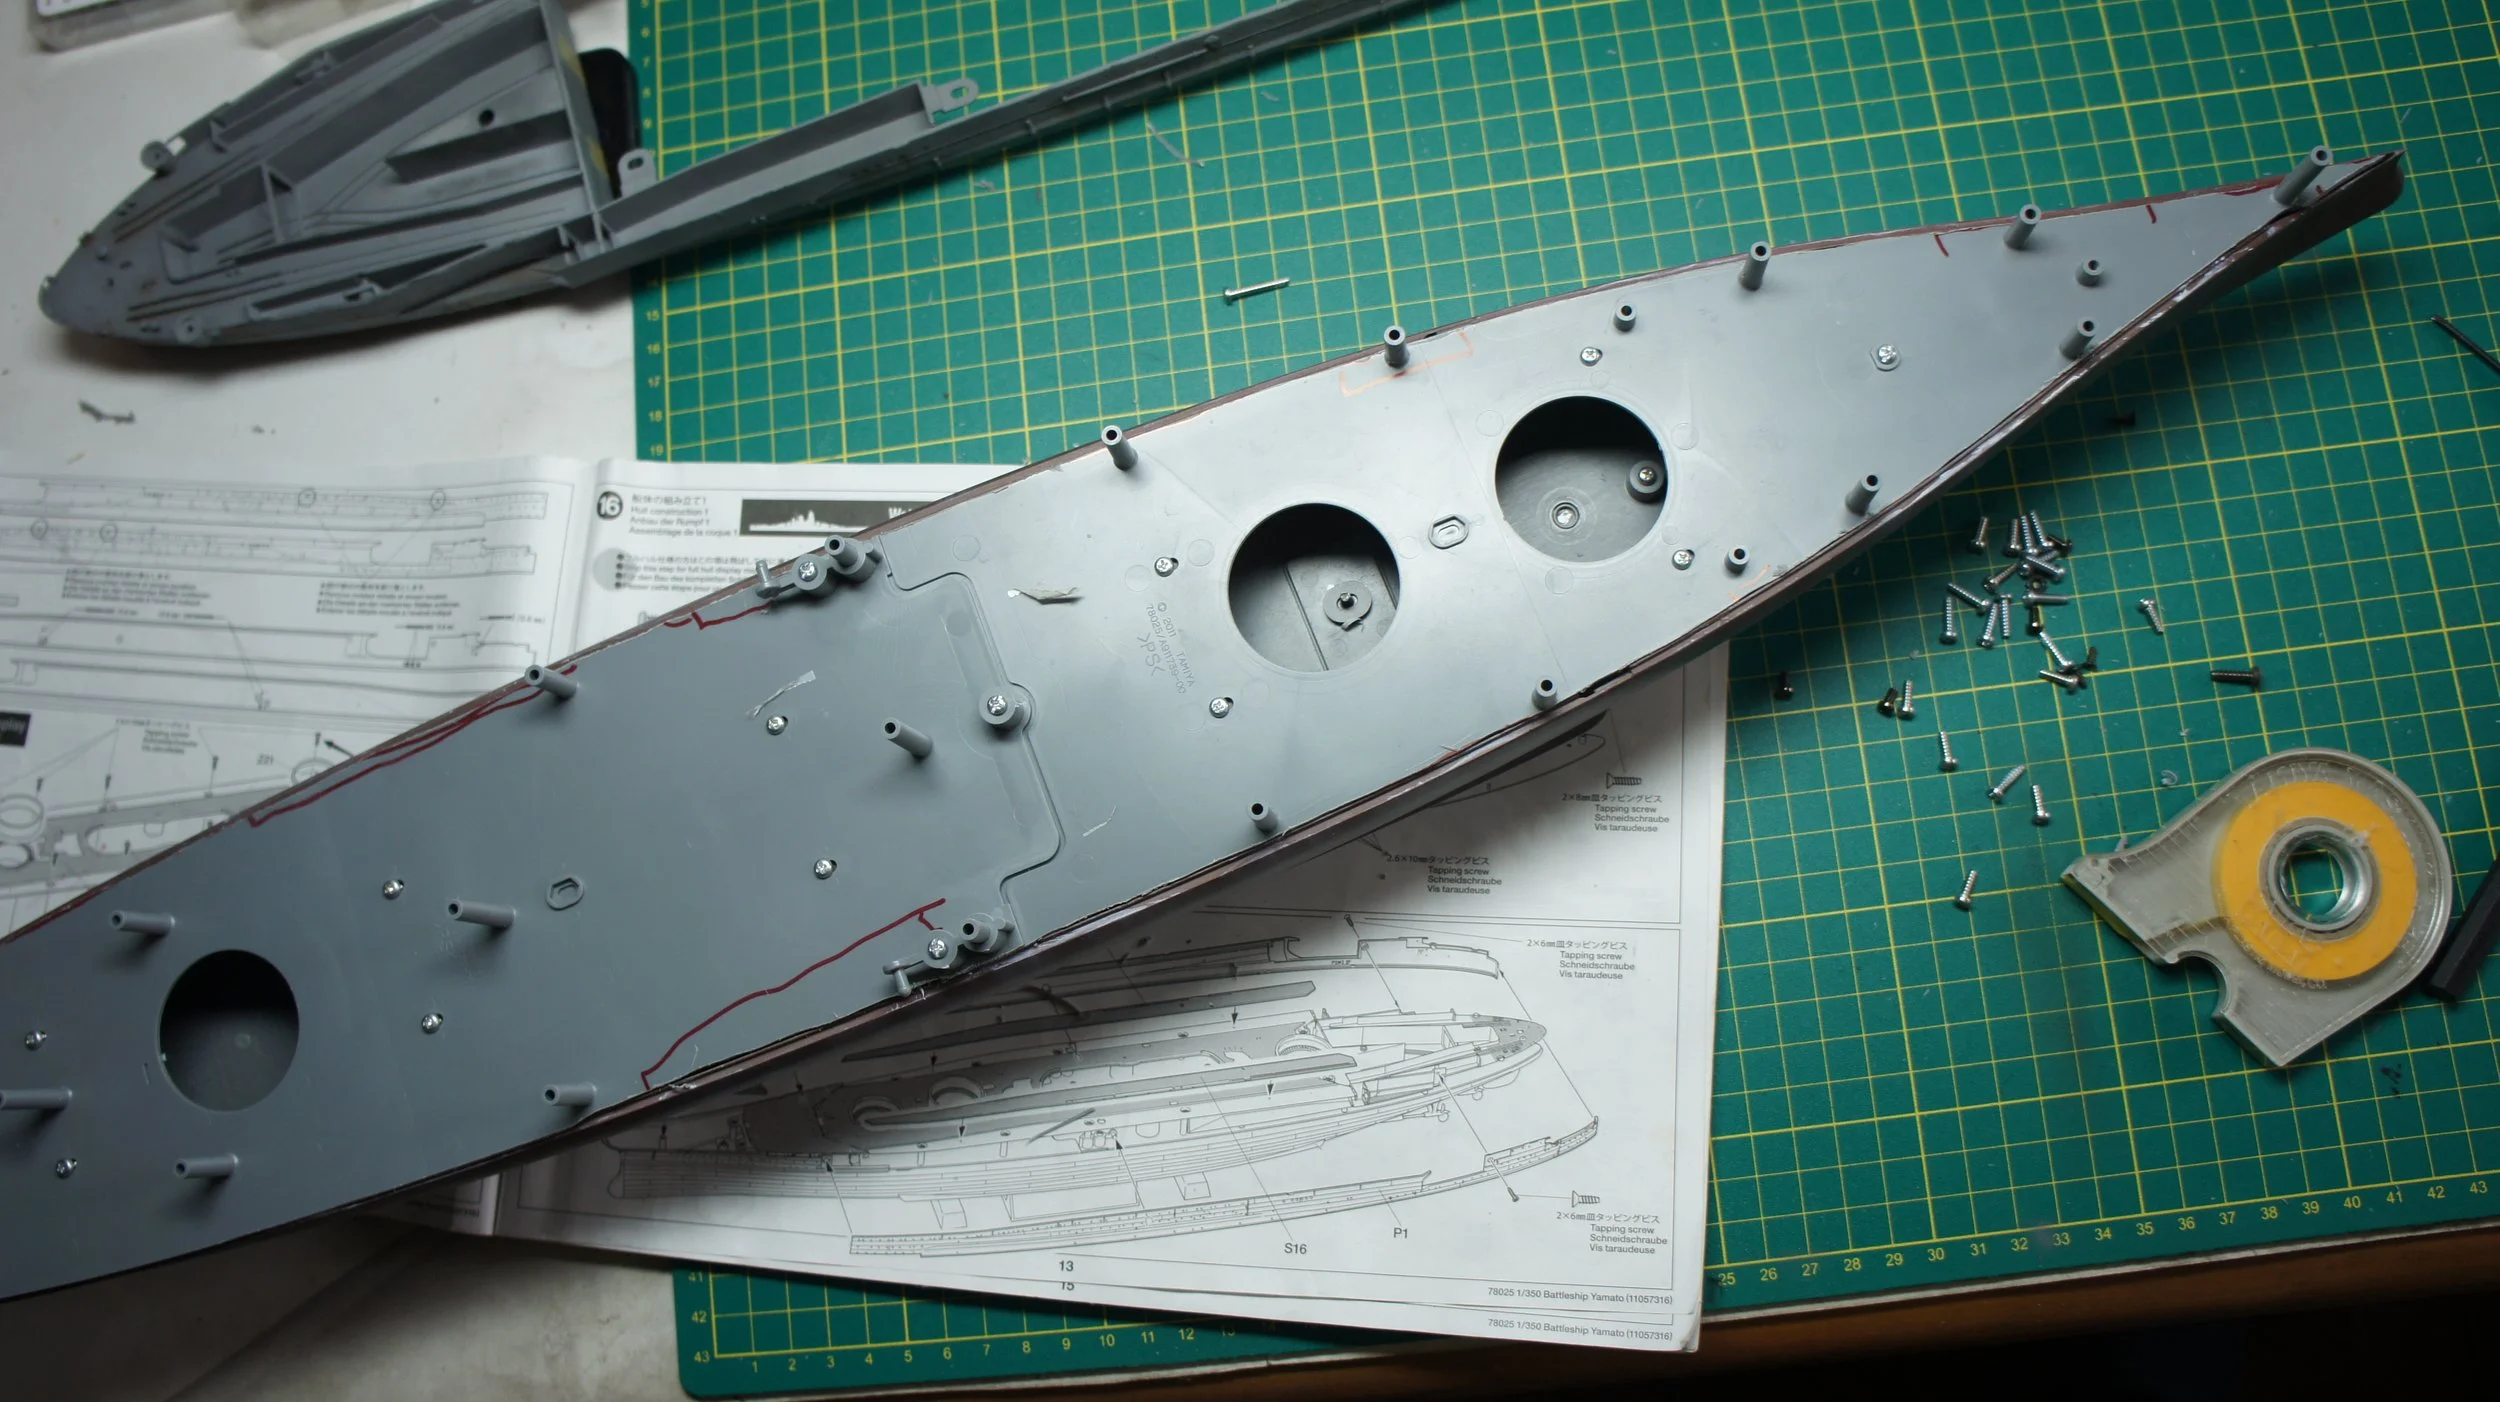
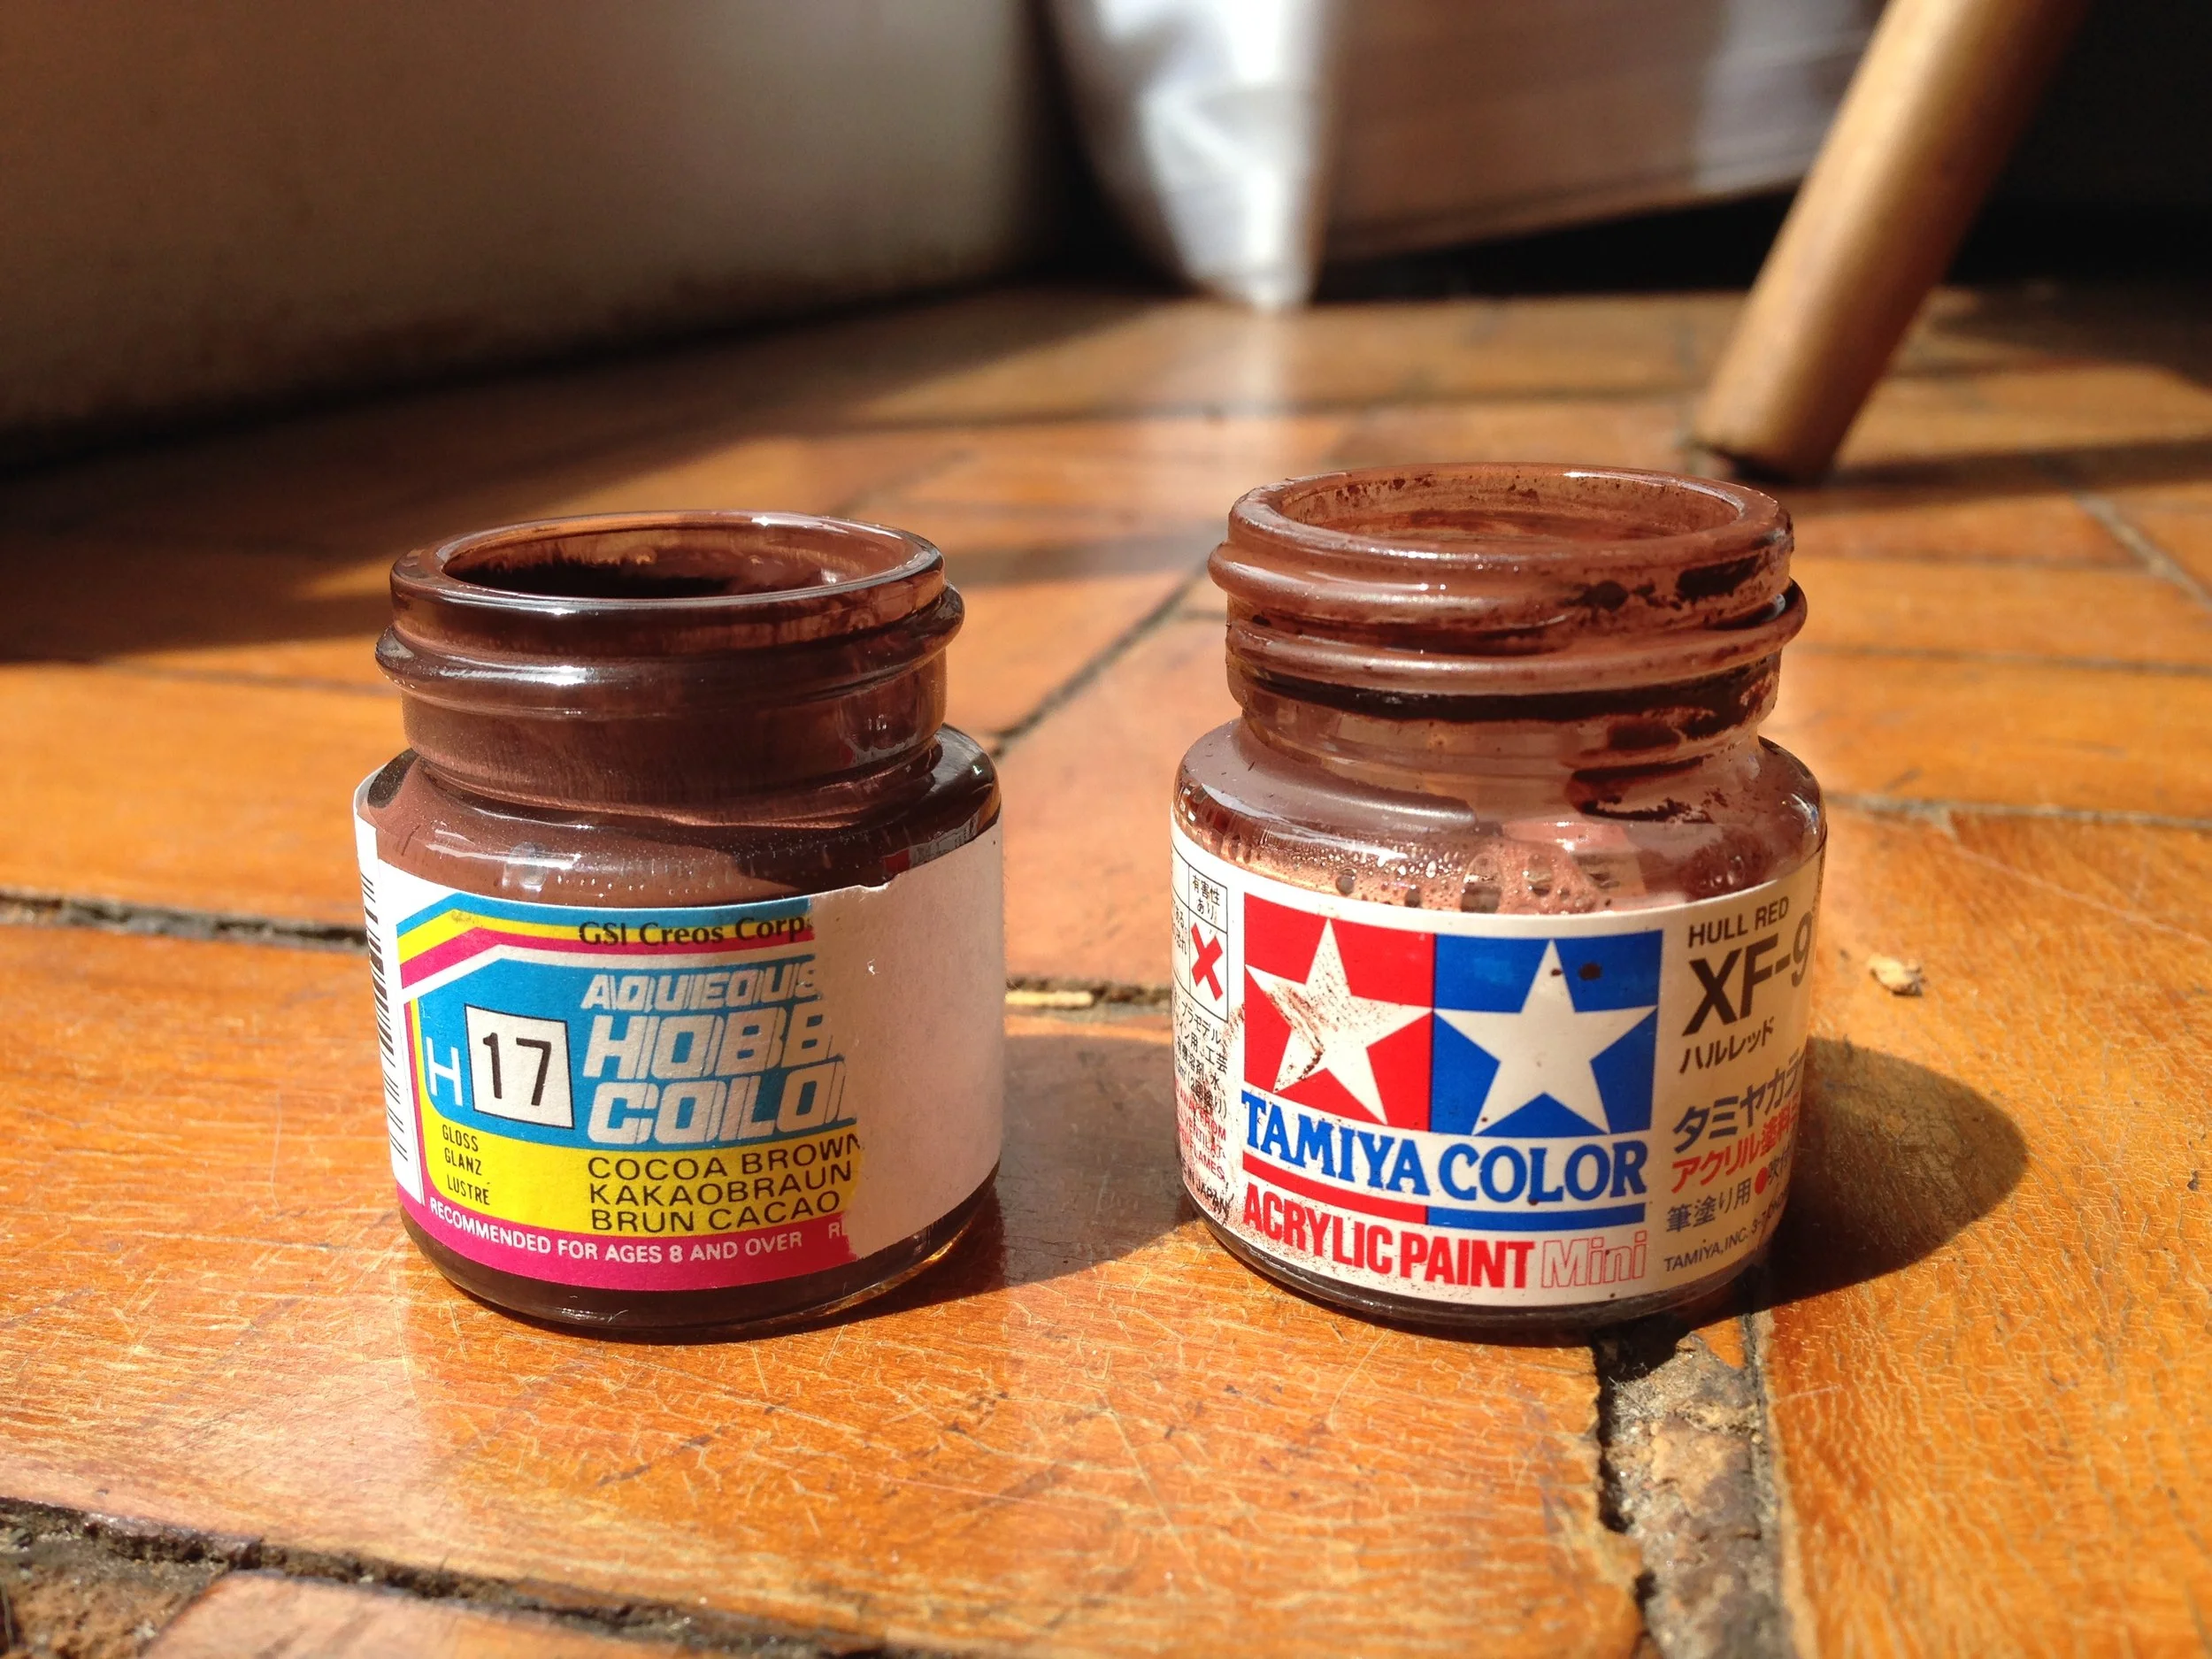
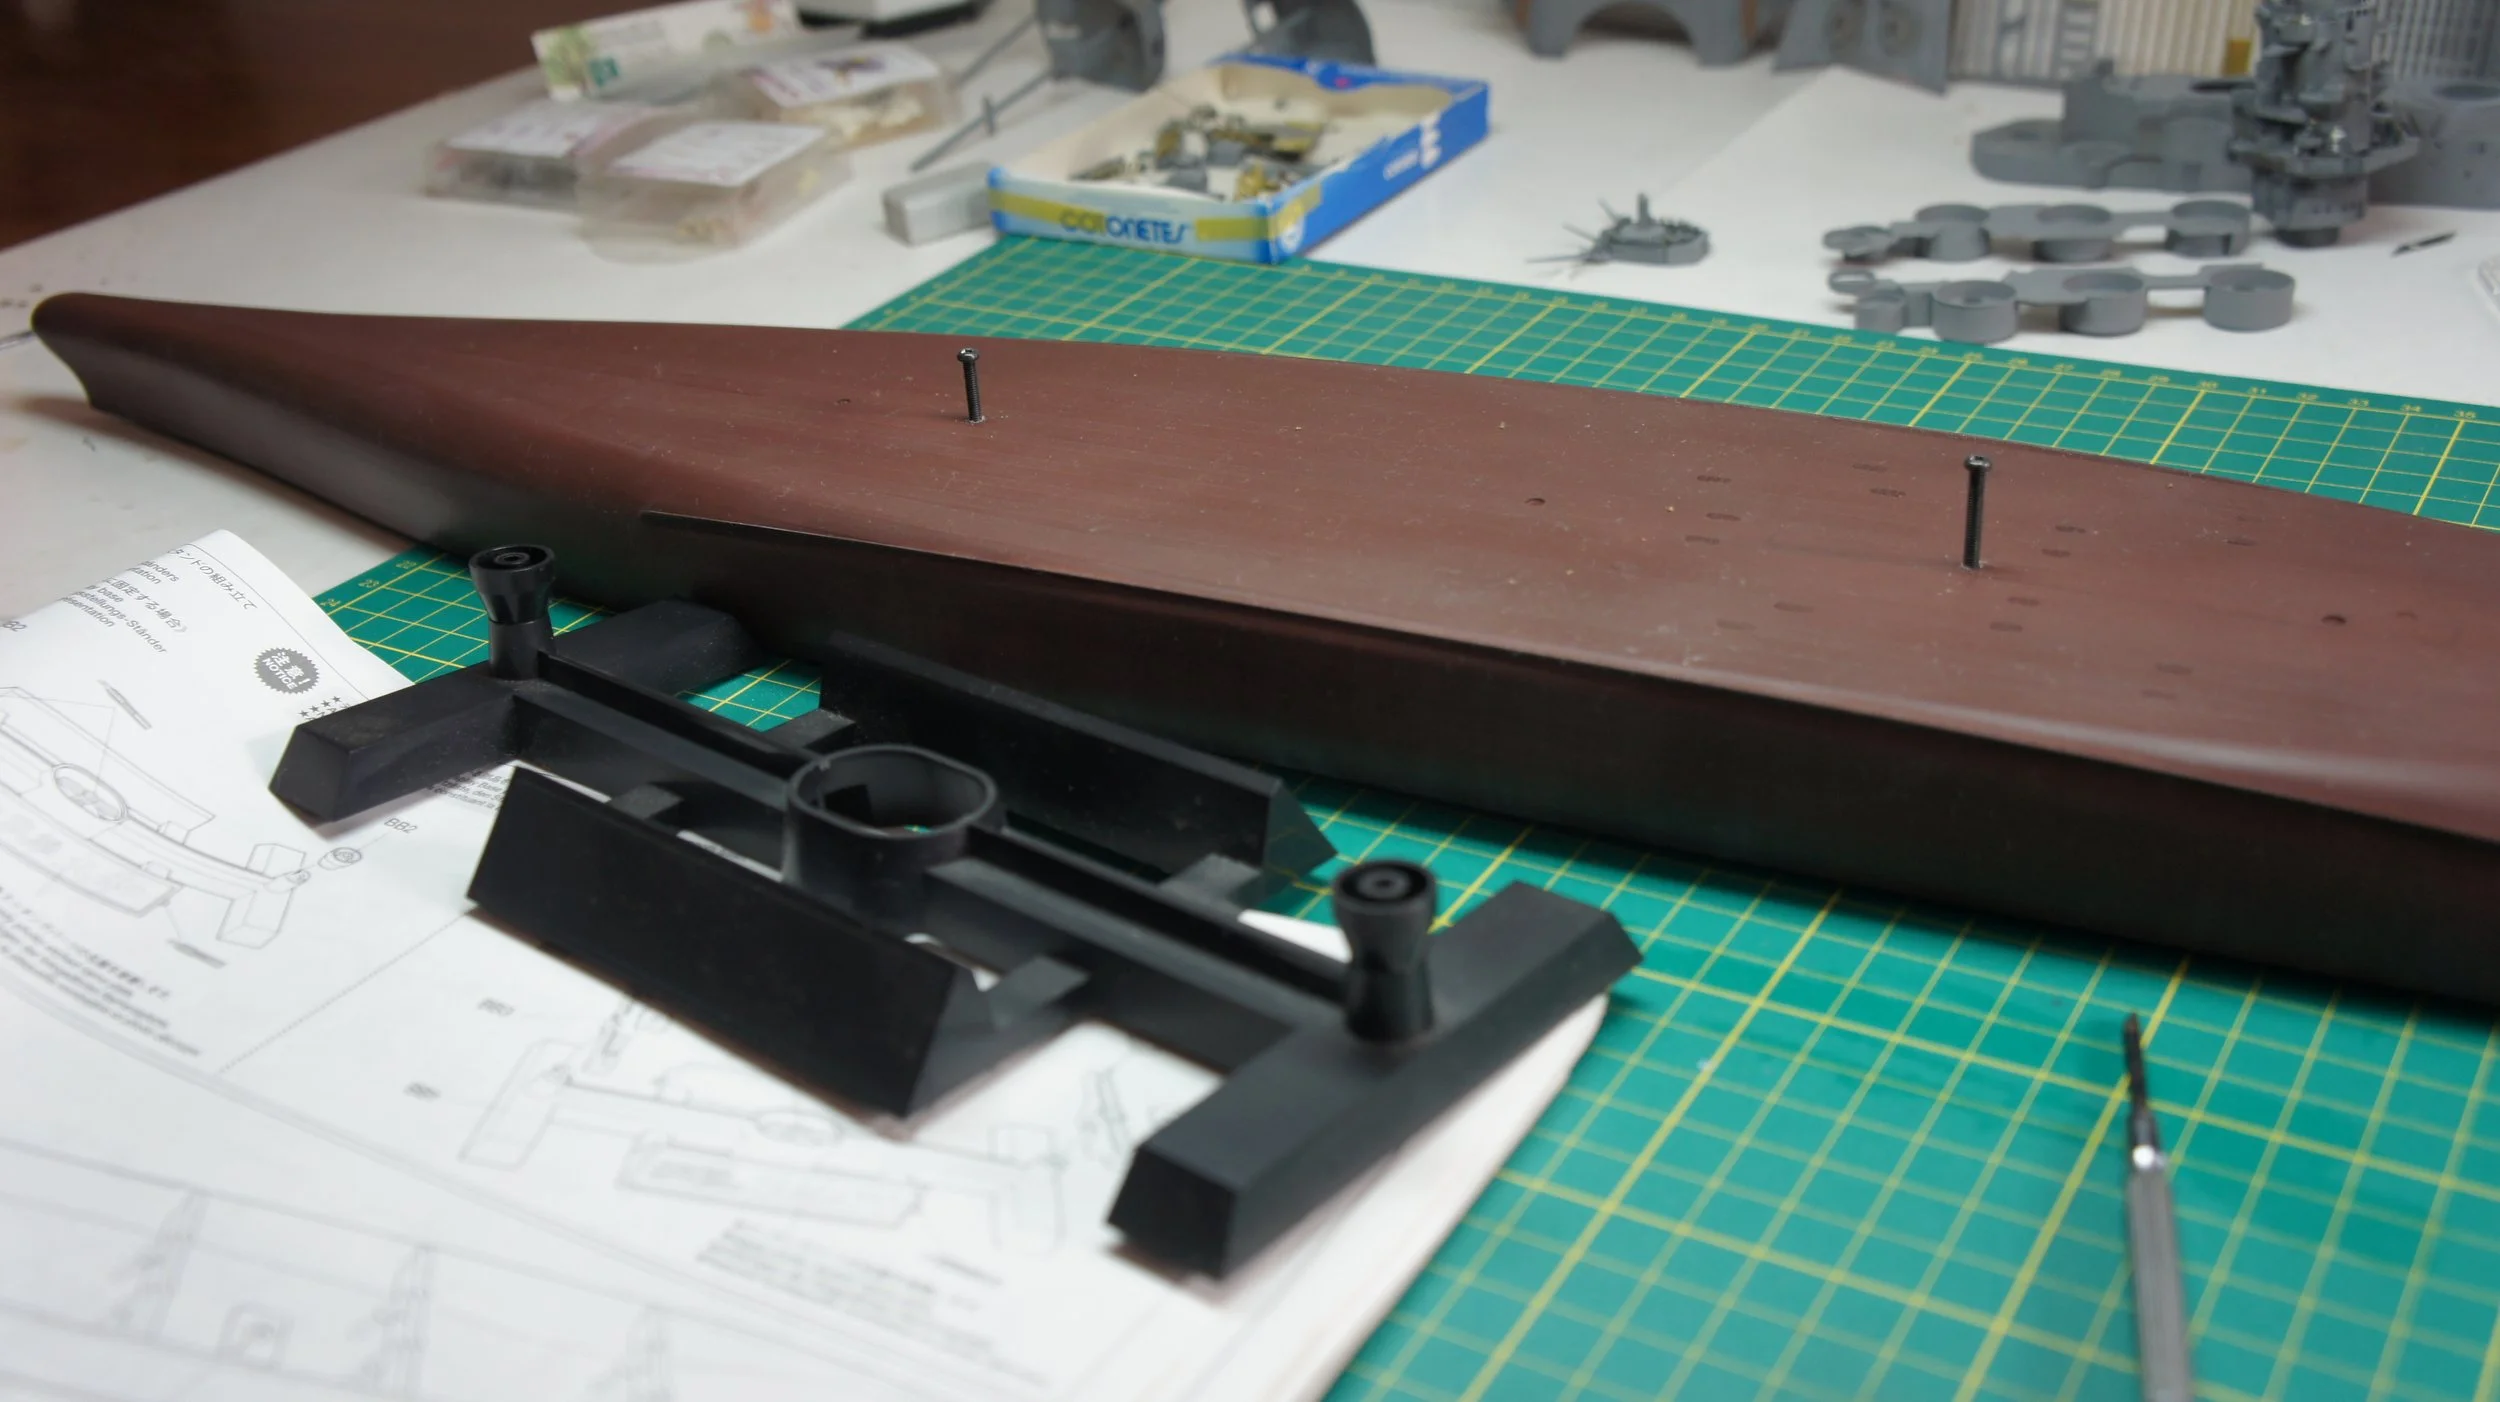
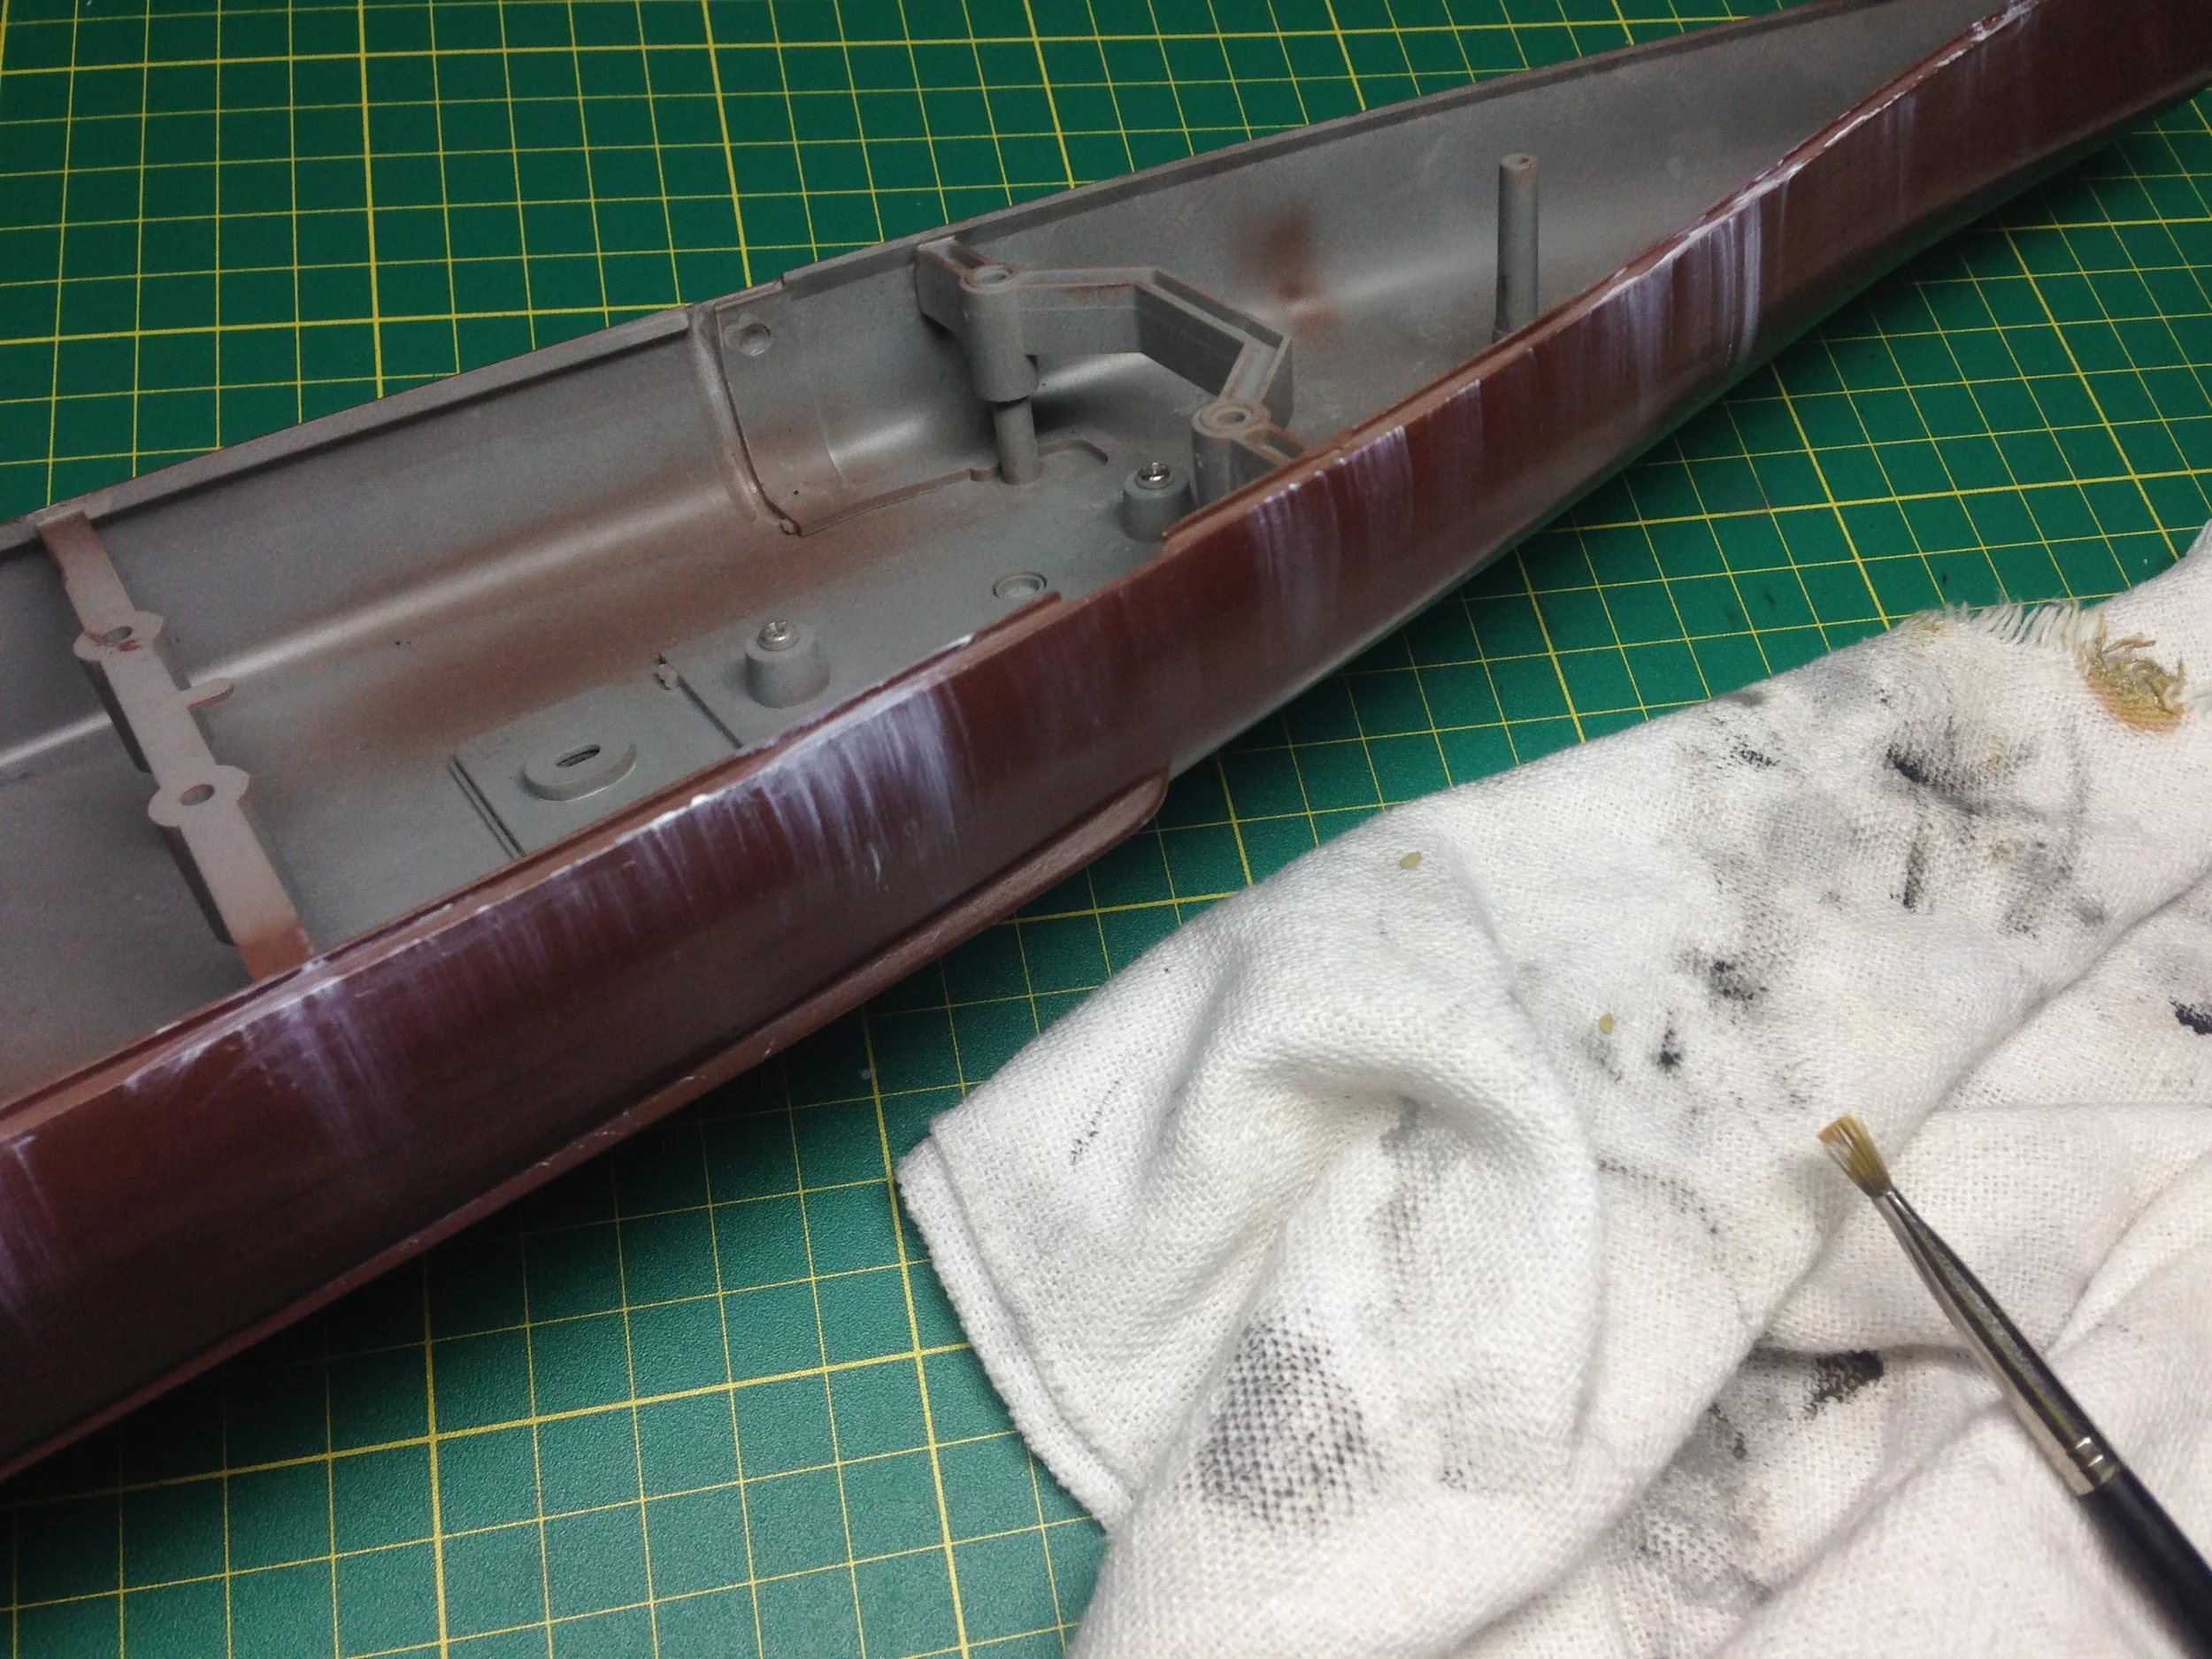
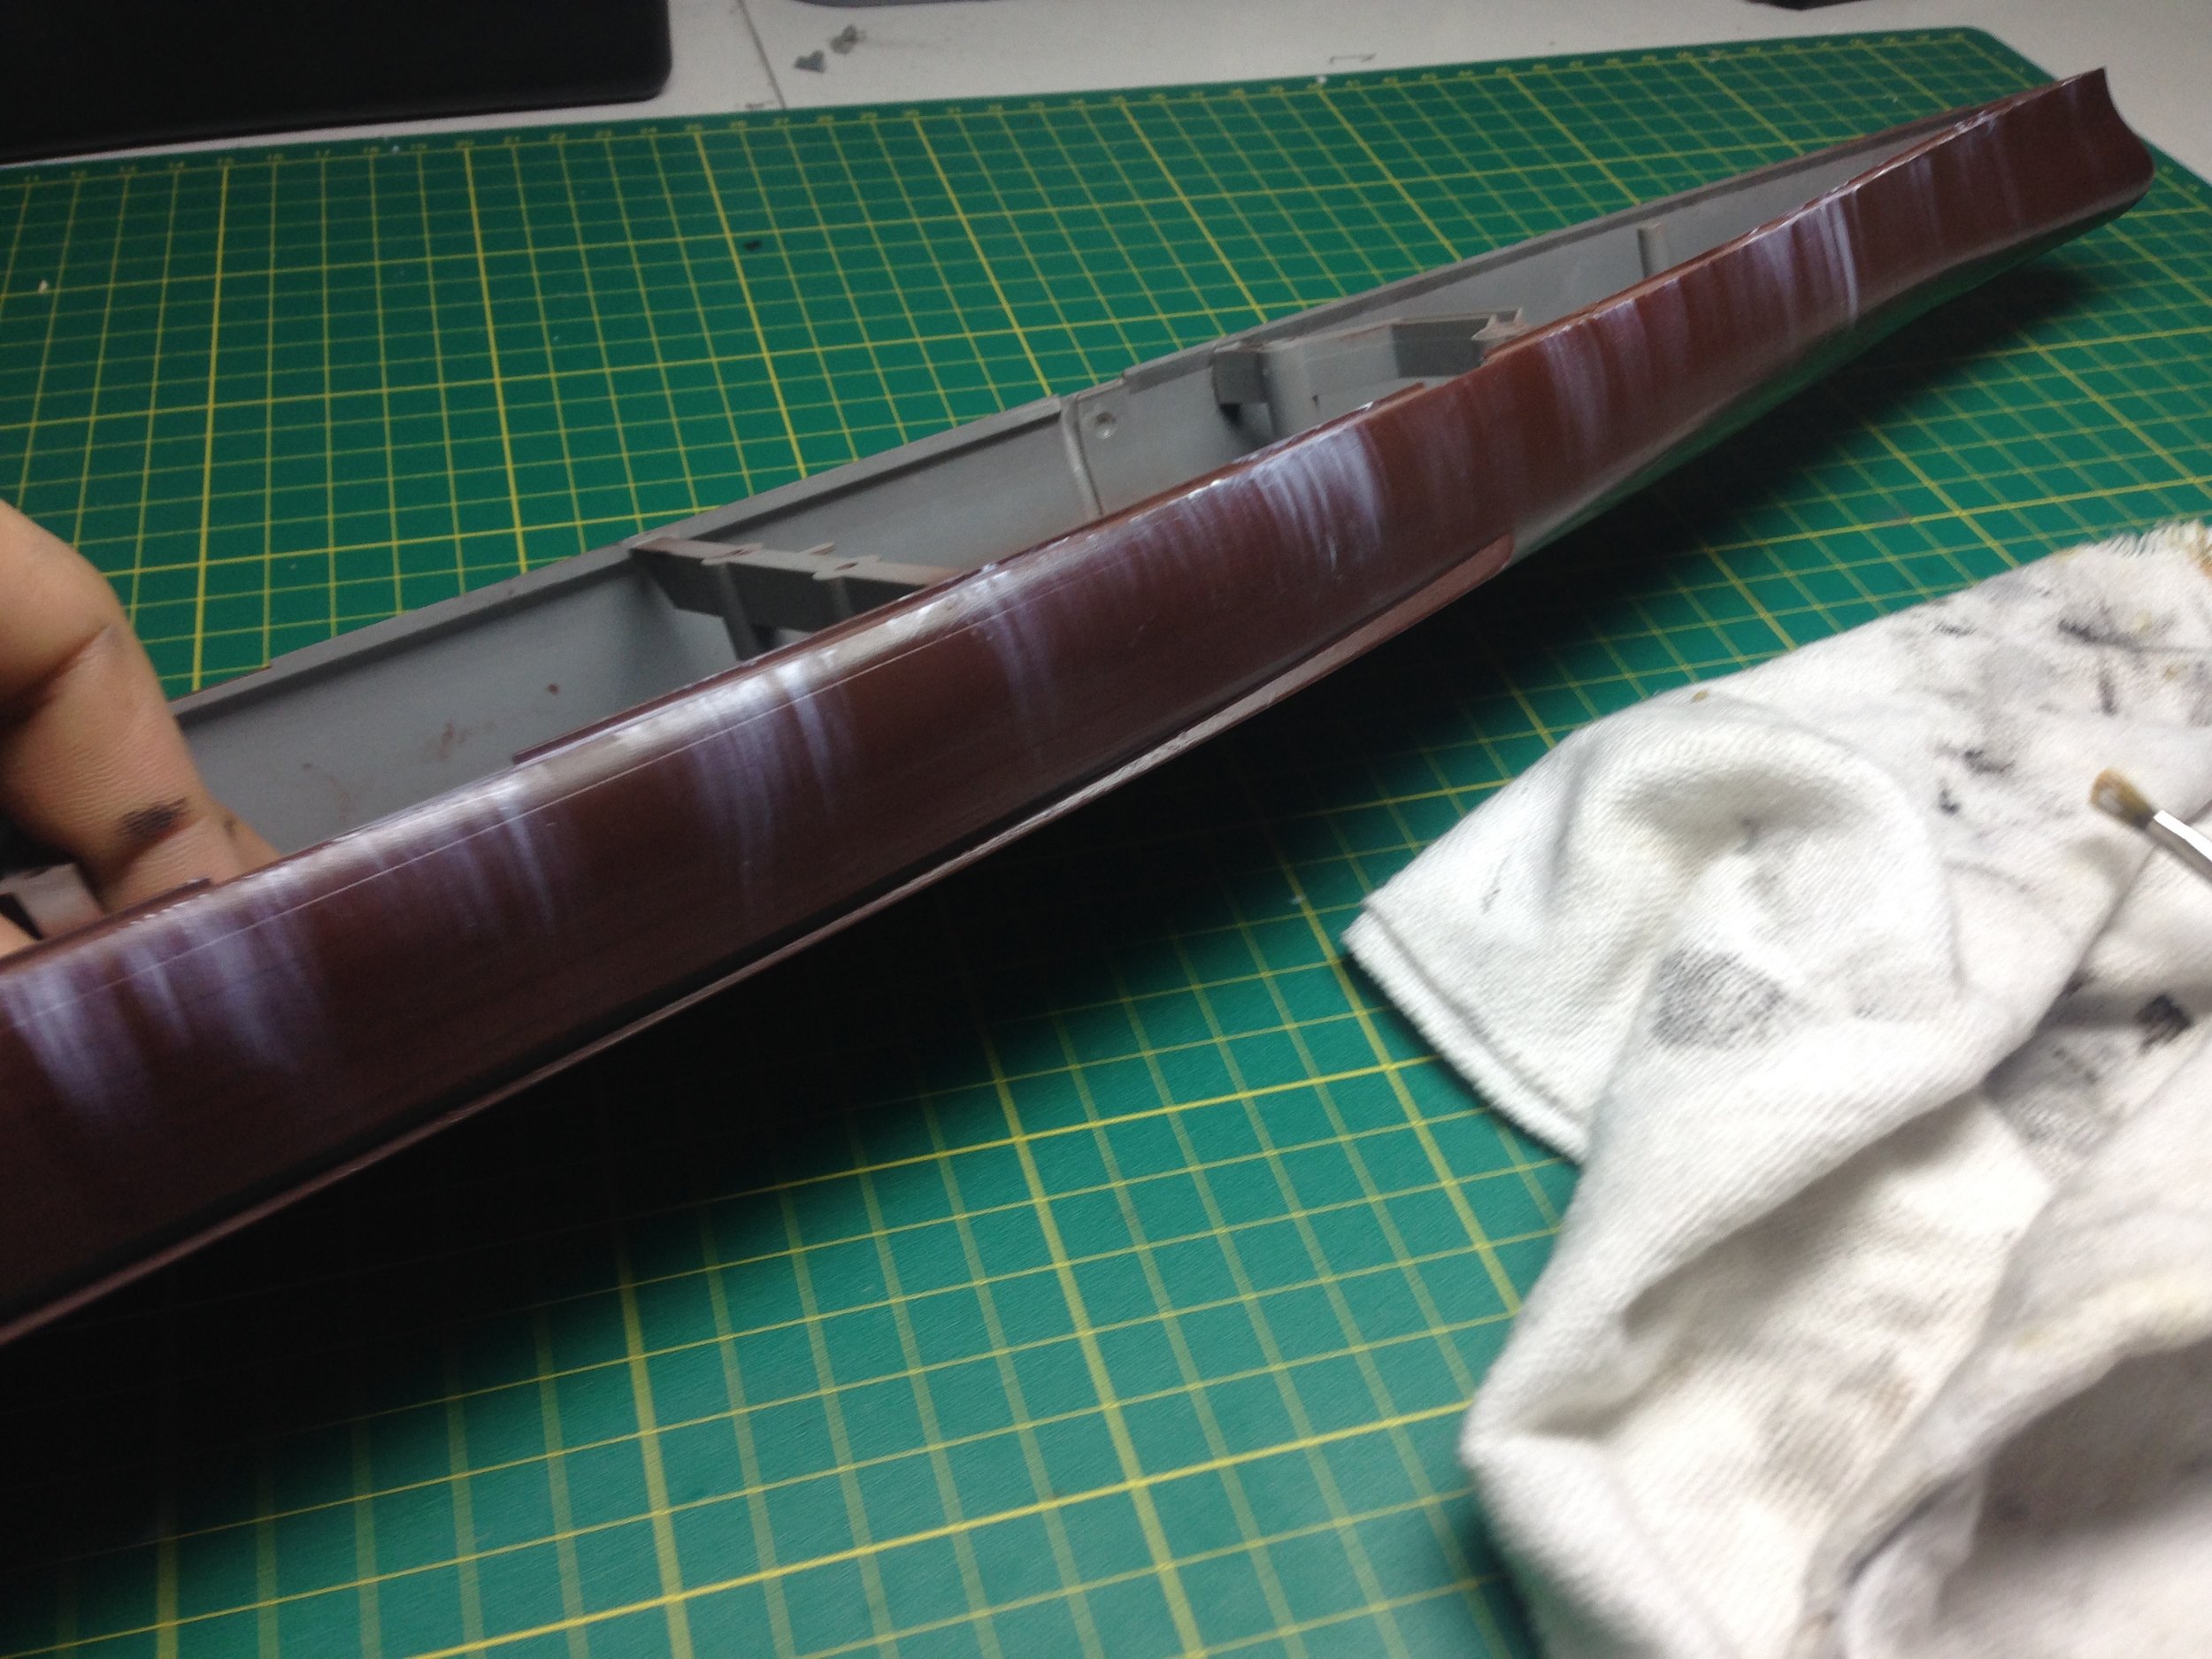
Fly deck:
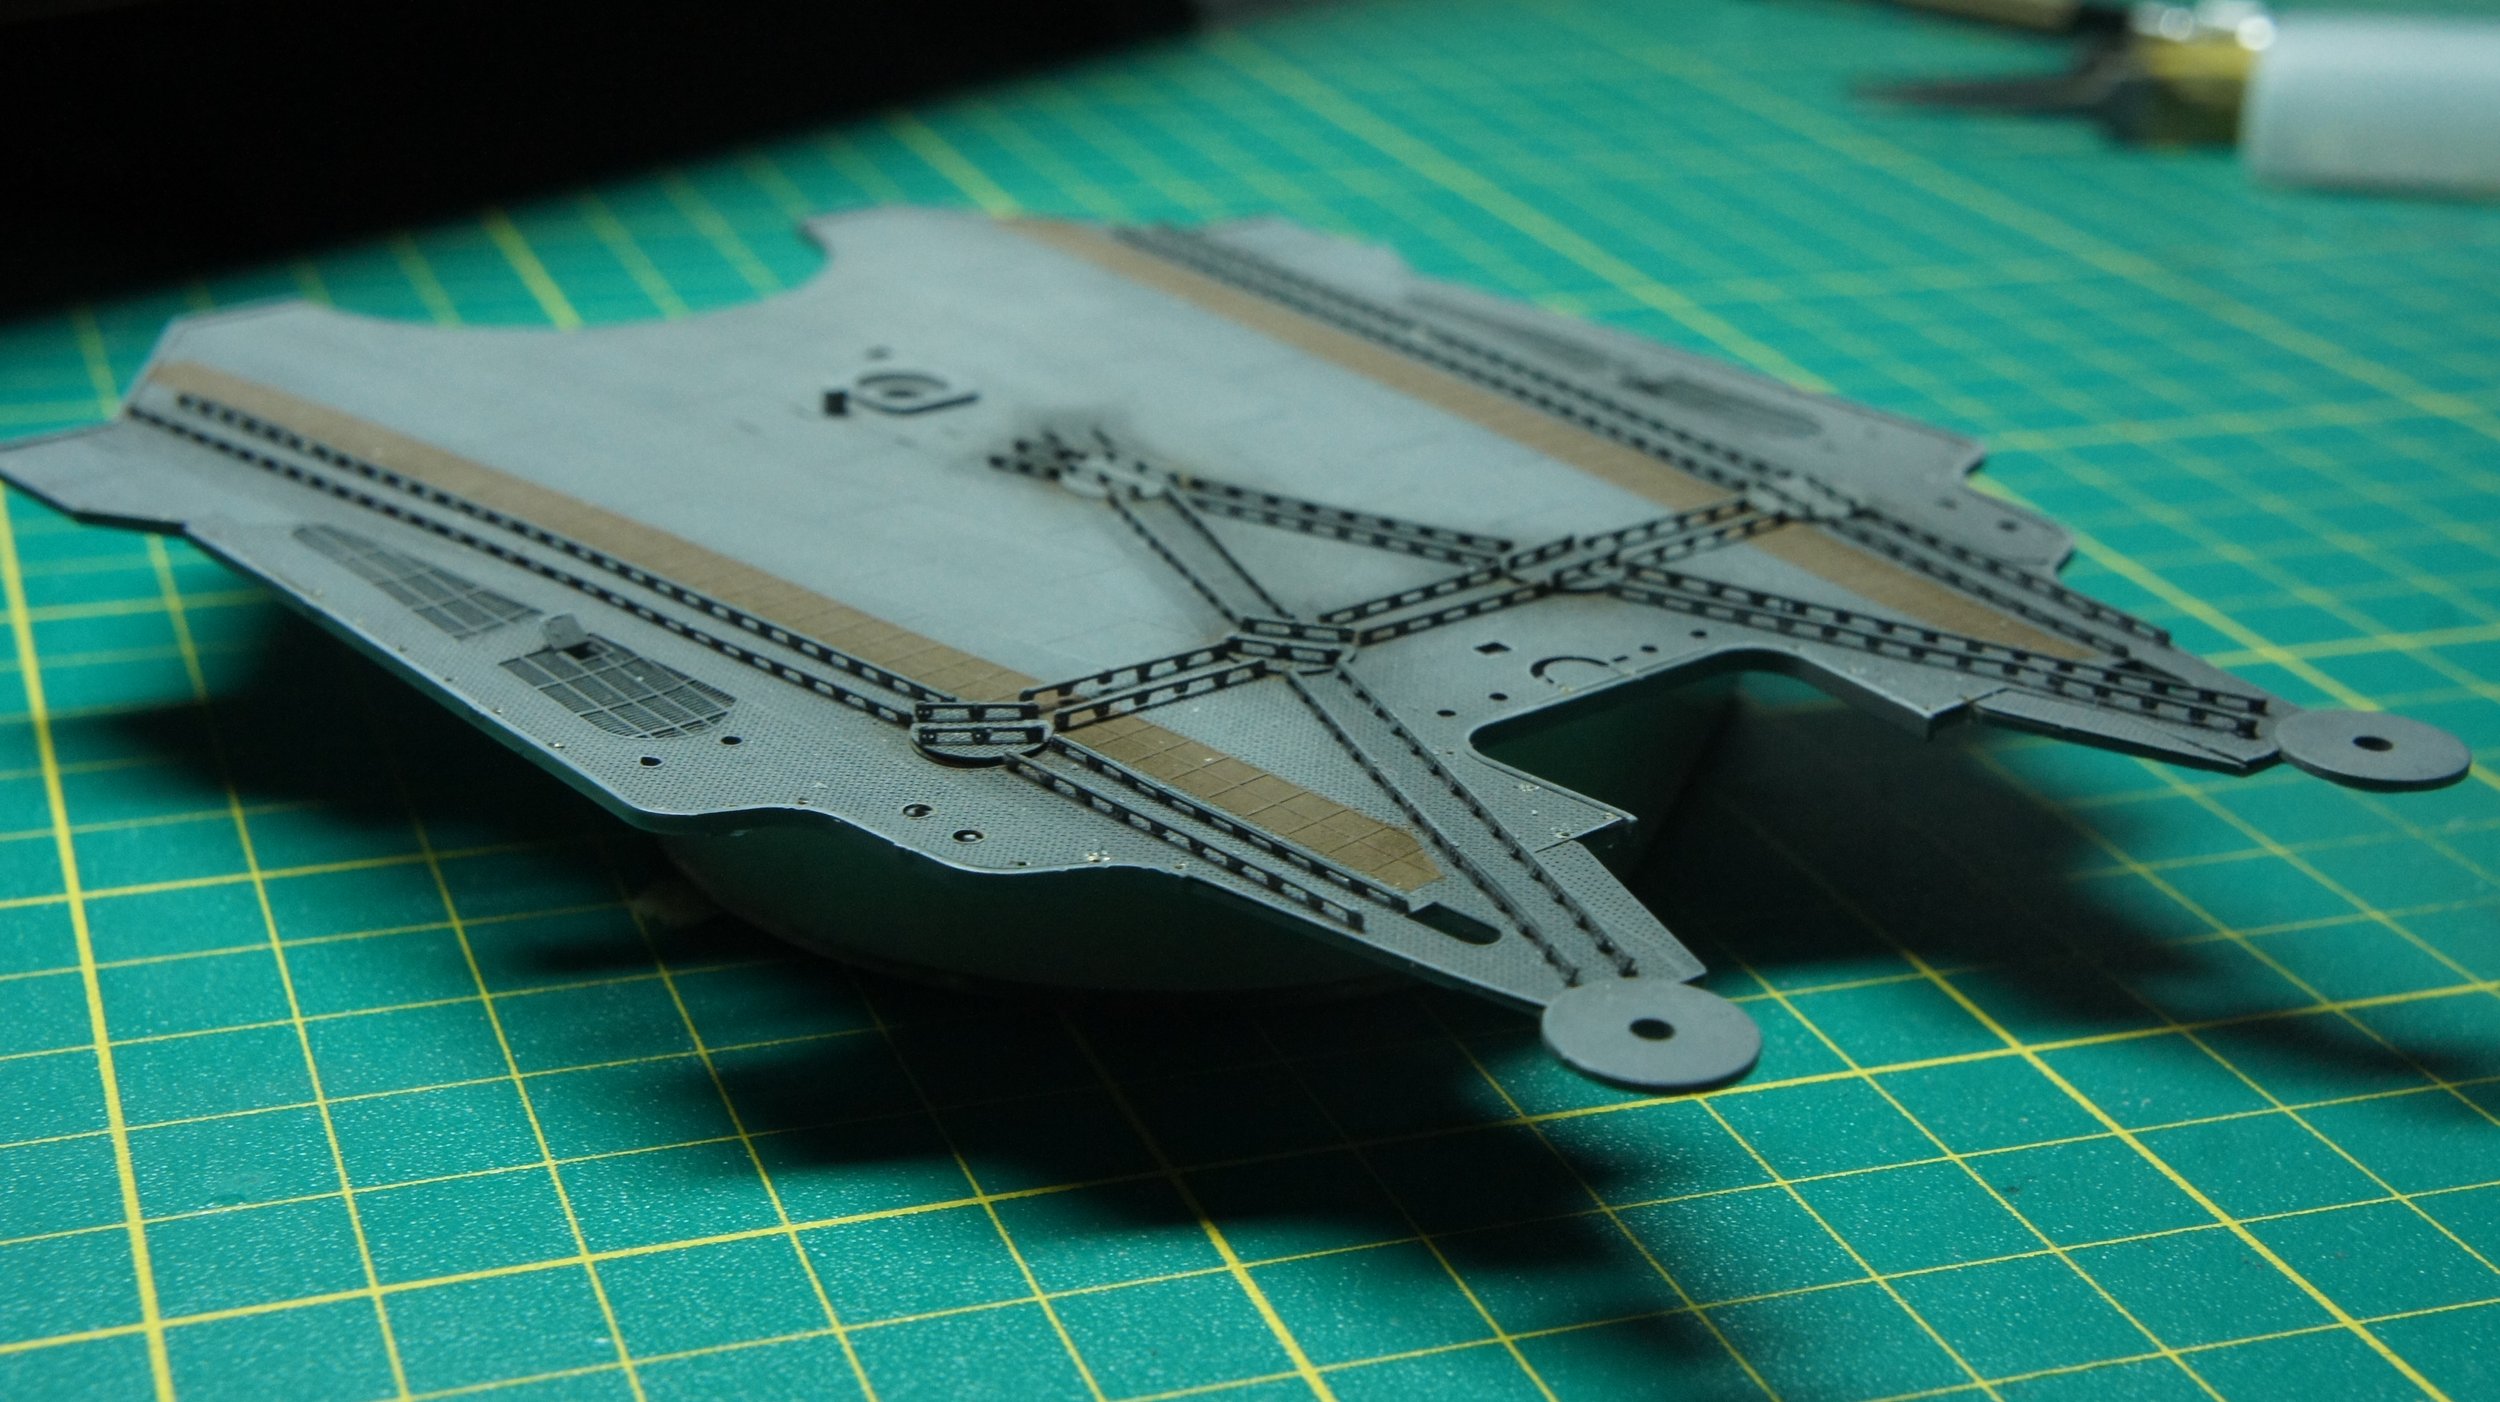
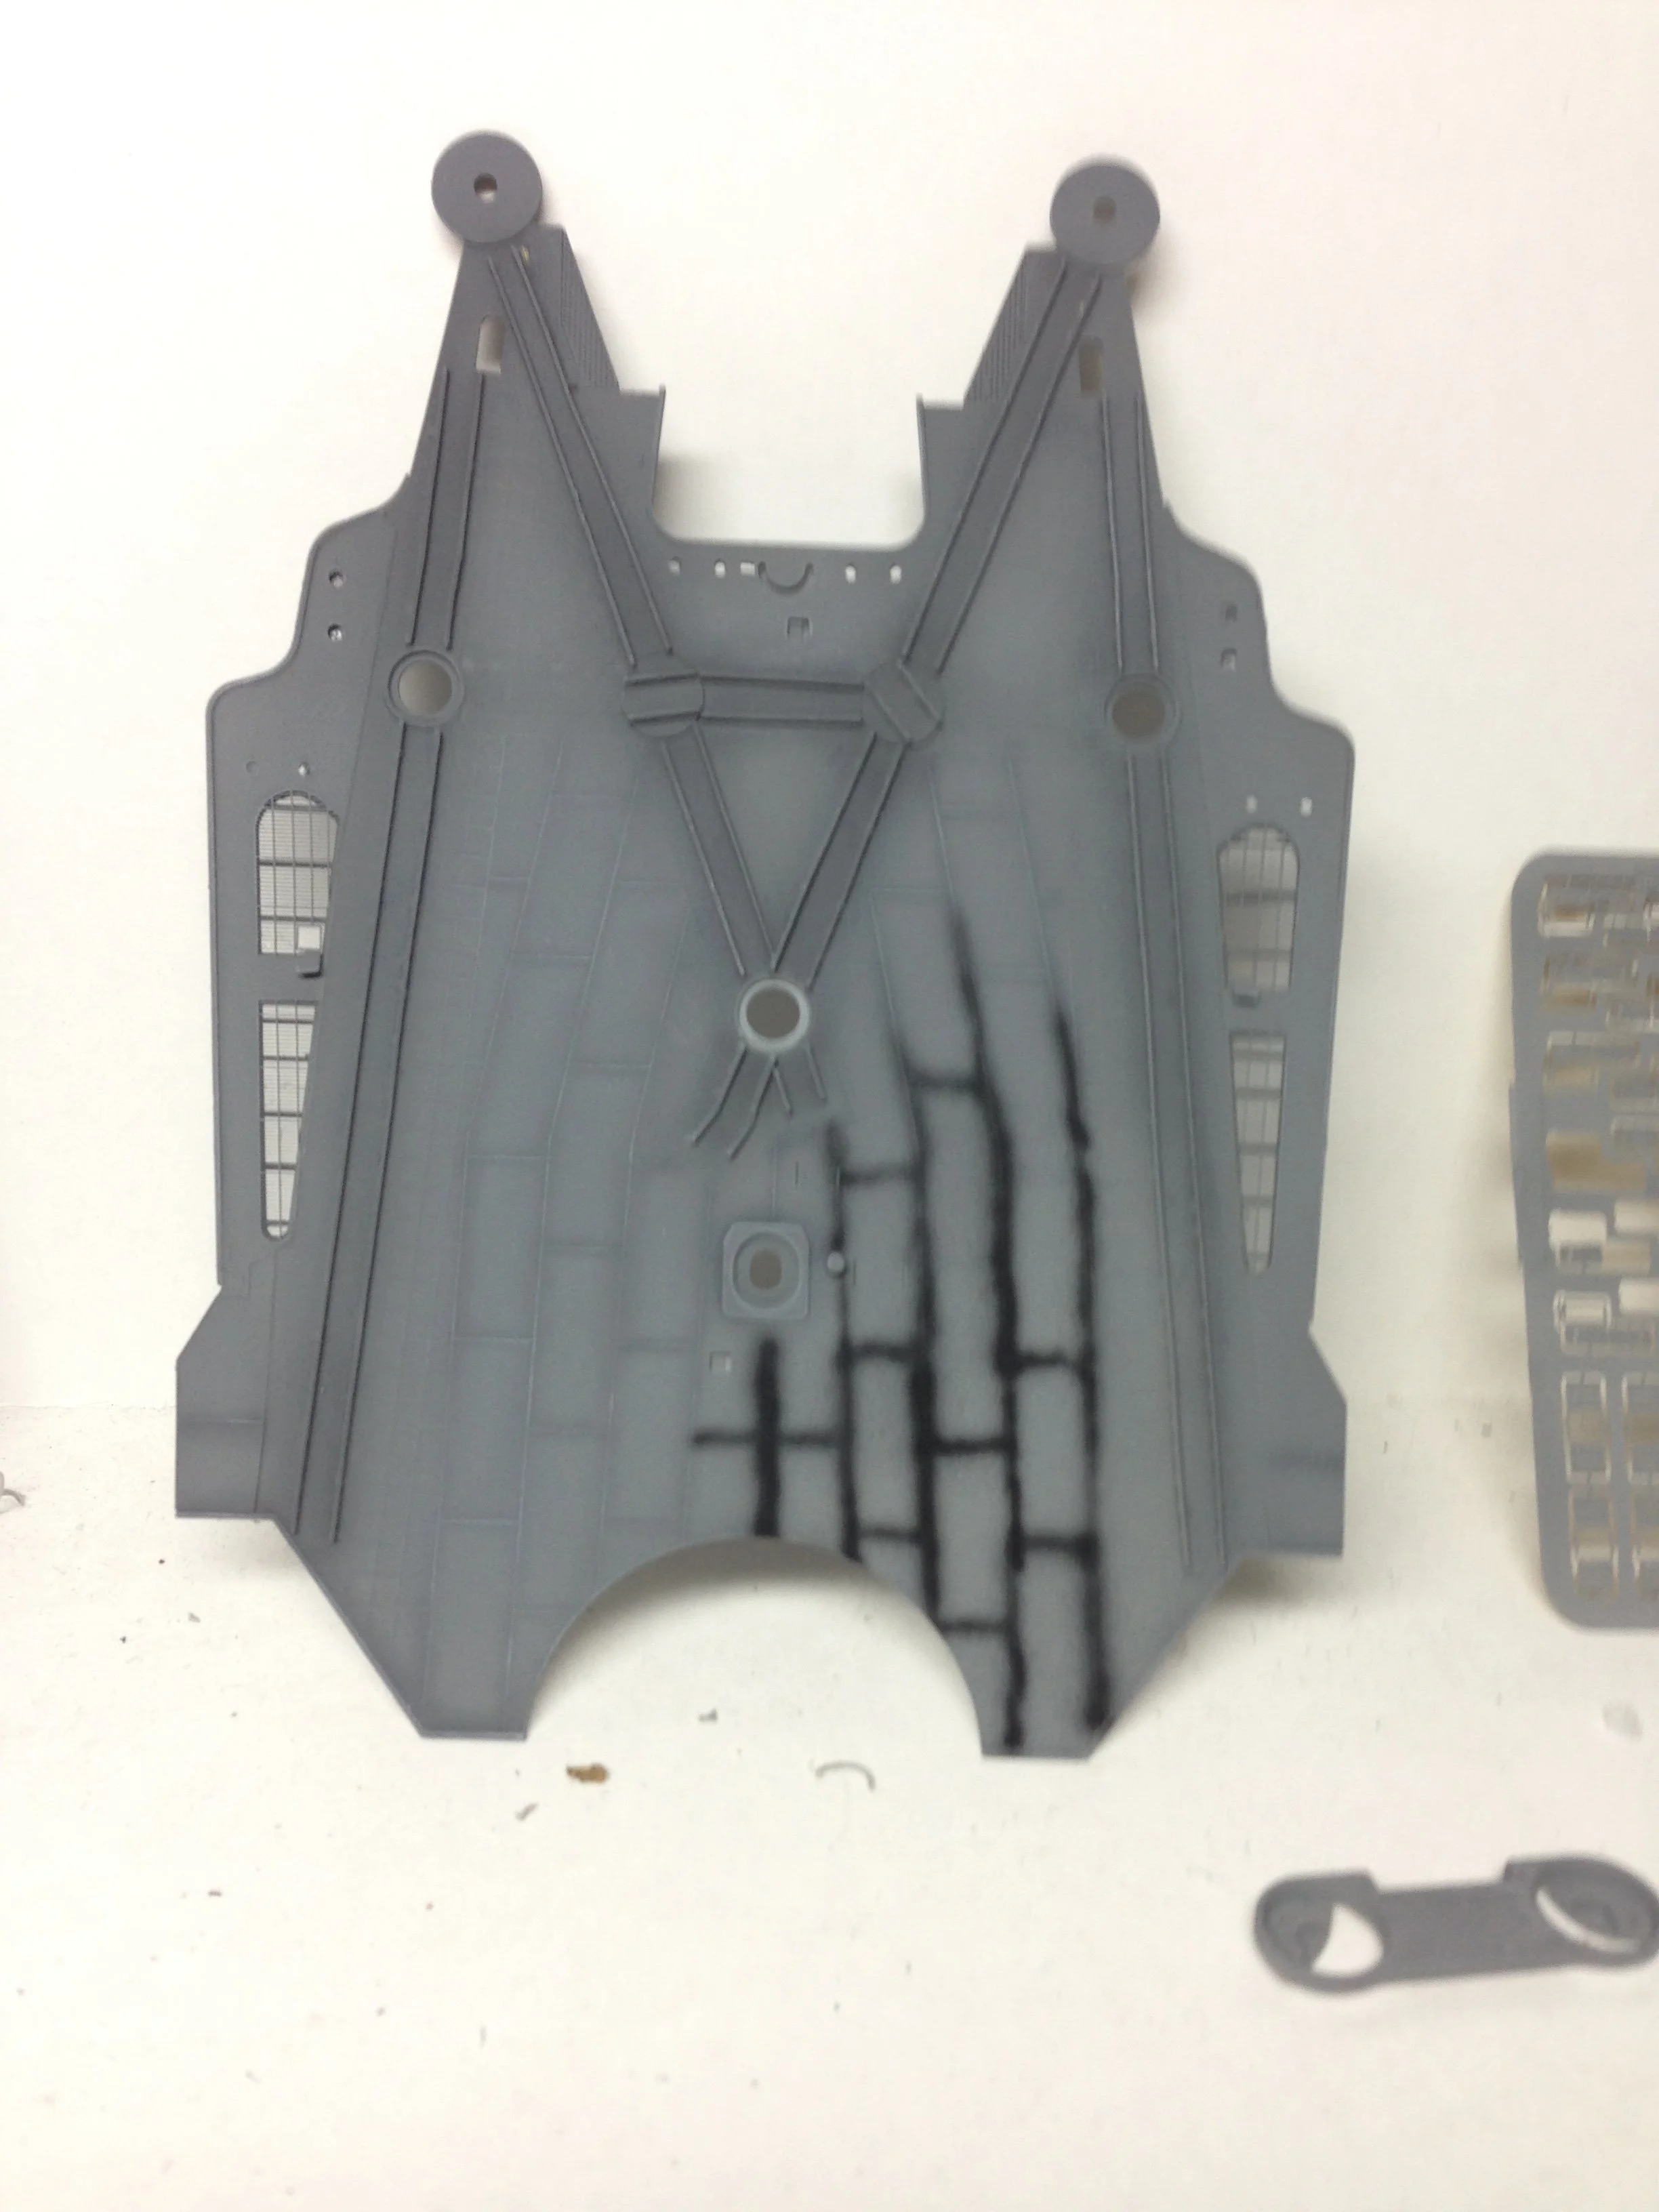
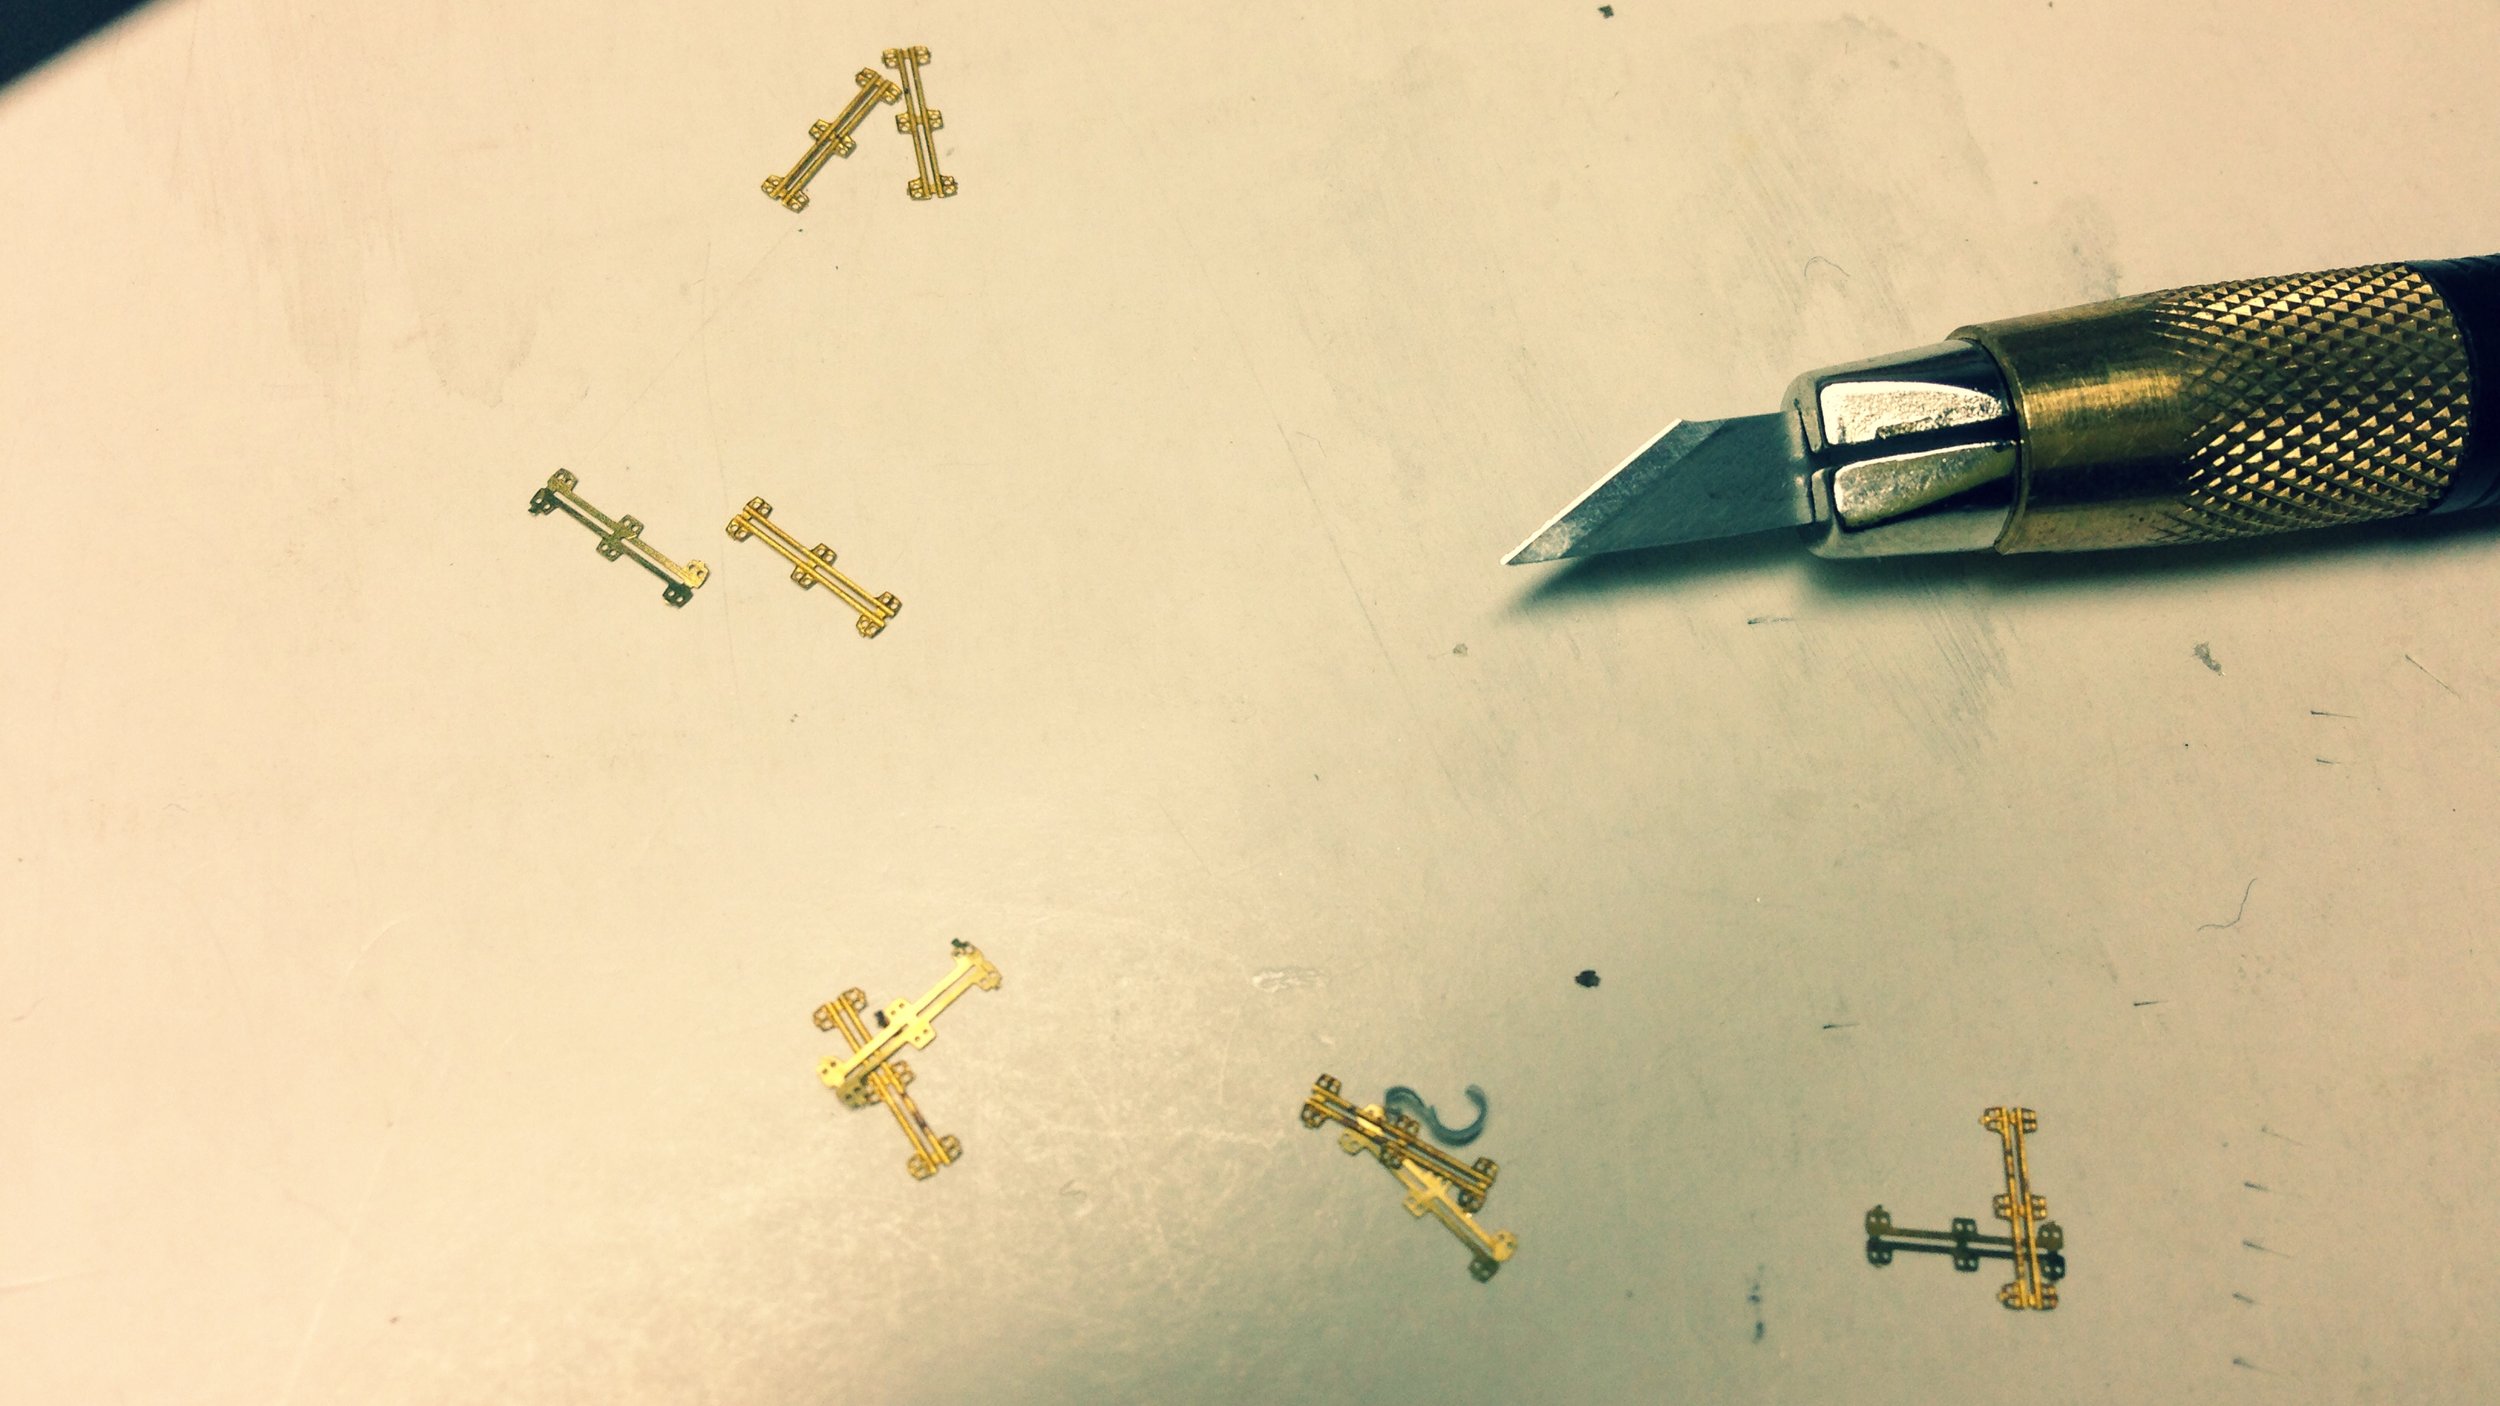
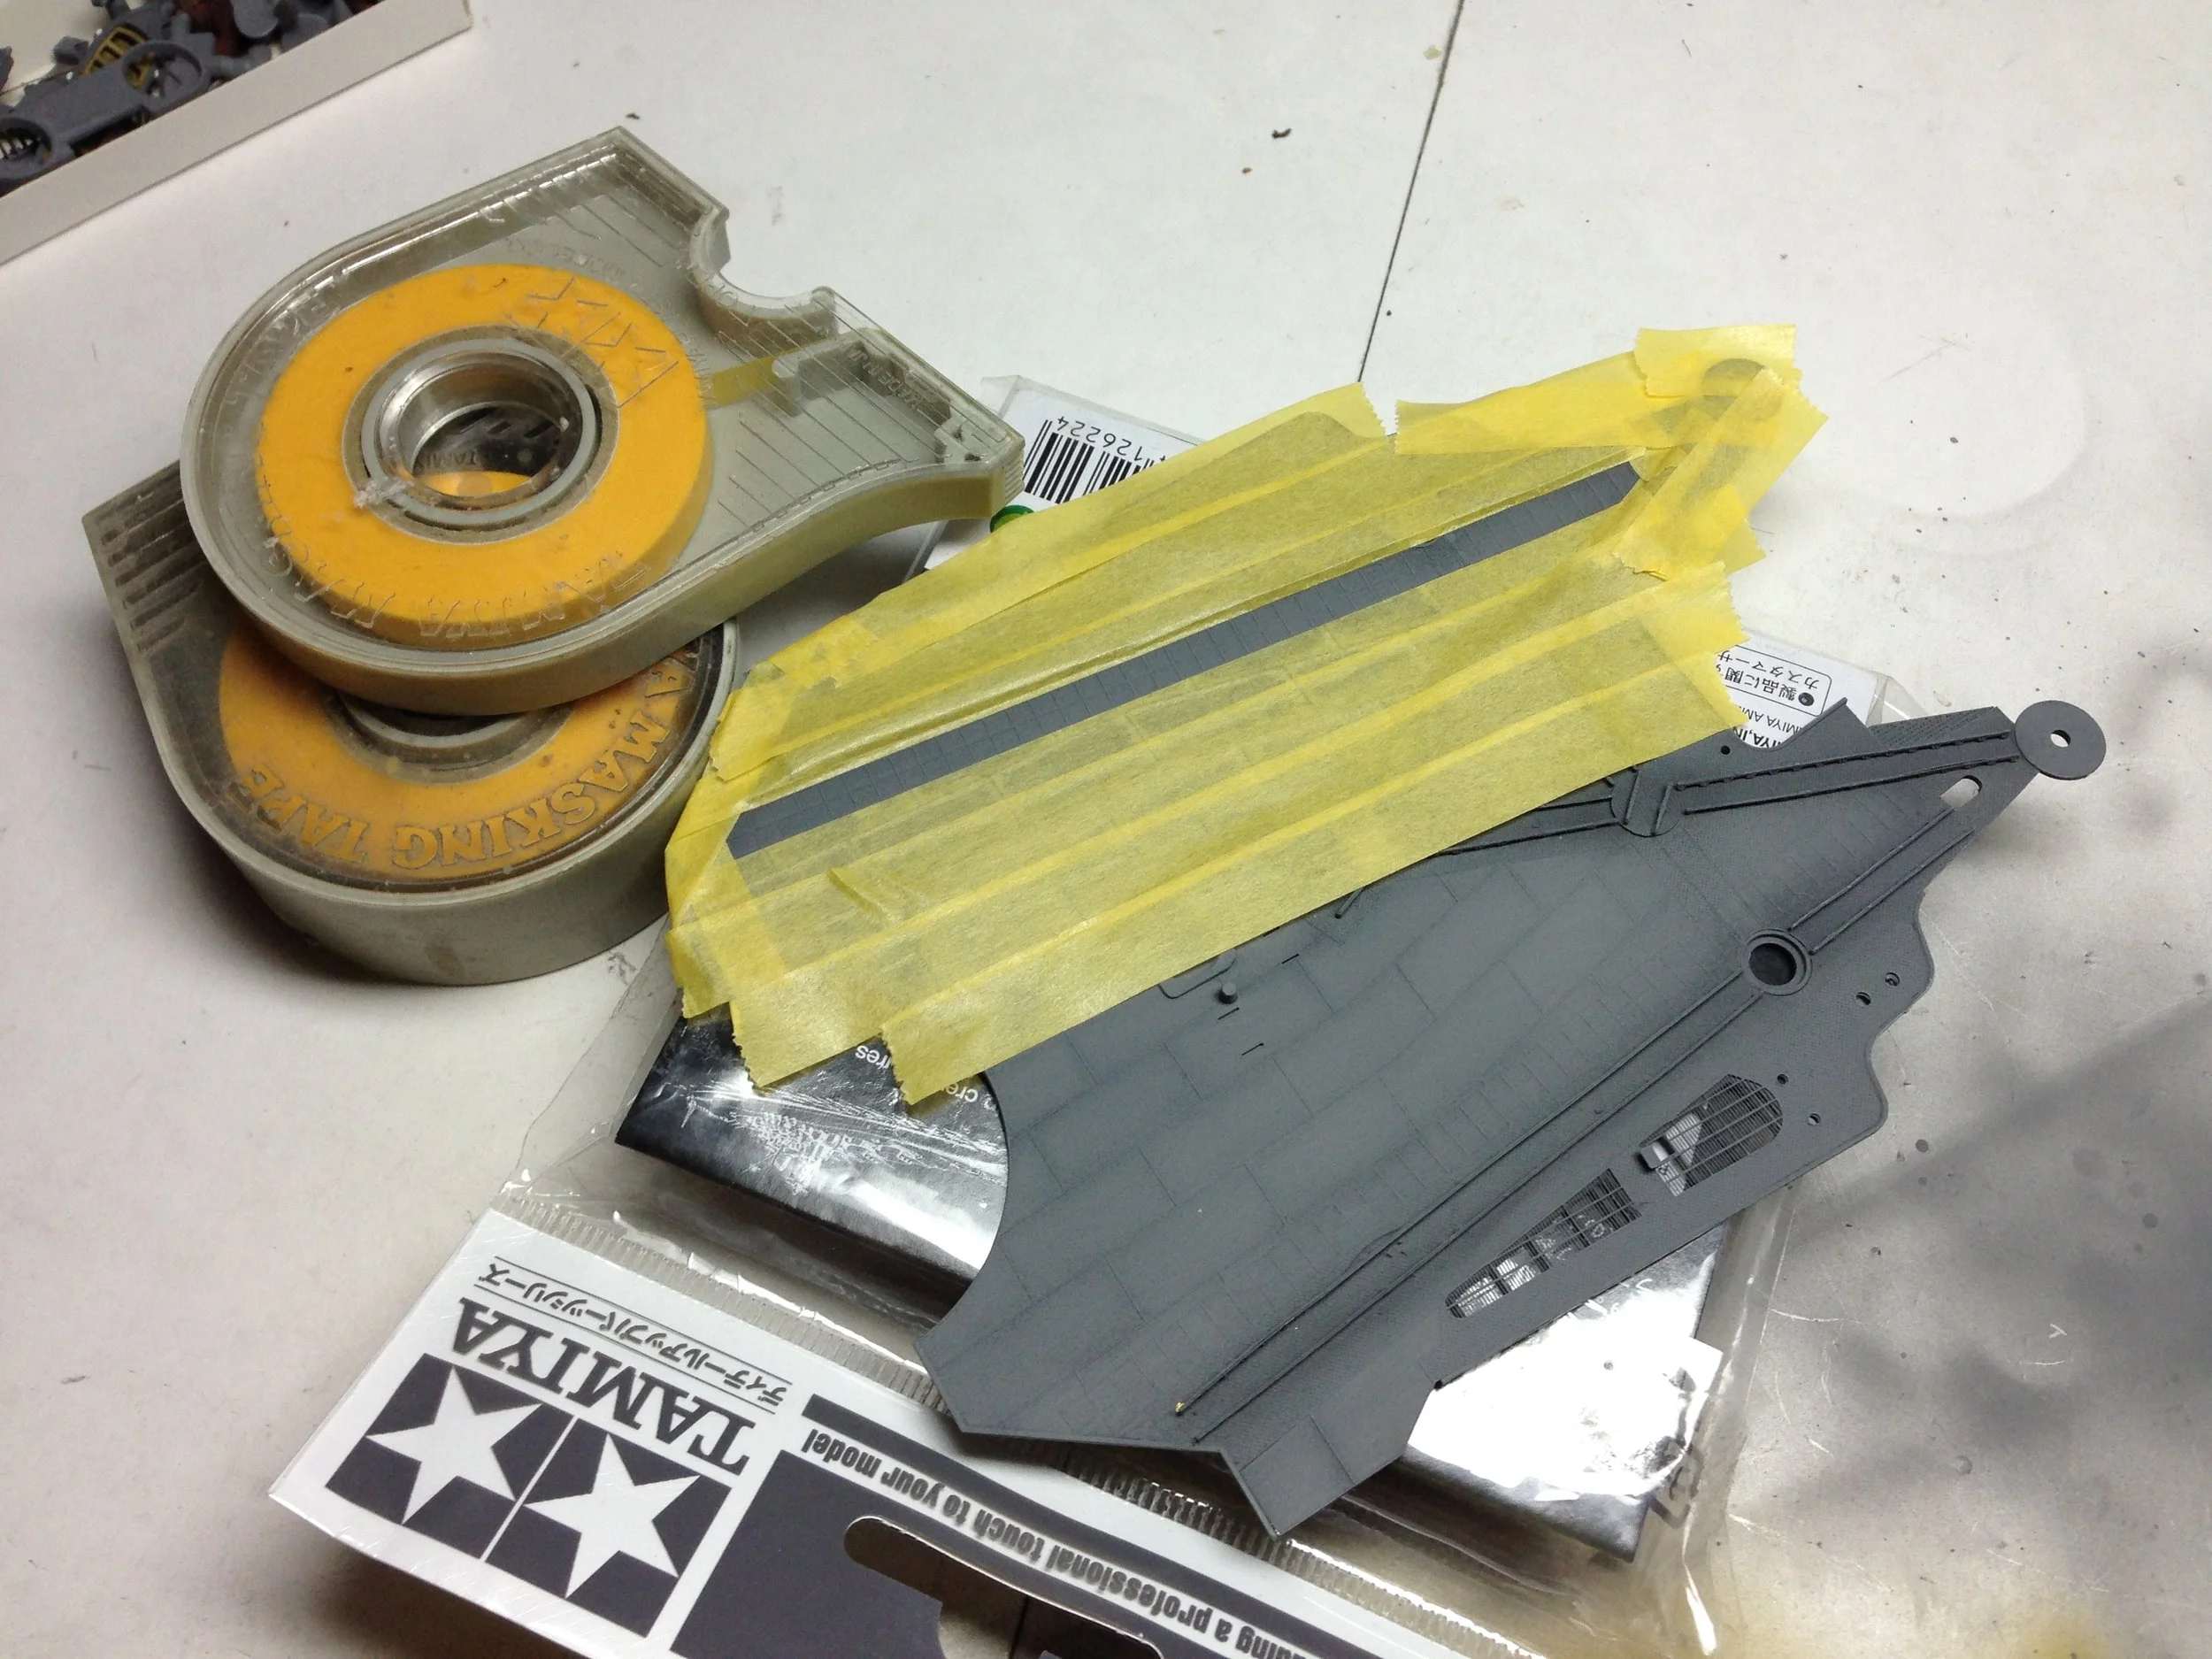
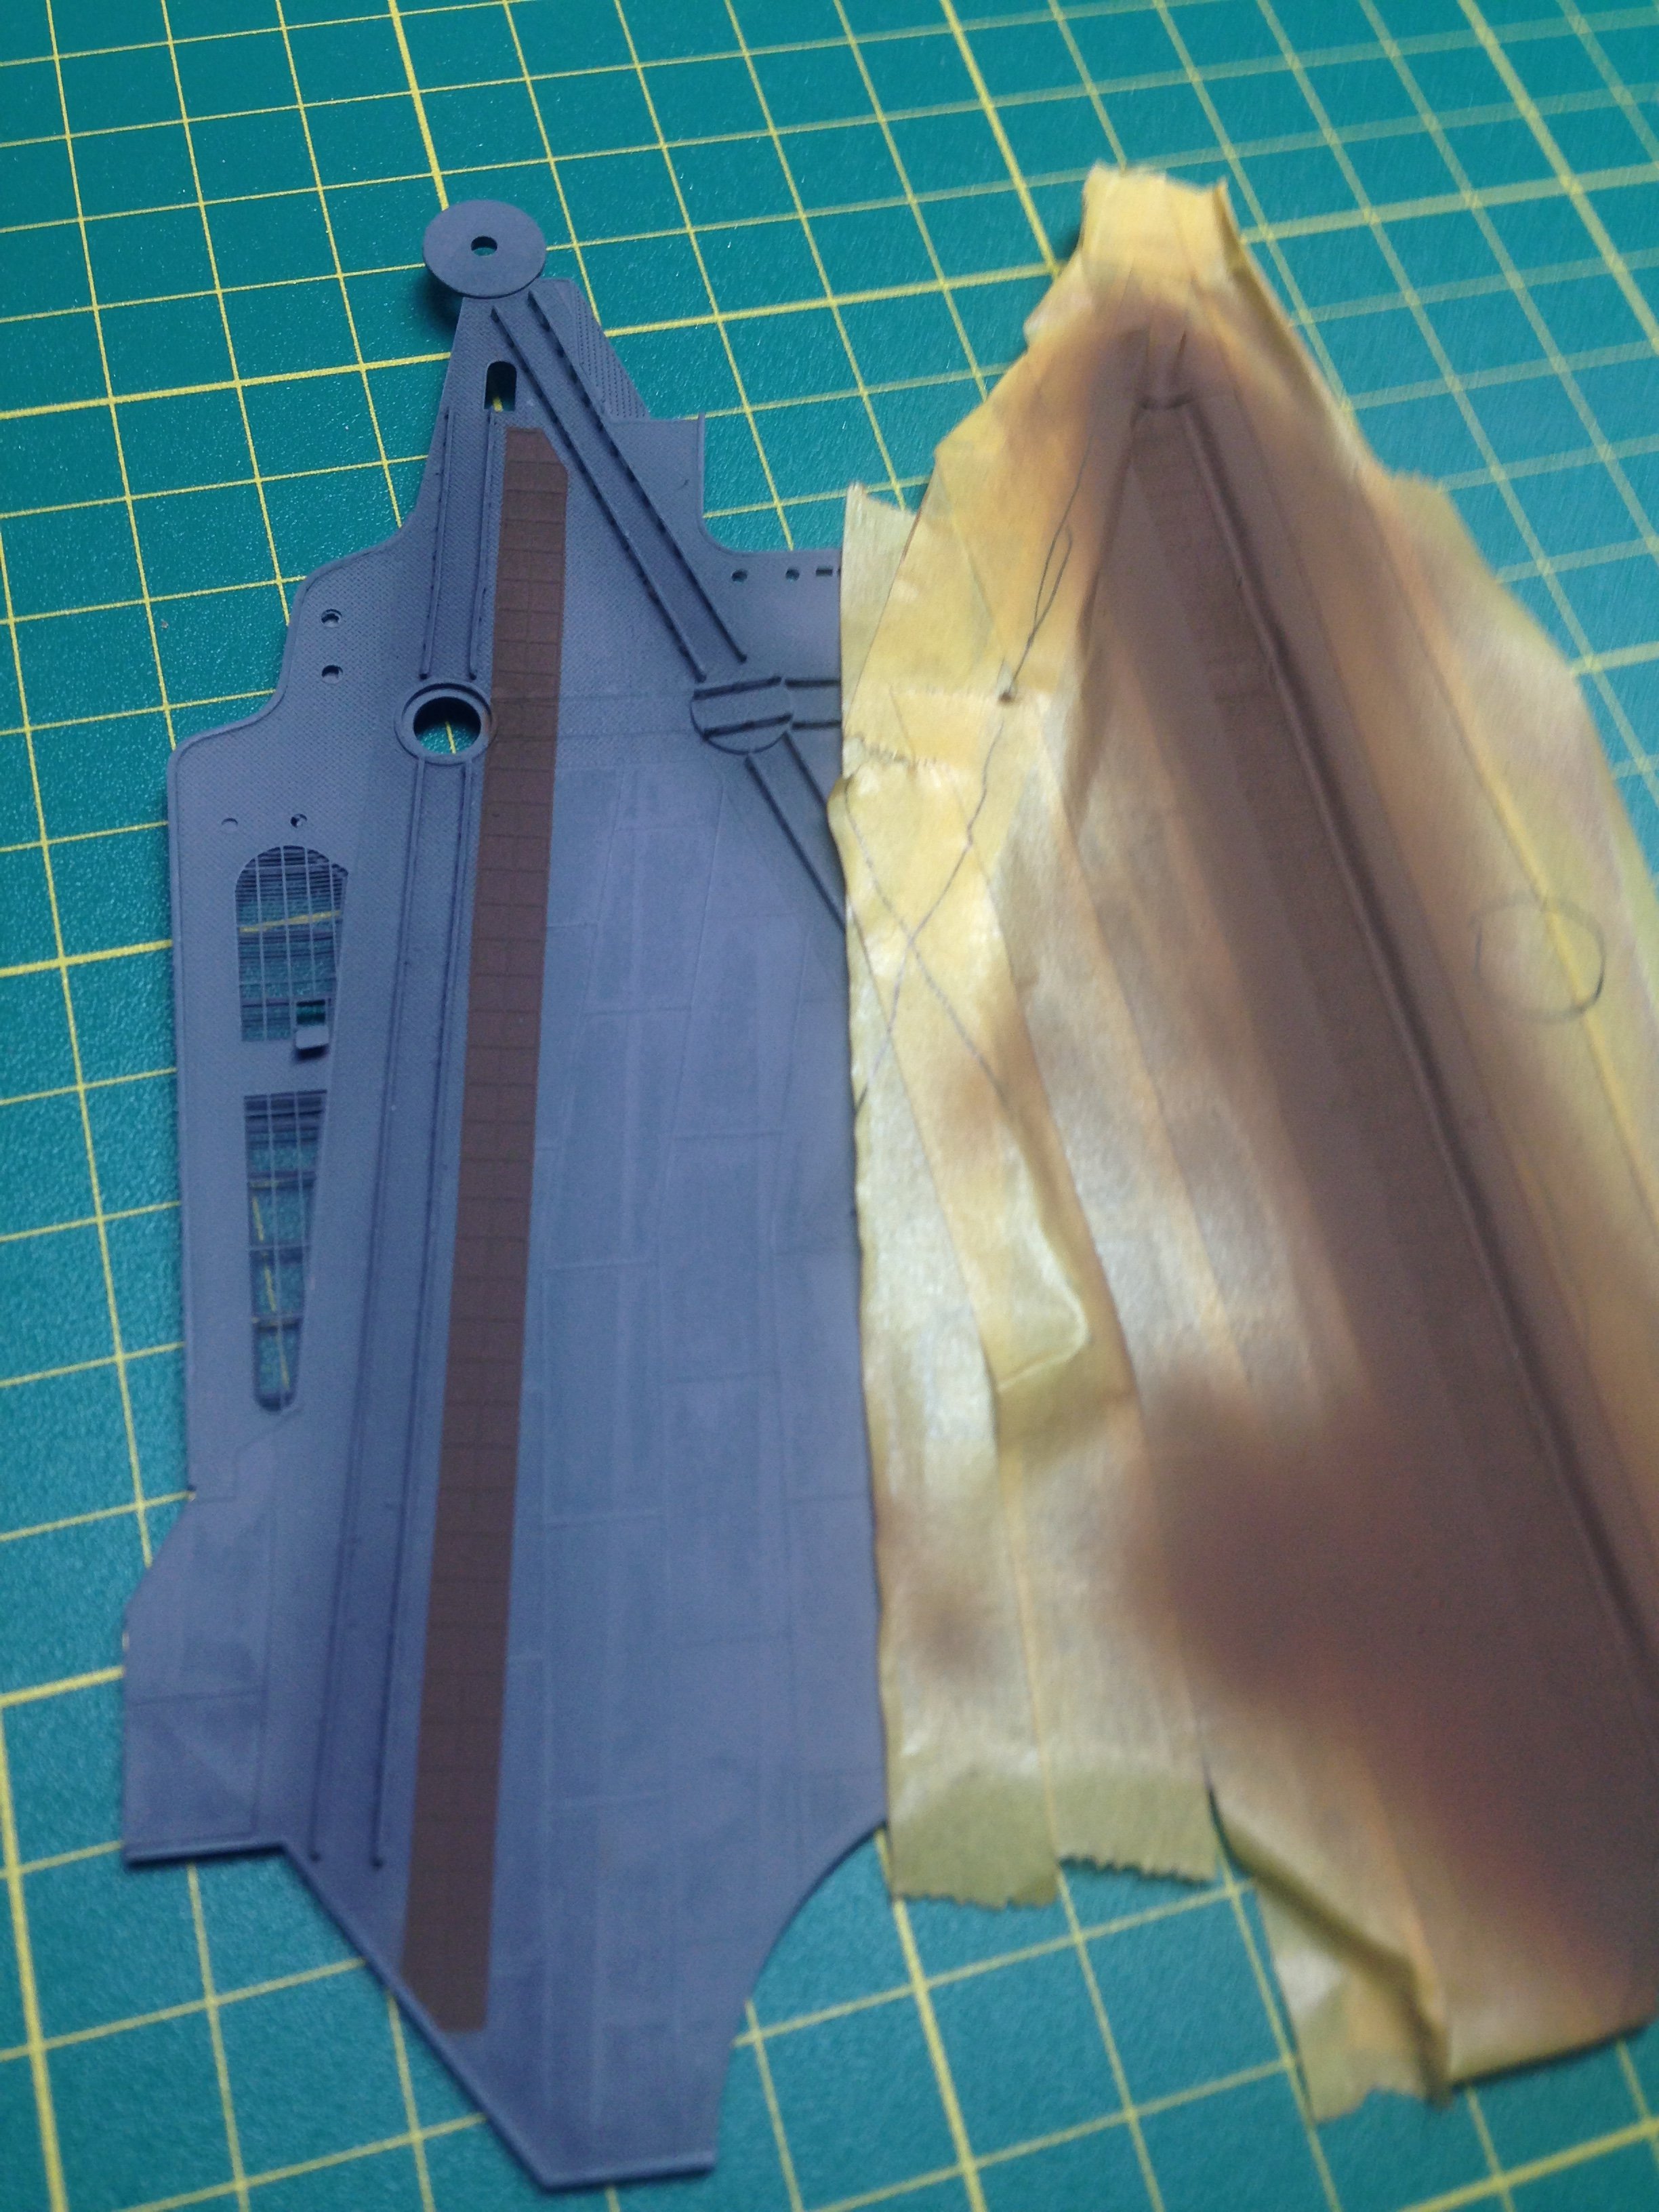
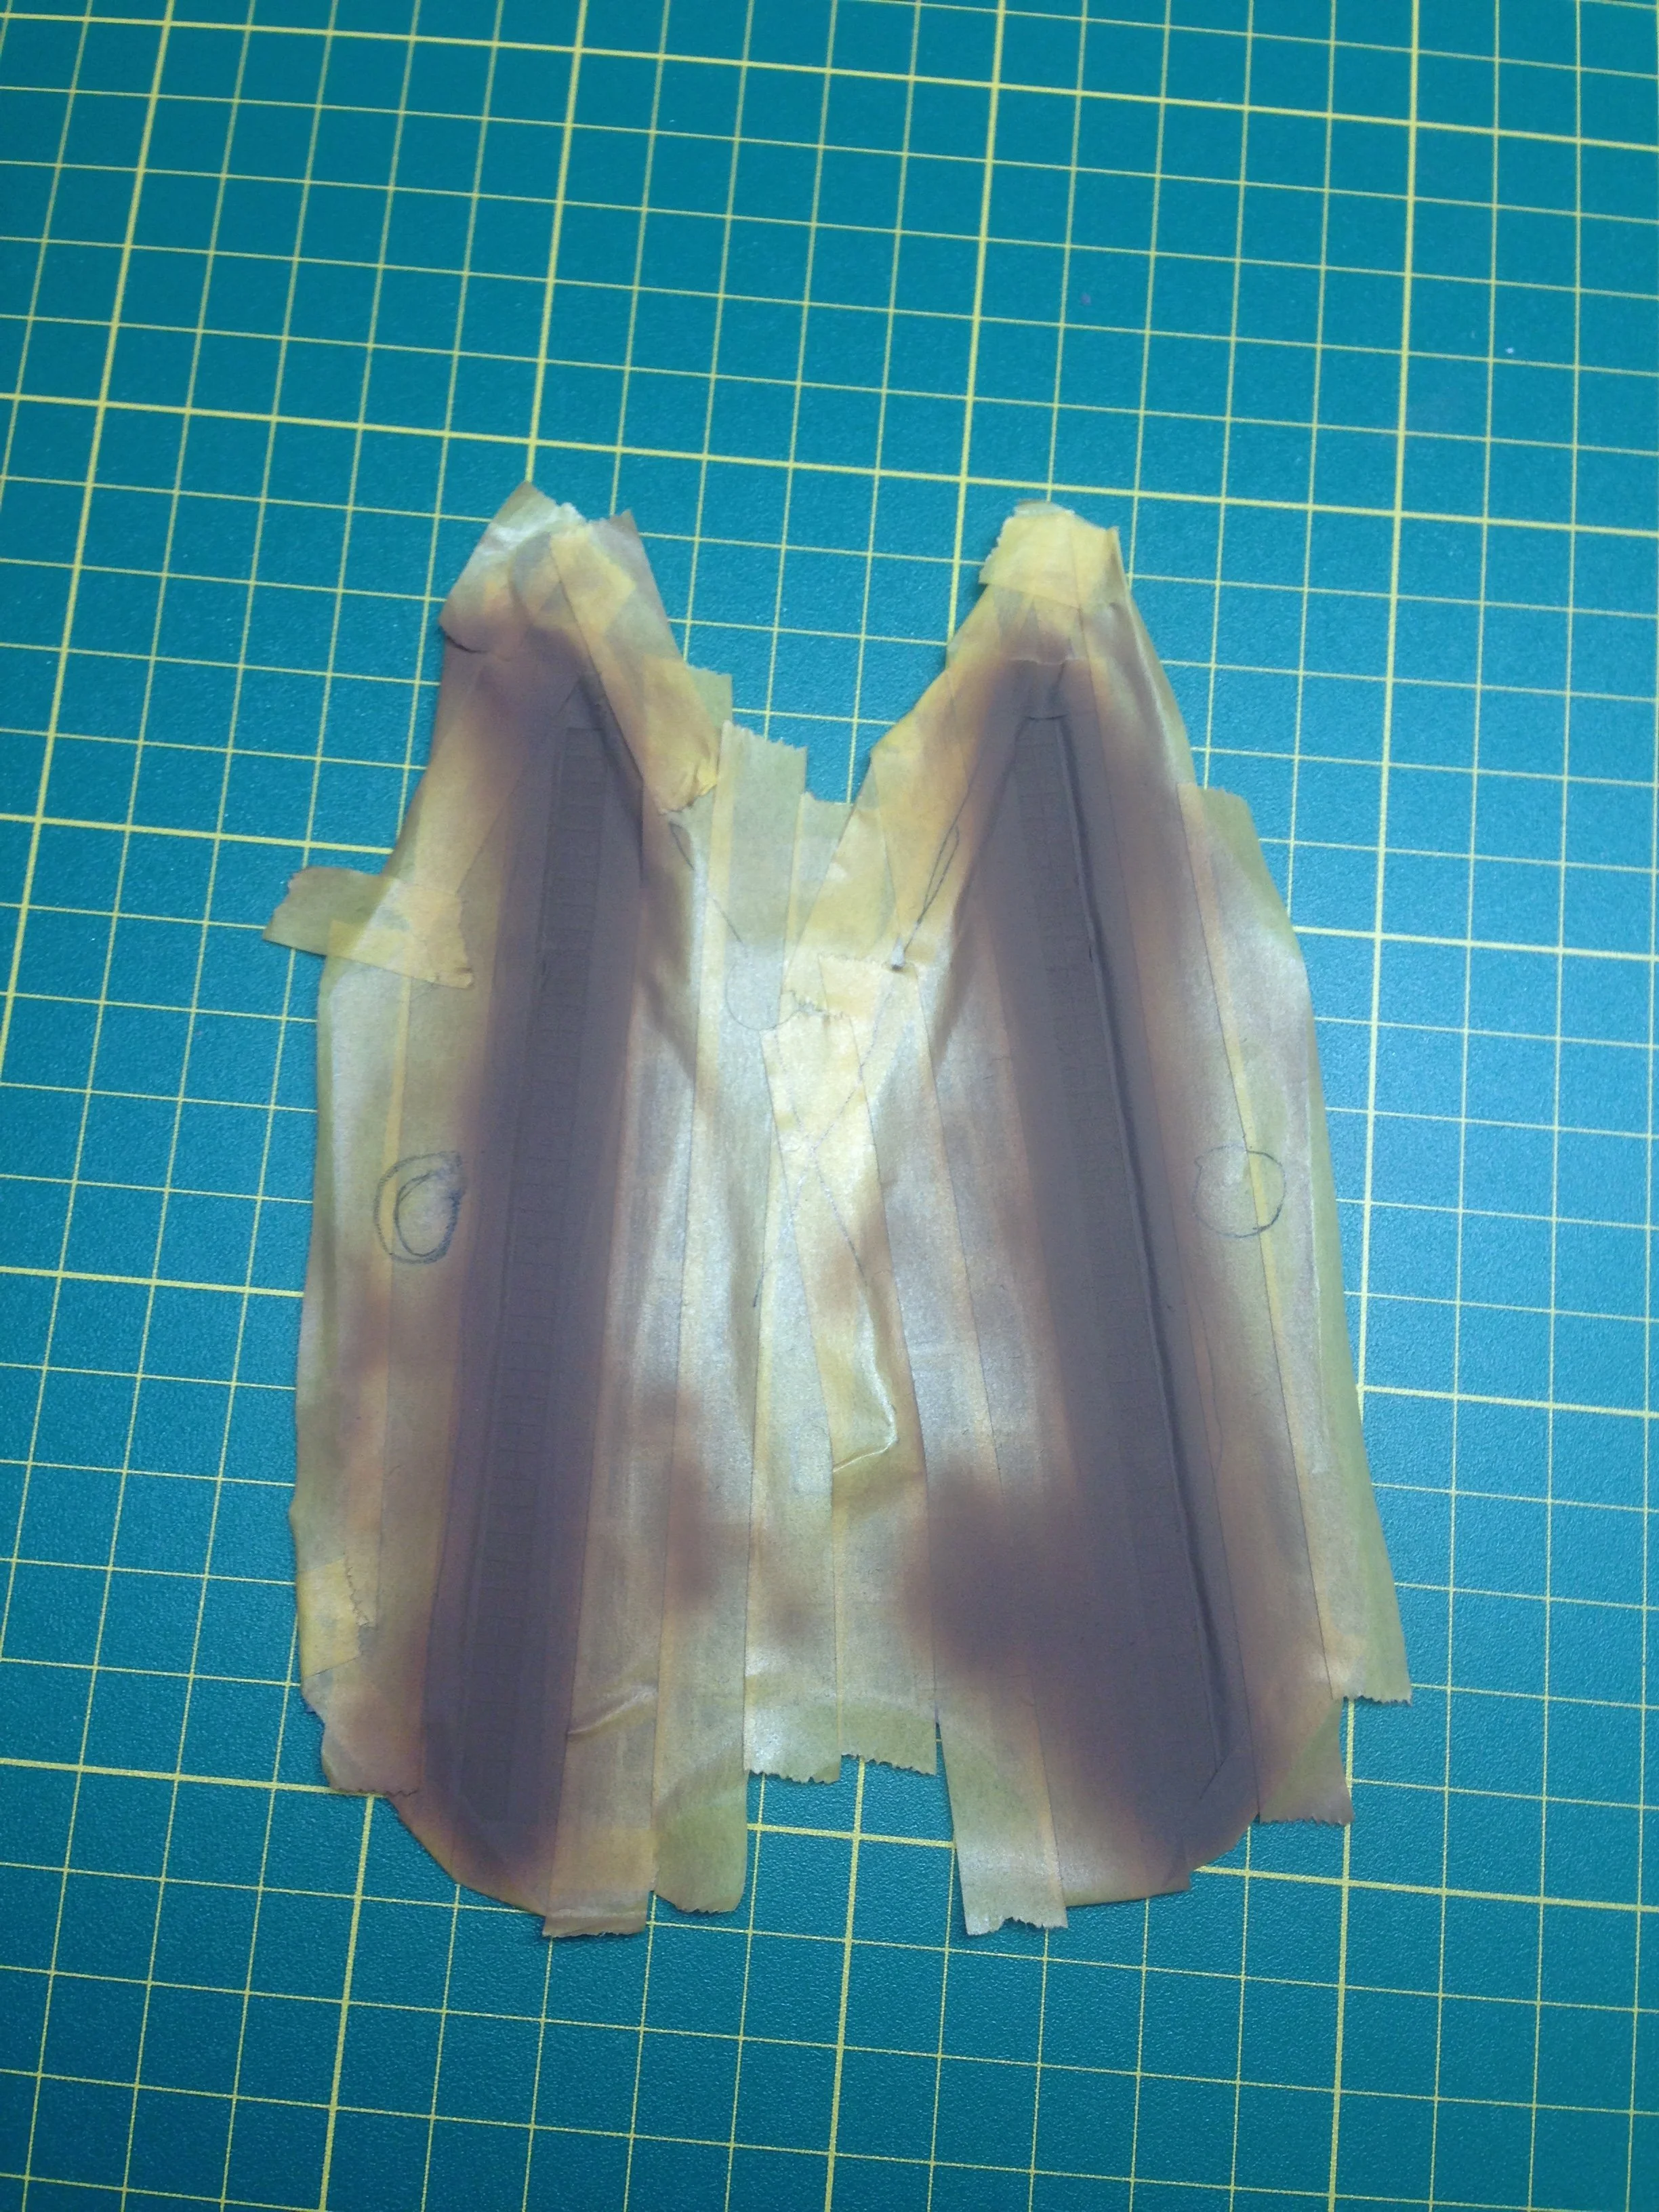
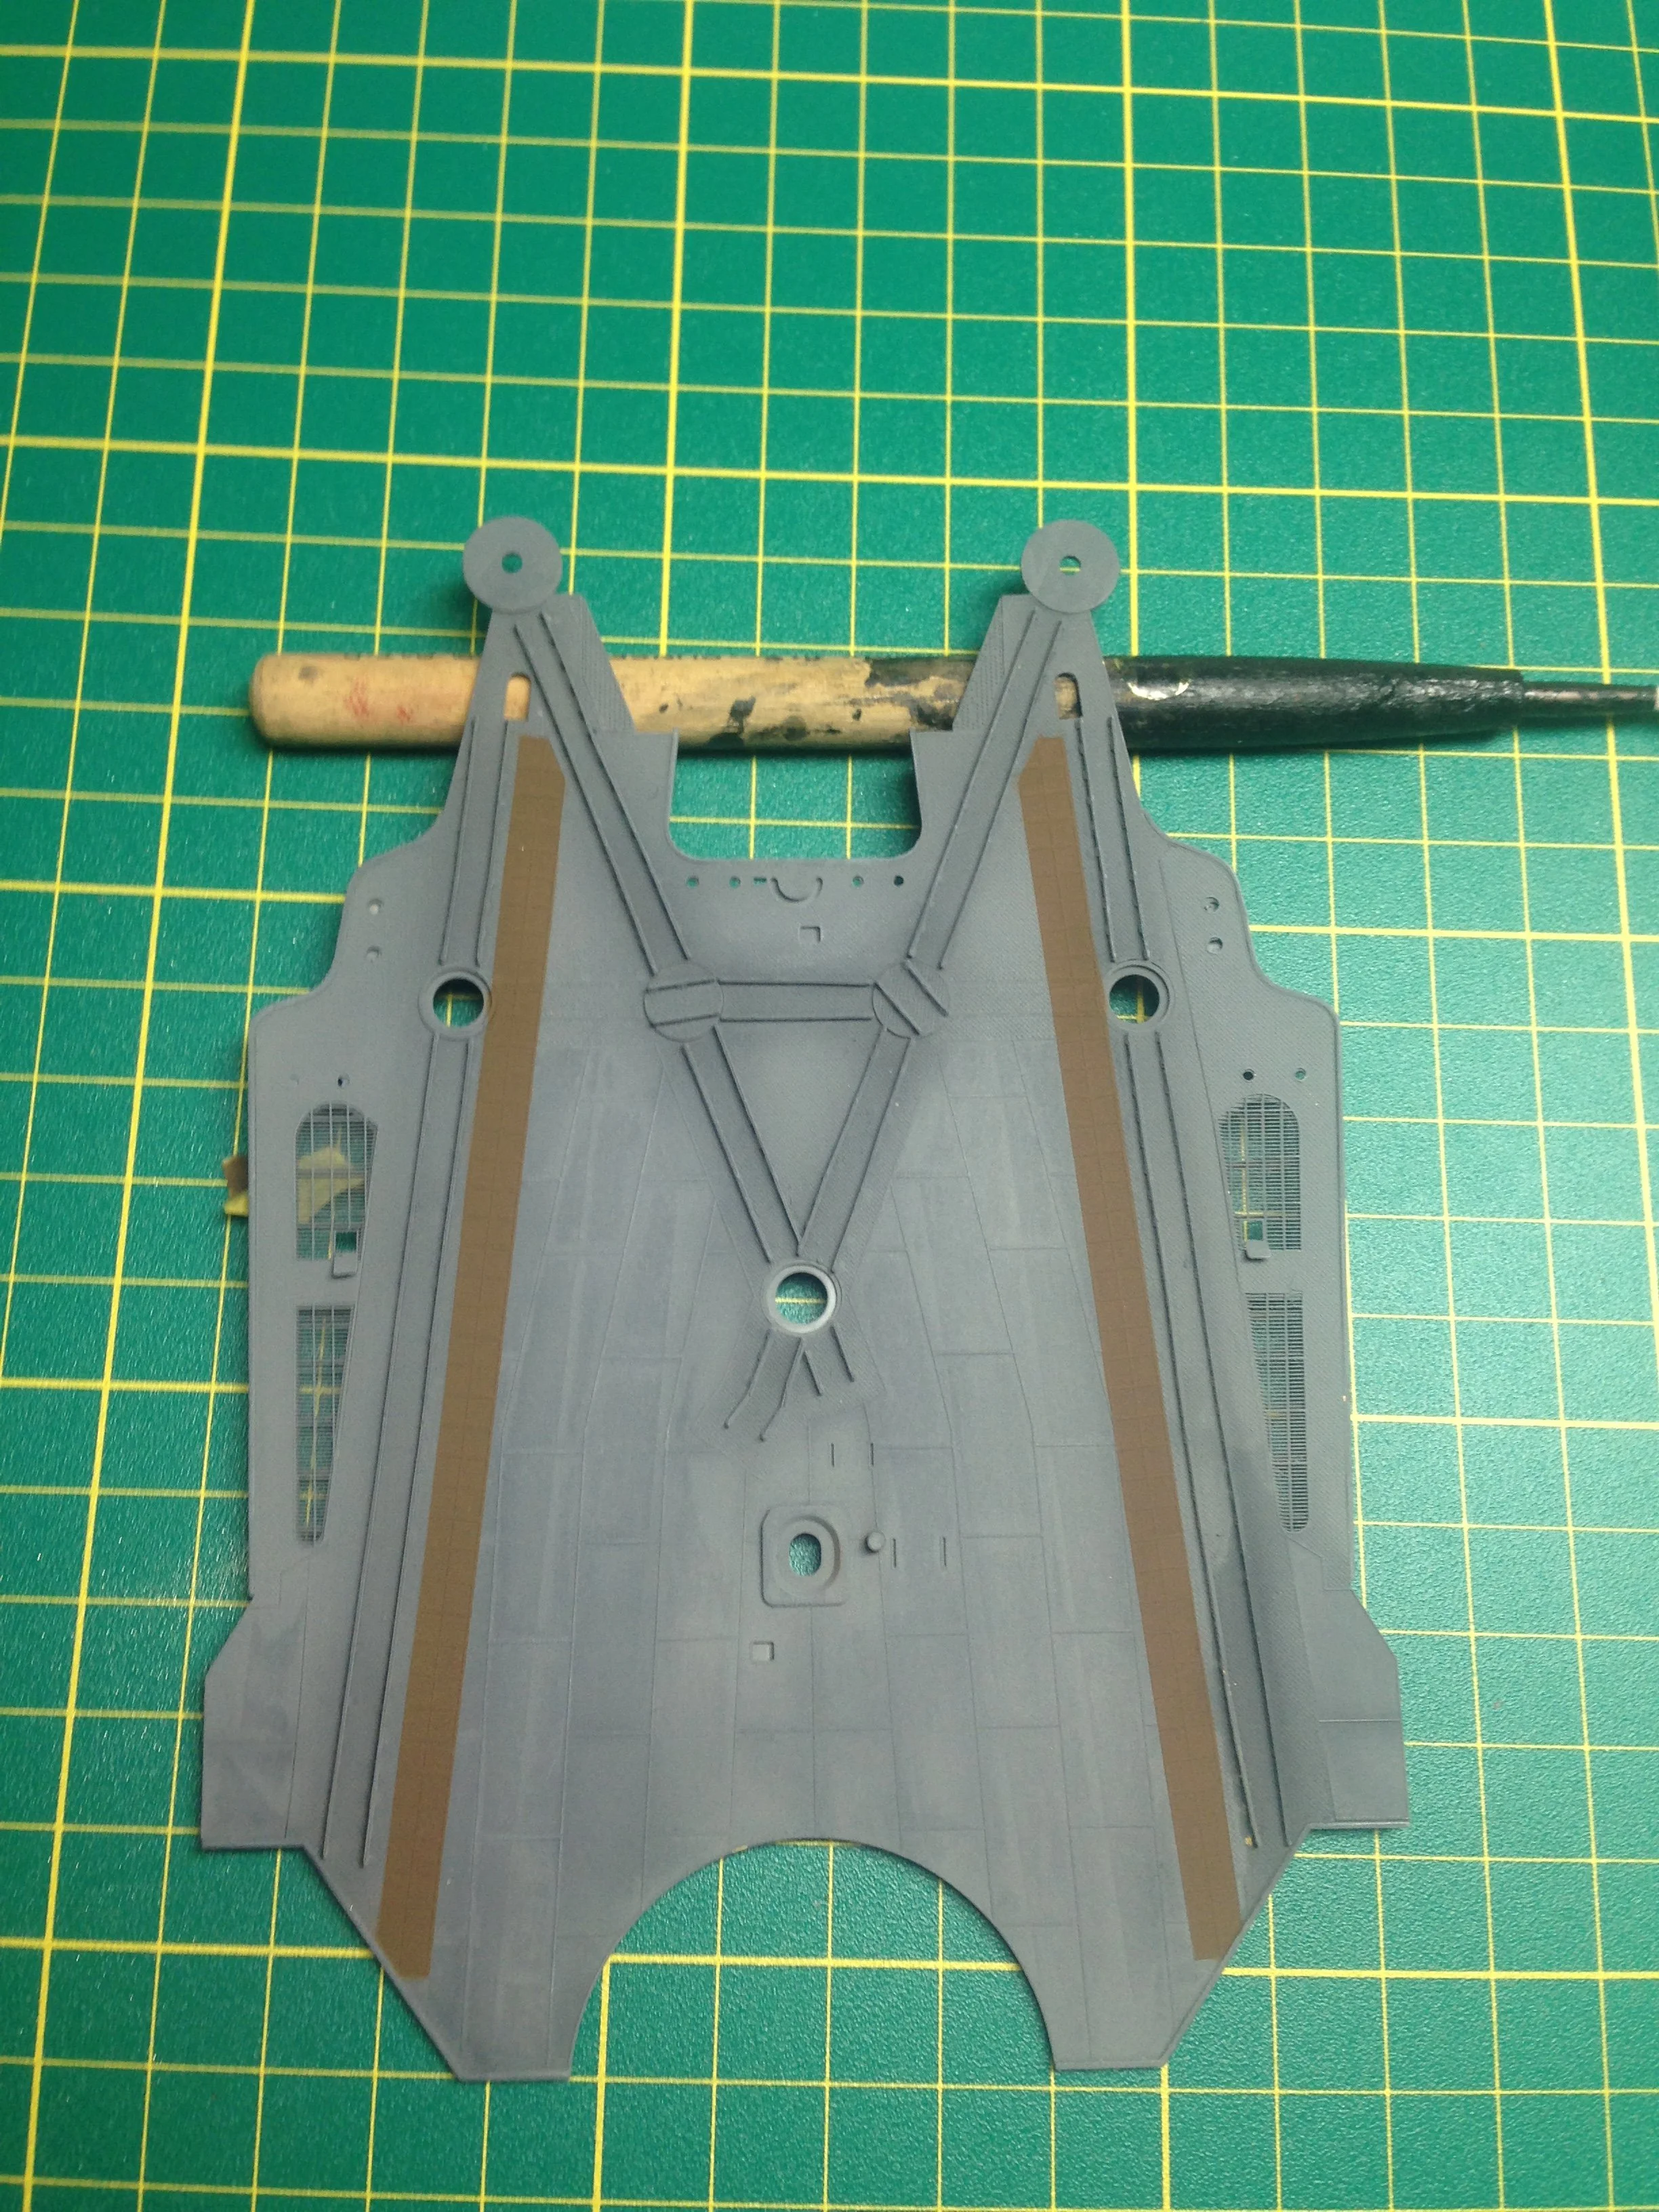
Side
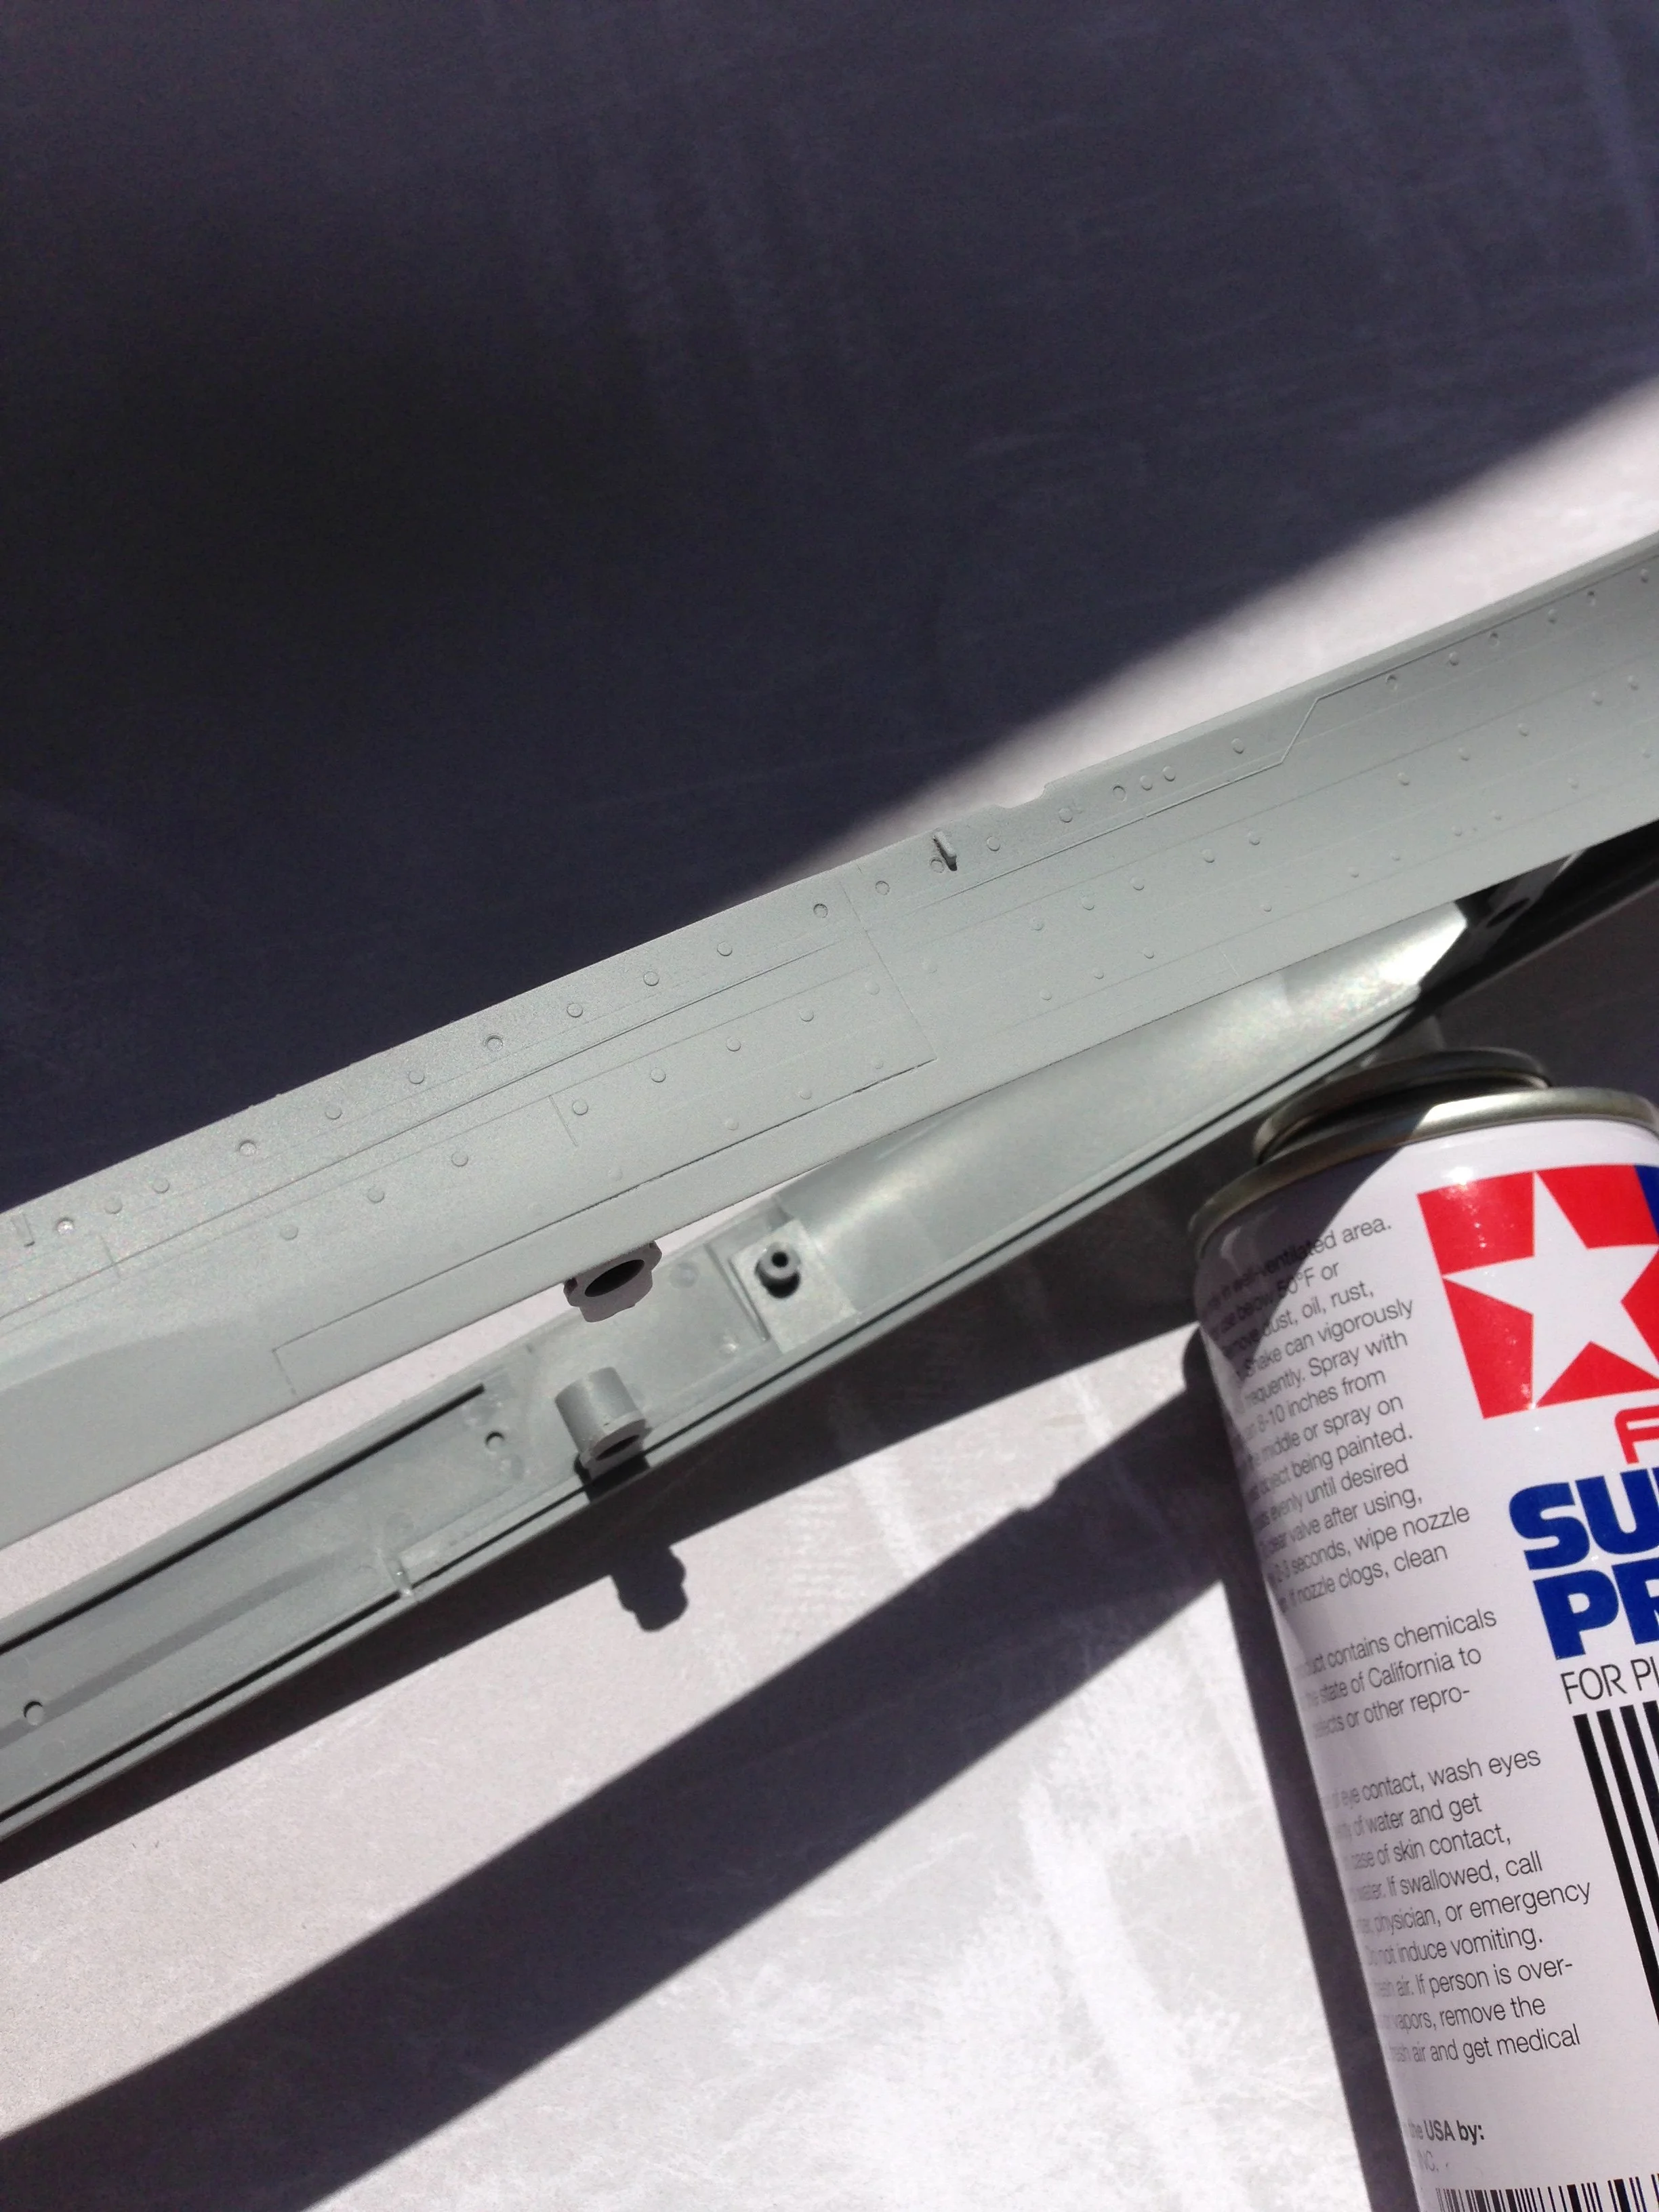
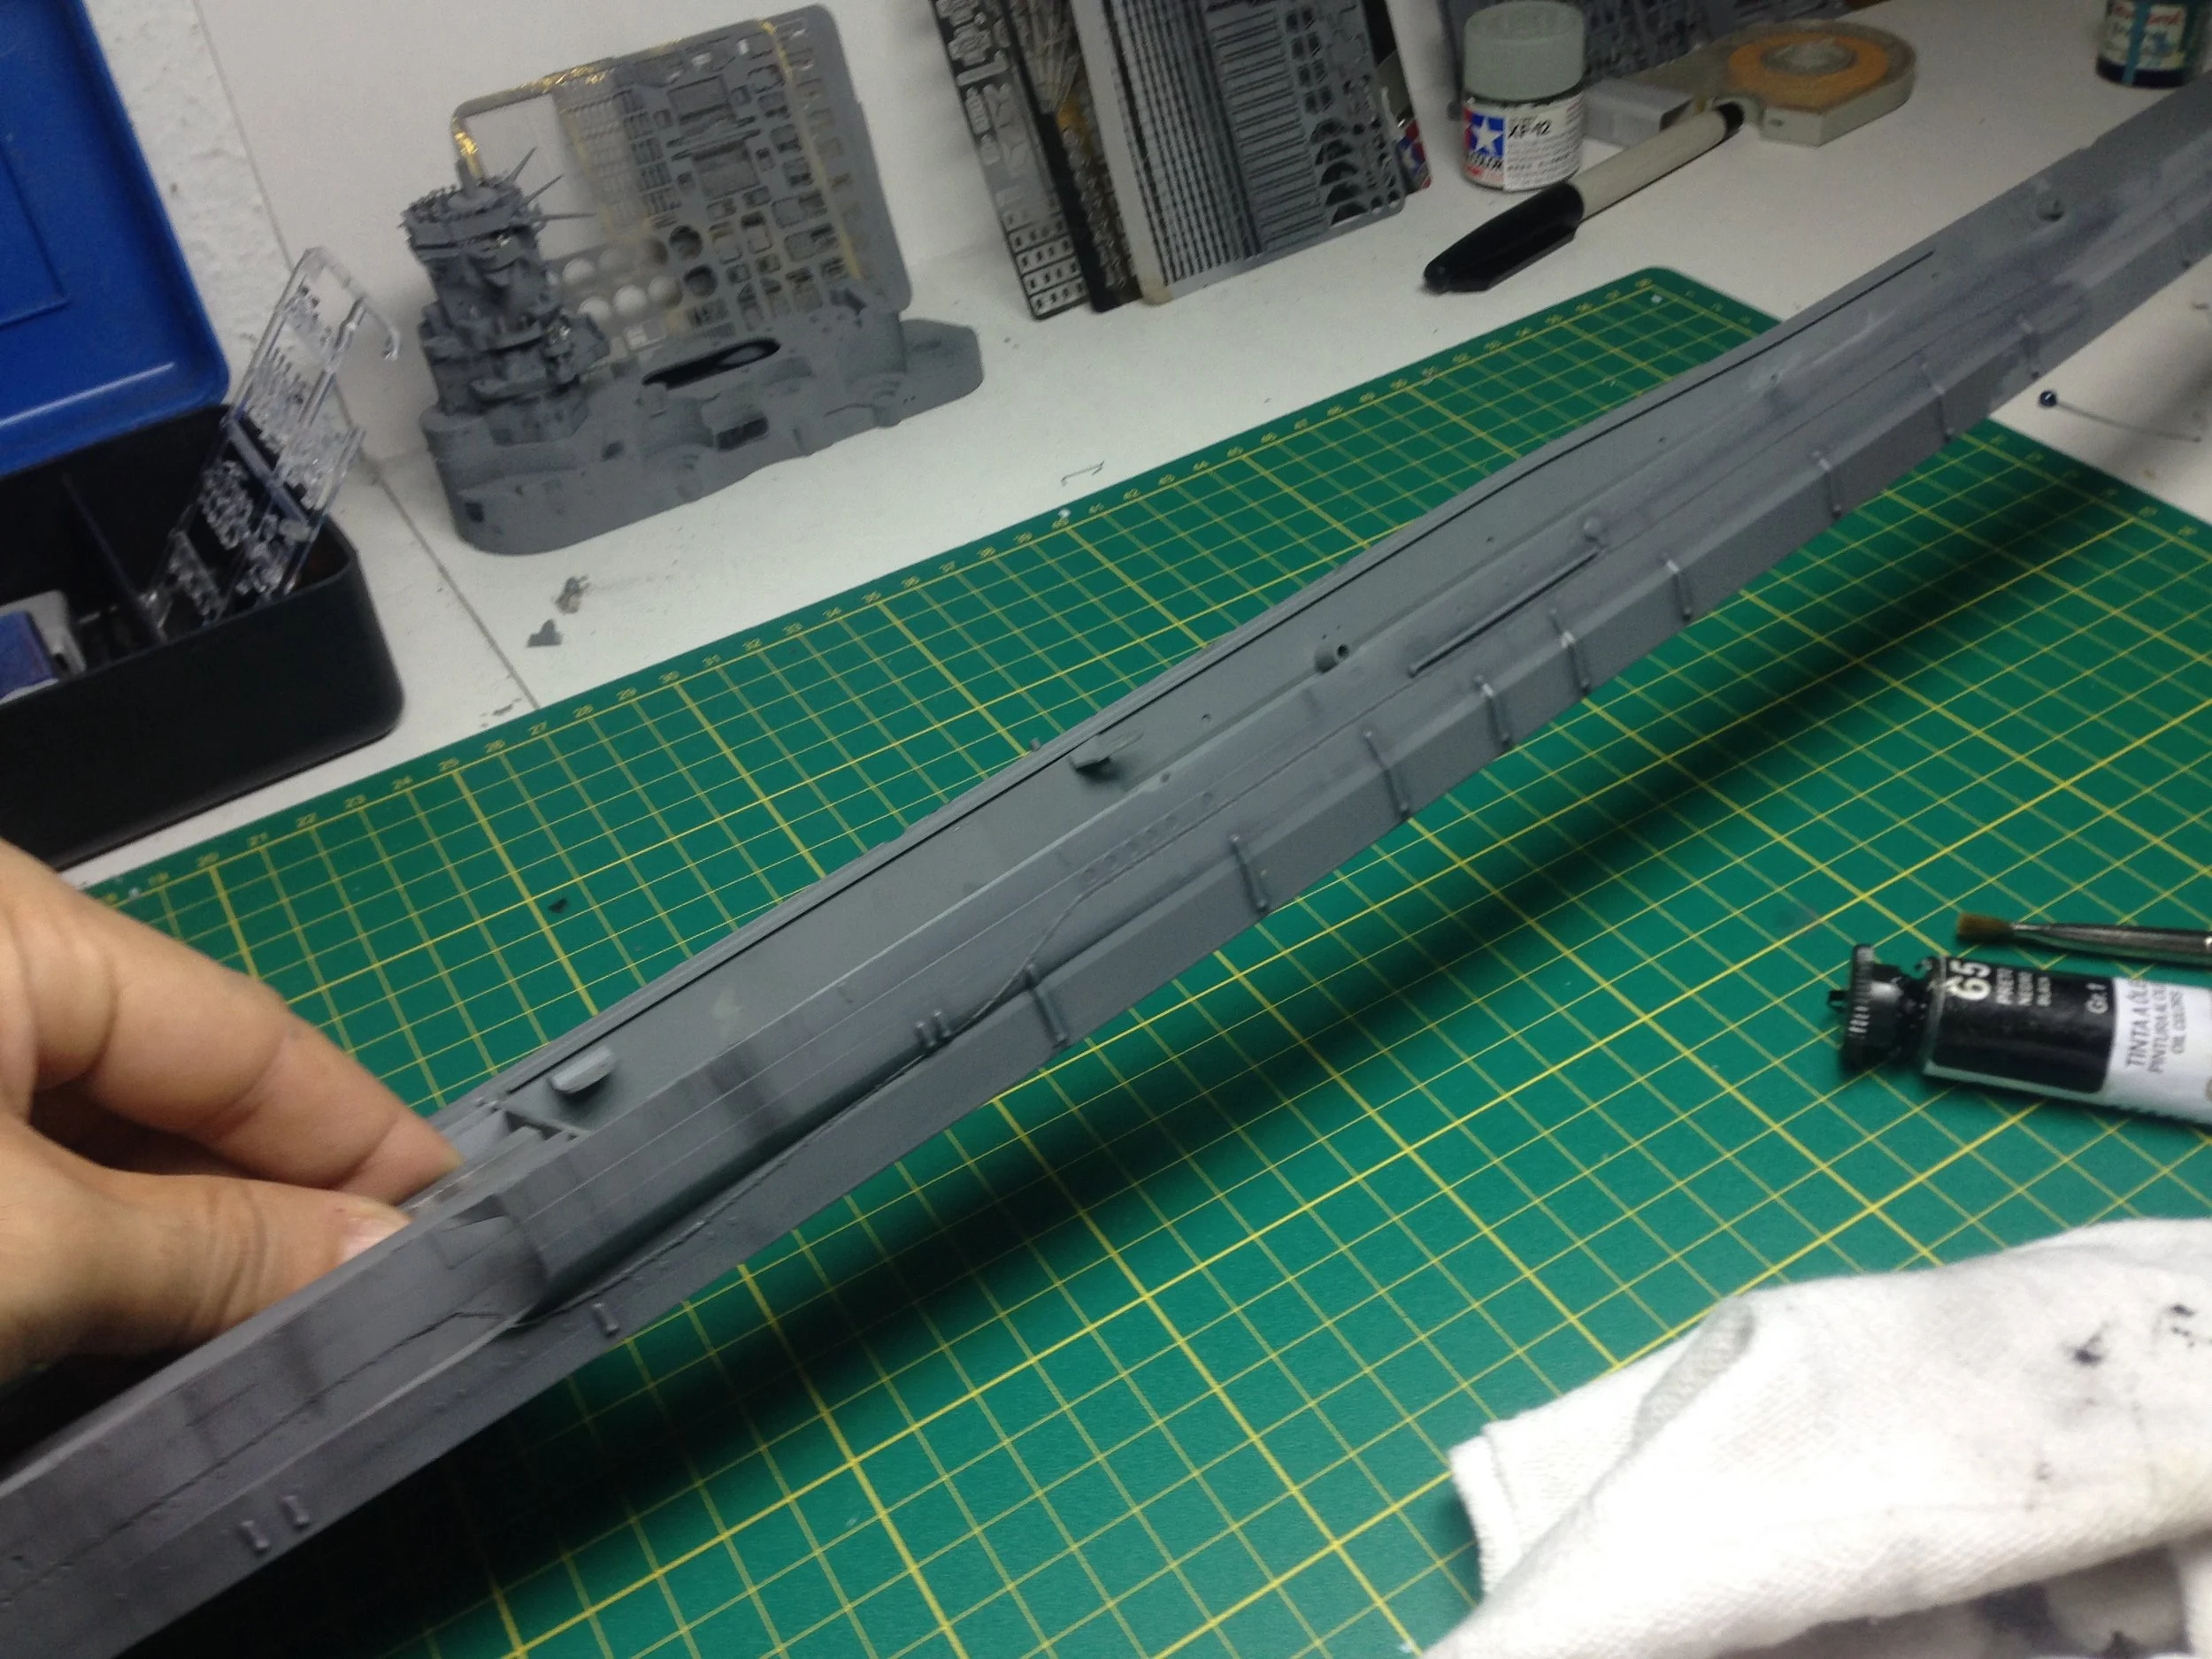
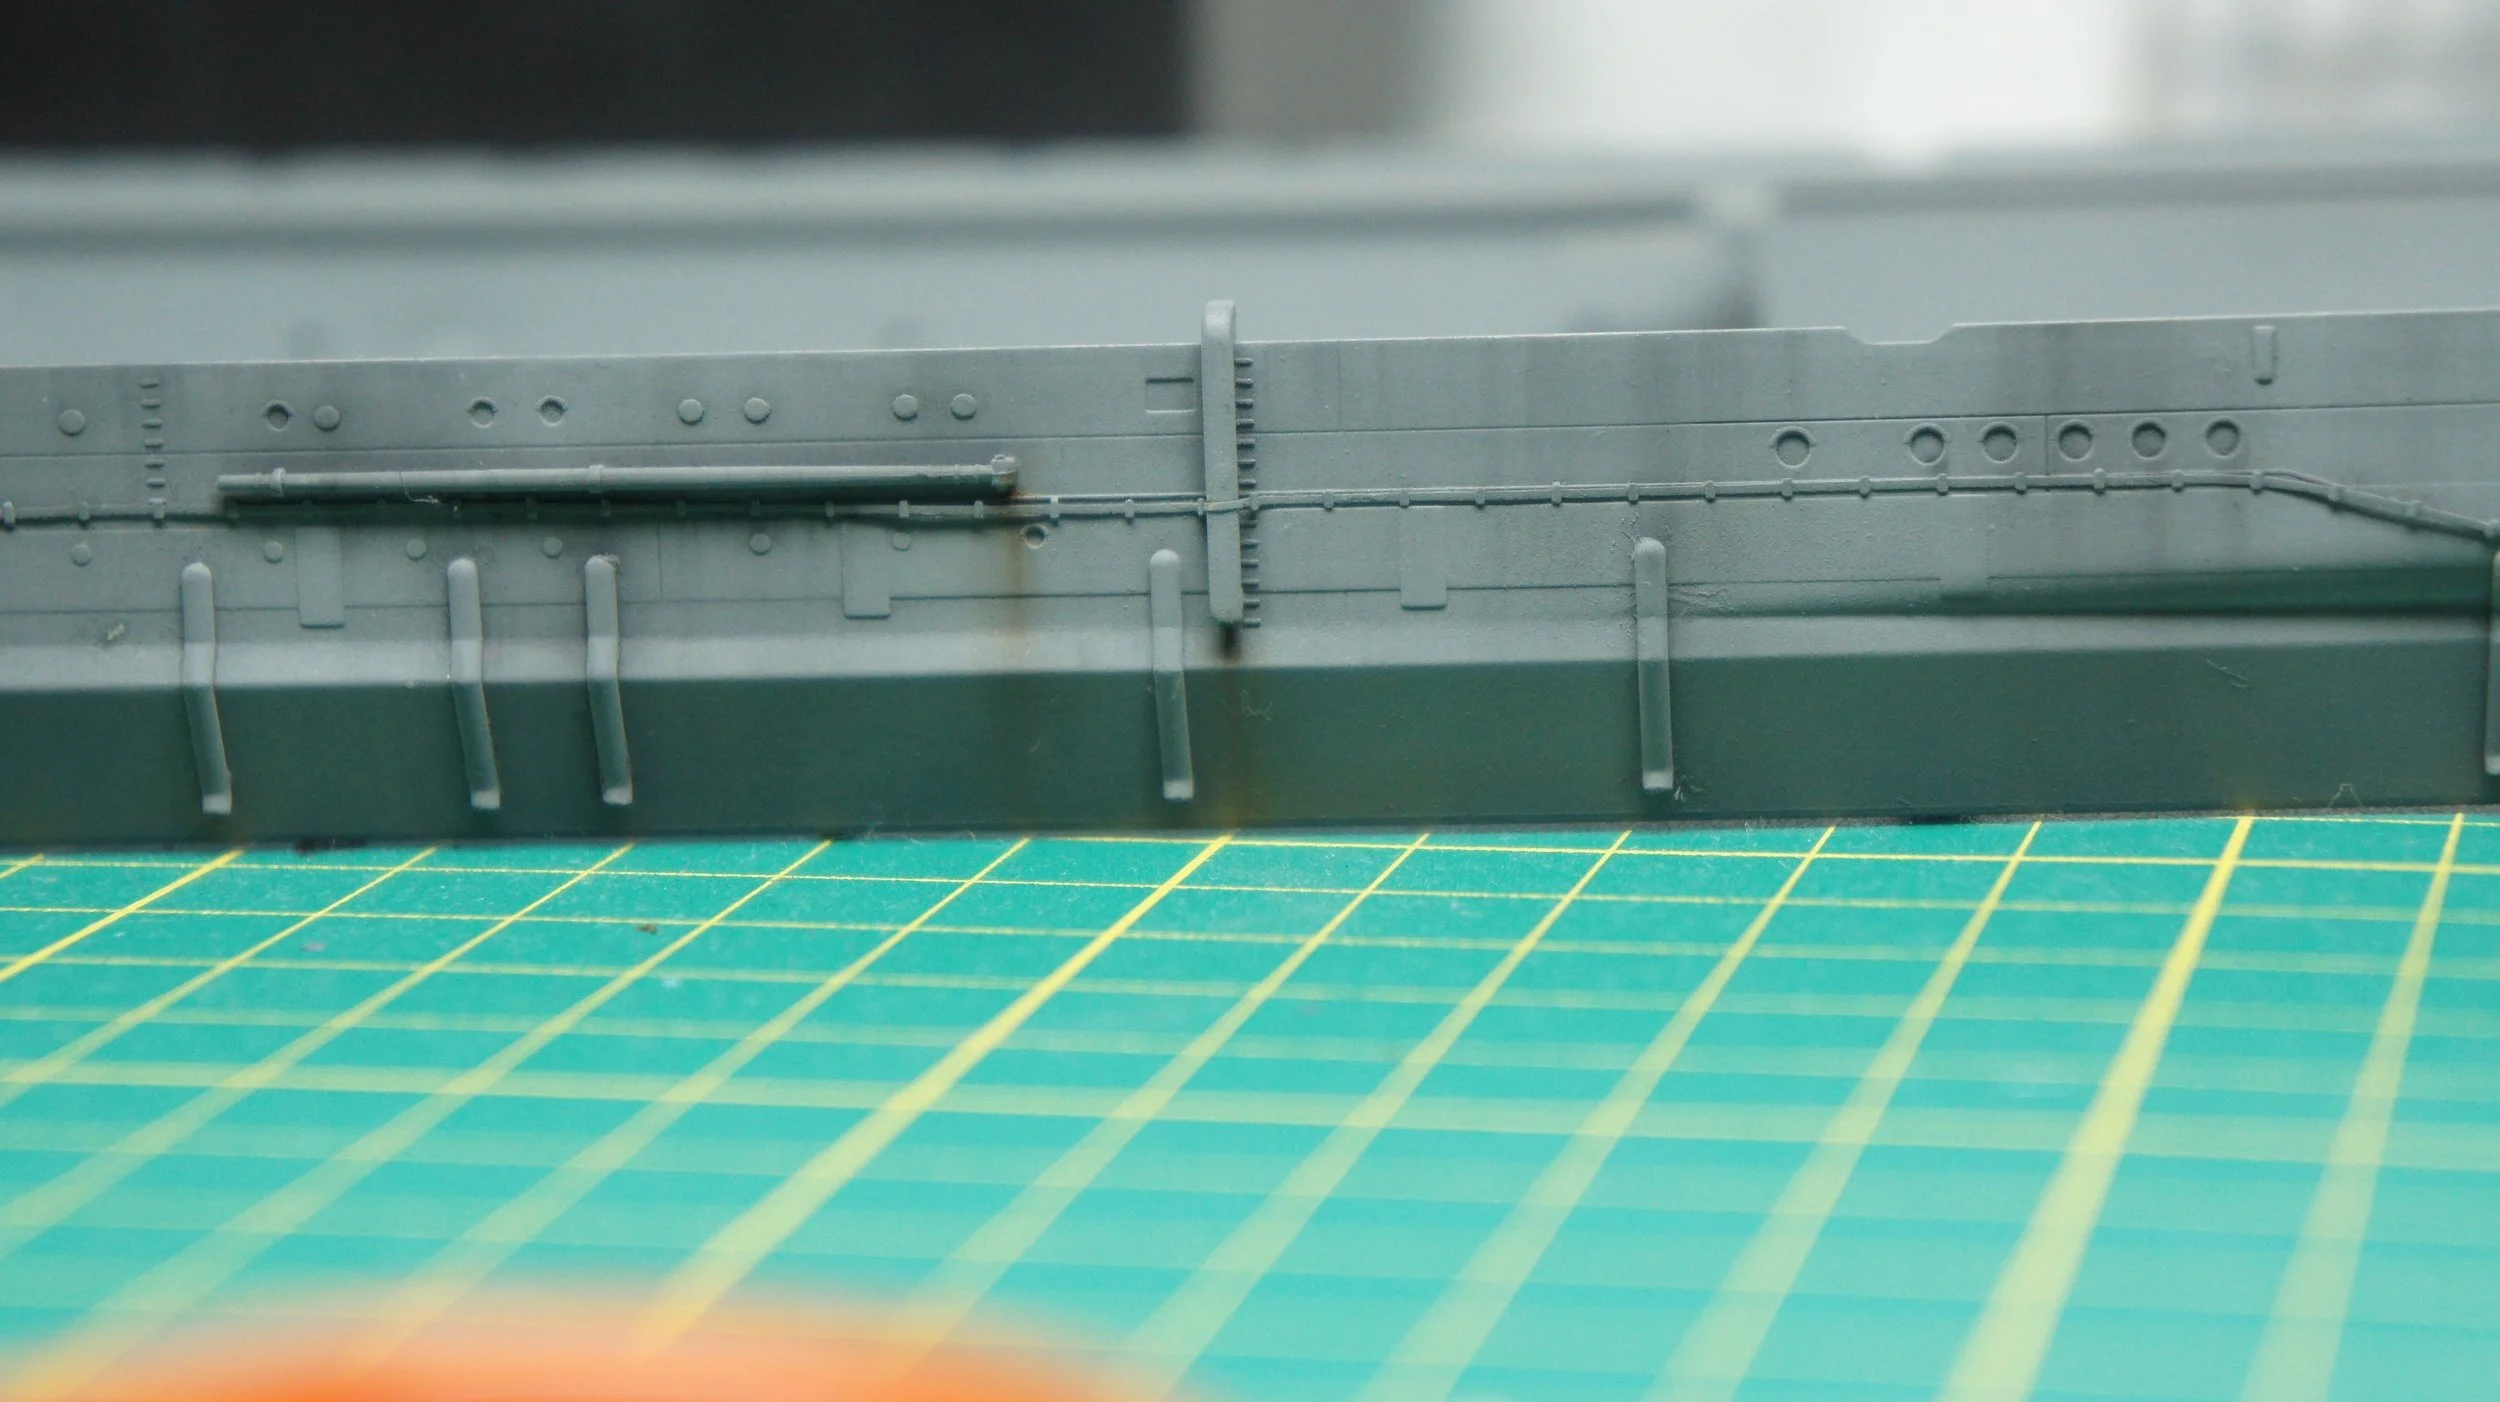
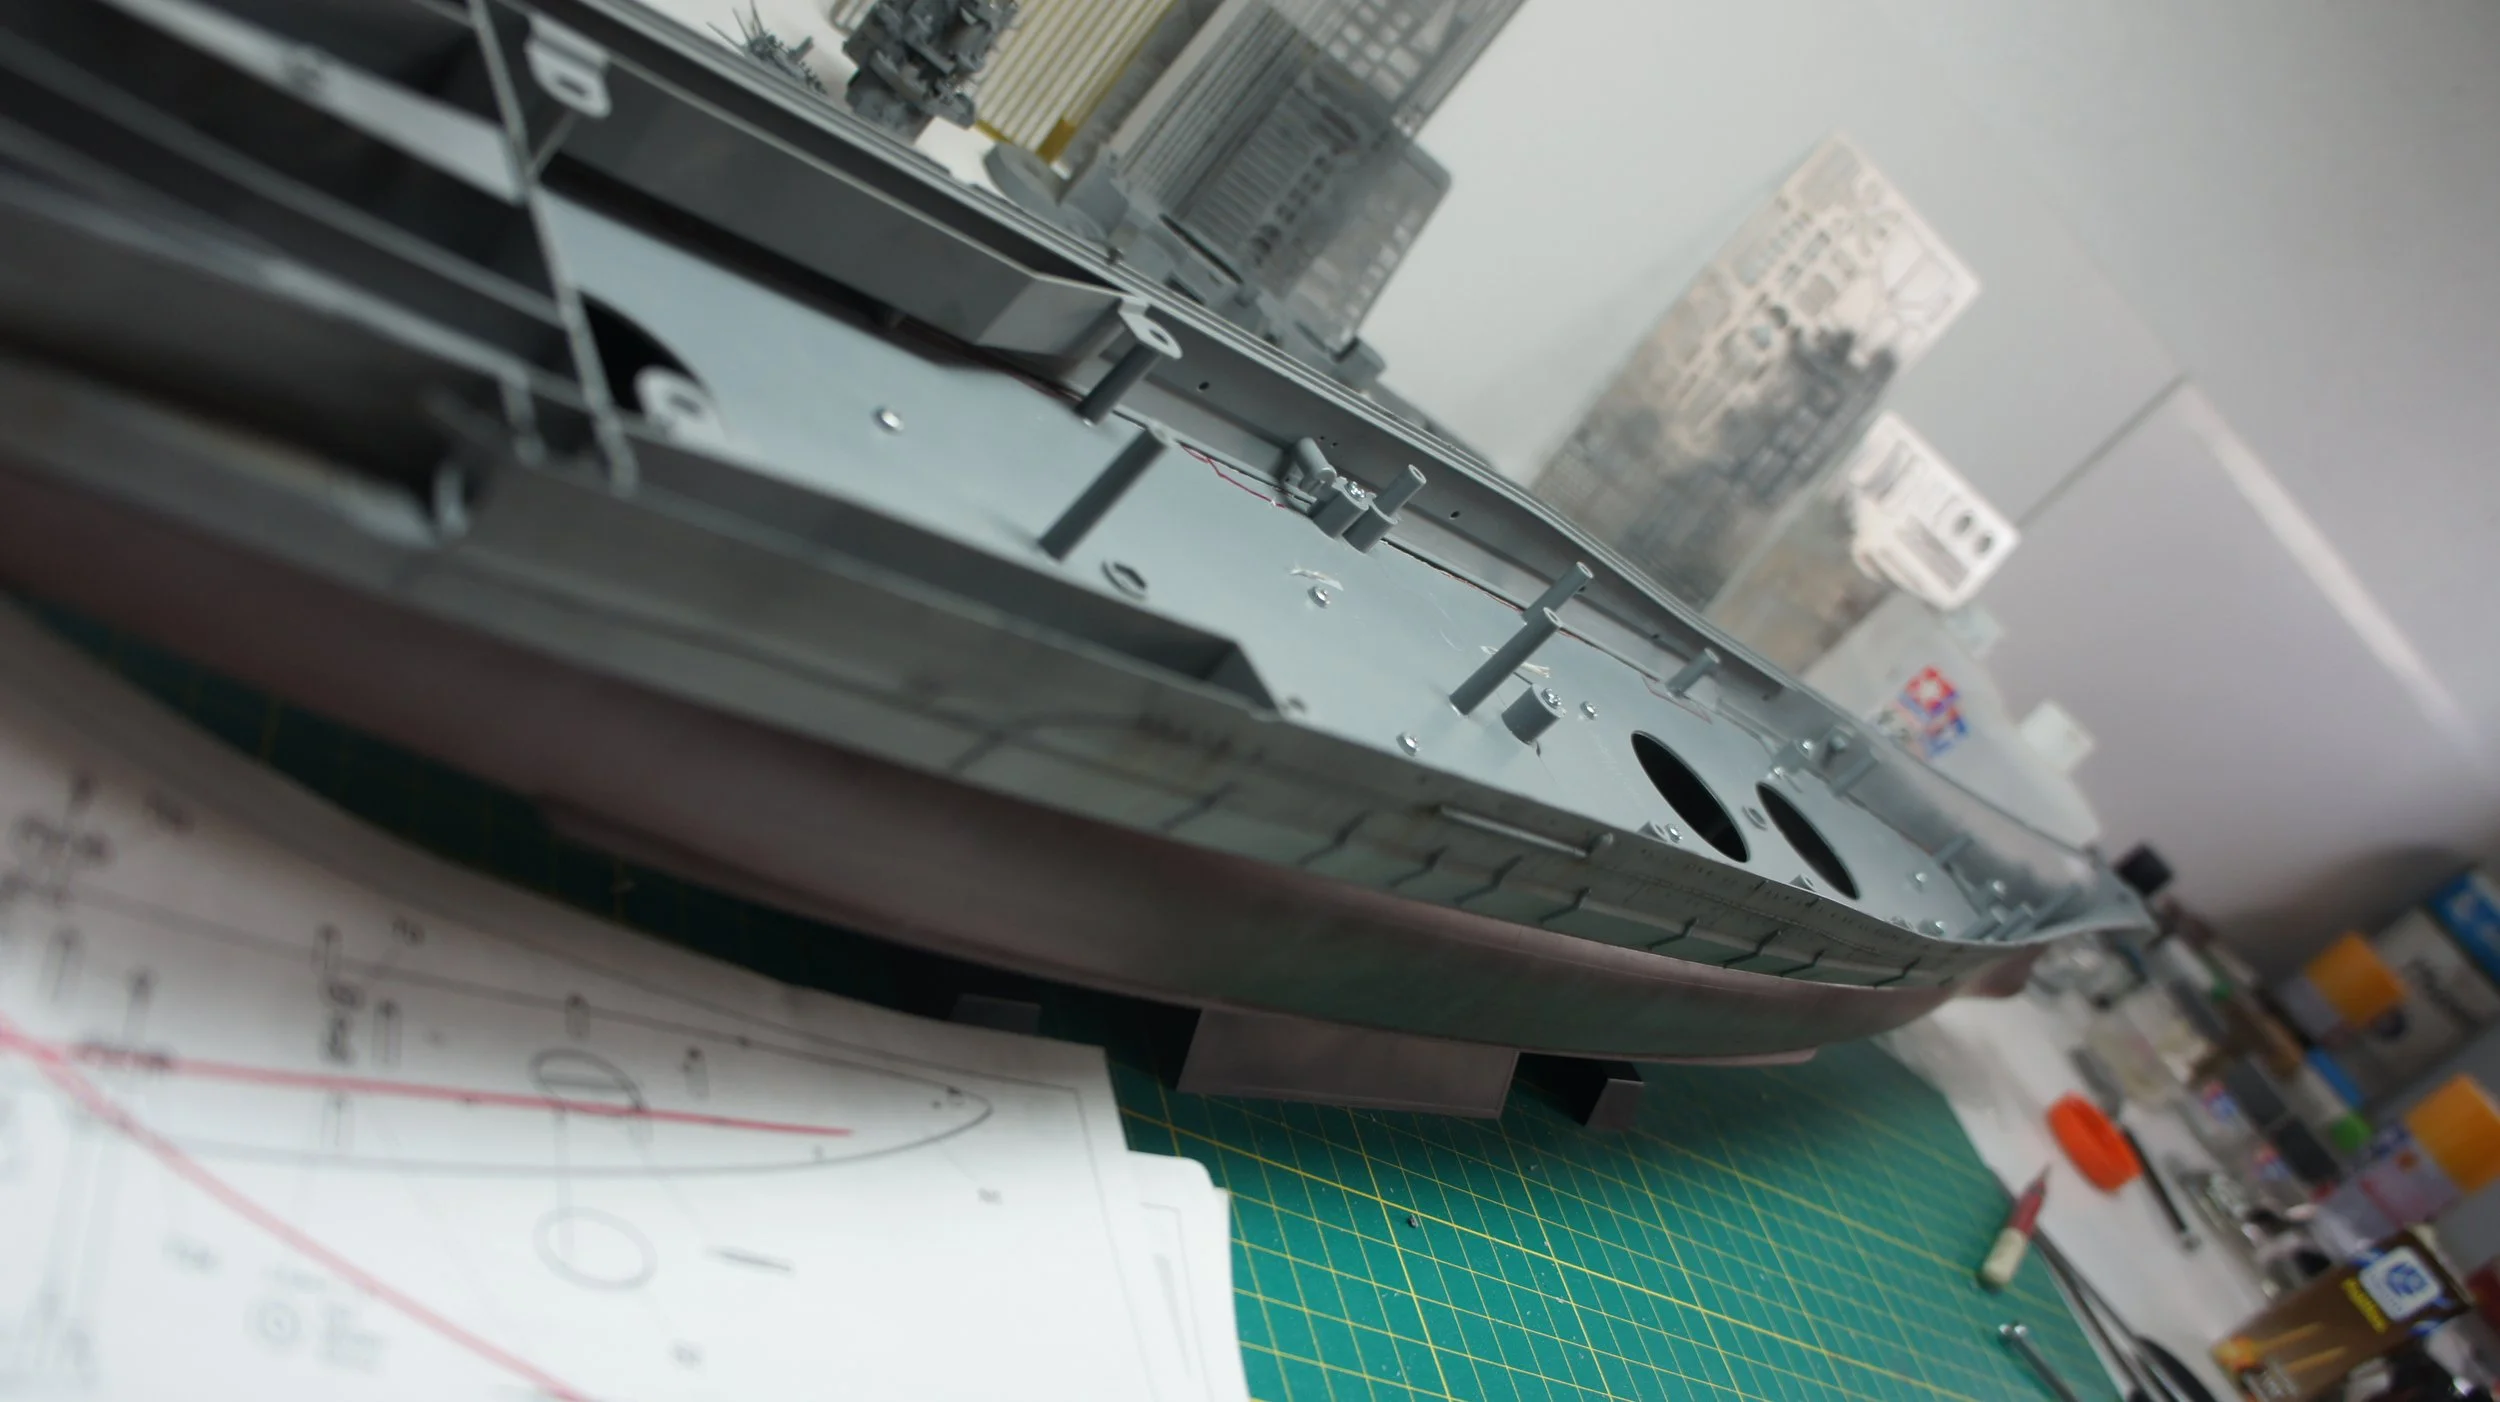
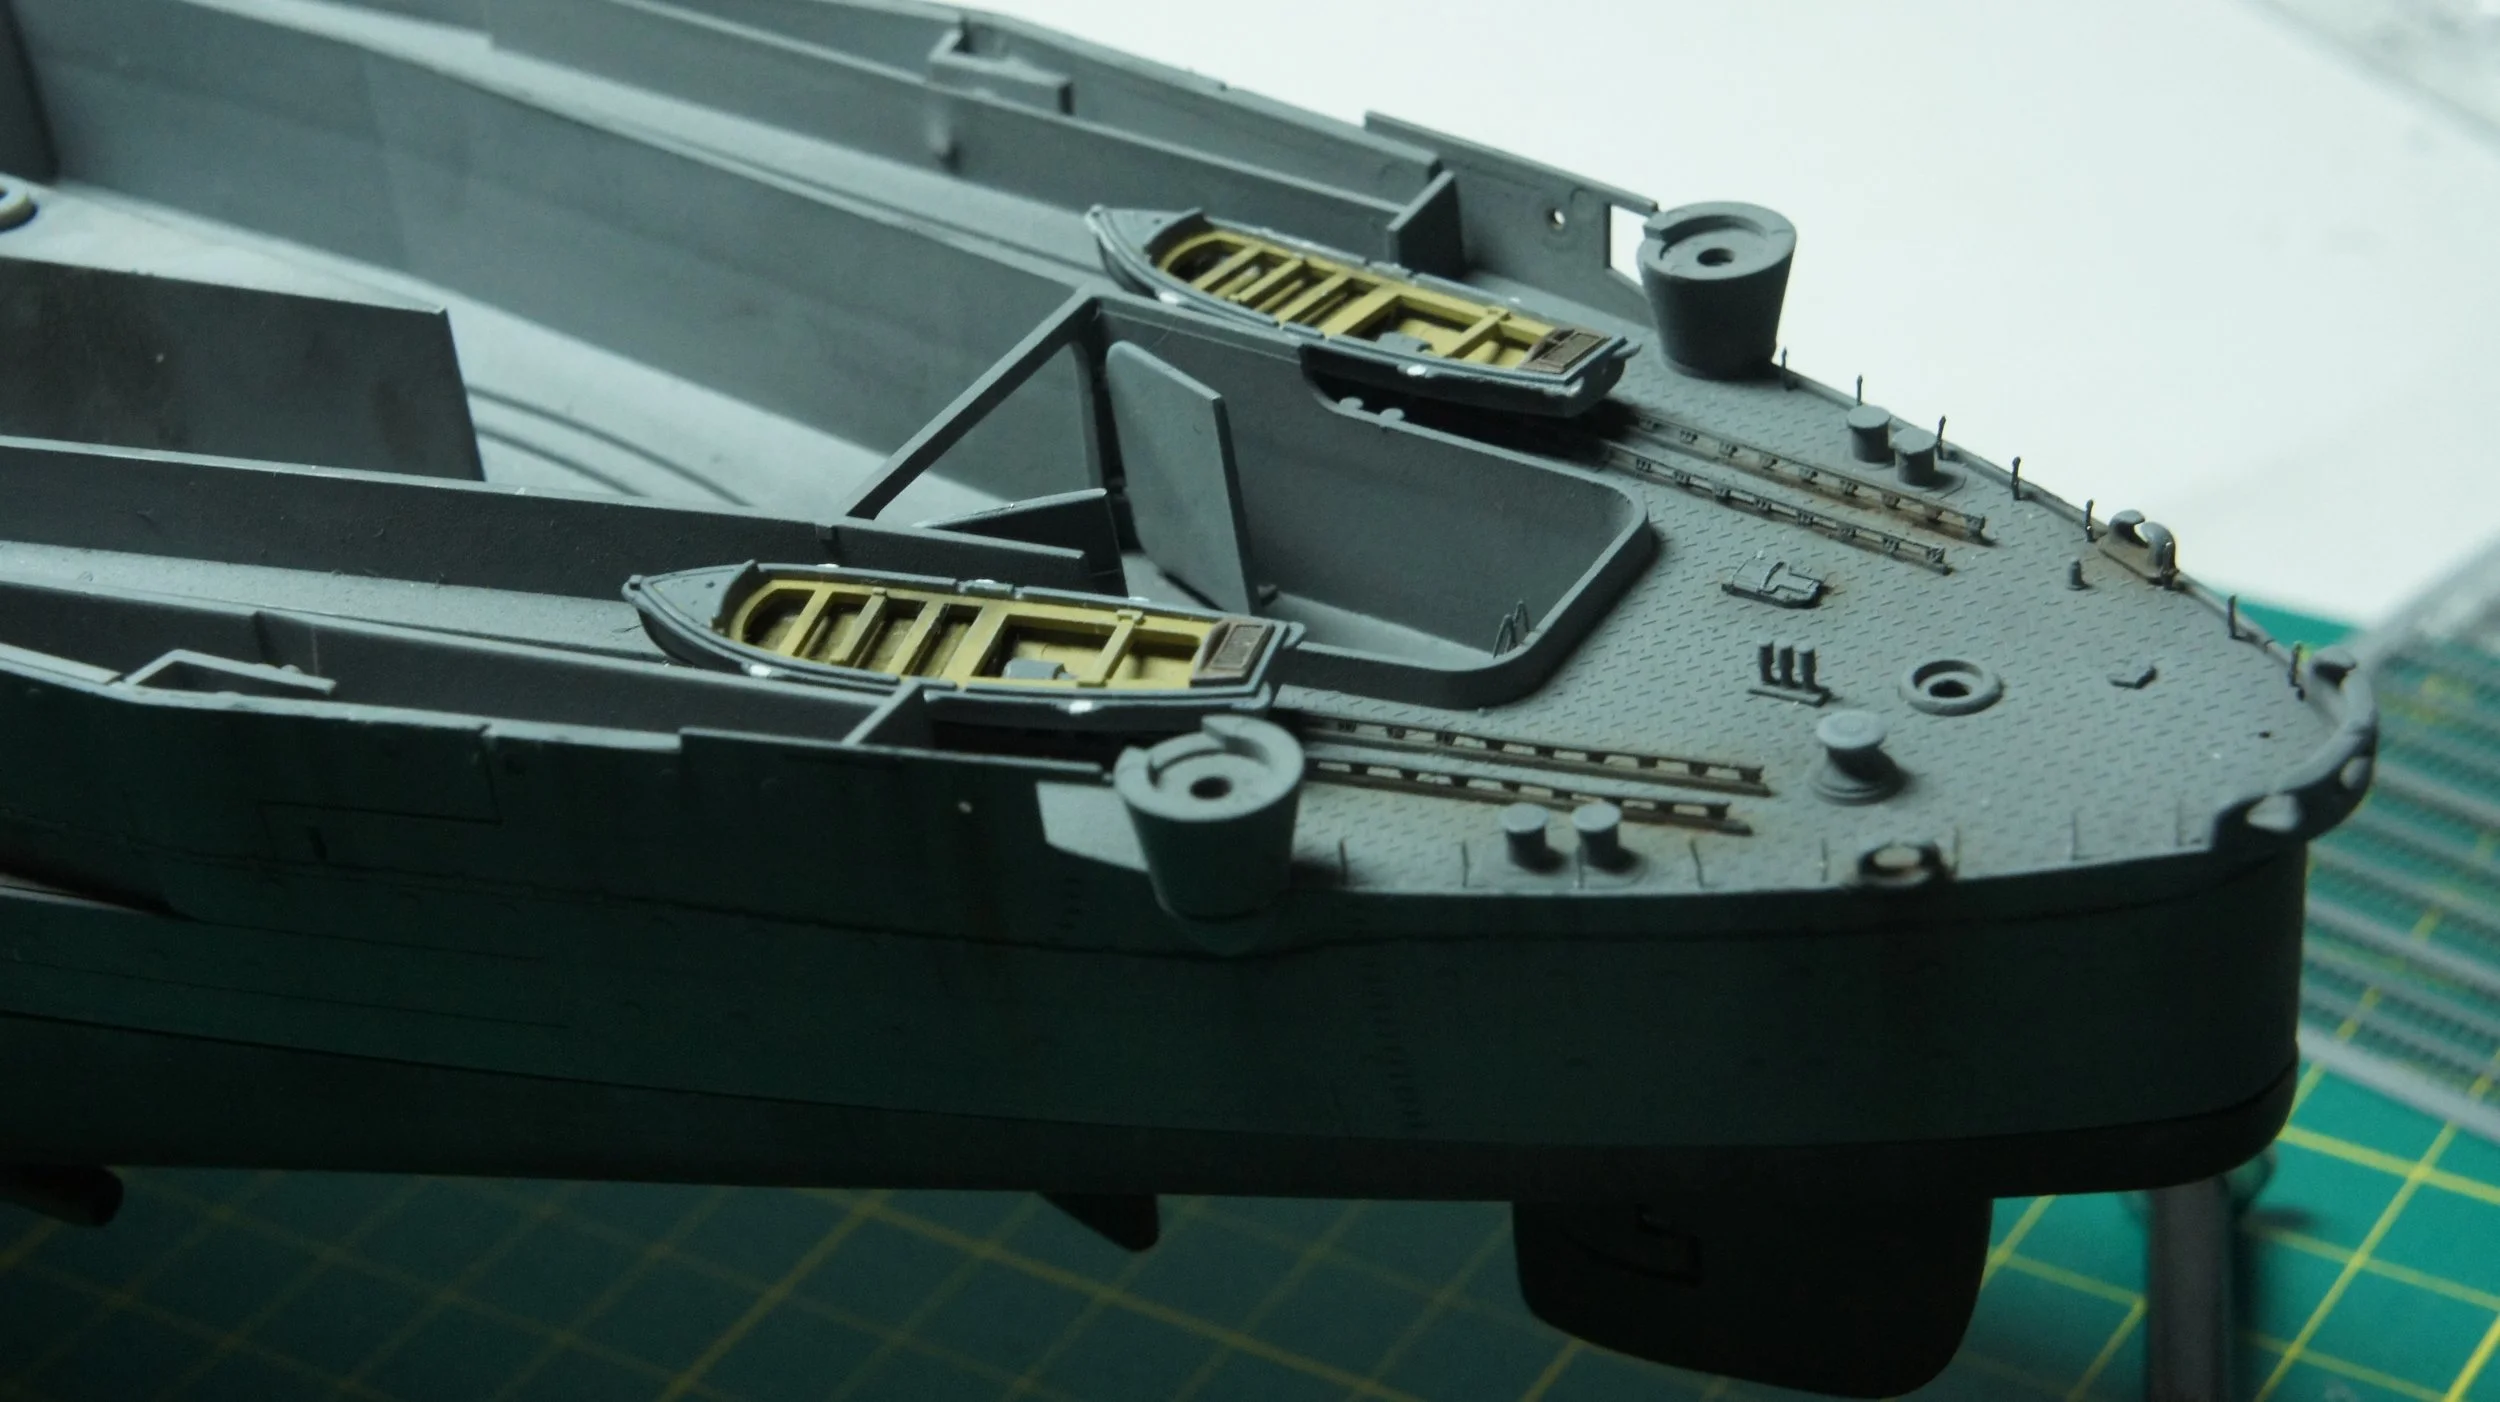
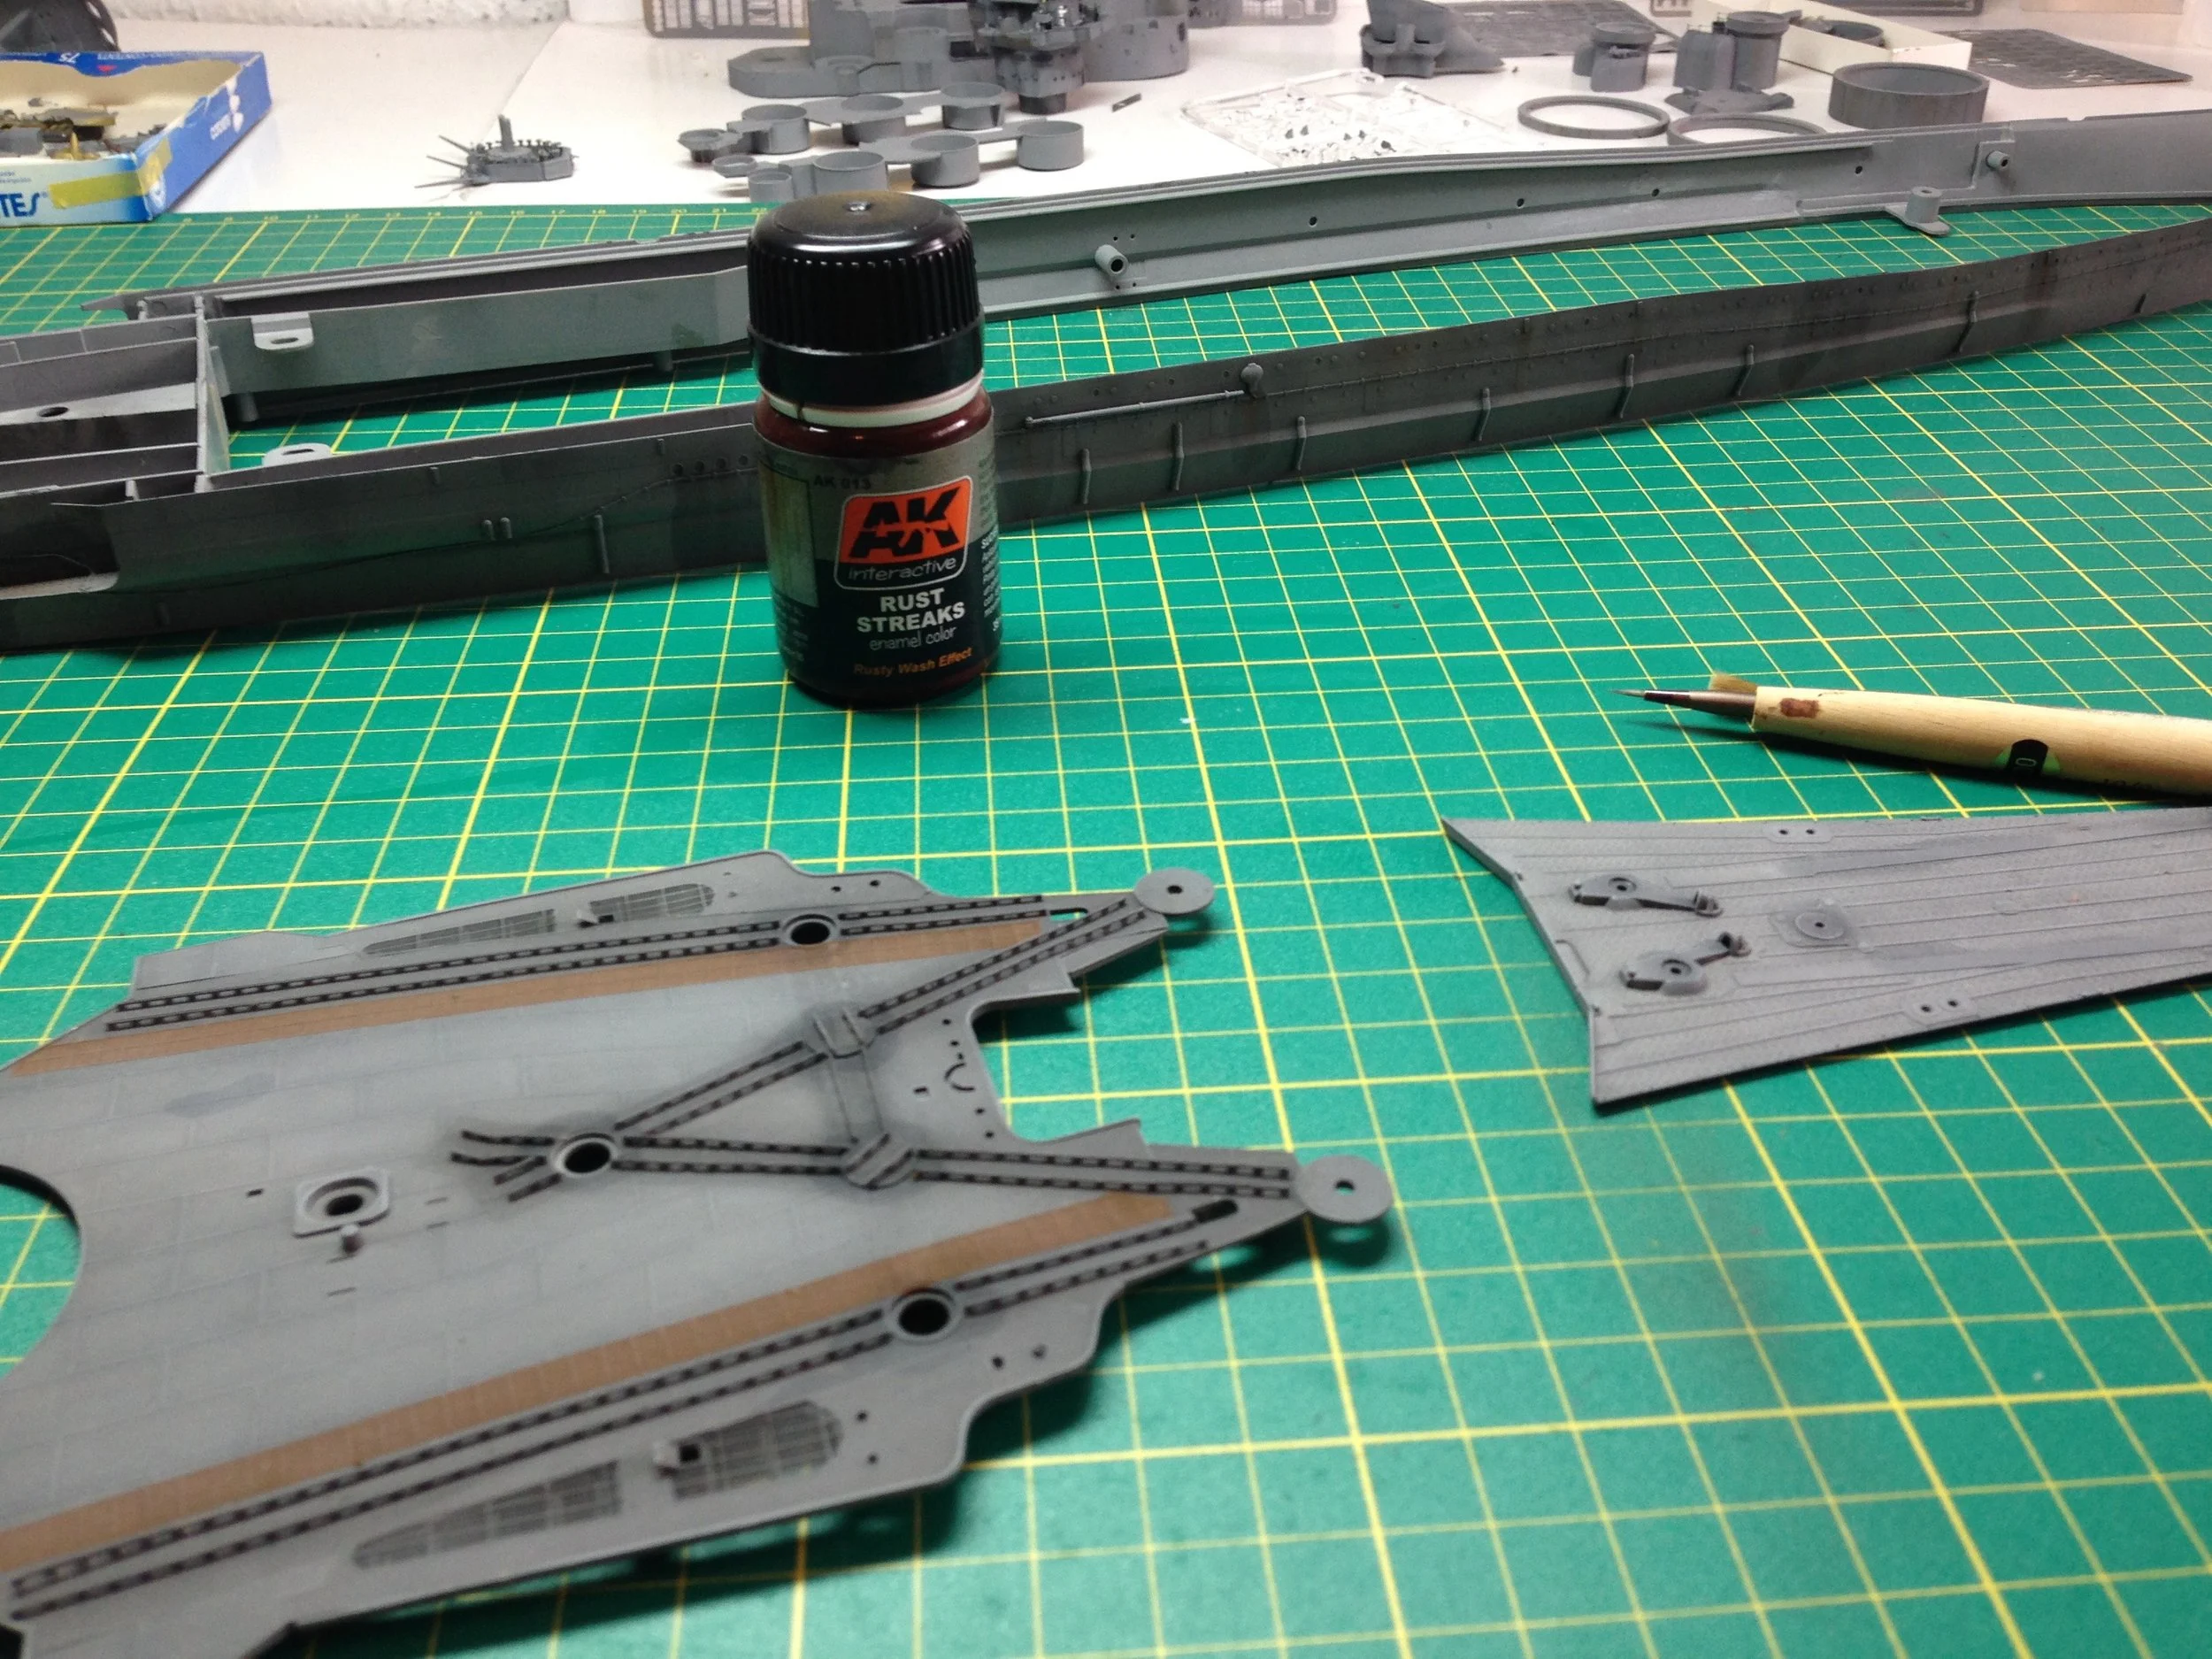
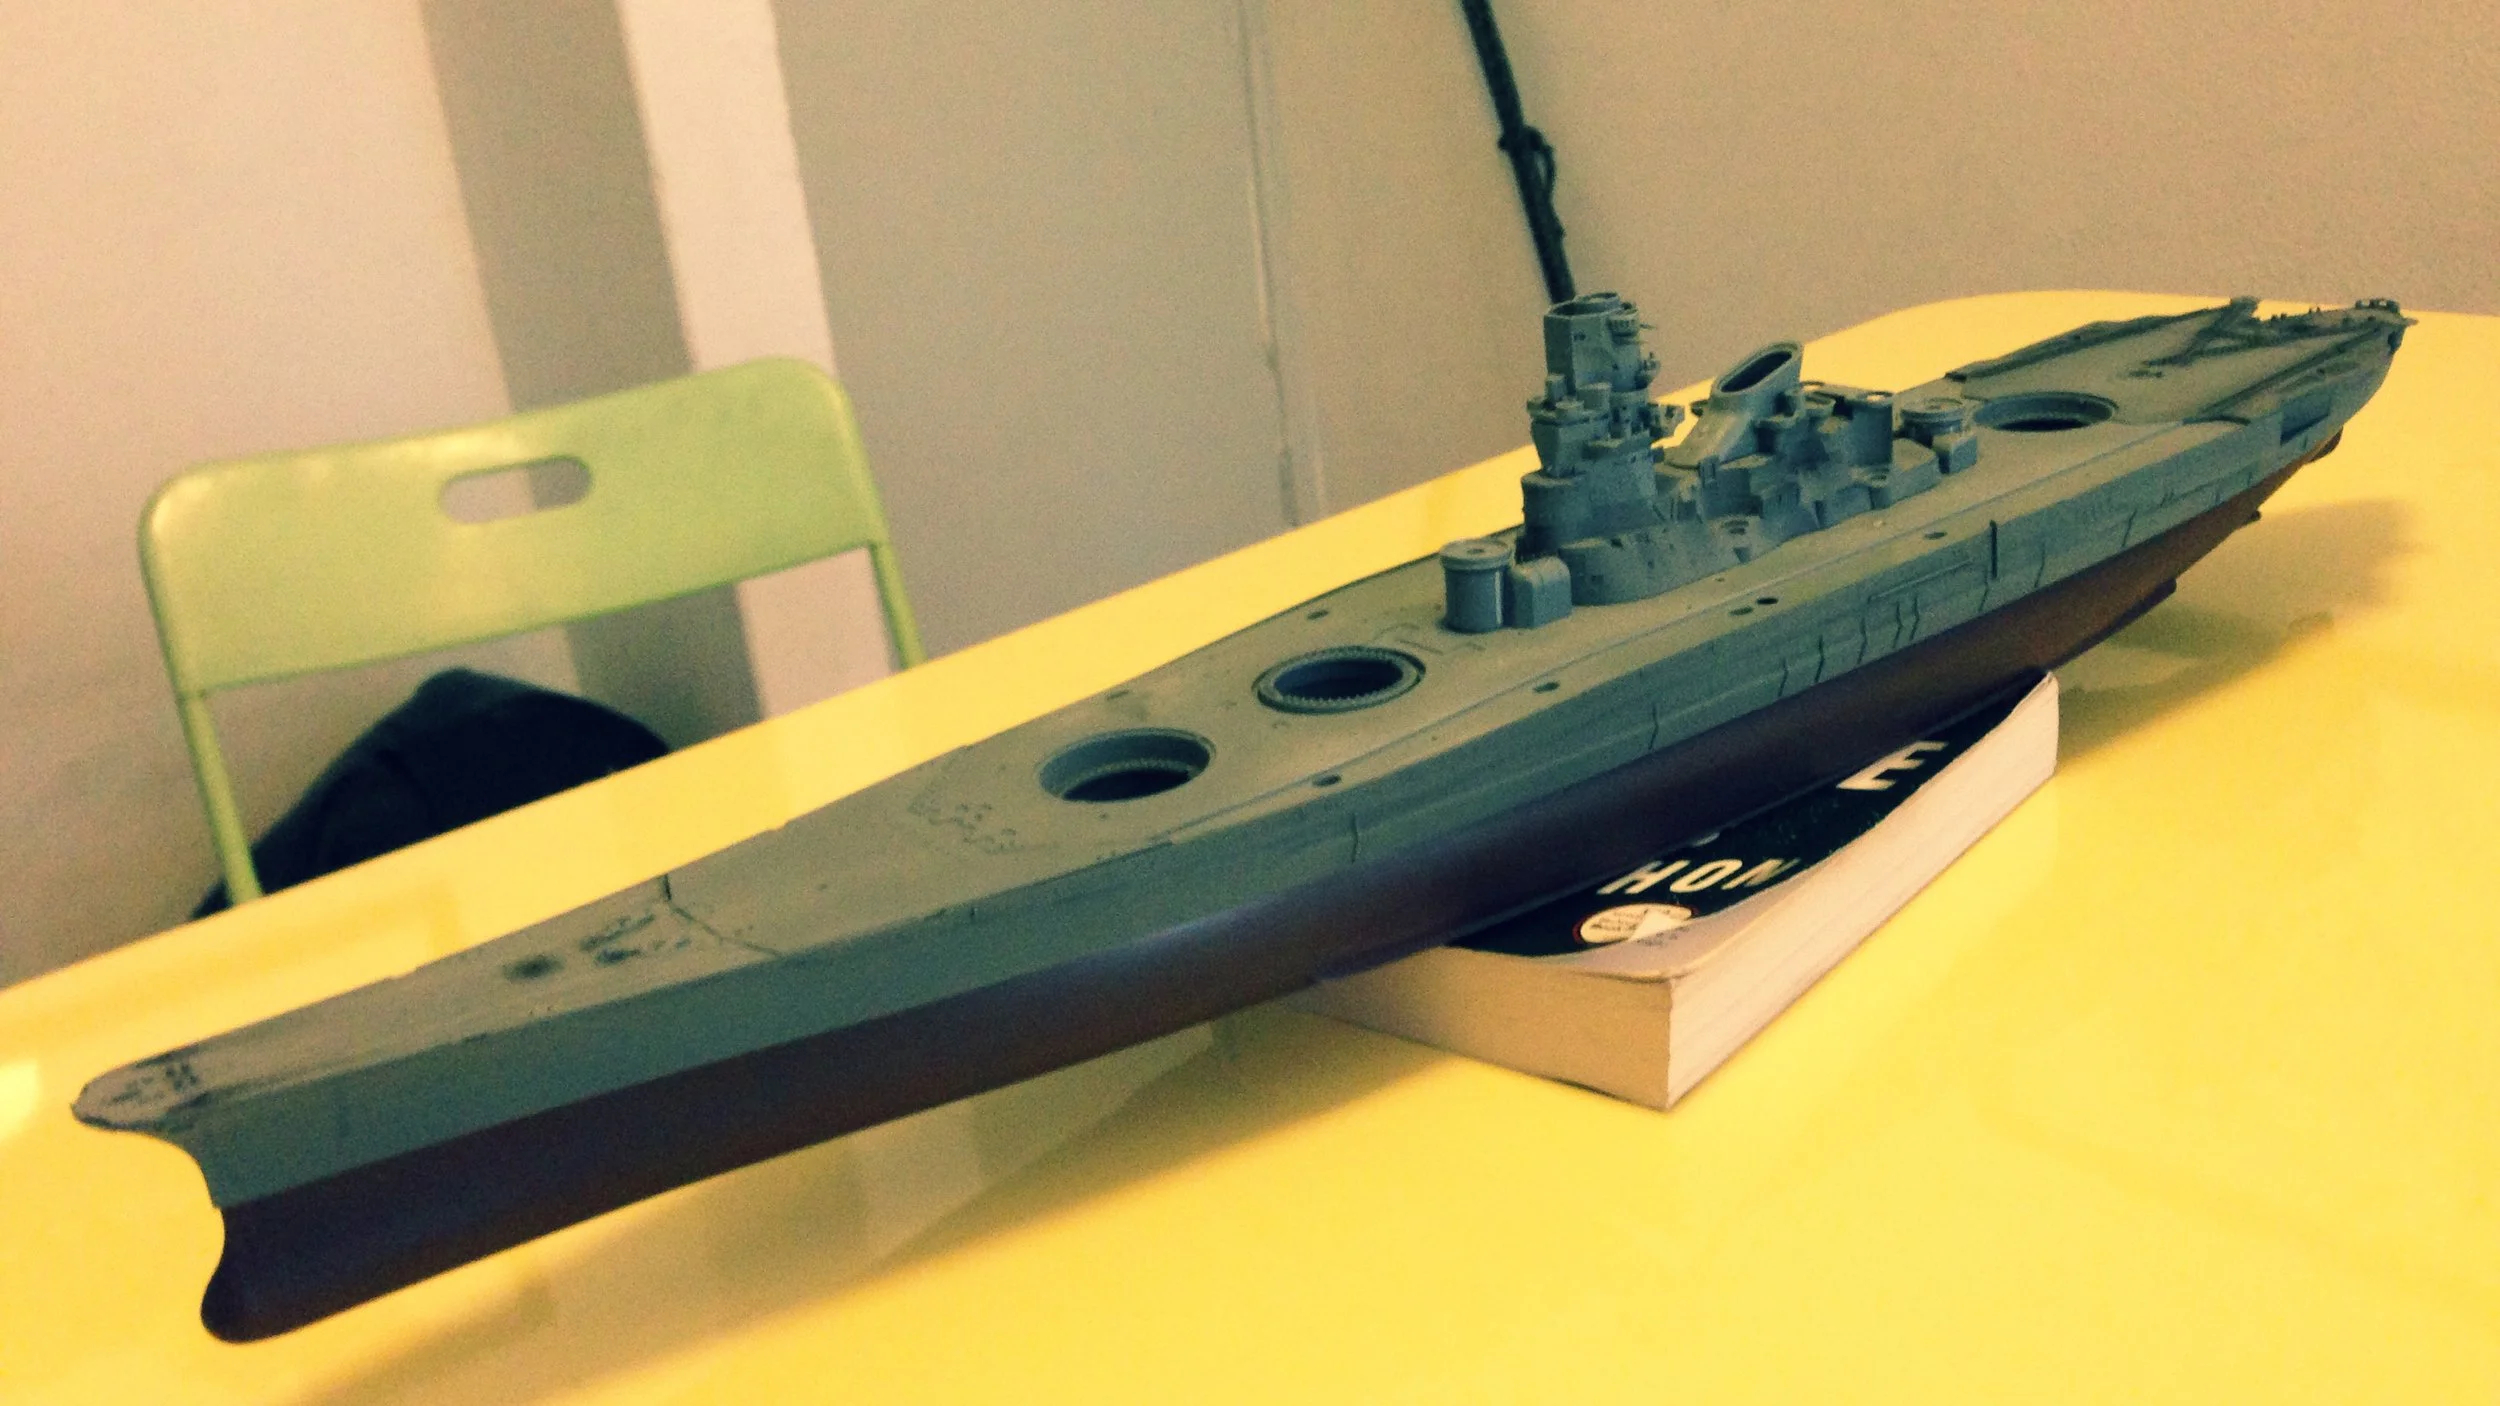
Deck:
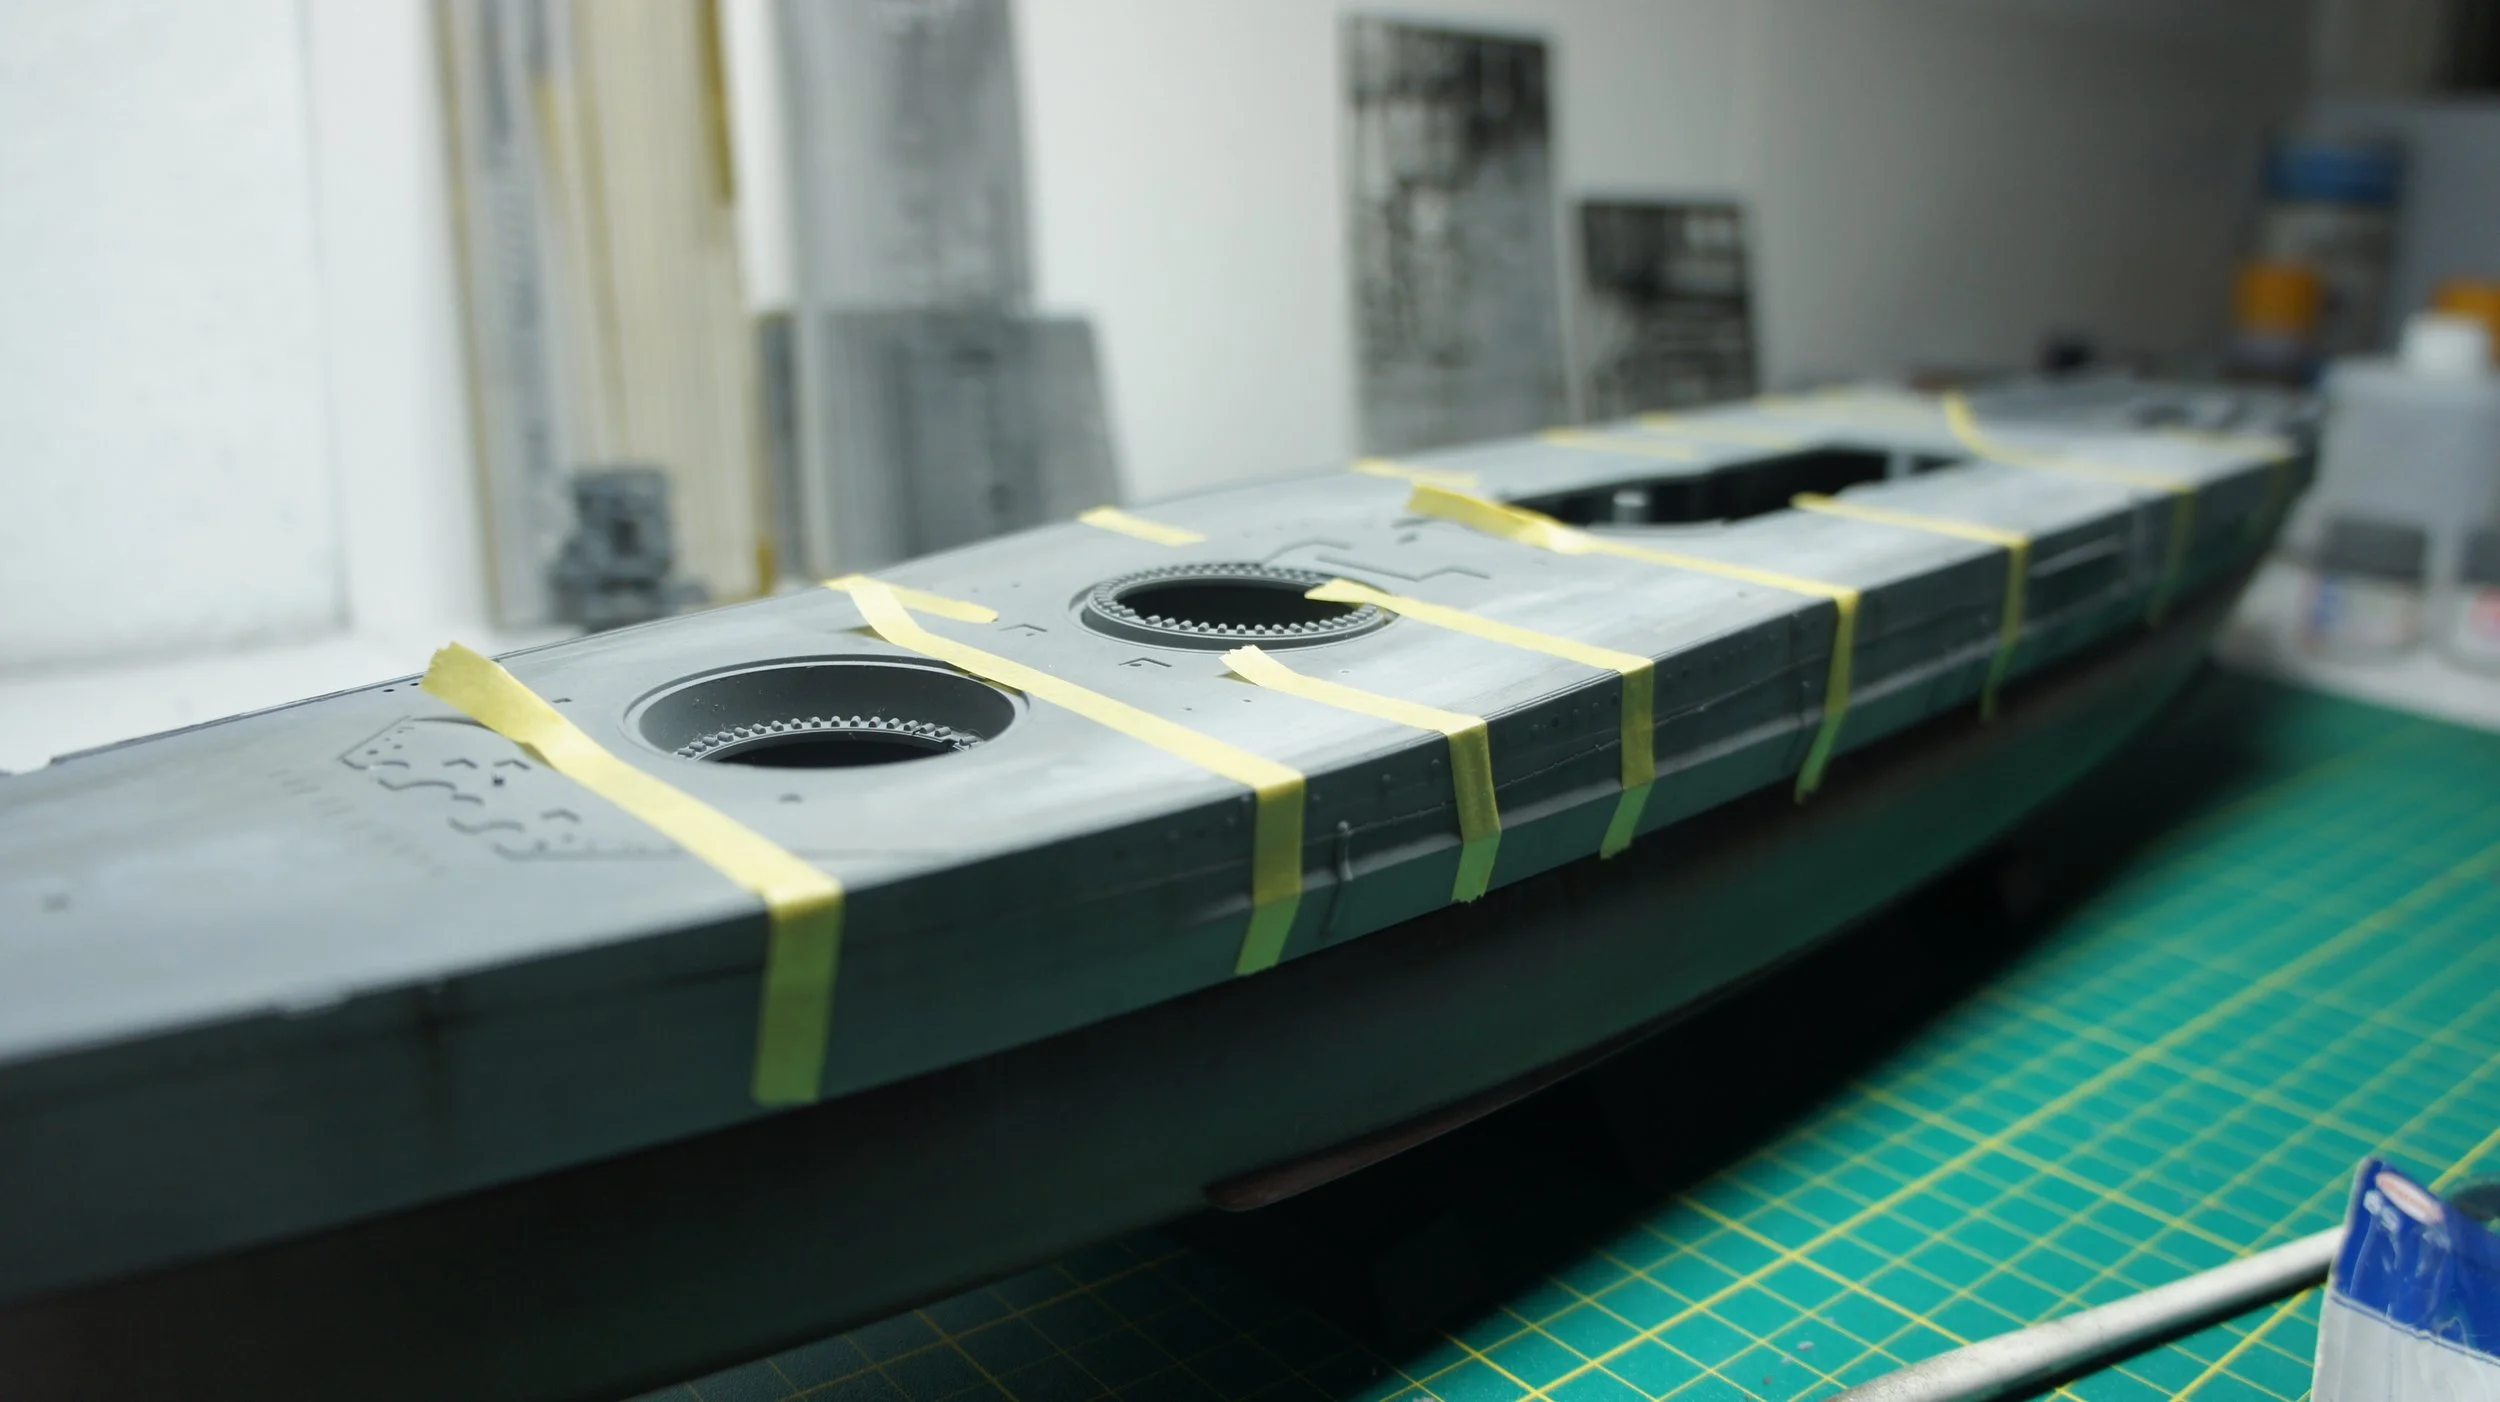
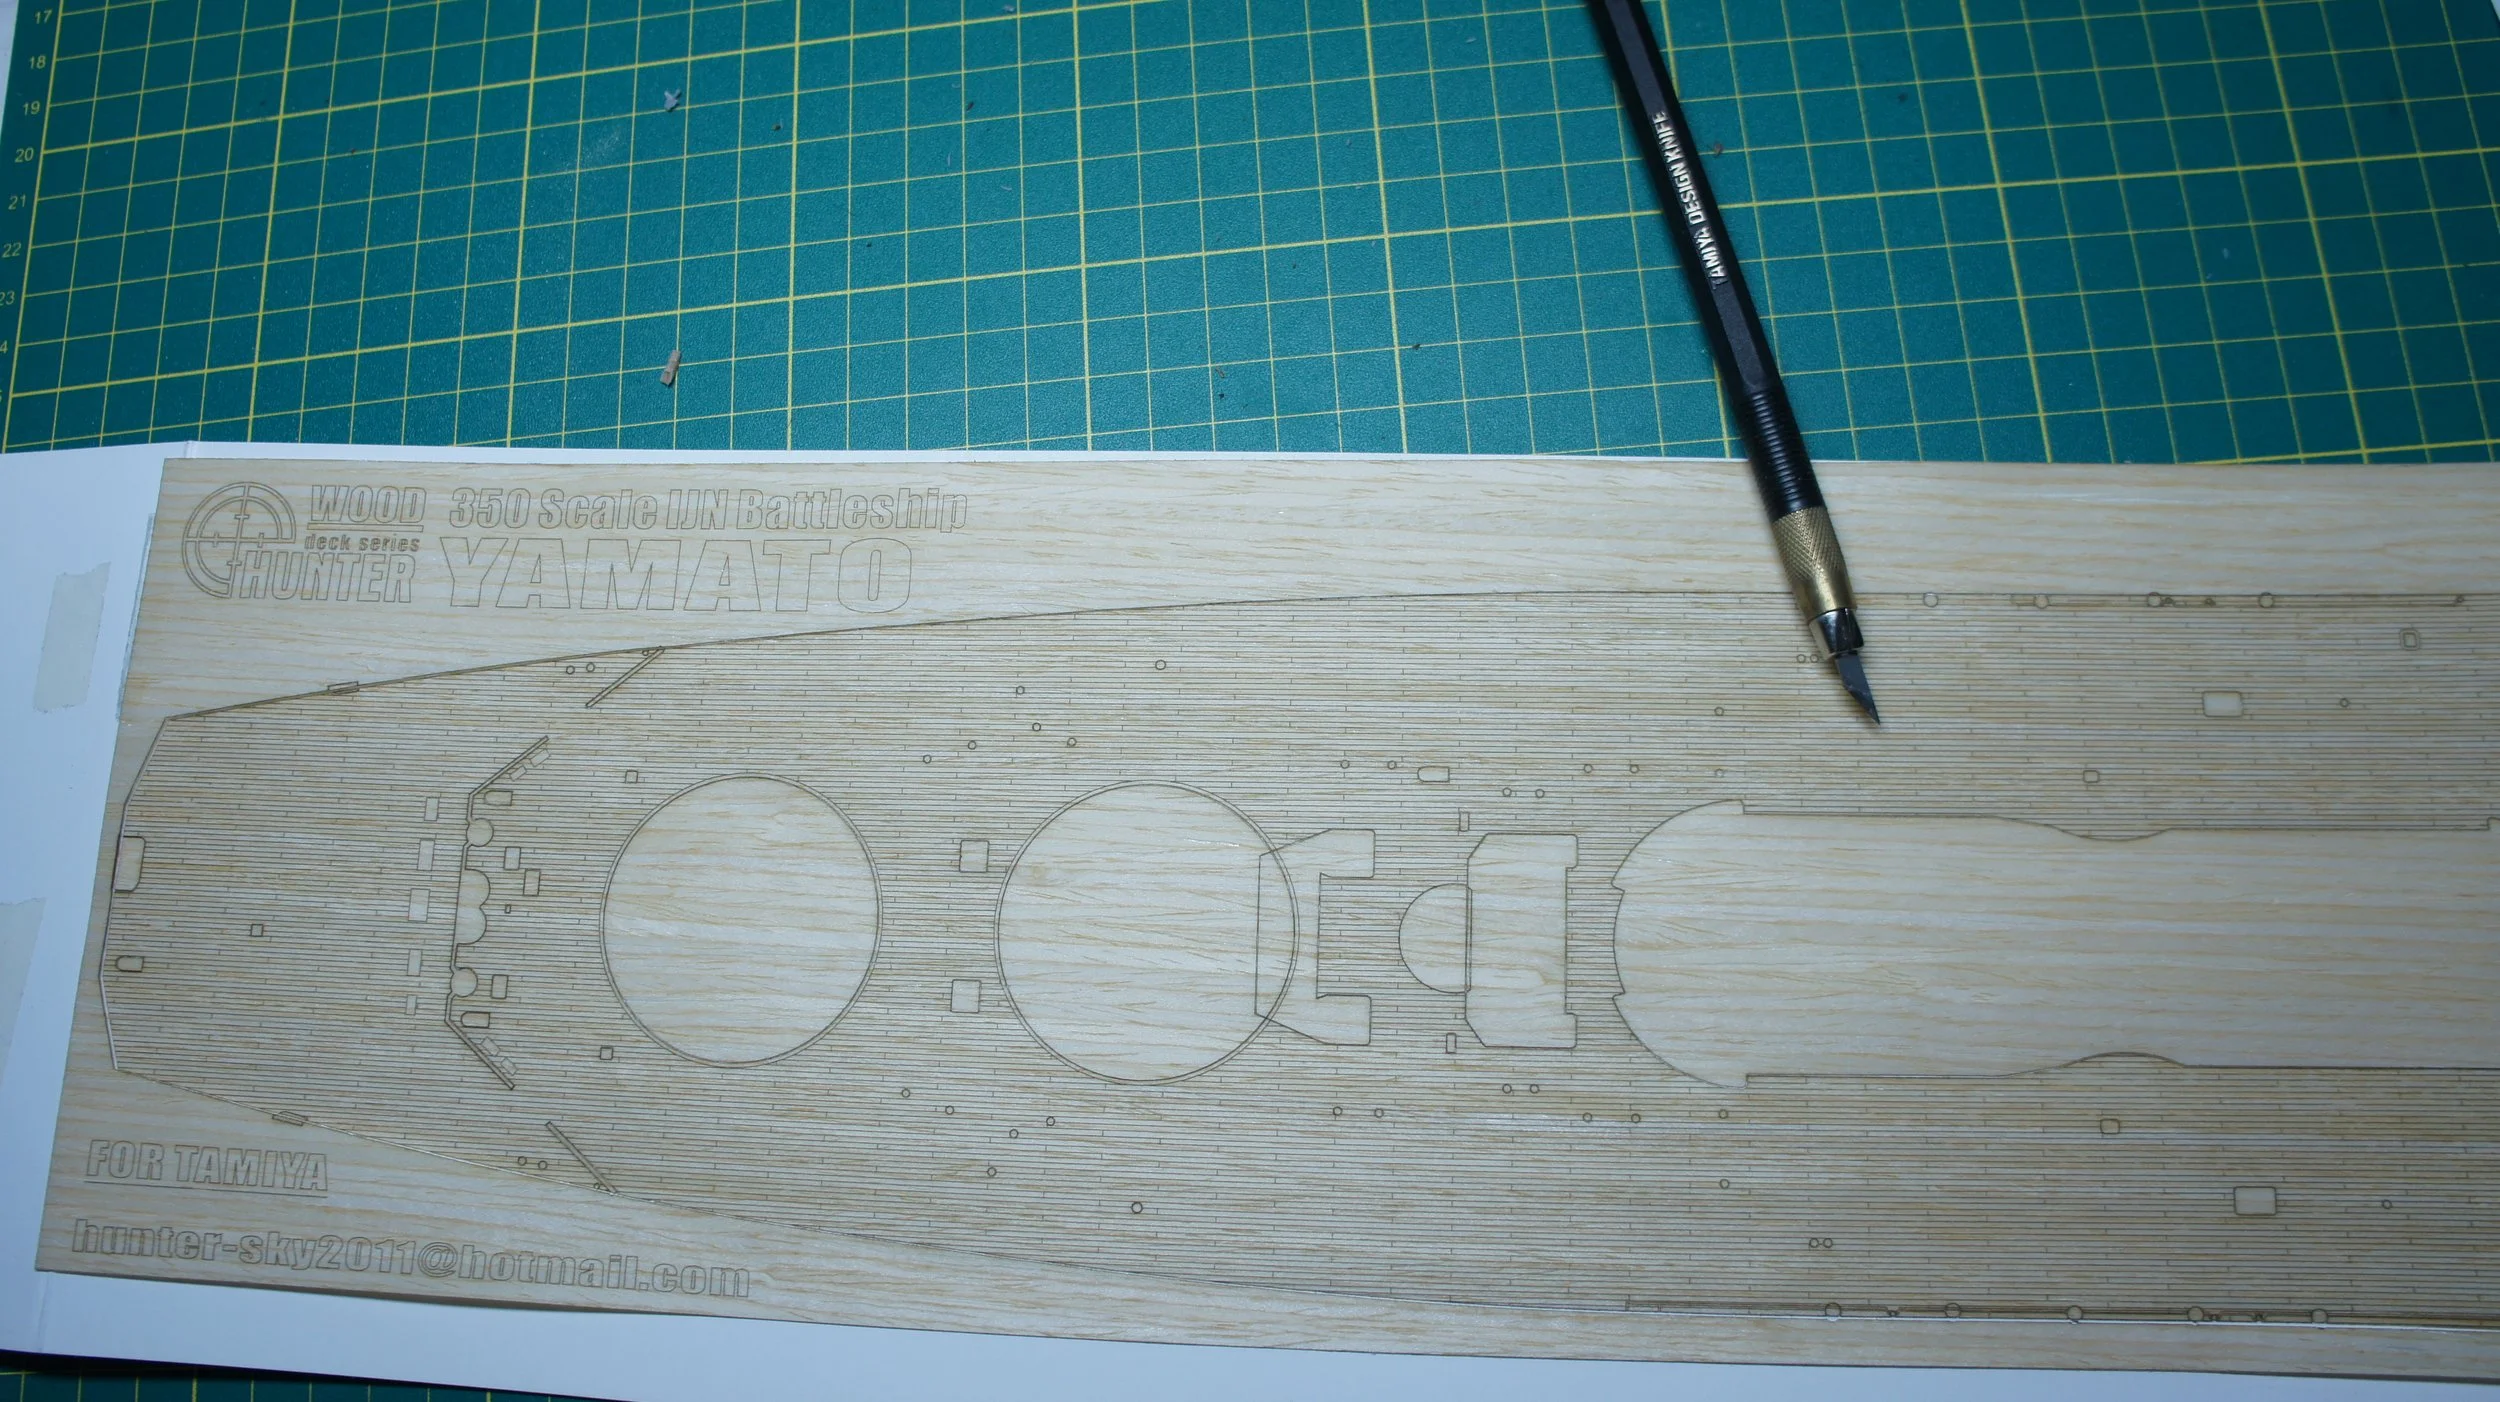
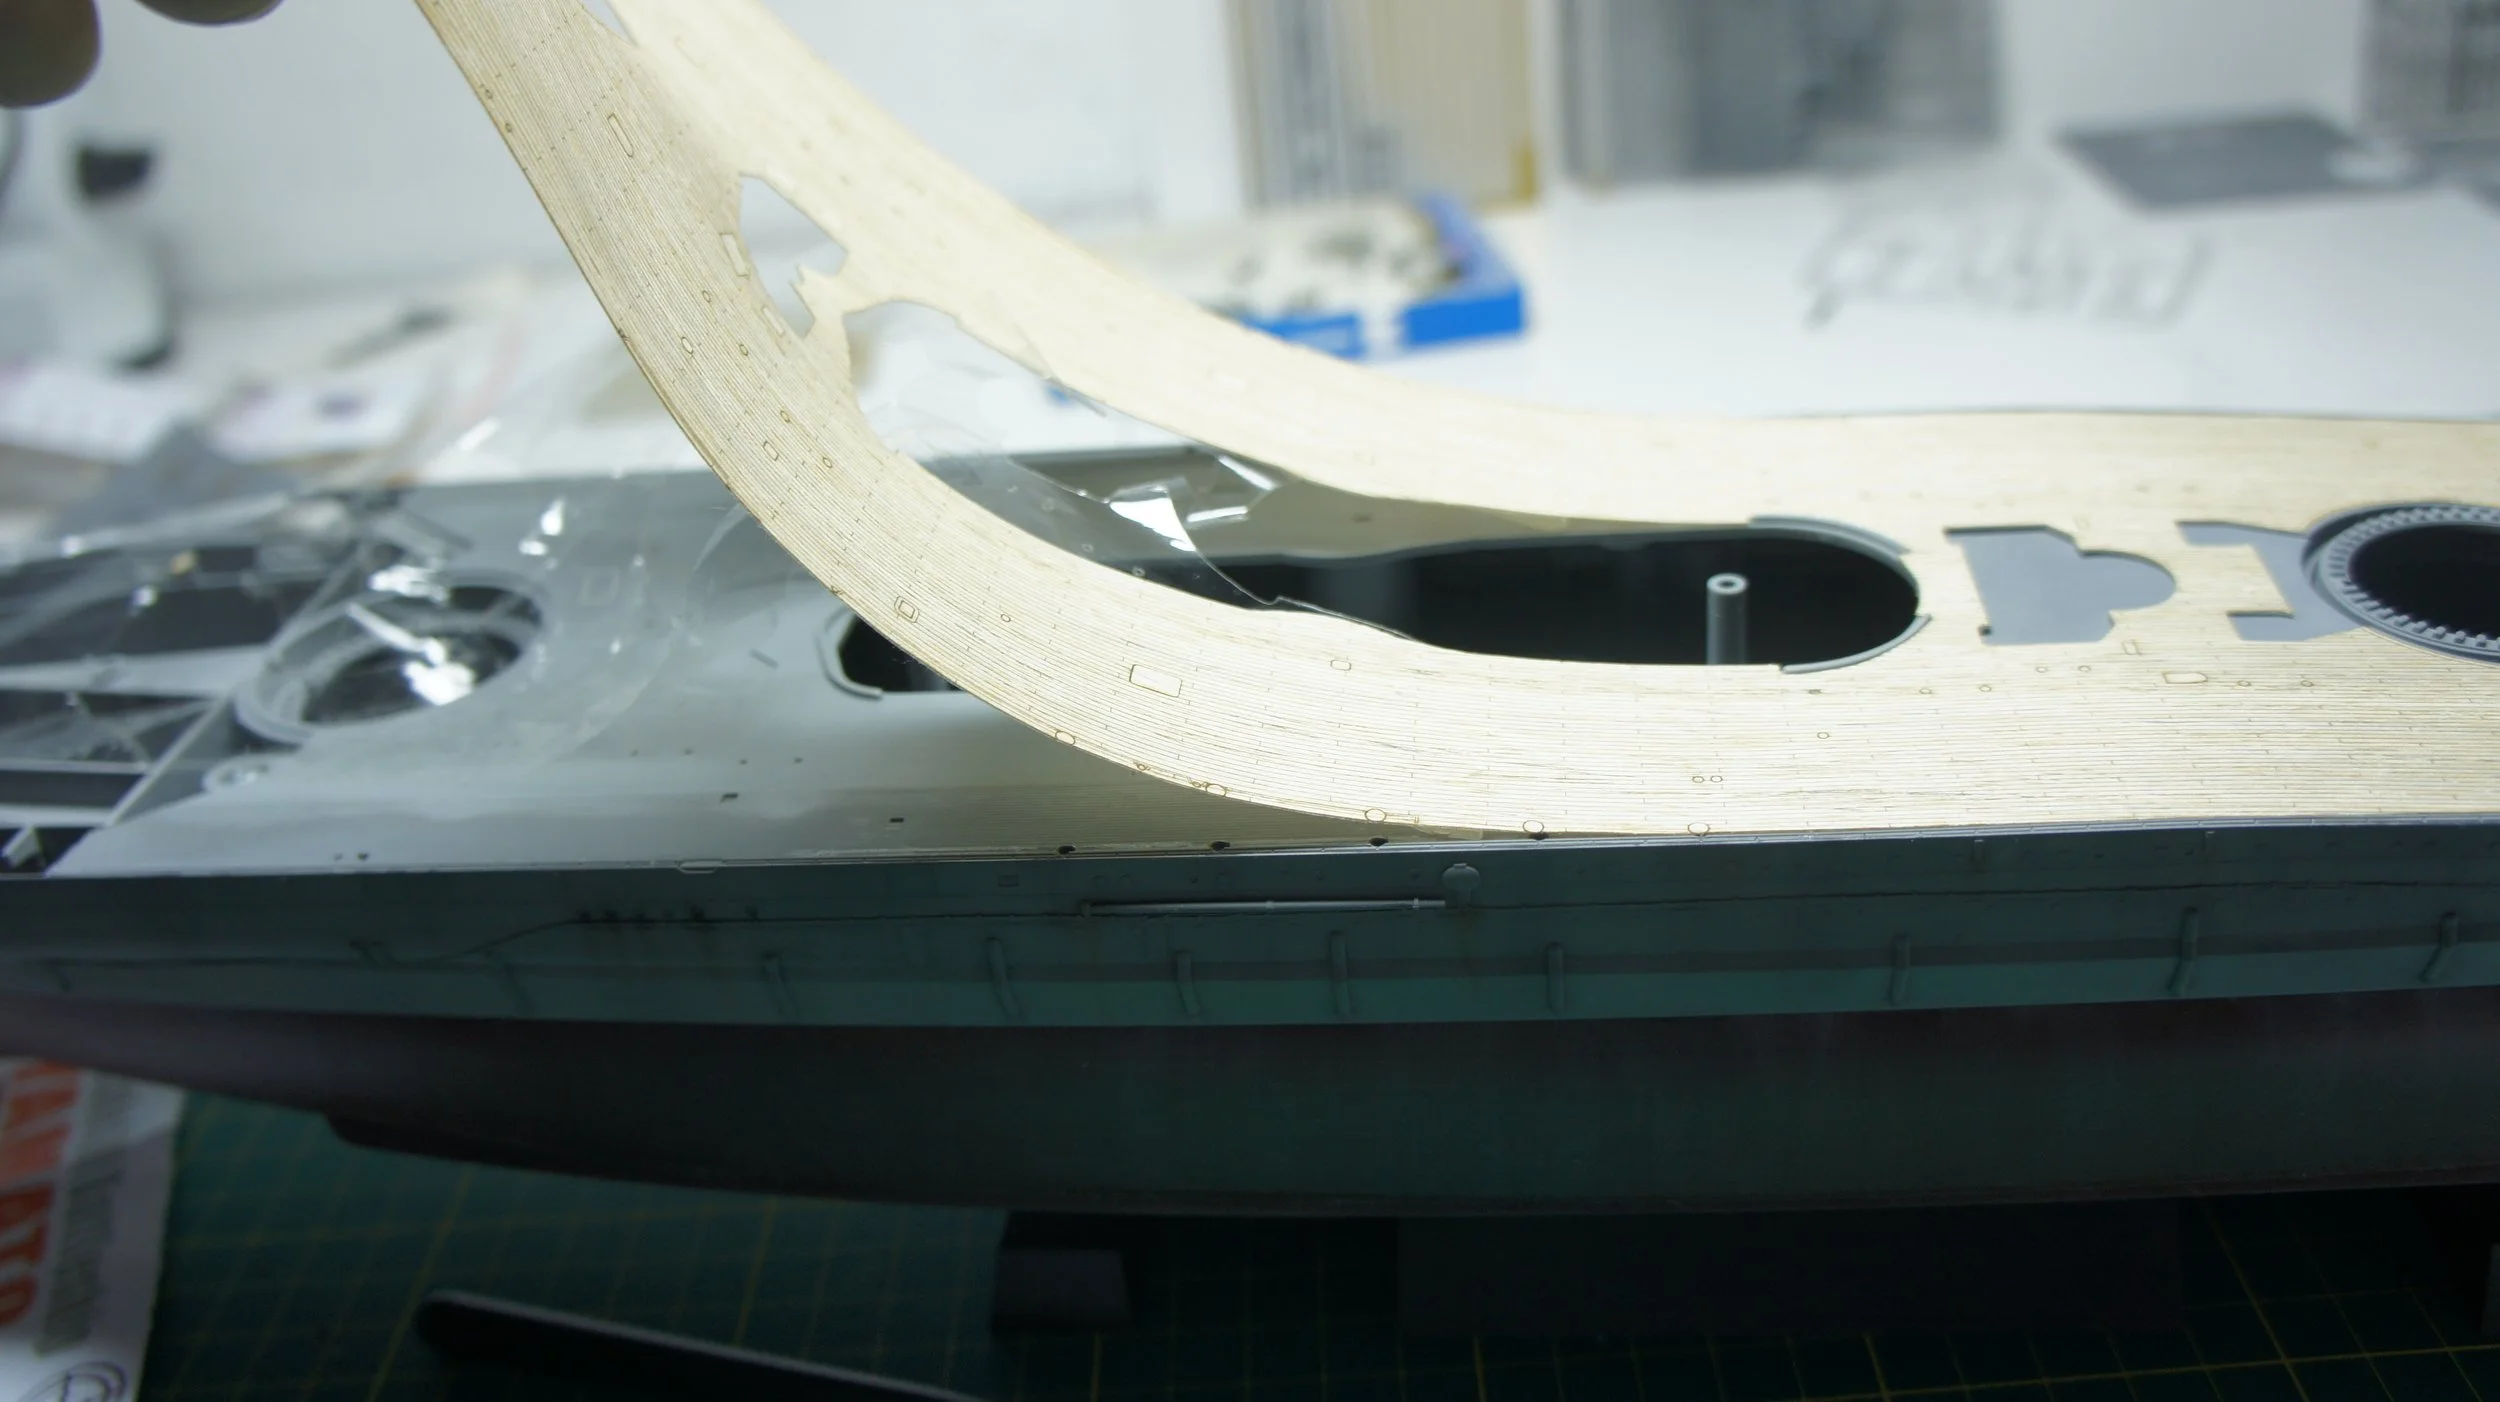
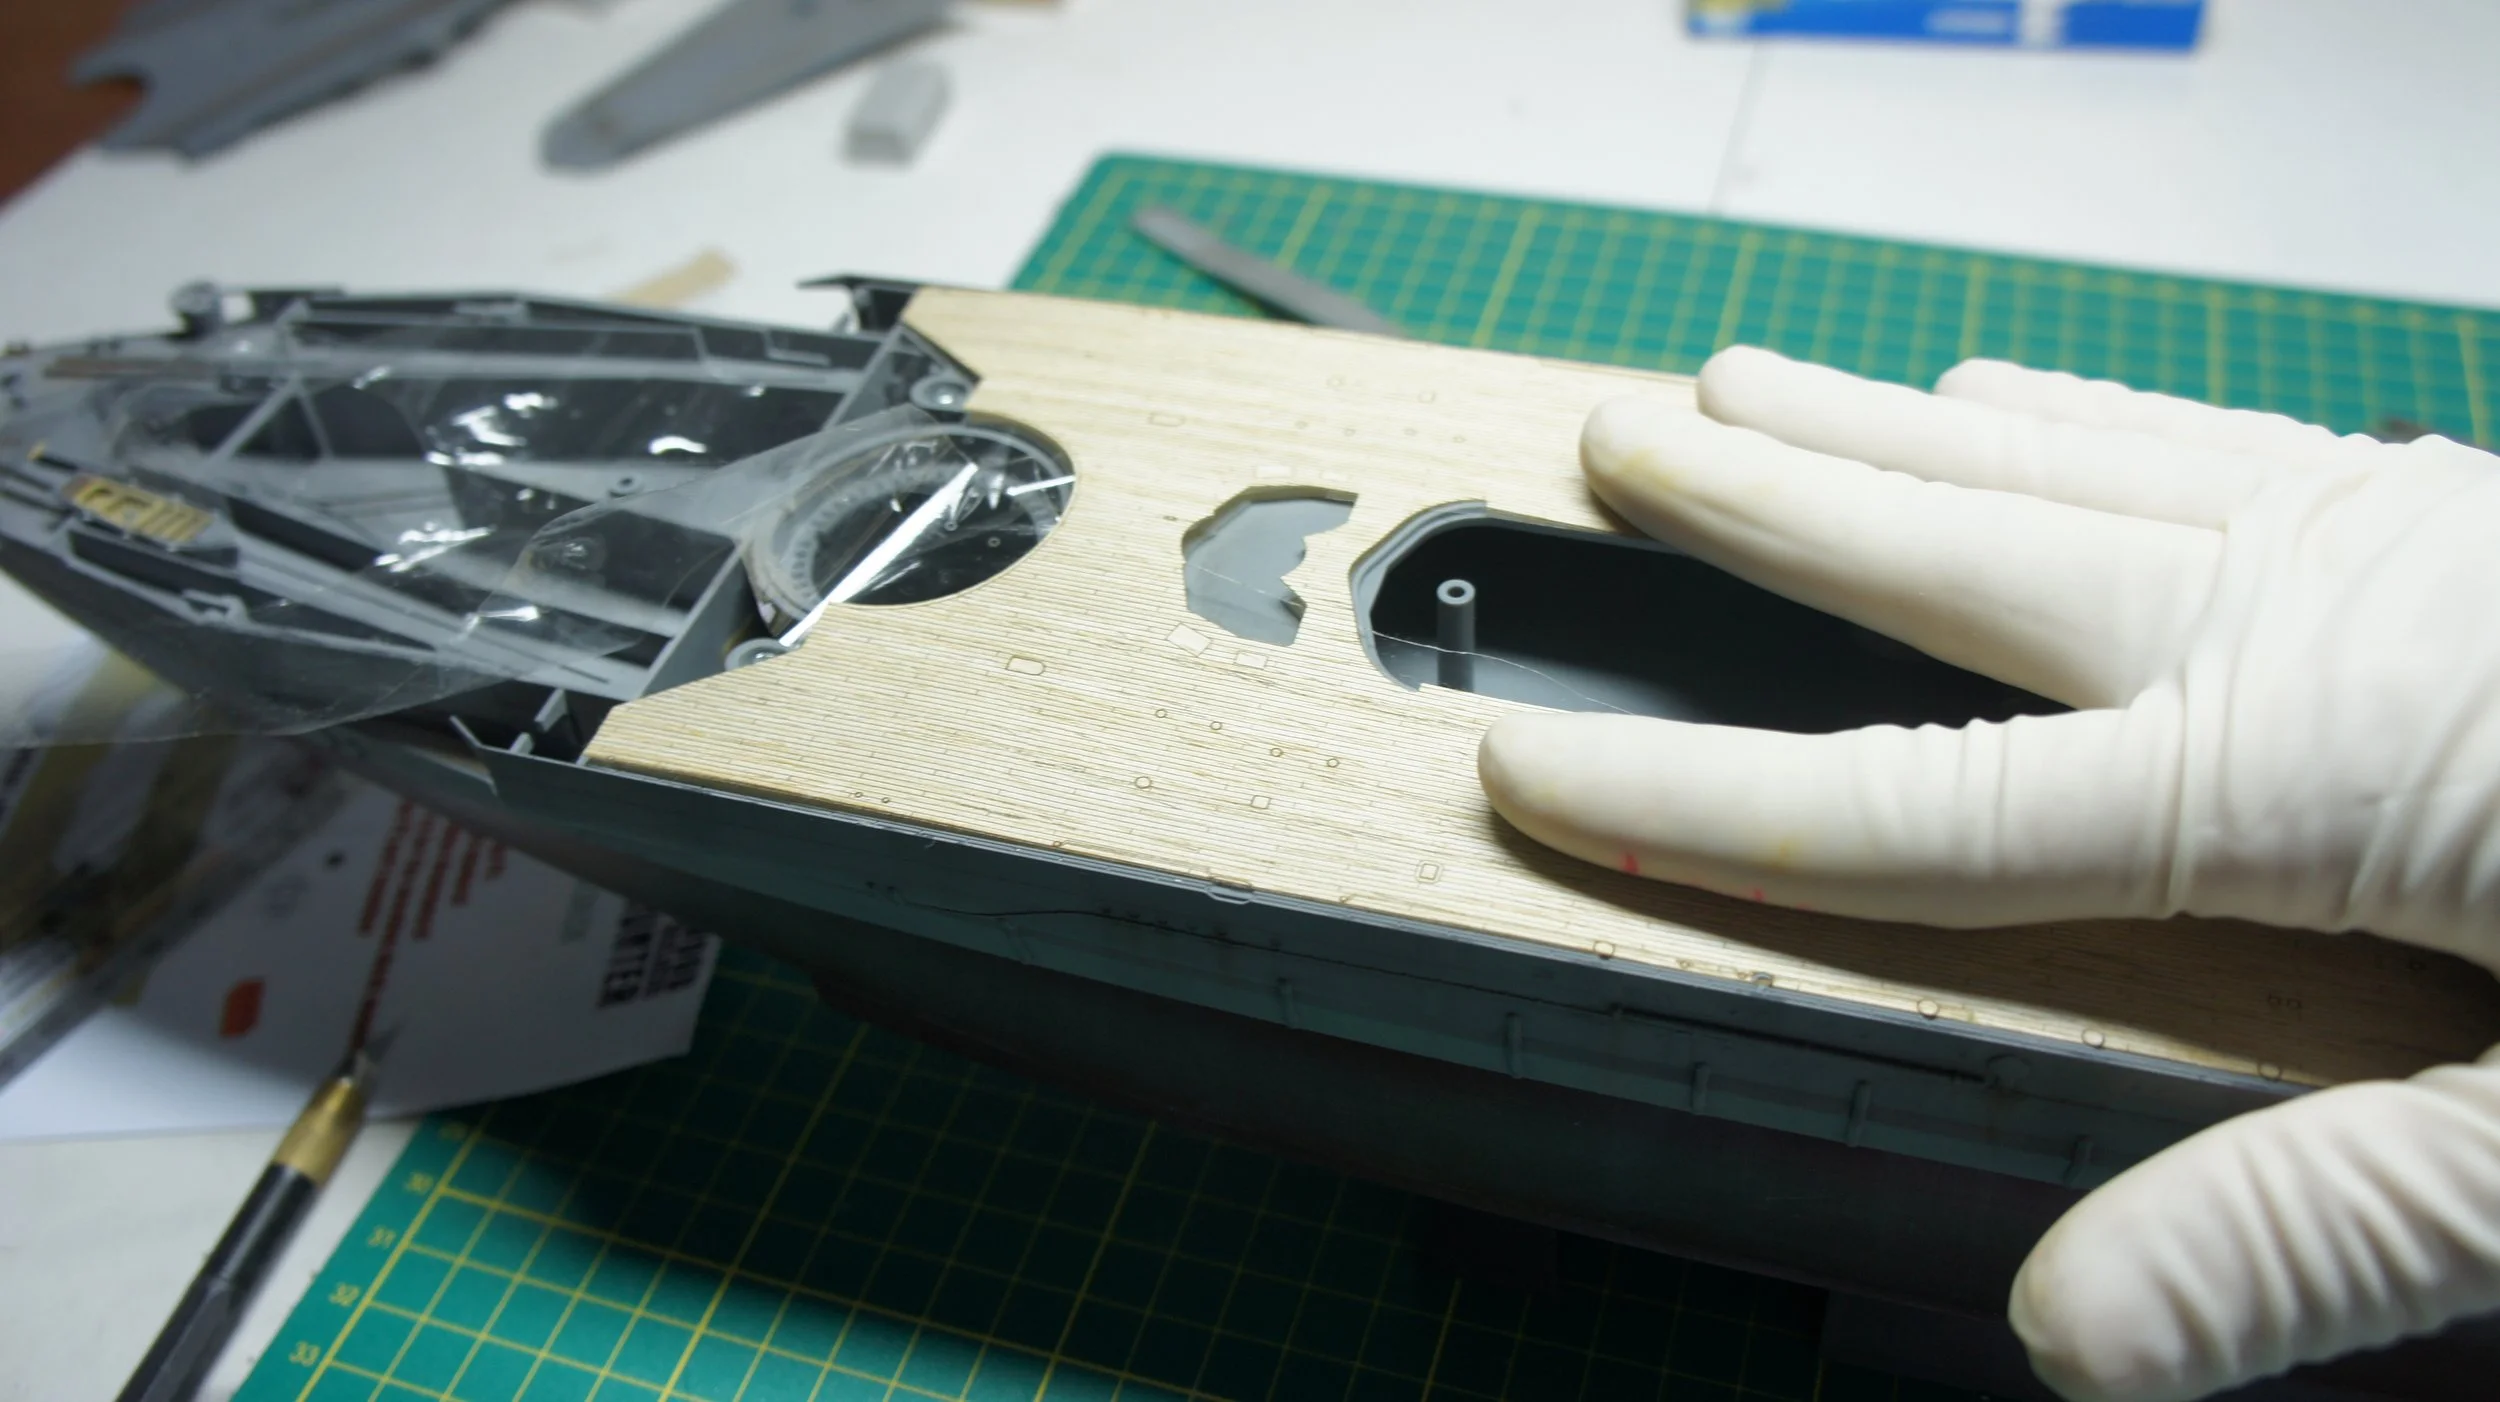
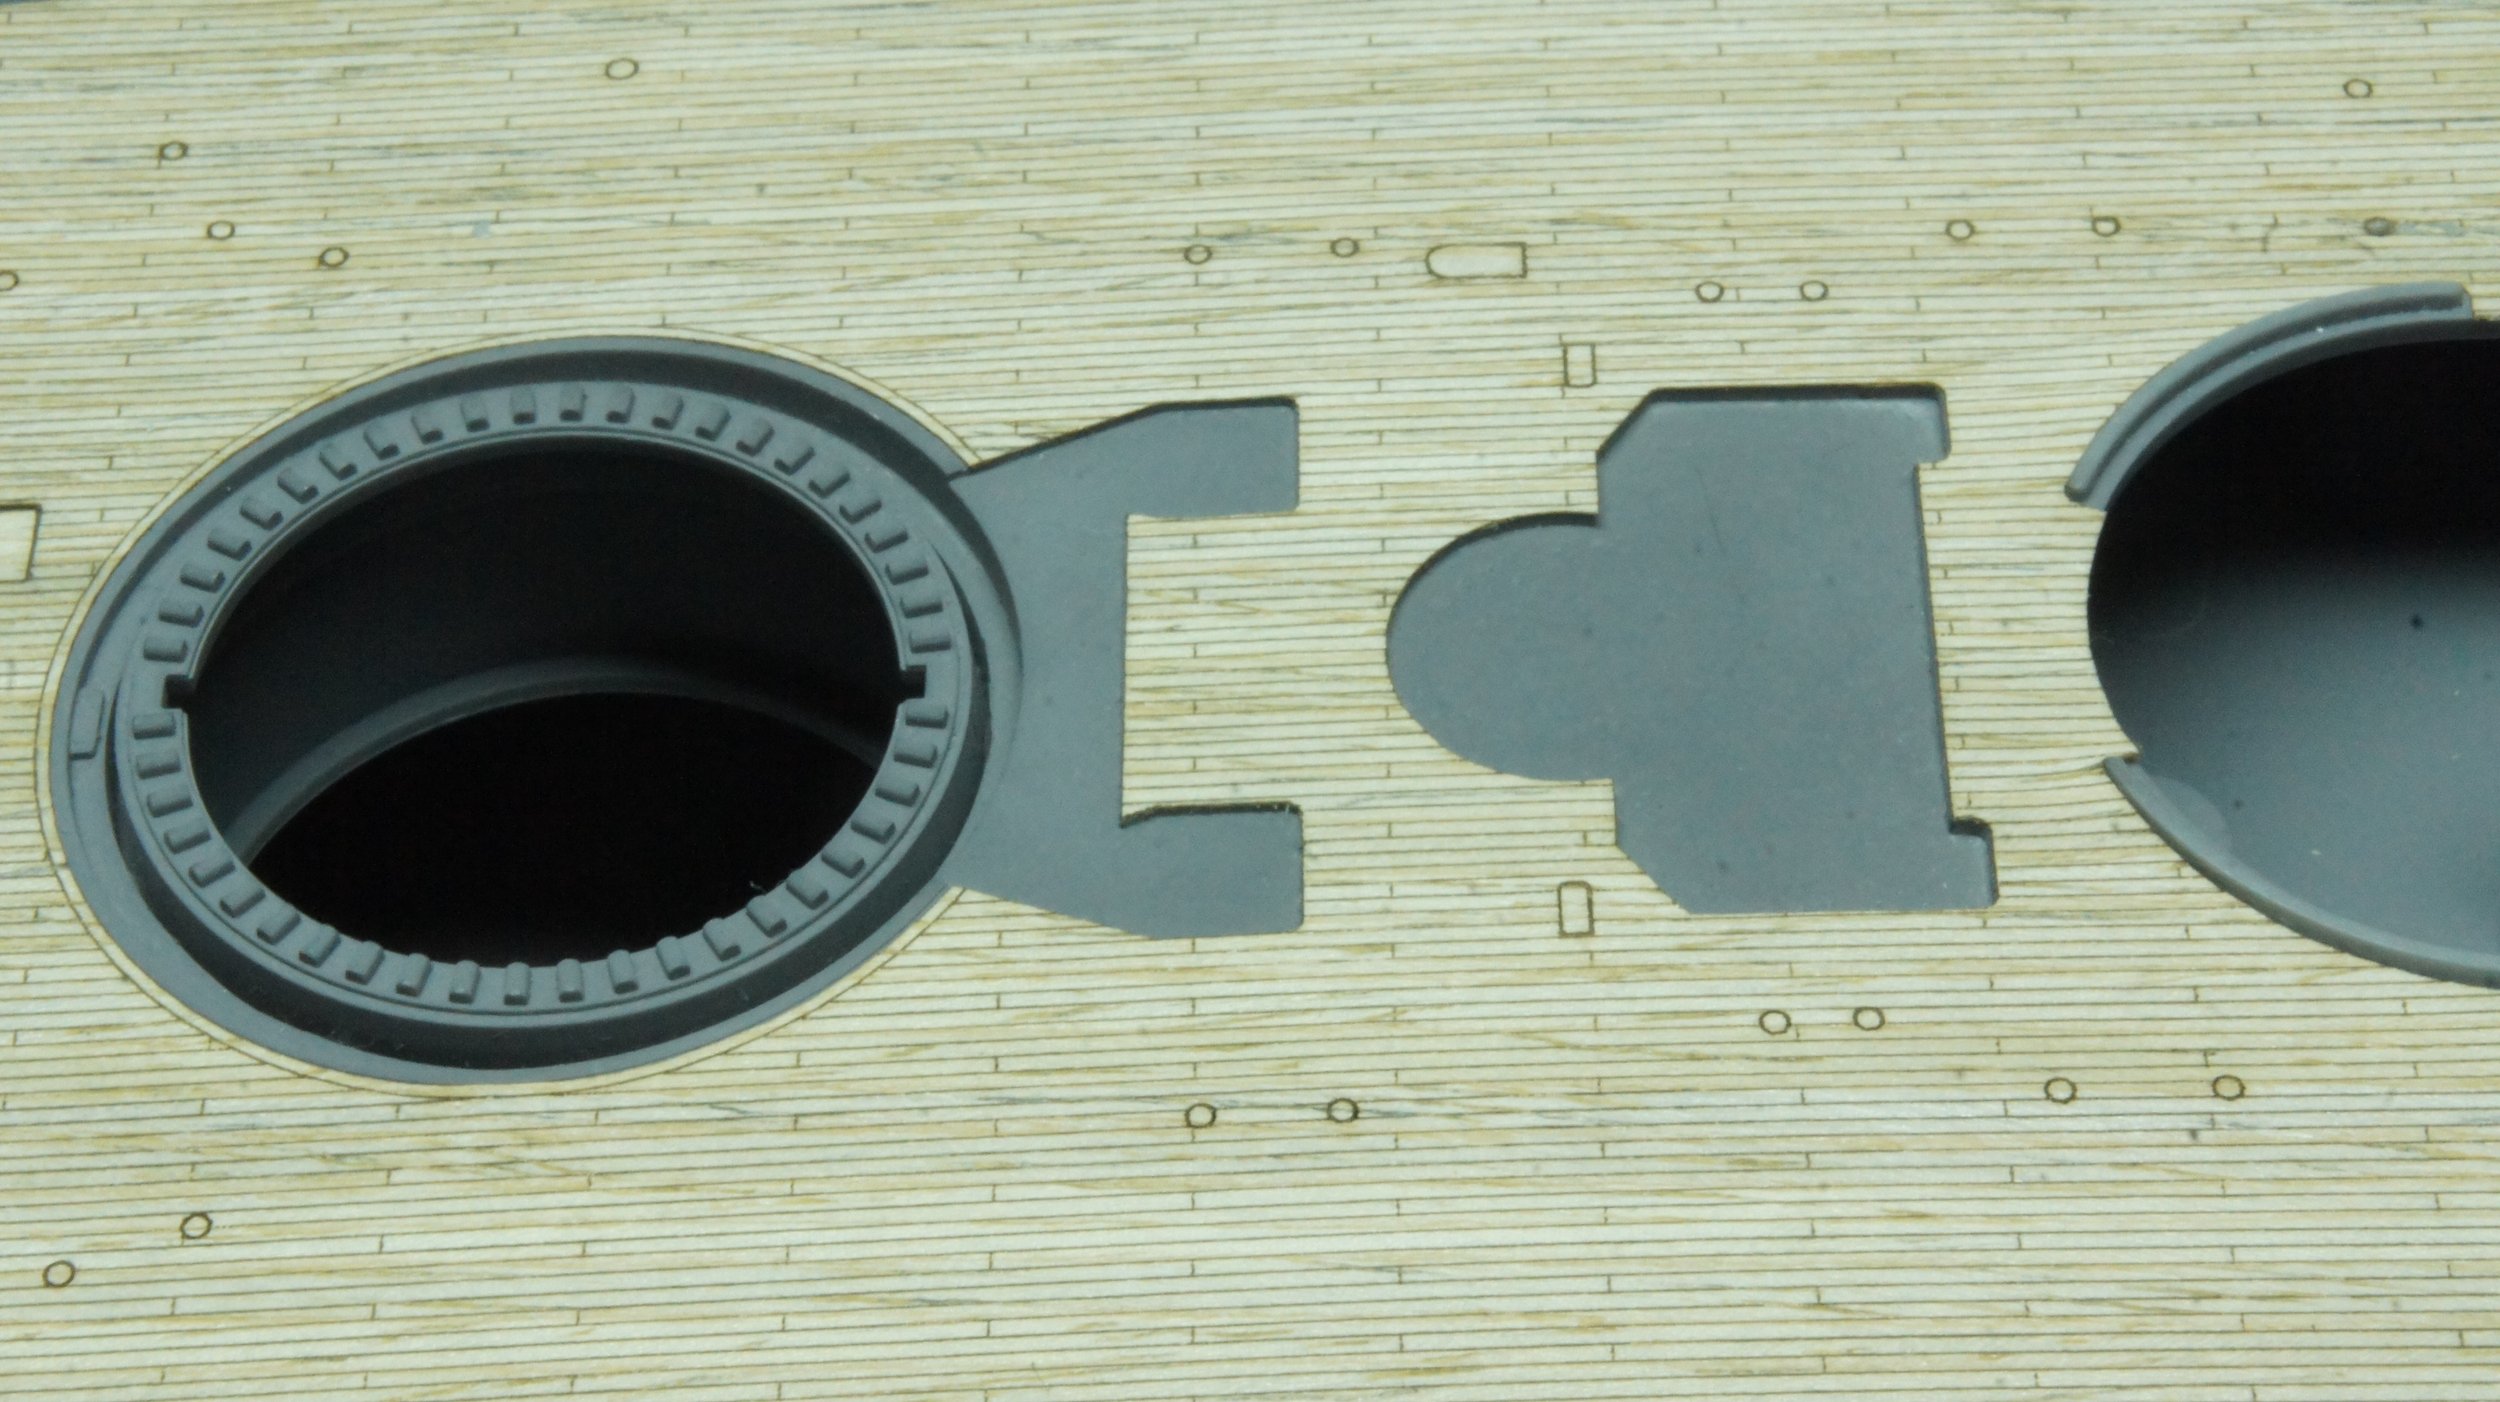
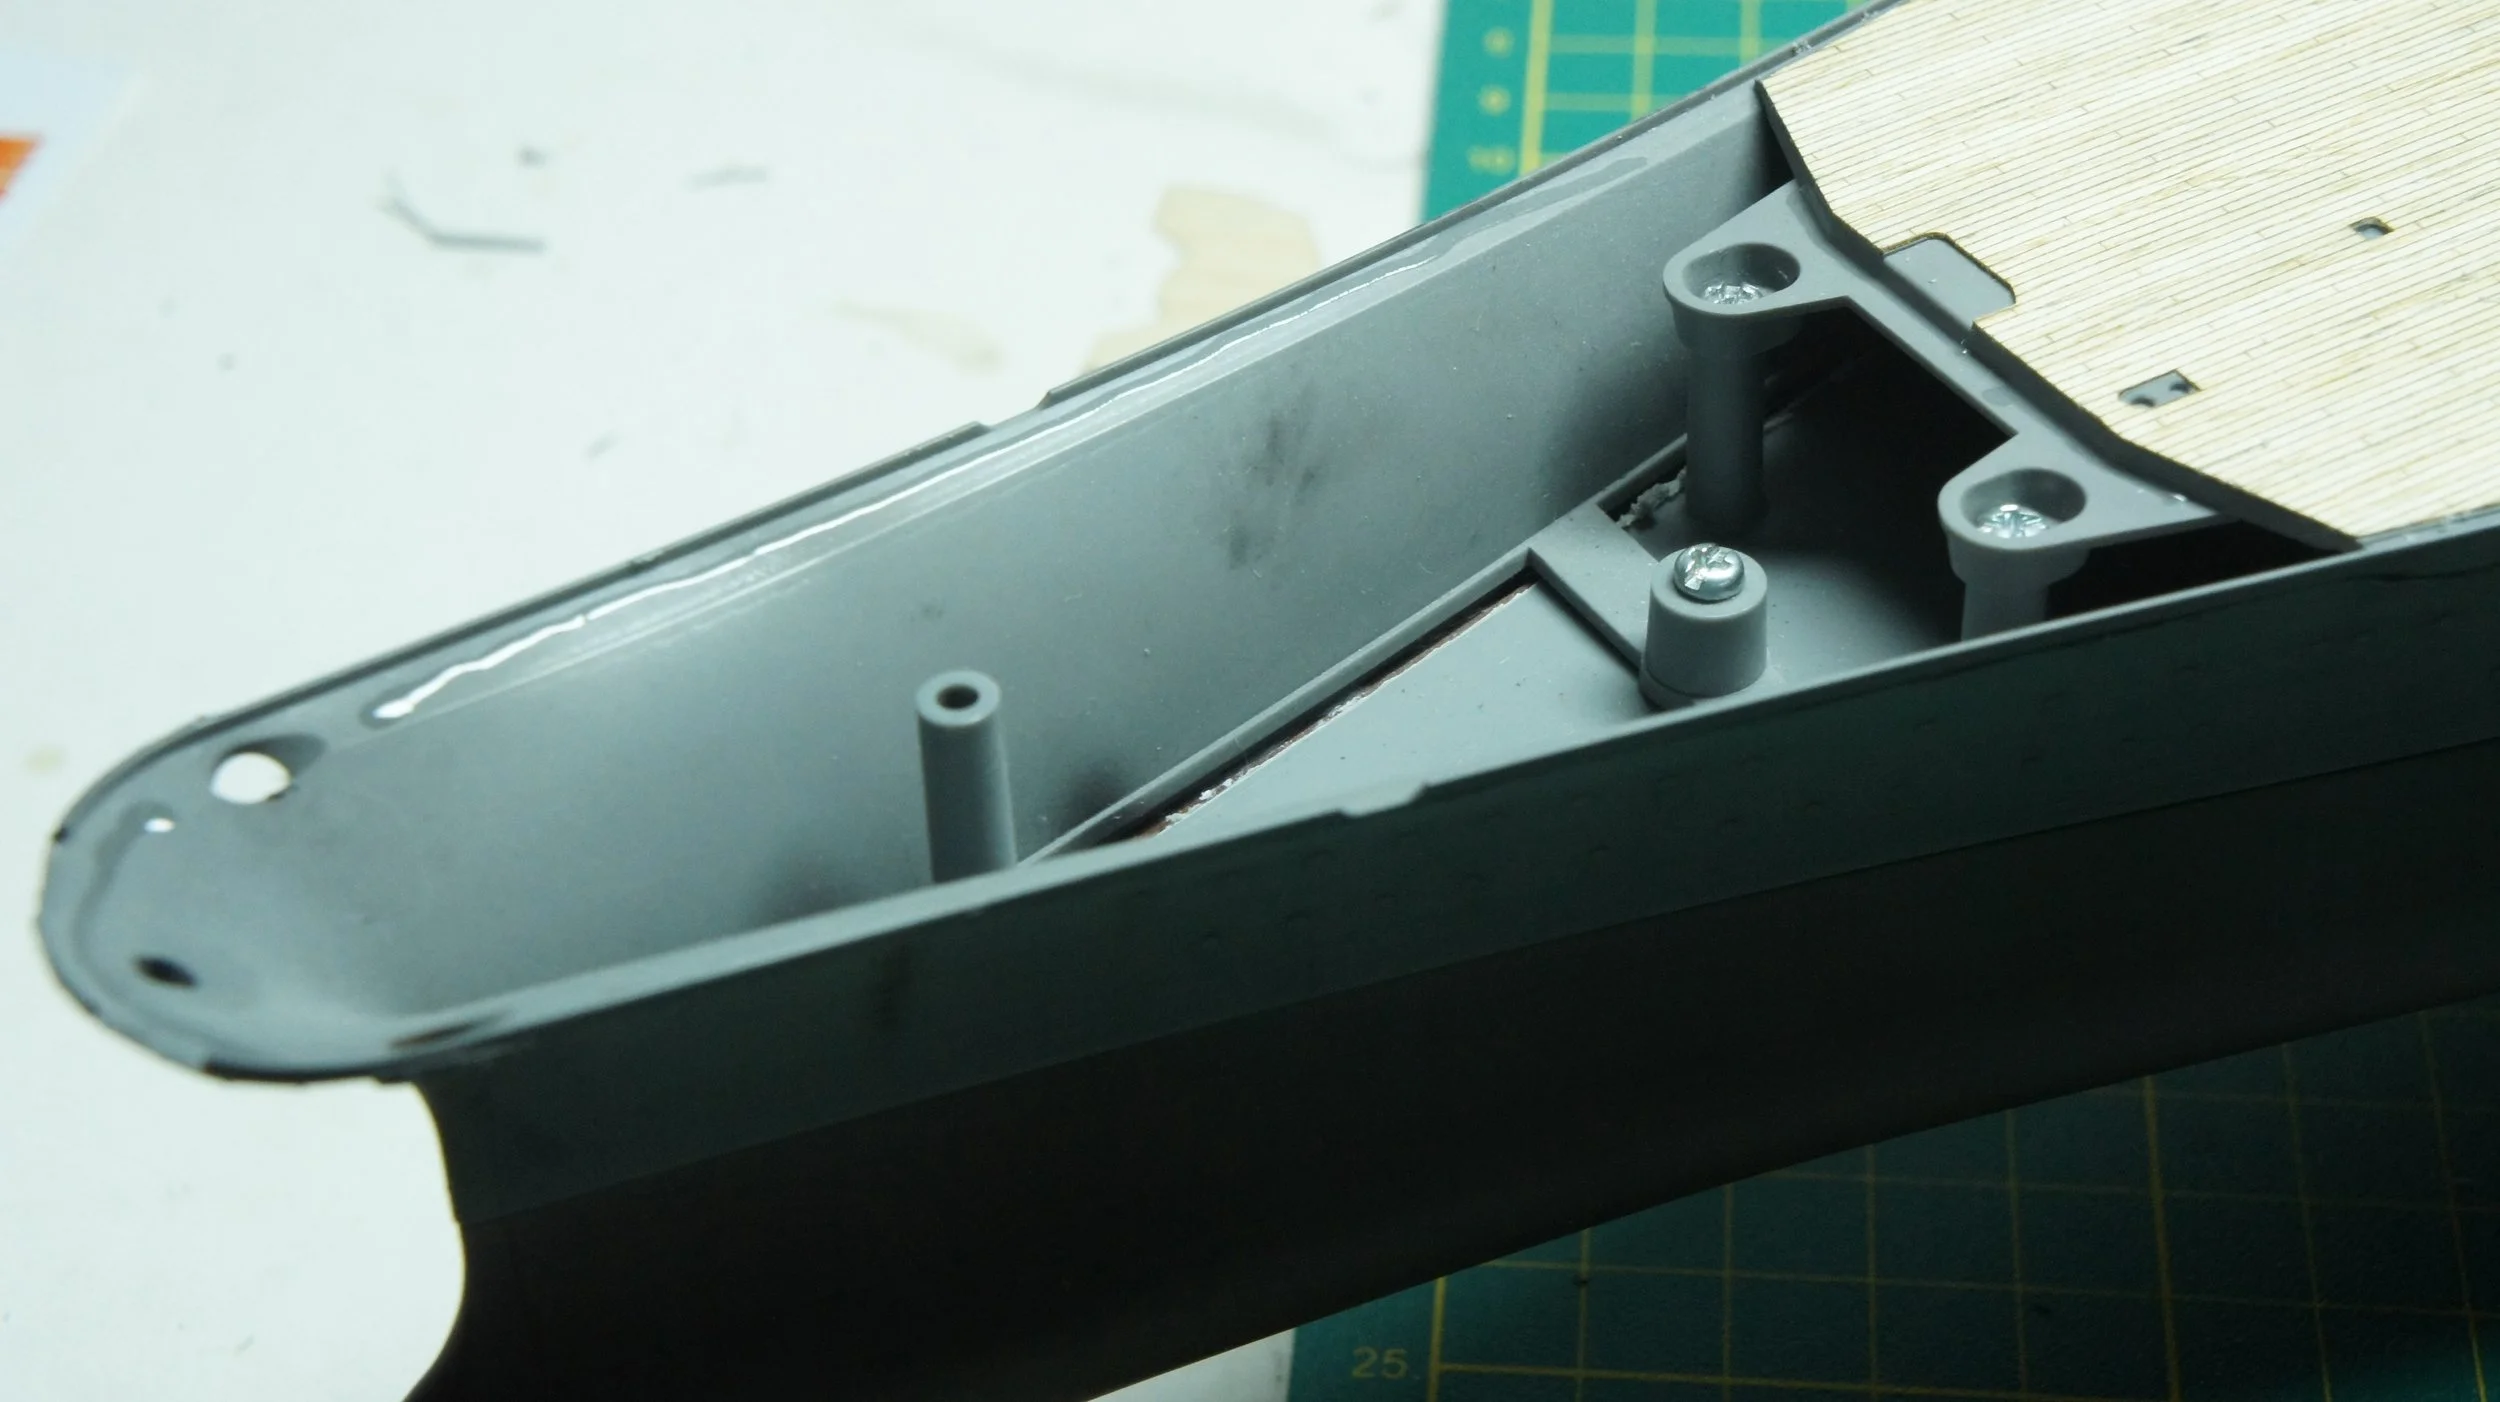
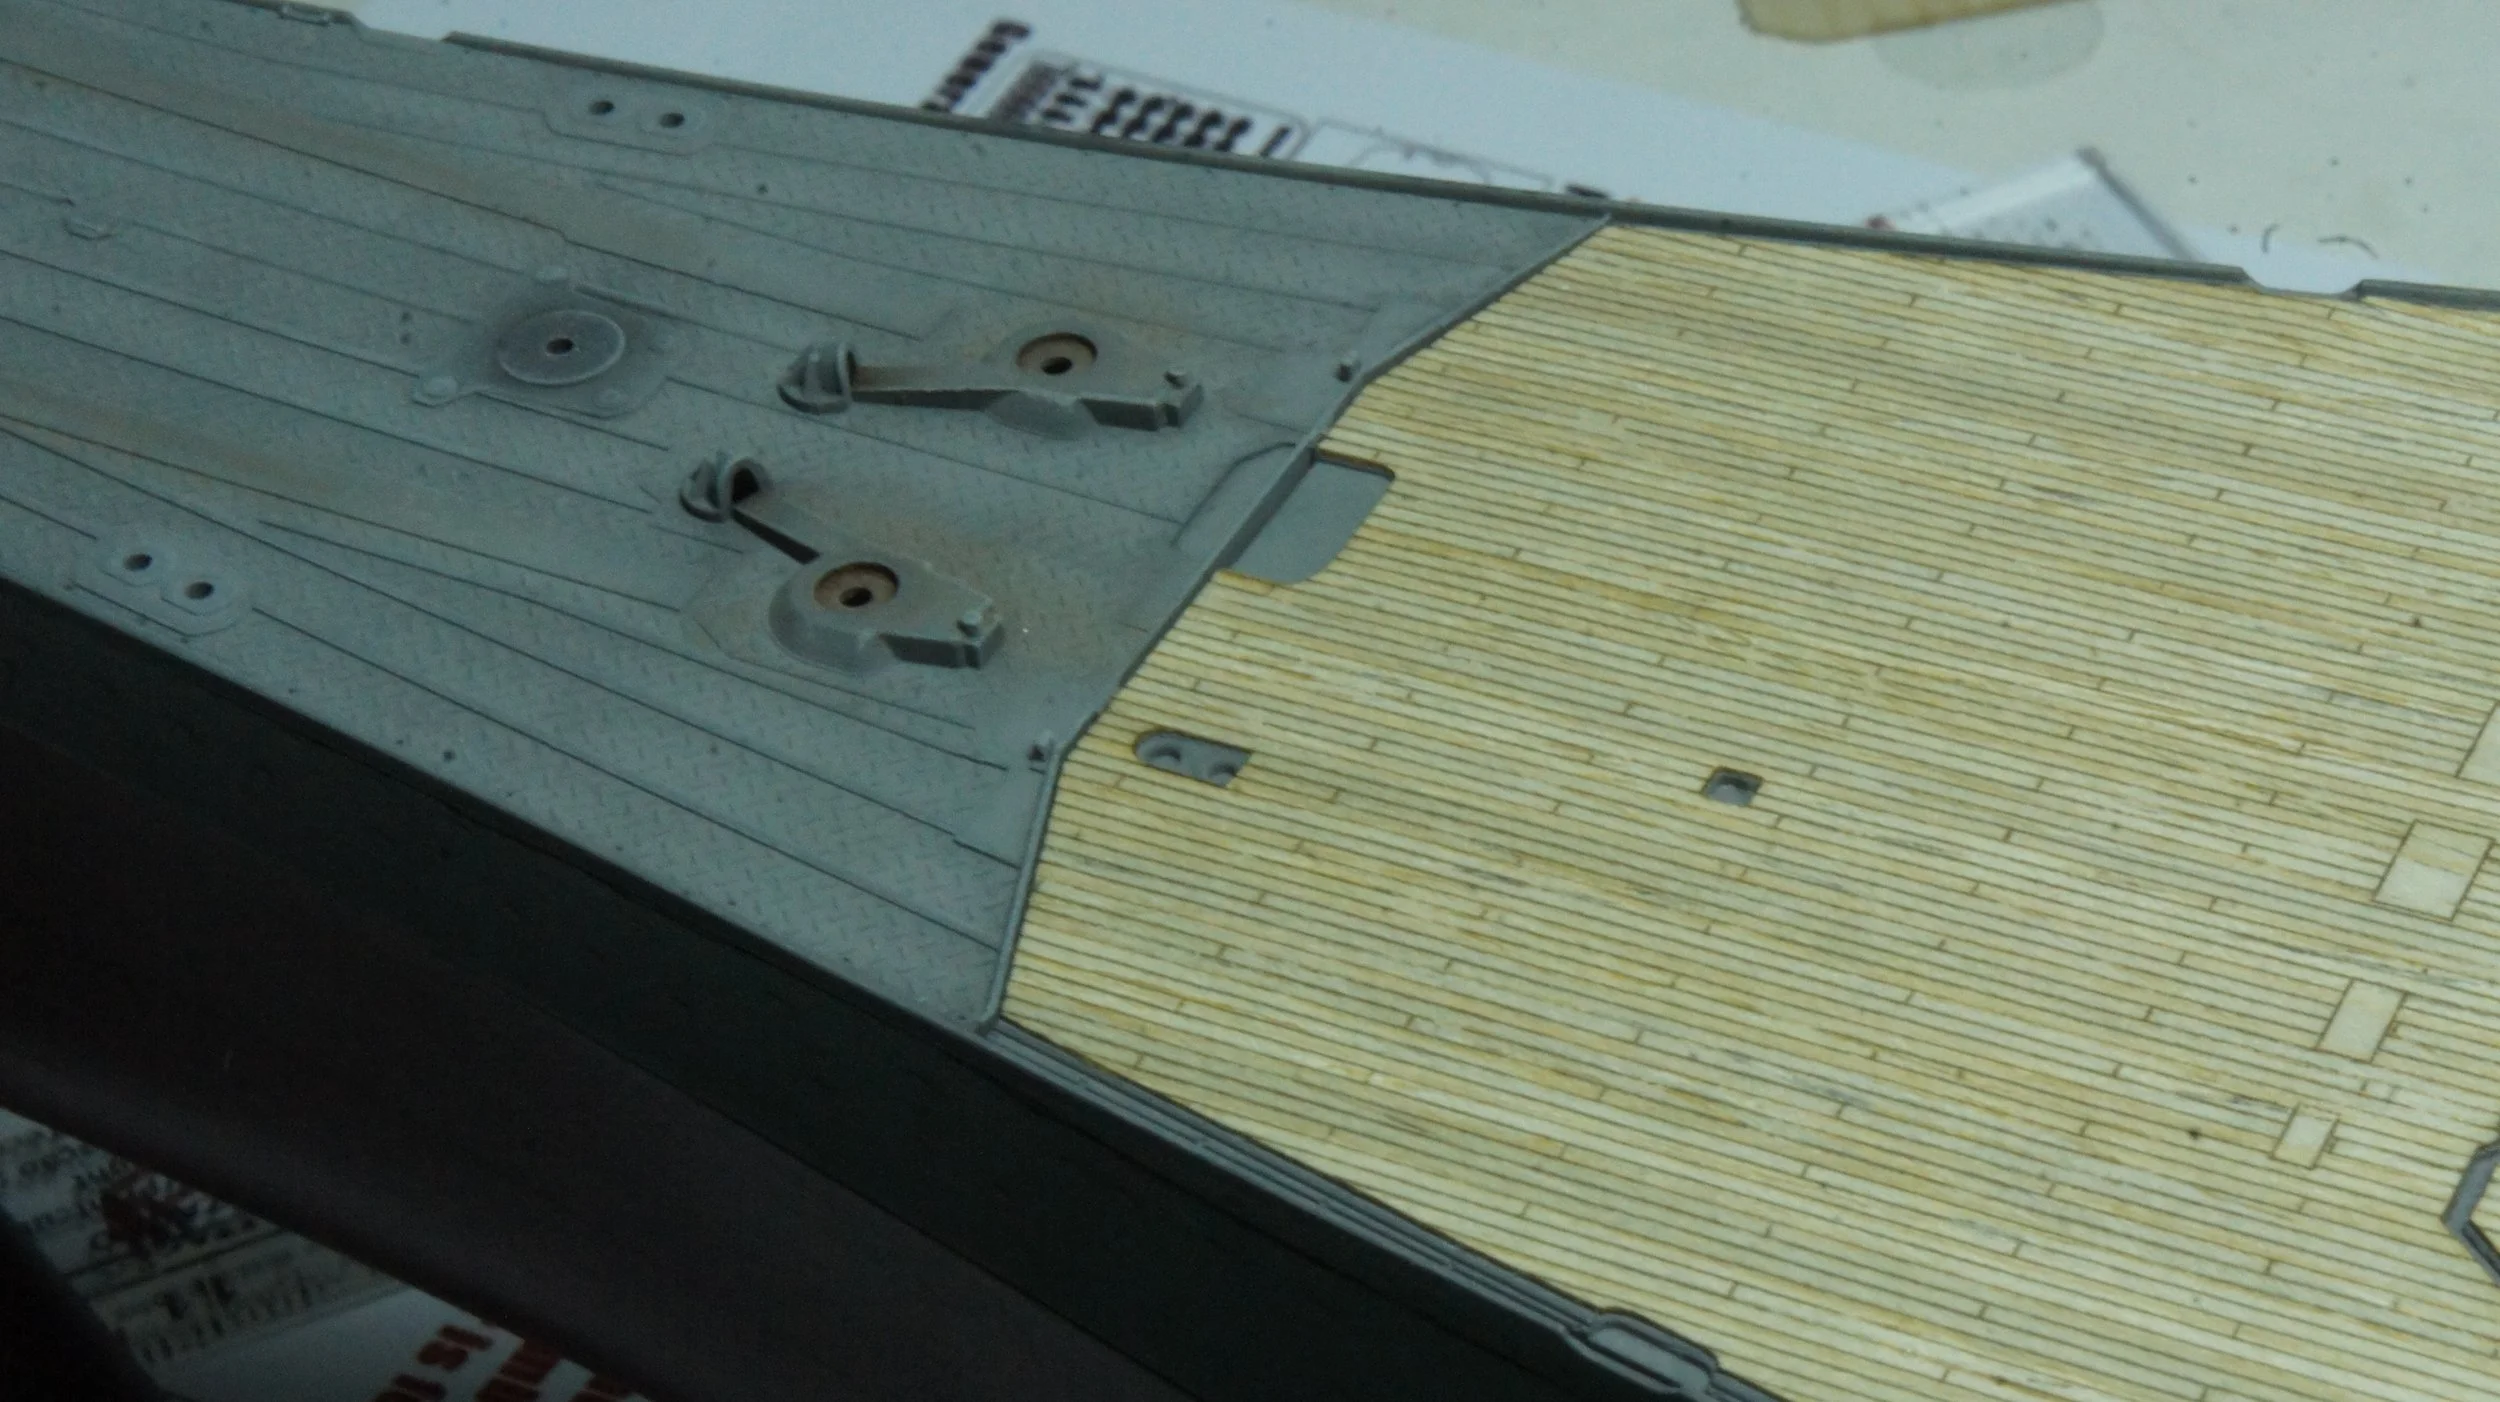
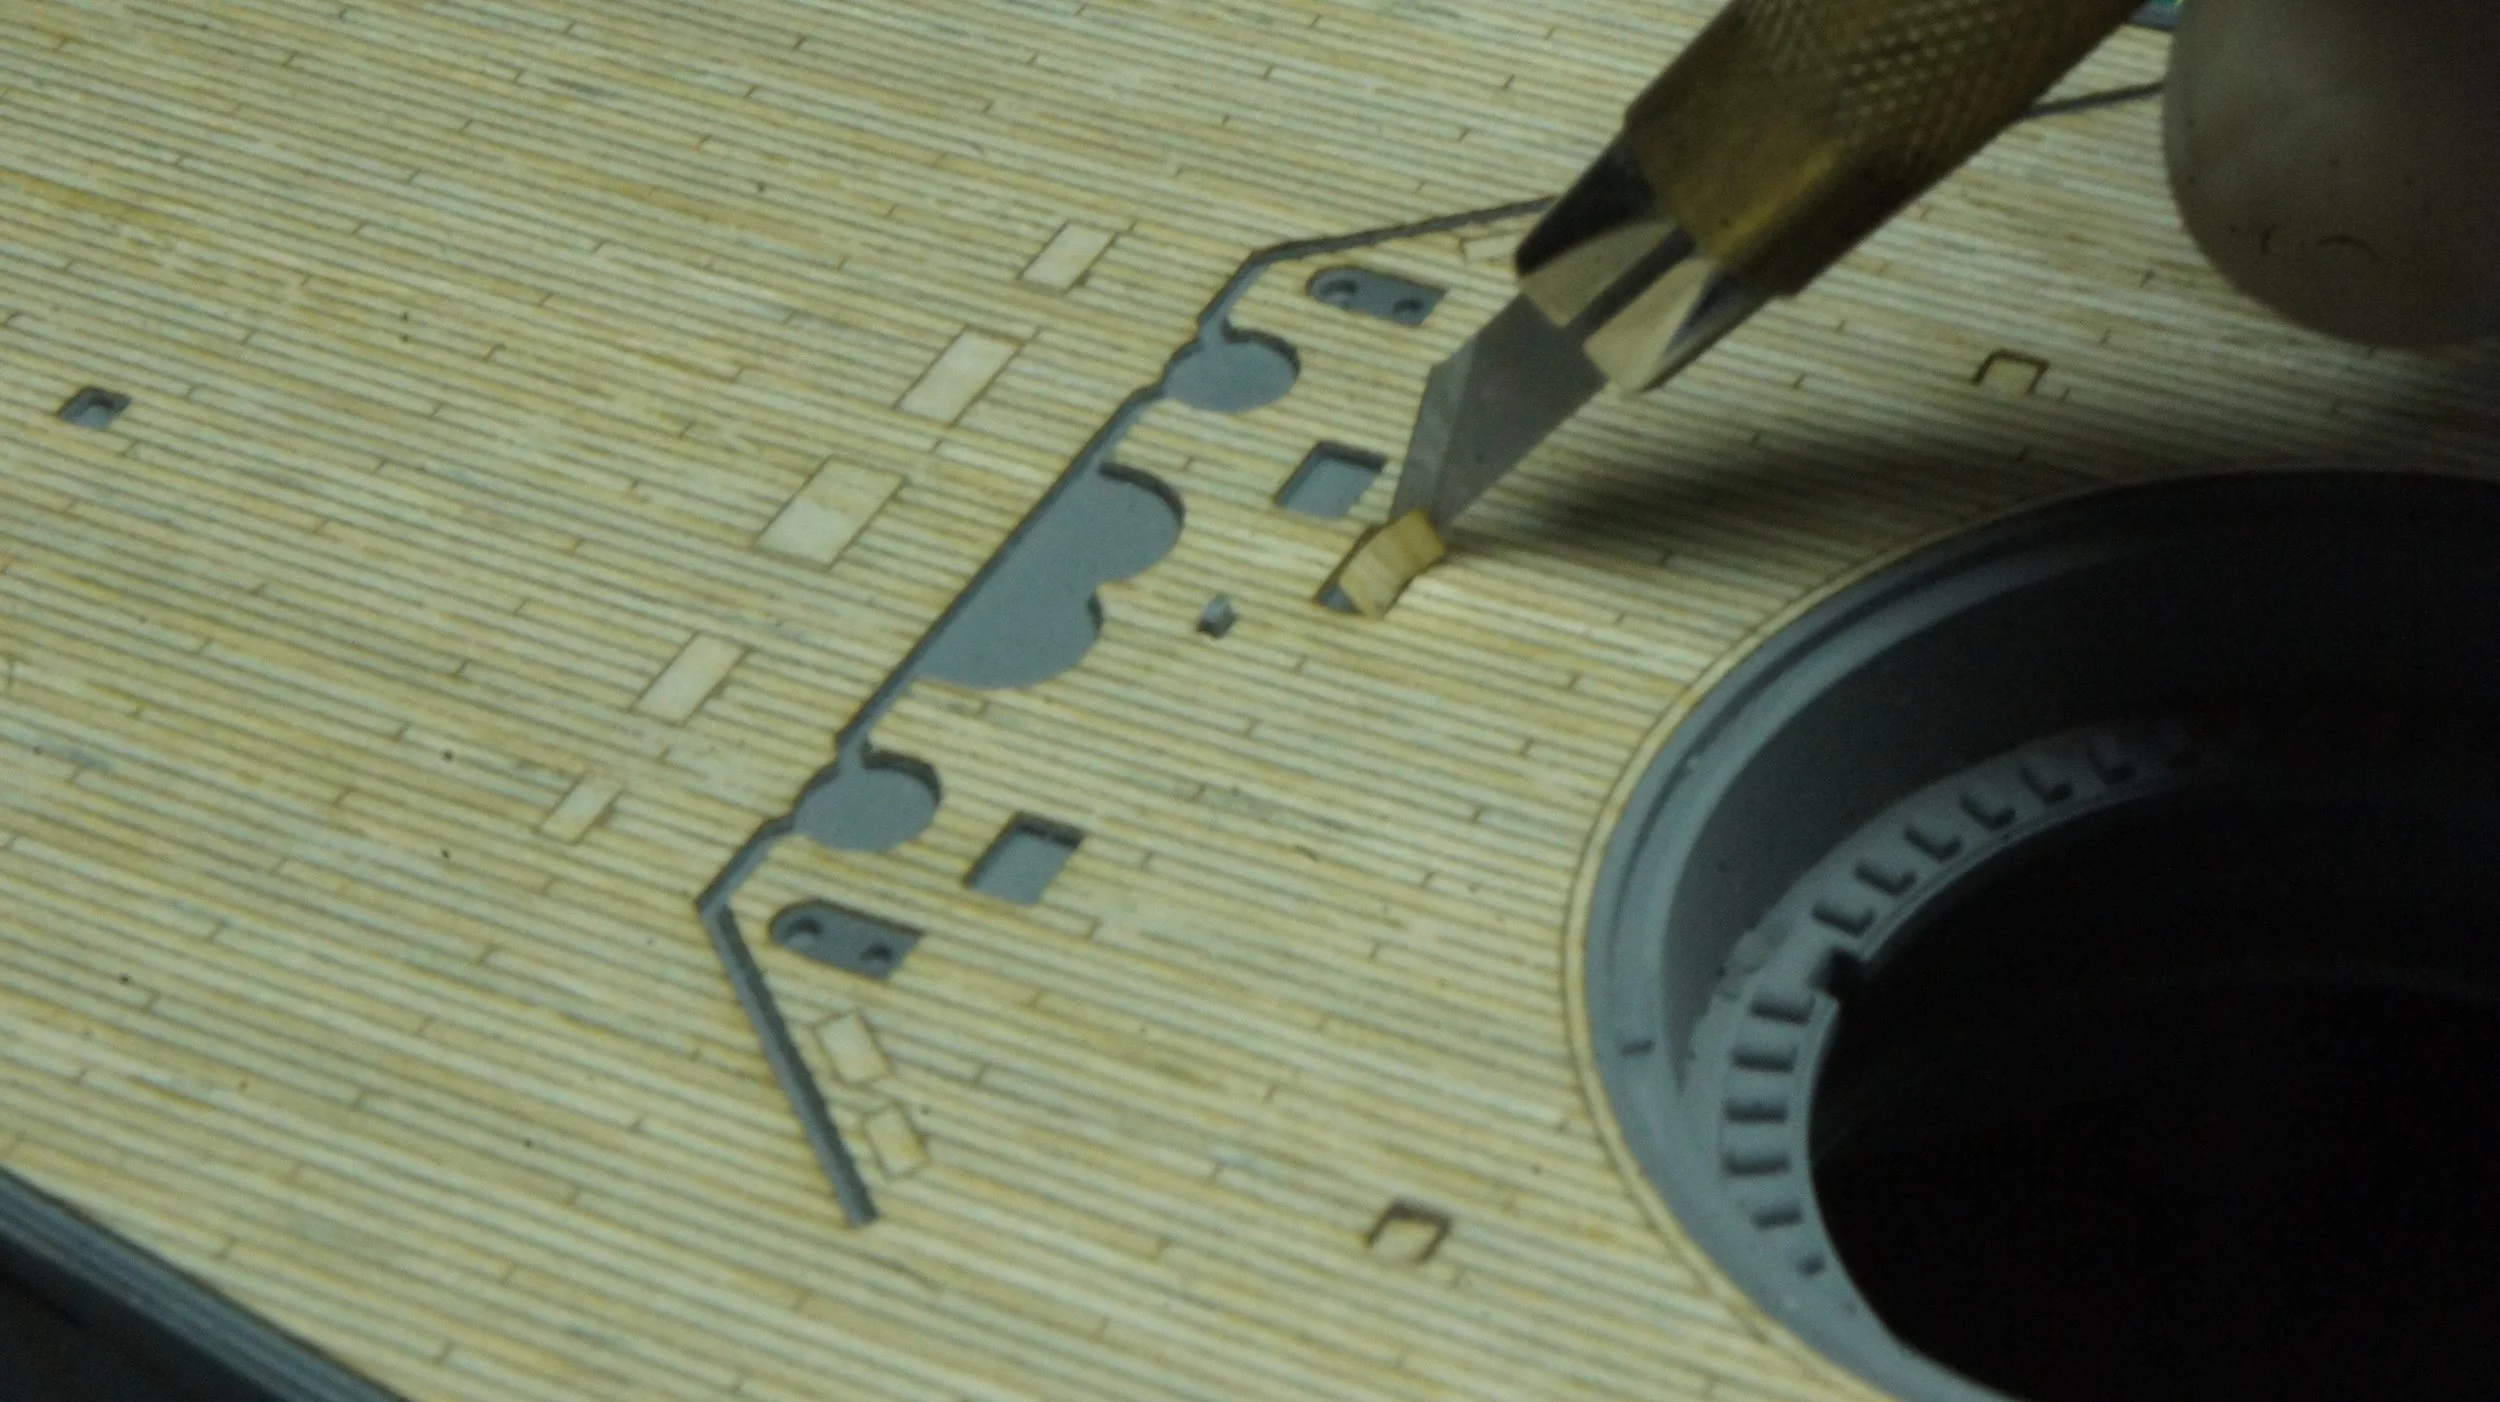
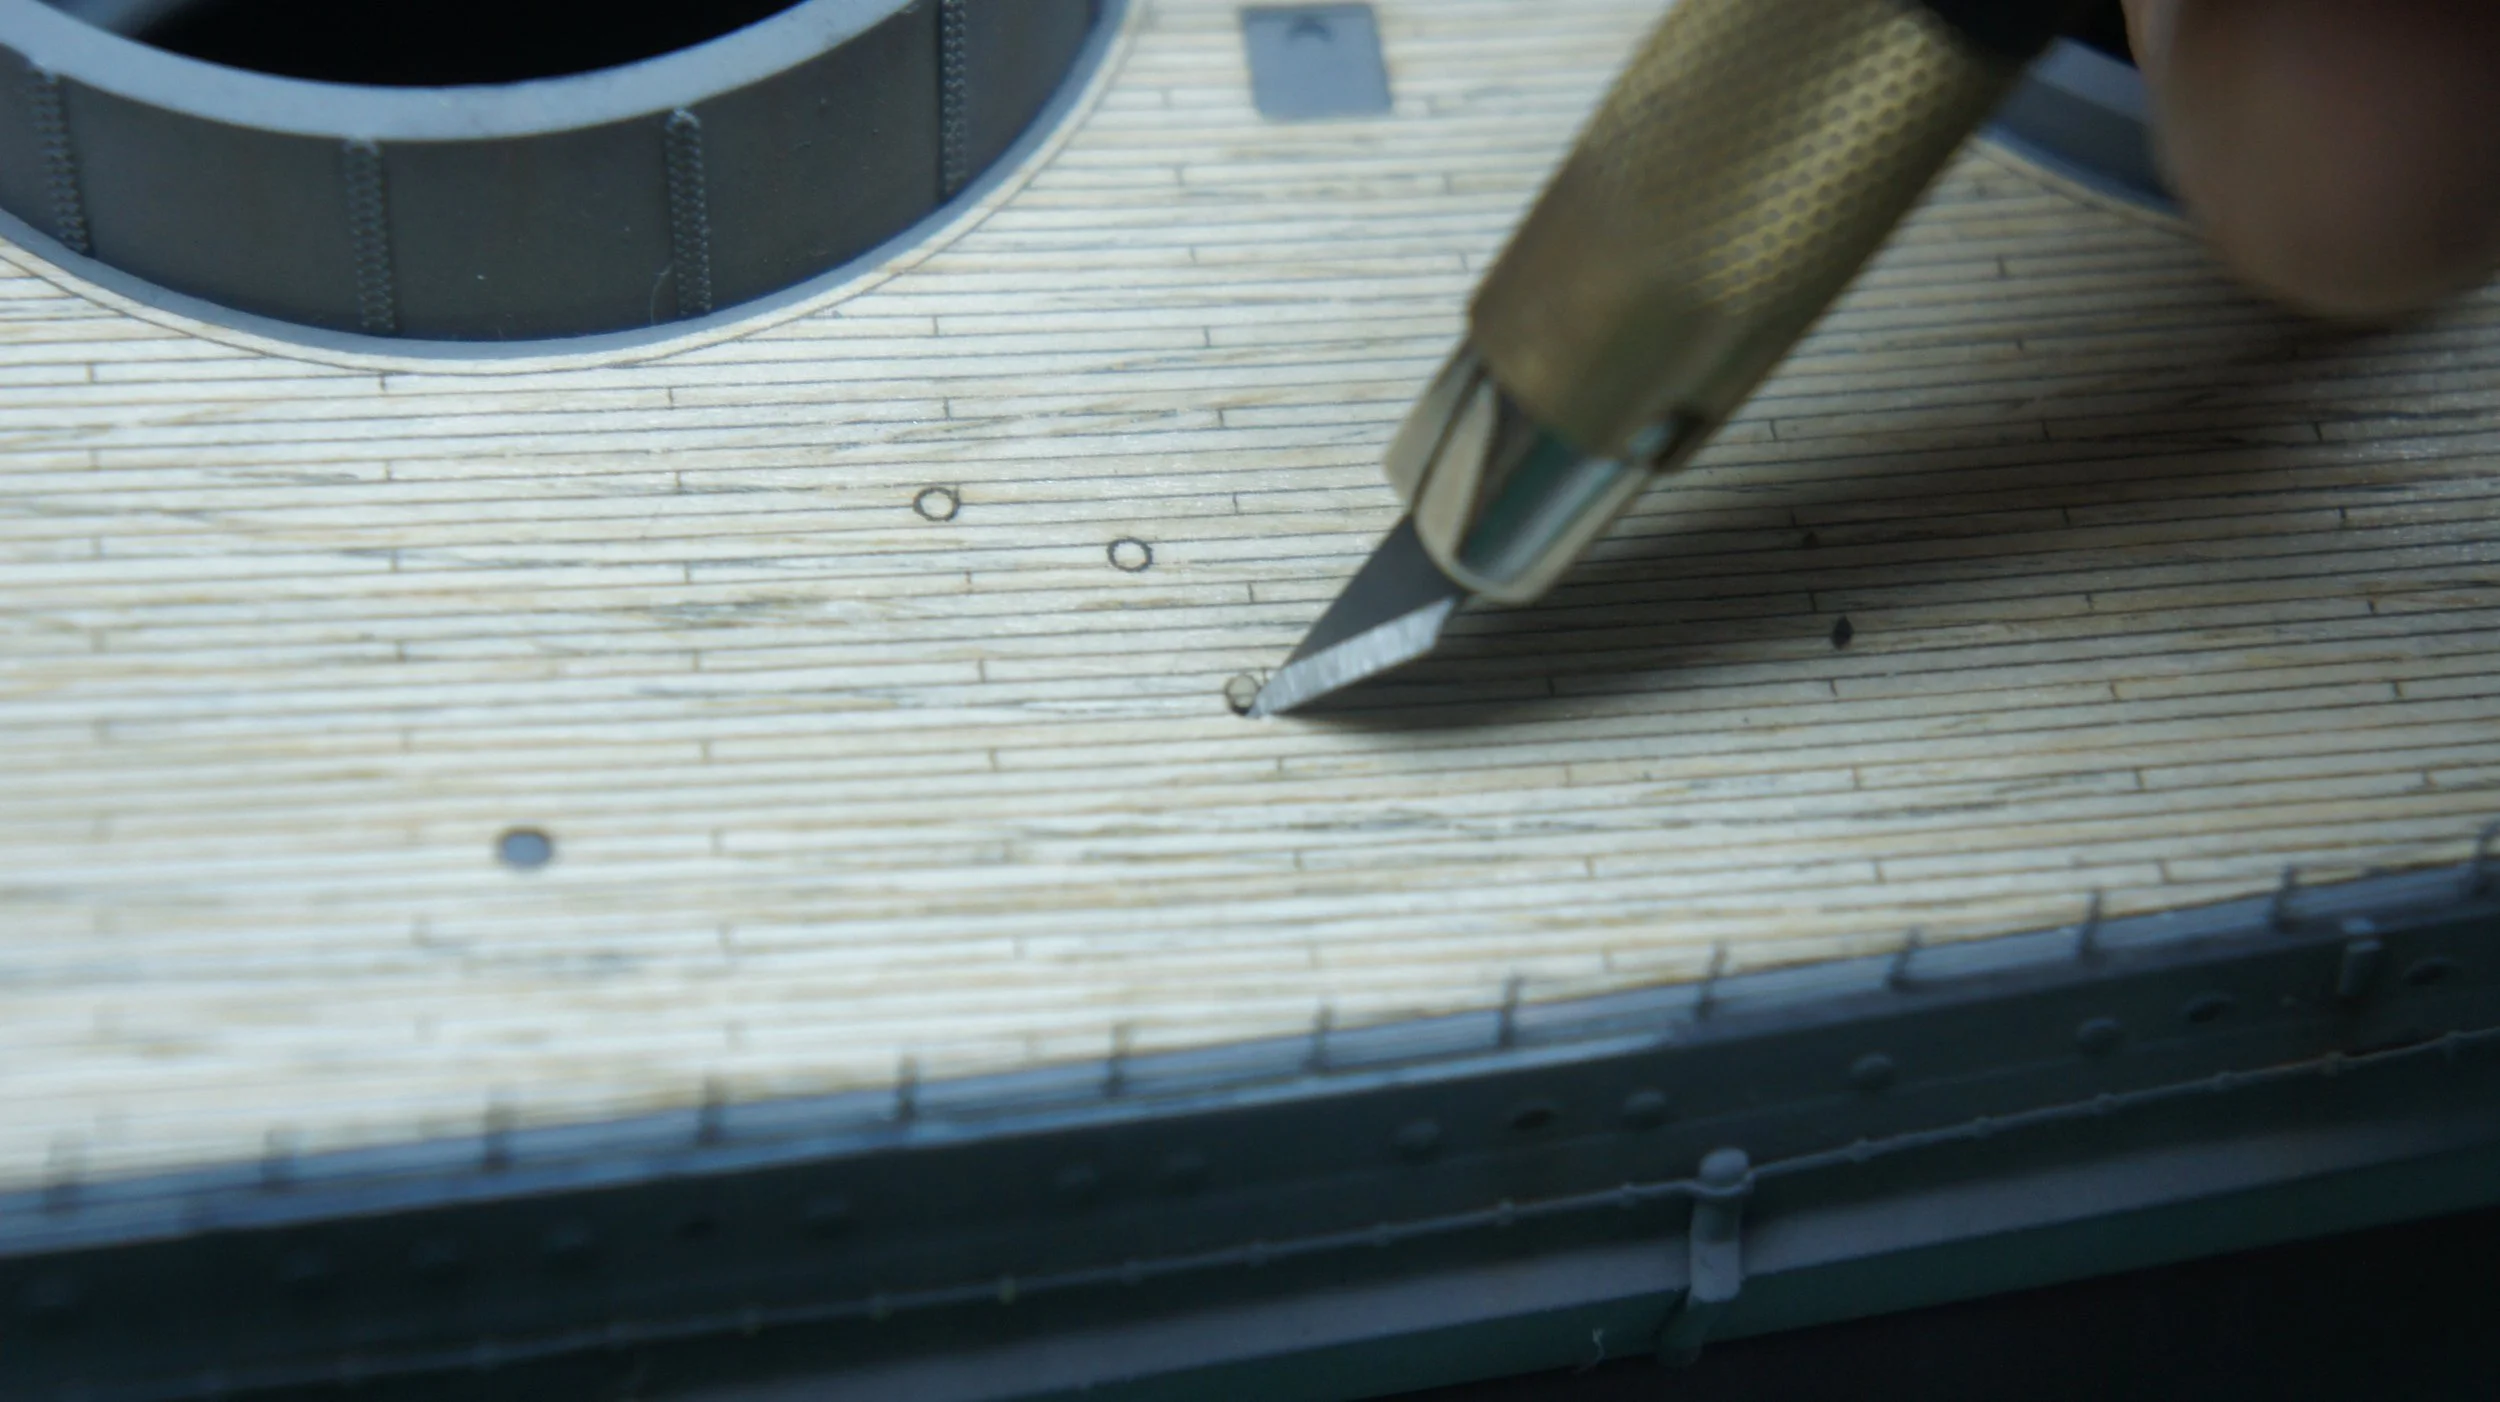
Wooden deck:
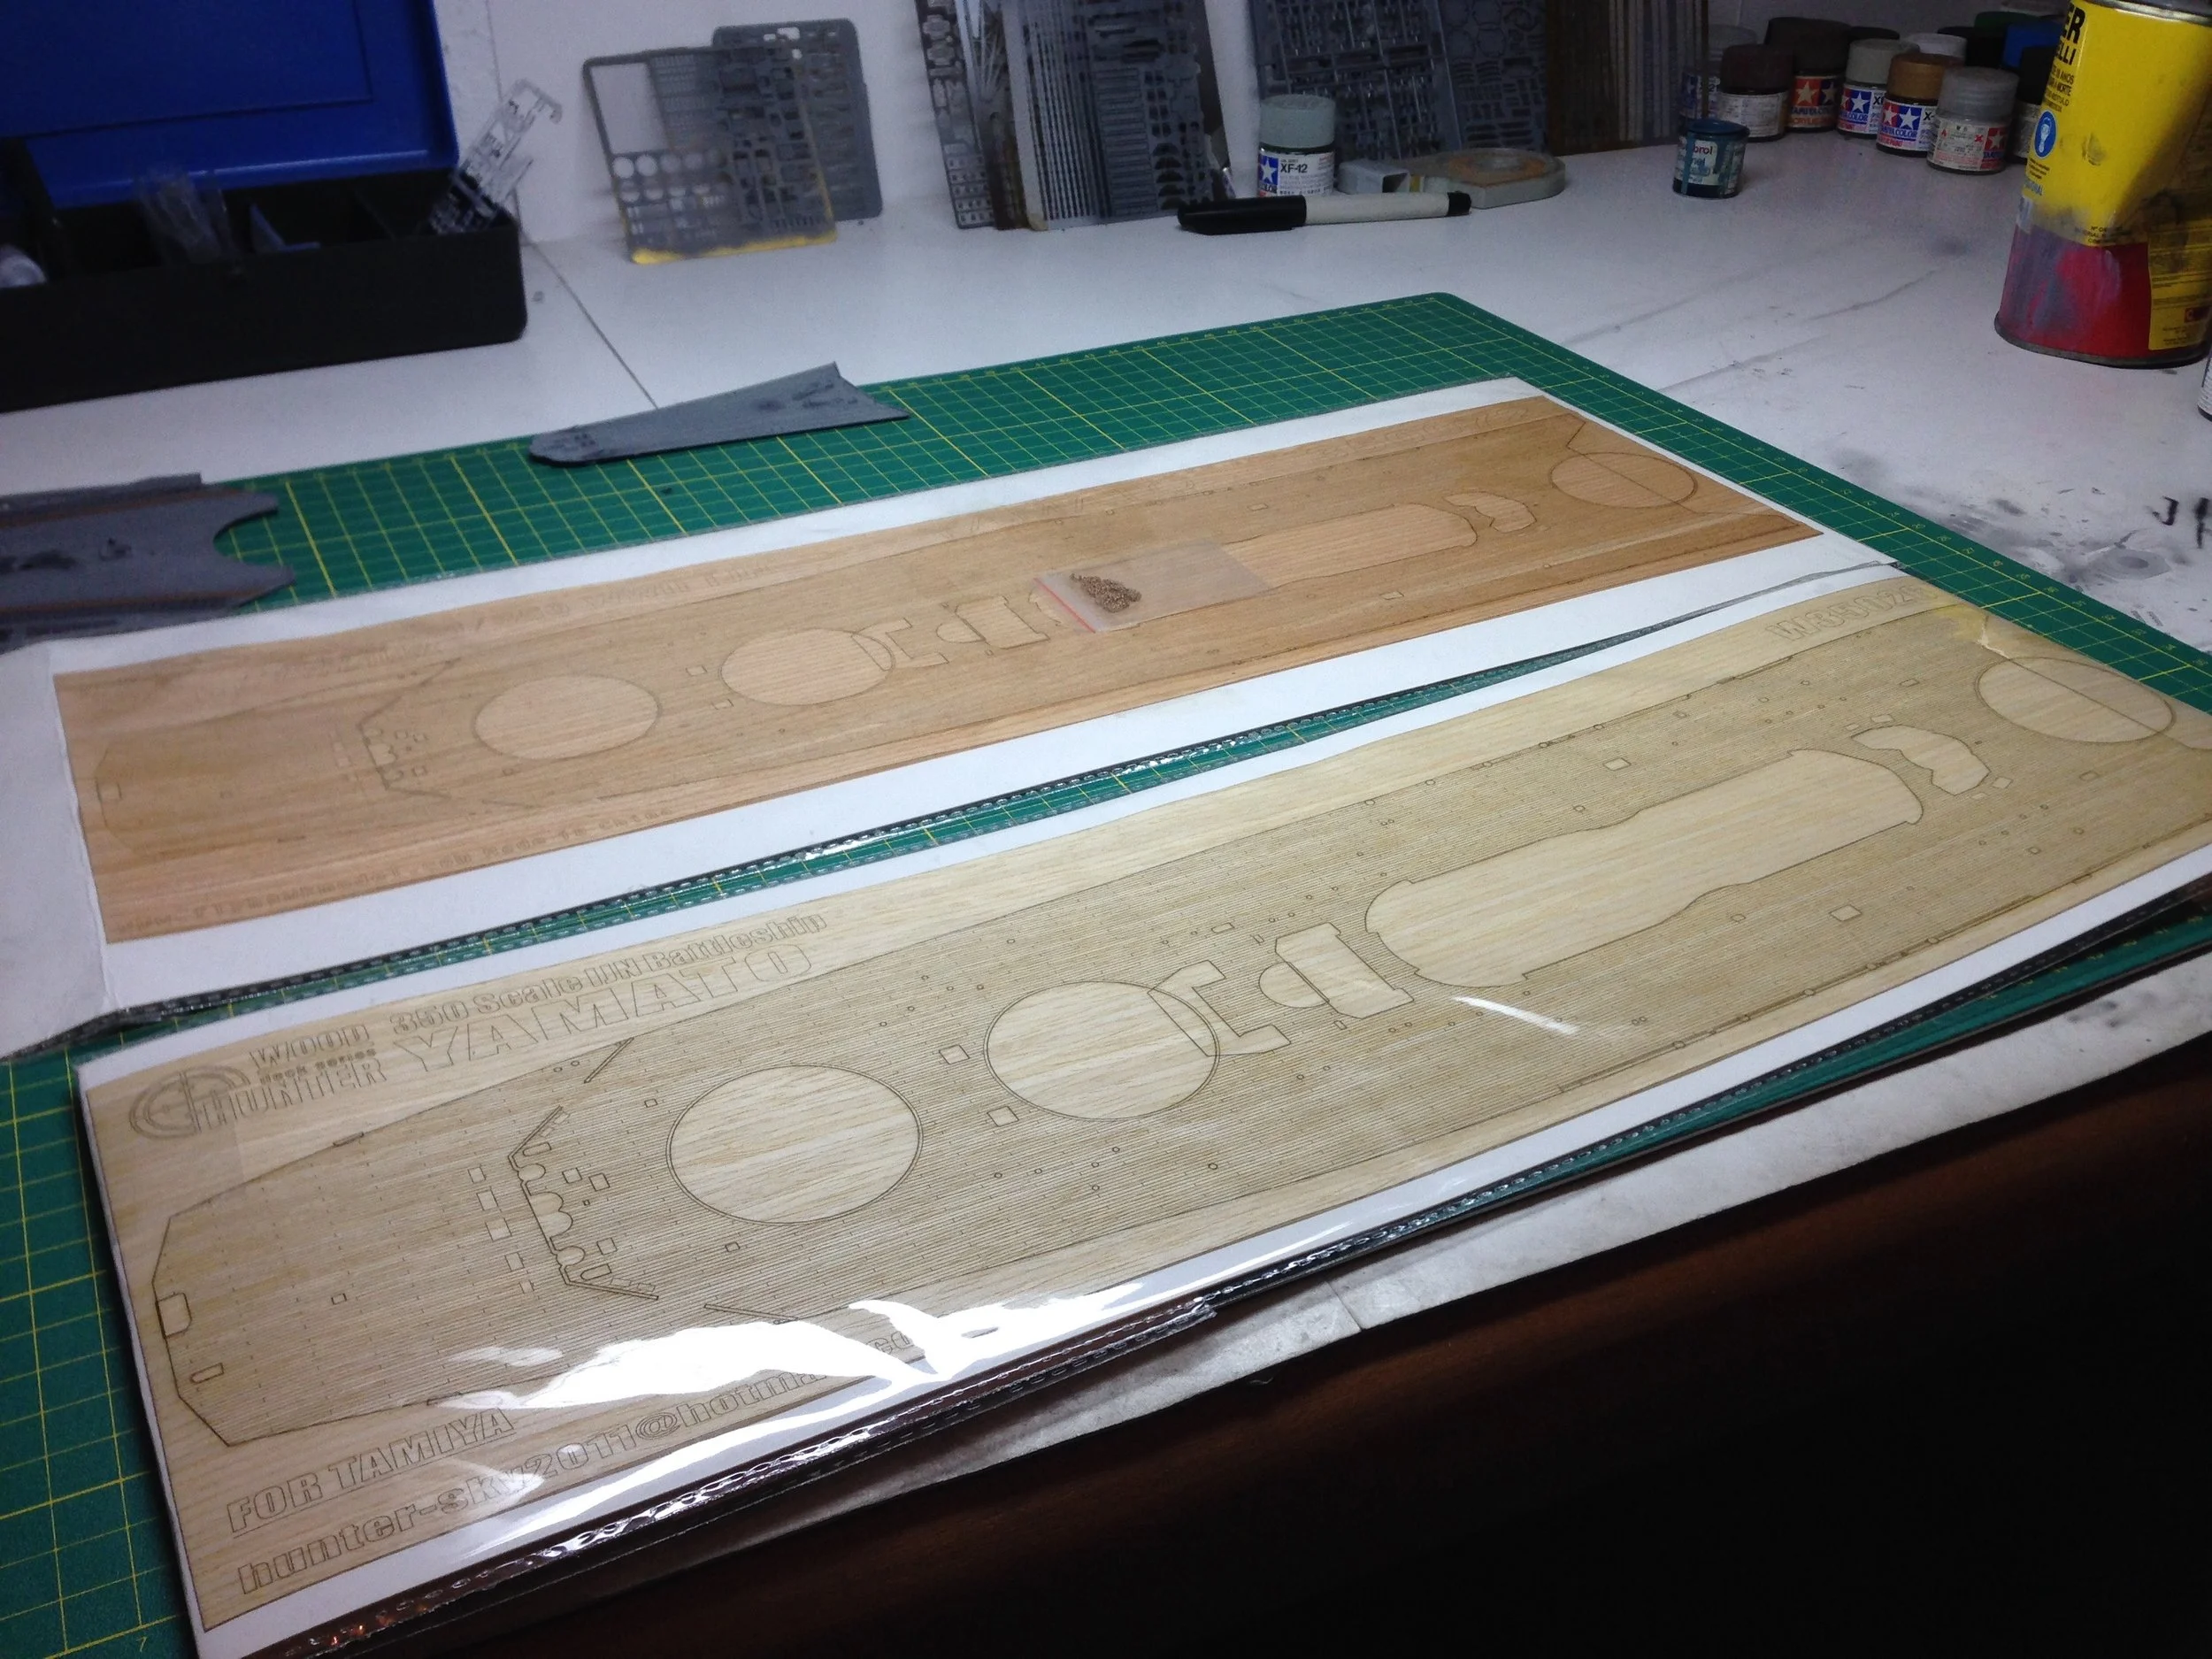
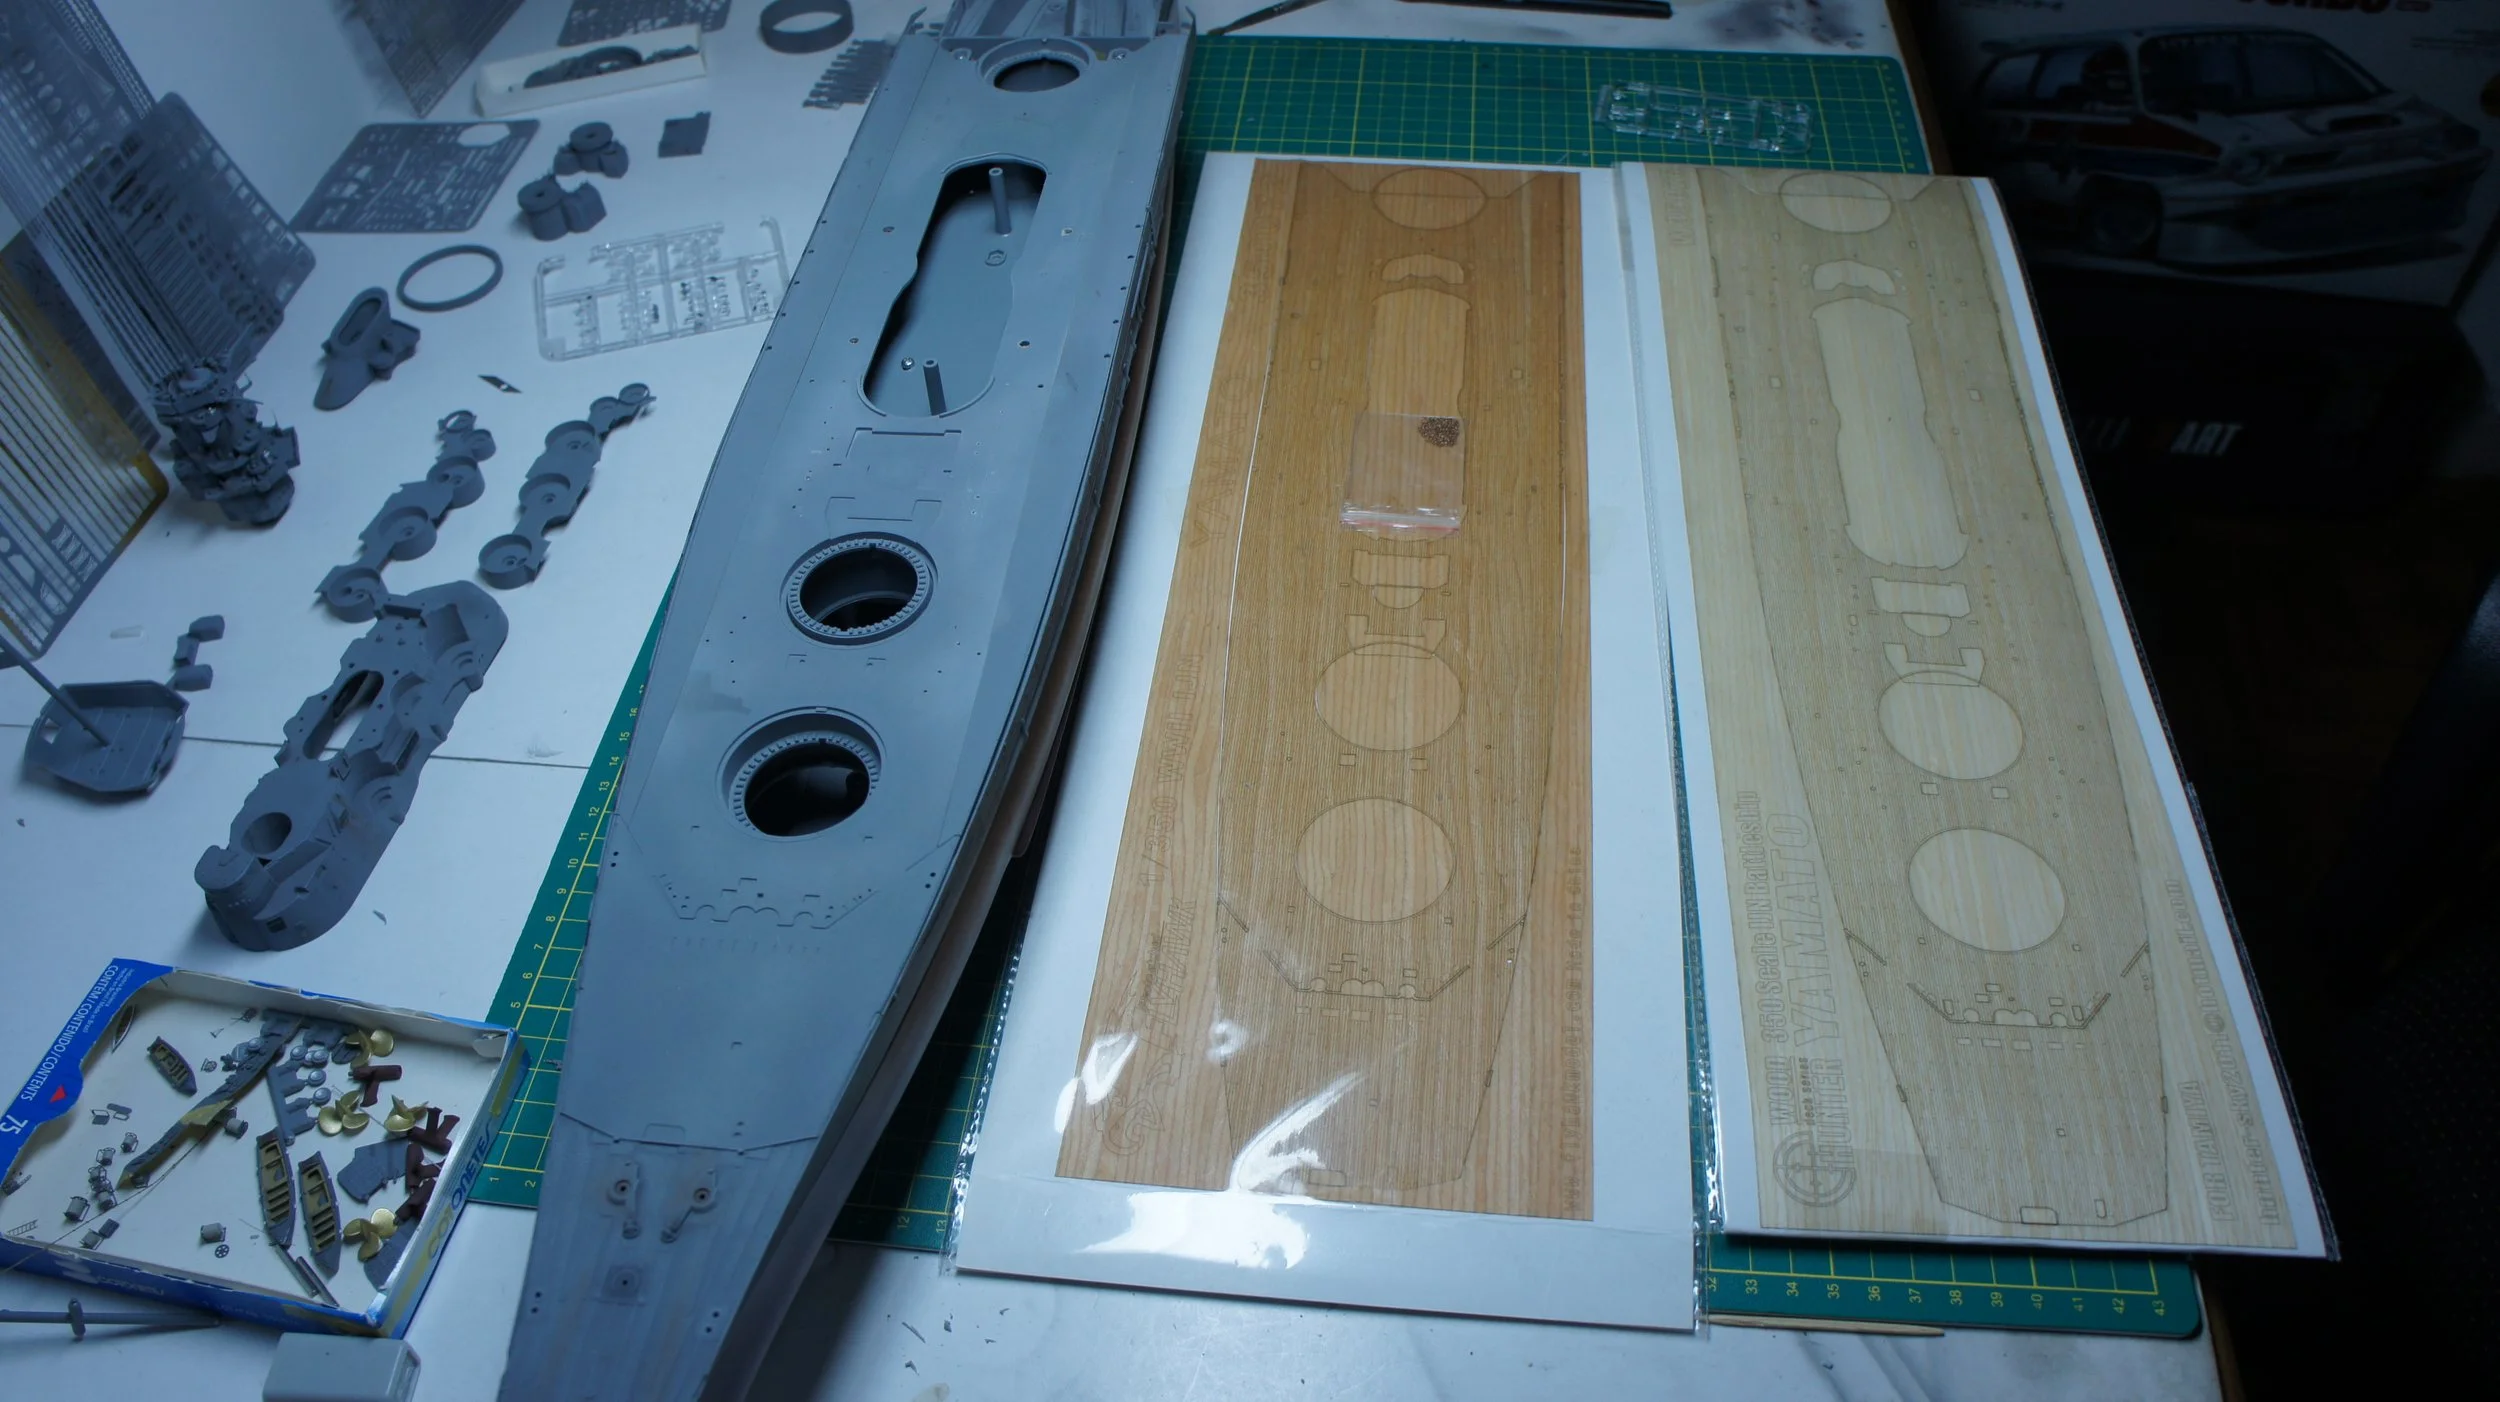
I bought two types and ended up choosing the lighter one to contrast with the boat’s dark gray hue. Made of real wood with laser-engraved plank details.
AA Guns:
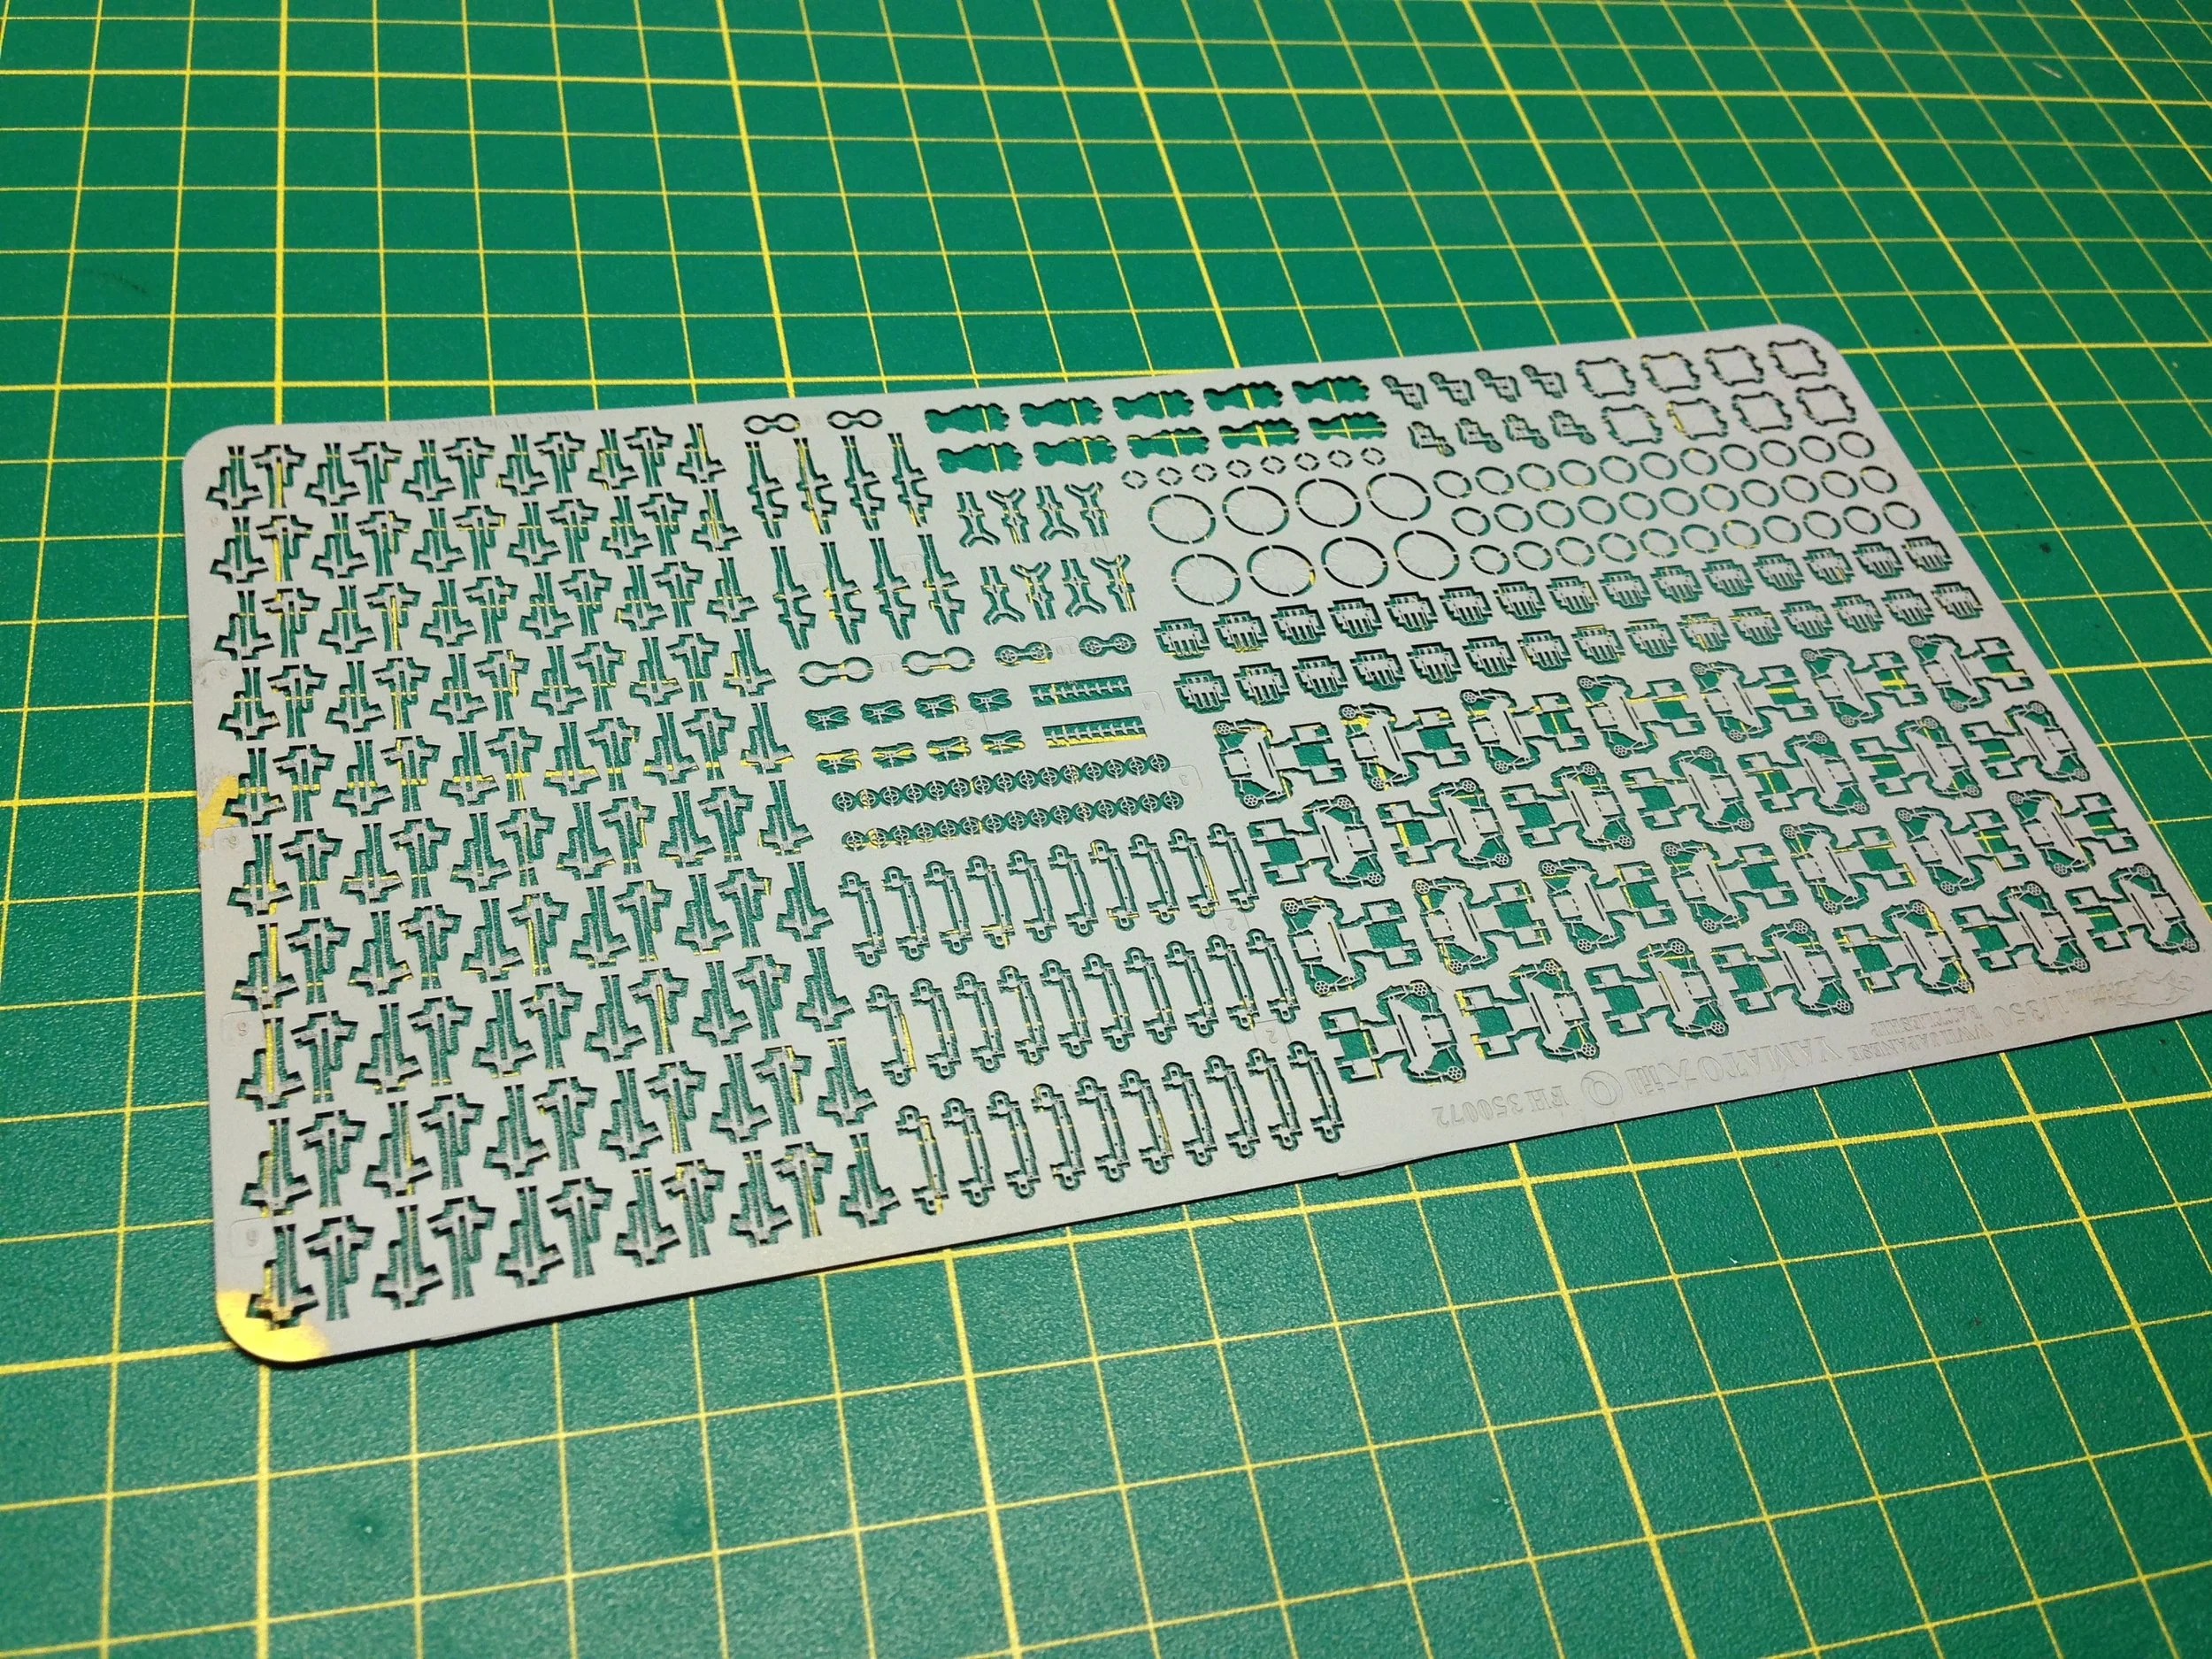
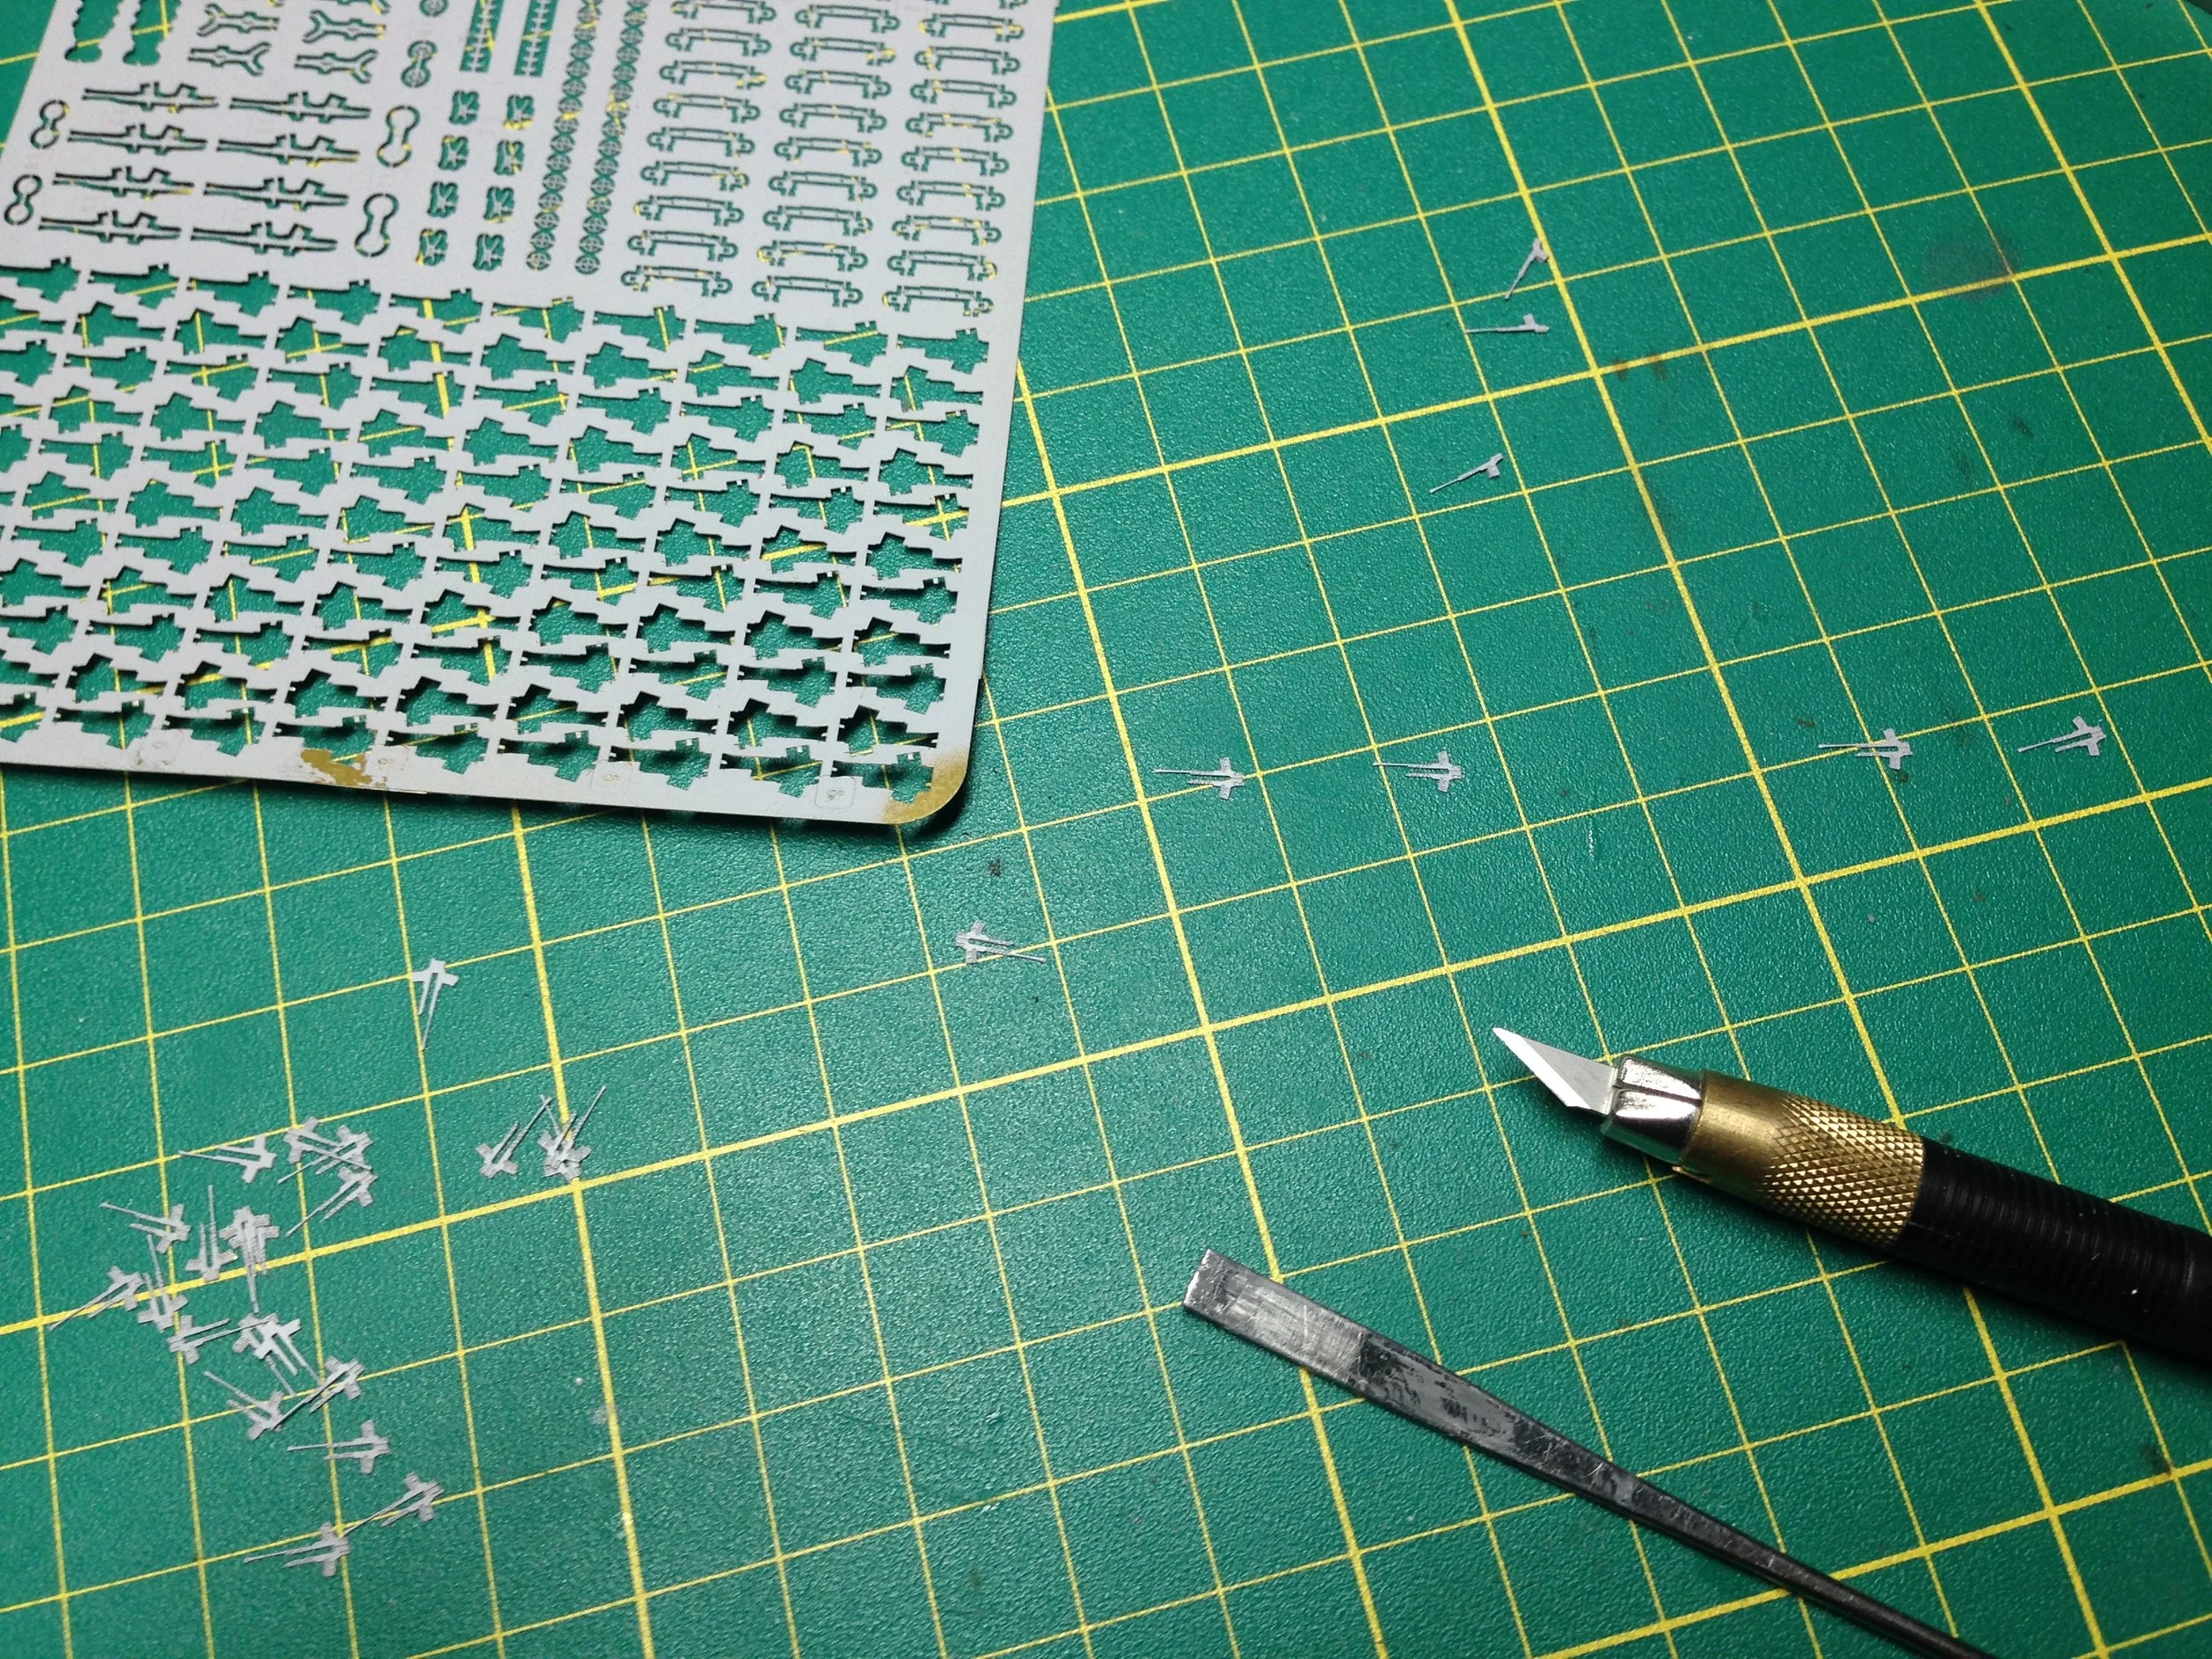
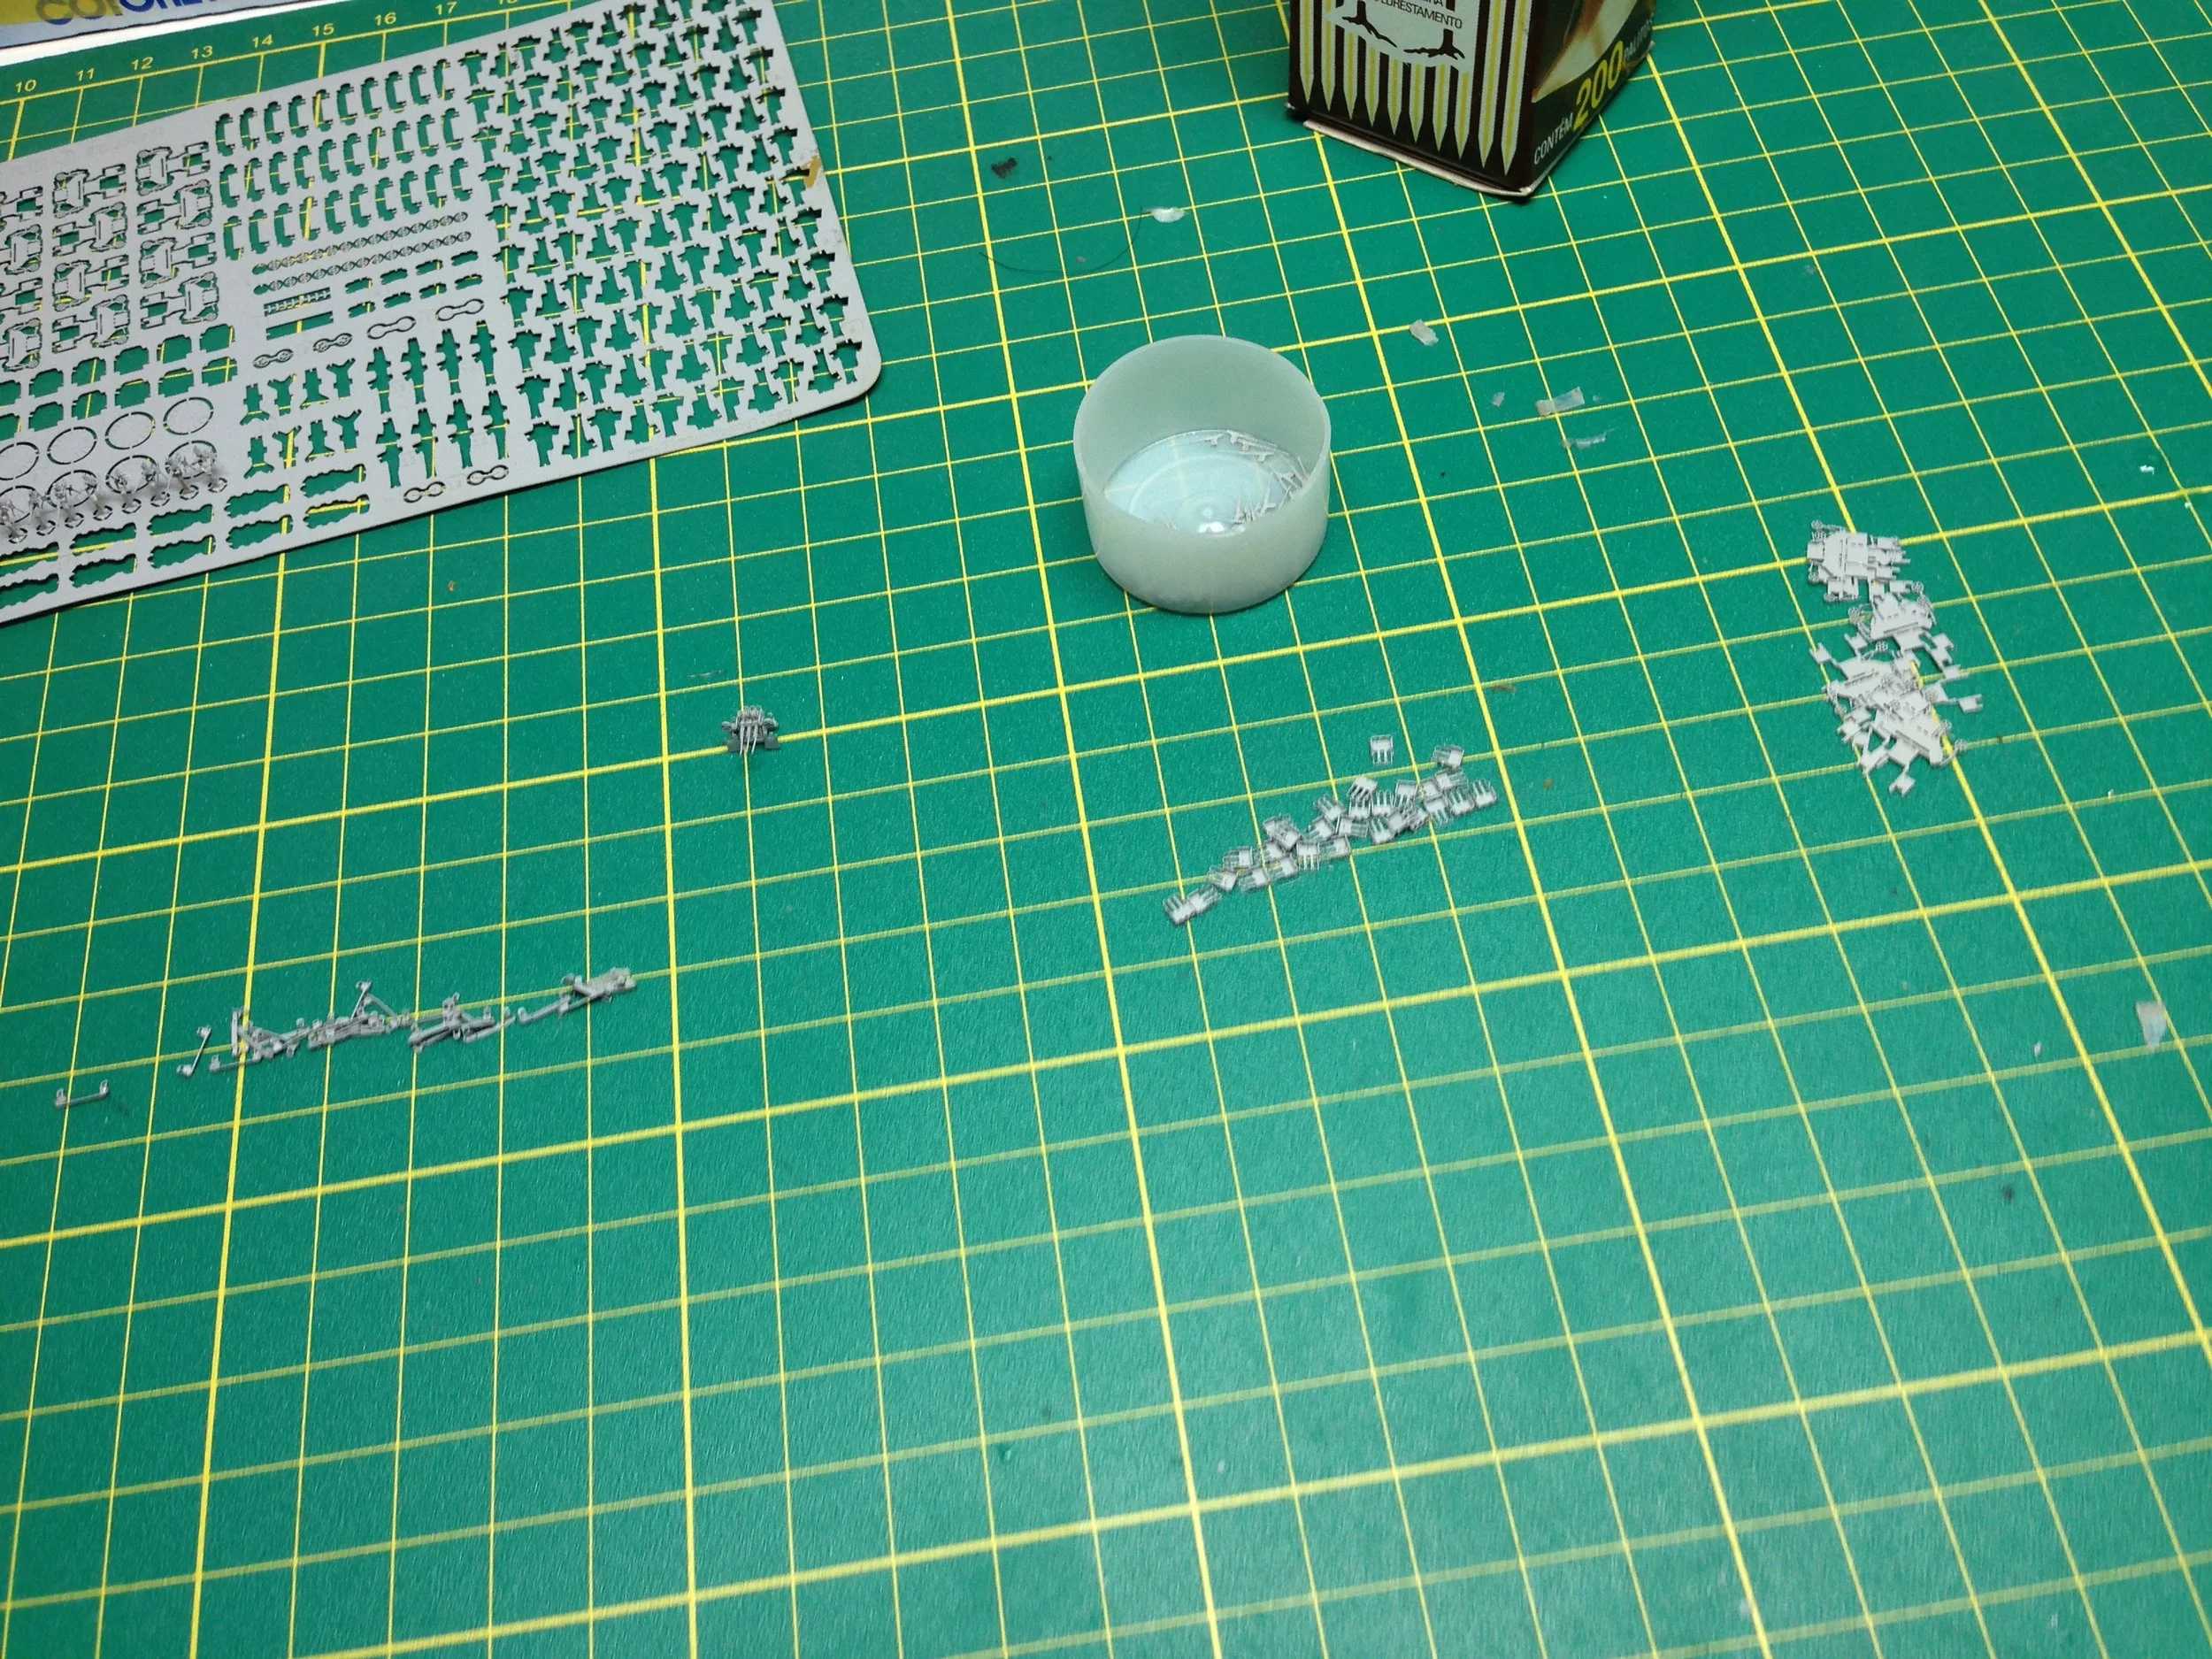
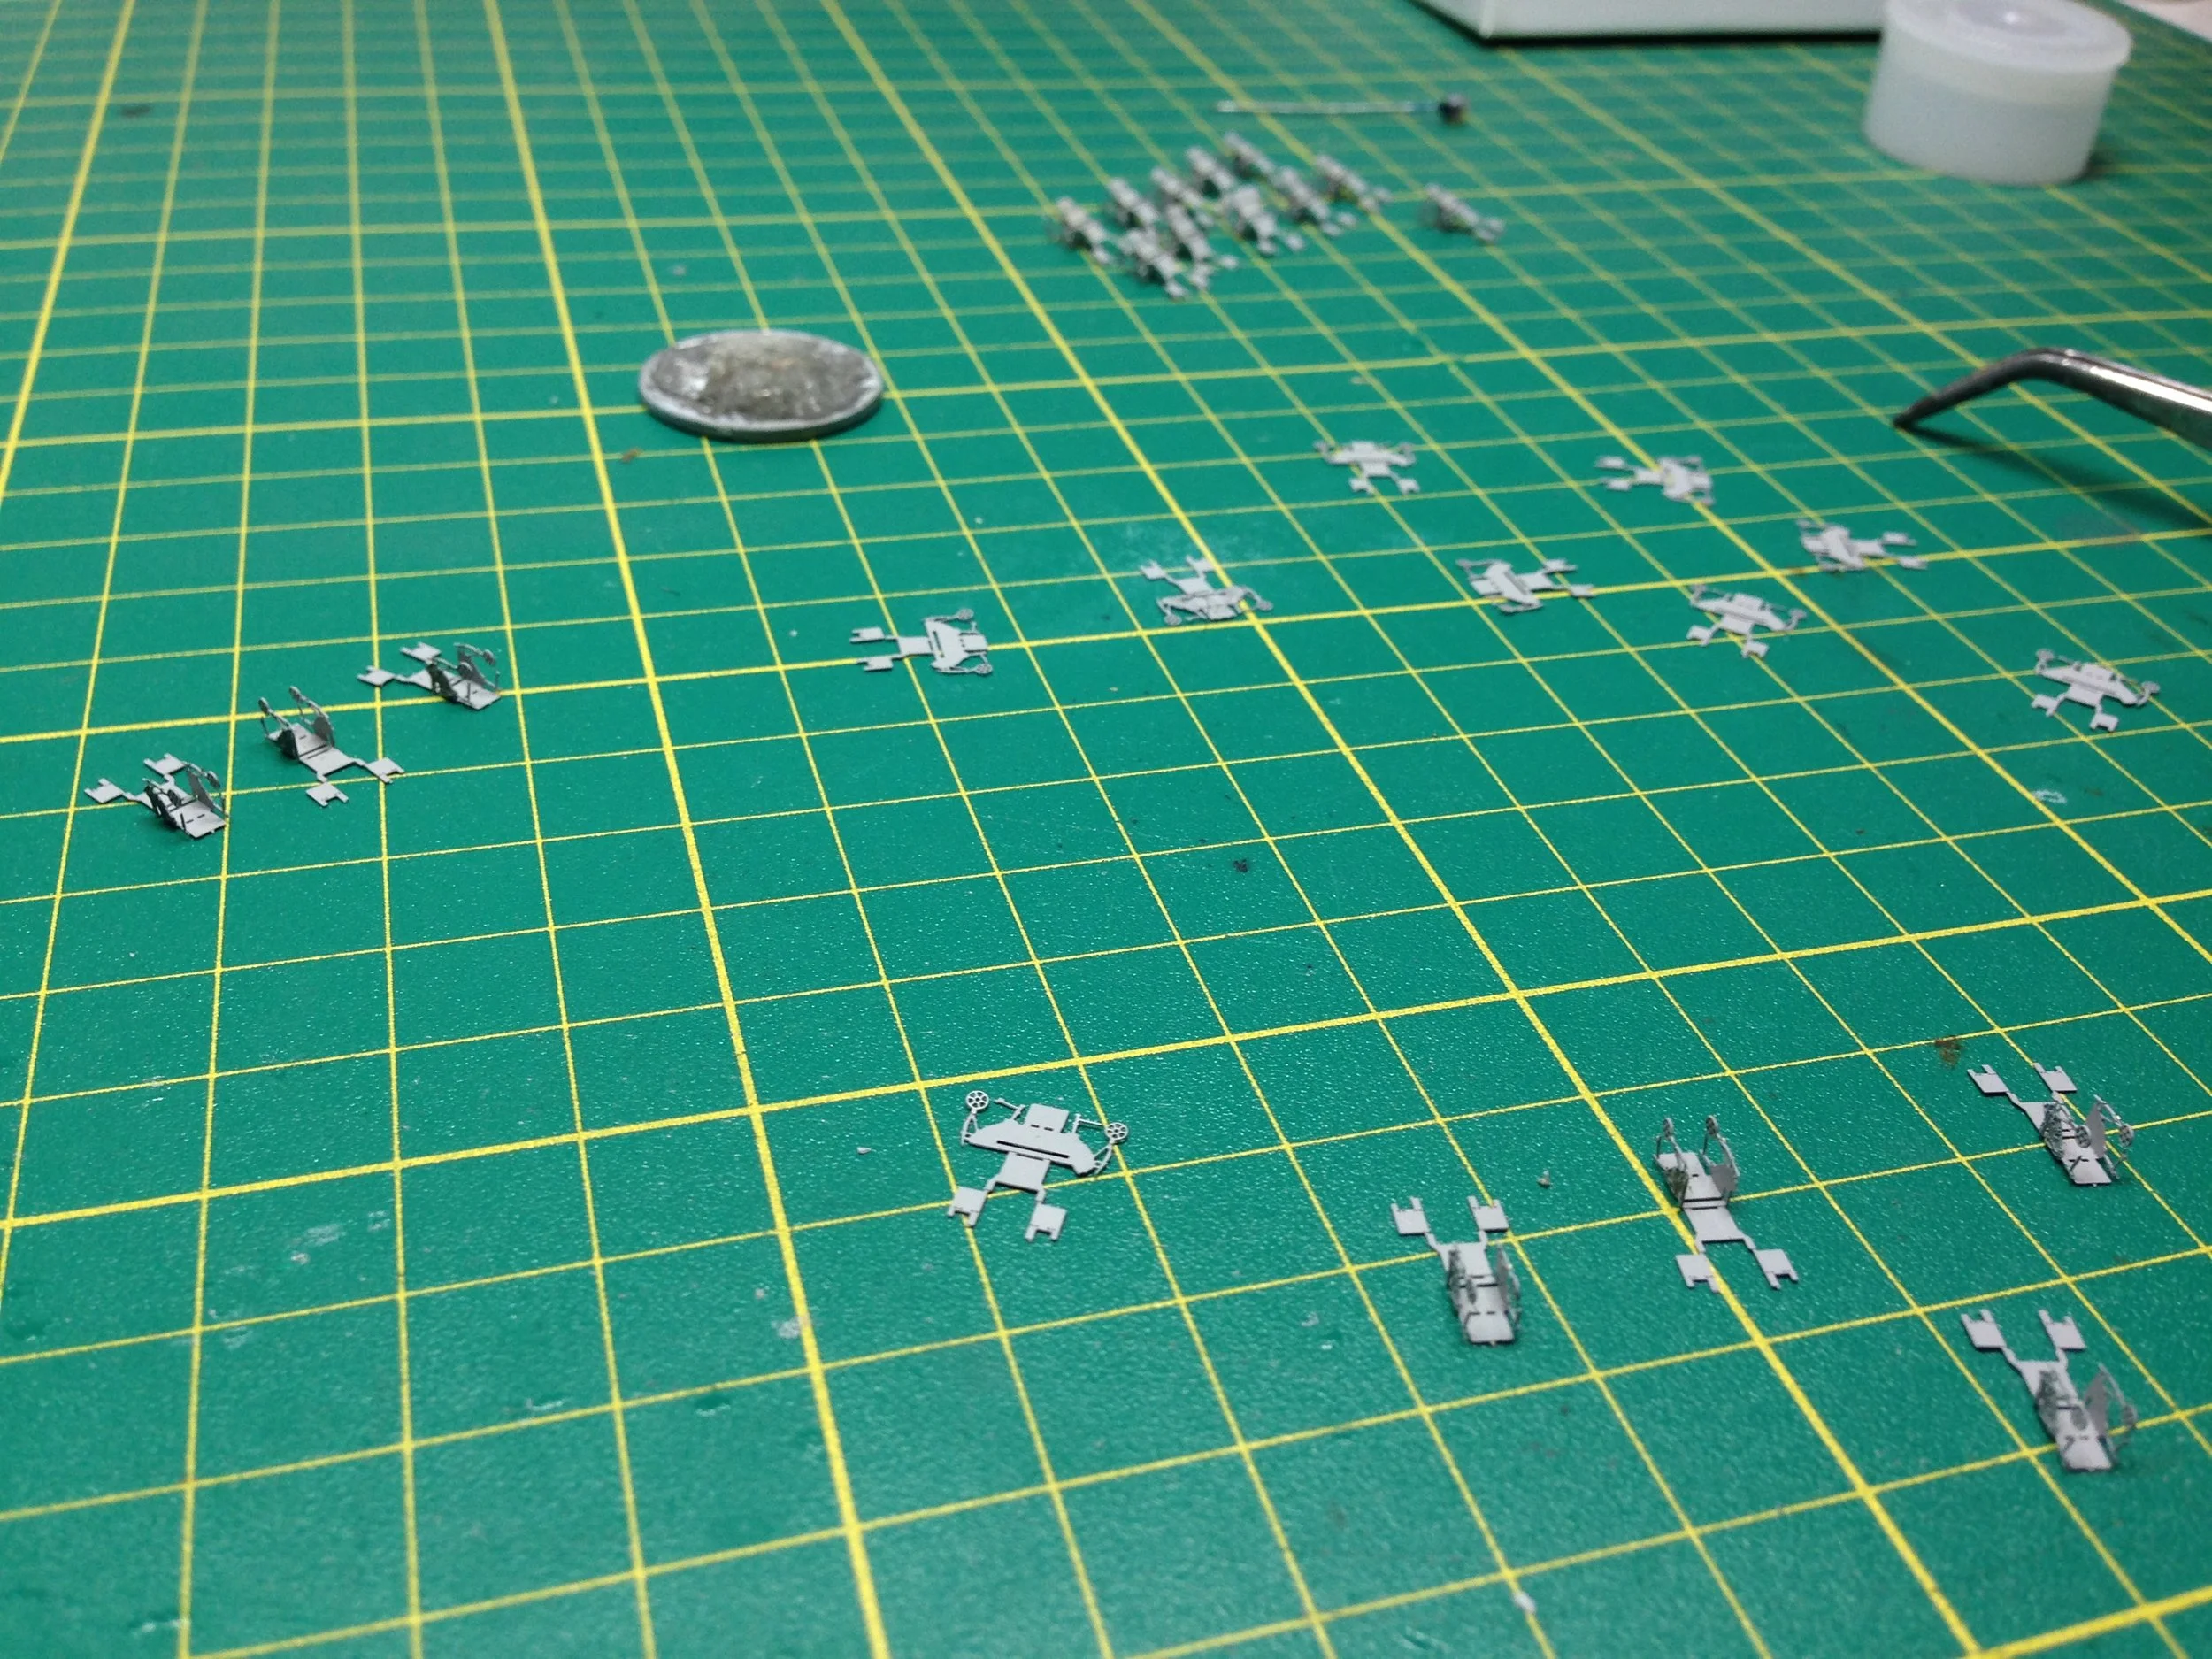
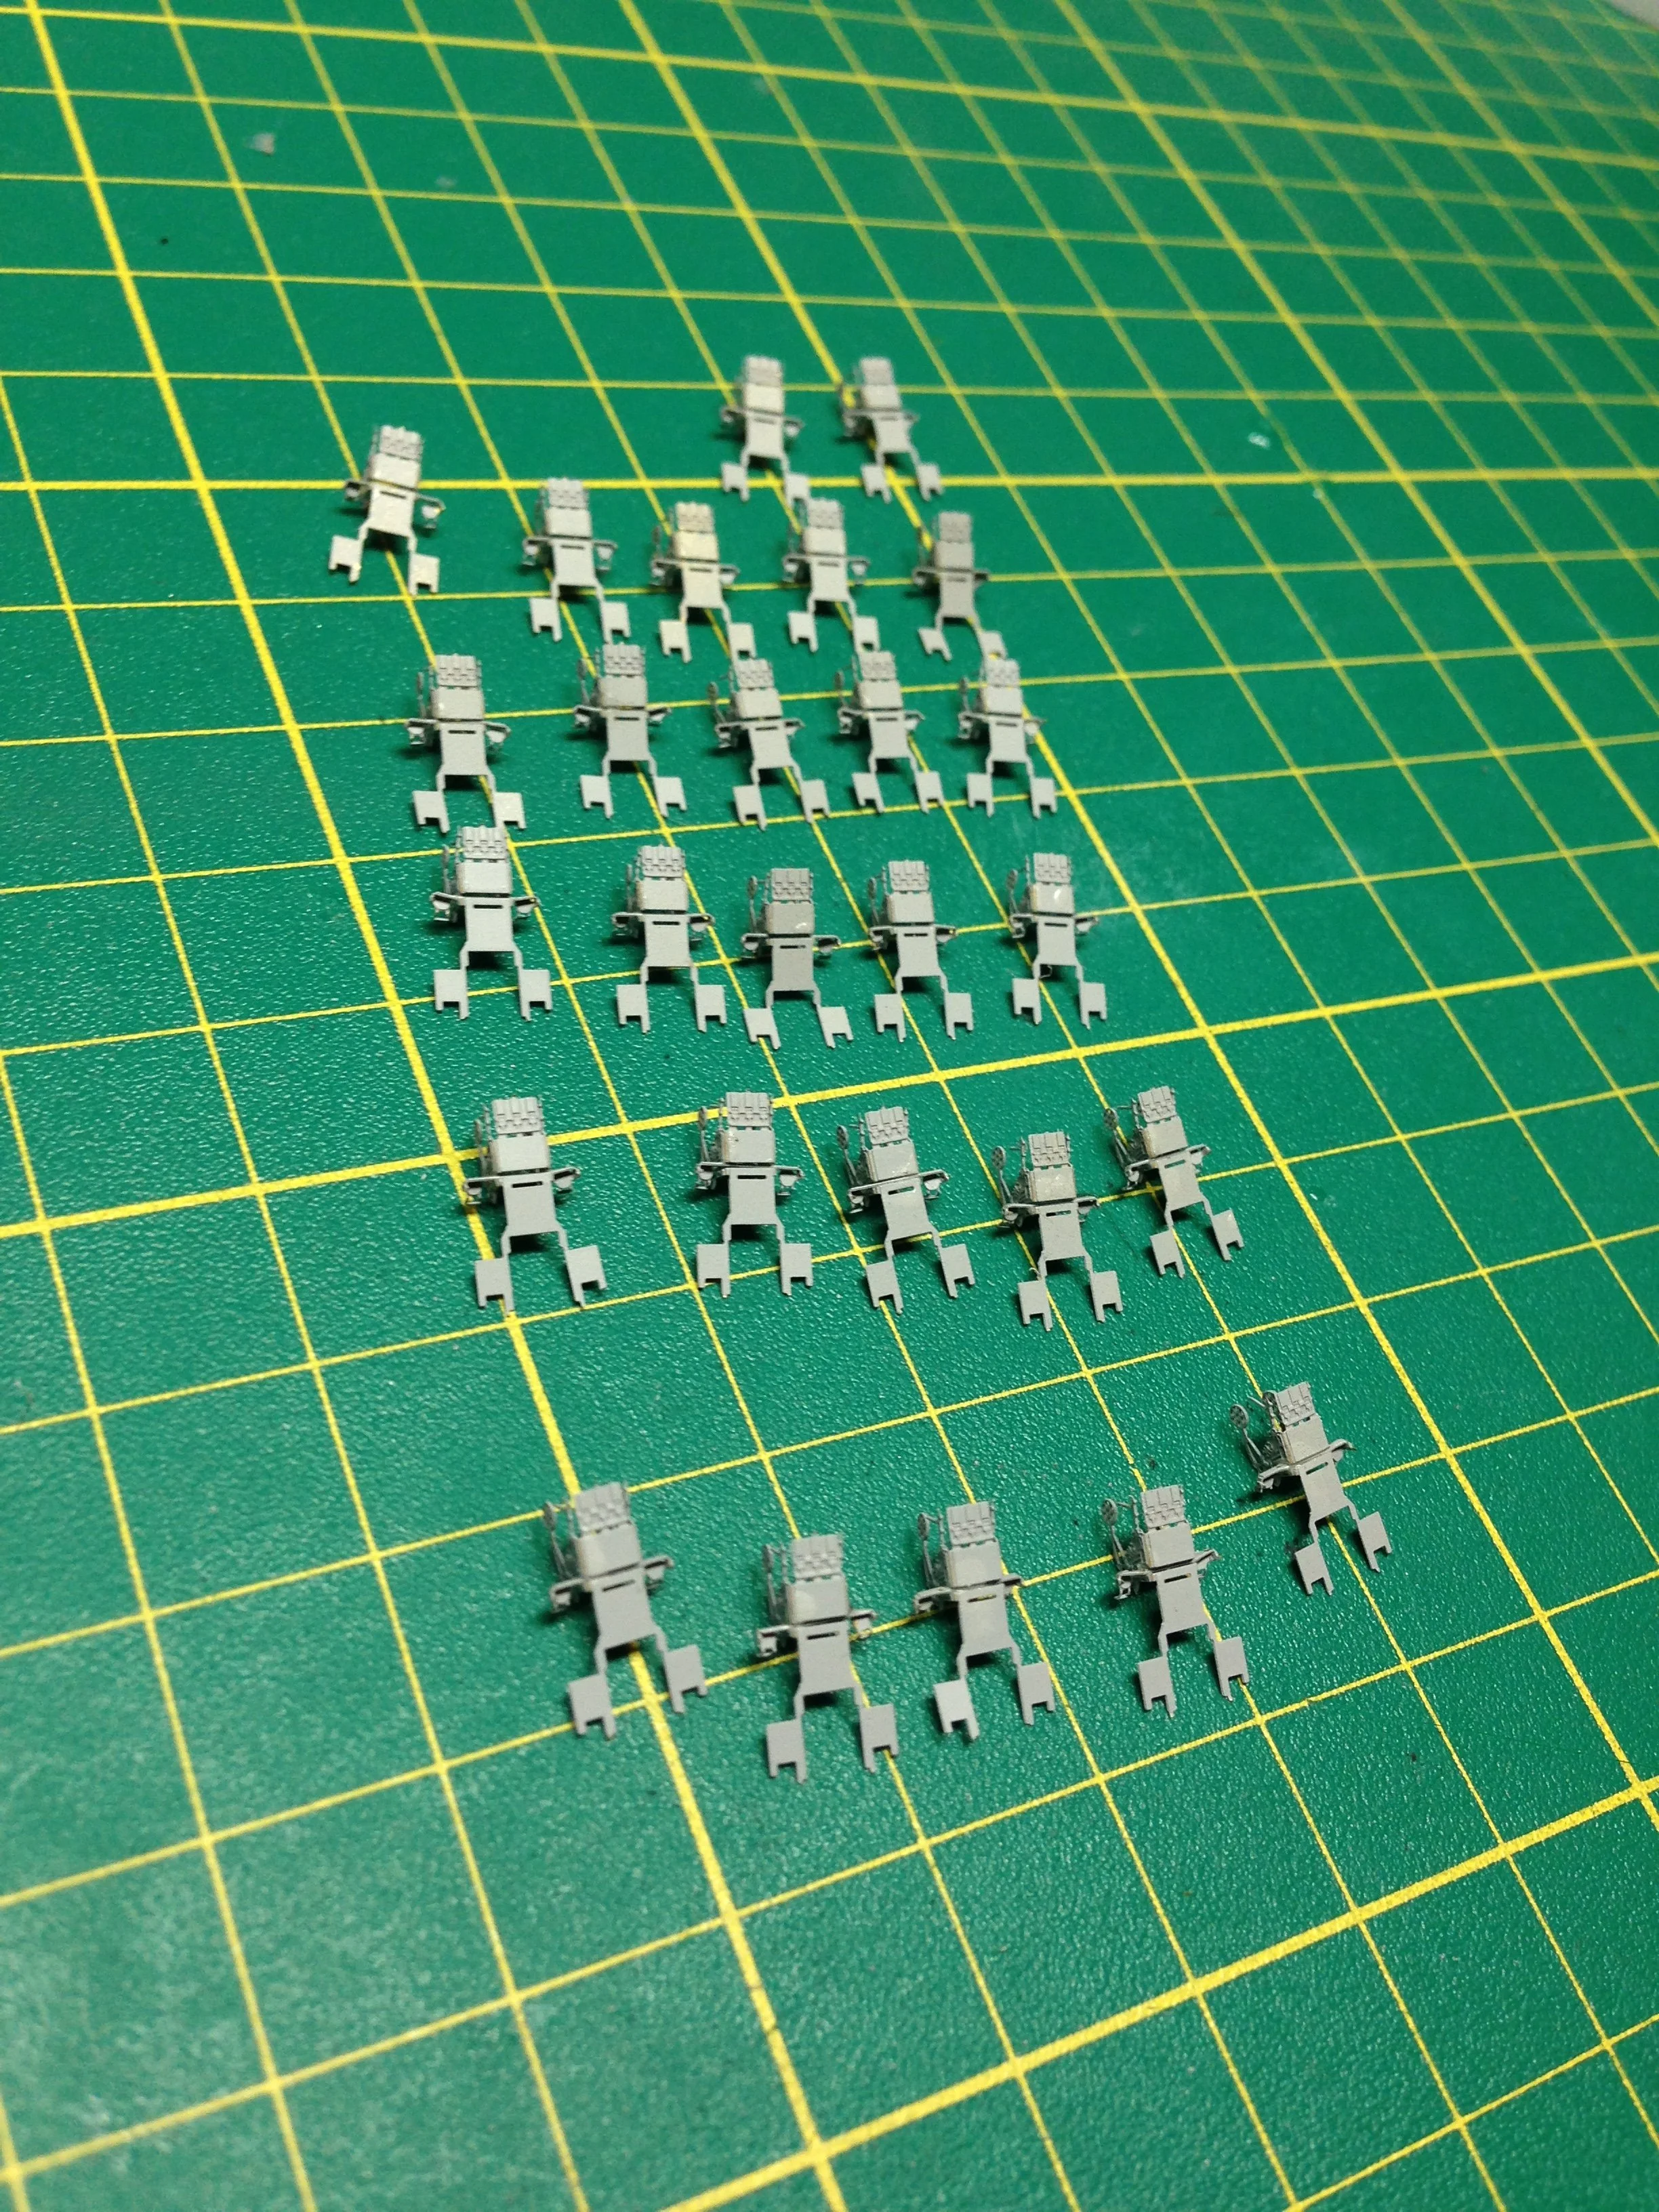
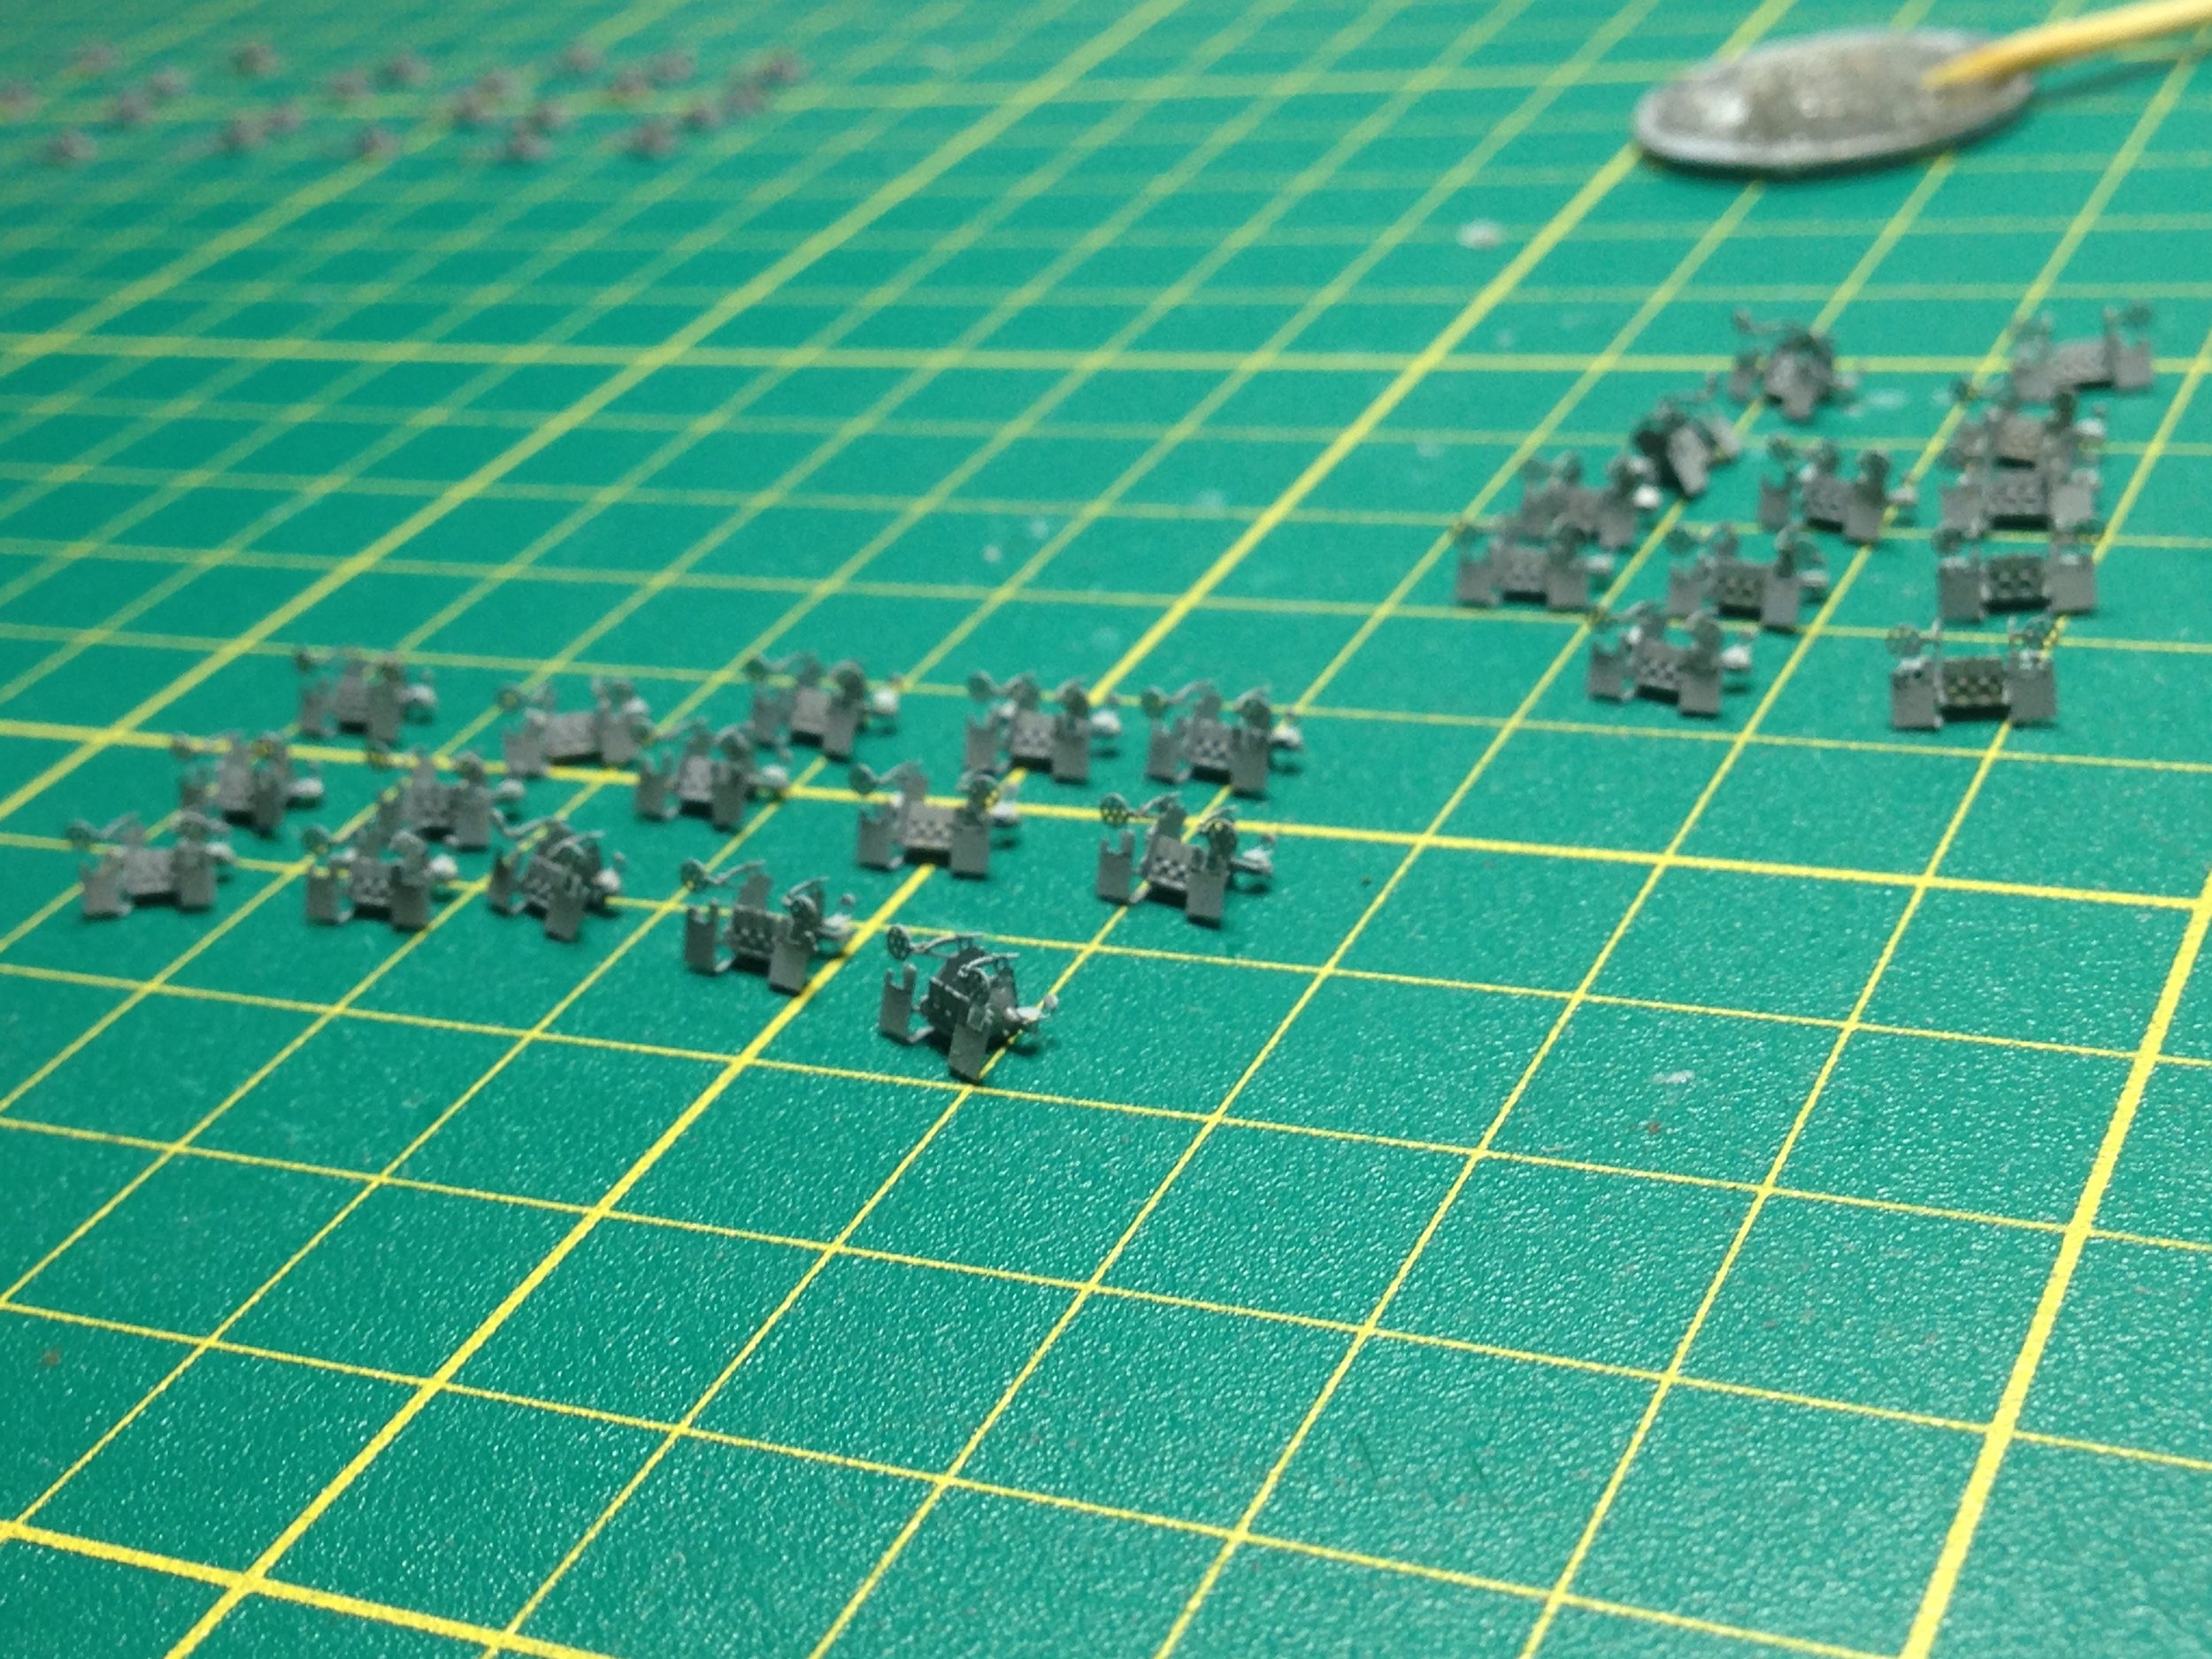
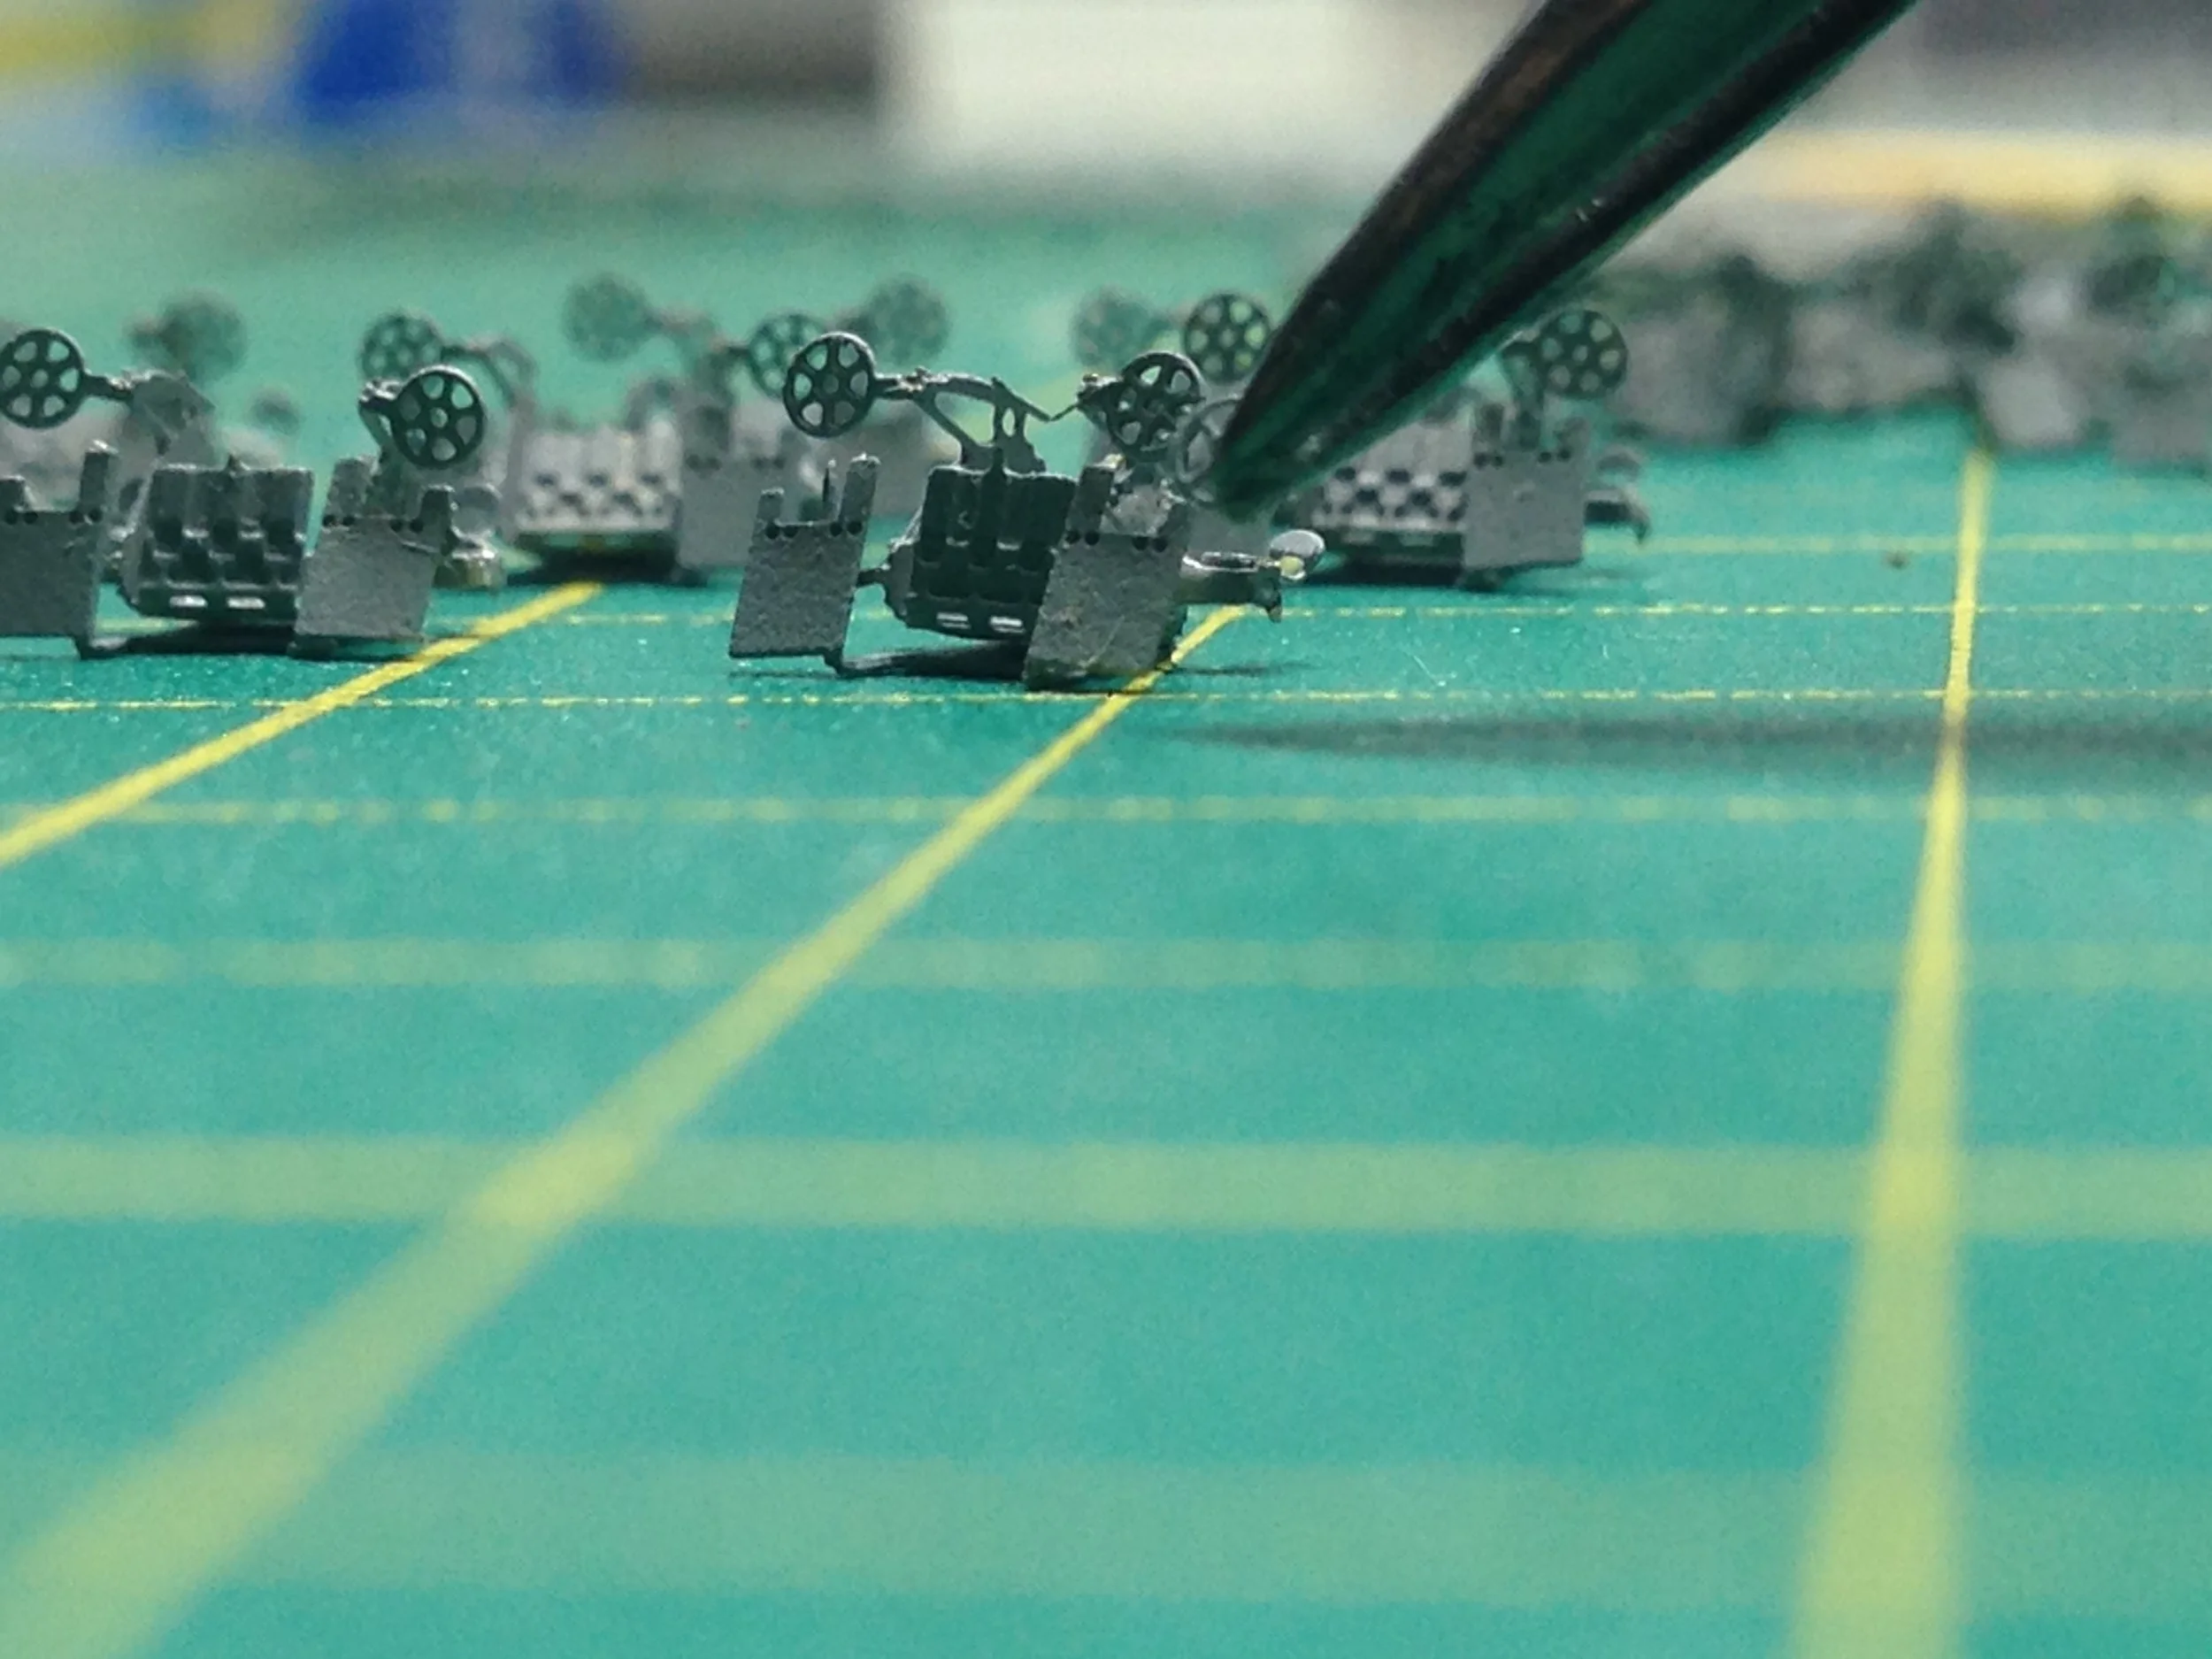
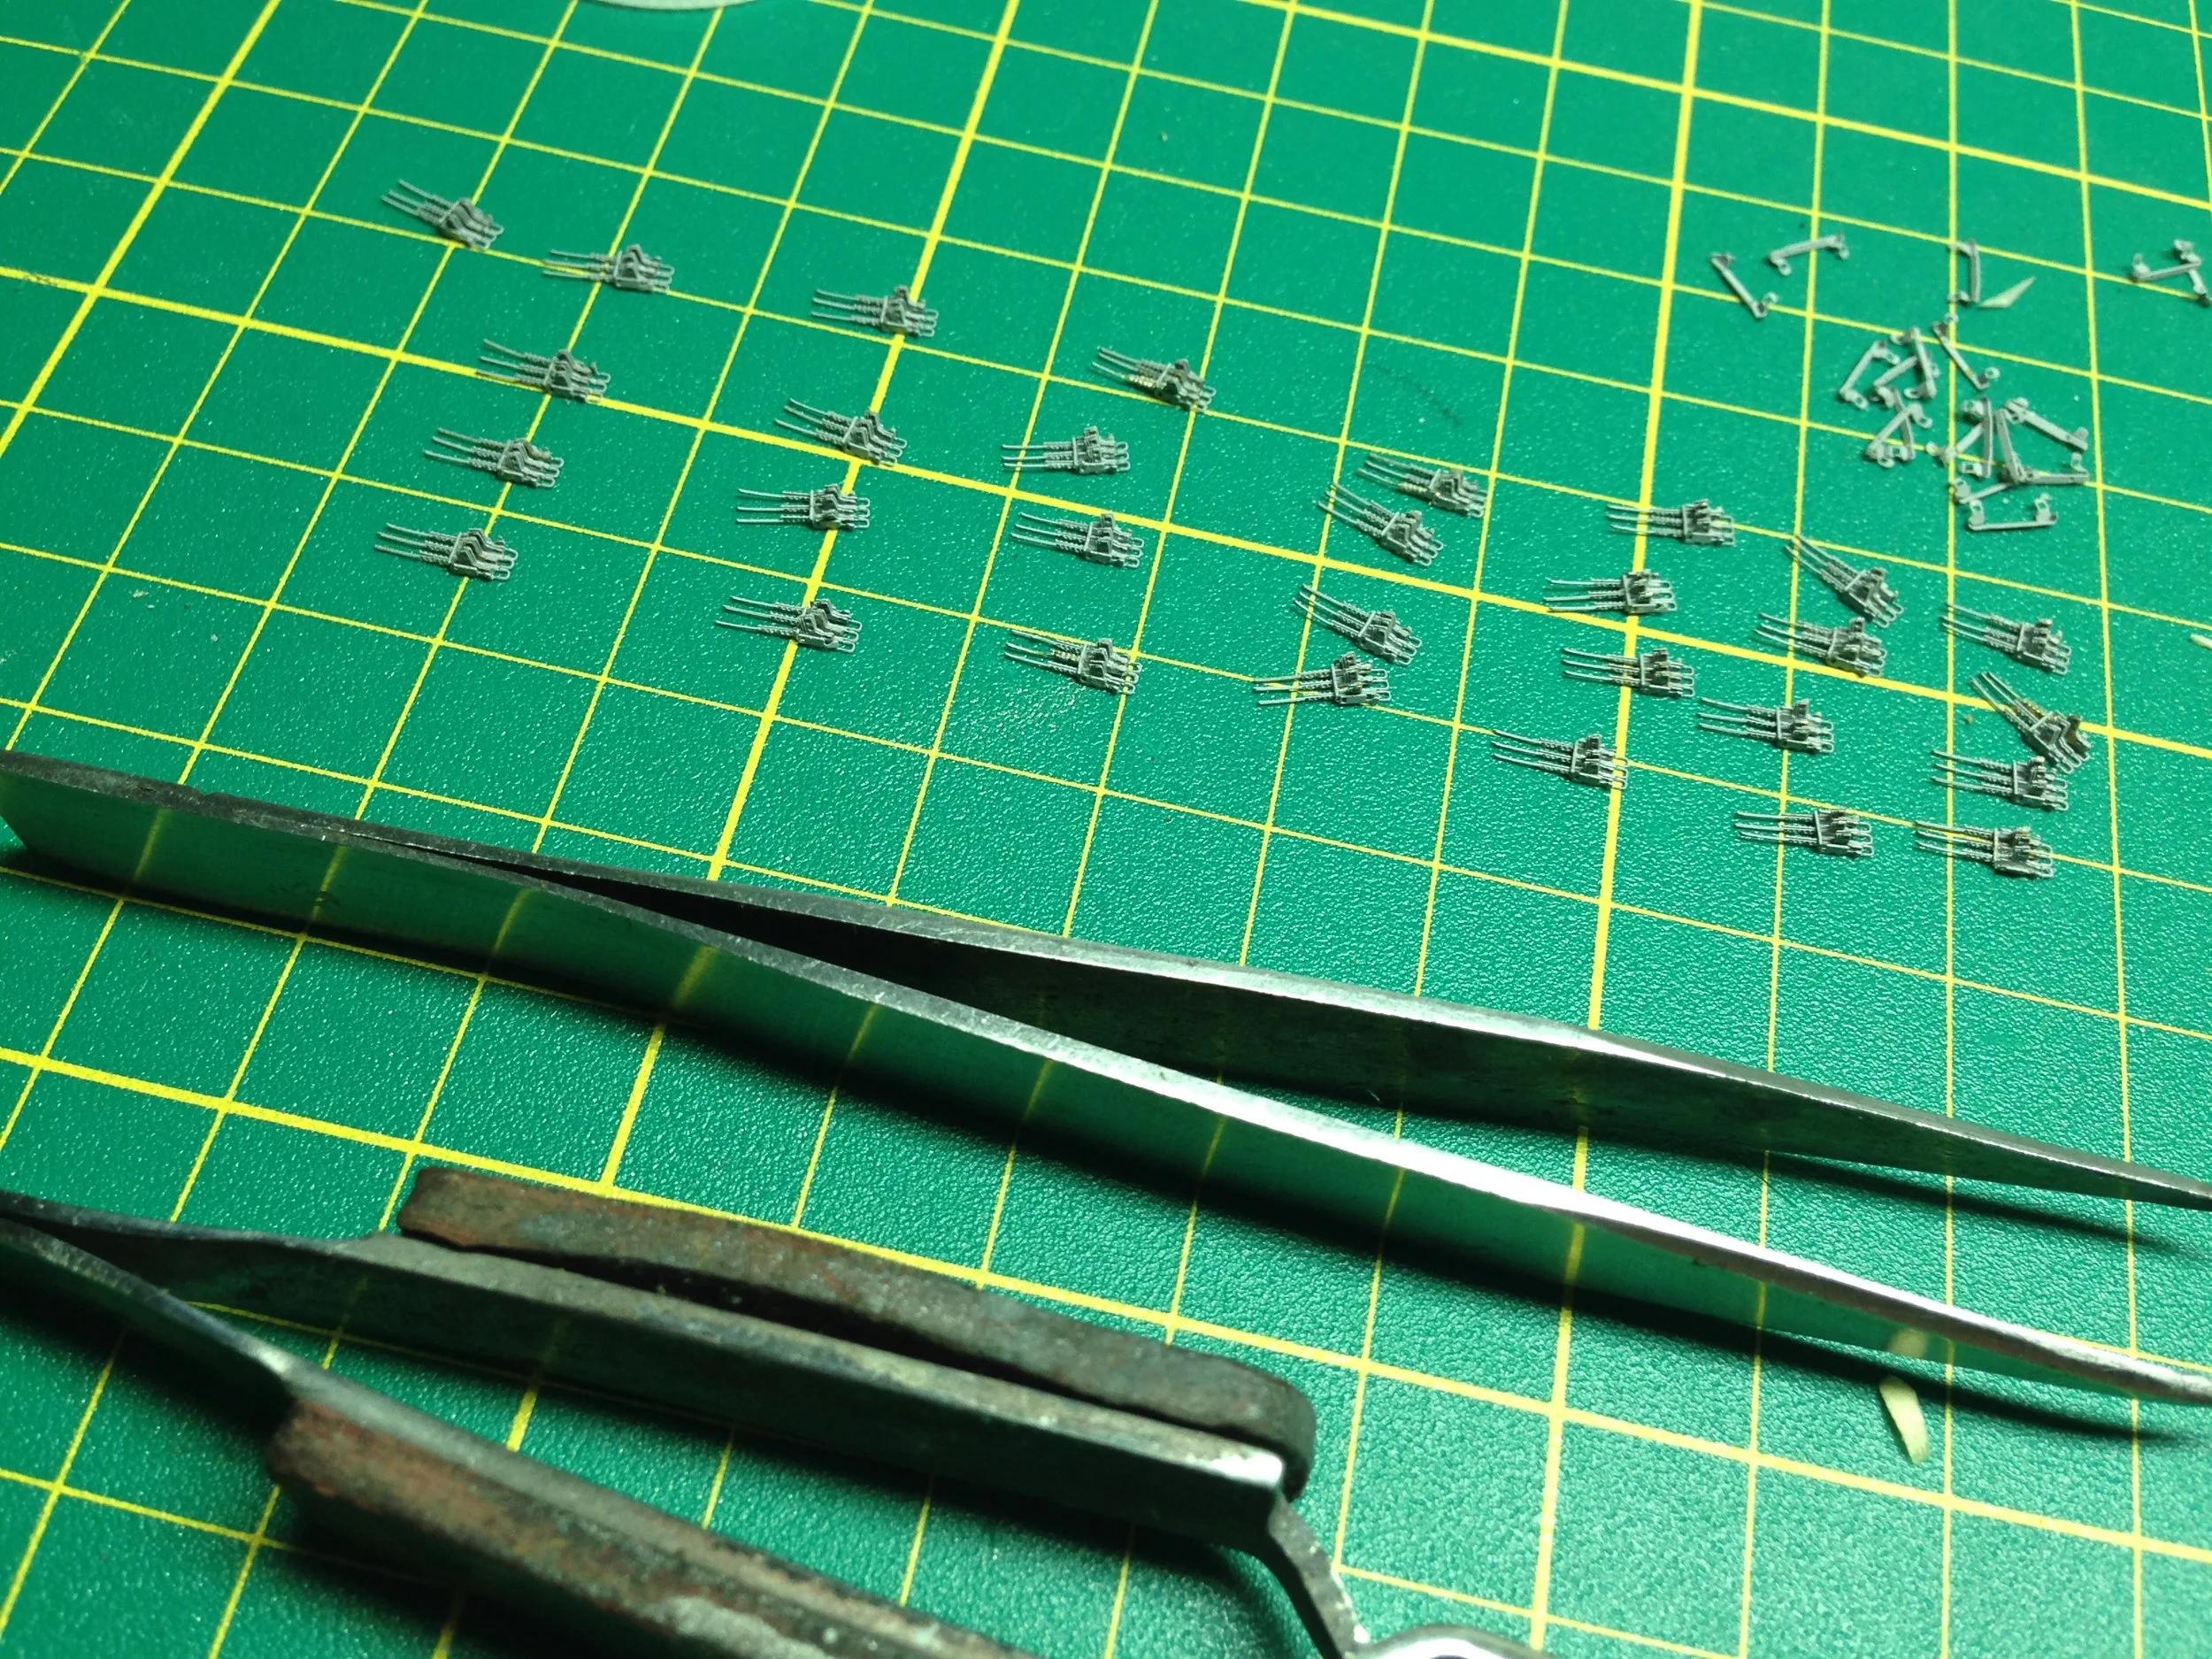
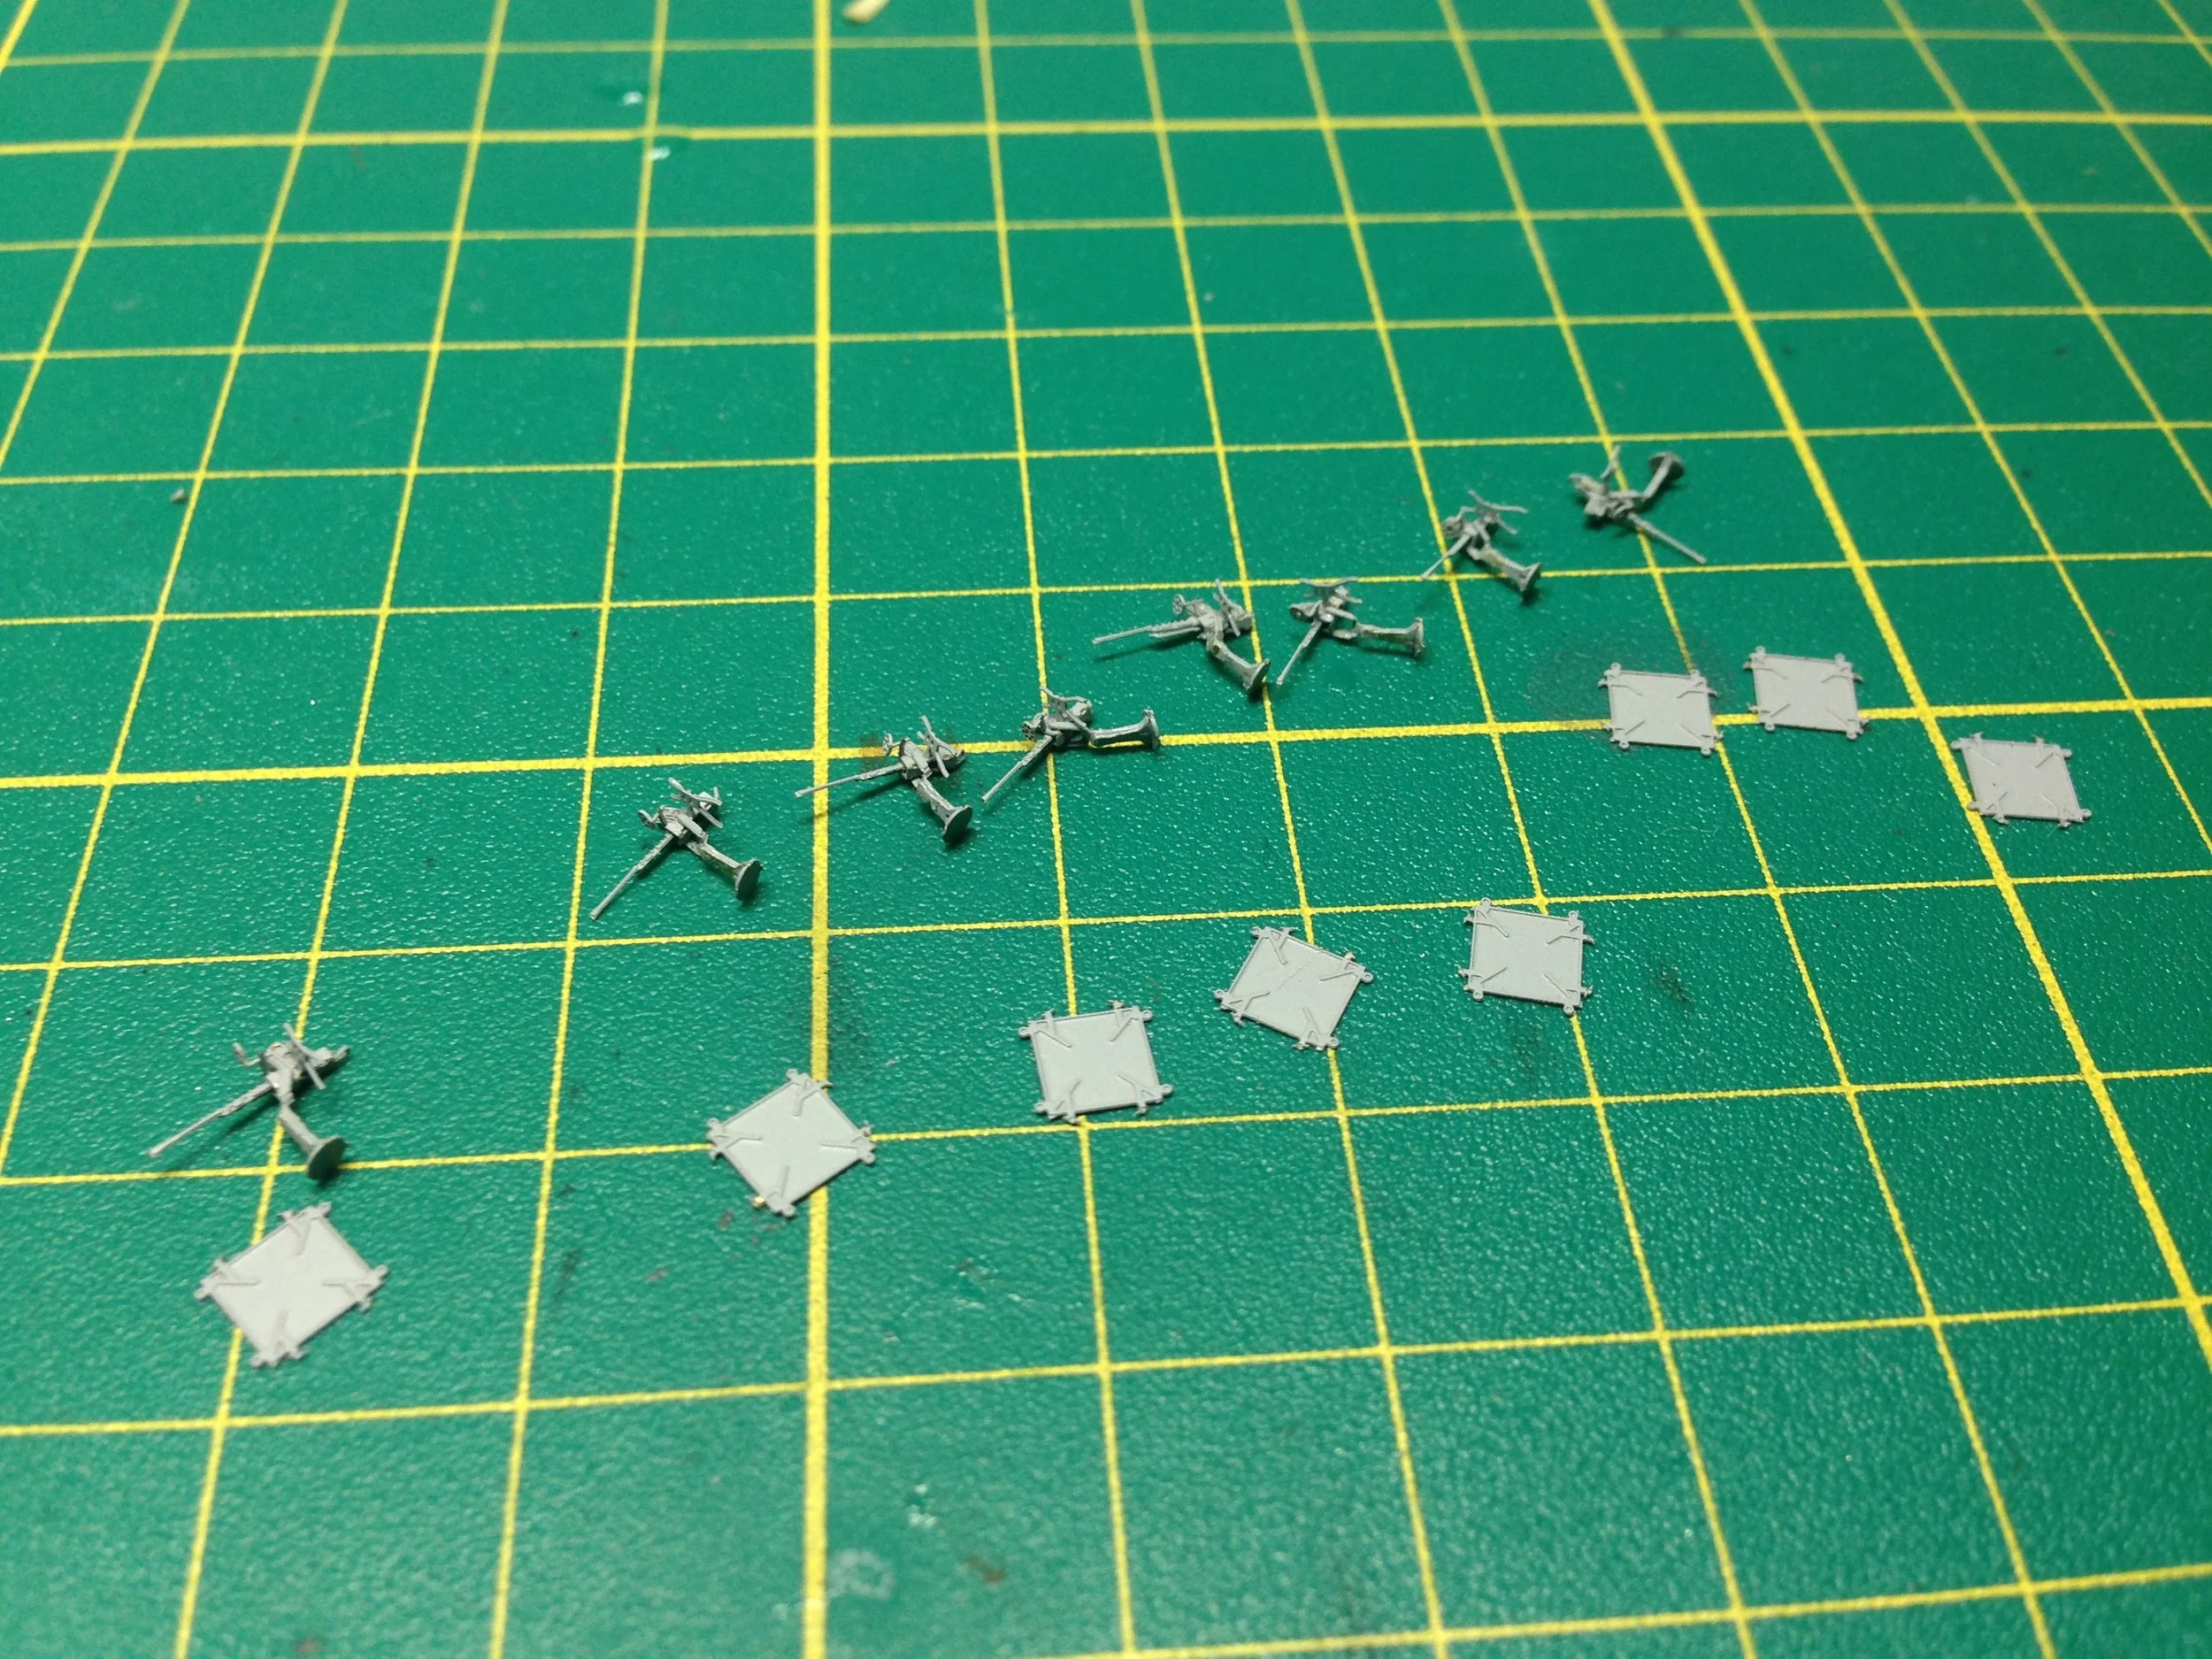
Assembling the 36 laser-cut AA guns to replace the plastic ones that came with the original kit.
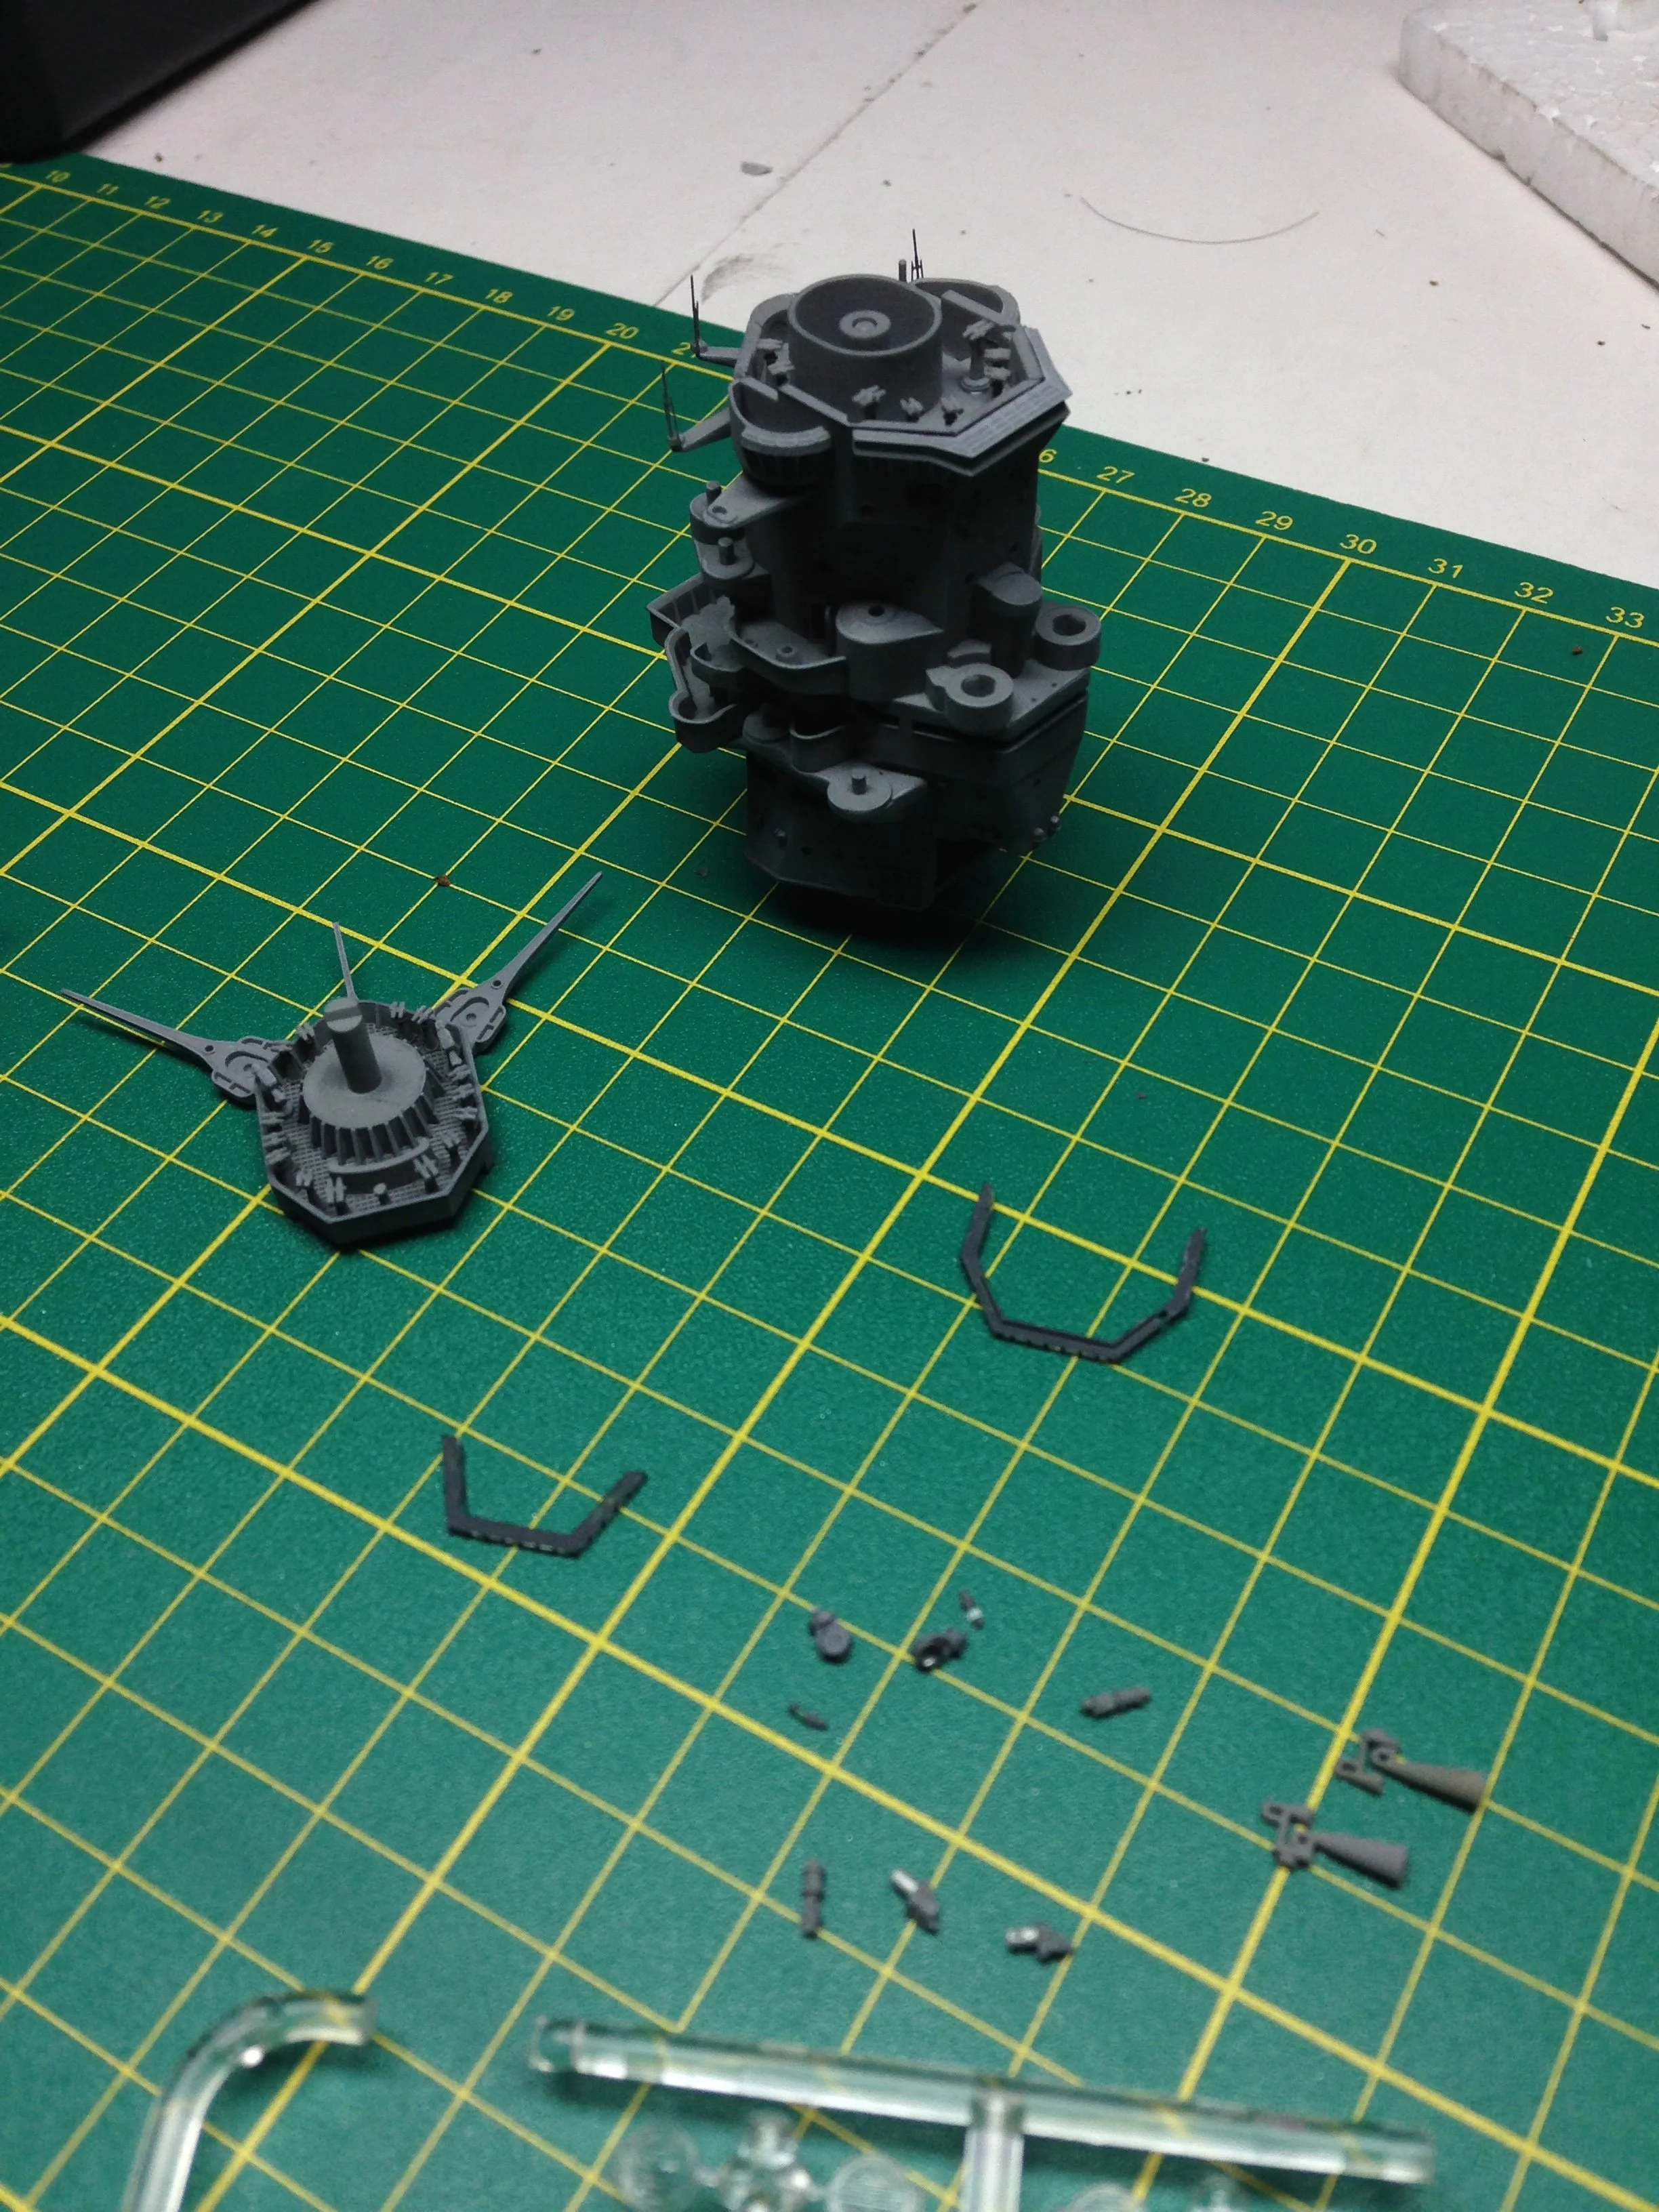
Bridge:
I started building the bridge from the top, replaced the original range finder parts with the laser-cut ones. Then I went down and assembled the air defence command post.
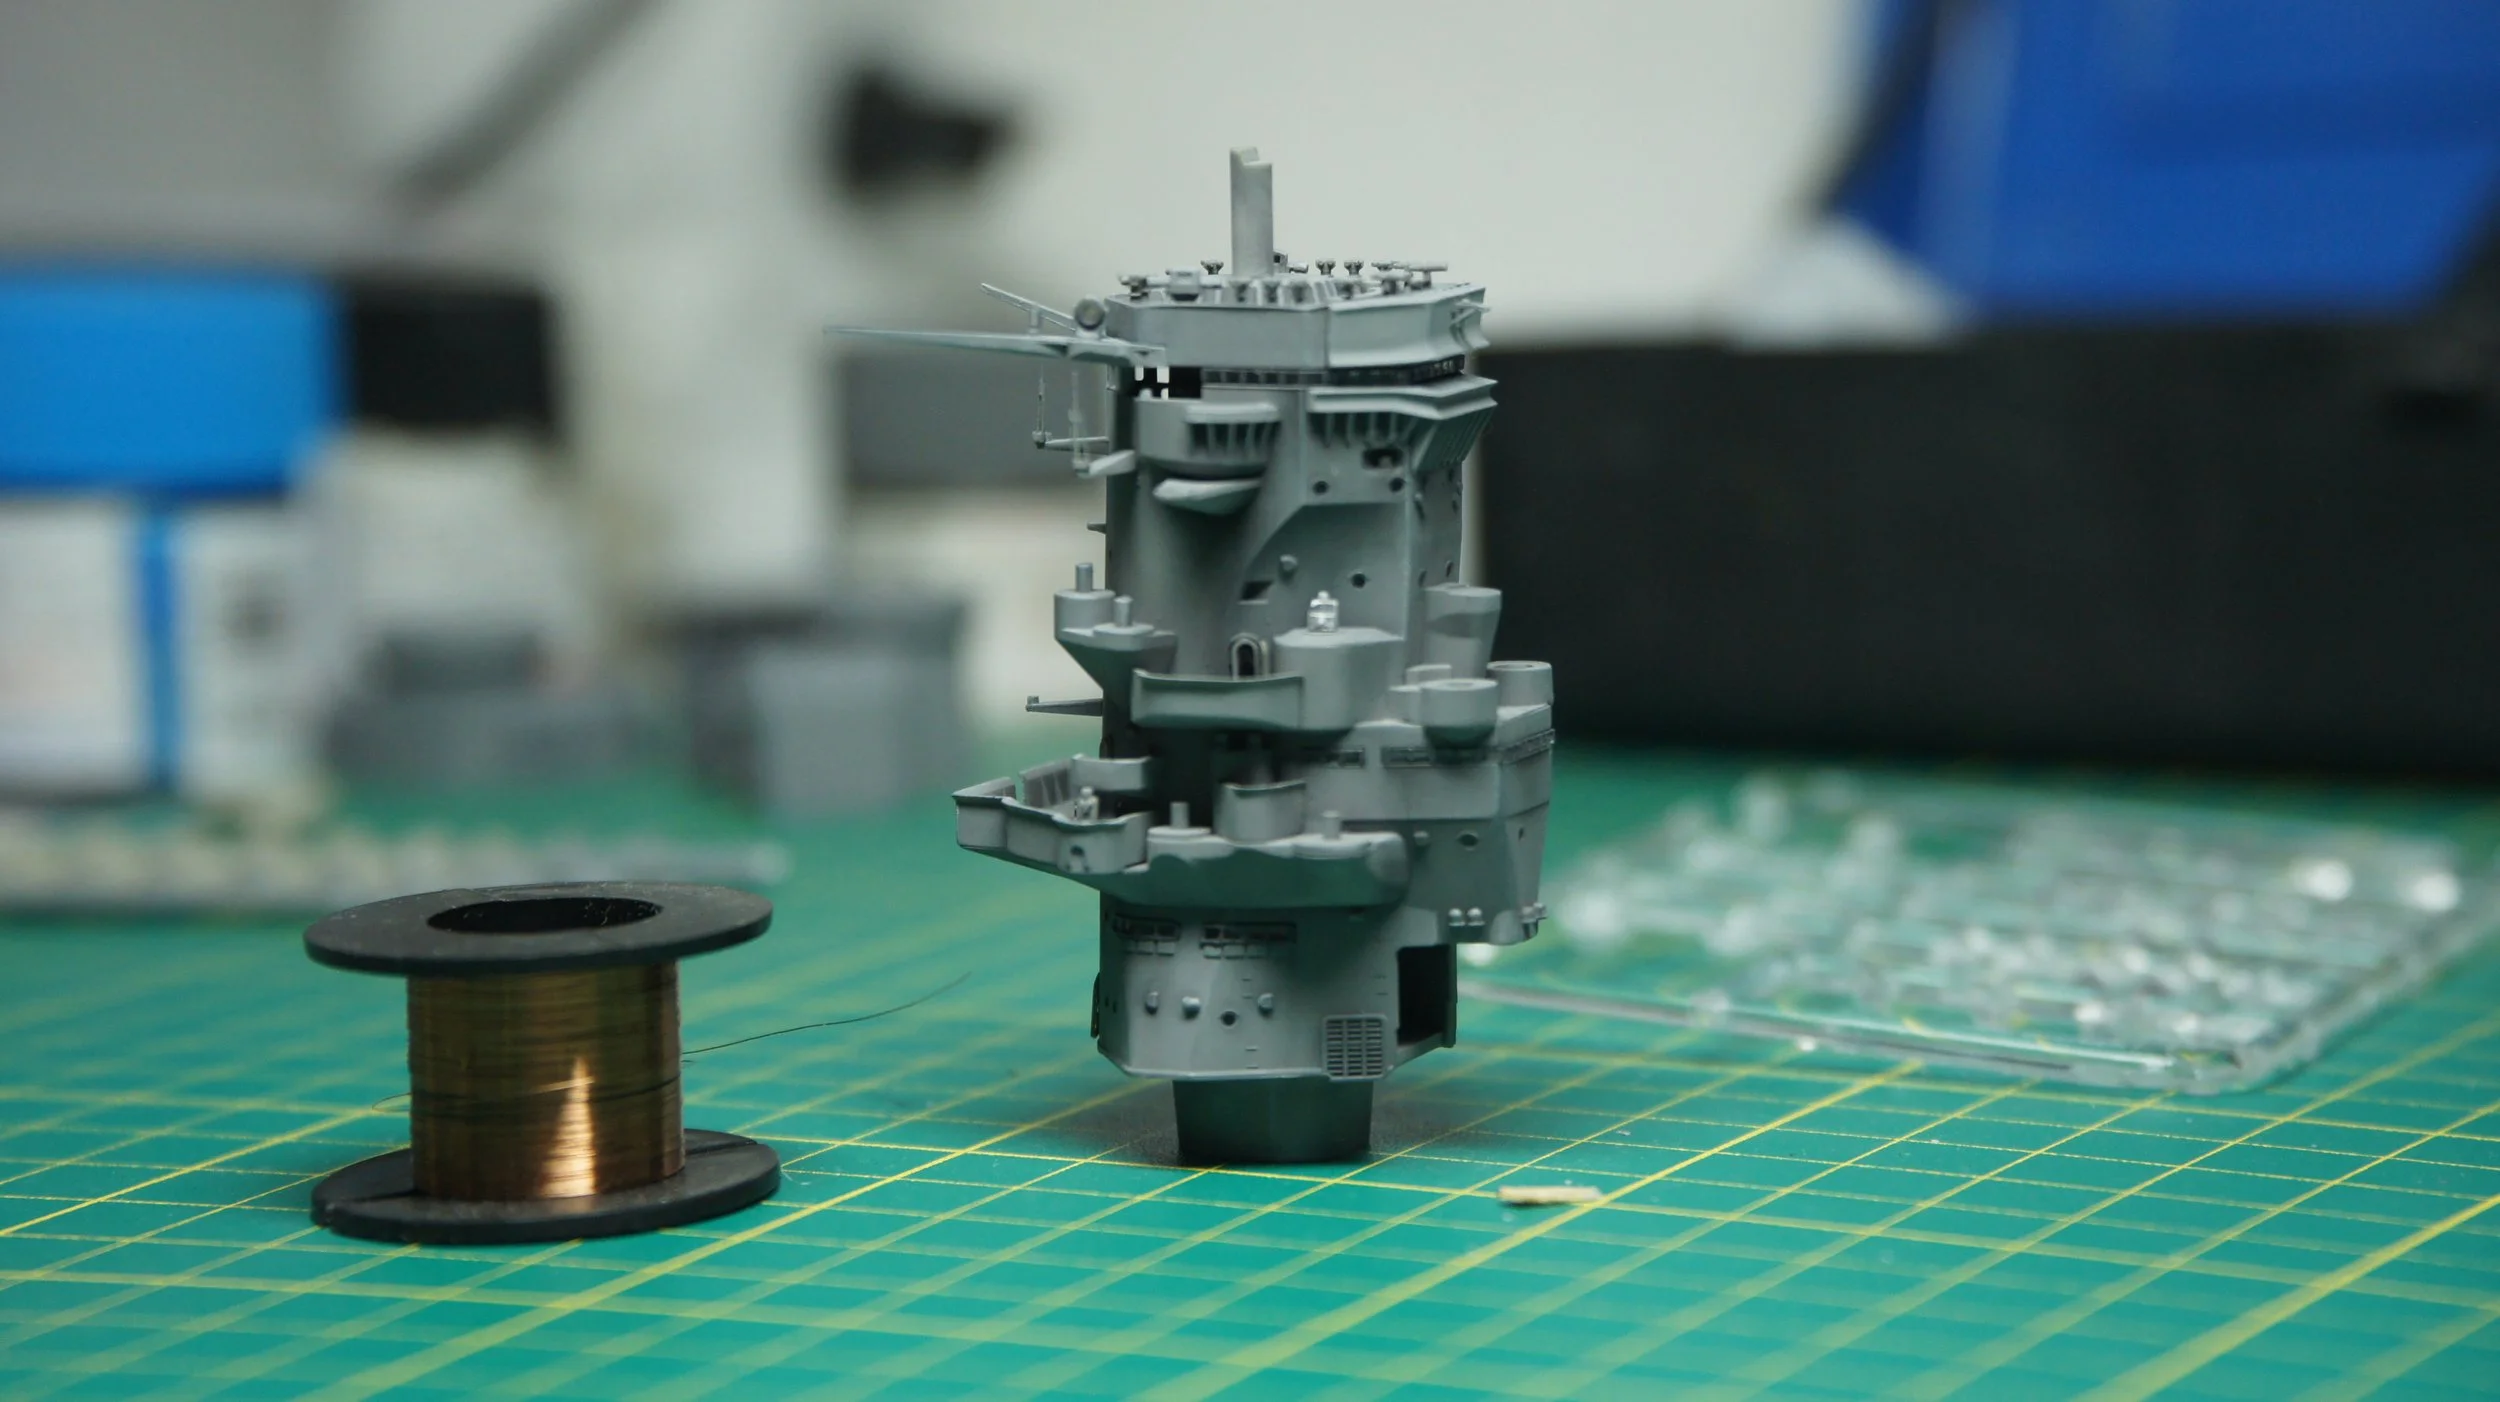
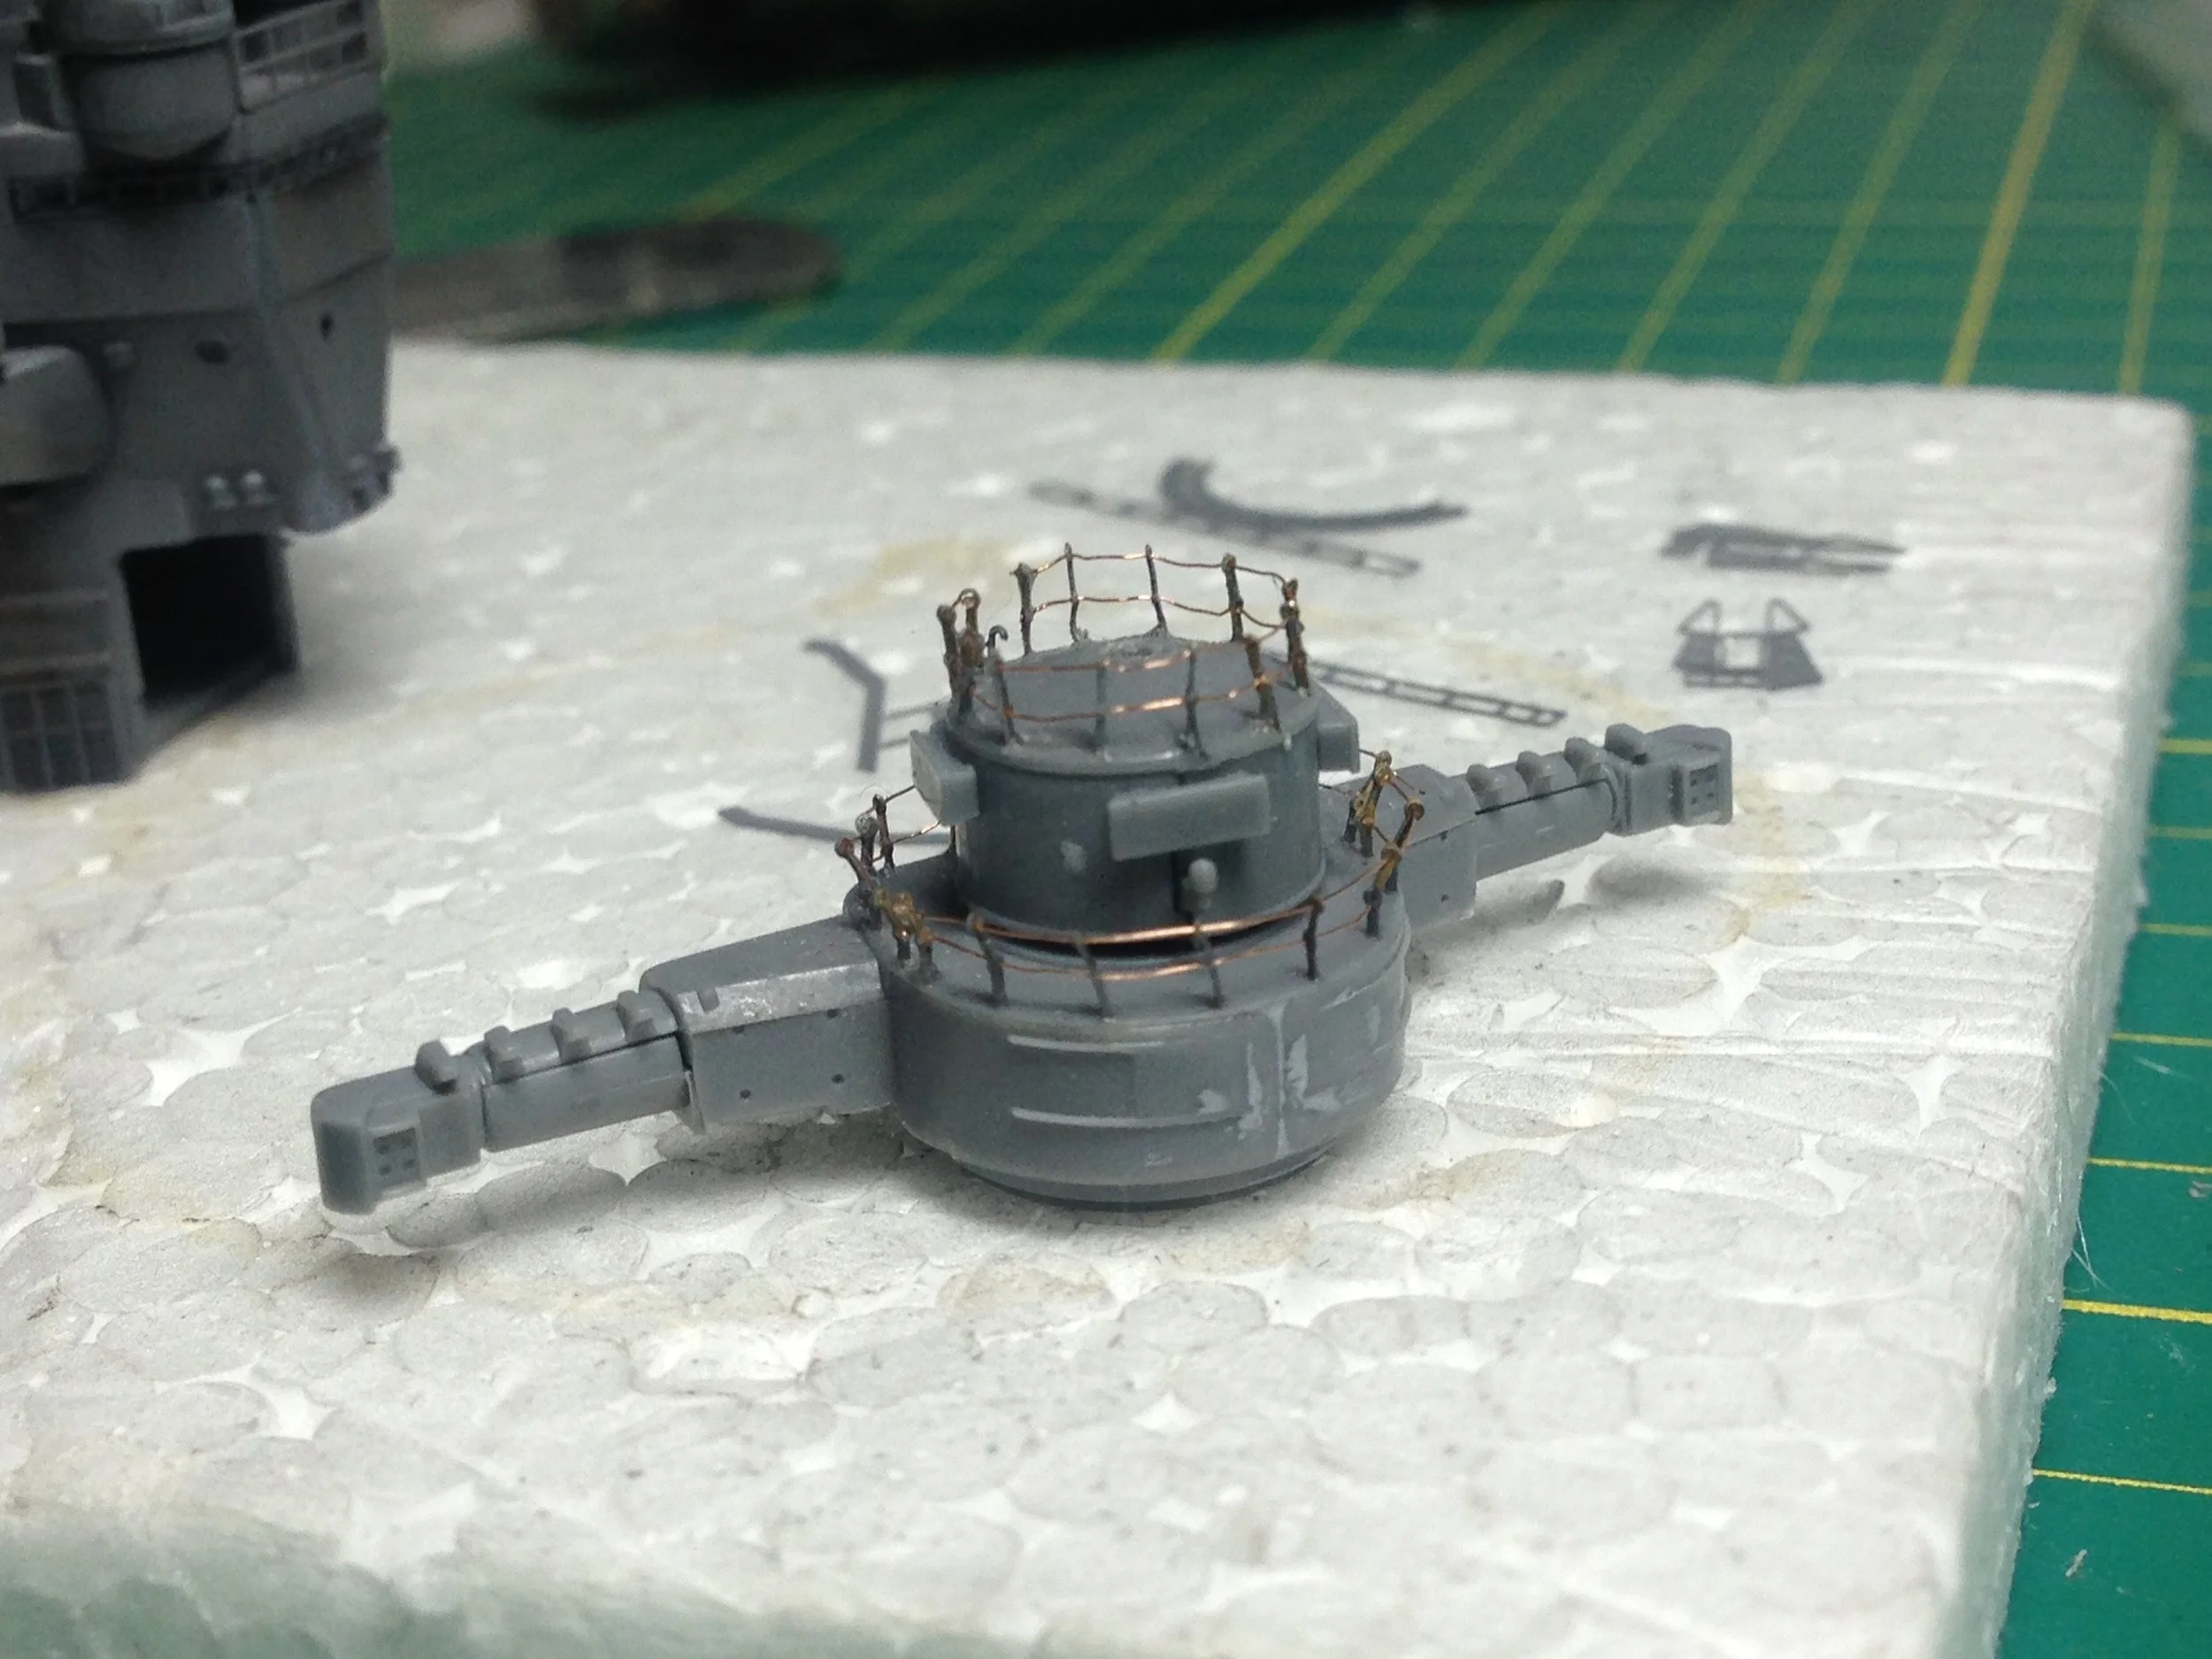
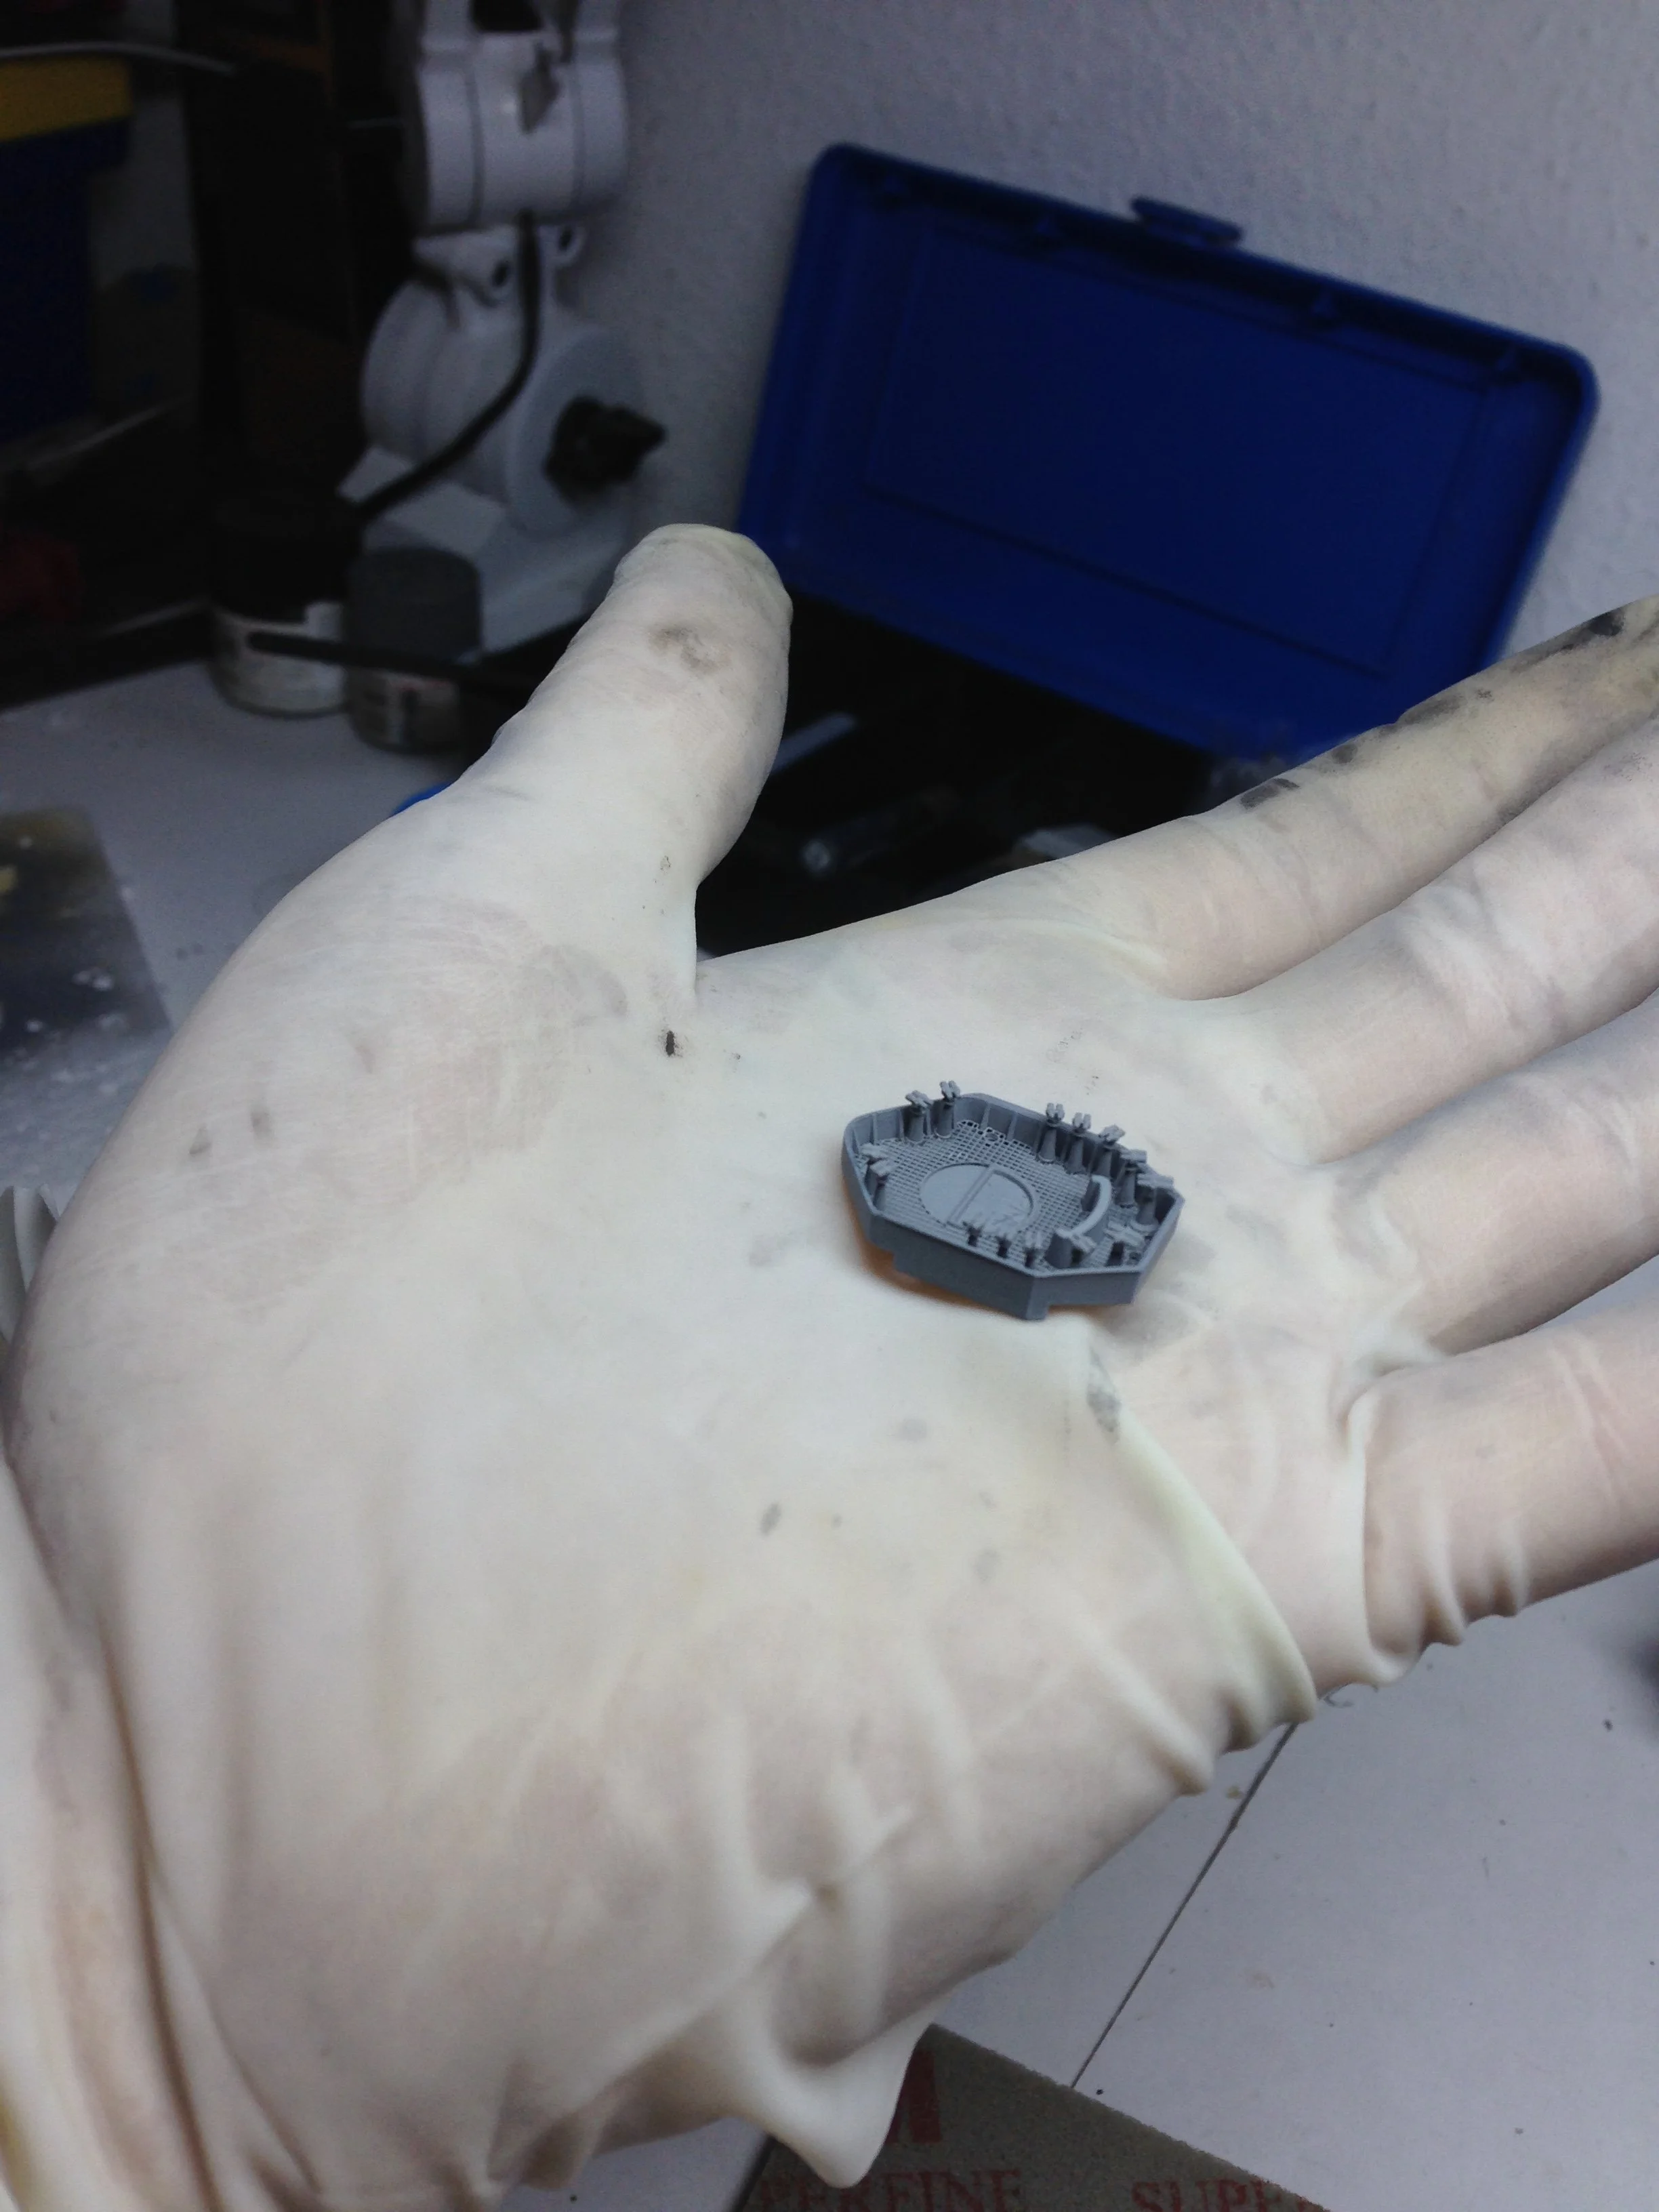
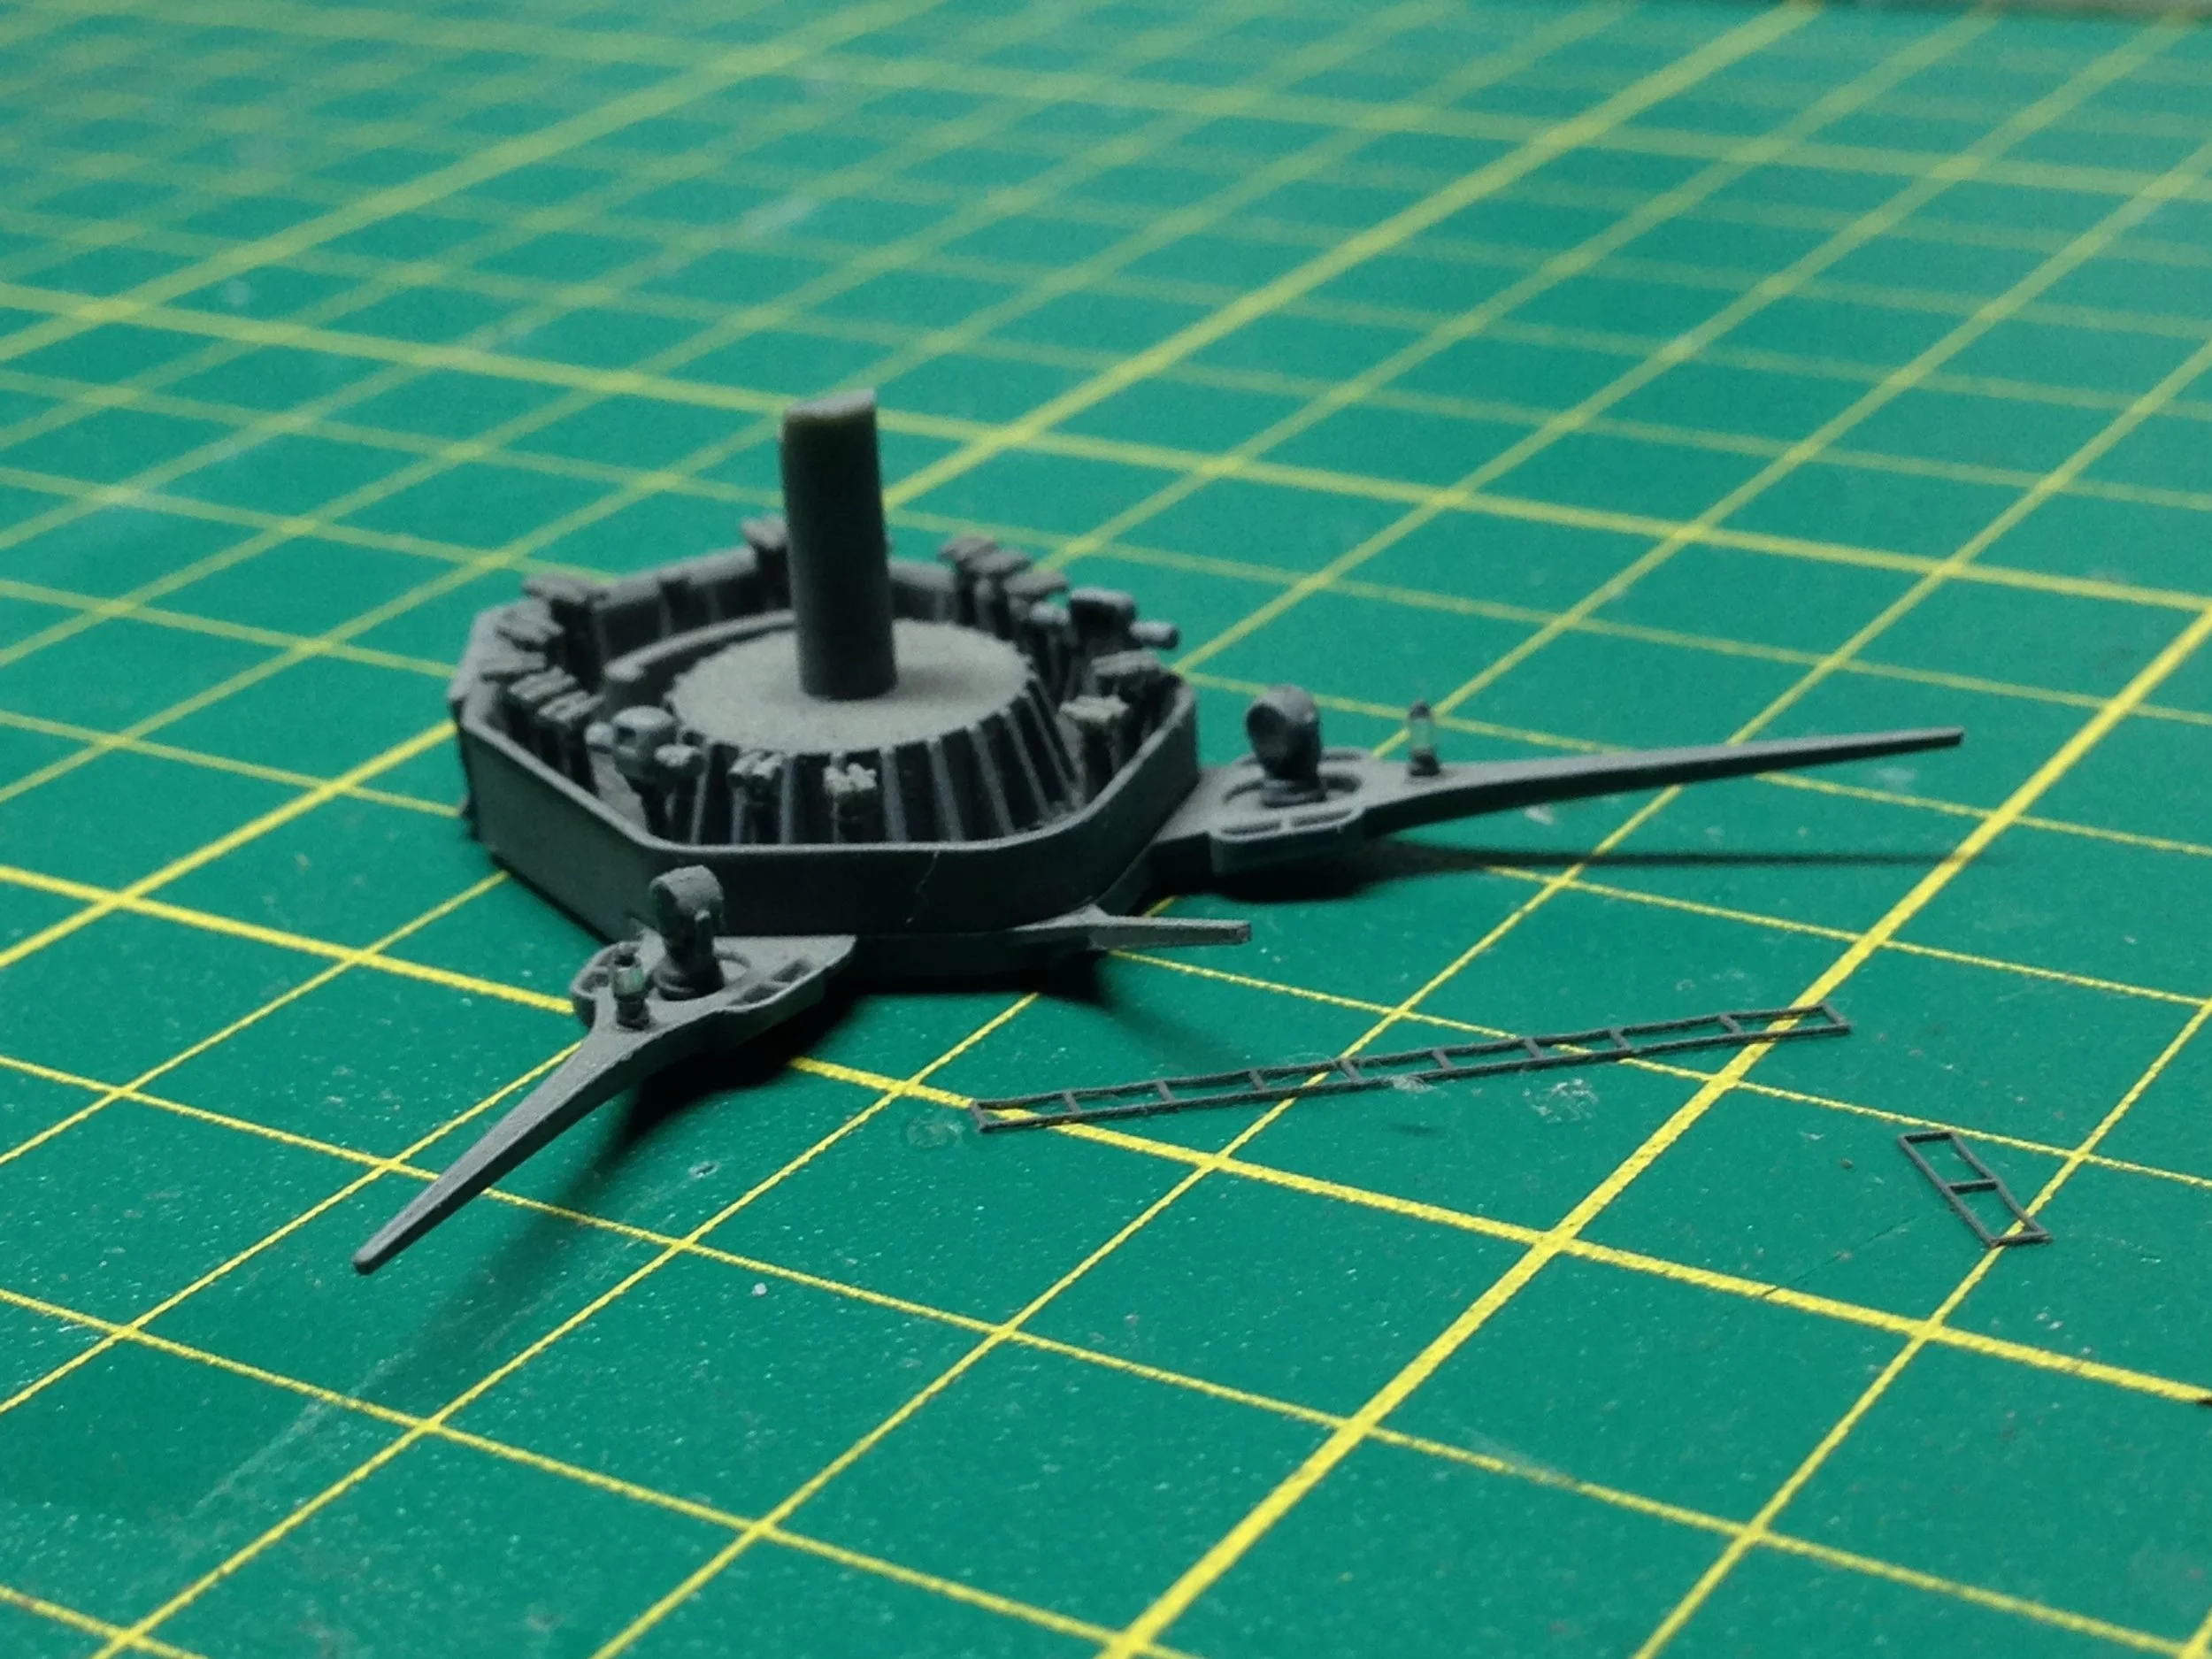
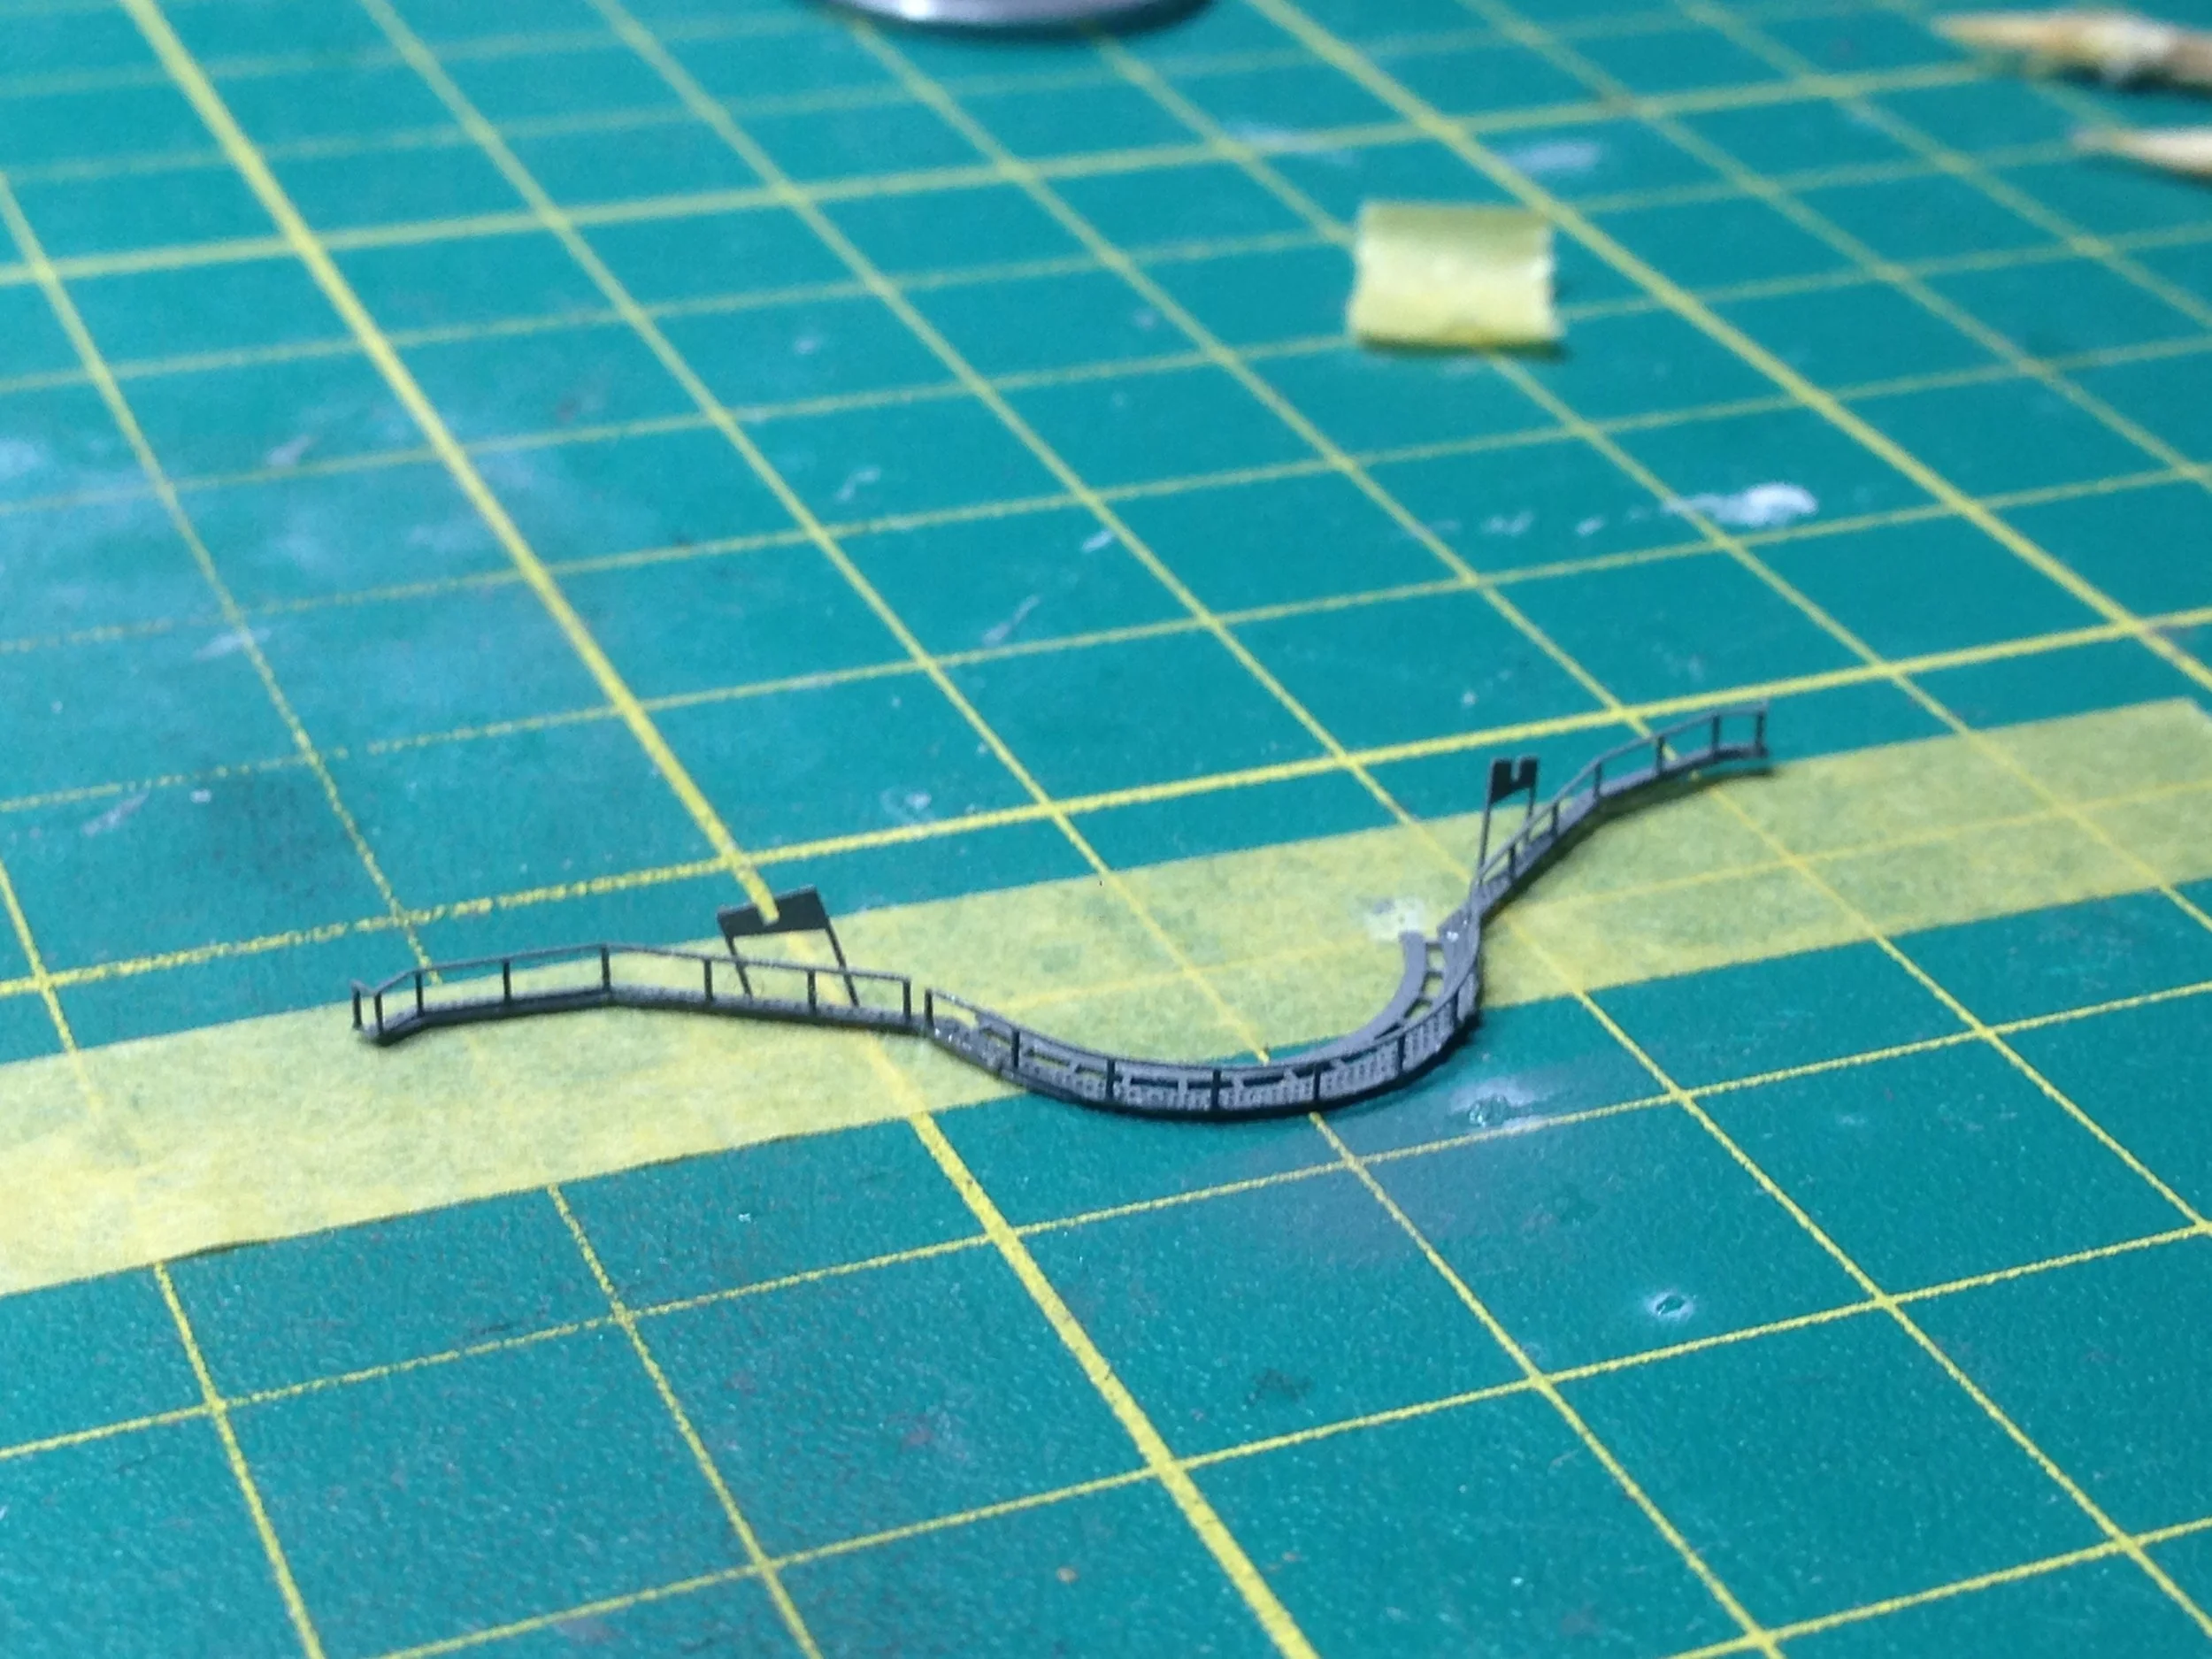
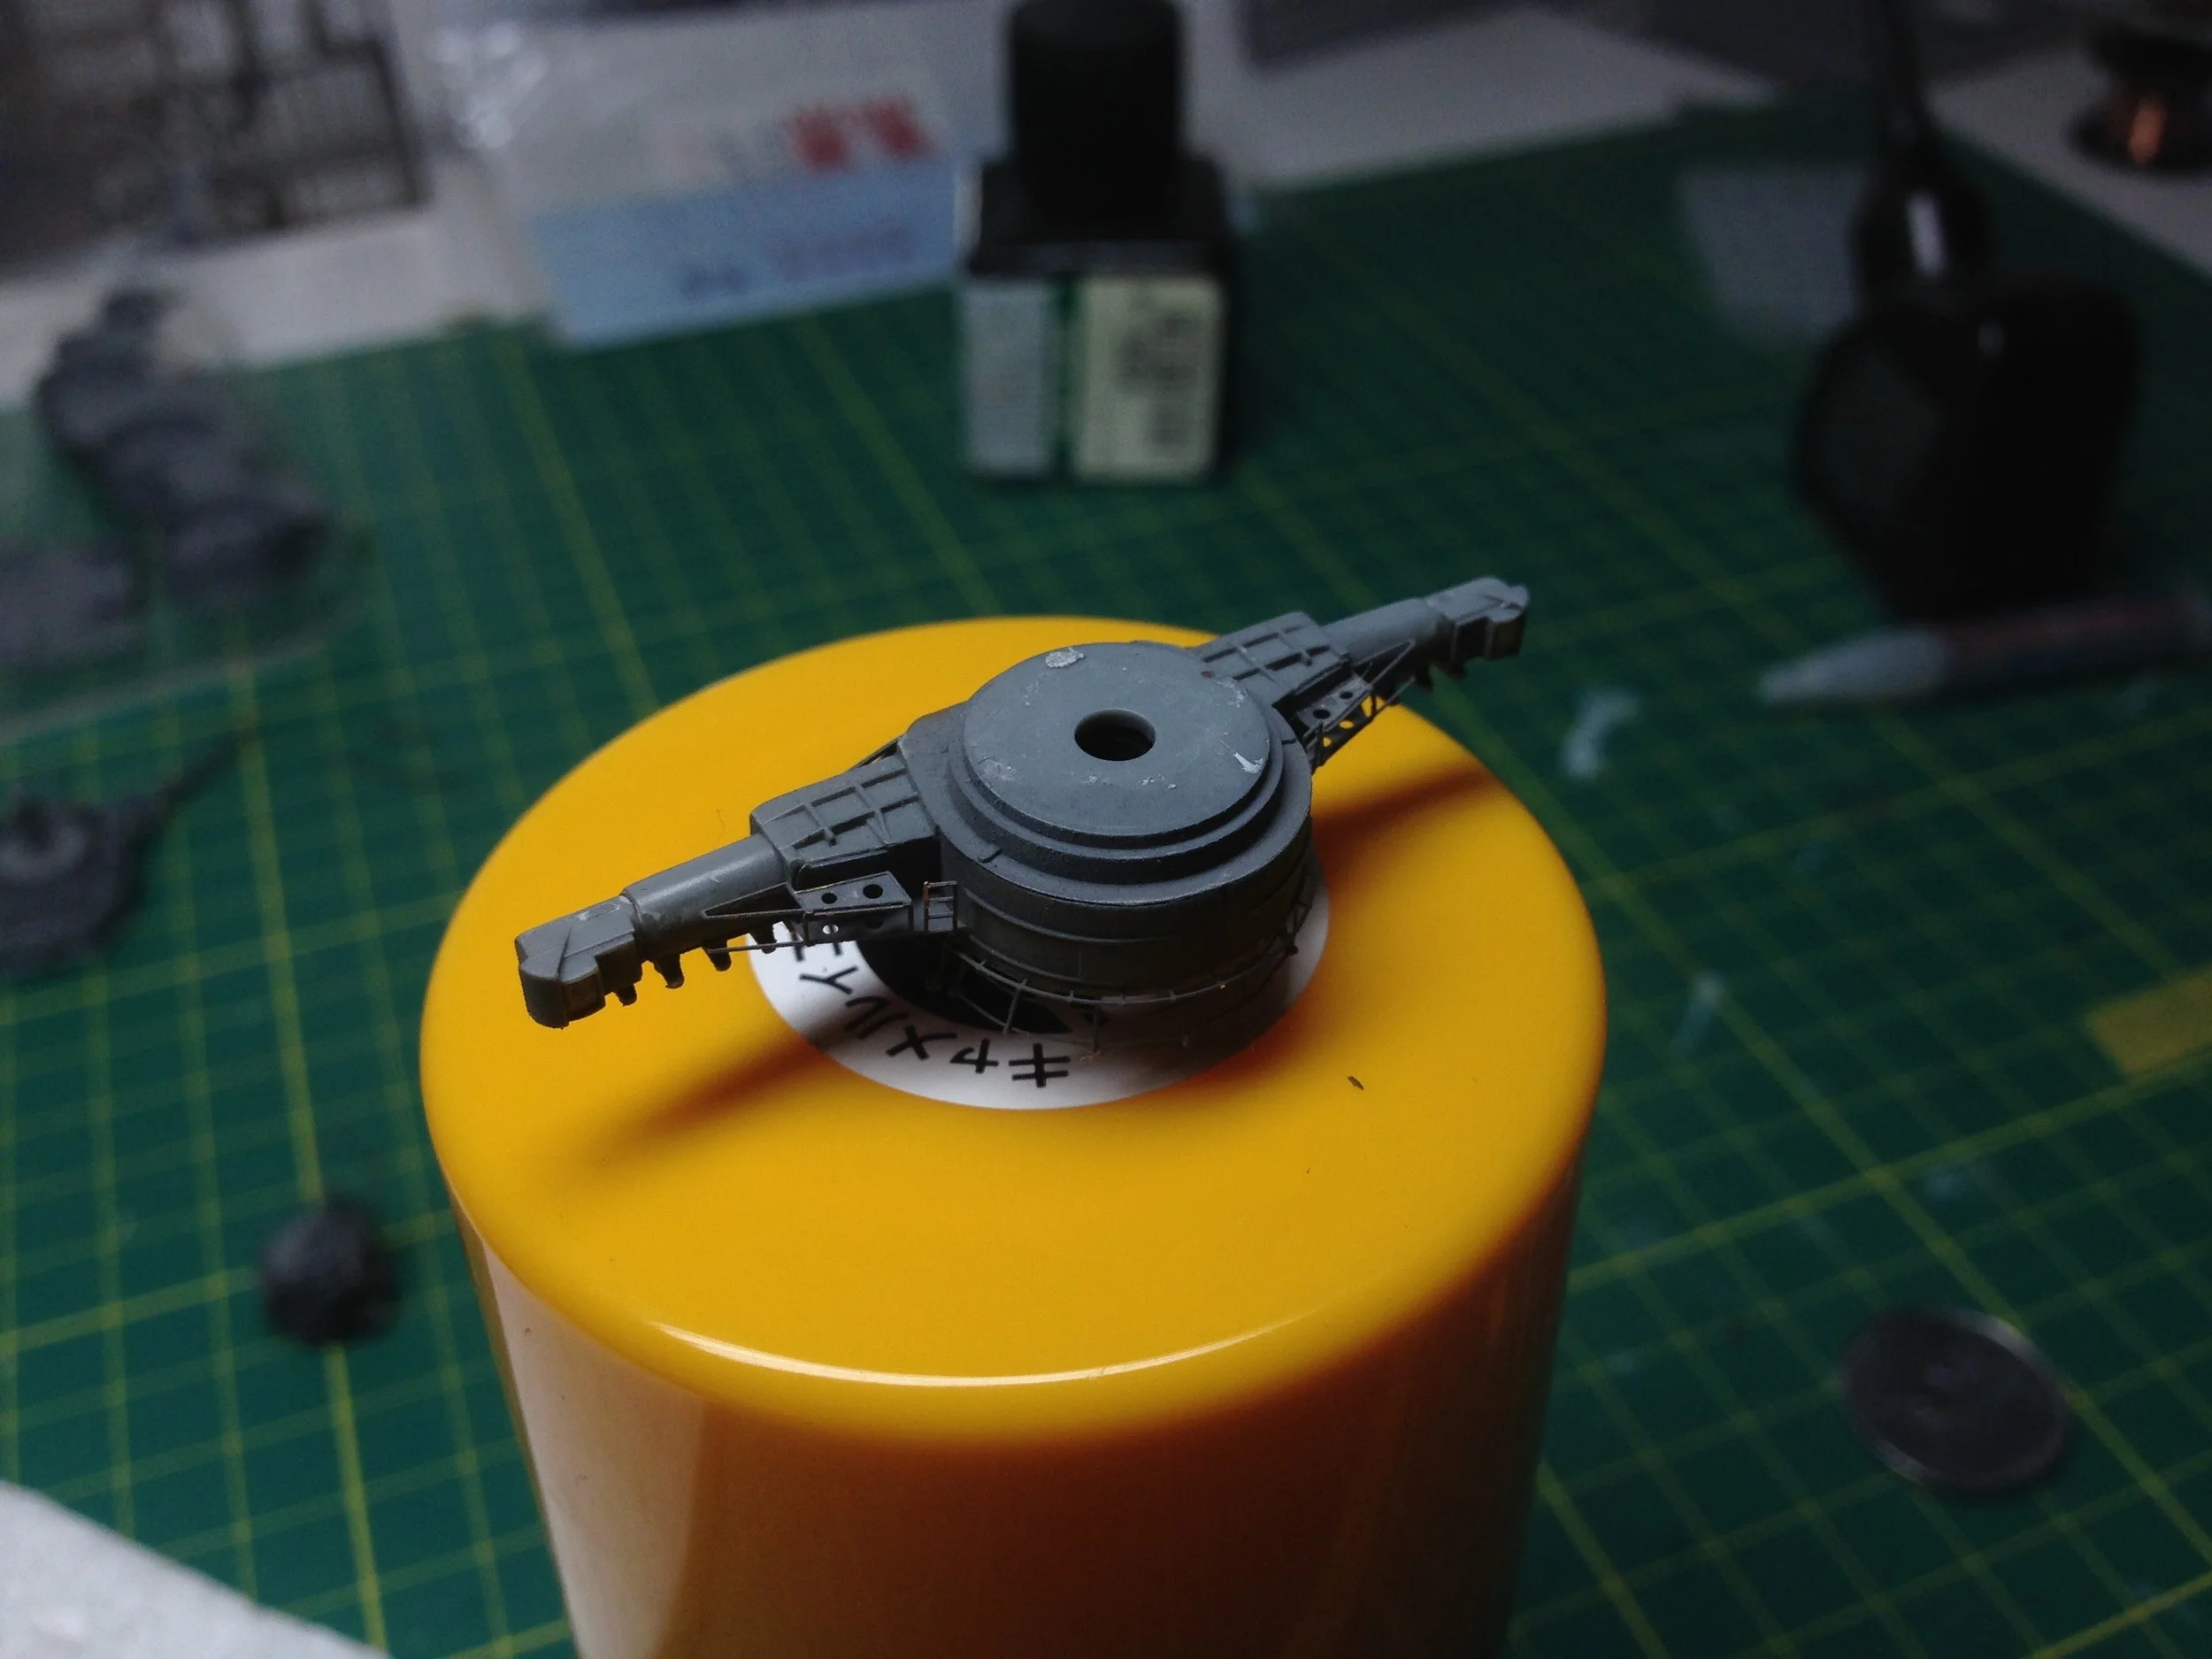
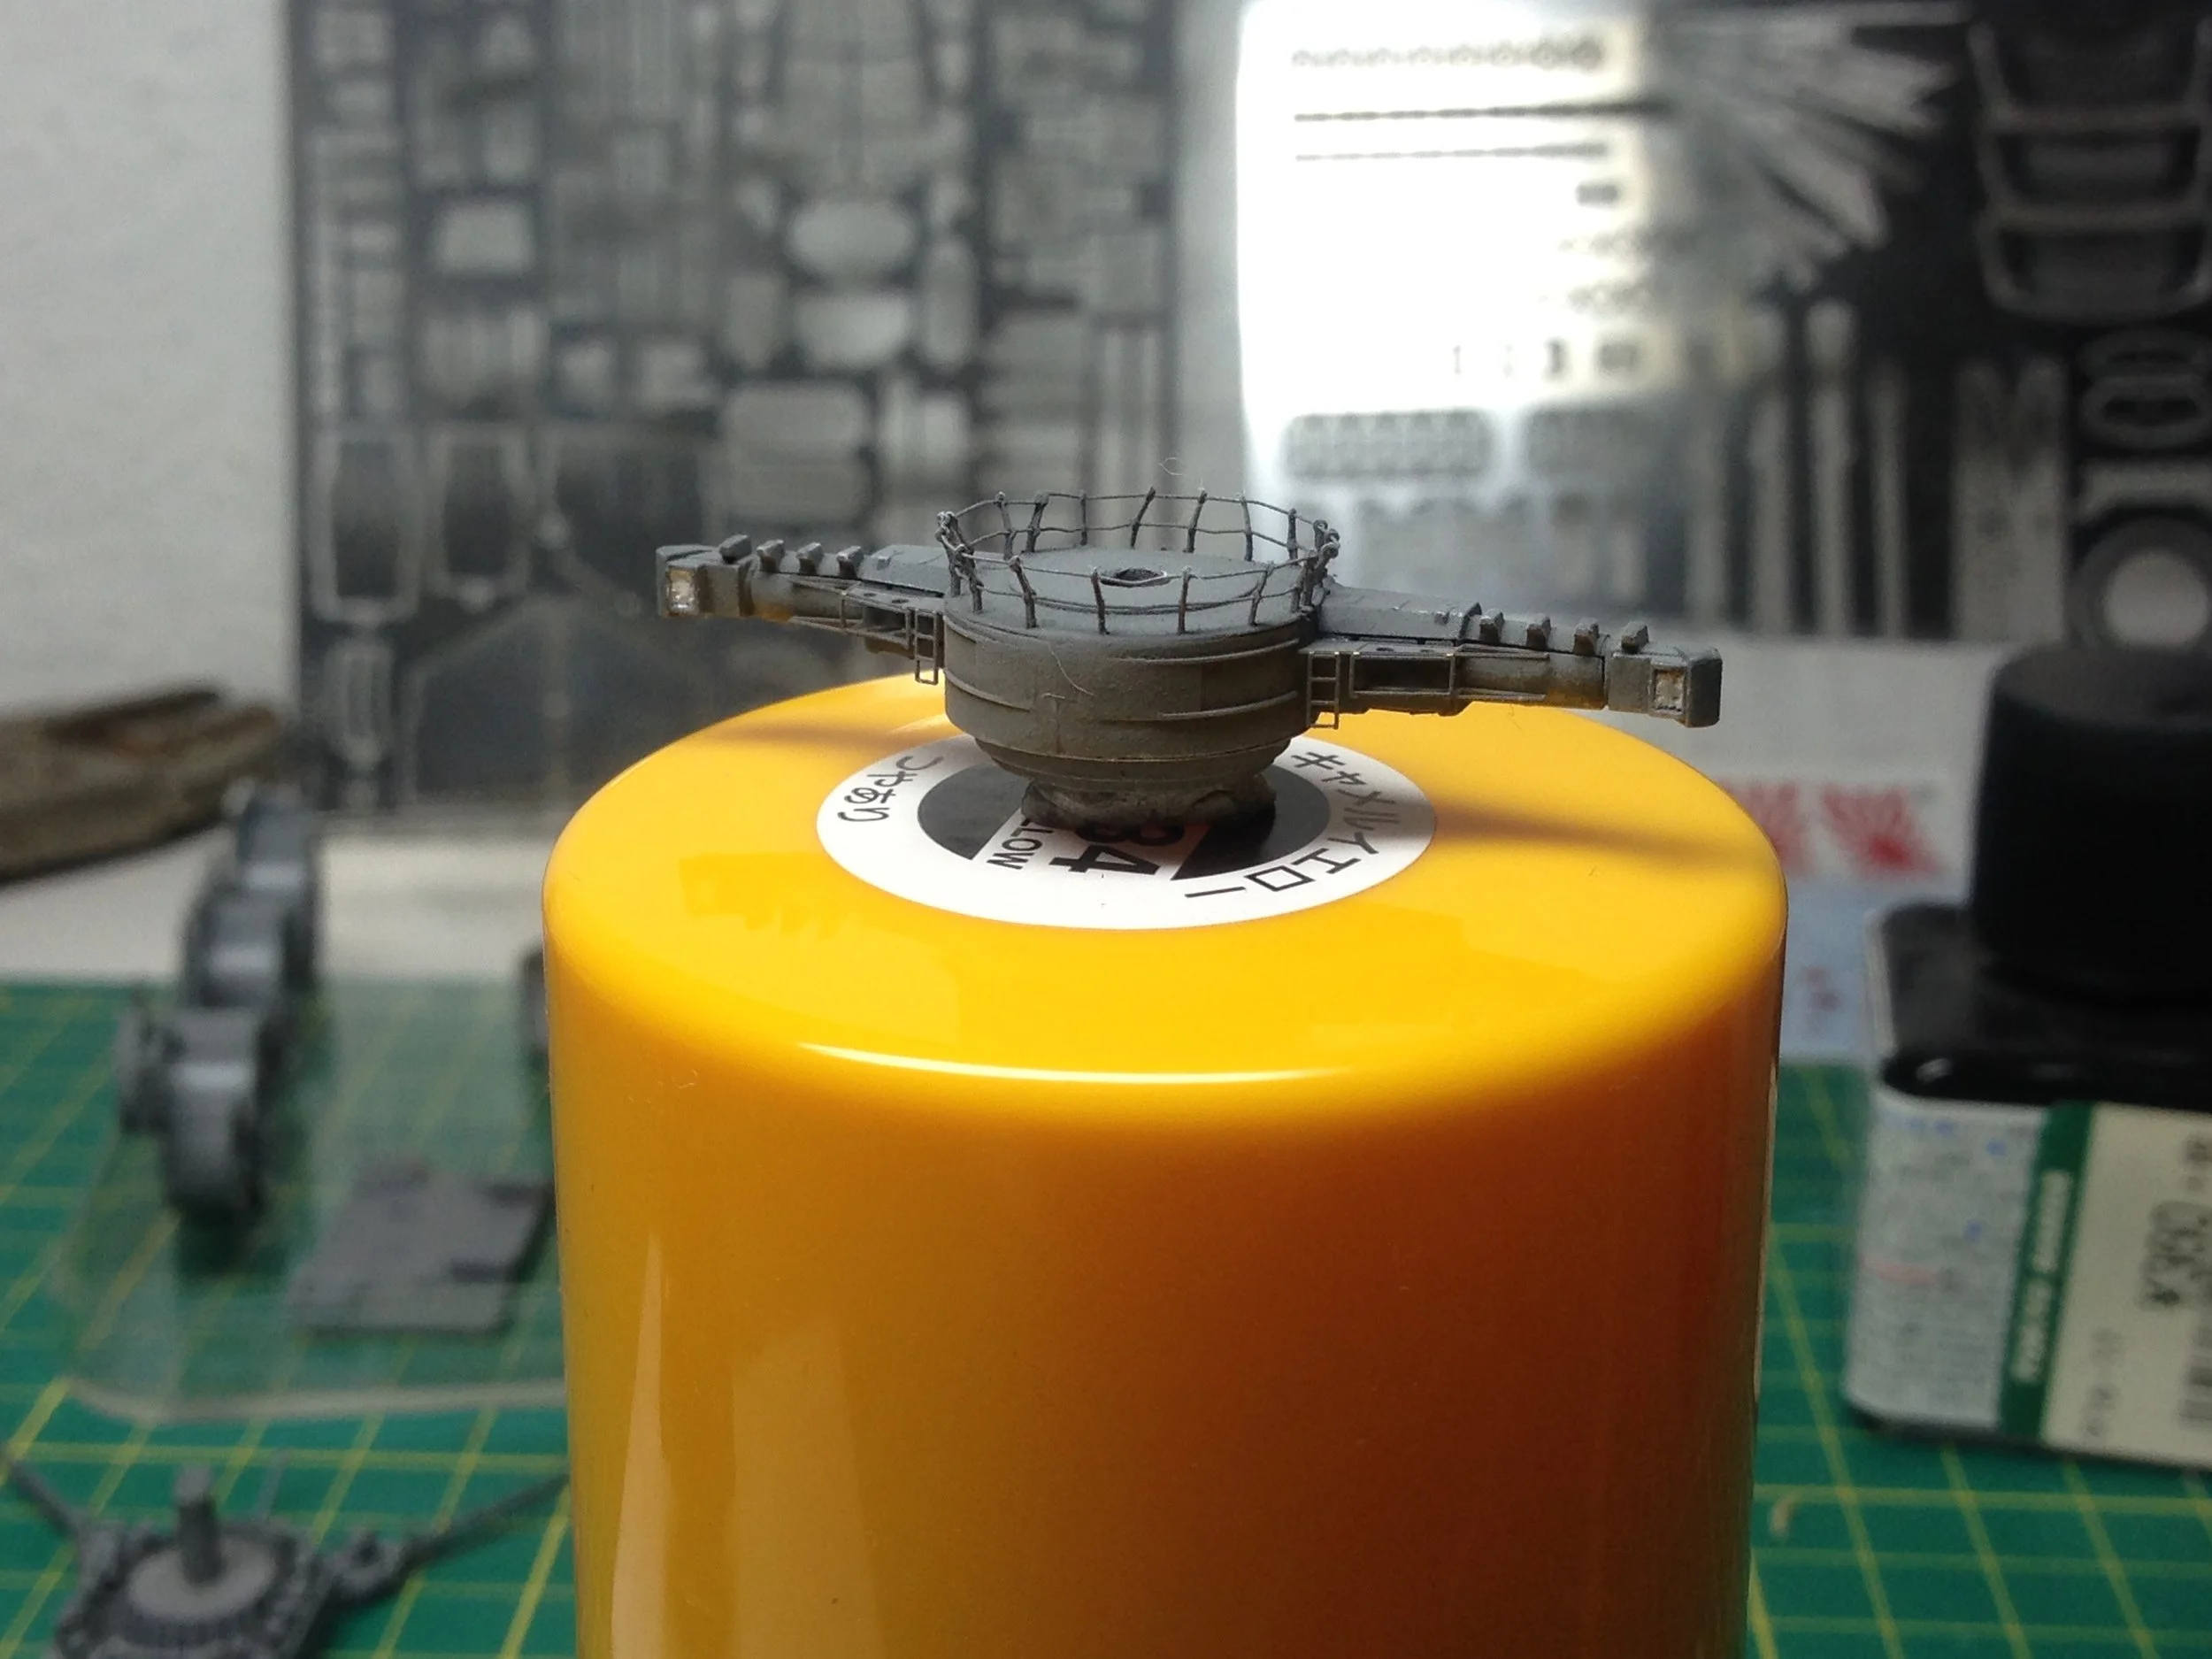
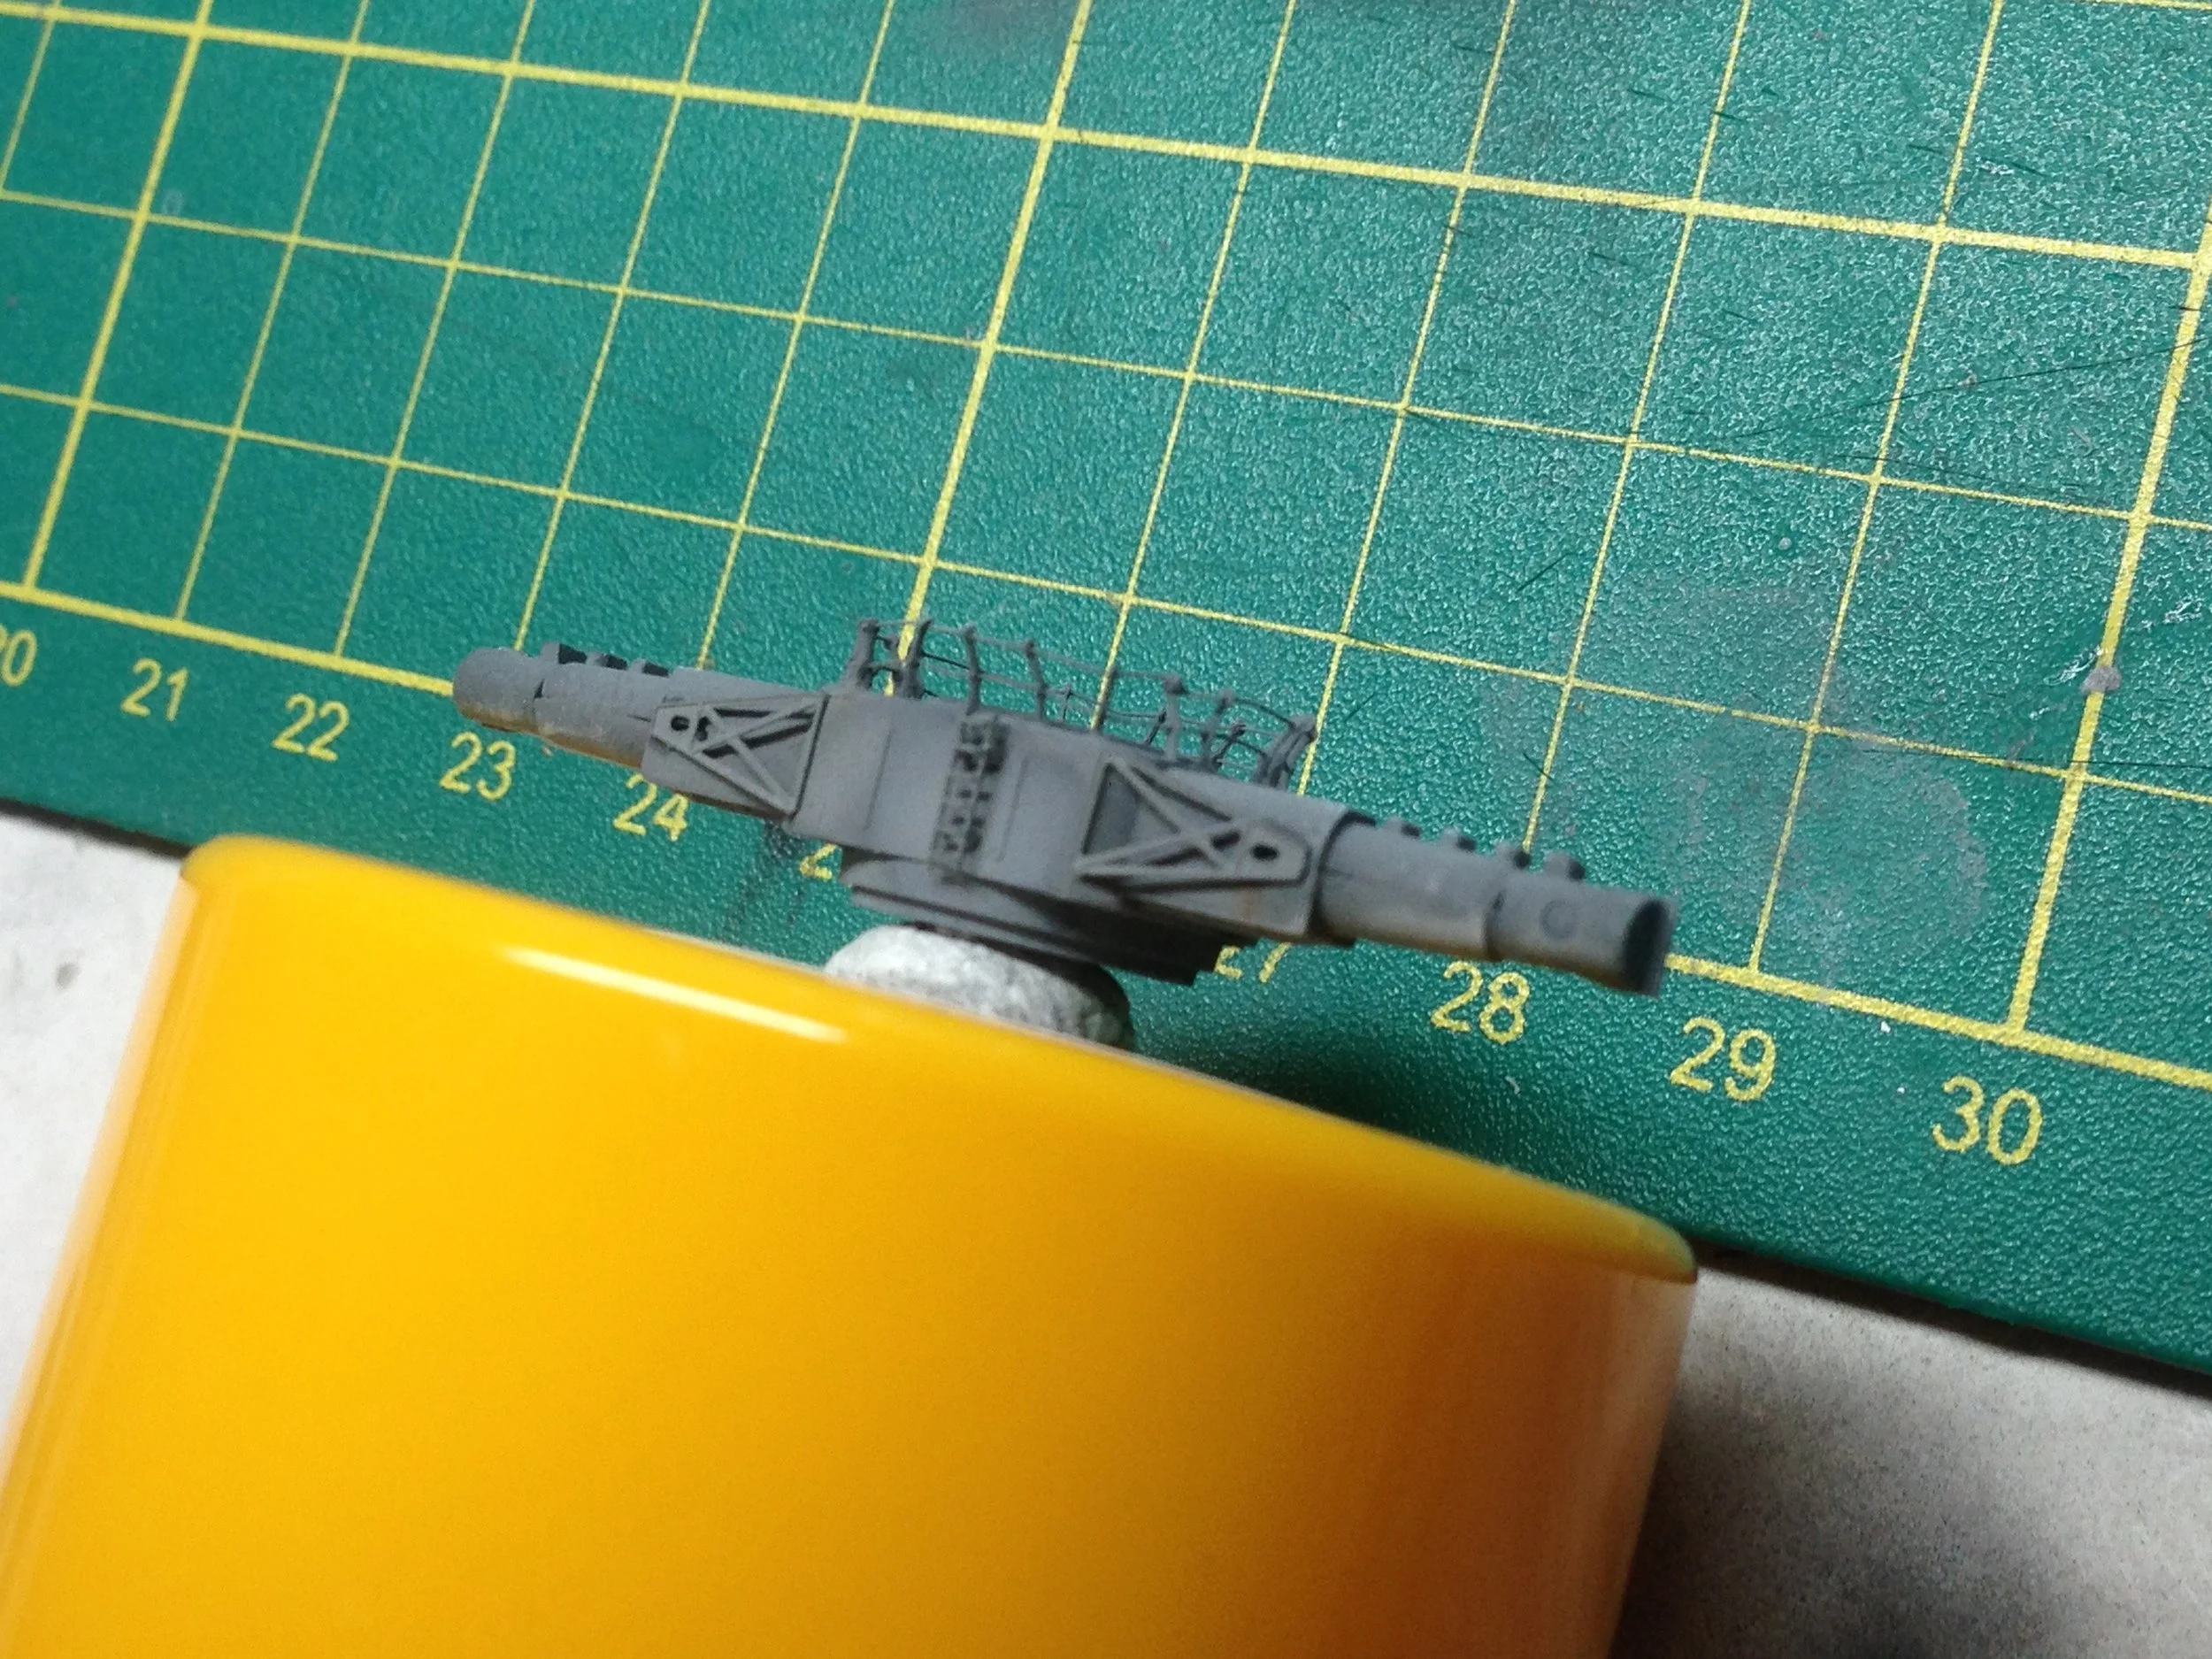
Completed main range finder and air defence command post:
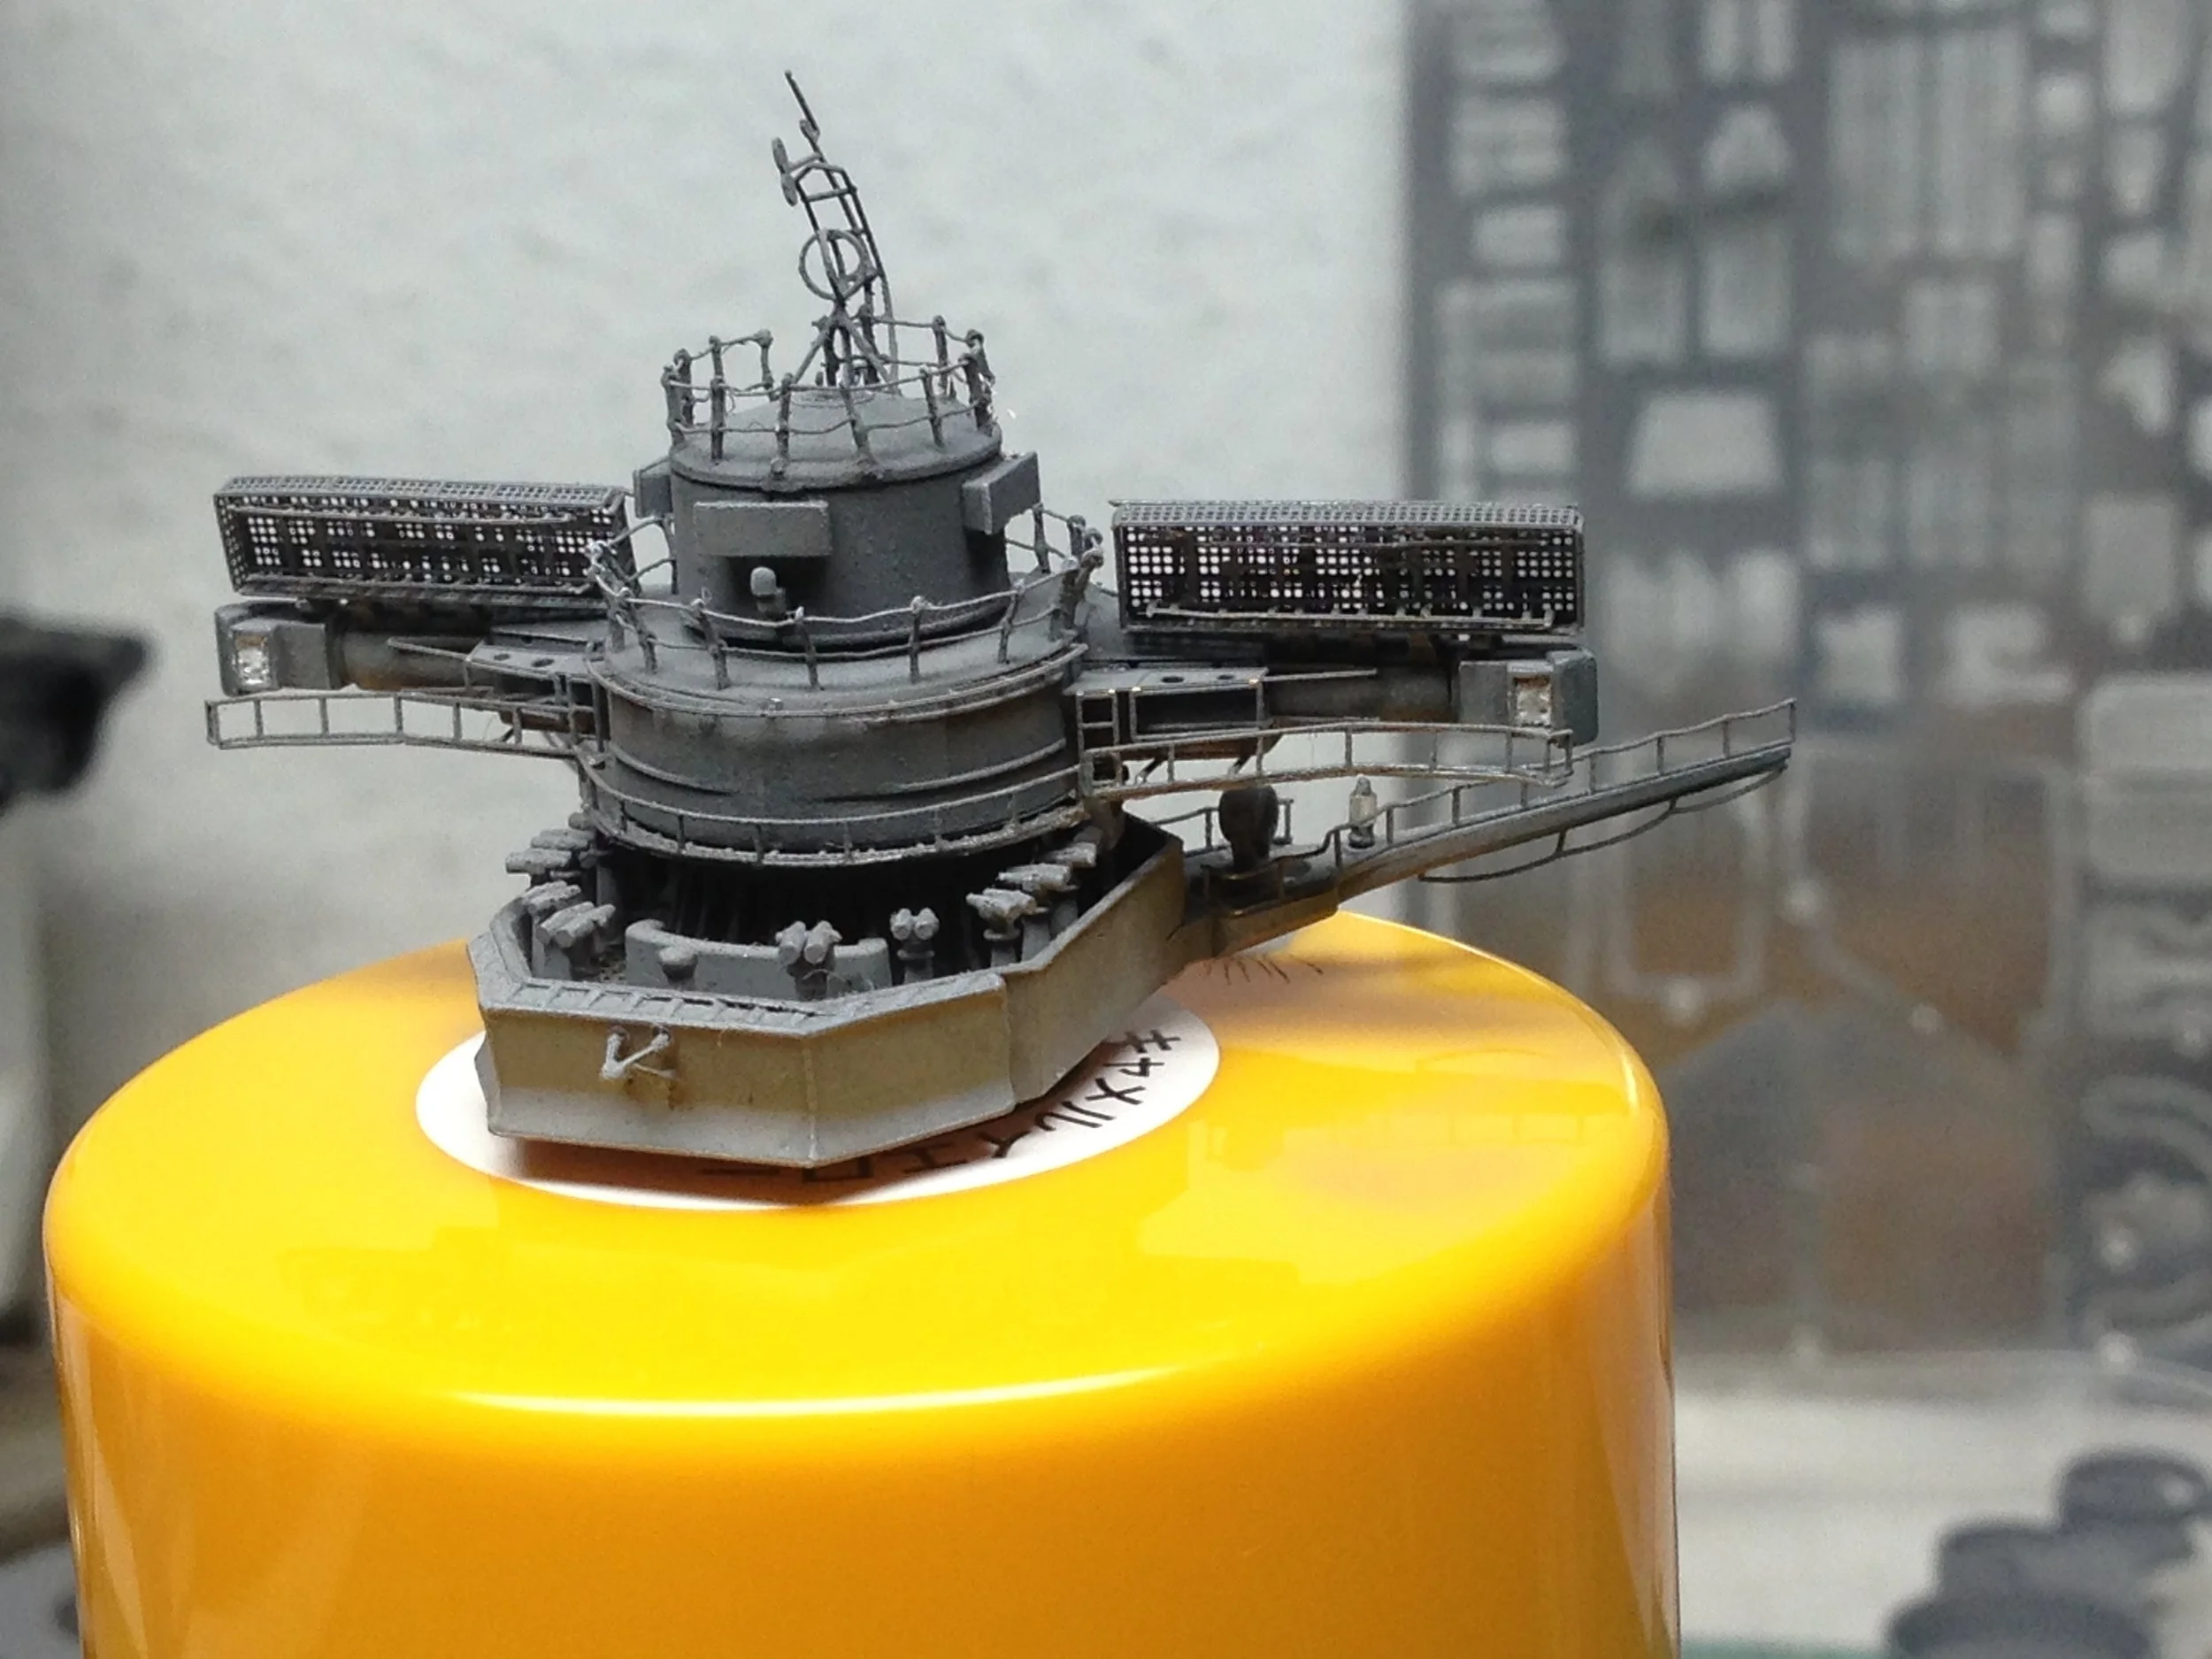
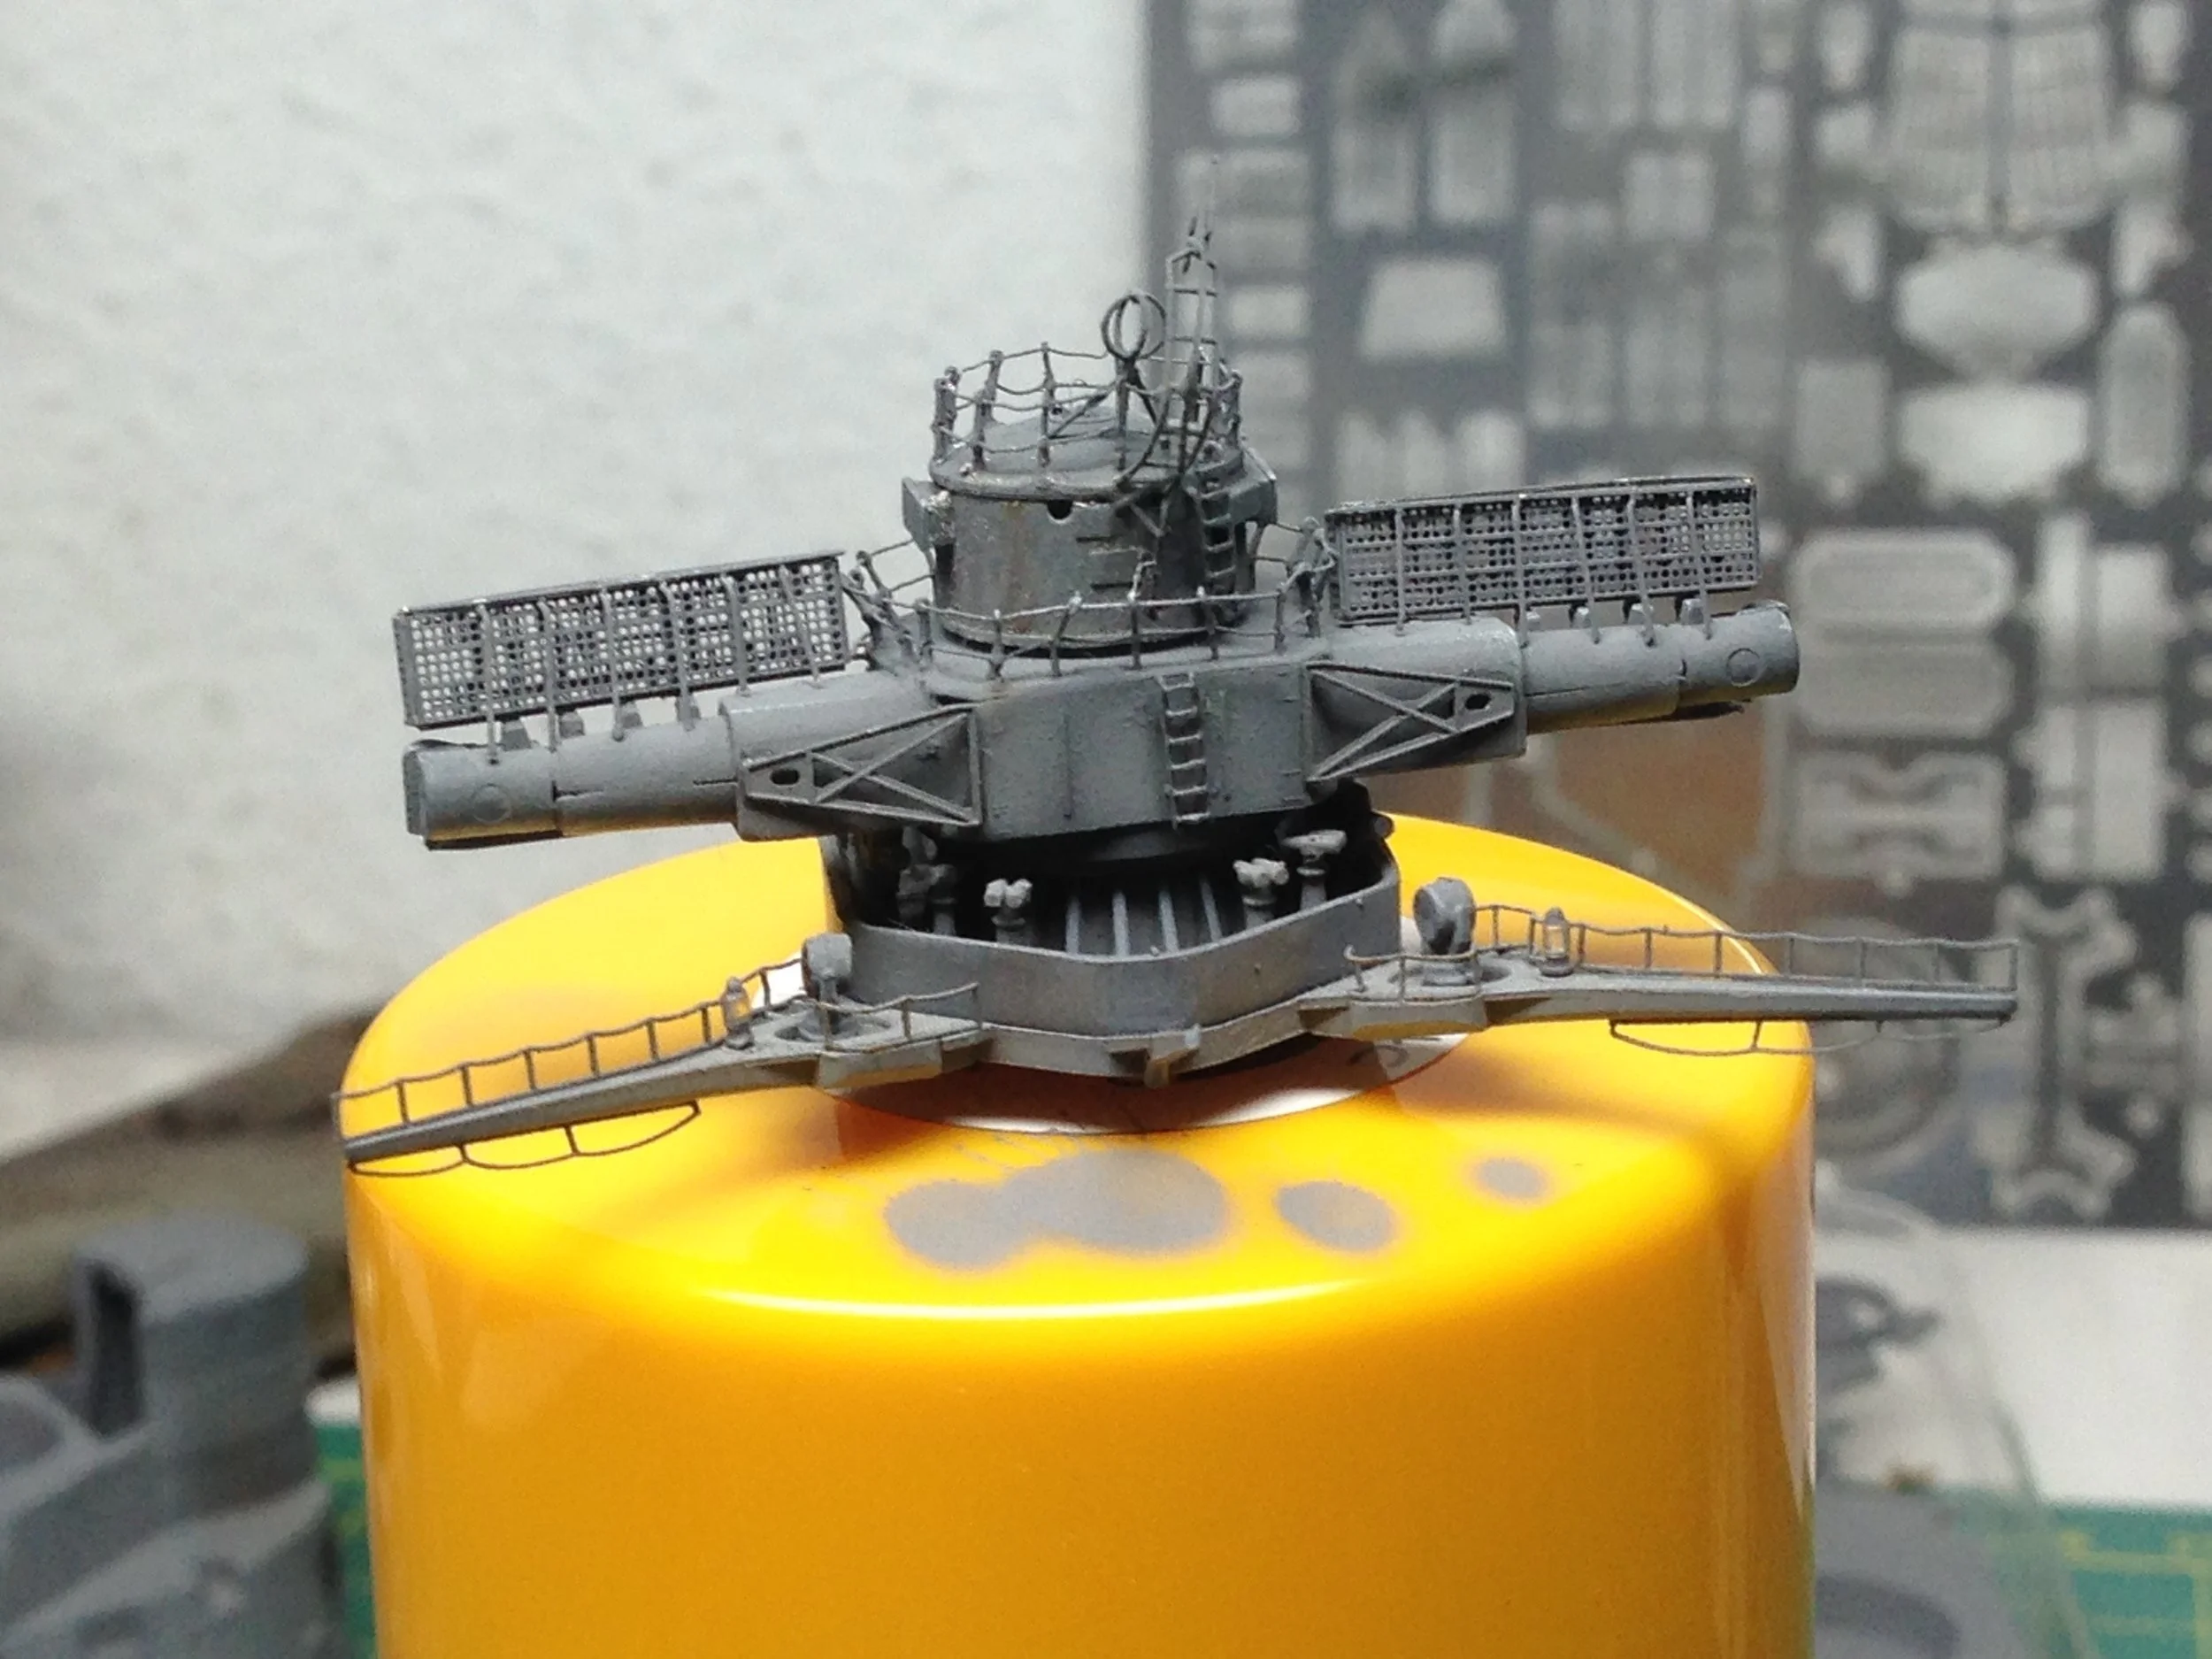
Building and painting the bridge.
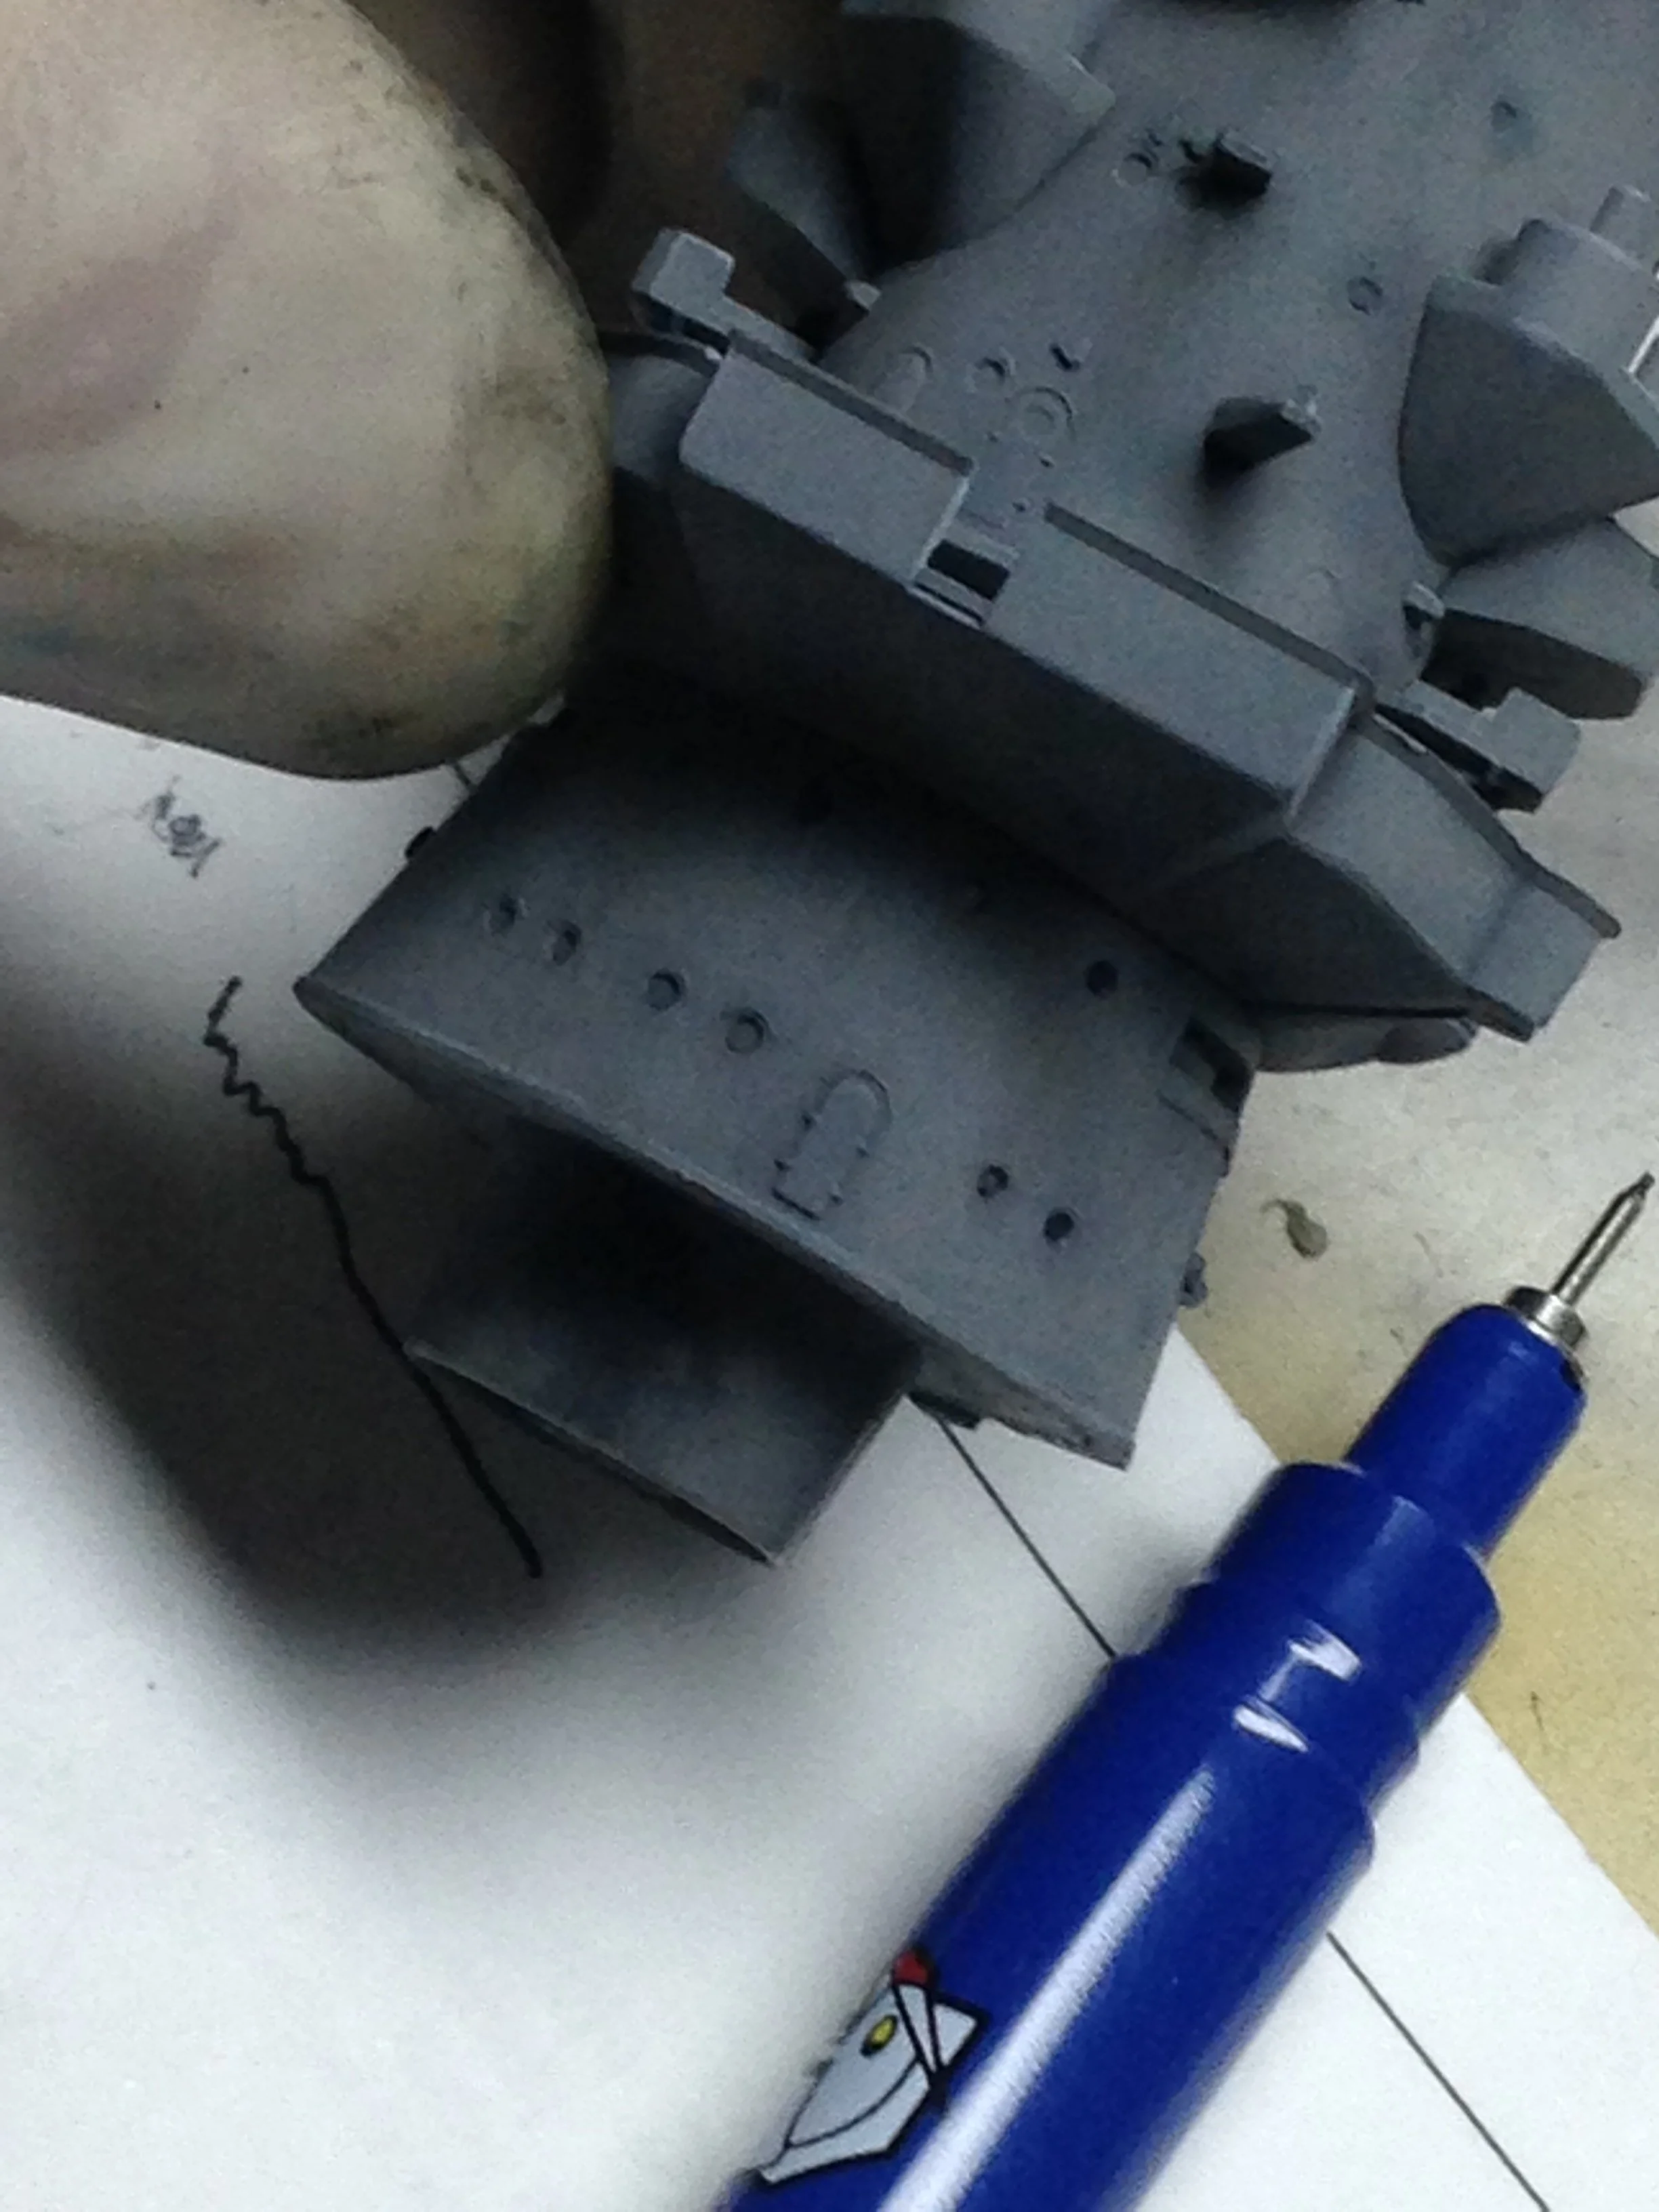
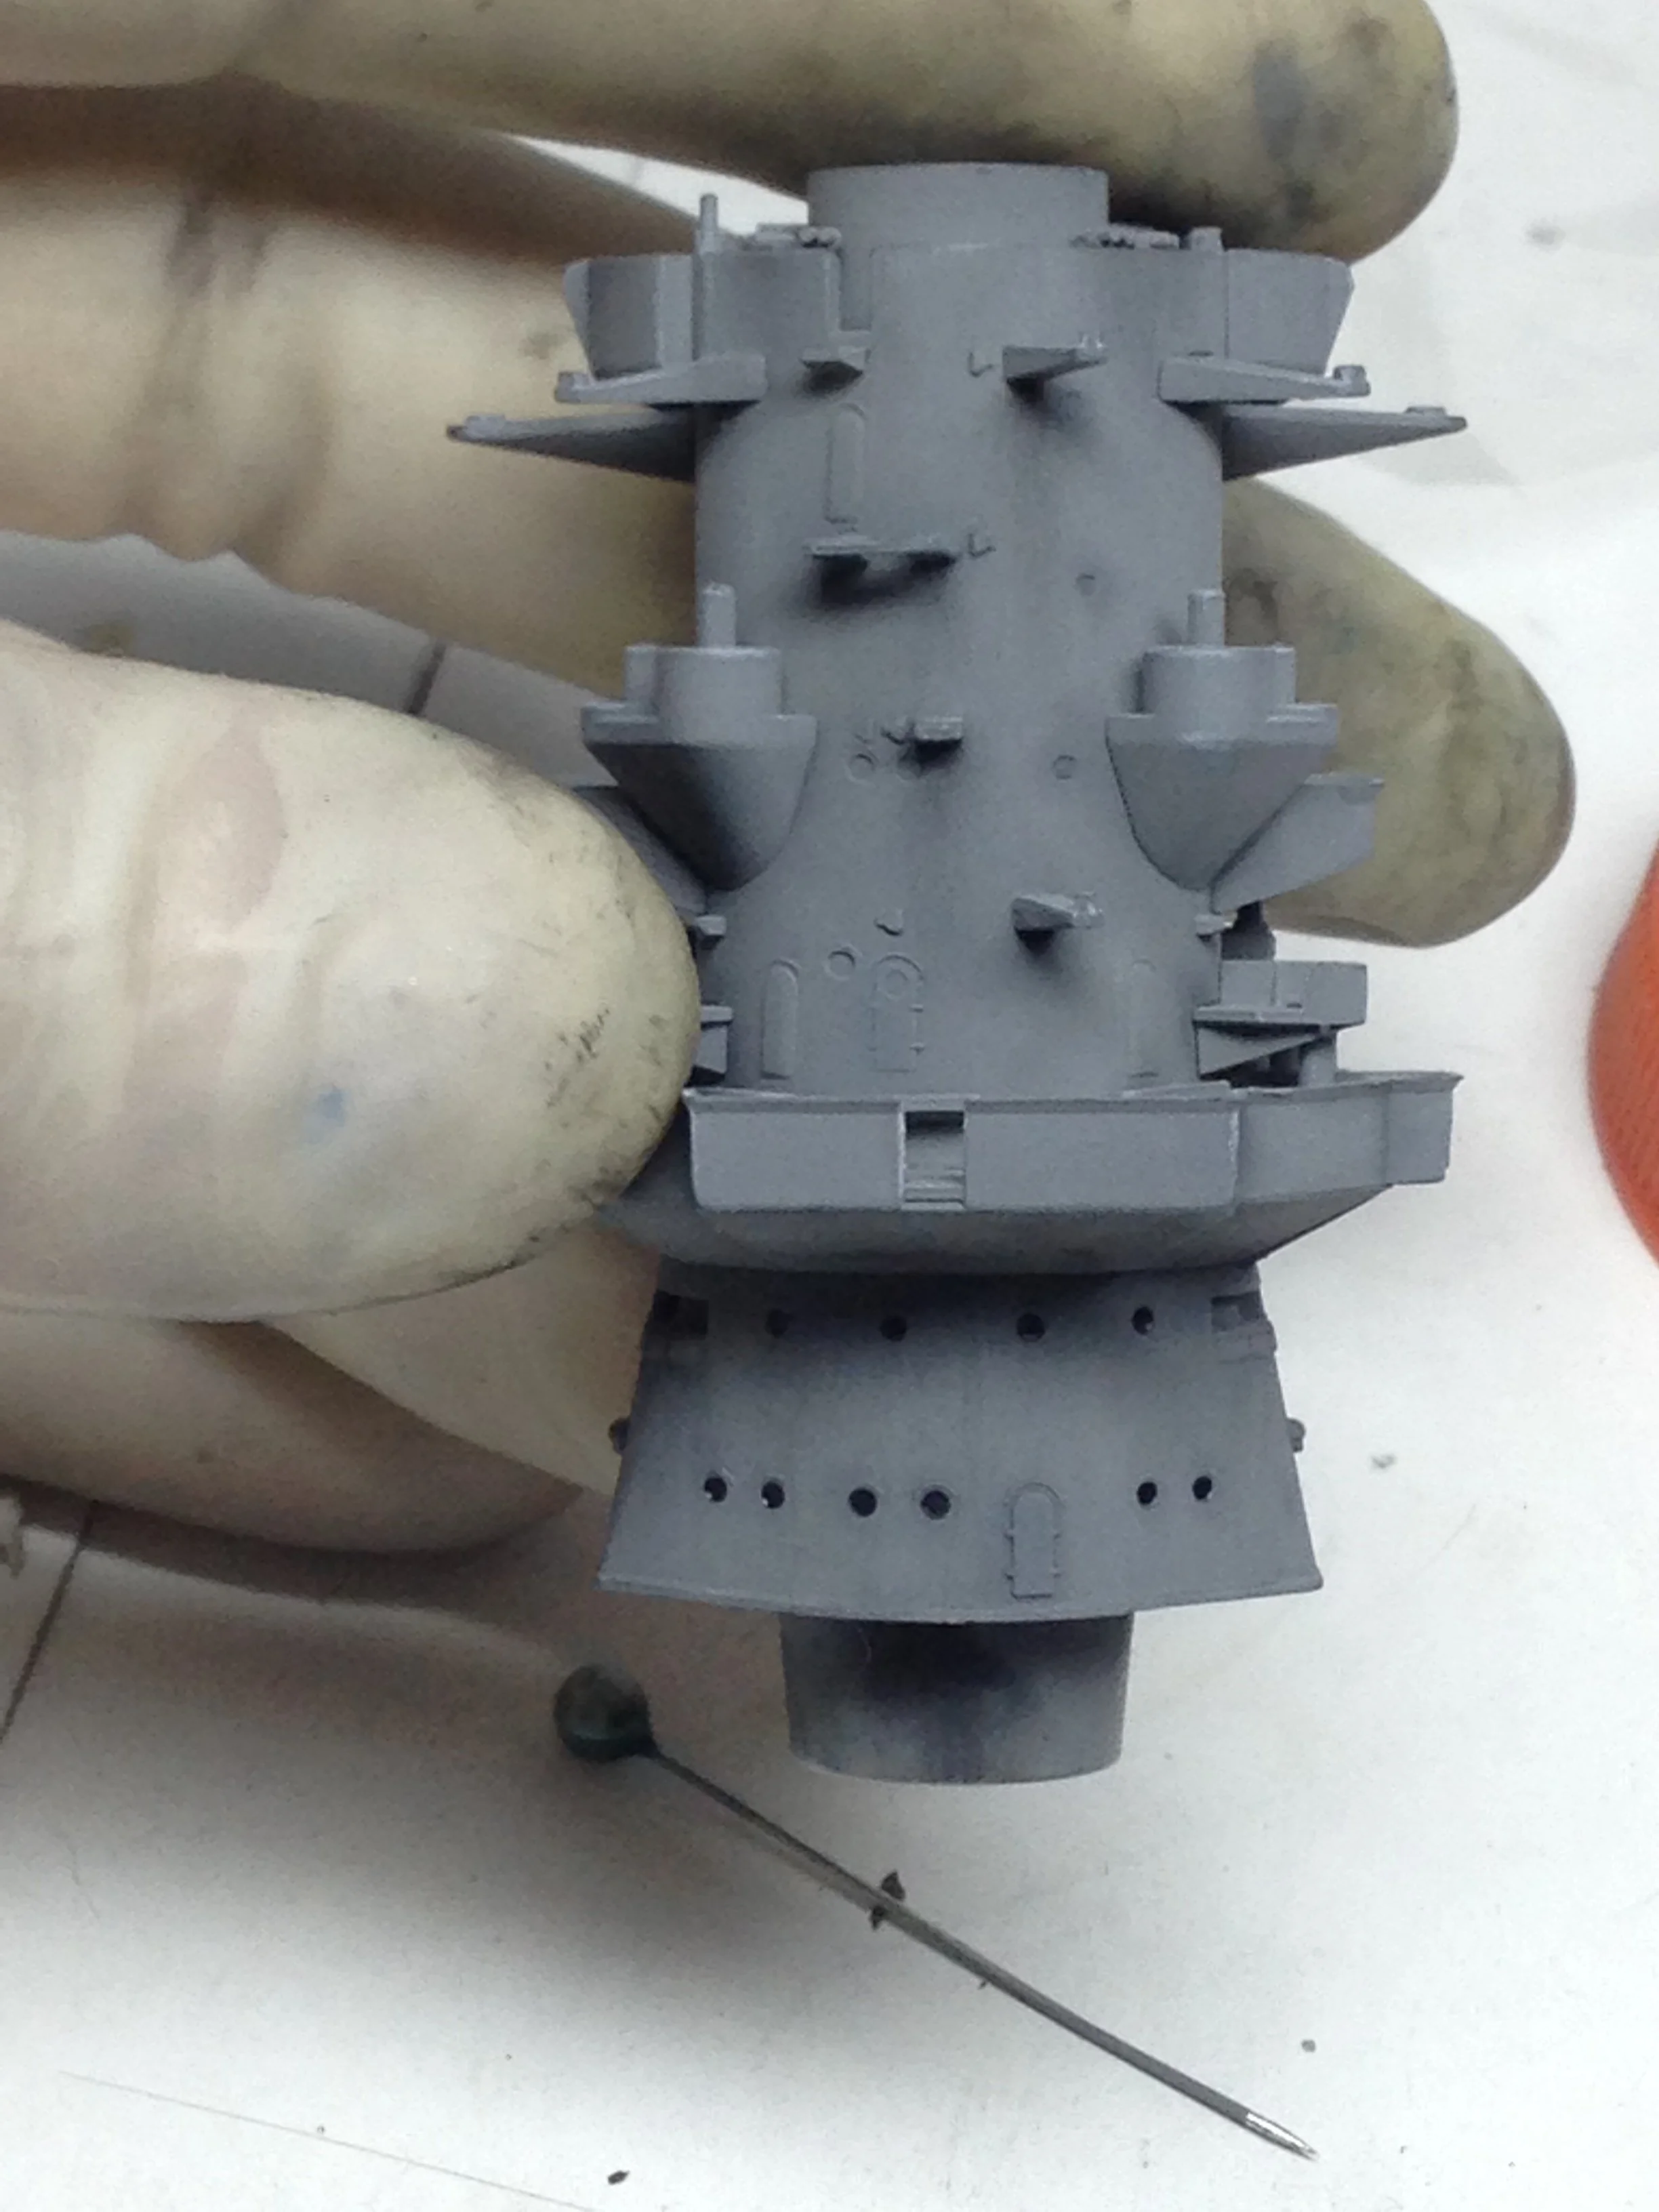
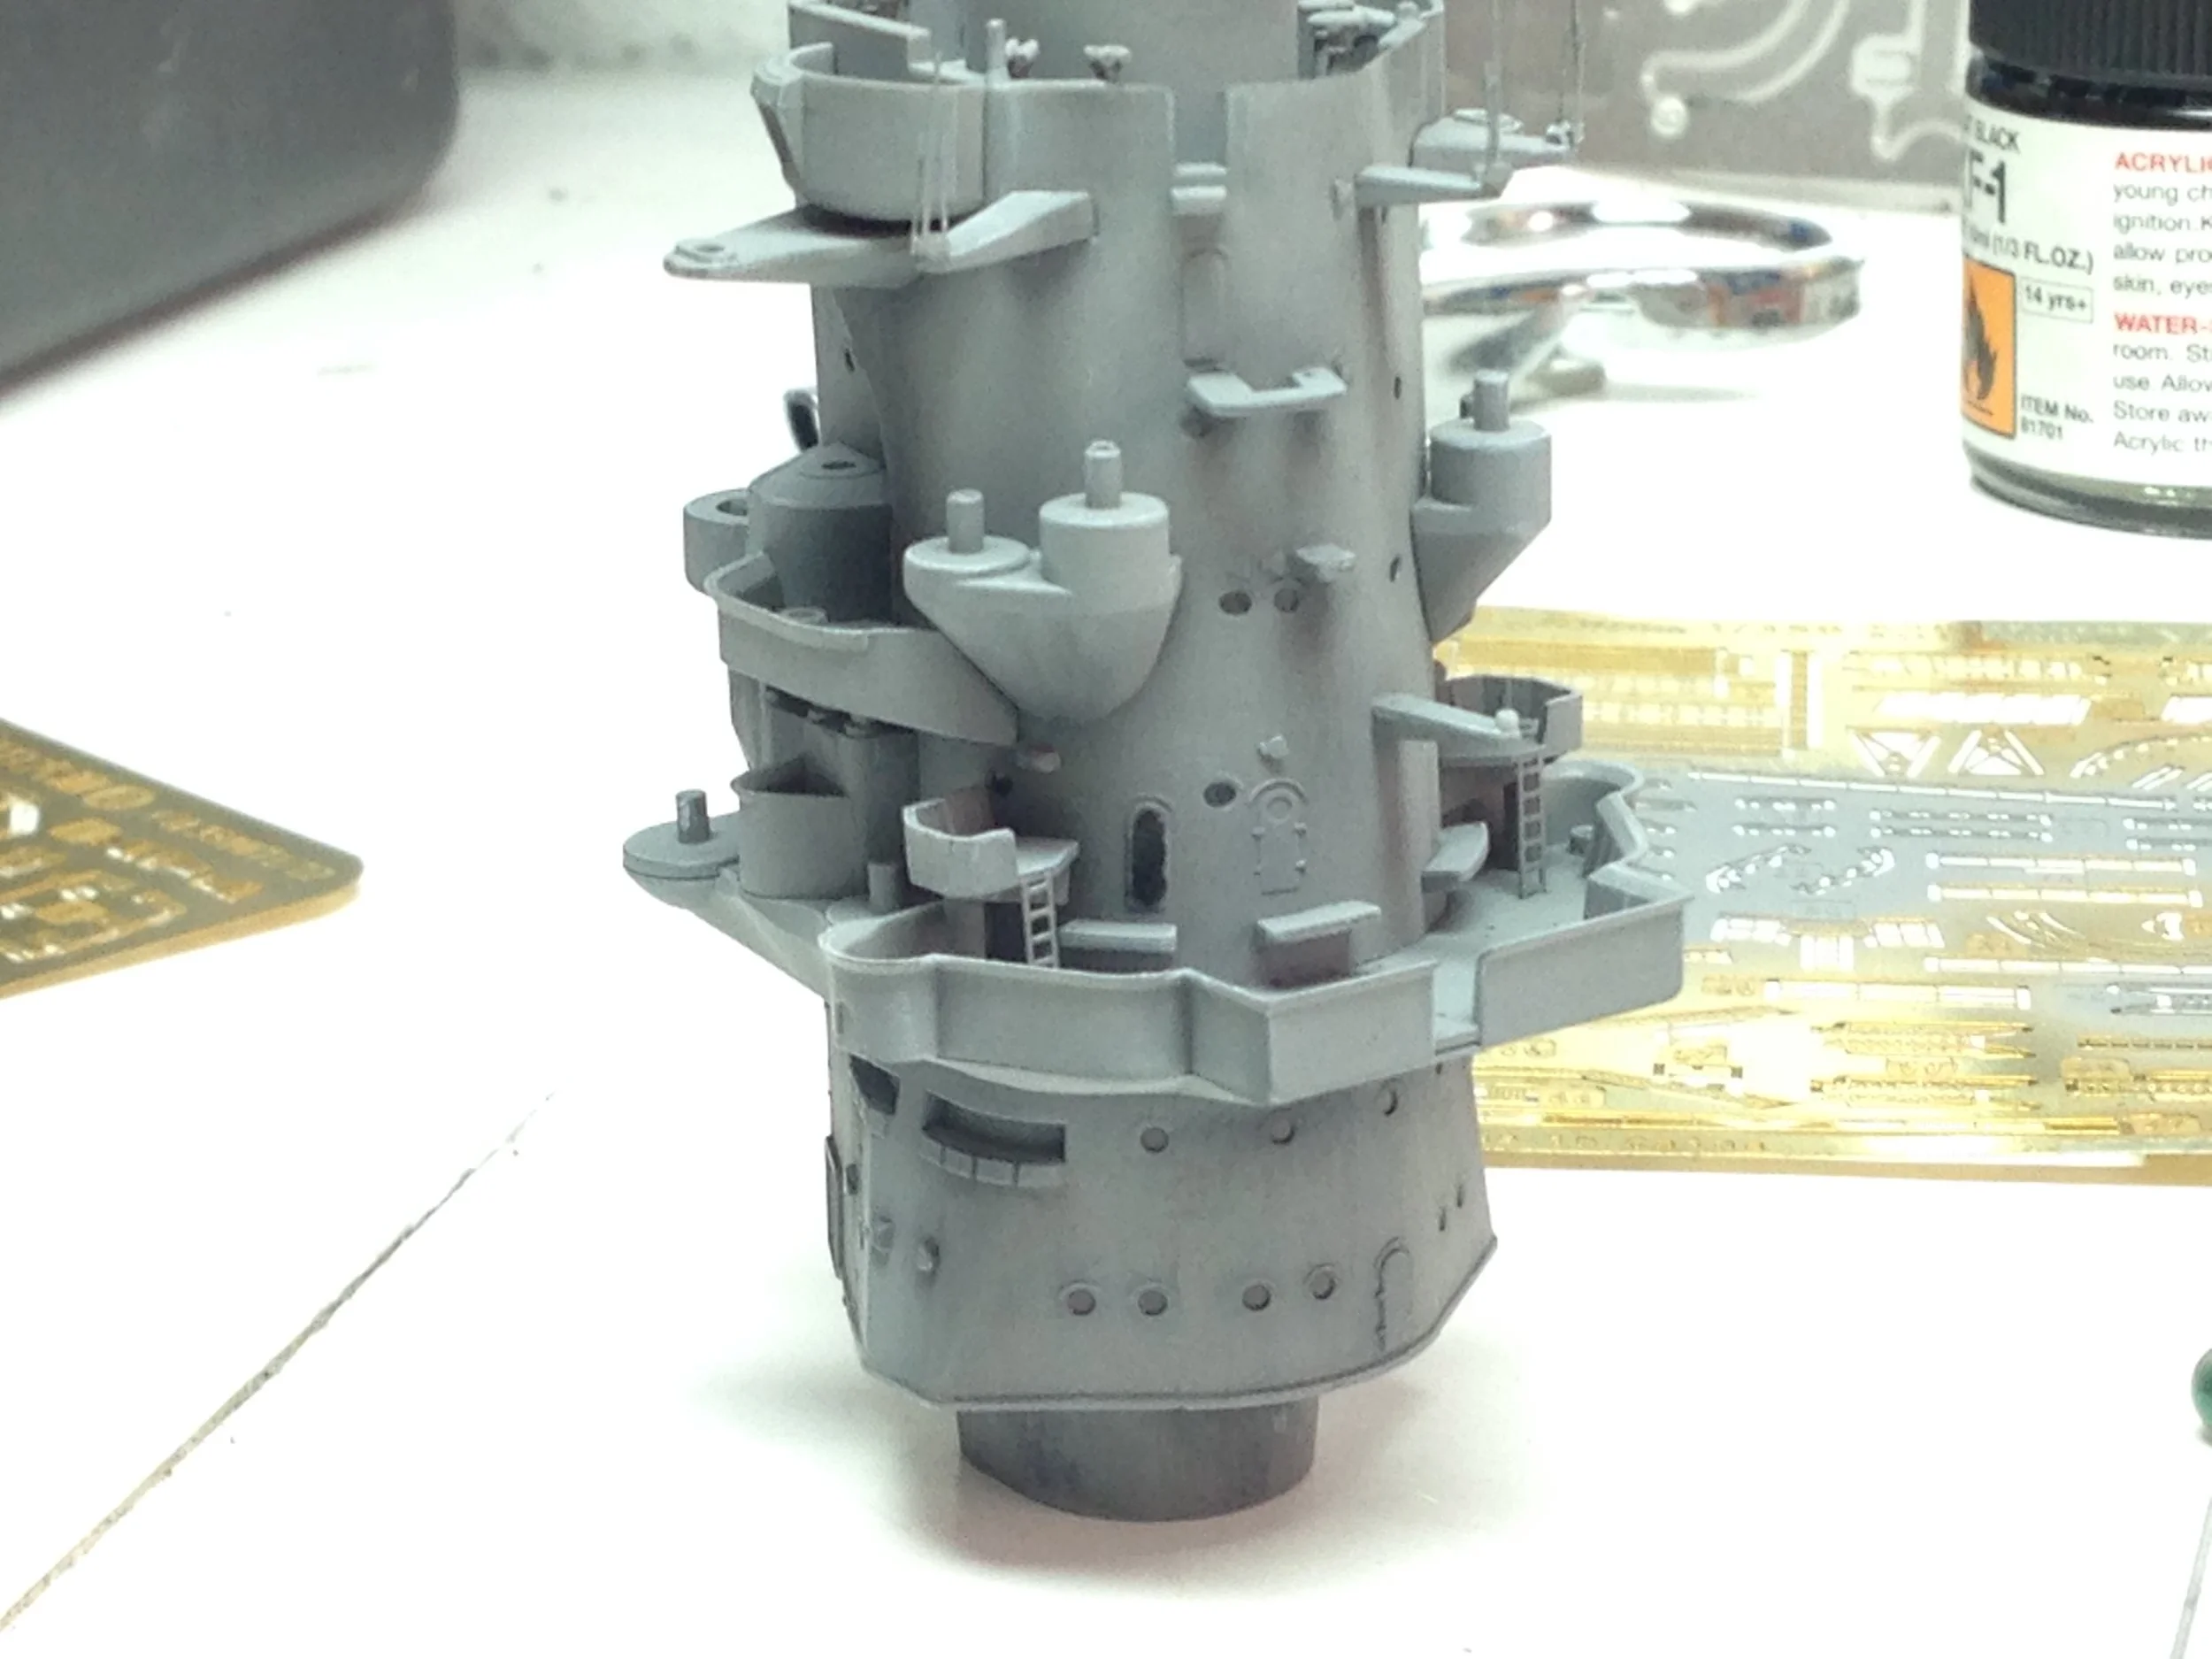
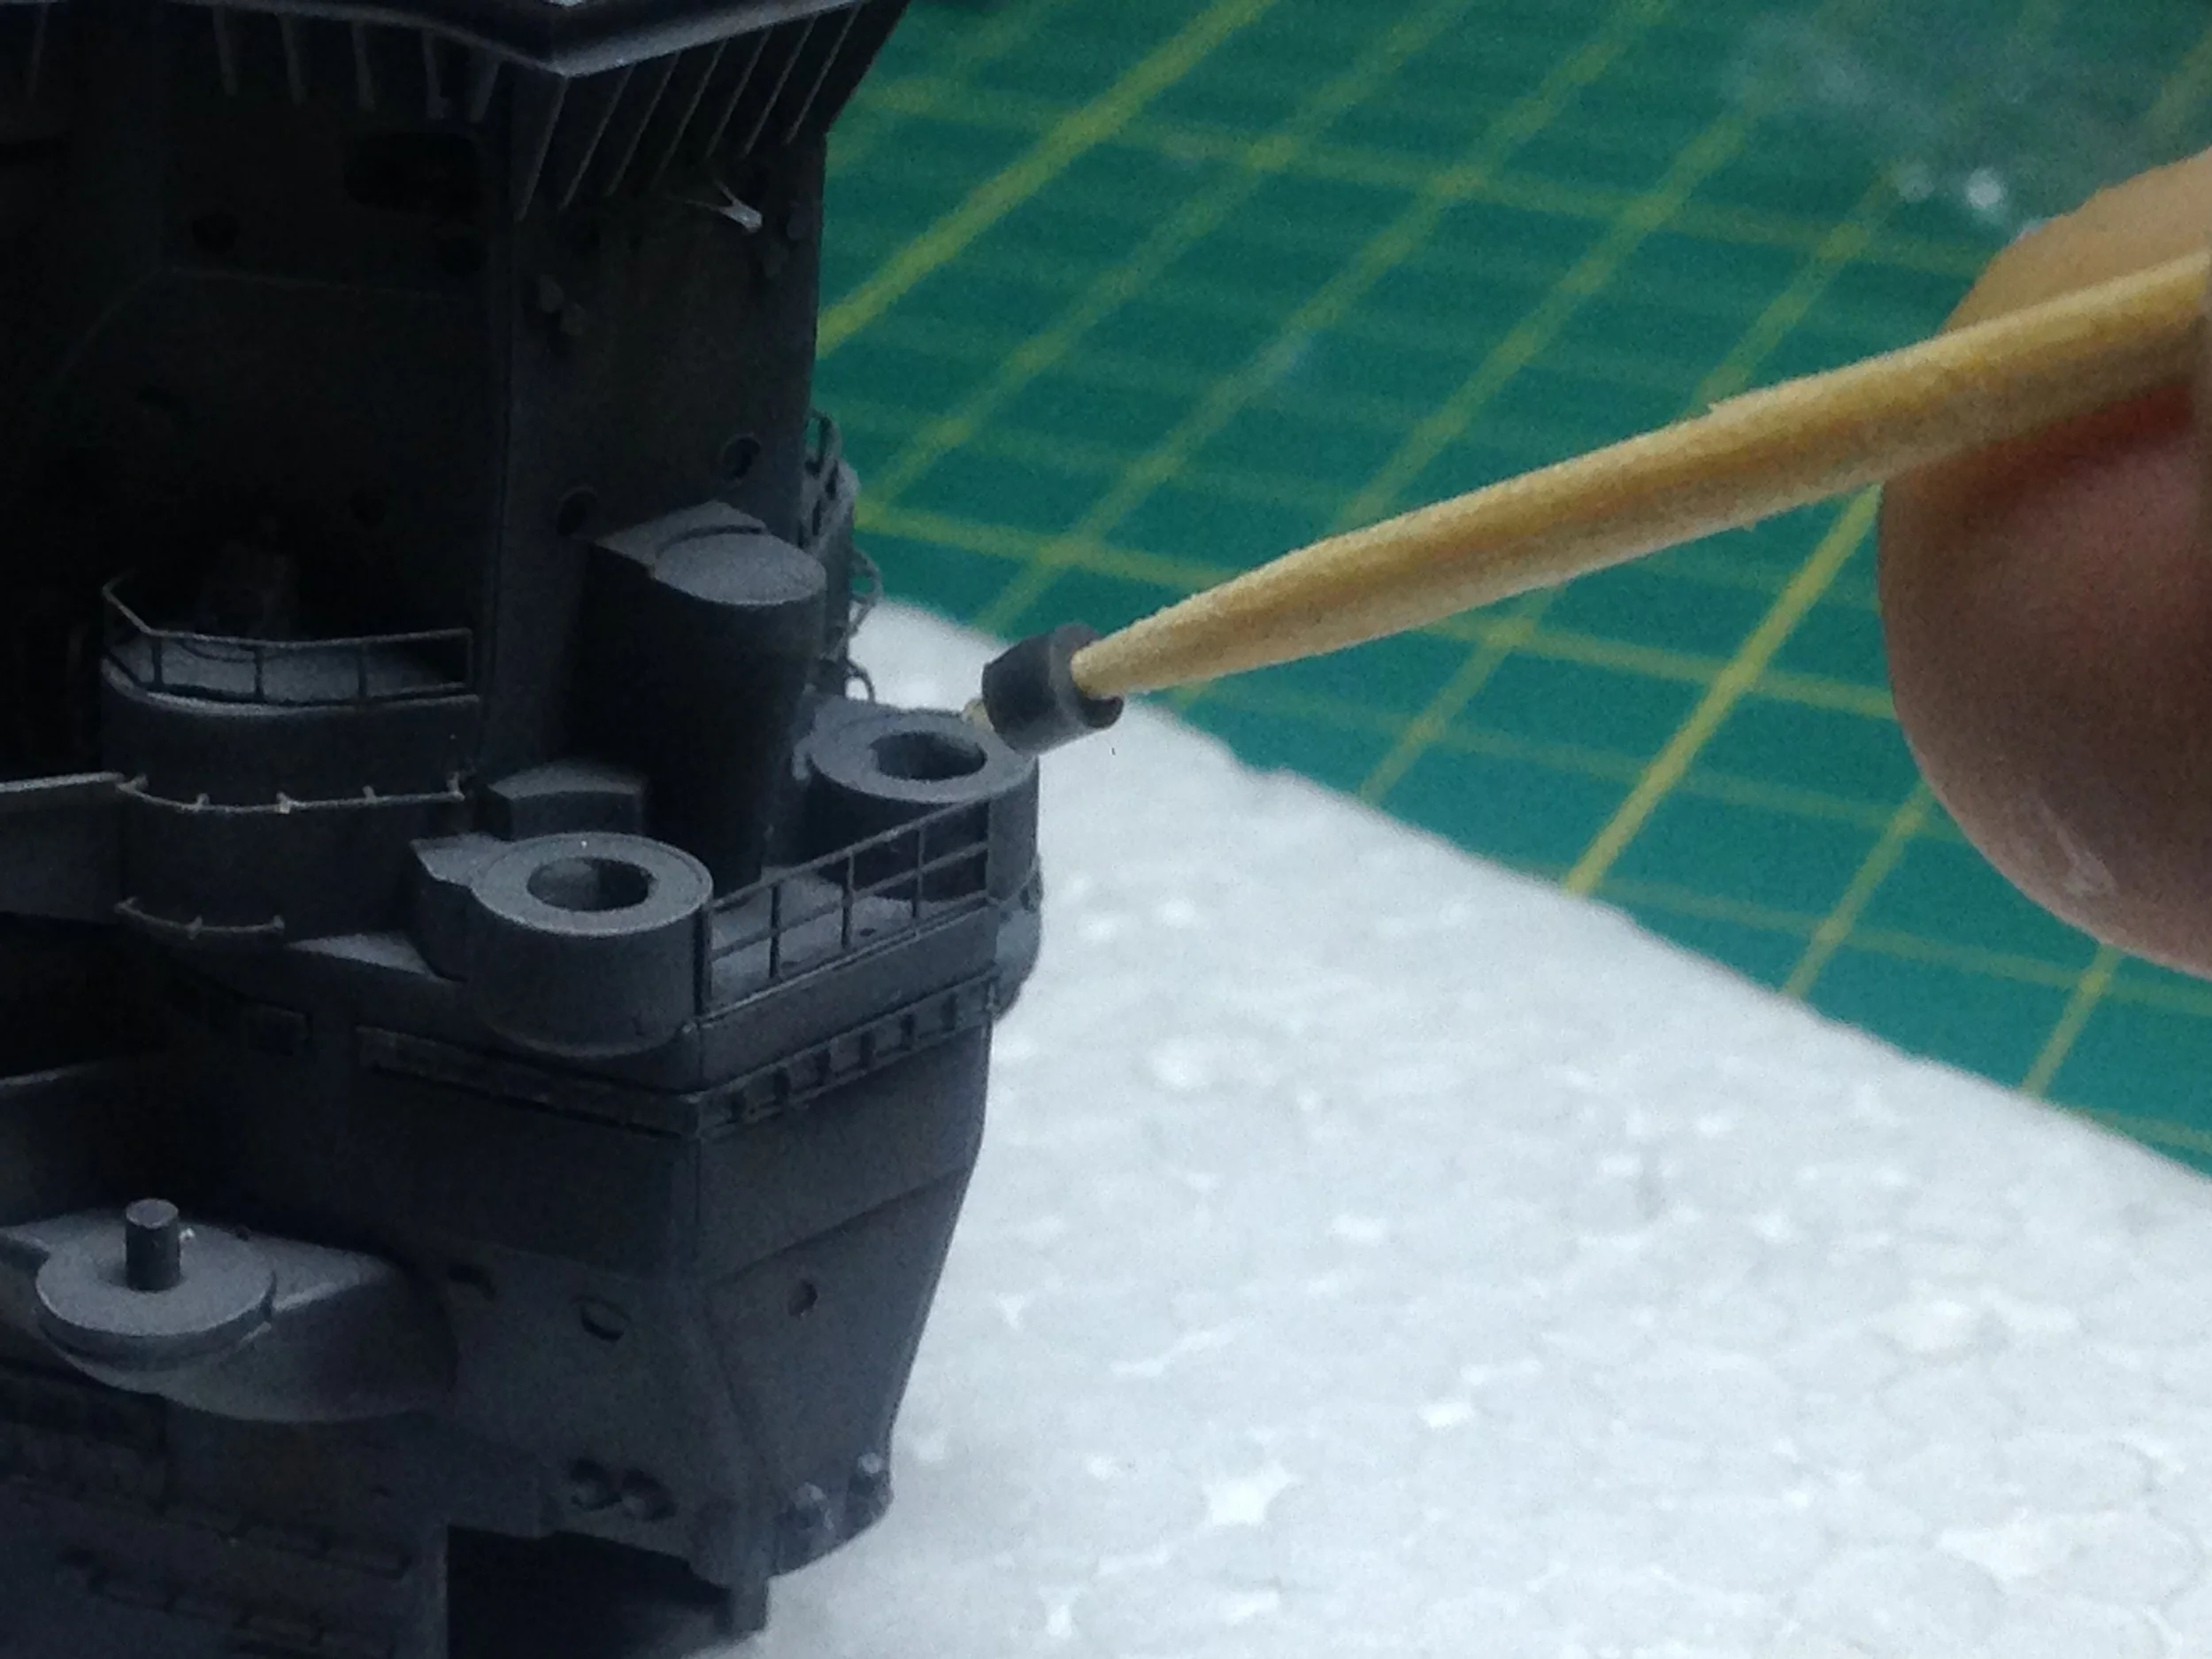
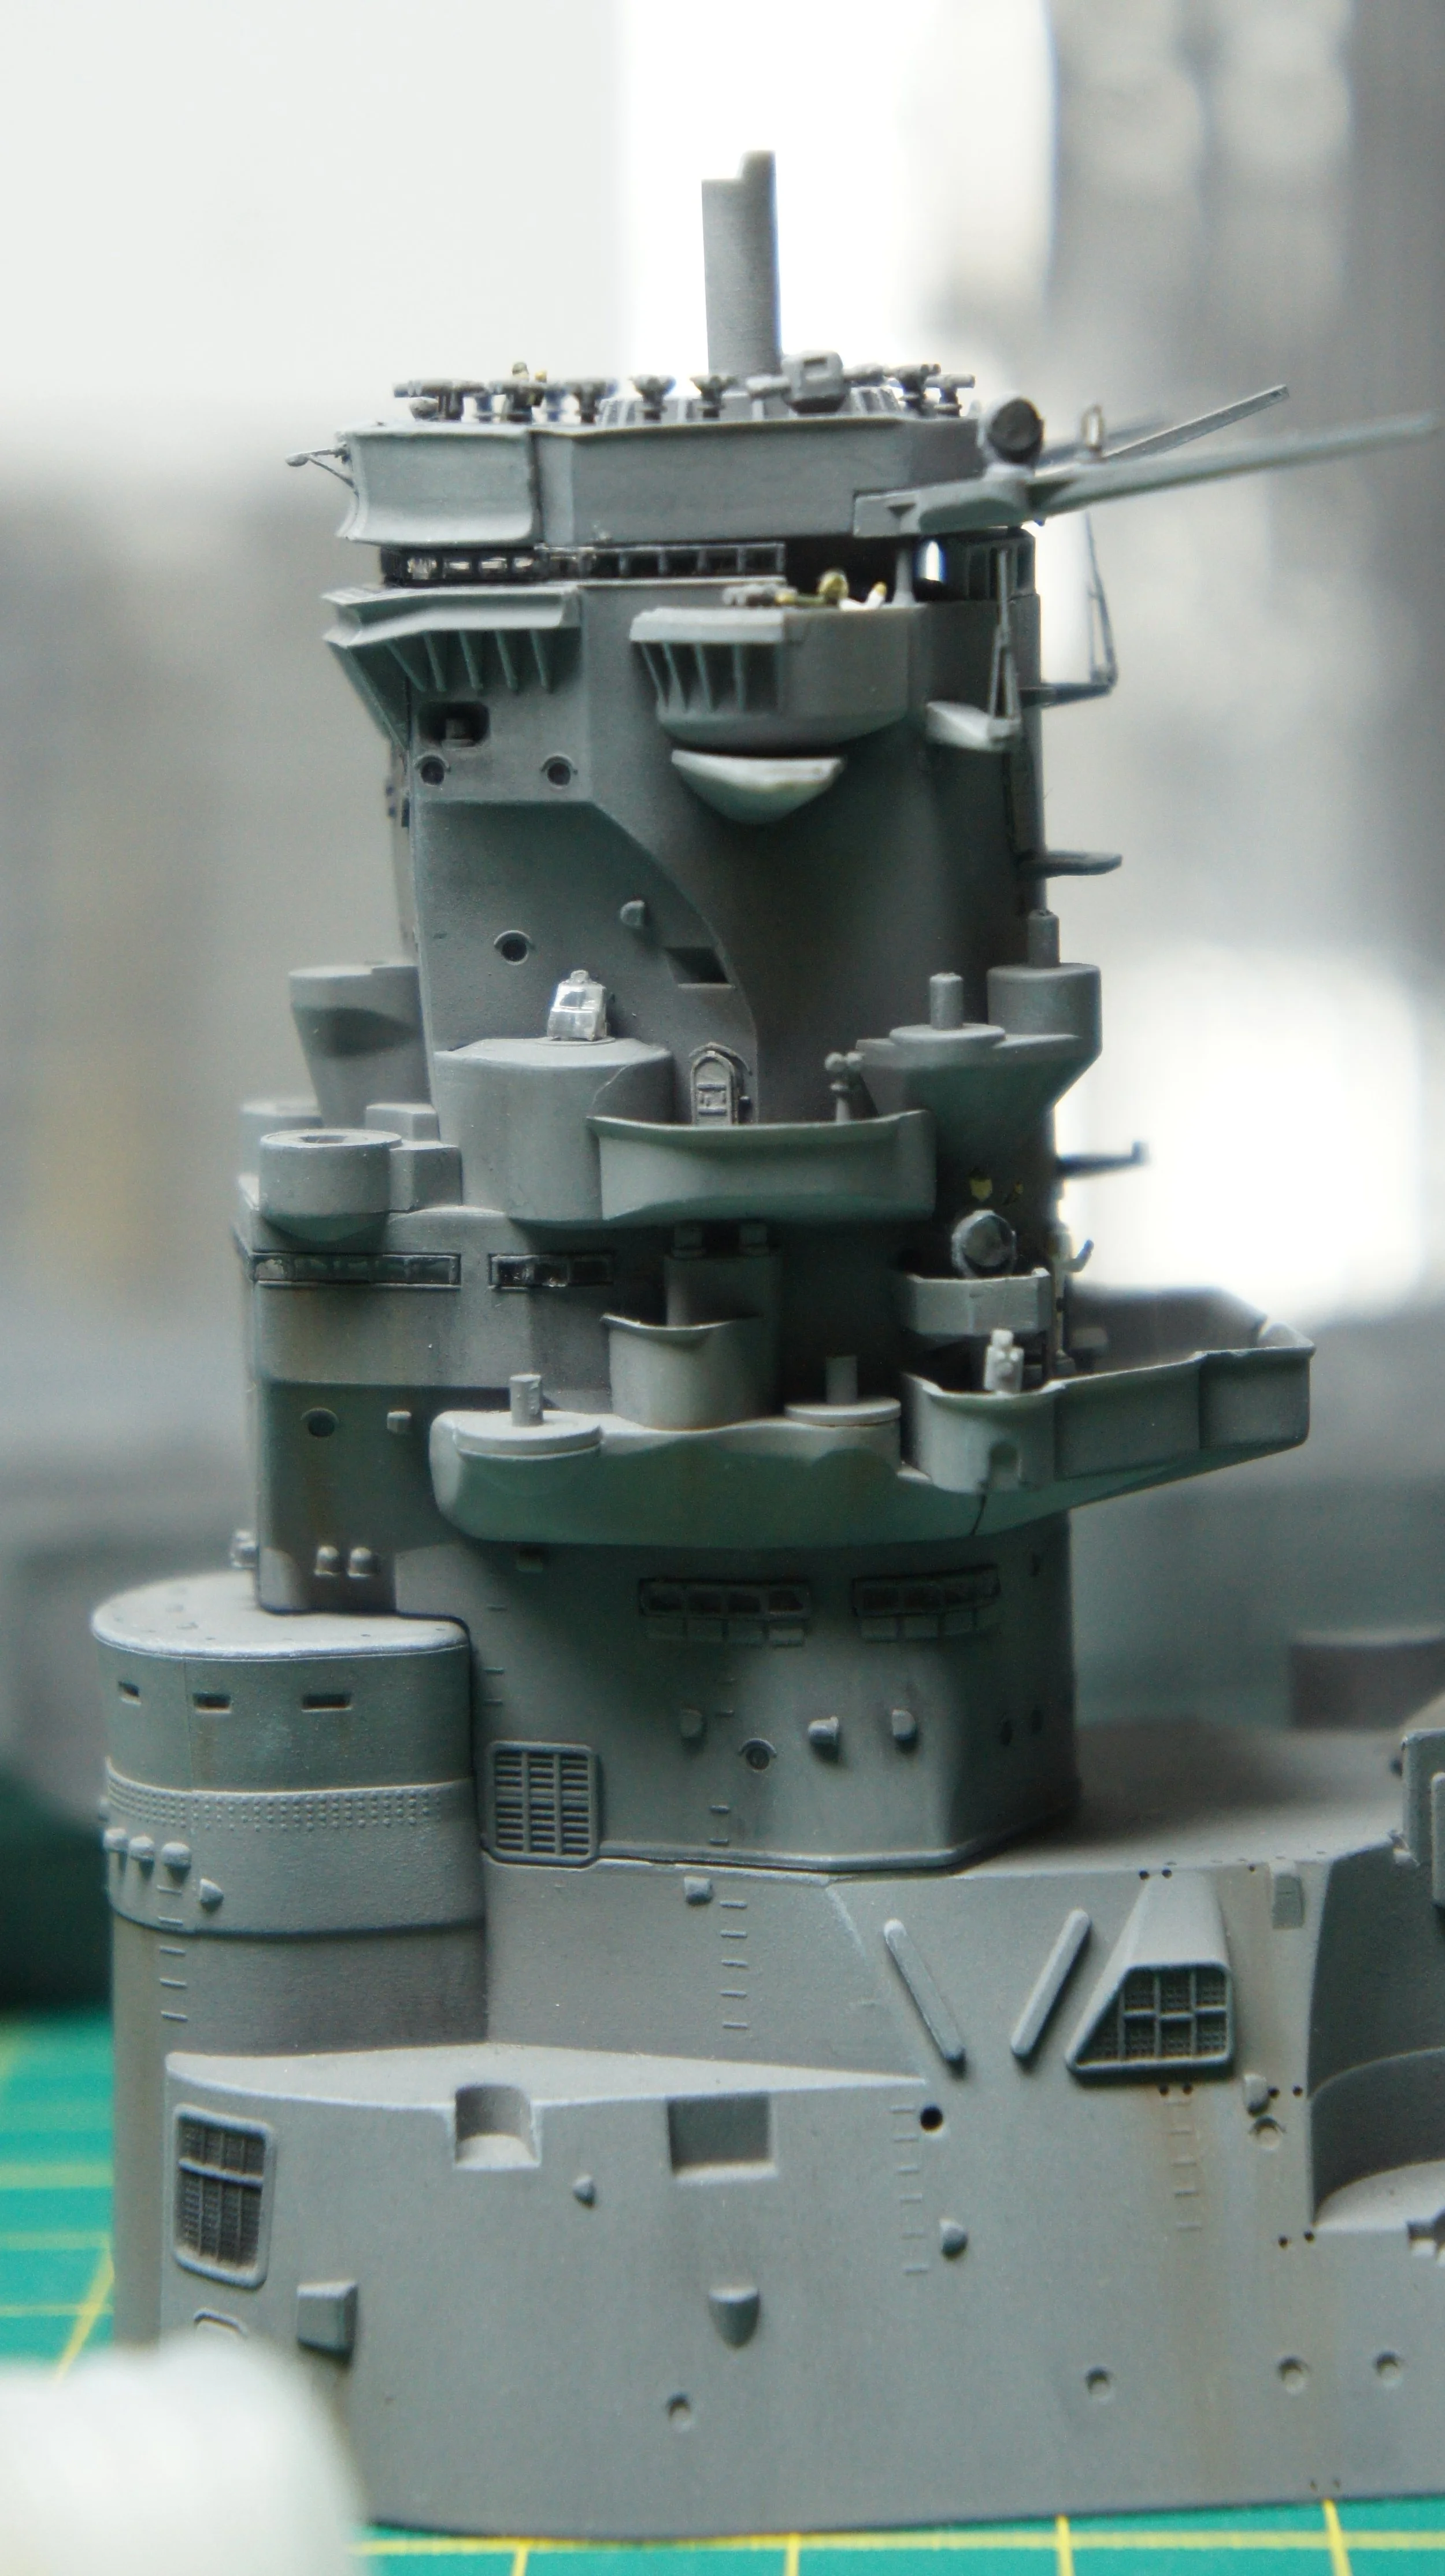
Bridge finished!
Handrails:
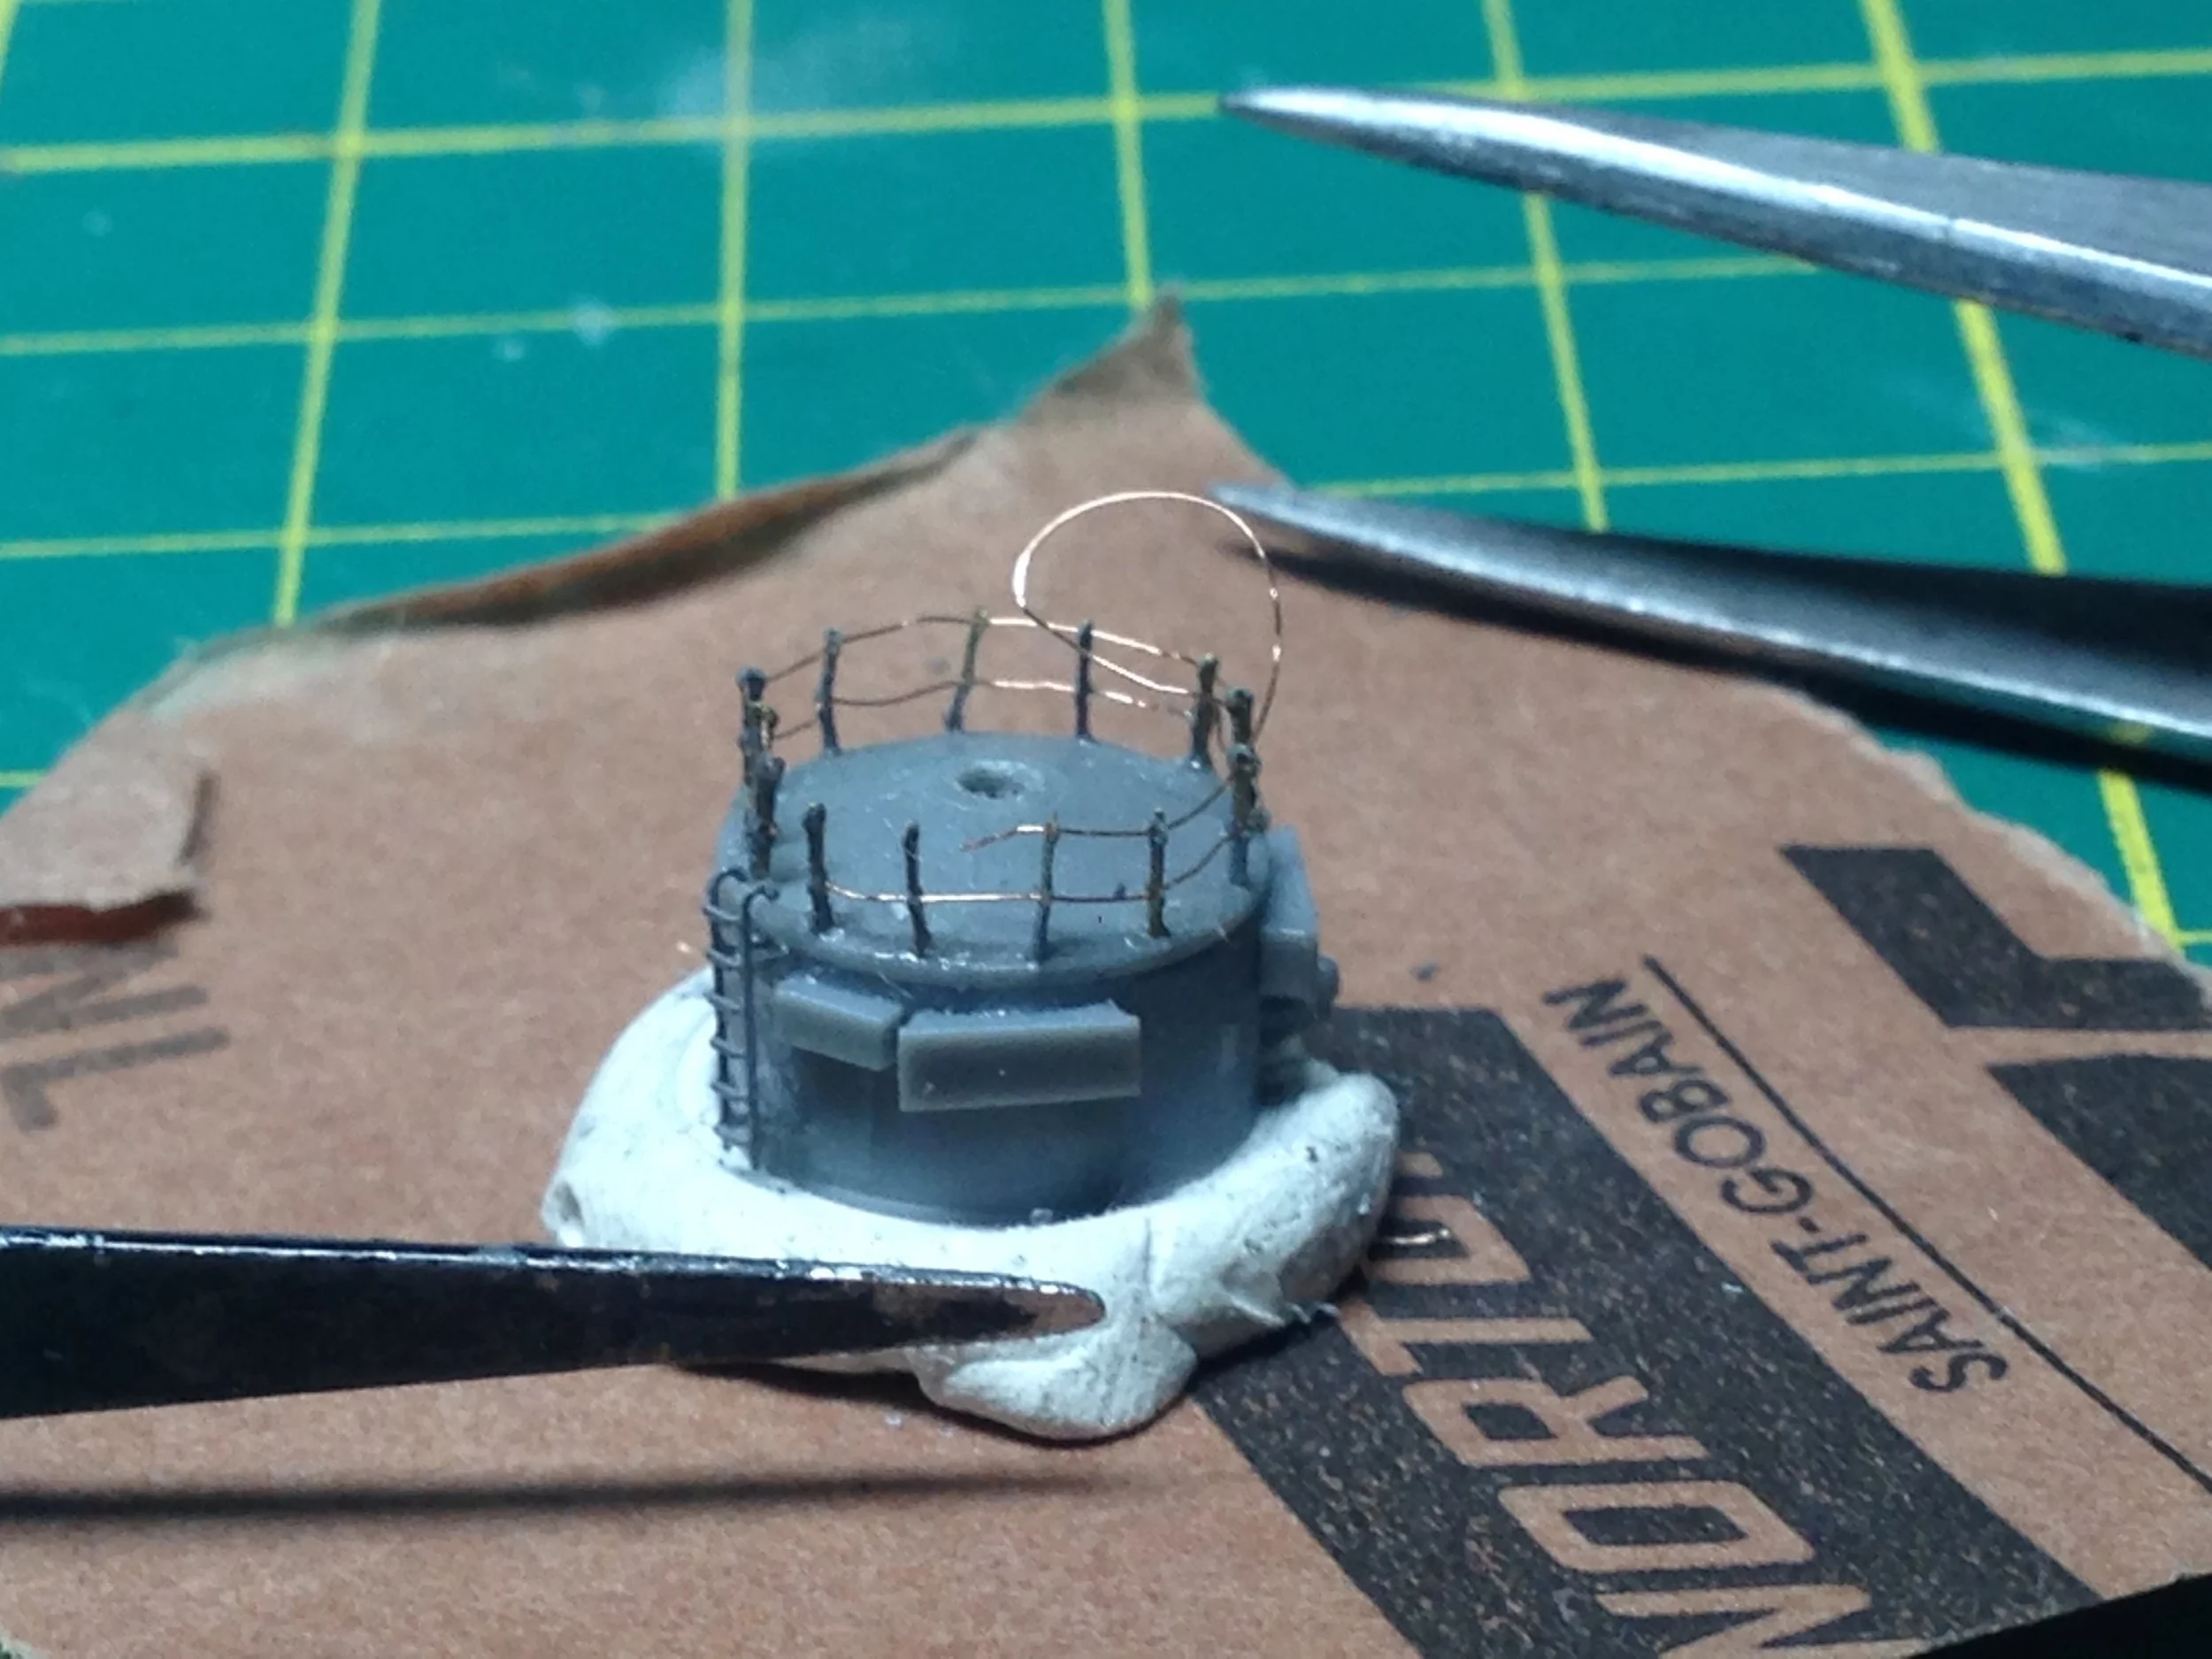
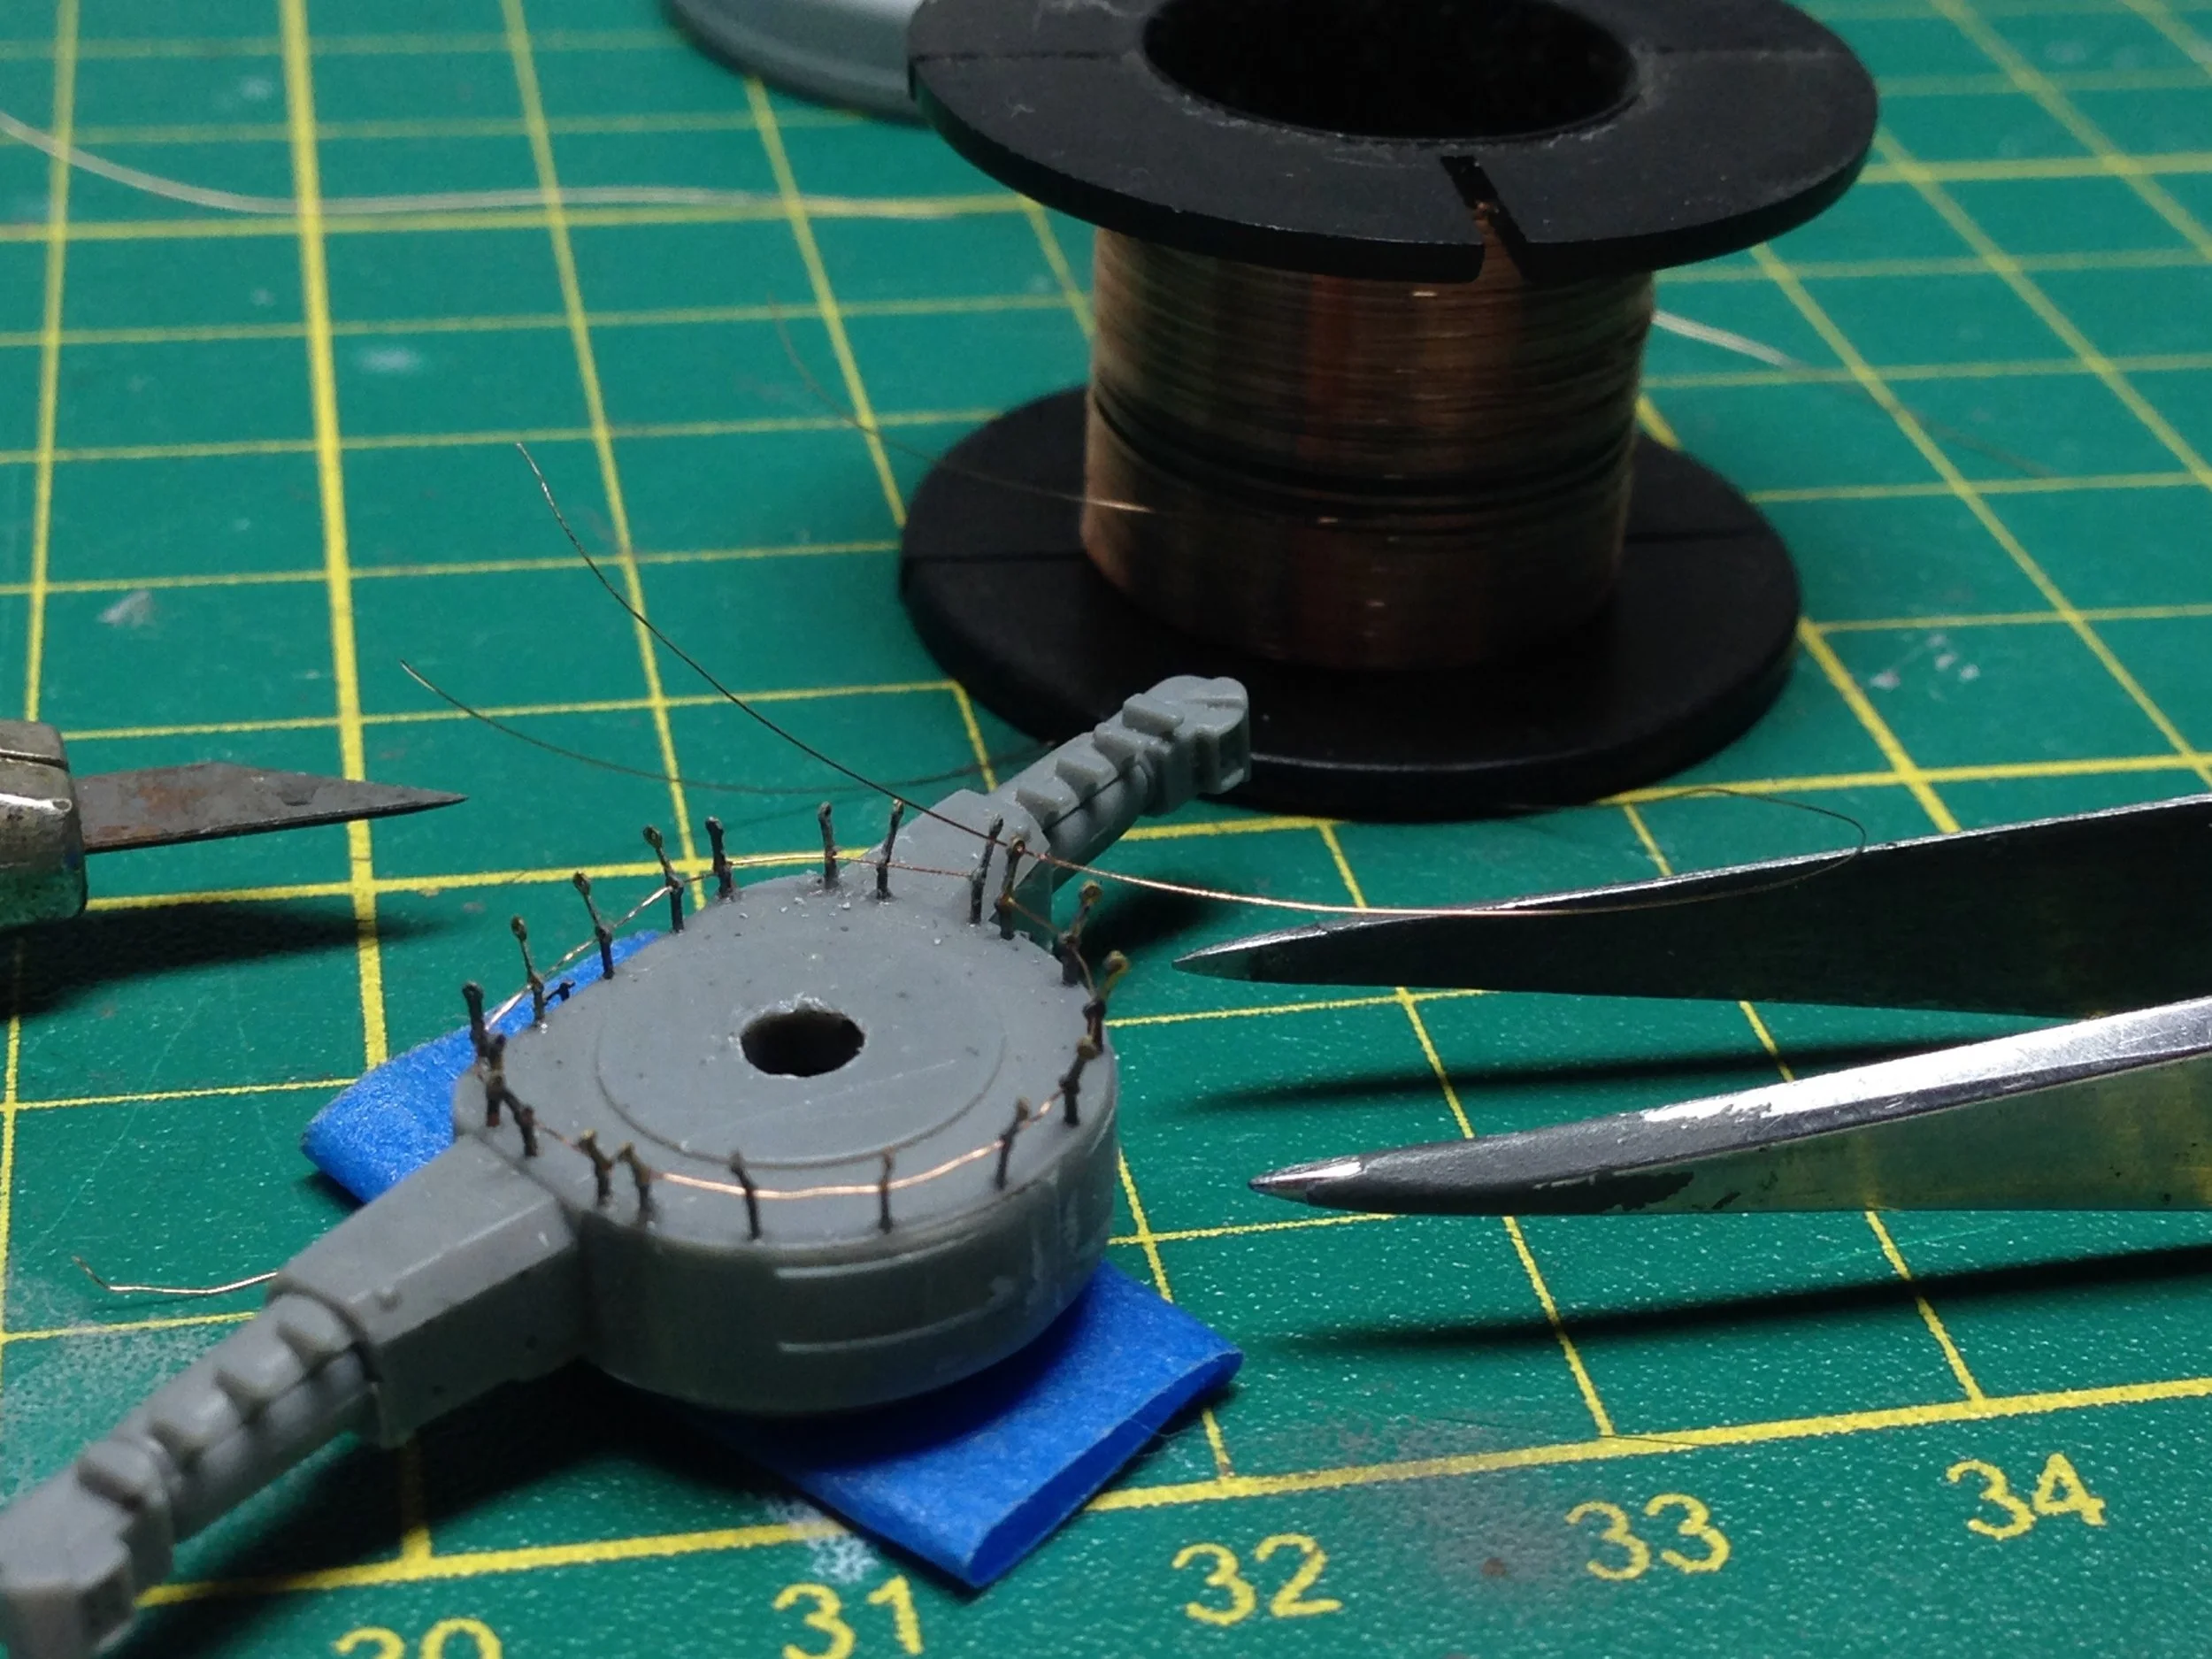
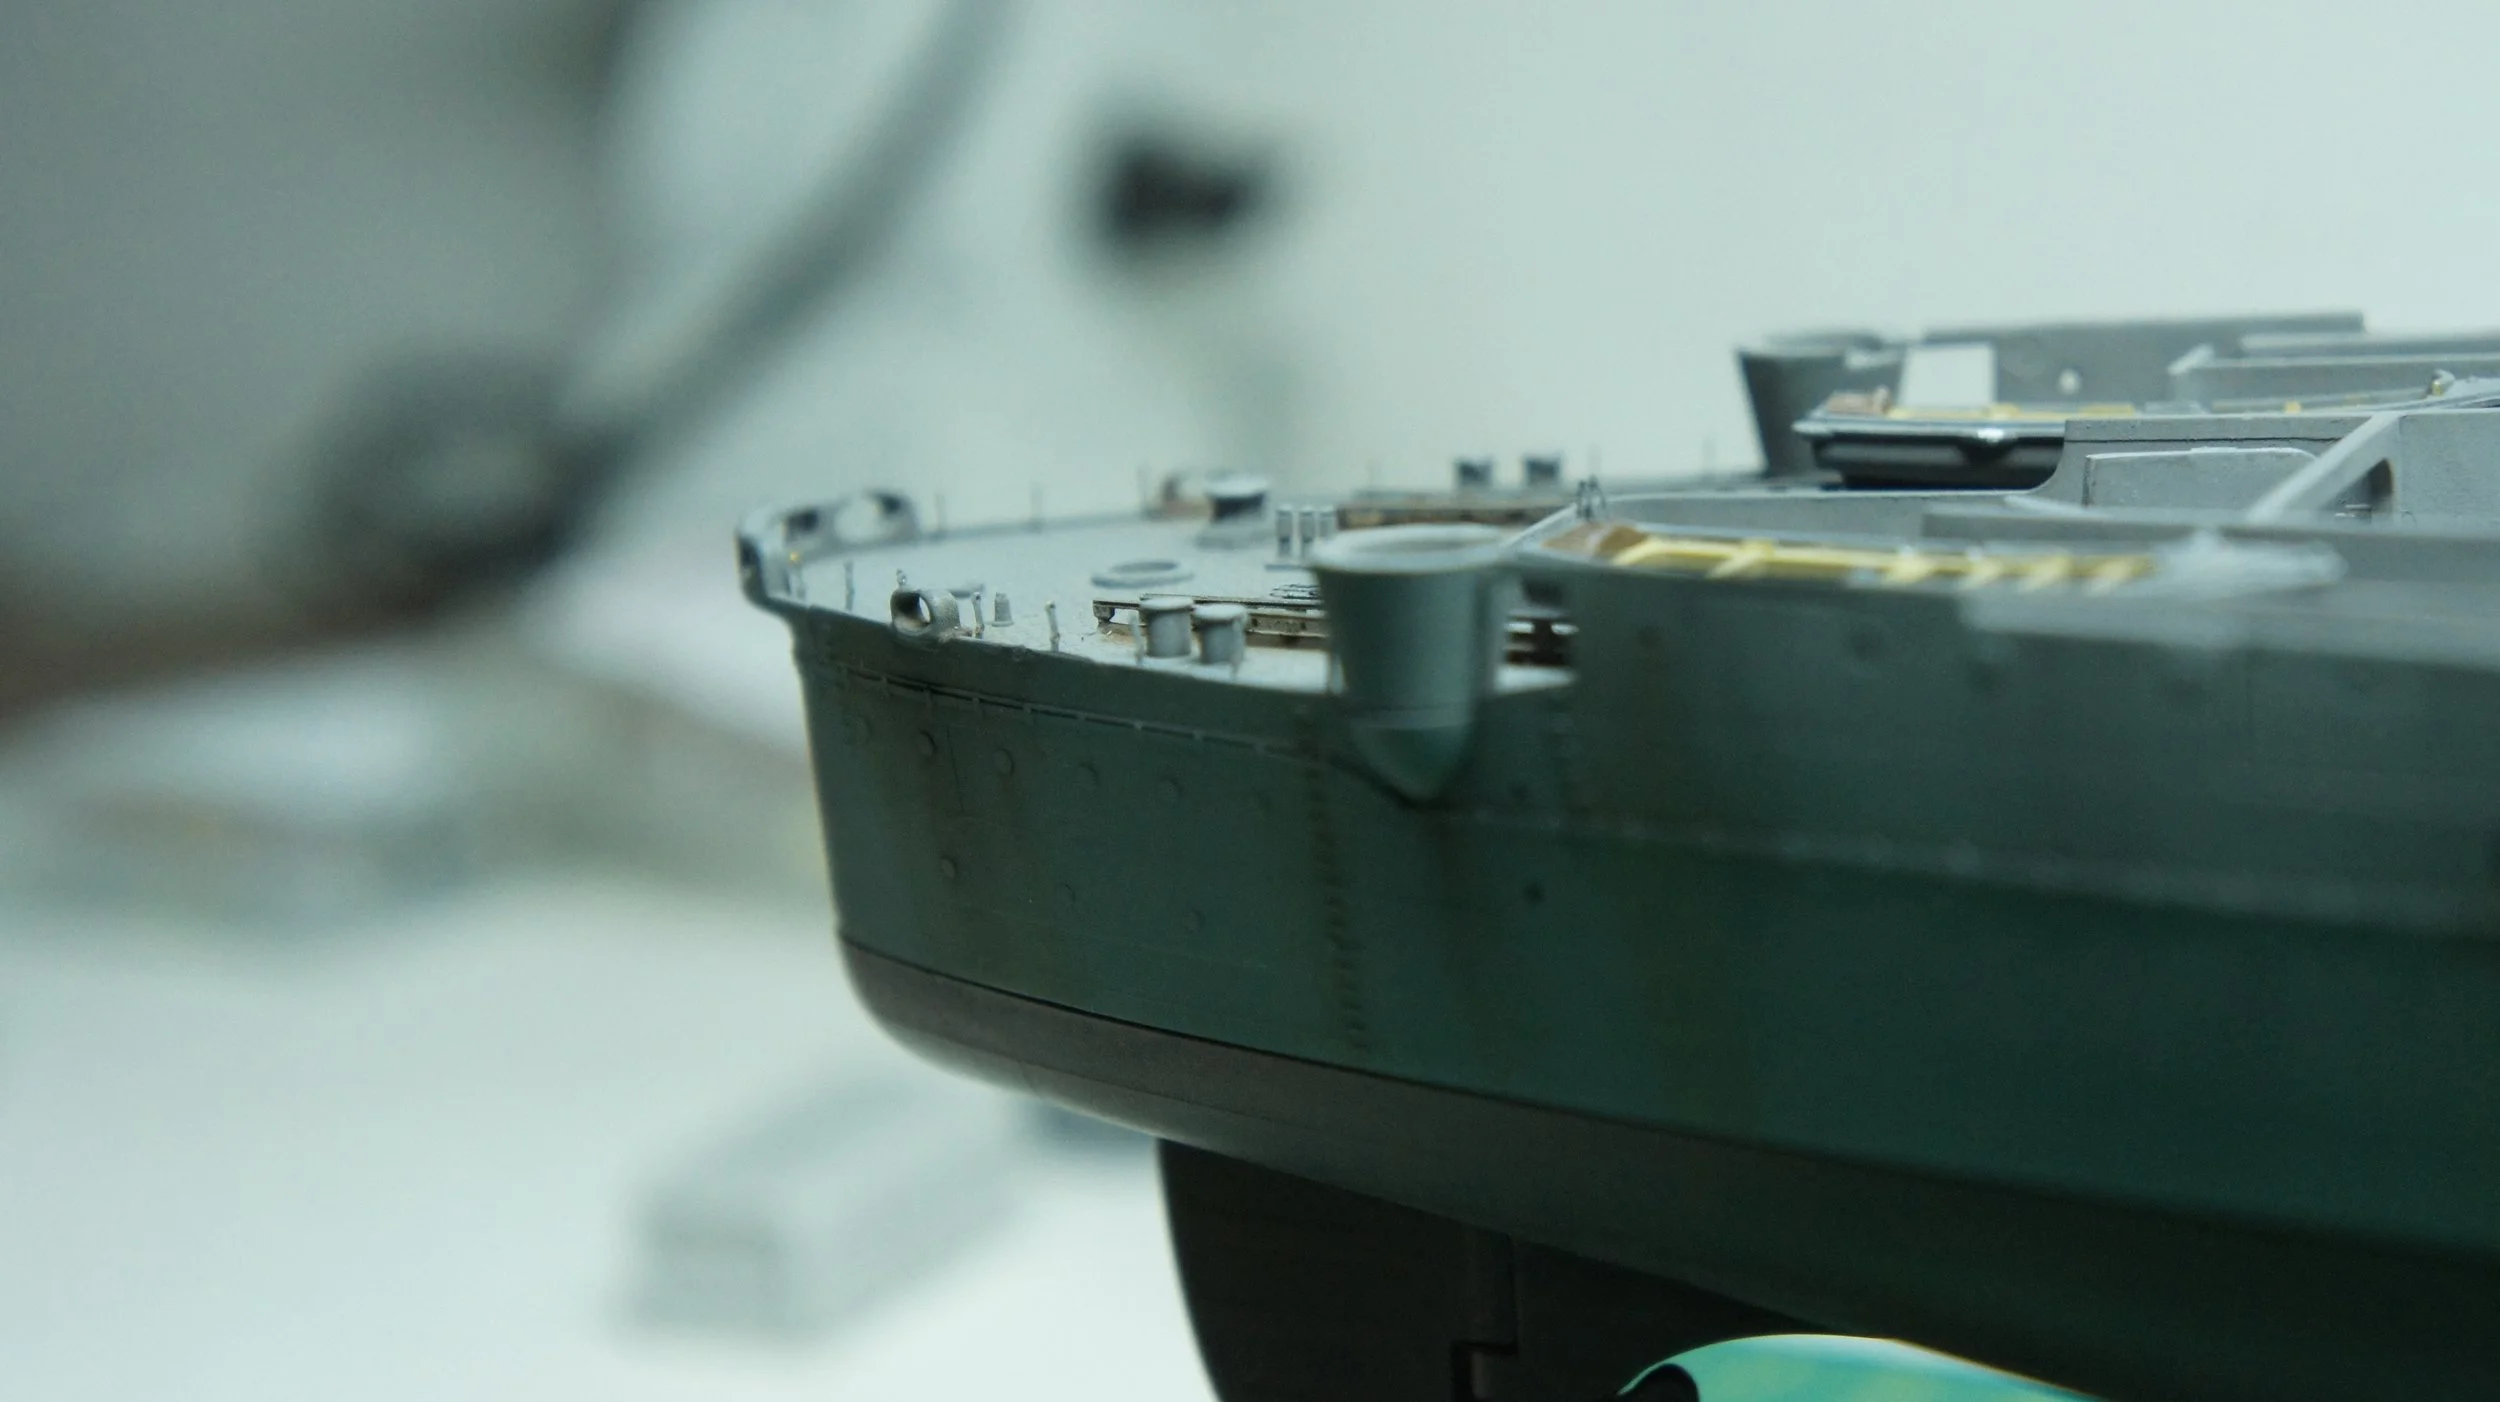
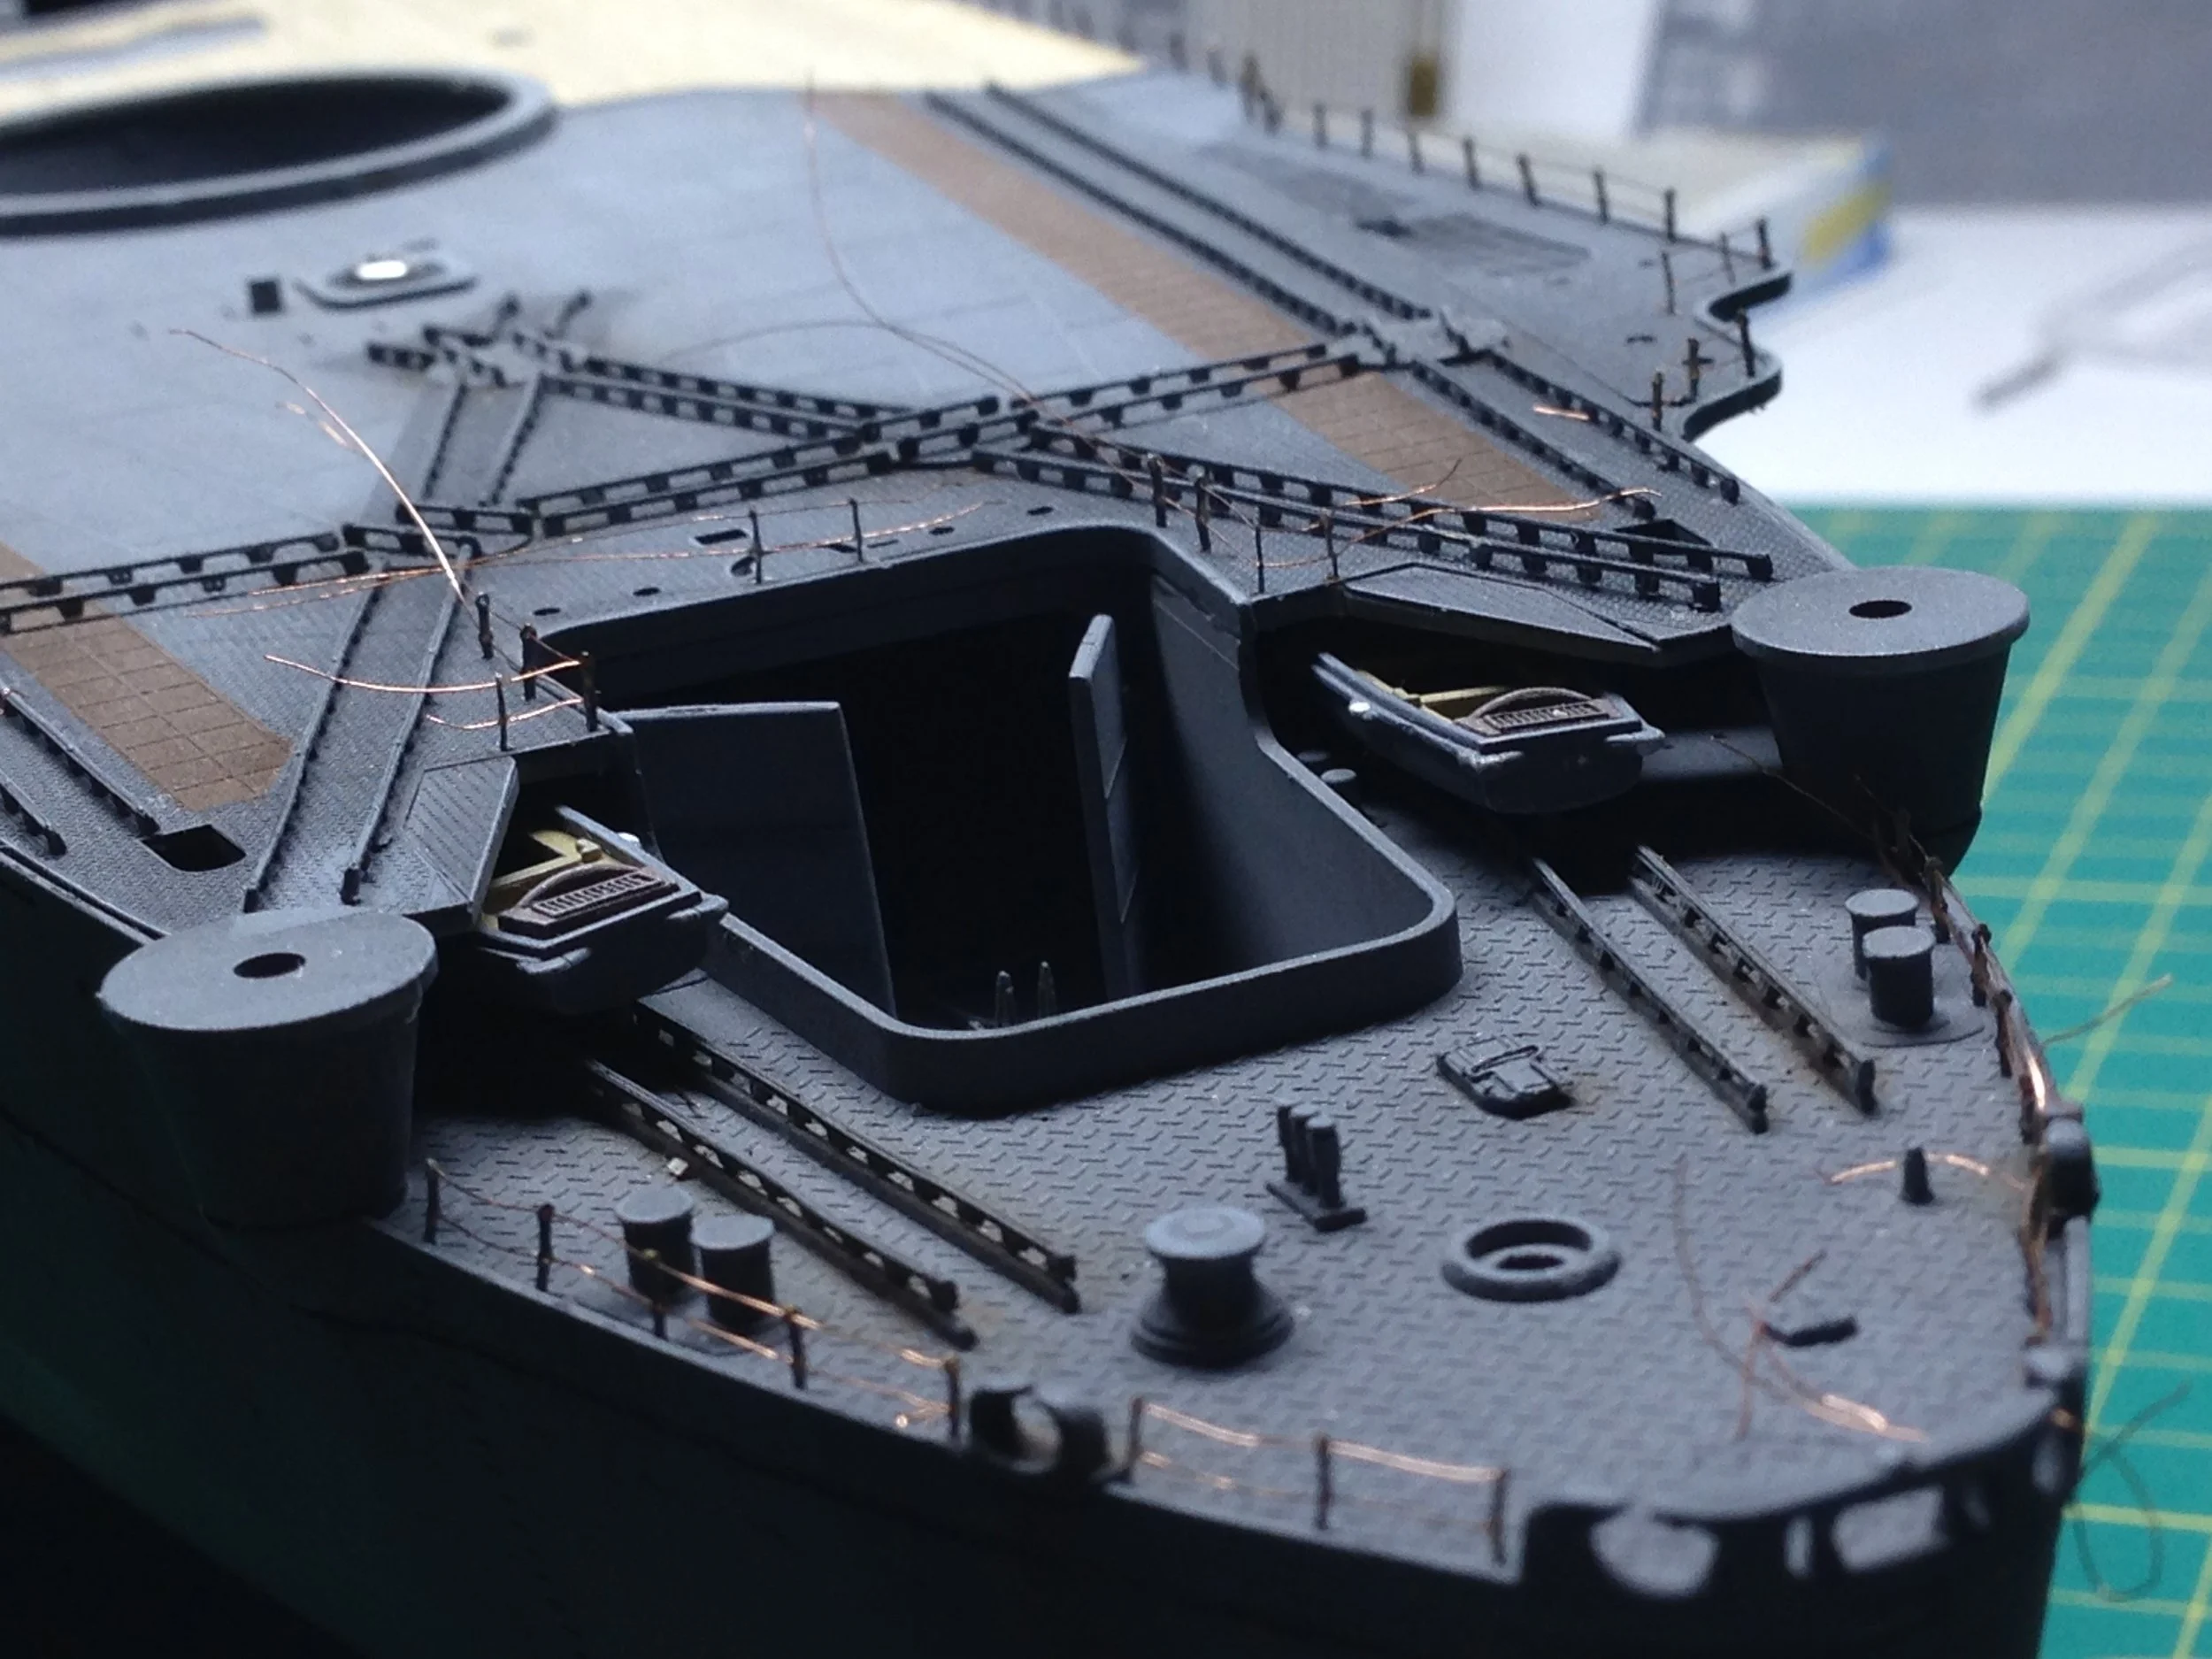
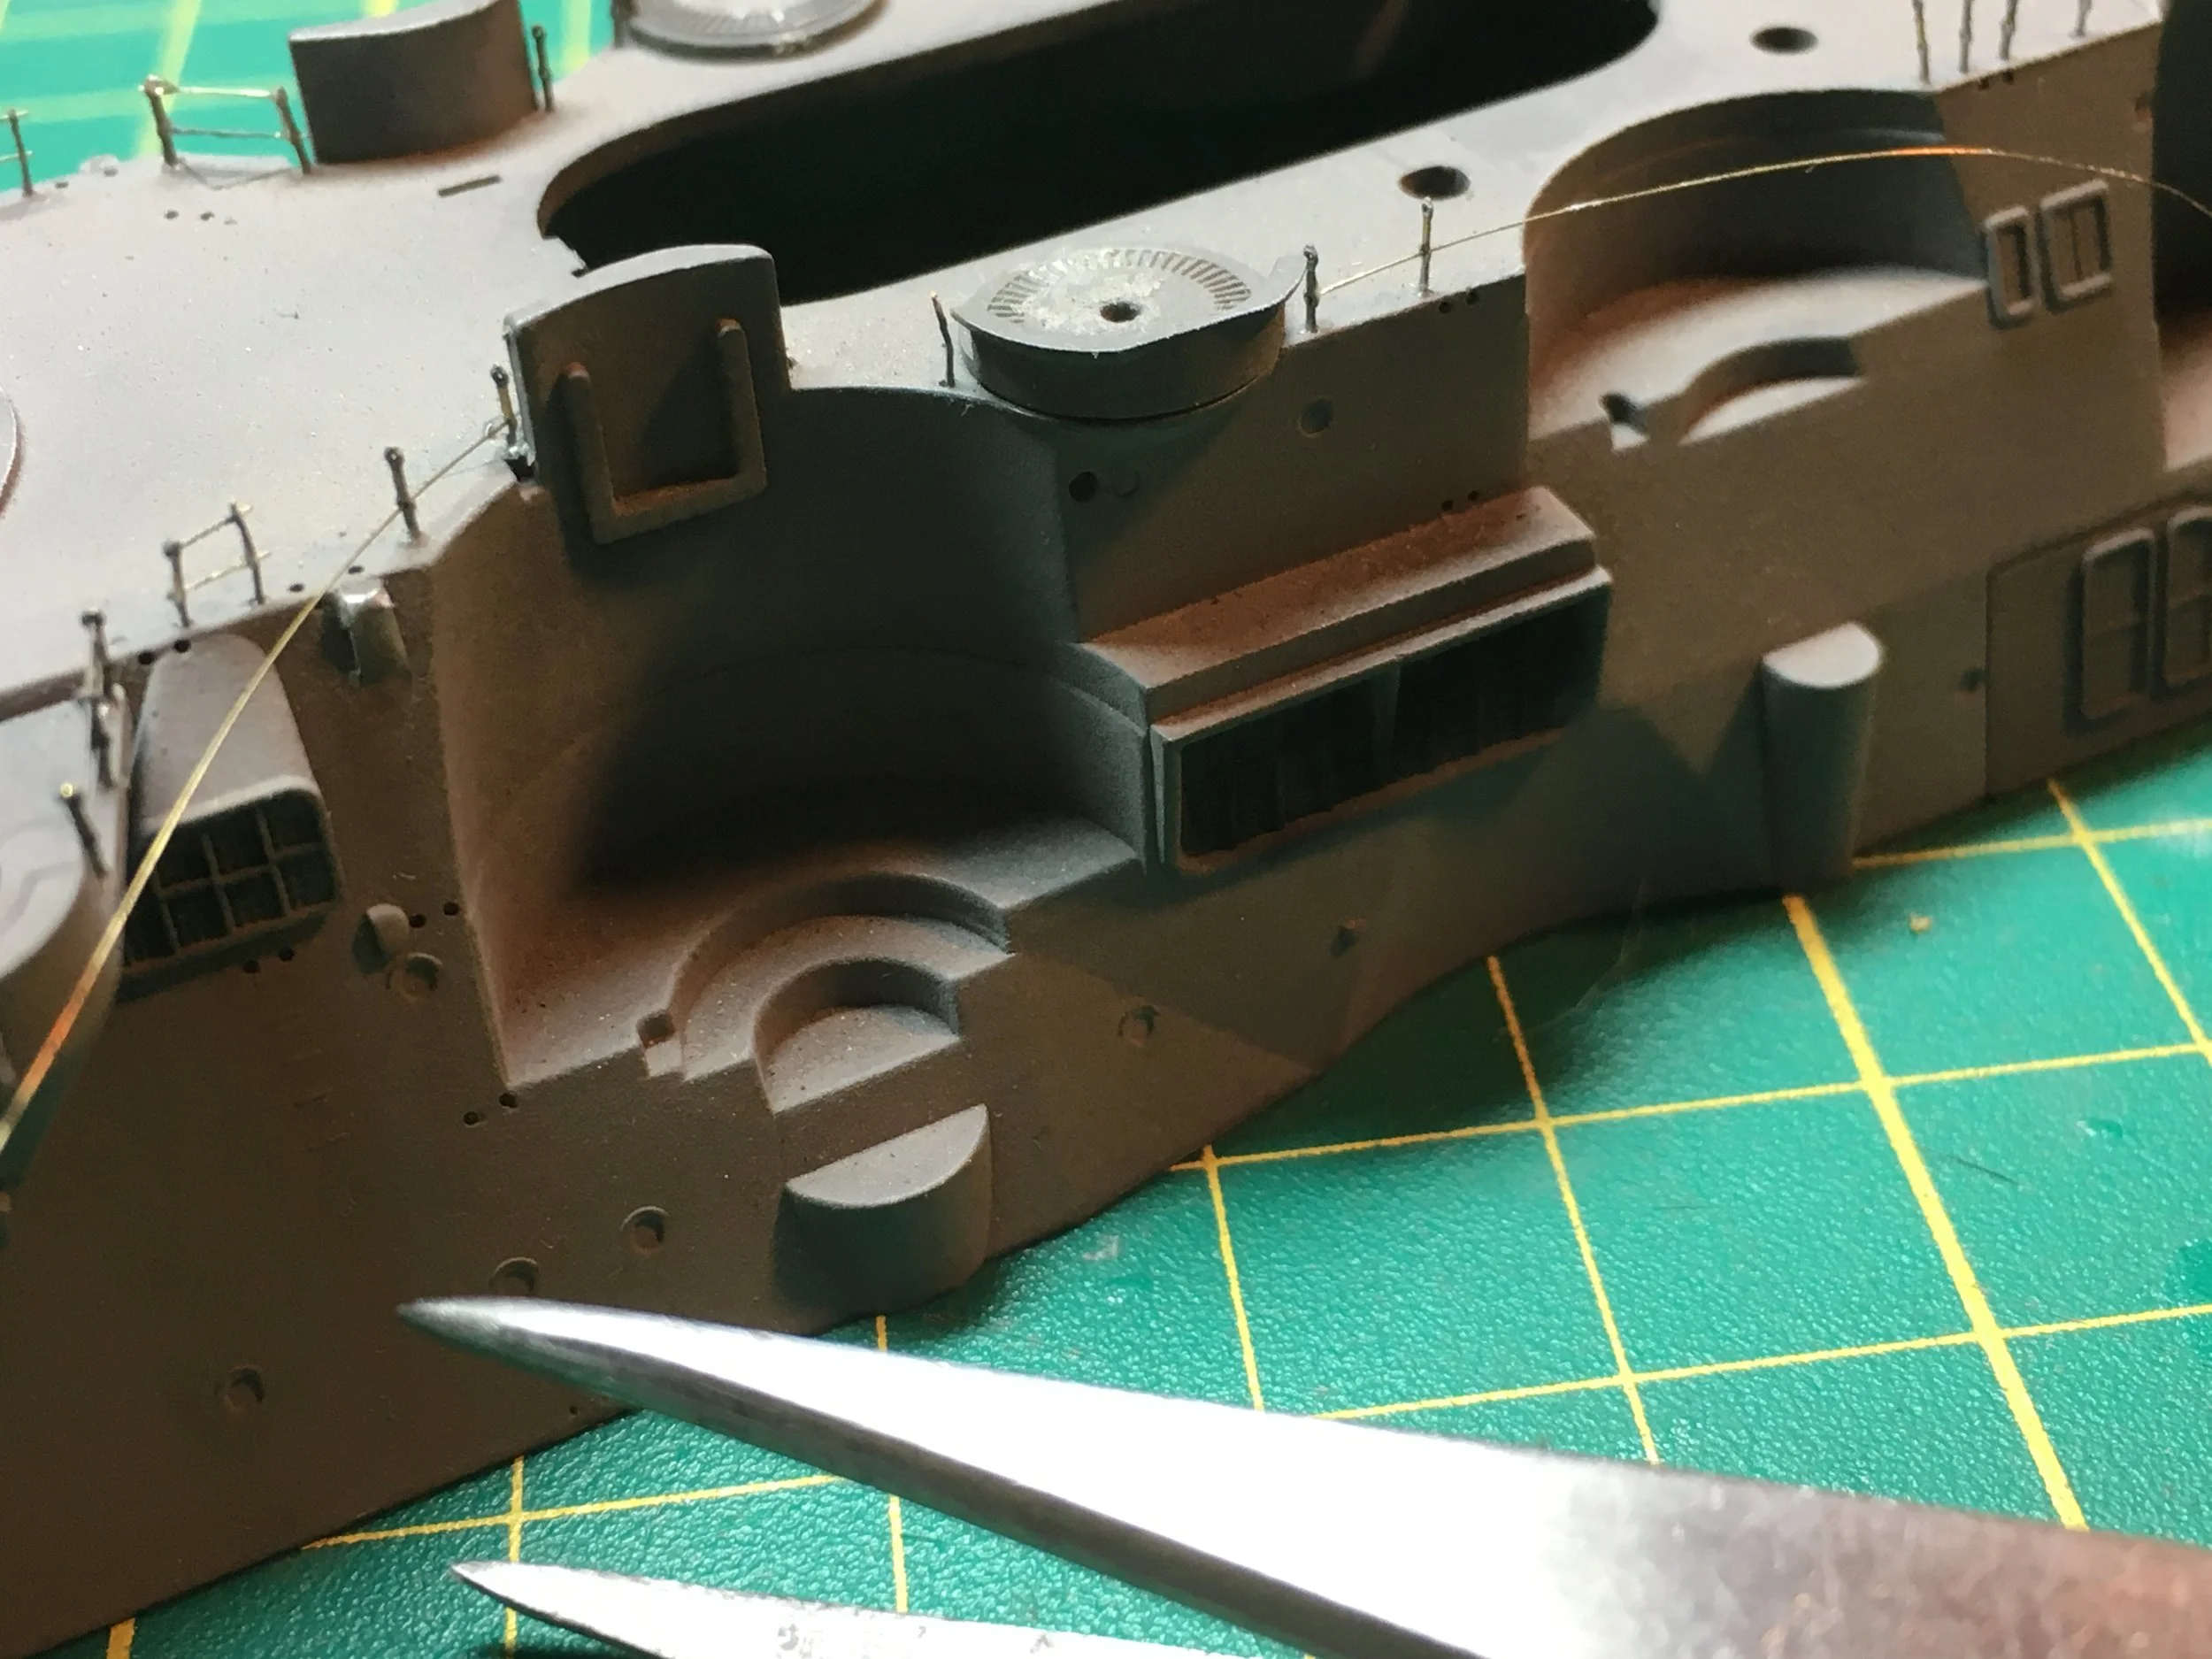
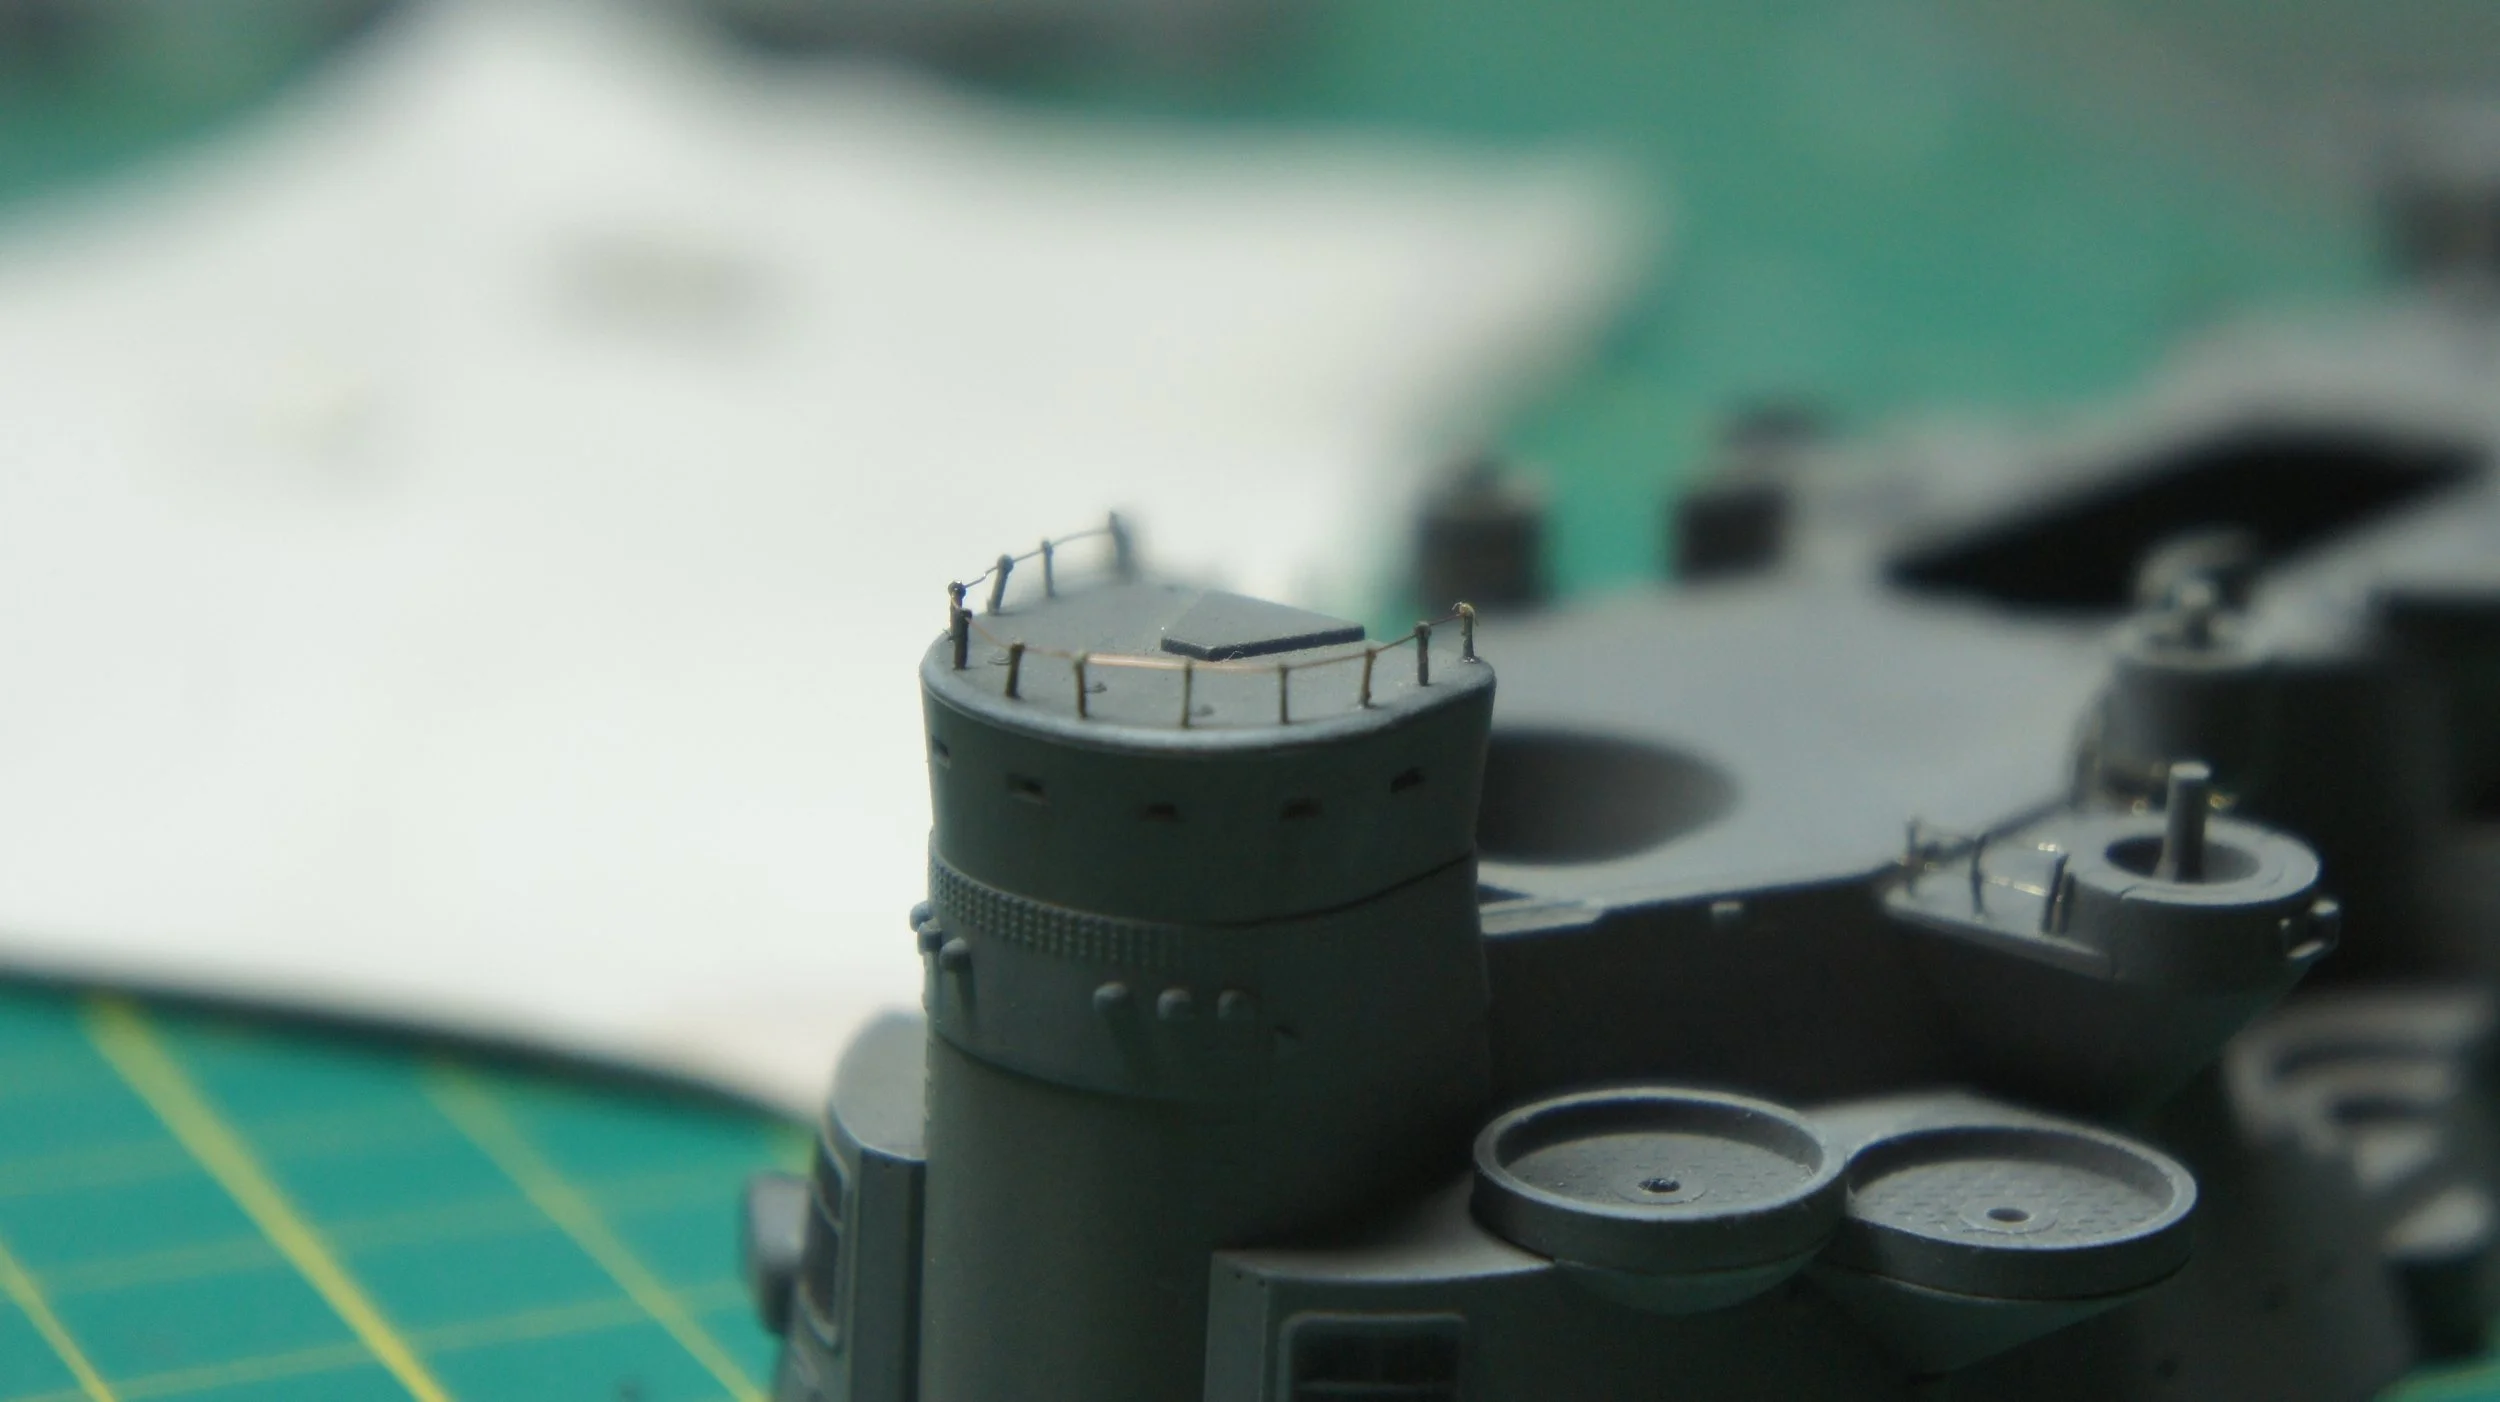
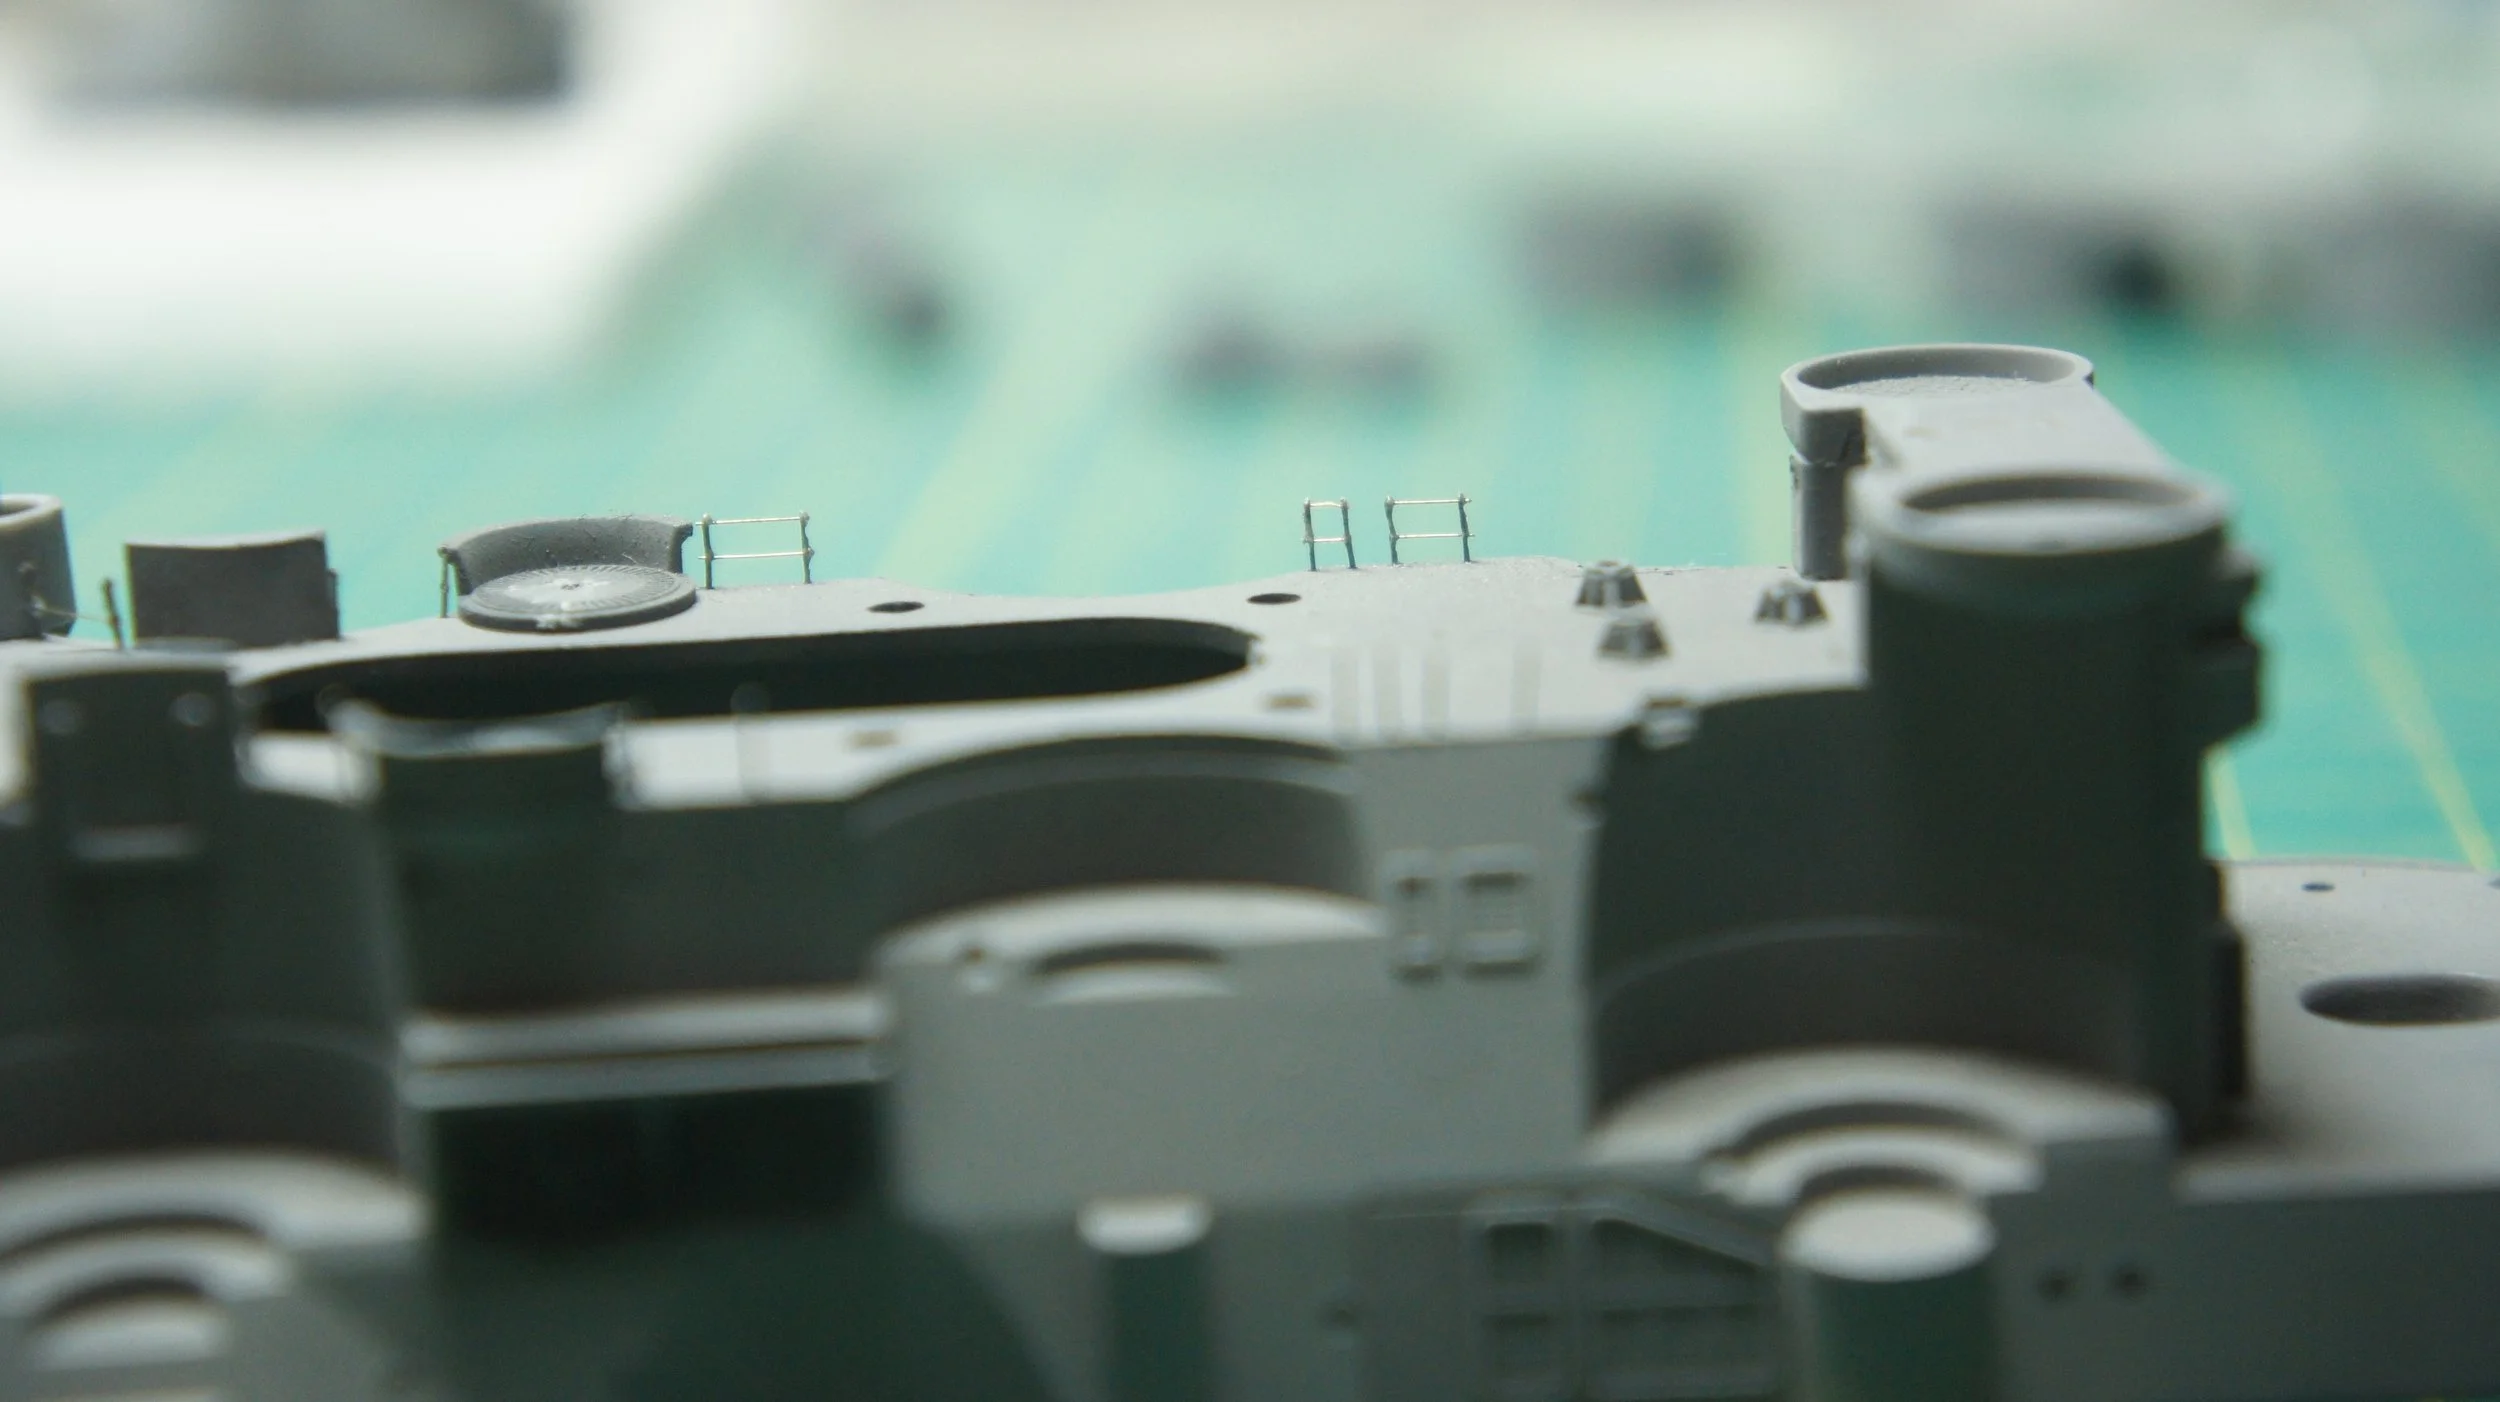
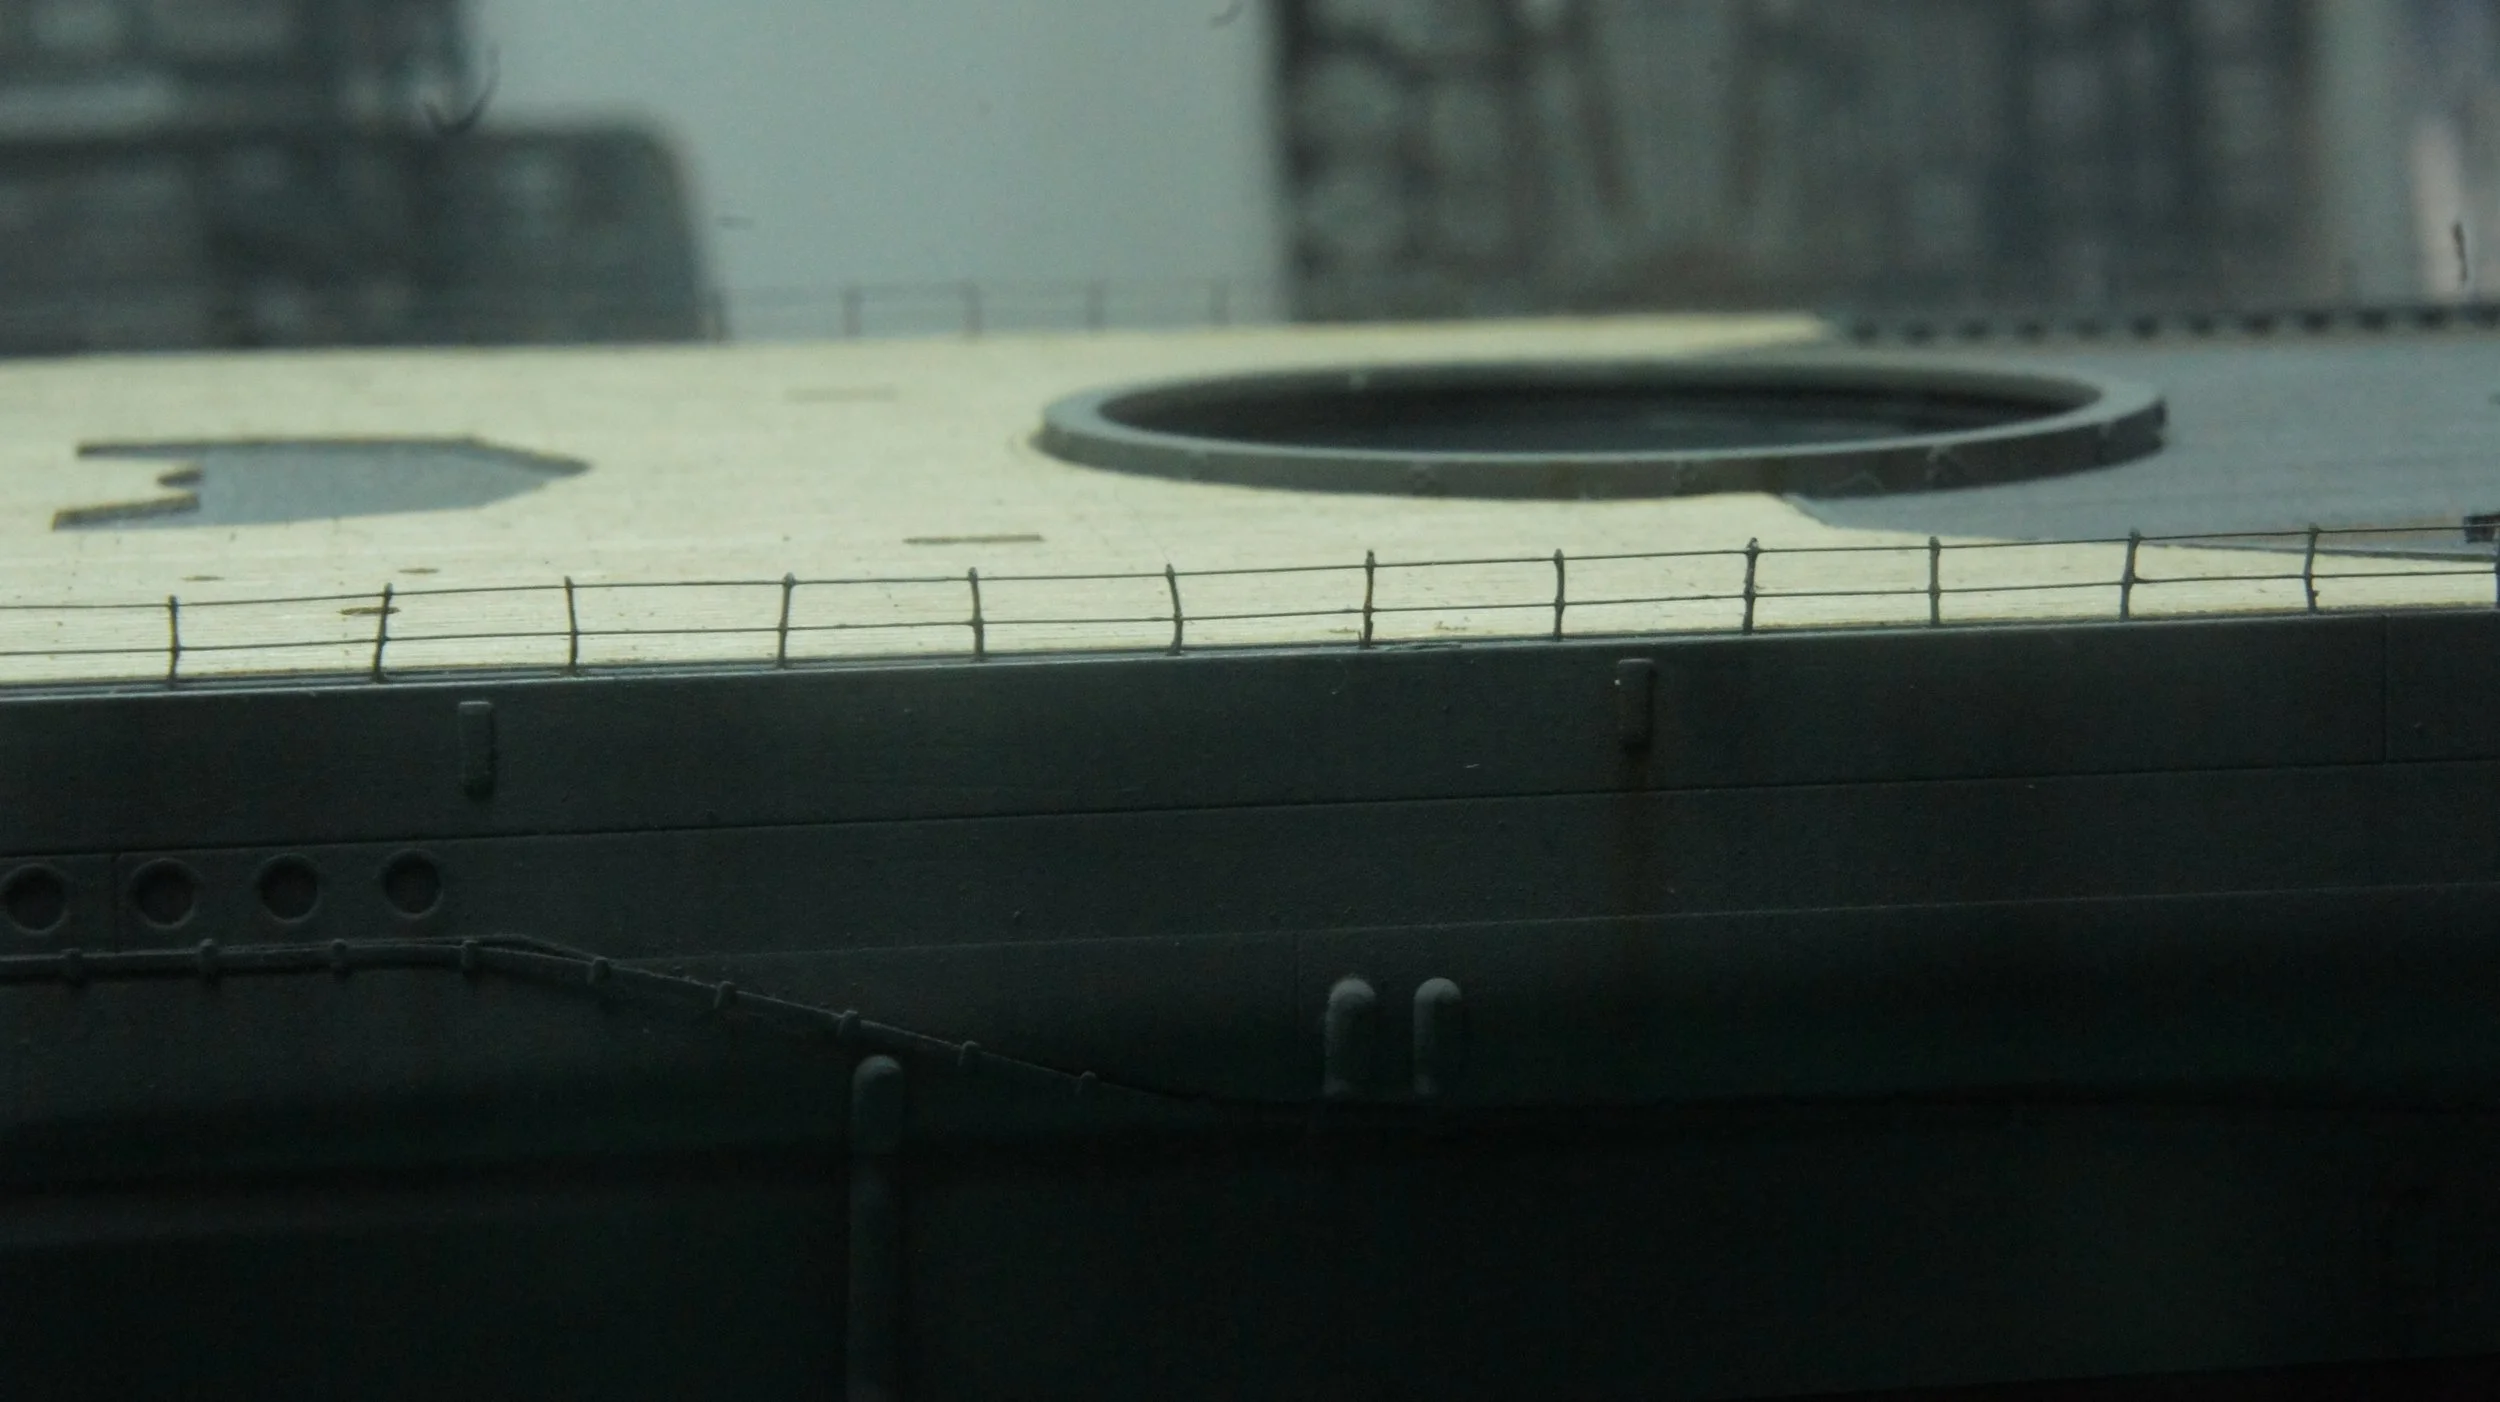
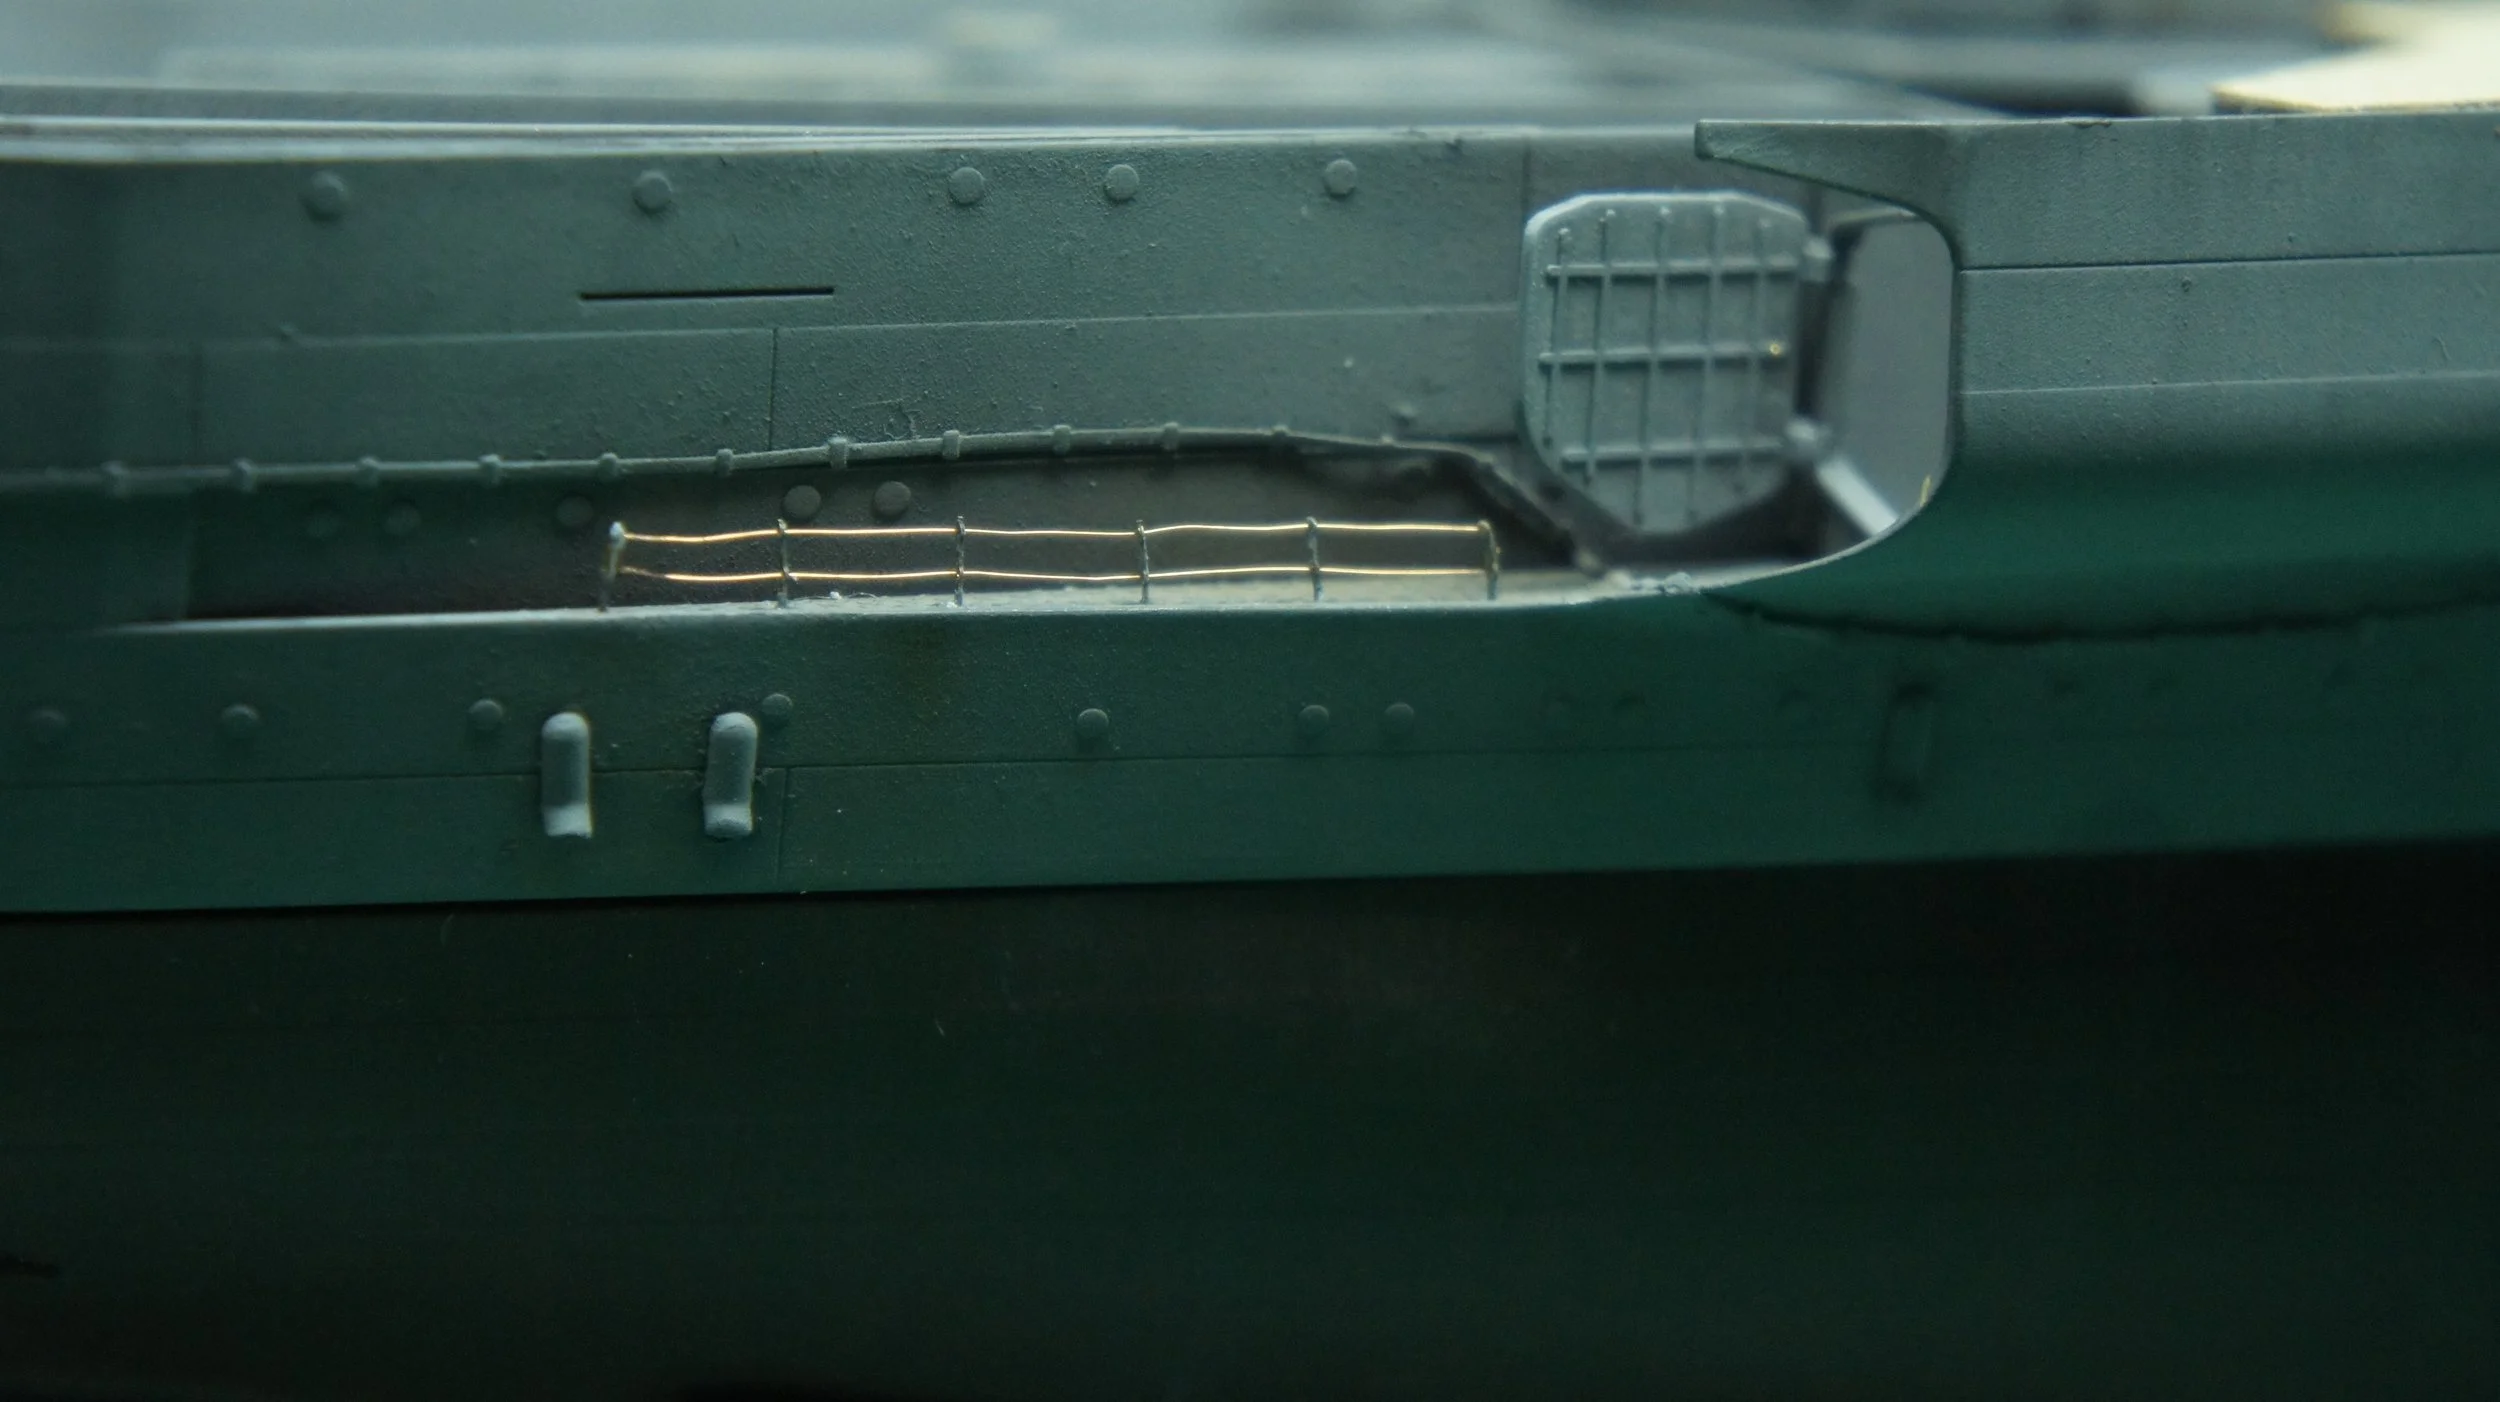
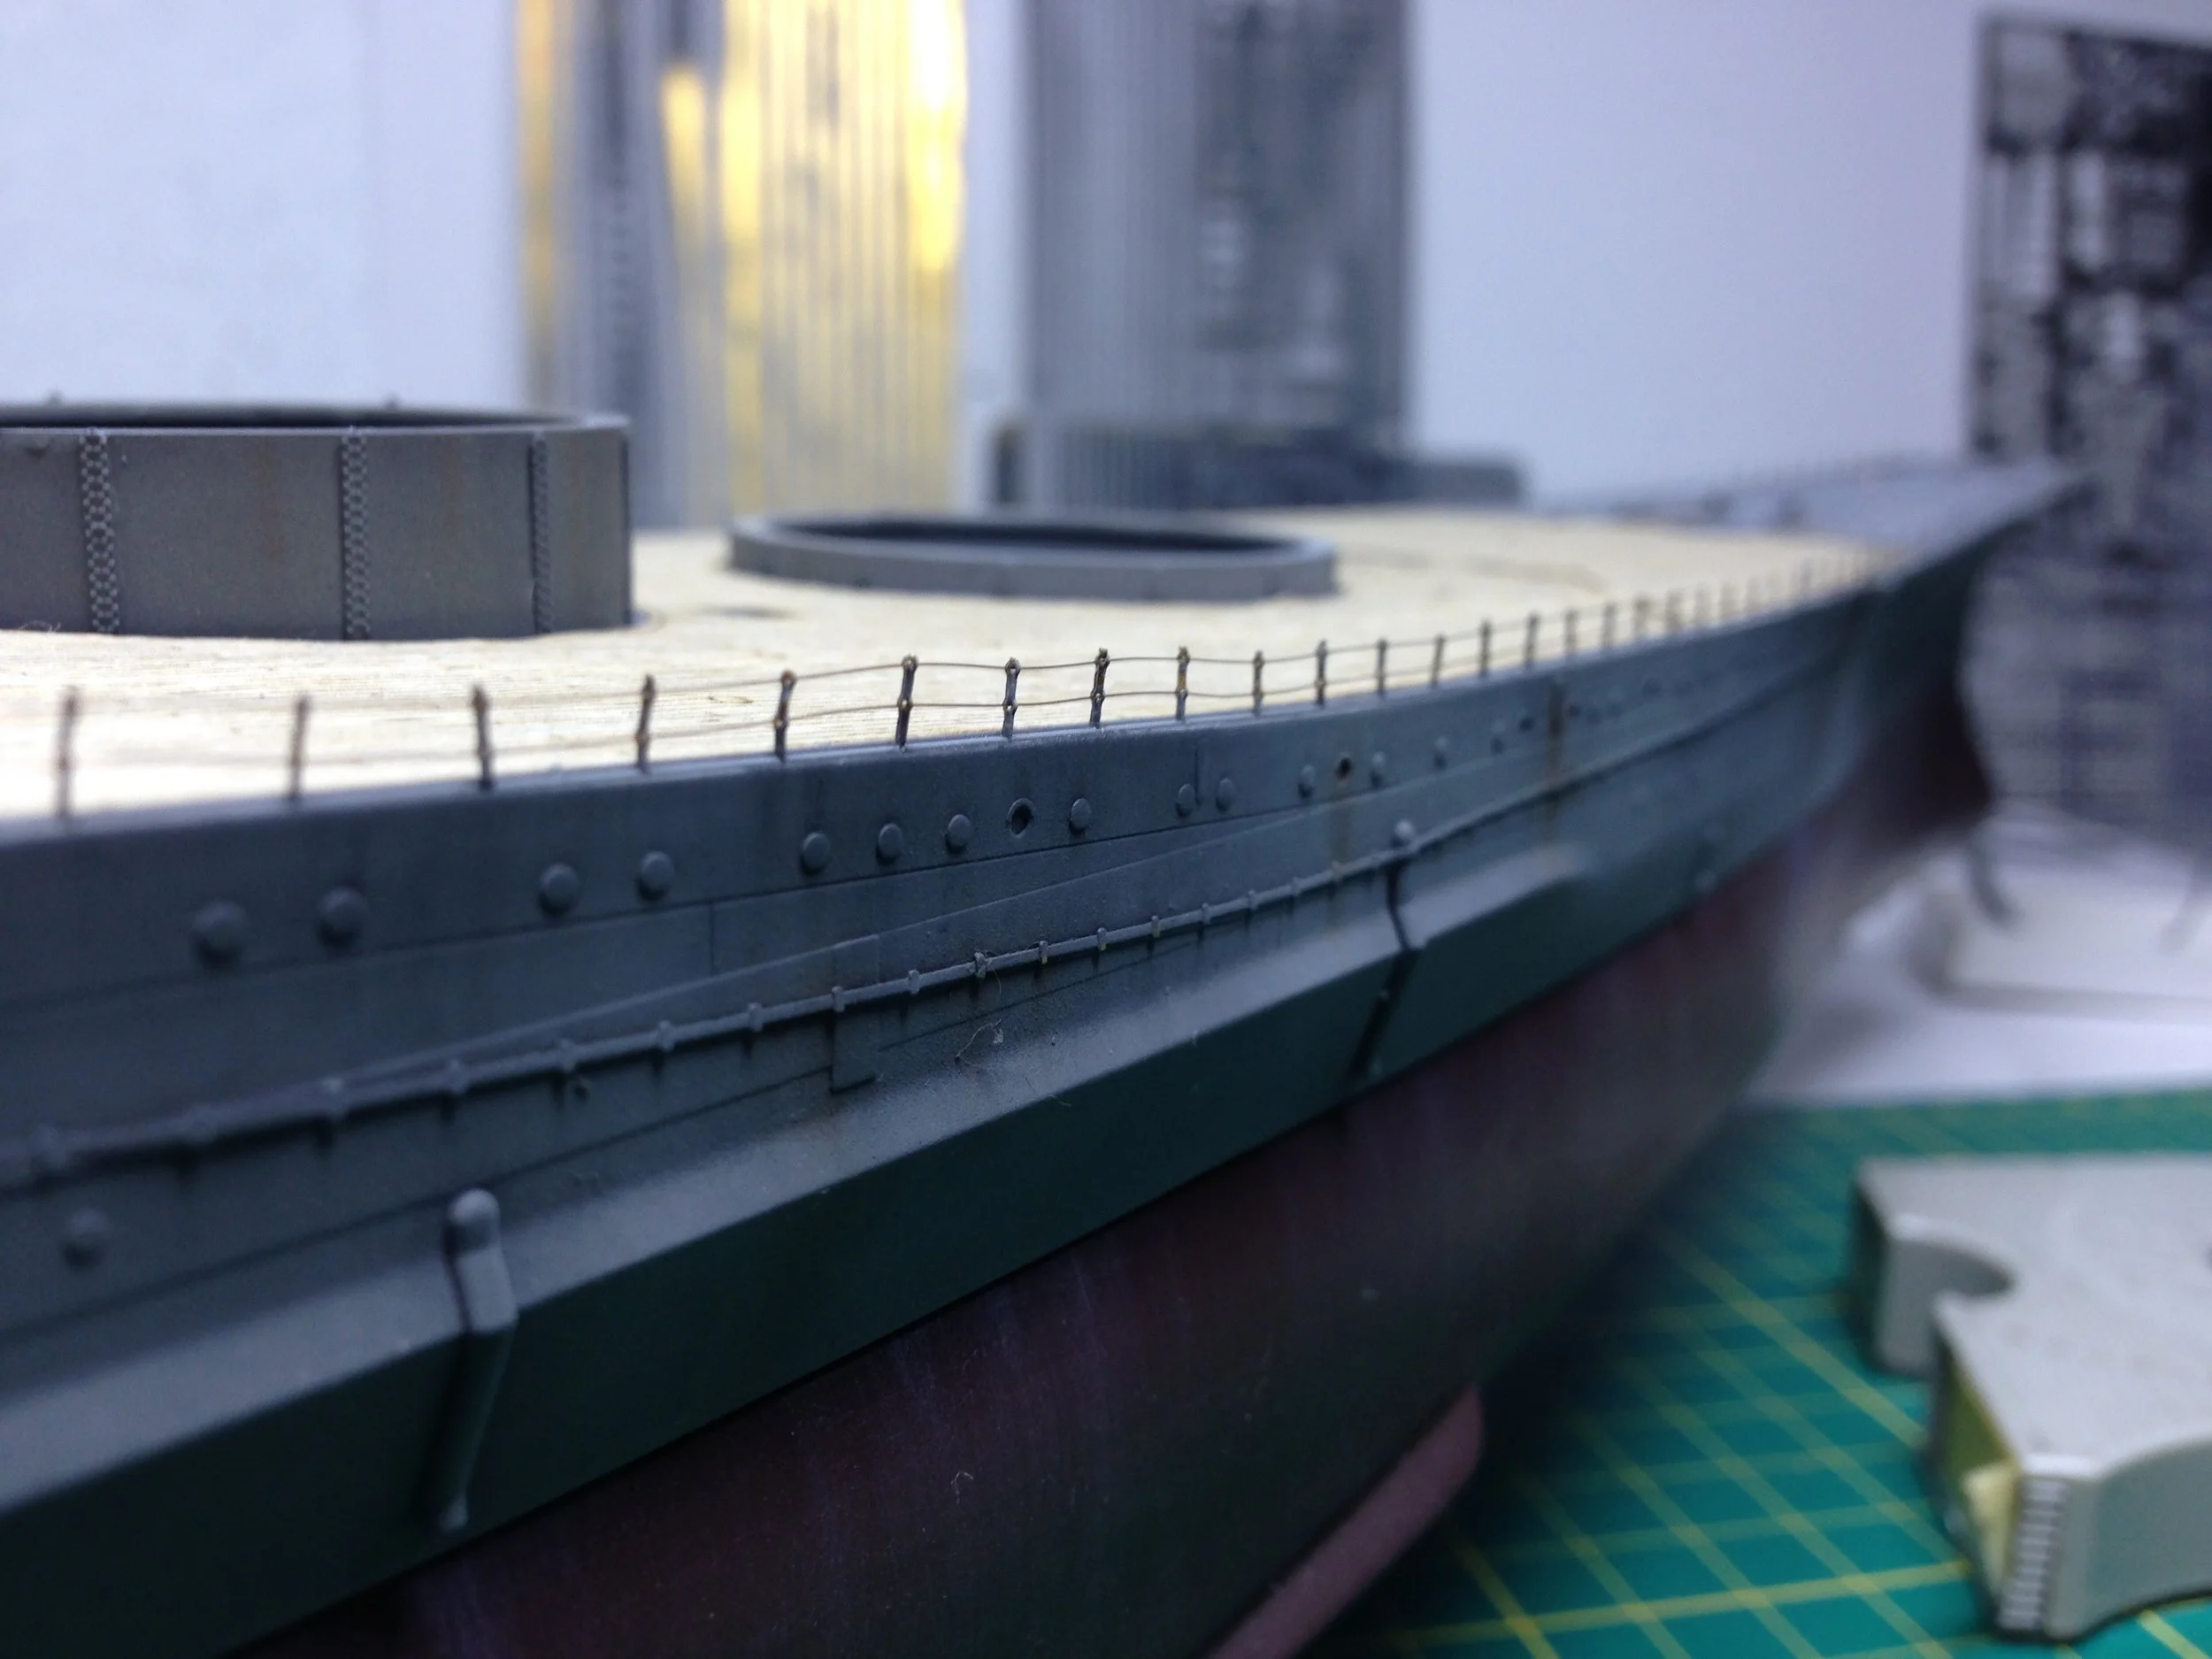
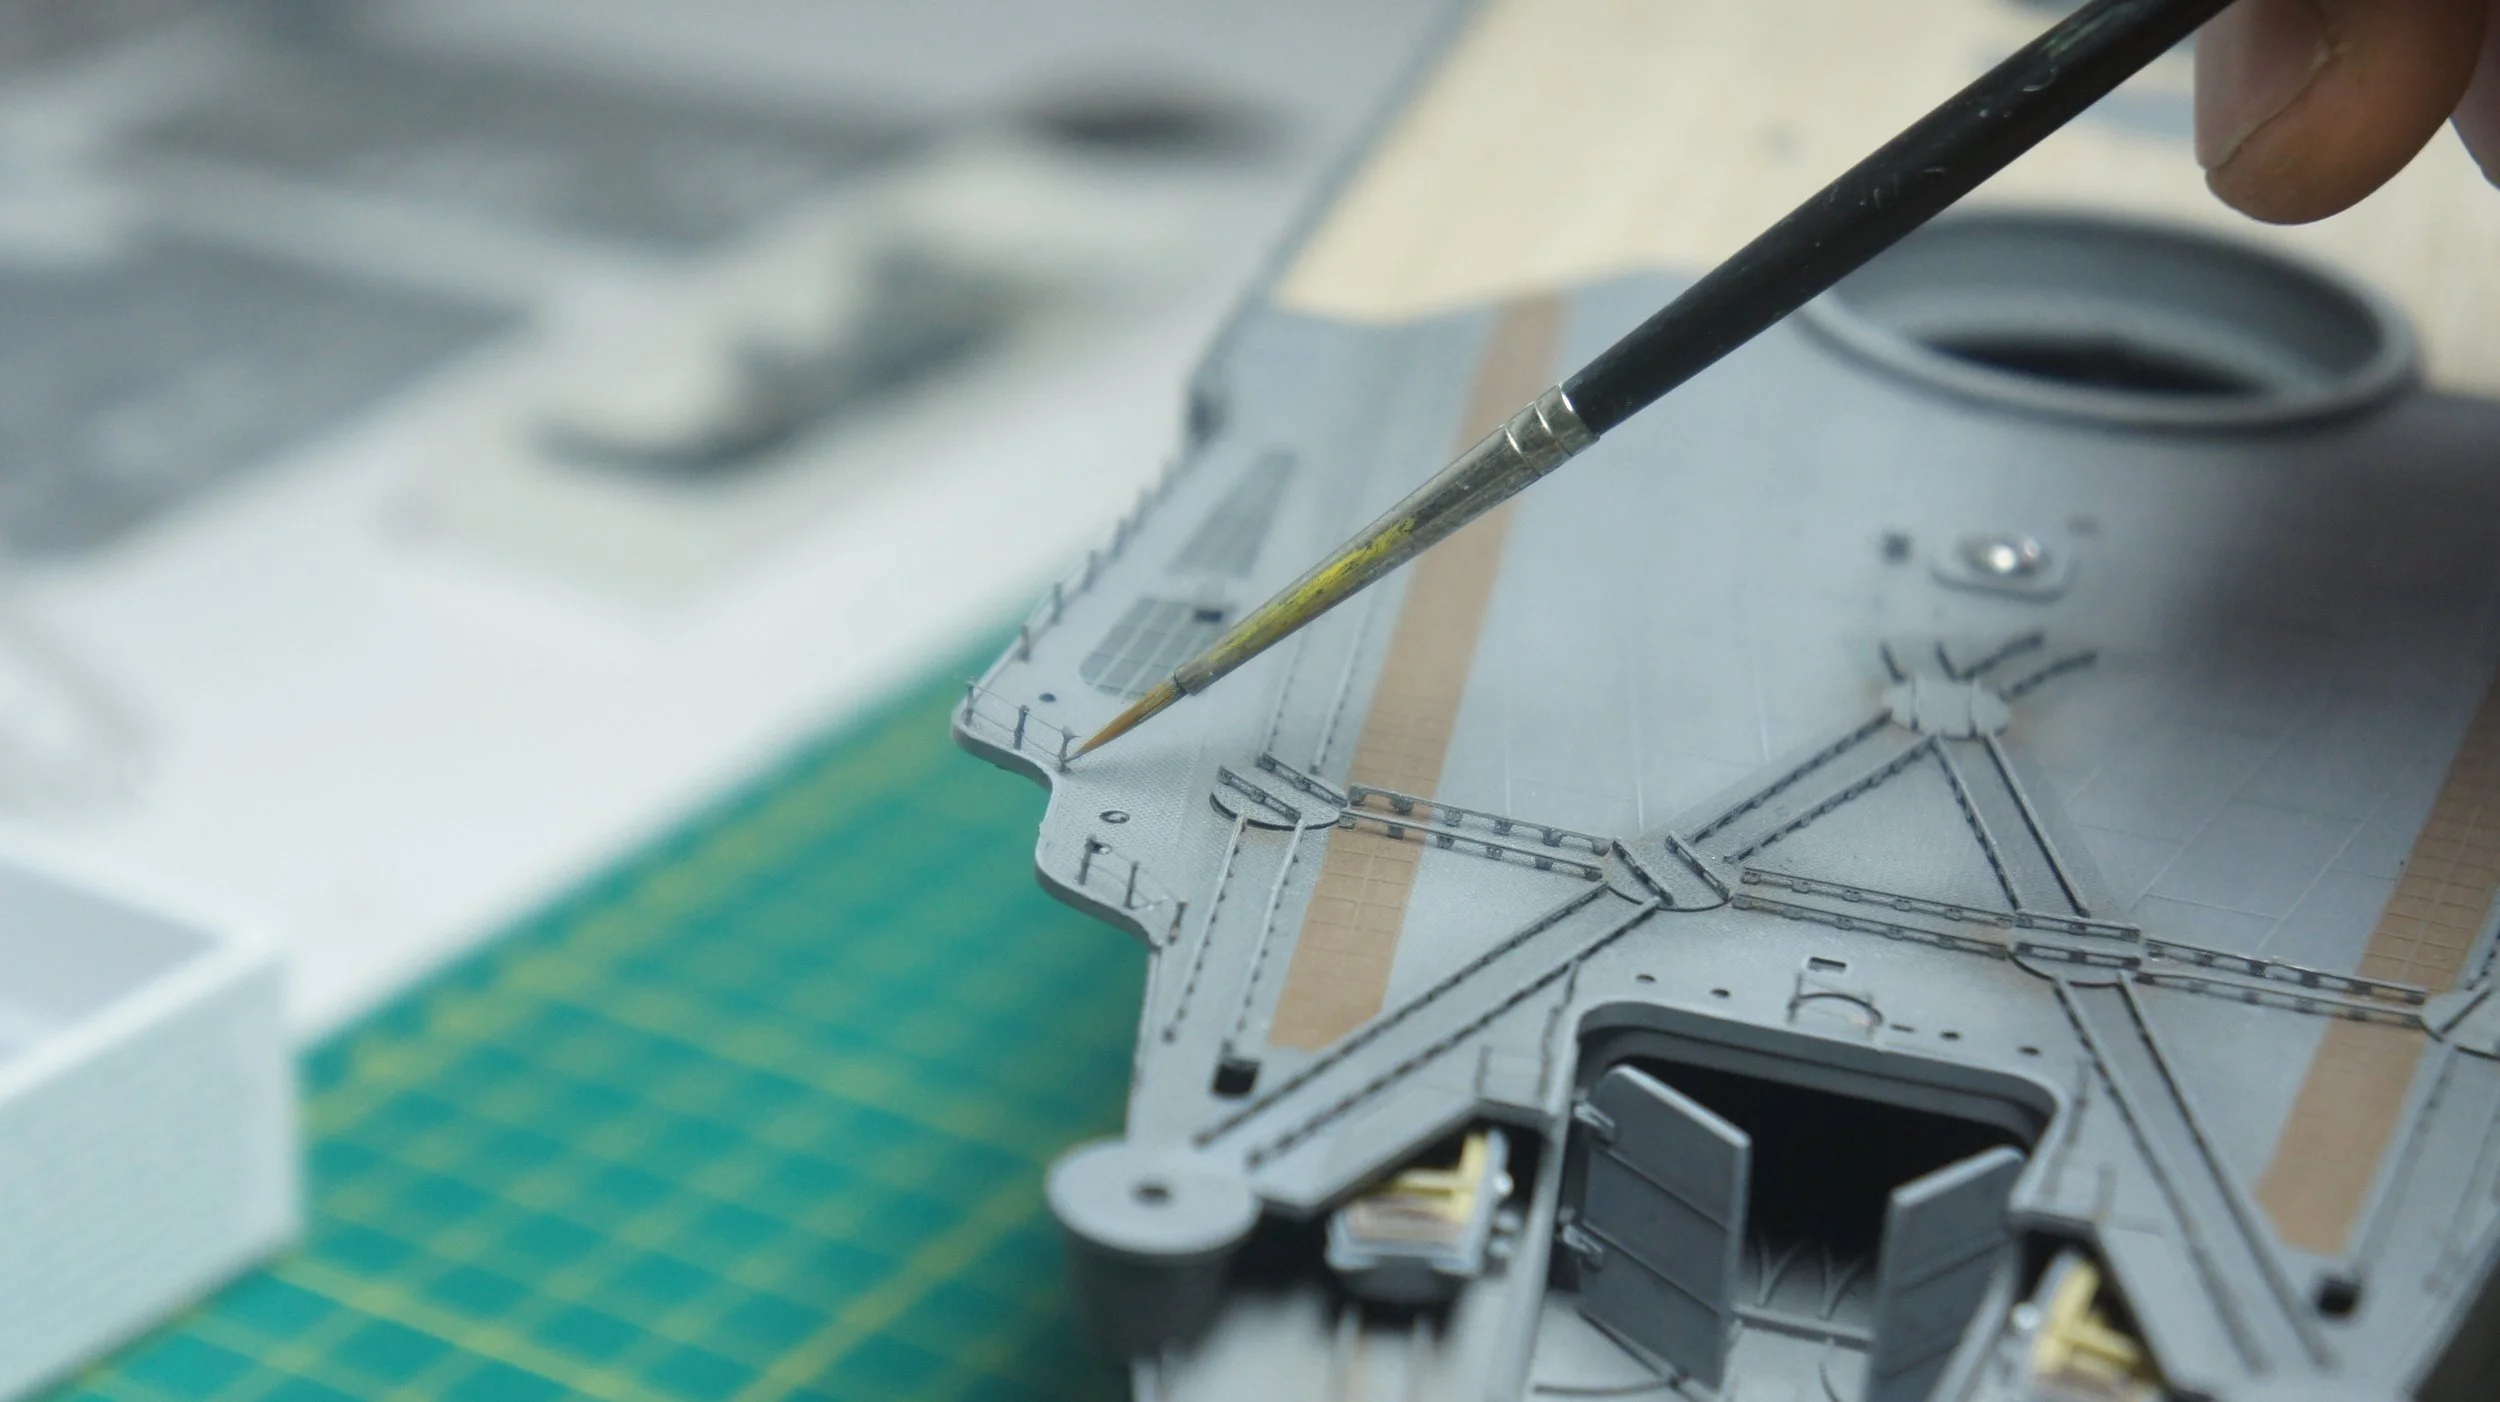
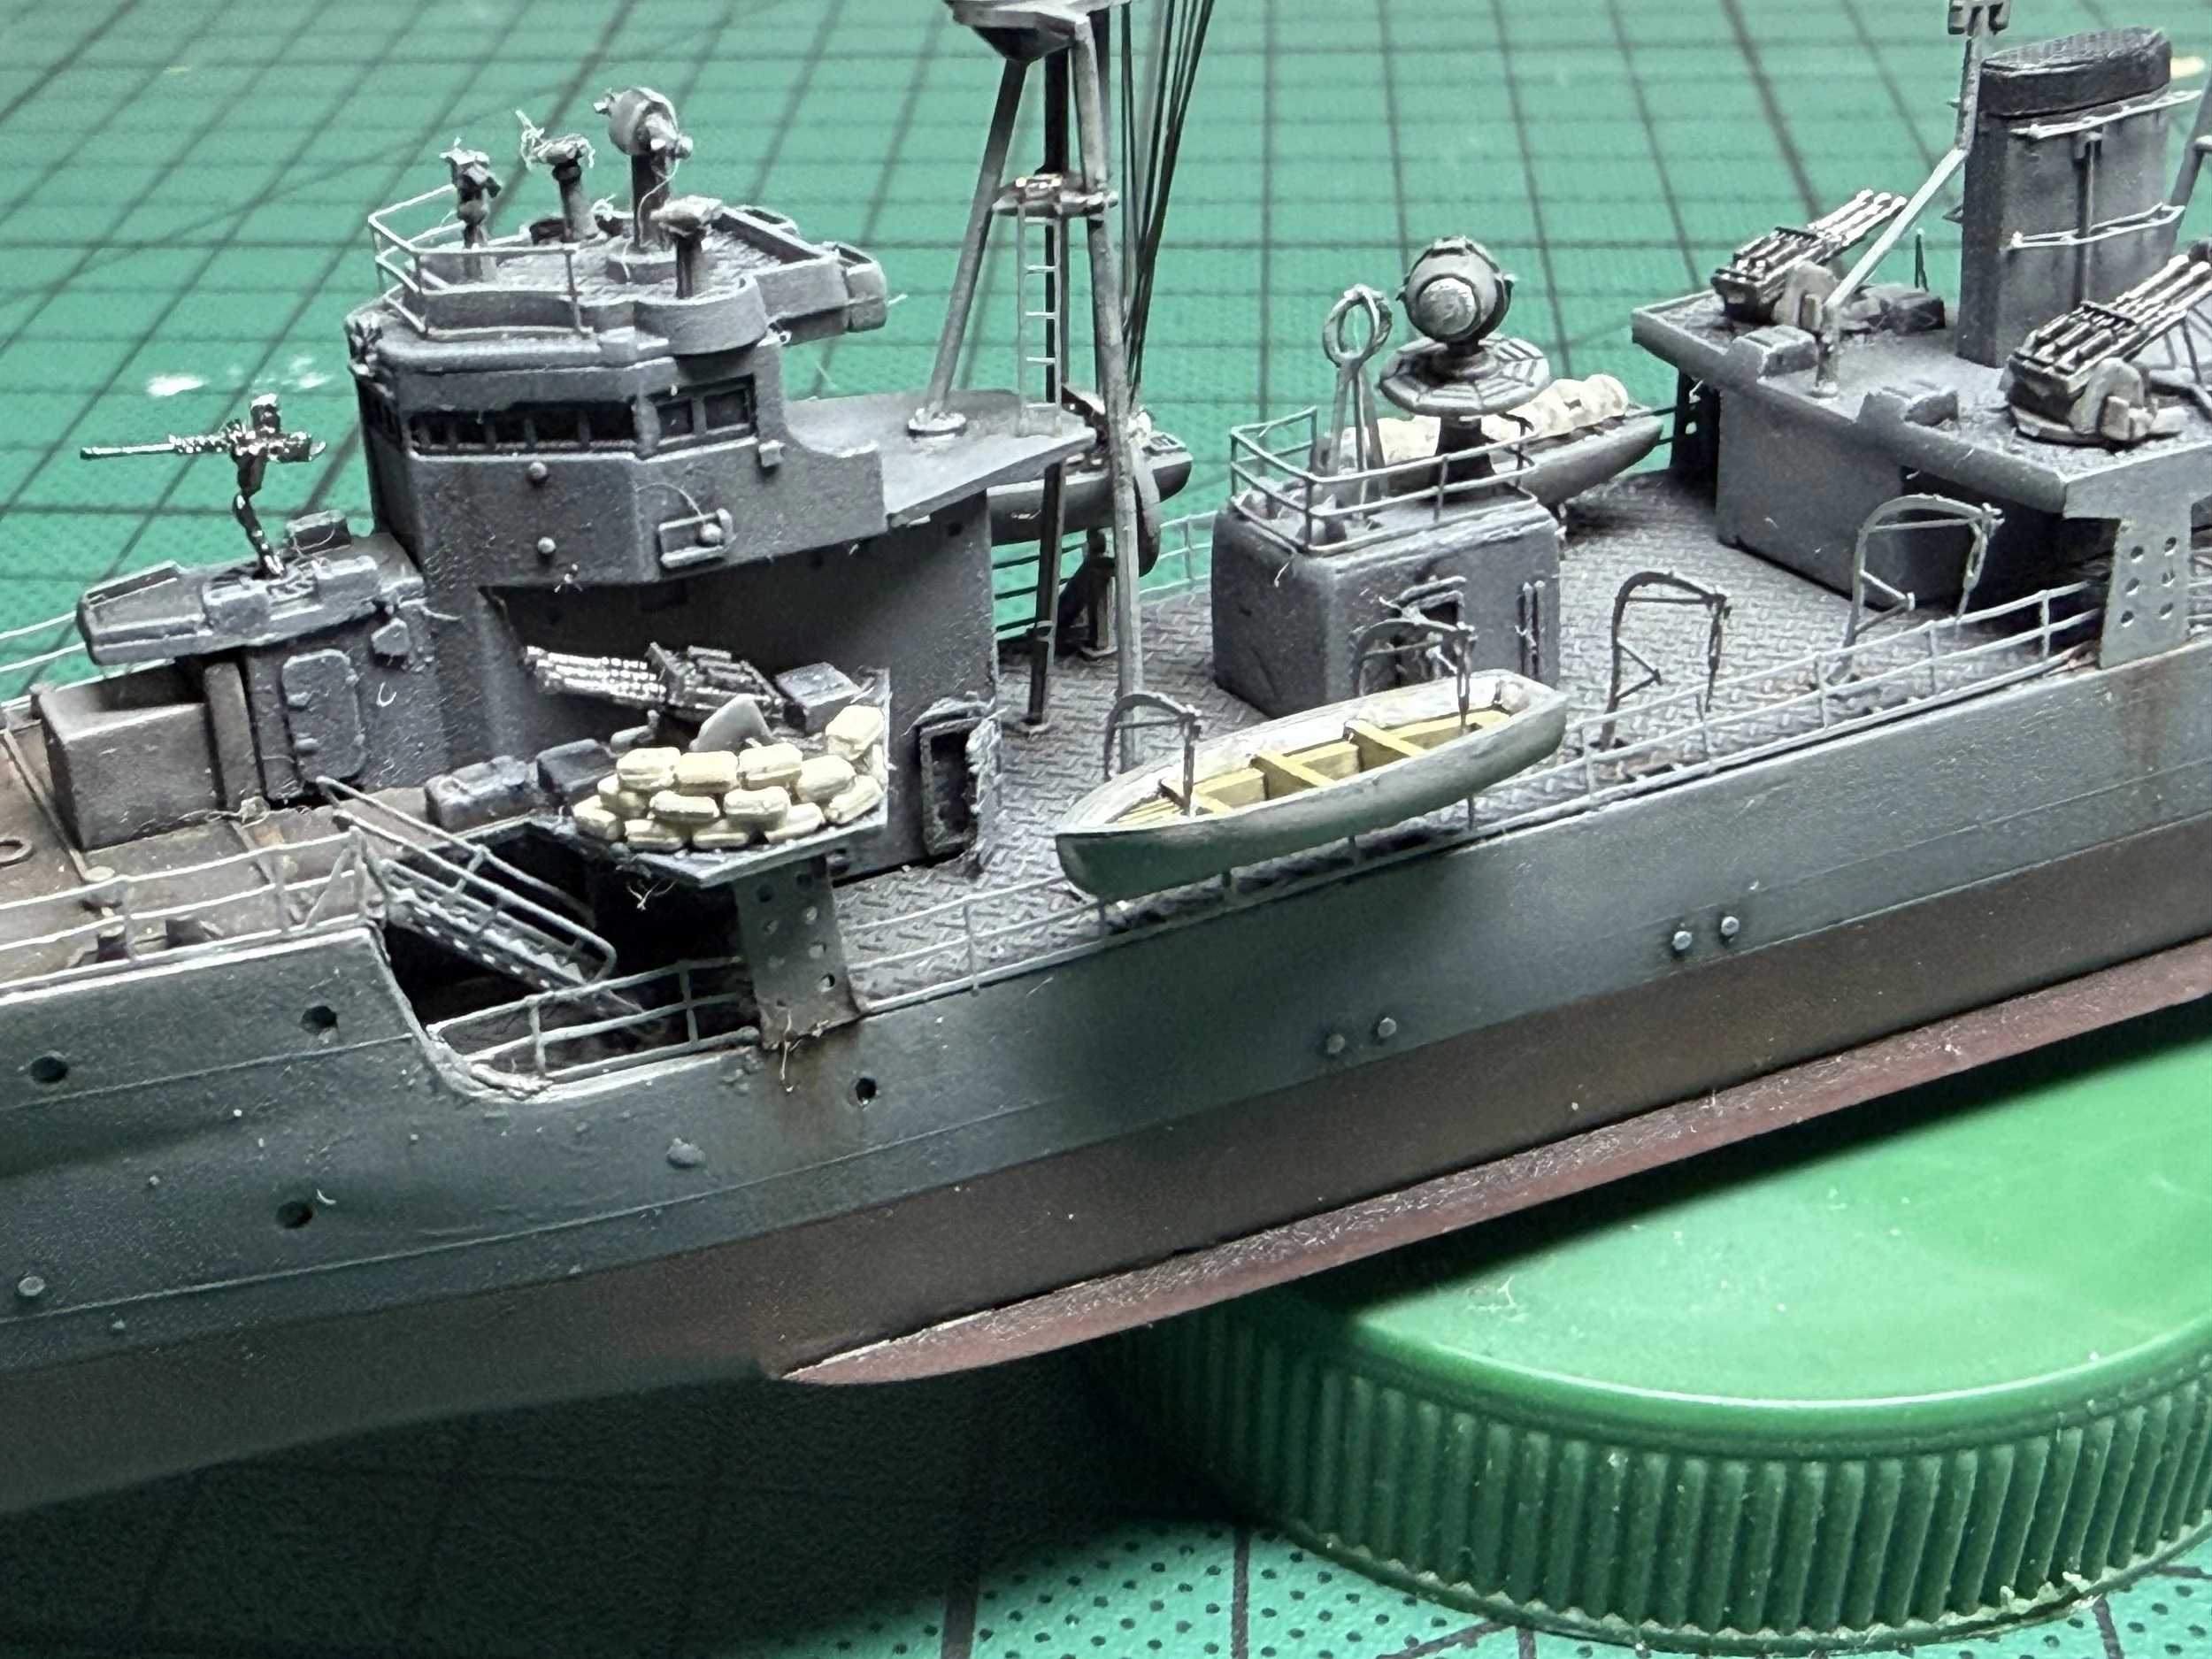
That was by far the most labor-intensive and difficult task of the entire Yamato project. However, one of the reasons I decided to start the project was when I saw photos of a finished boat and noticed these handrails. This detail, which is present throughout the entire boat, really elevates the level of finish.
Marking and drilling:
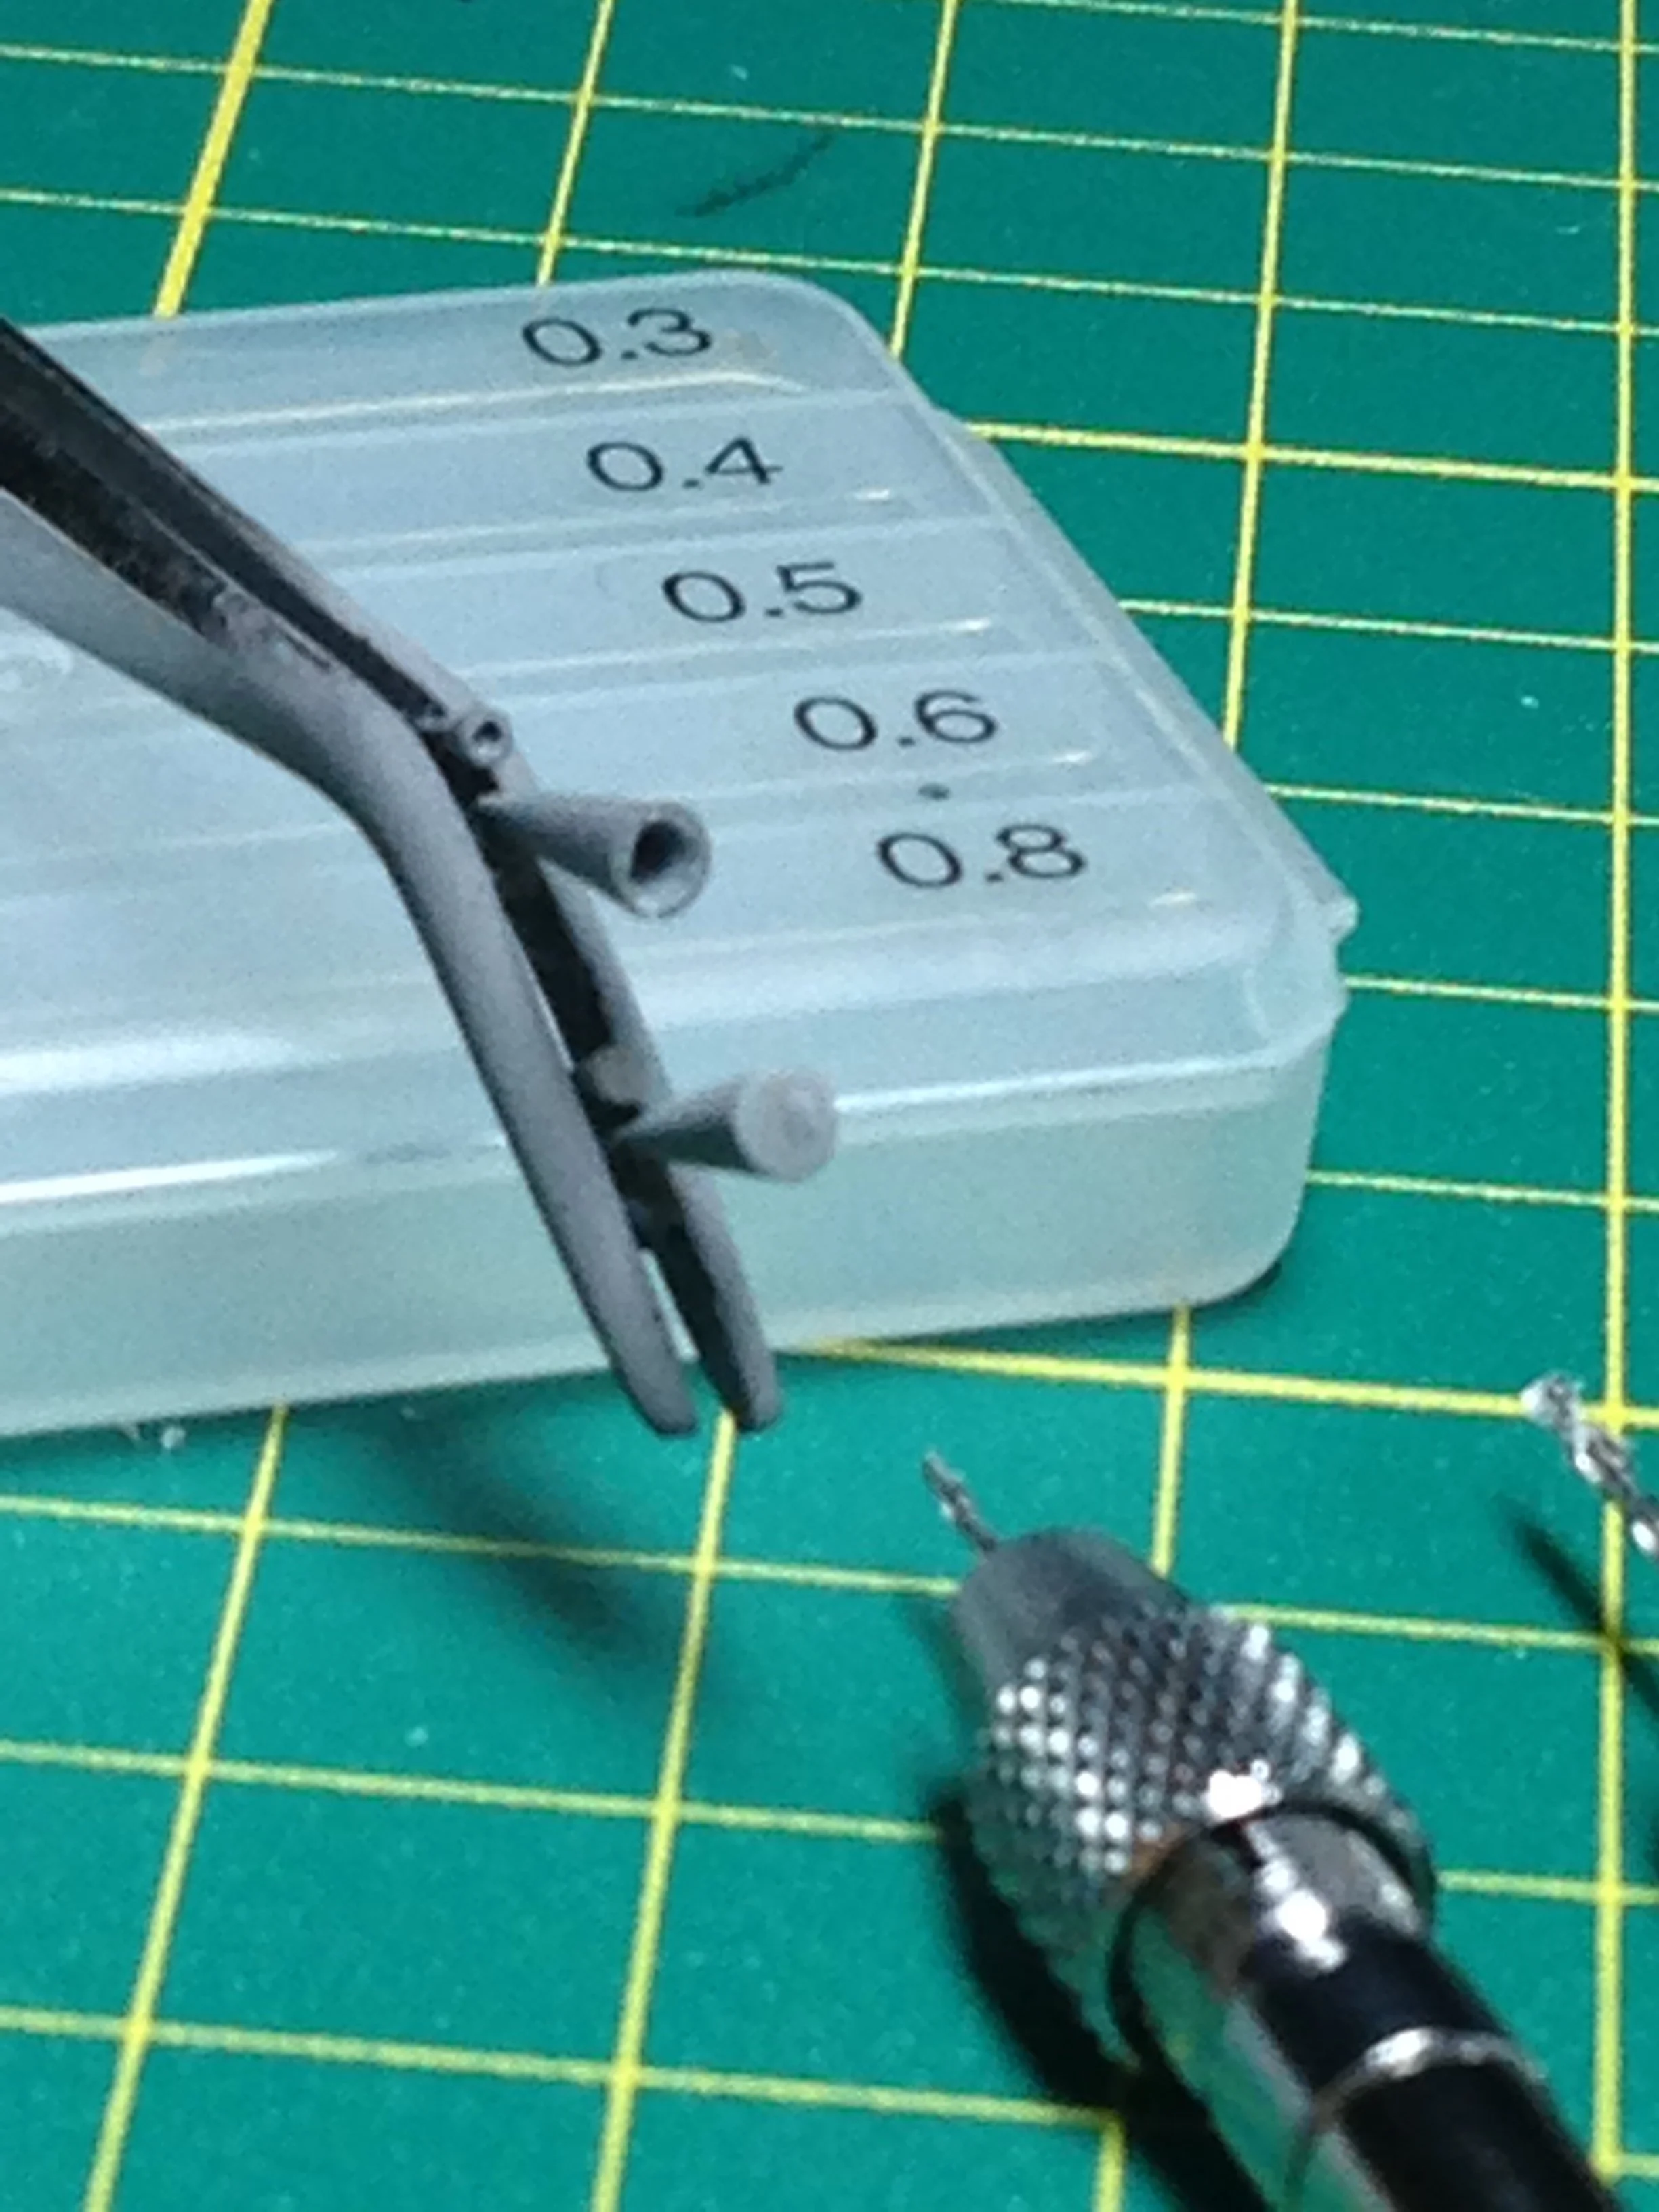
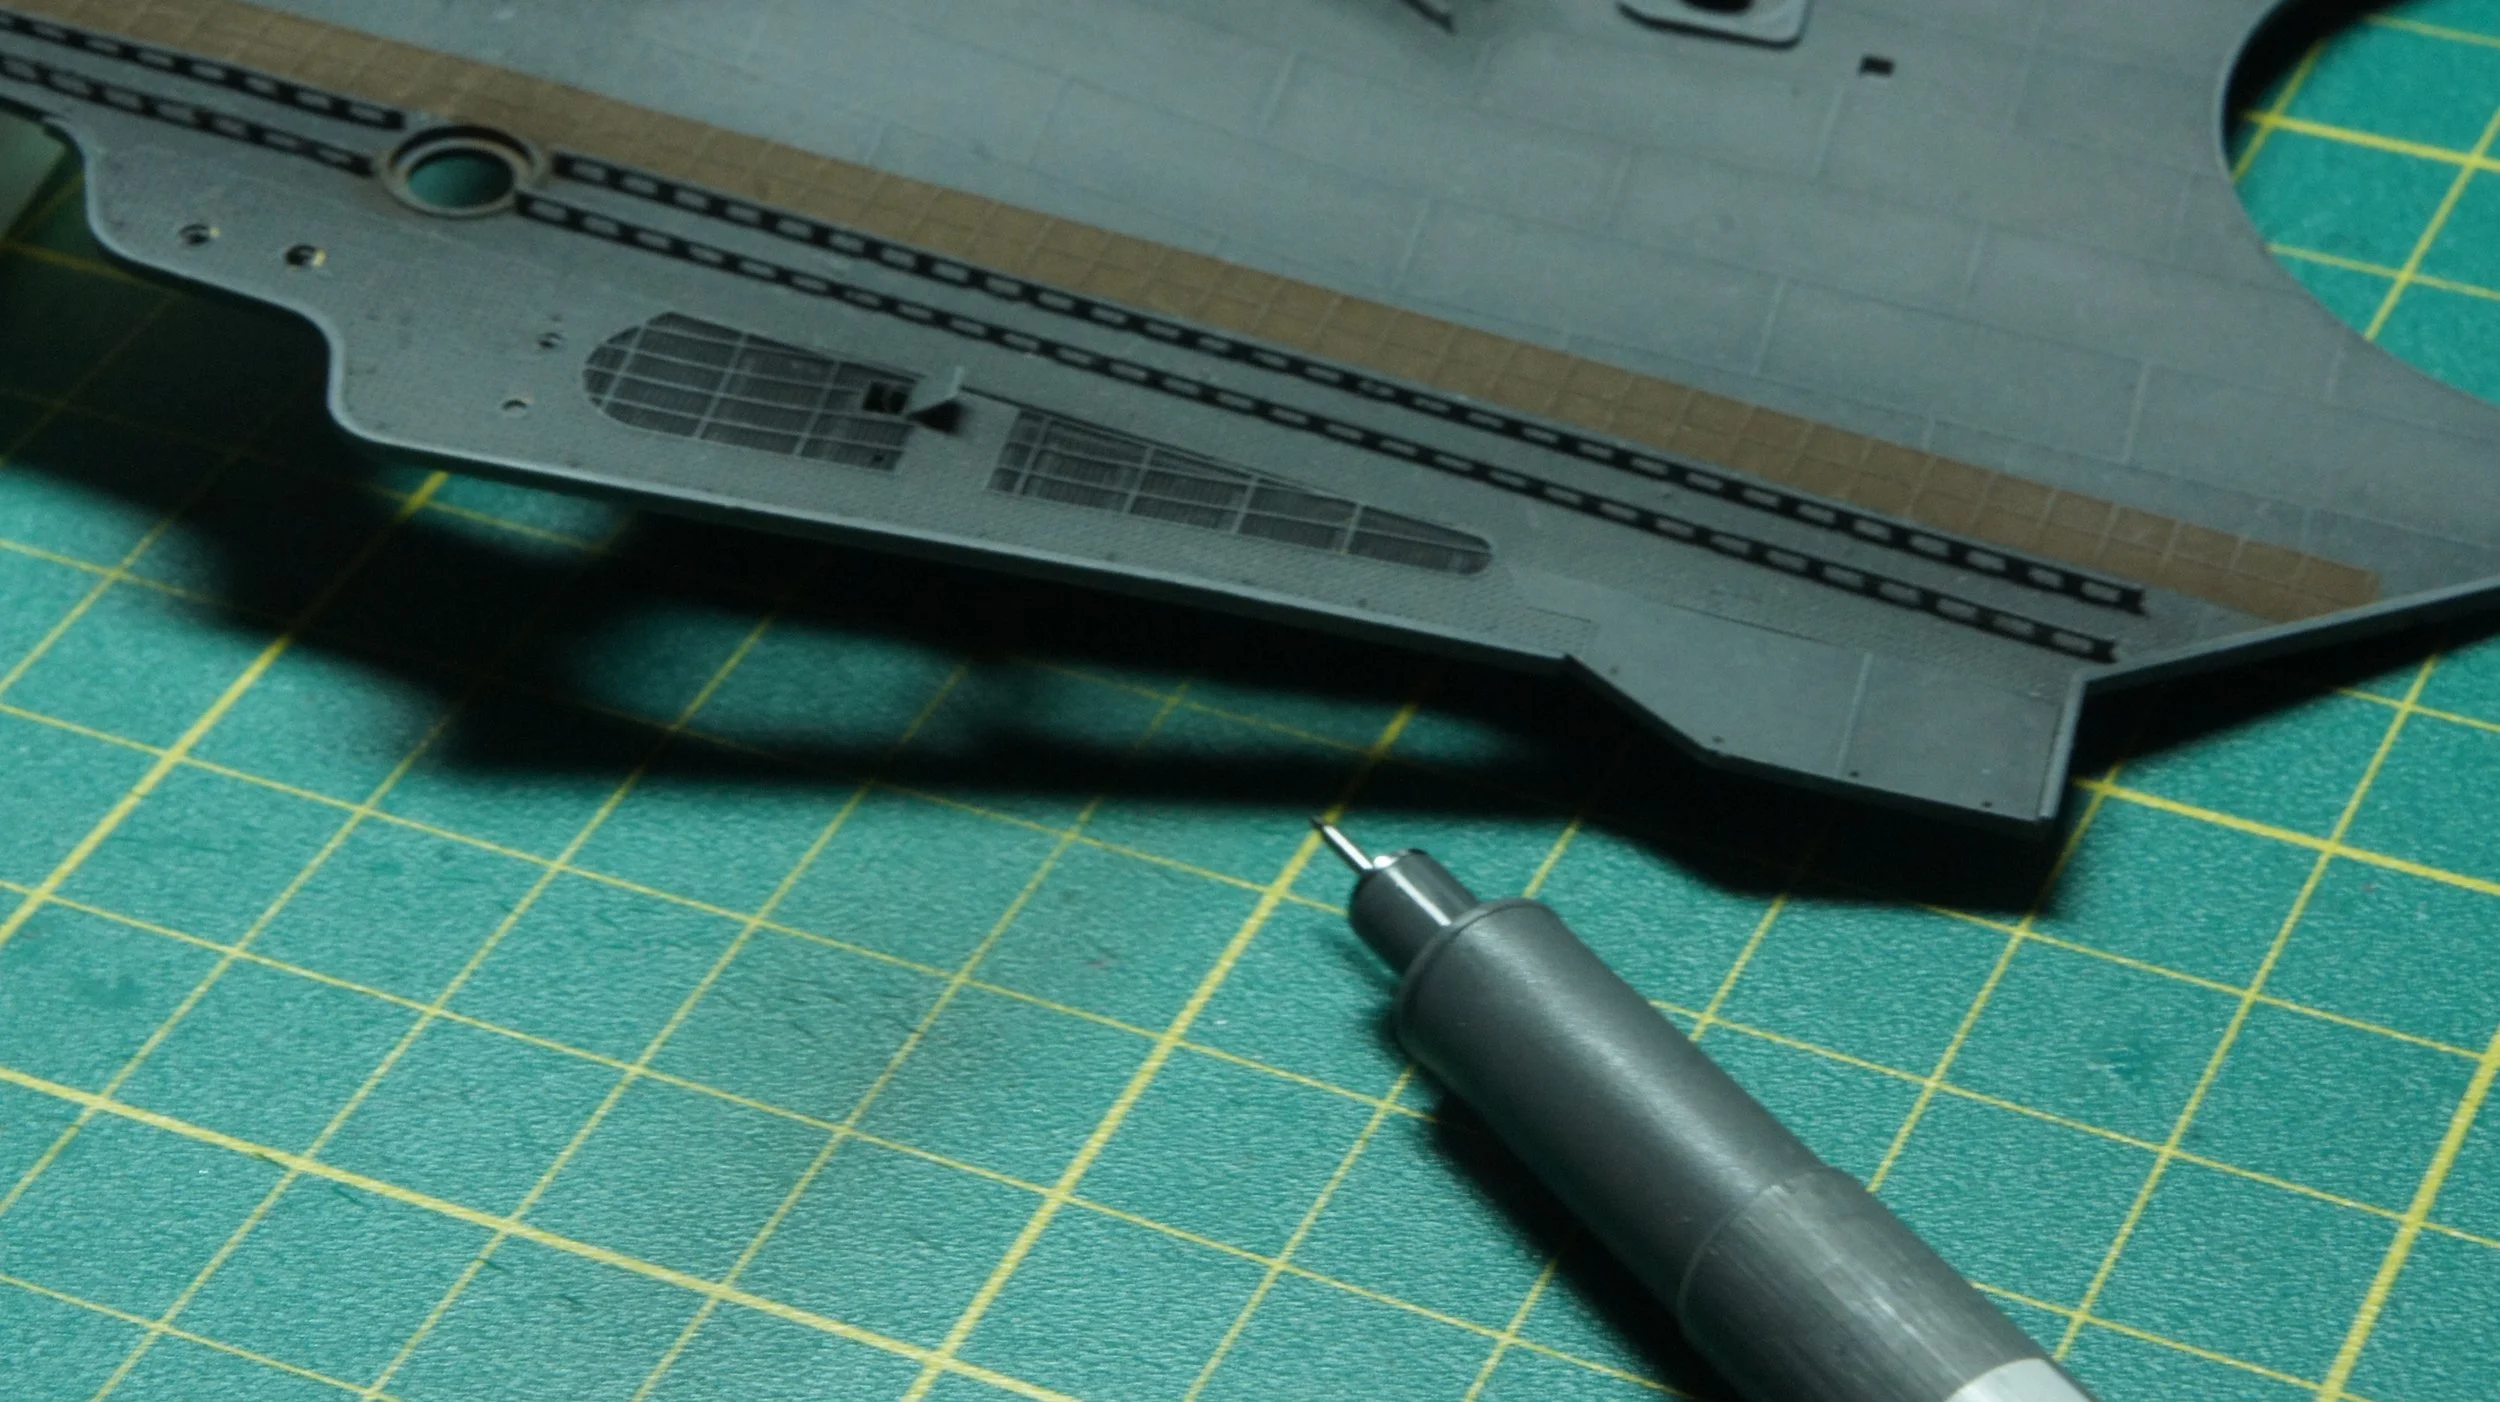
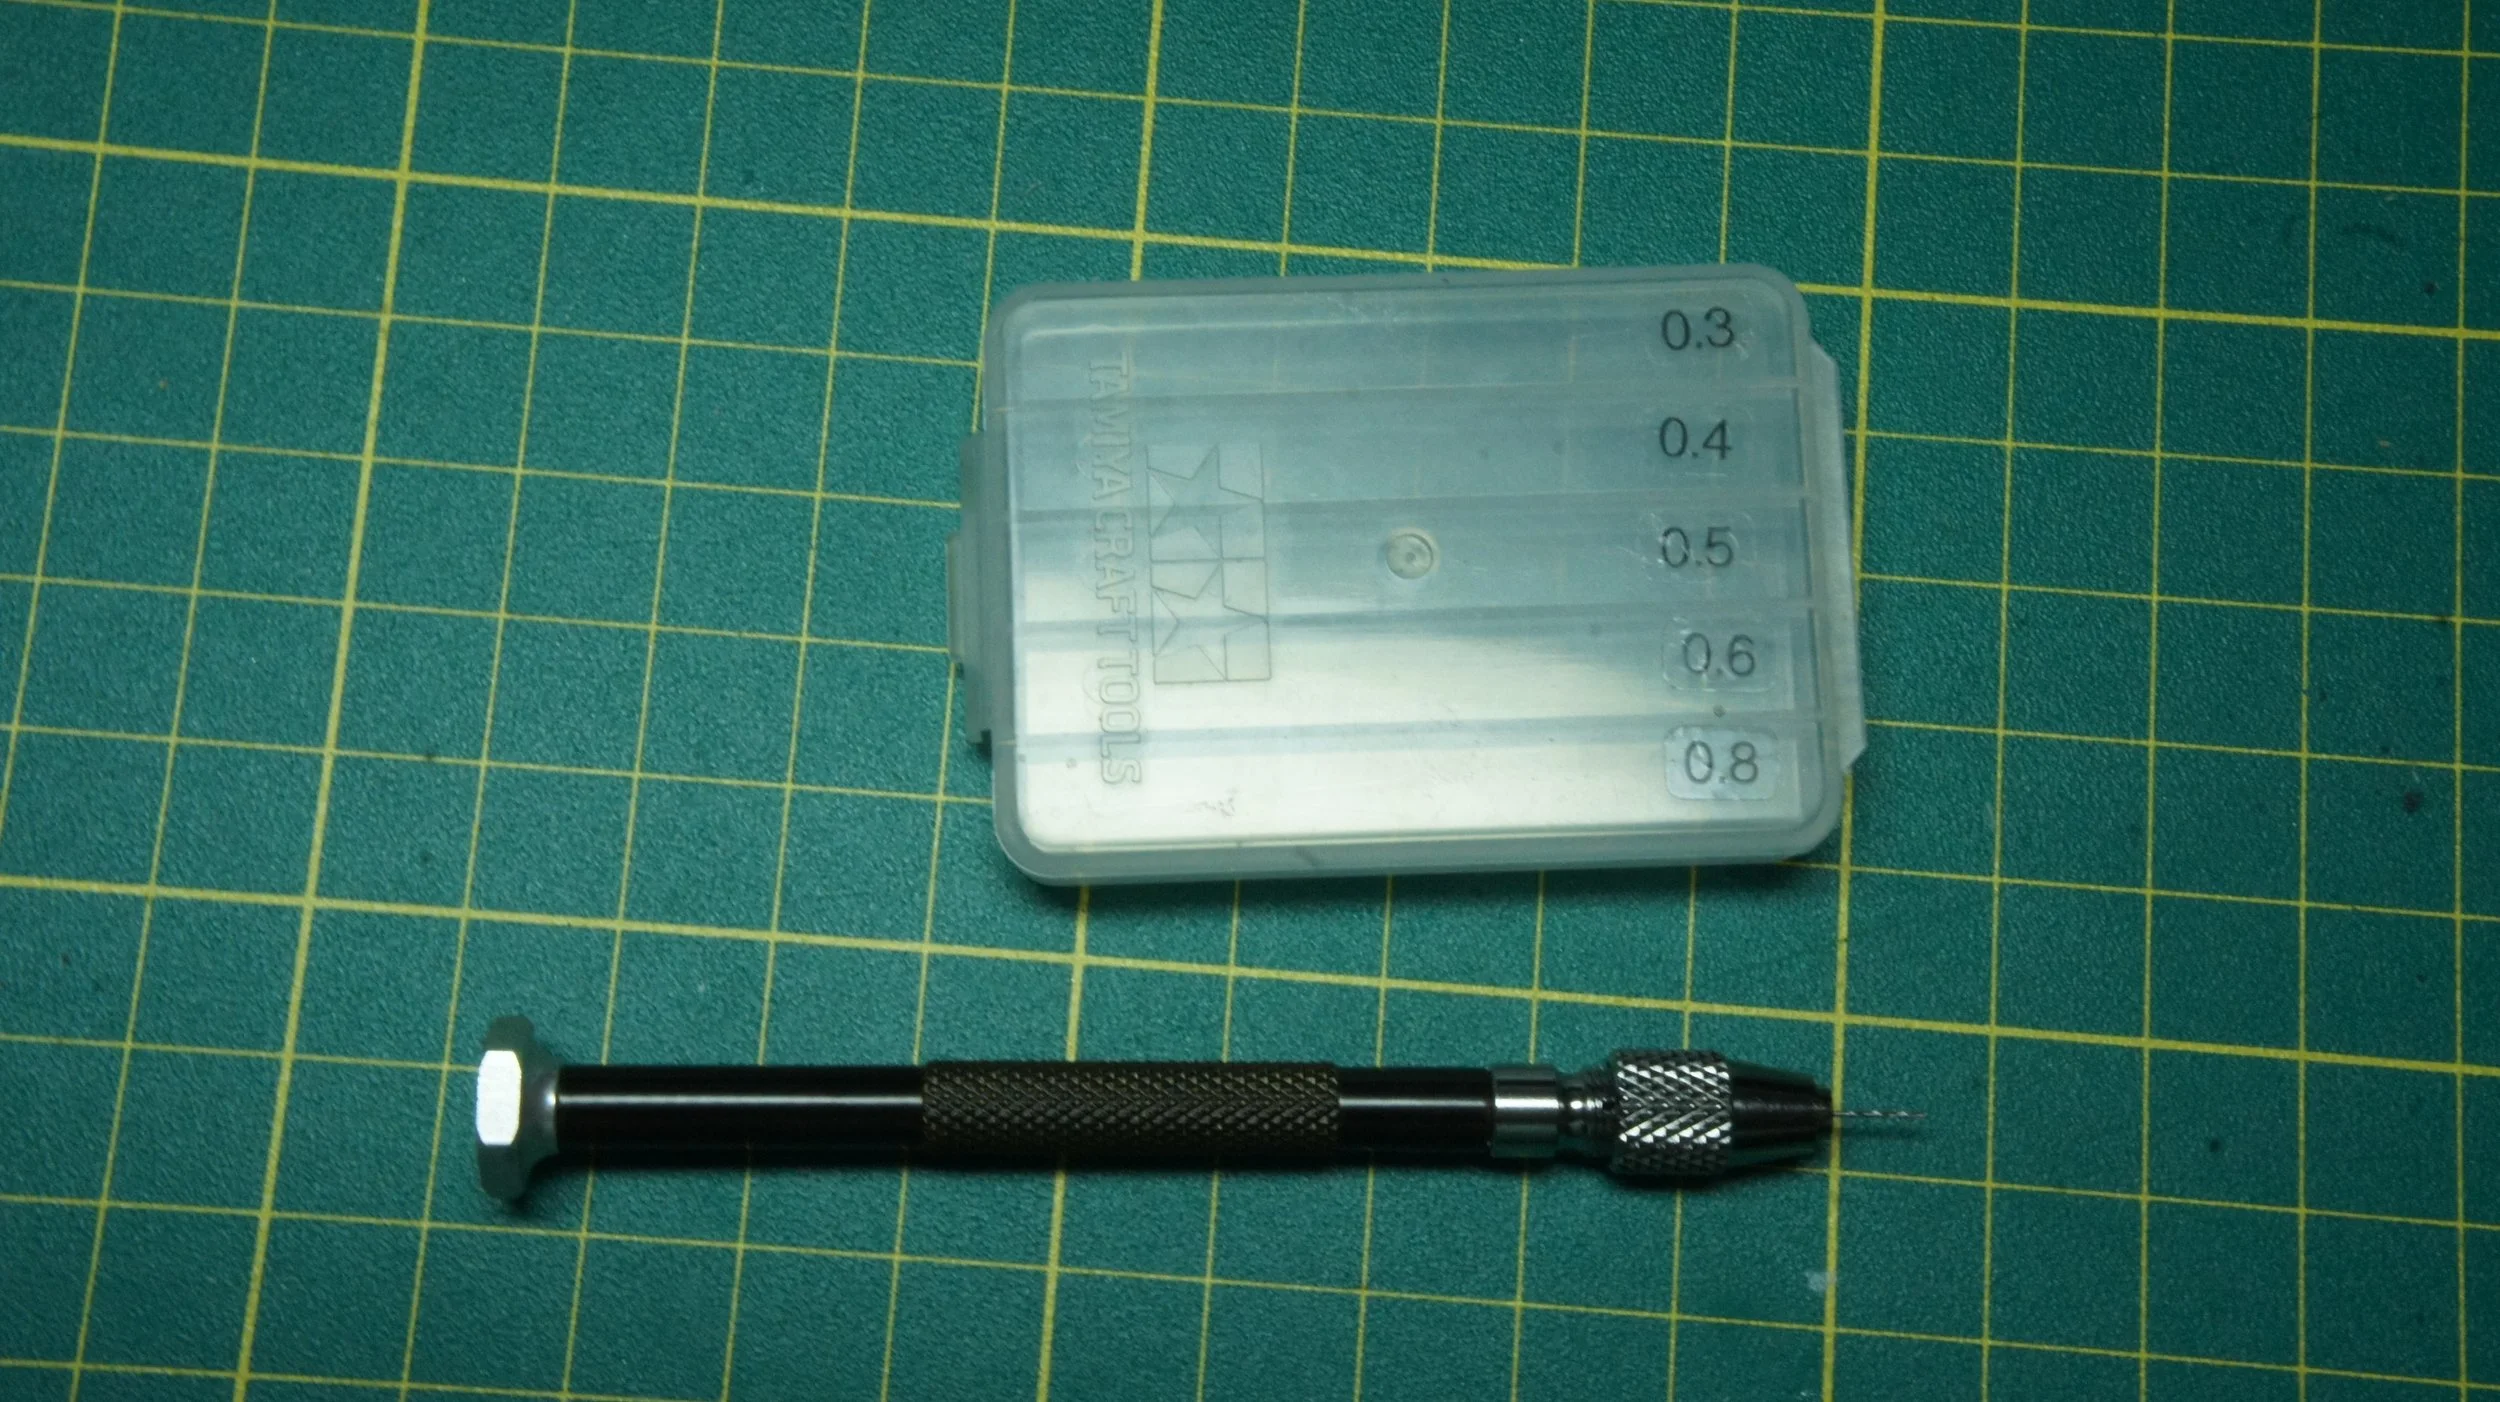
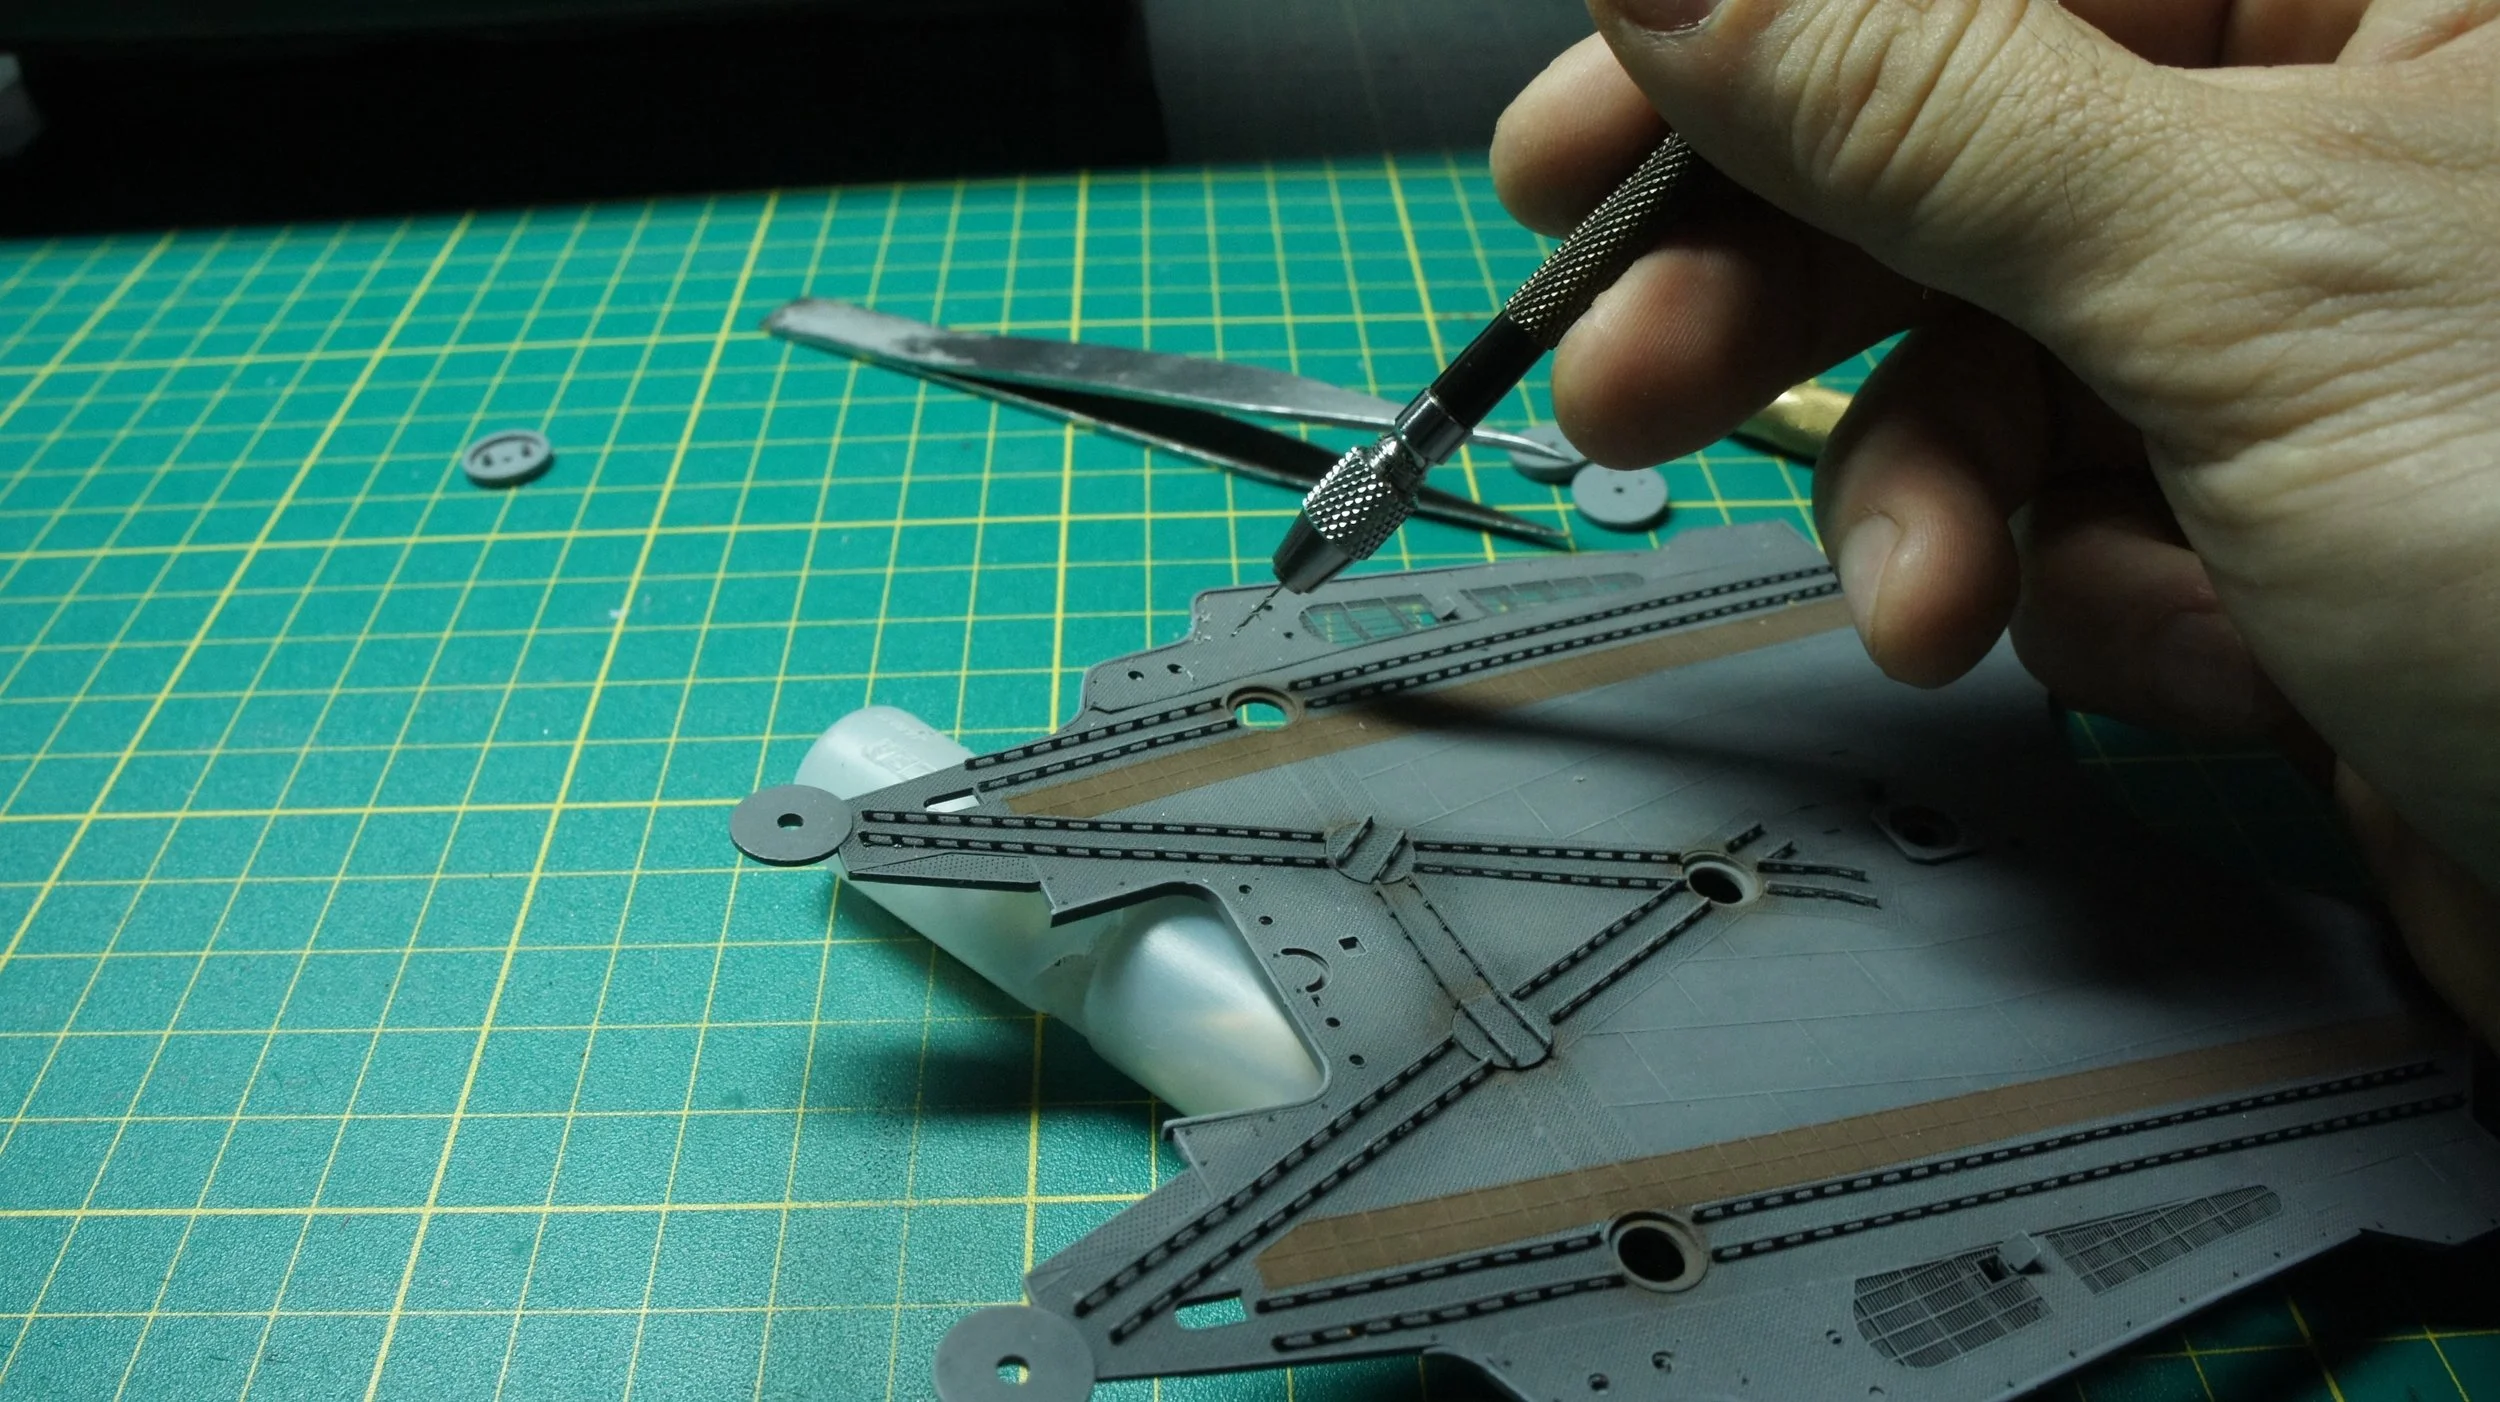
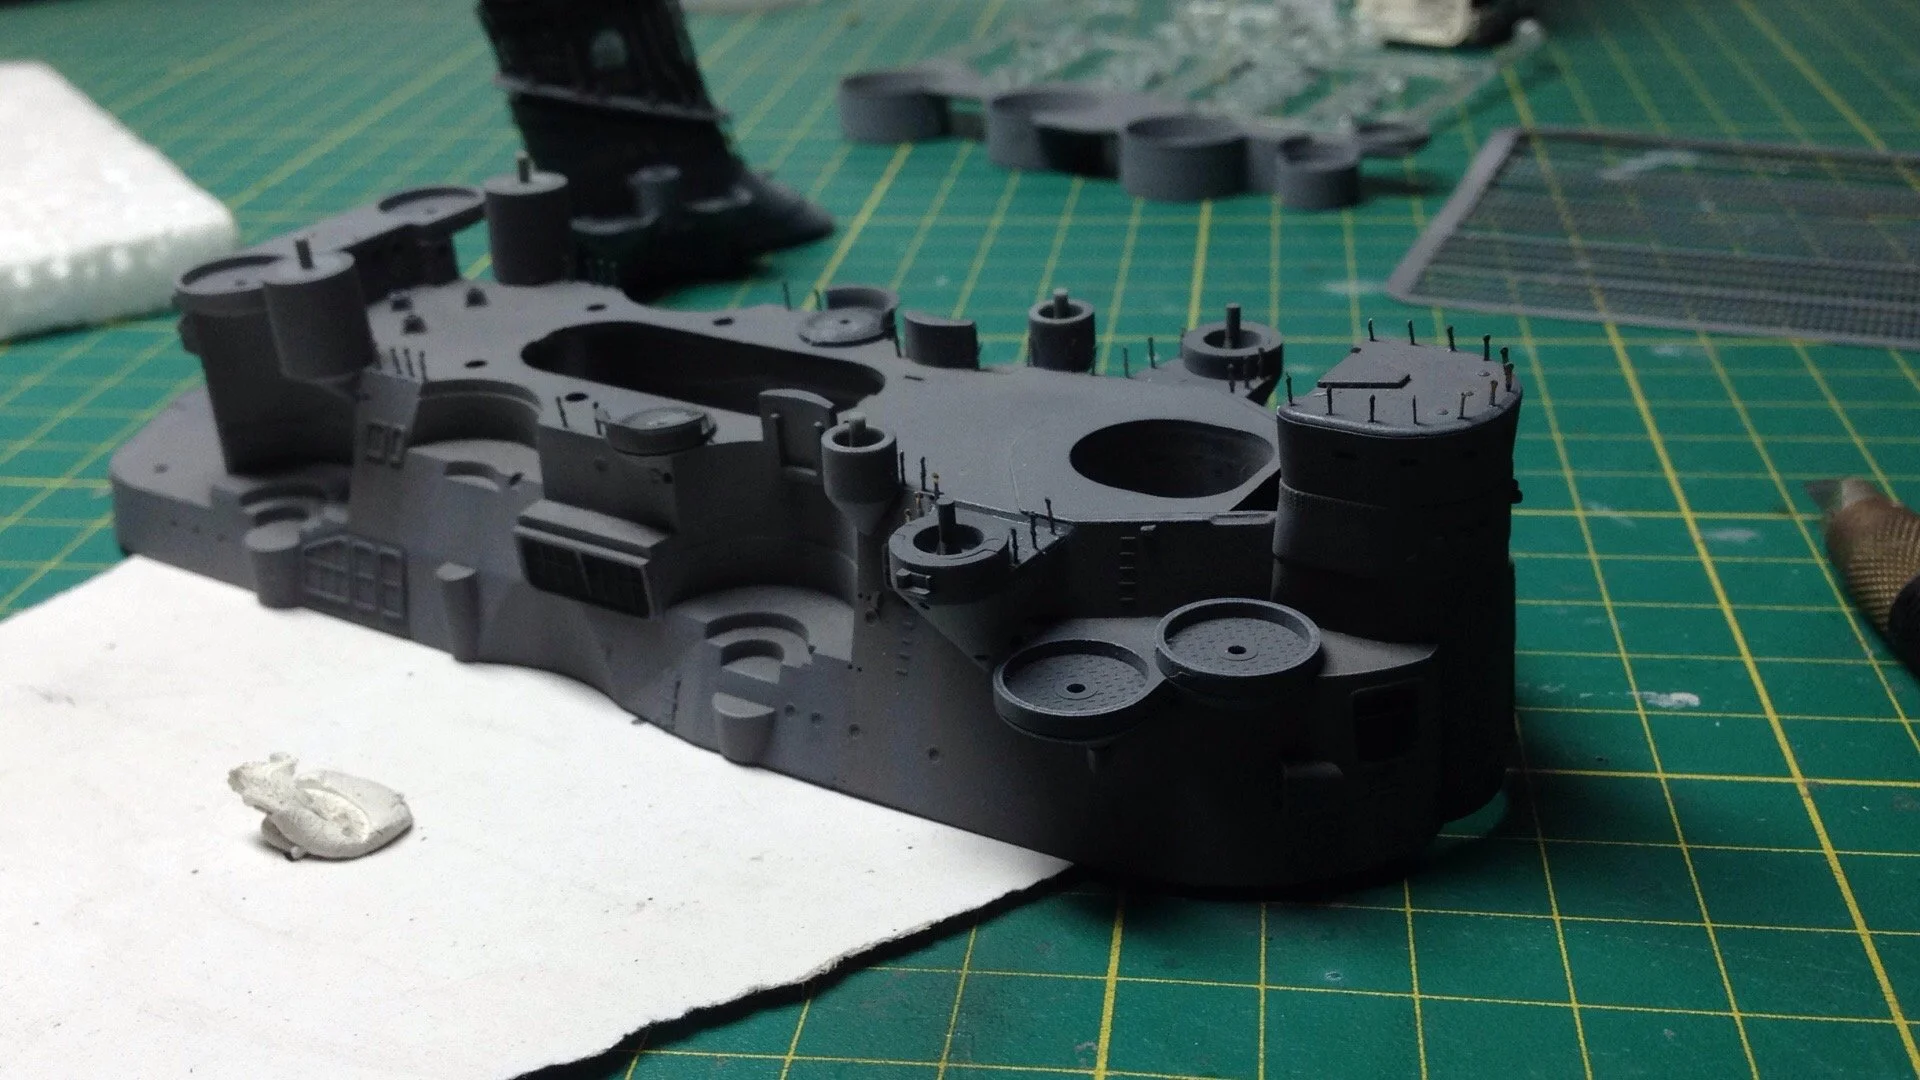
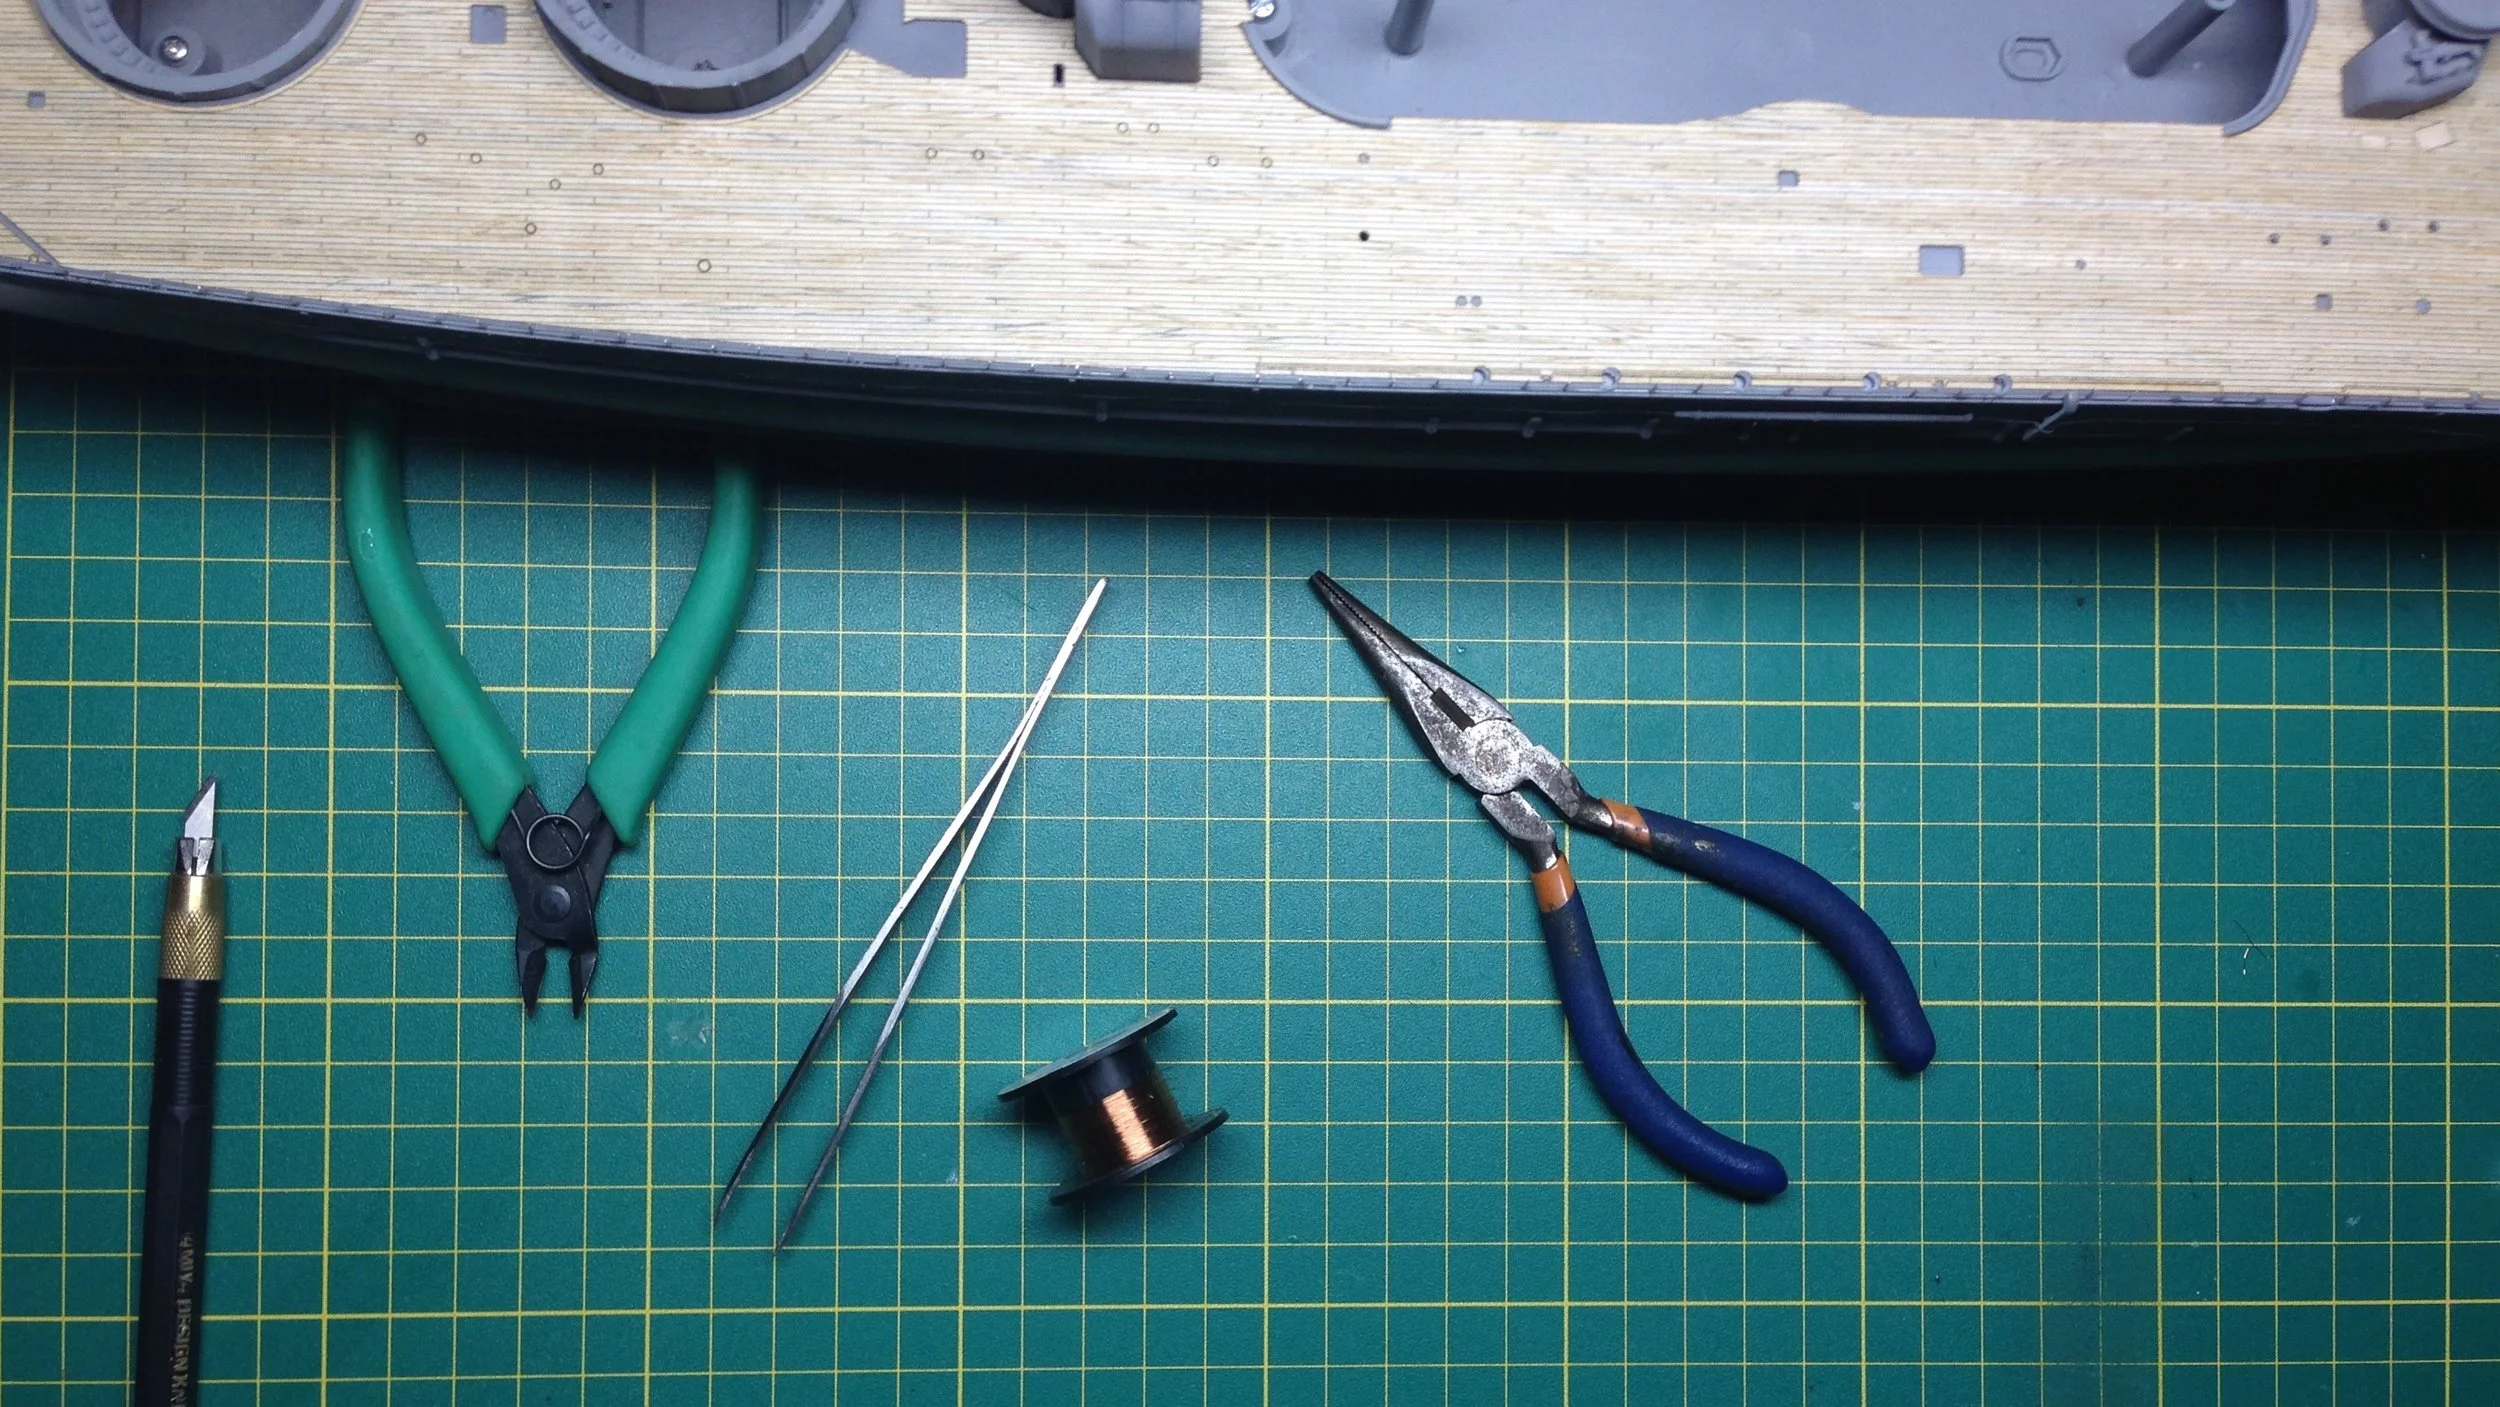
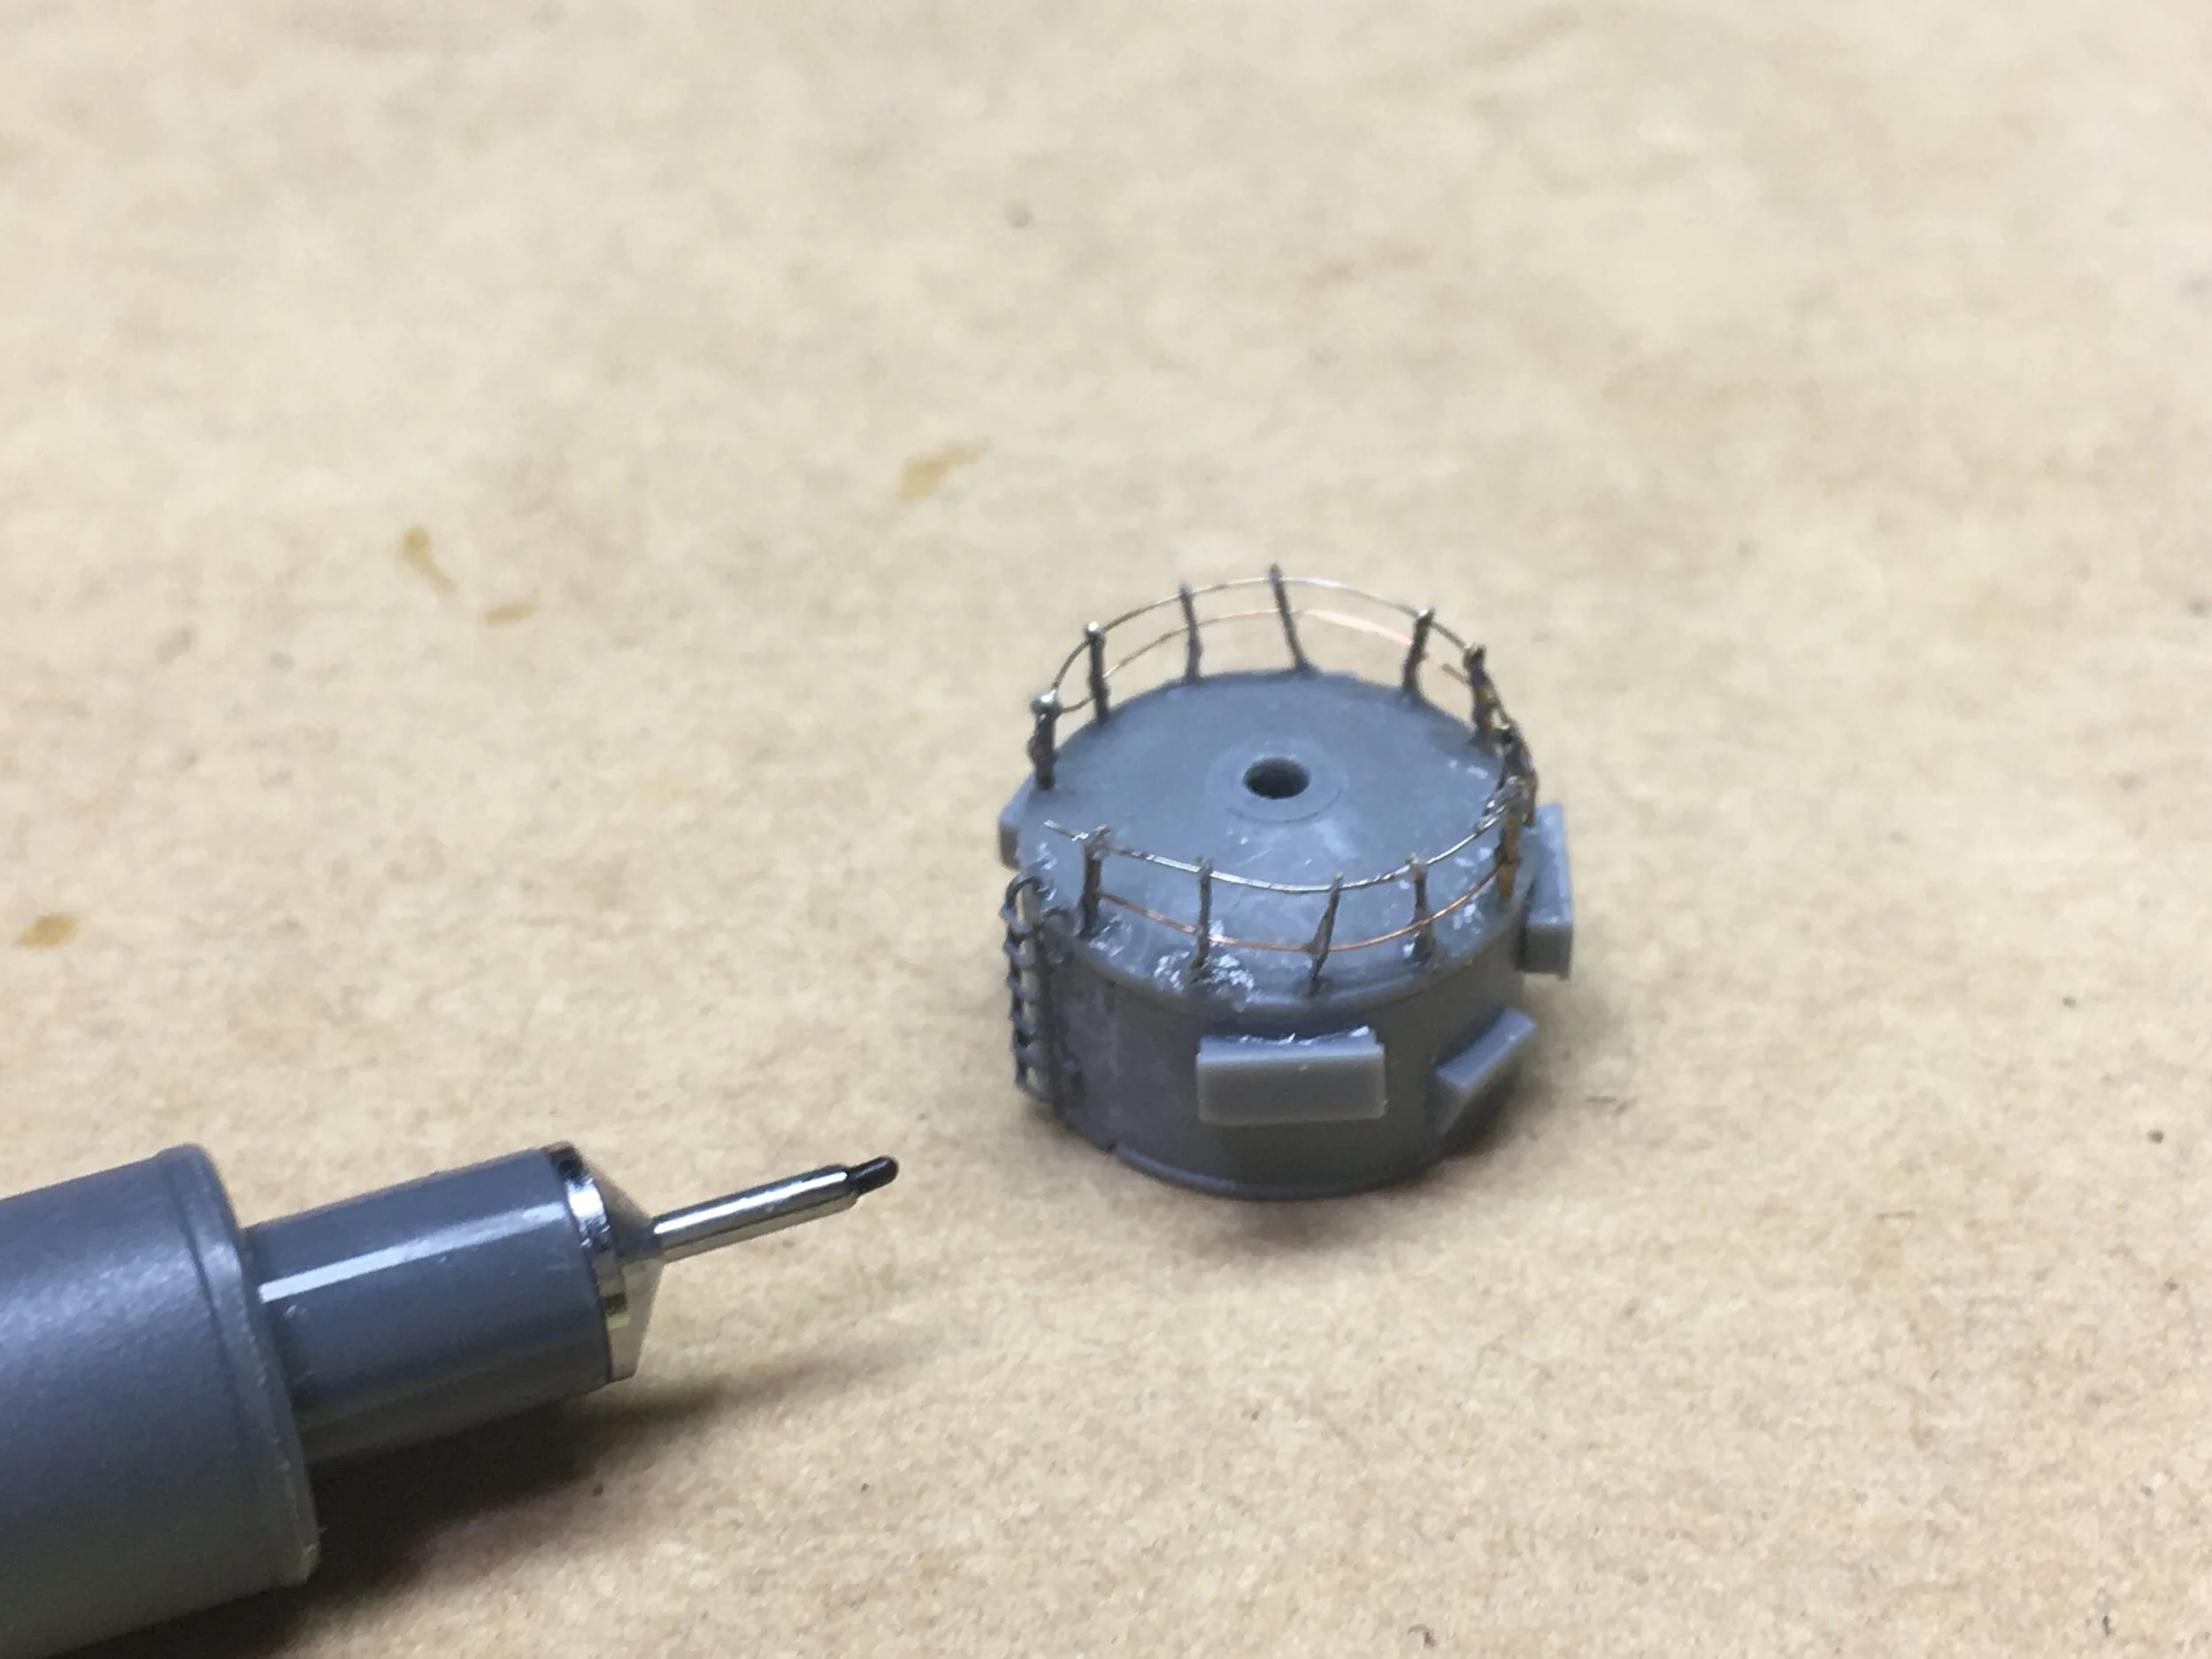
Using a fine-tip pen to mark the spots where each of the handrail pole will be installed, and then use a 0.3 mm drill bit. Drill holes at all the marked spots.
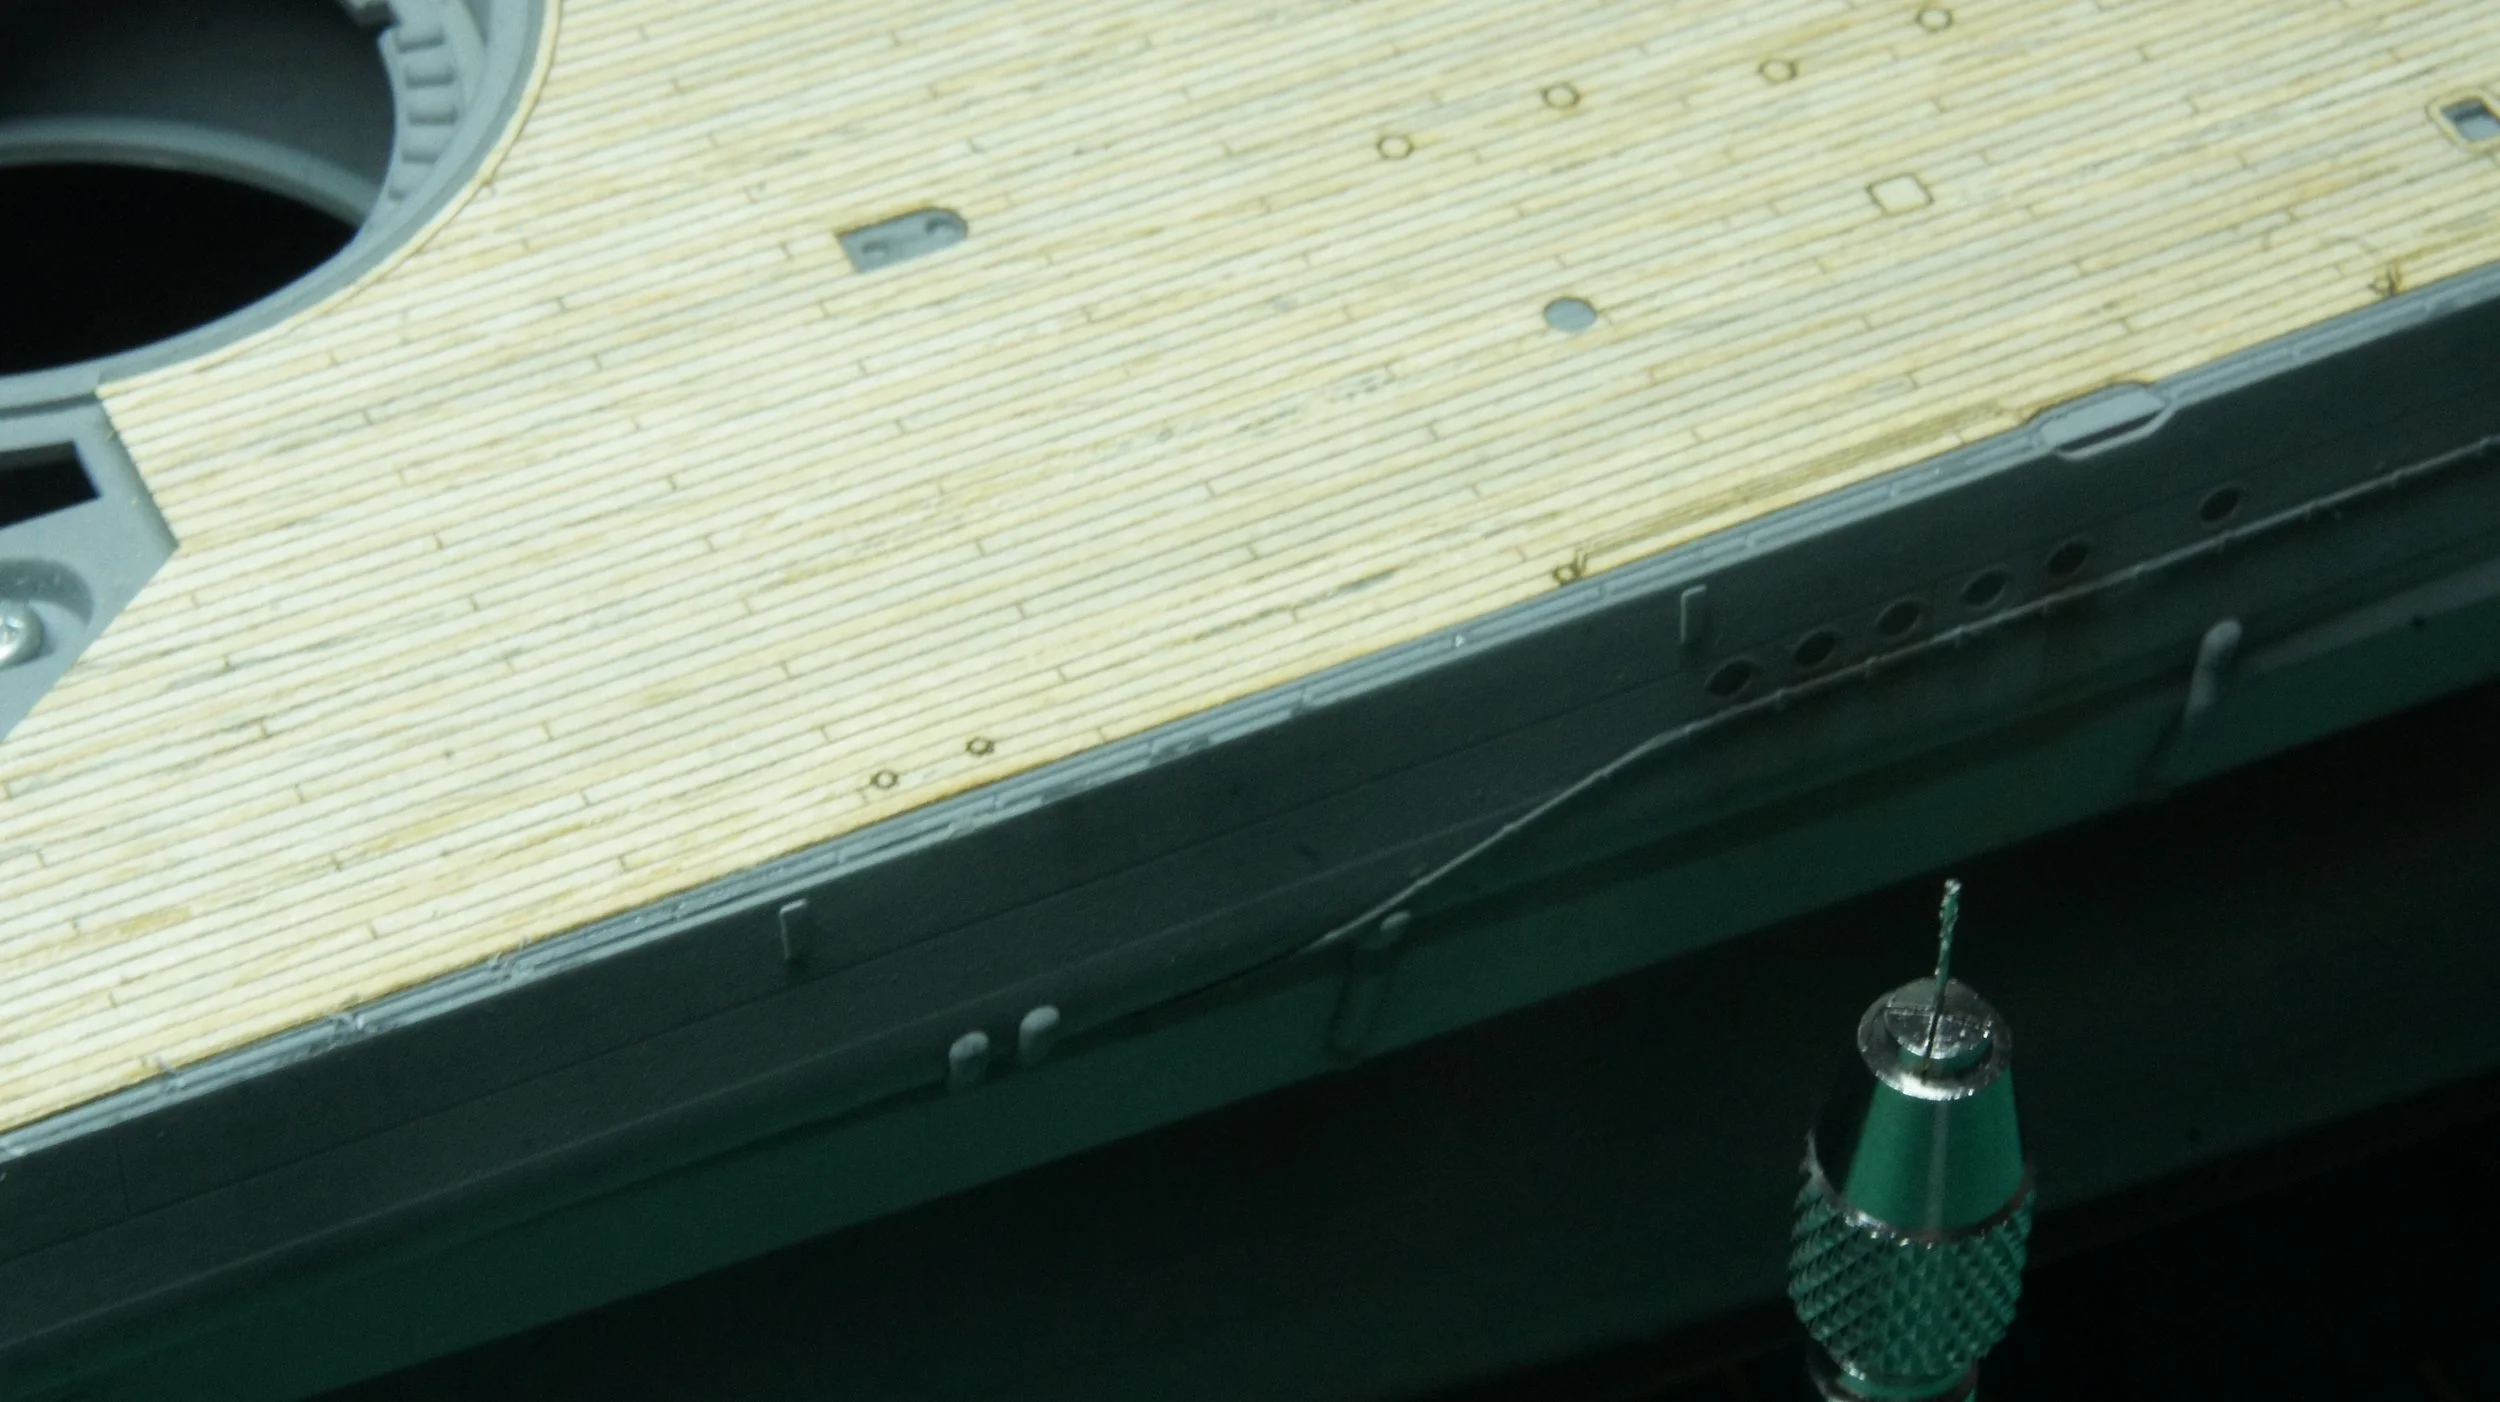
Placing the poles:
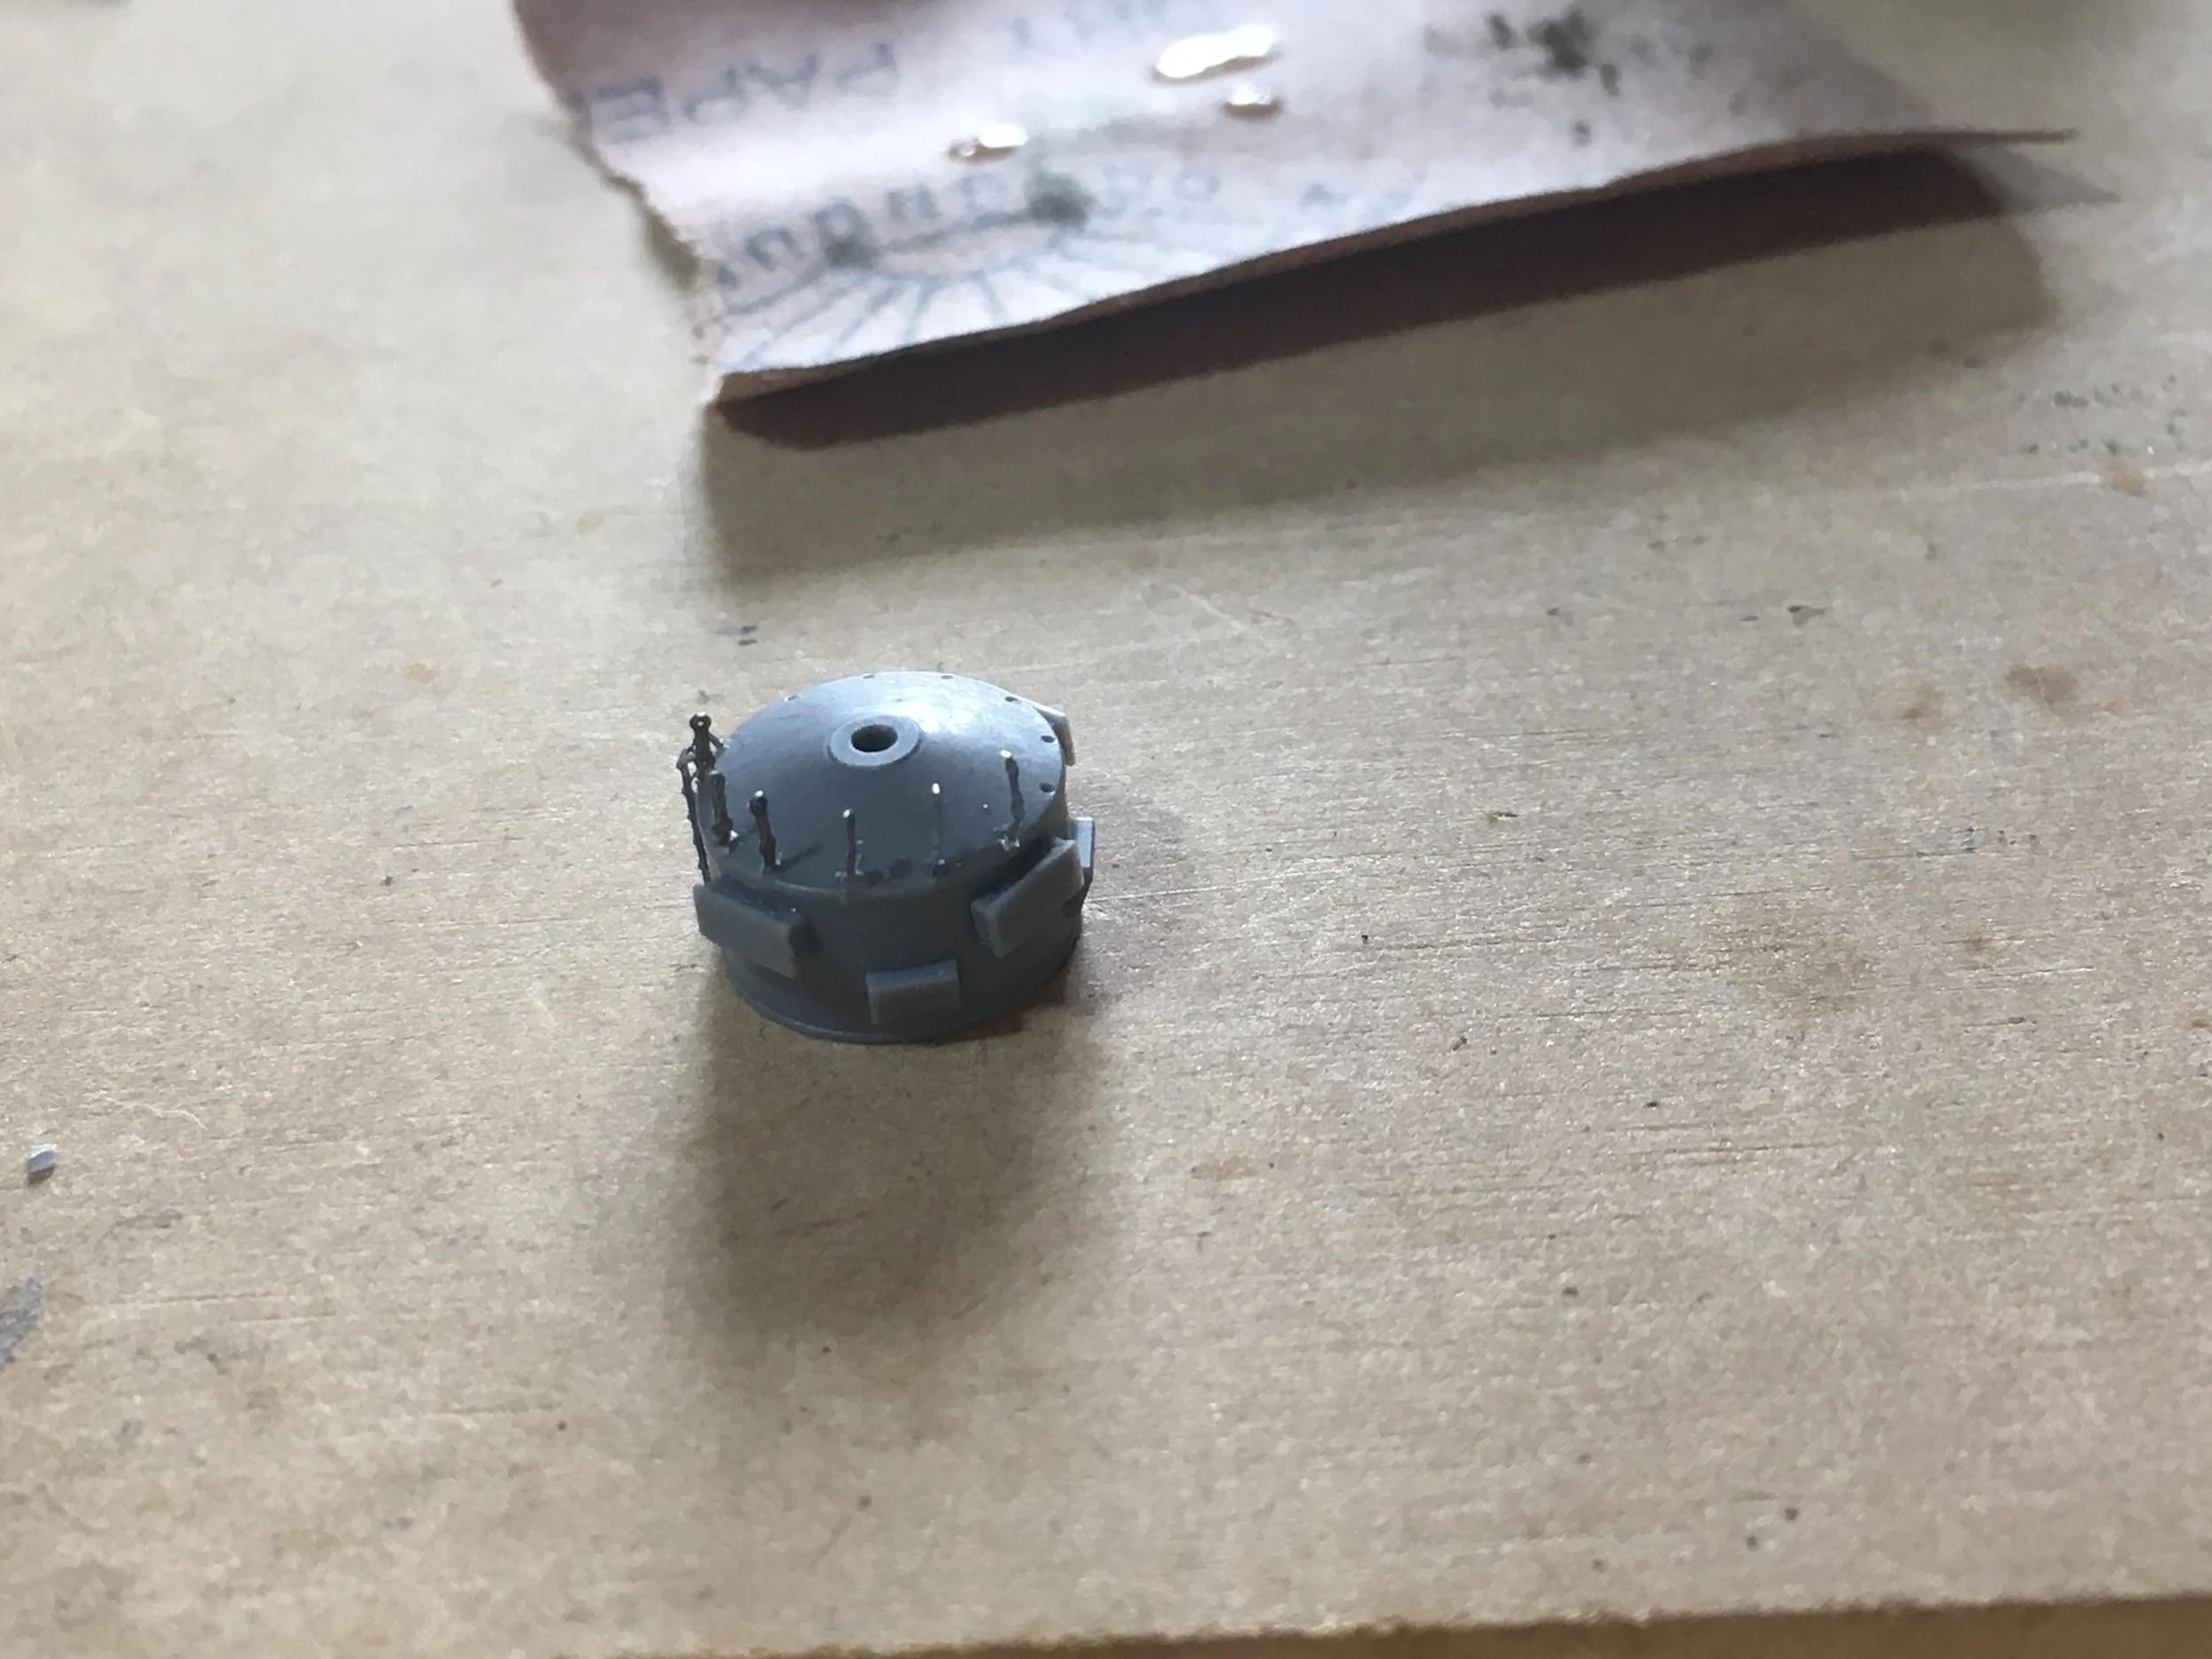
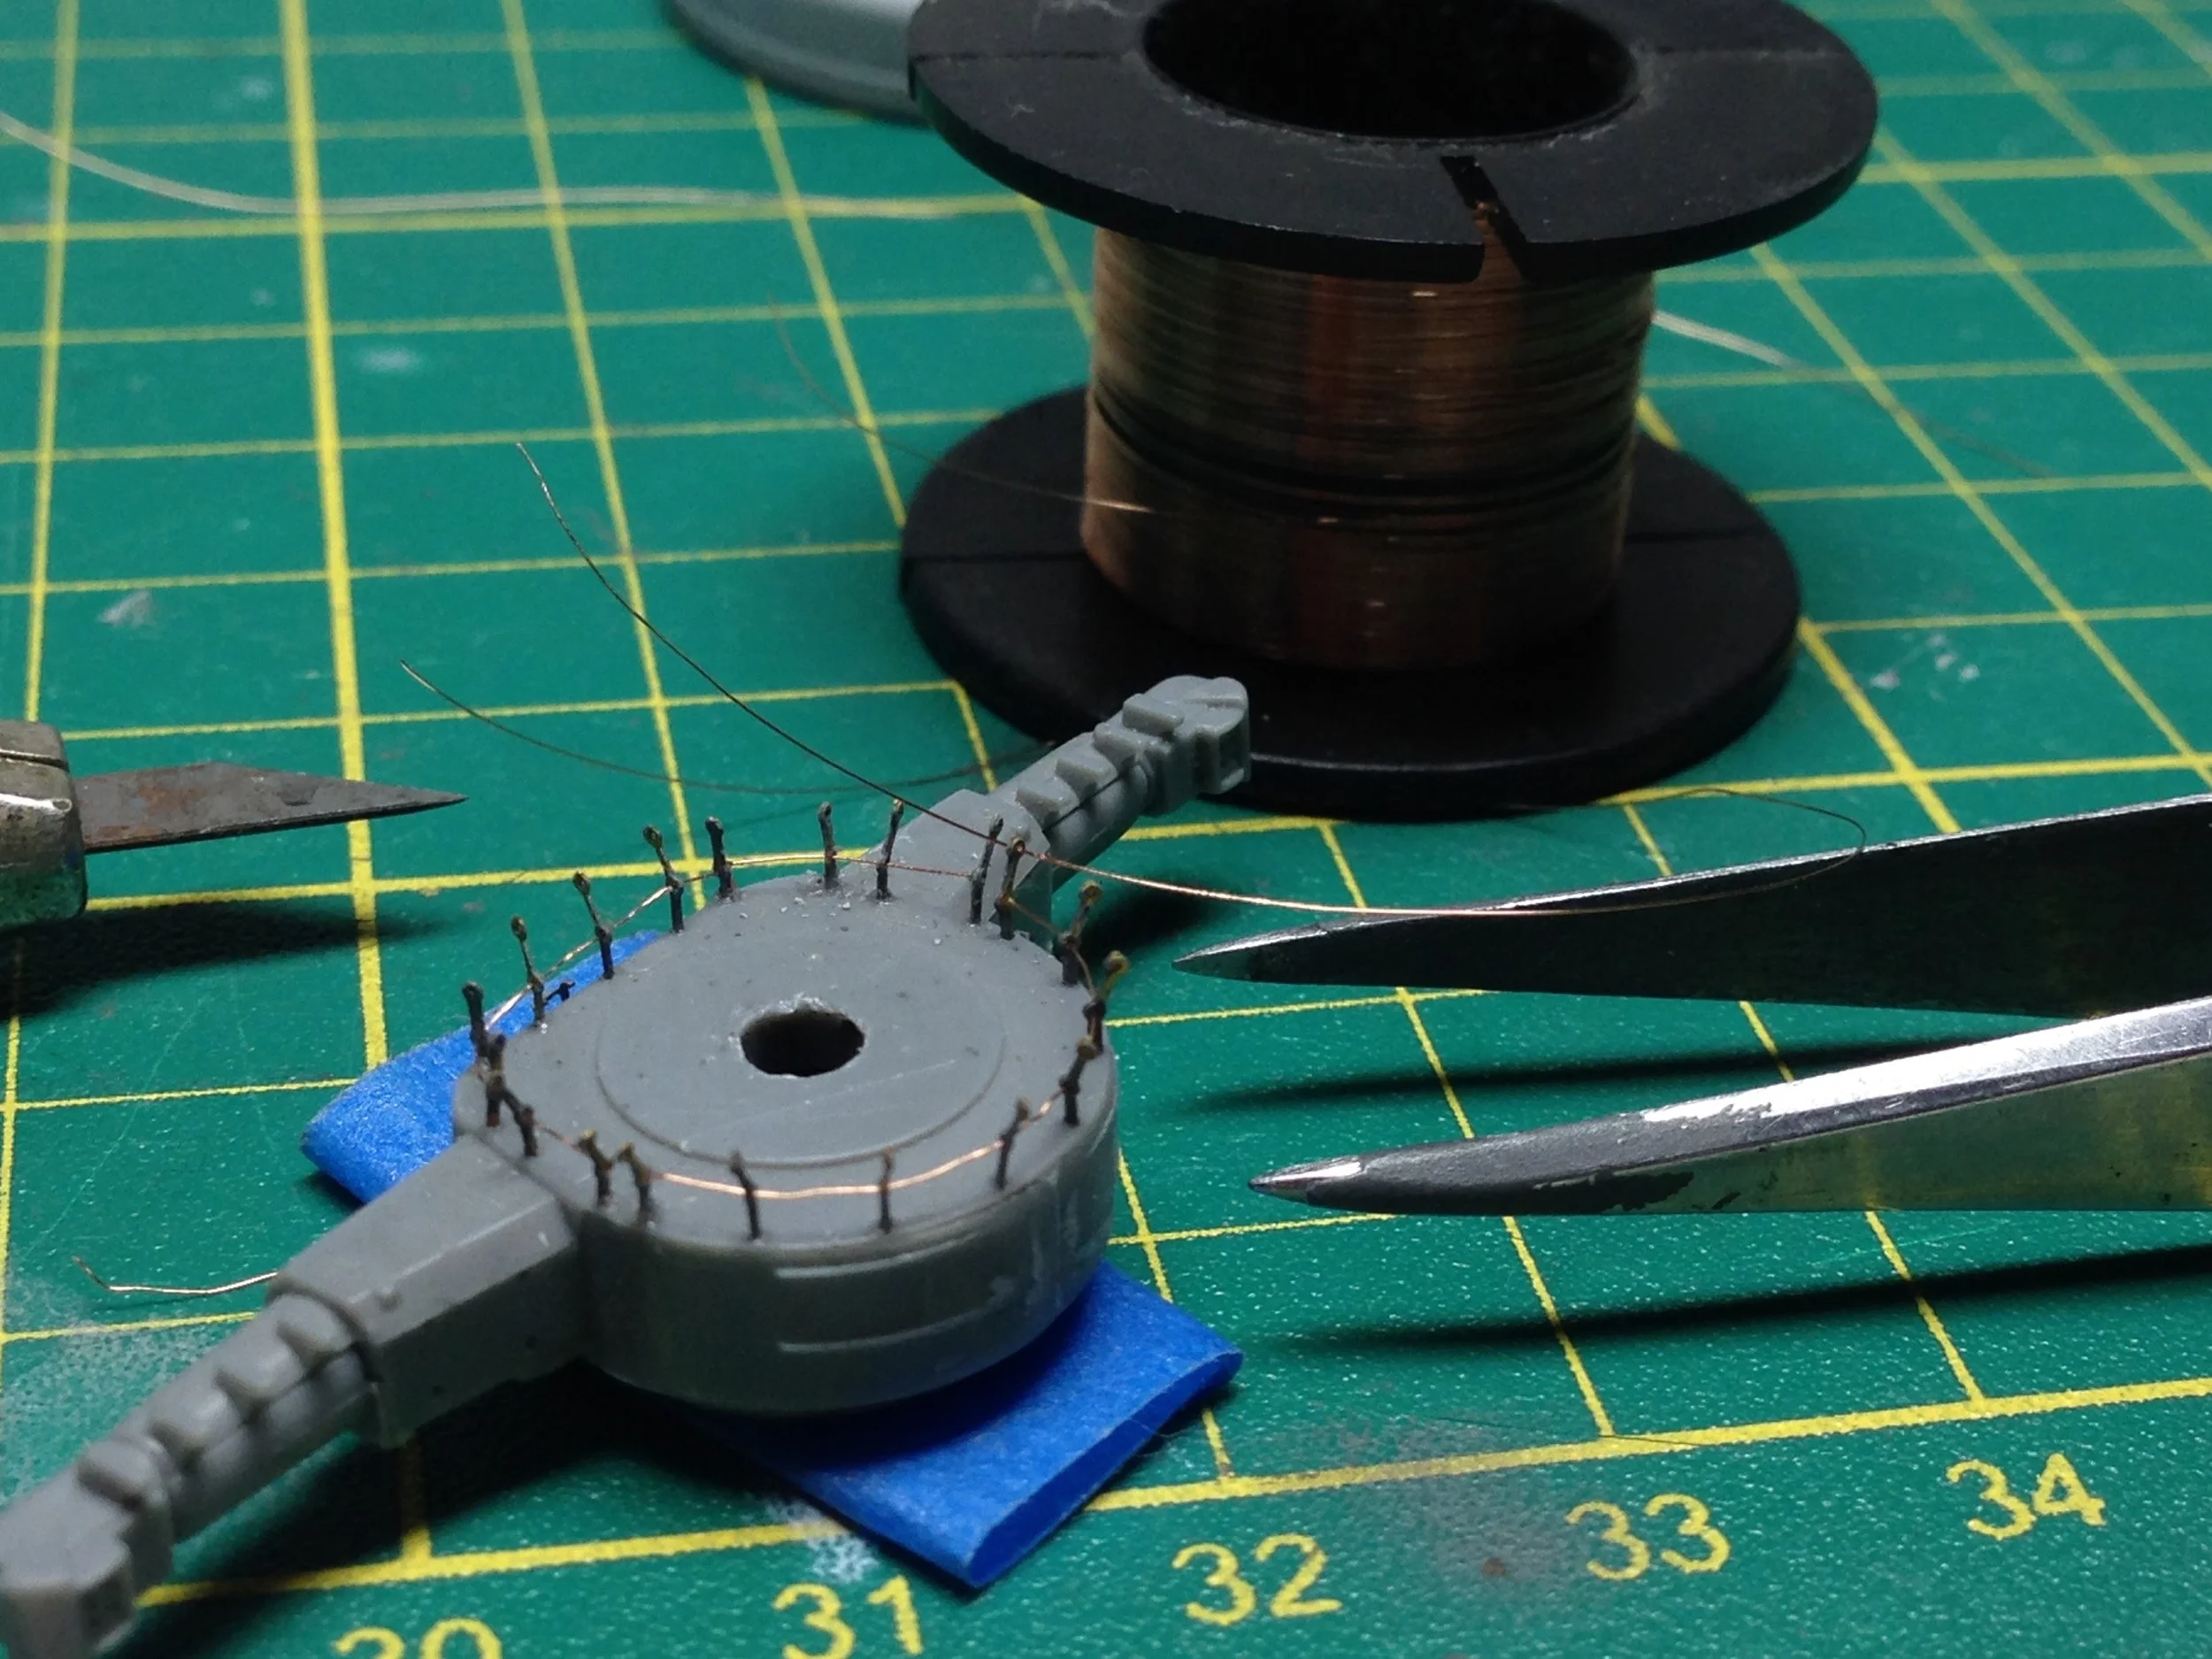
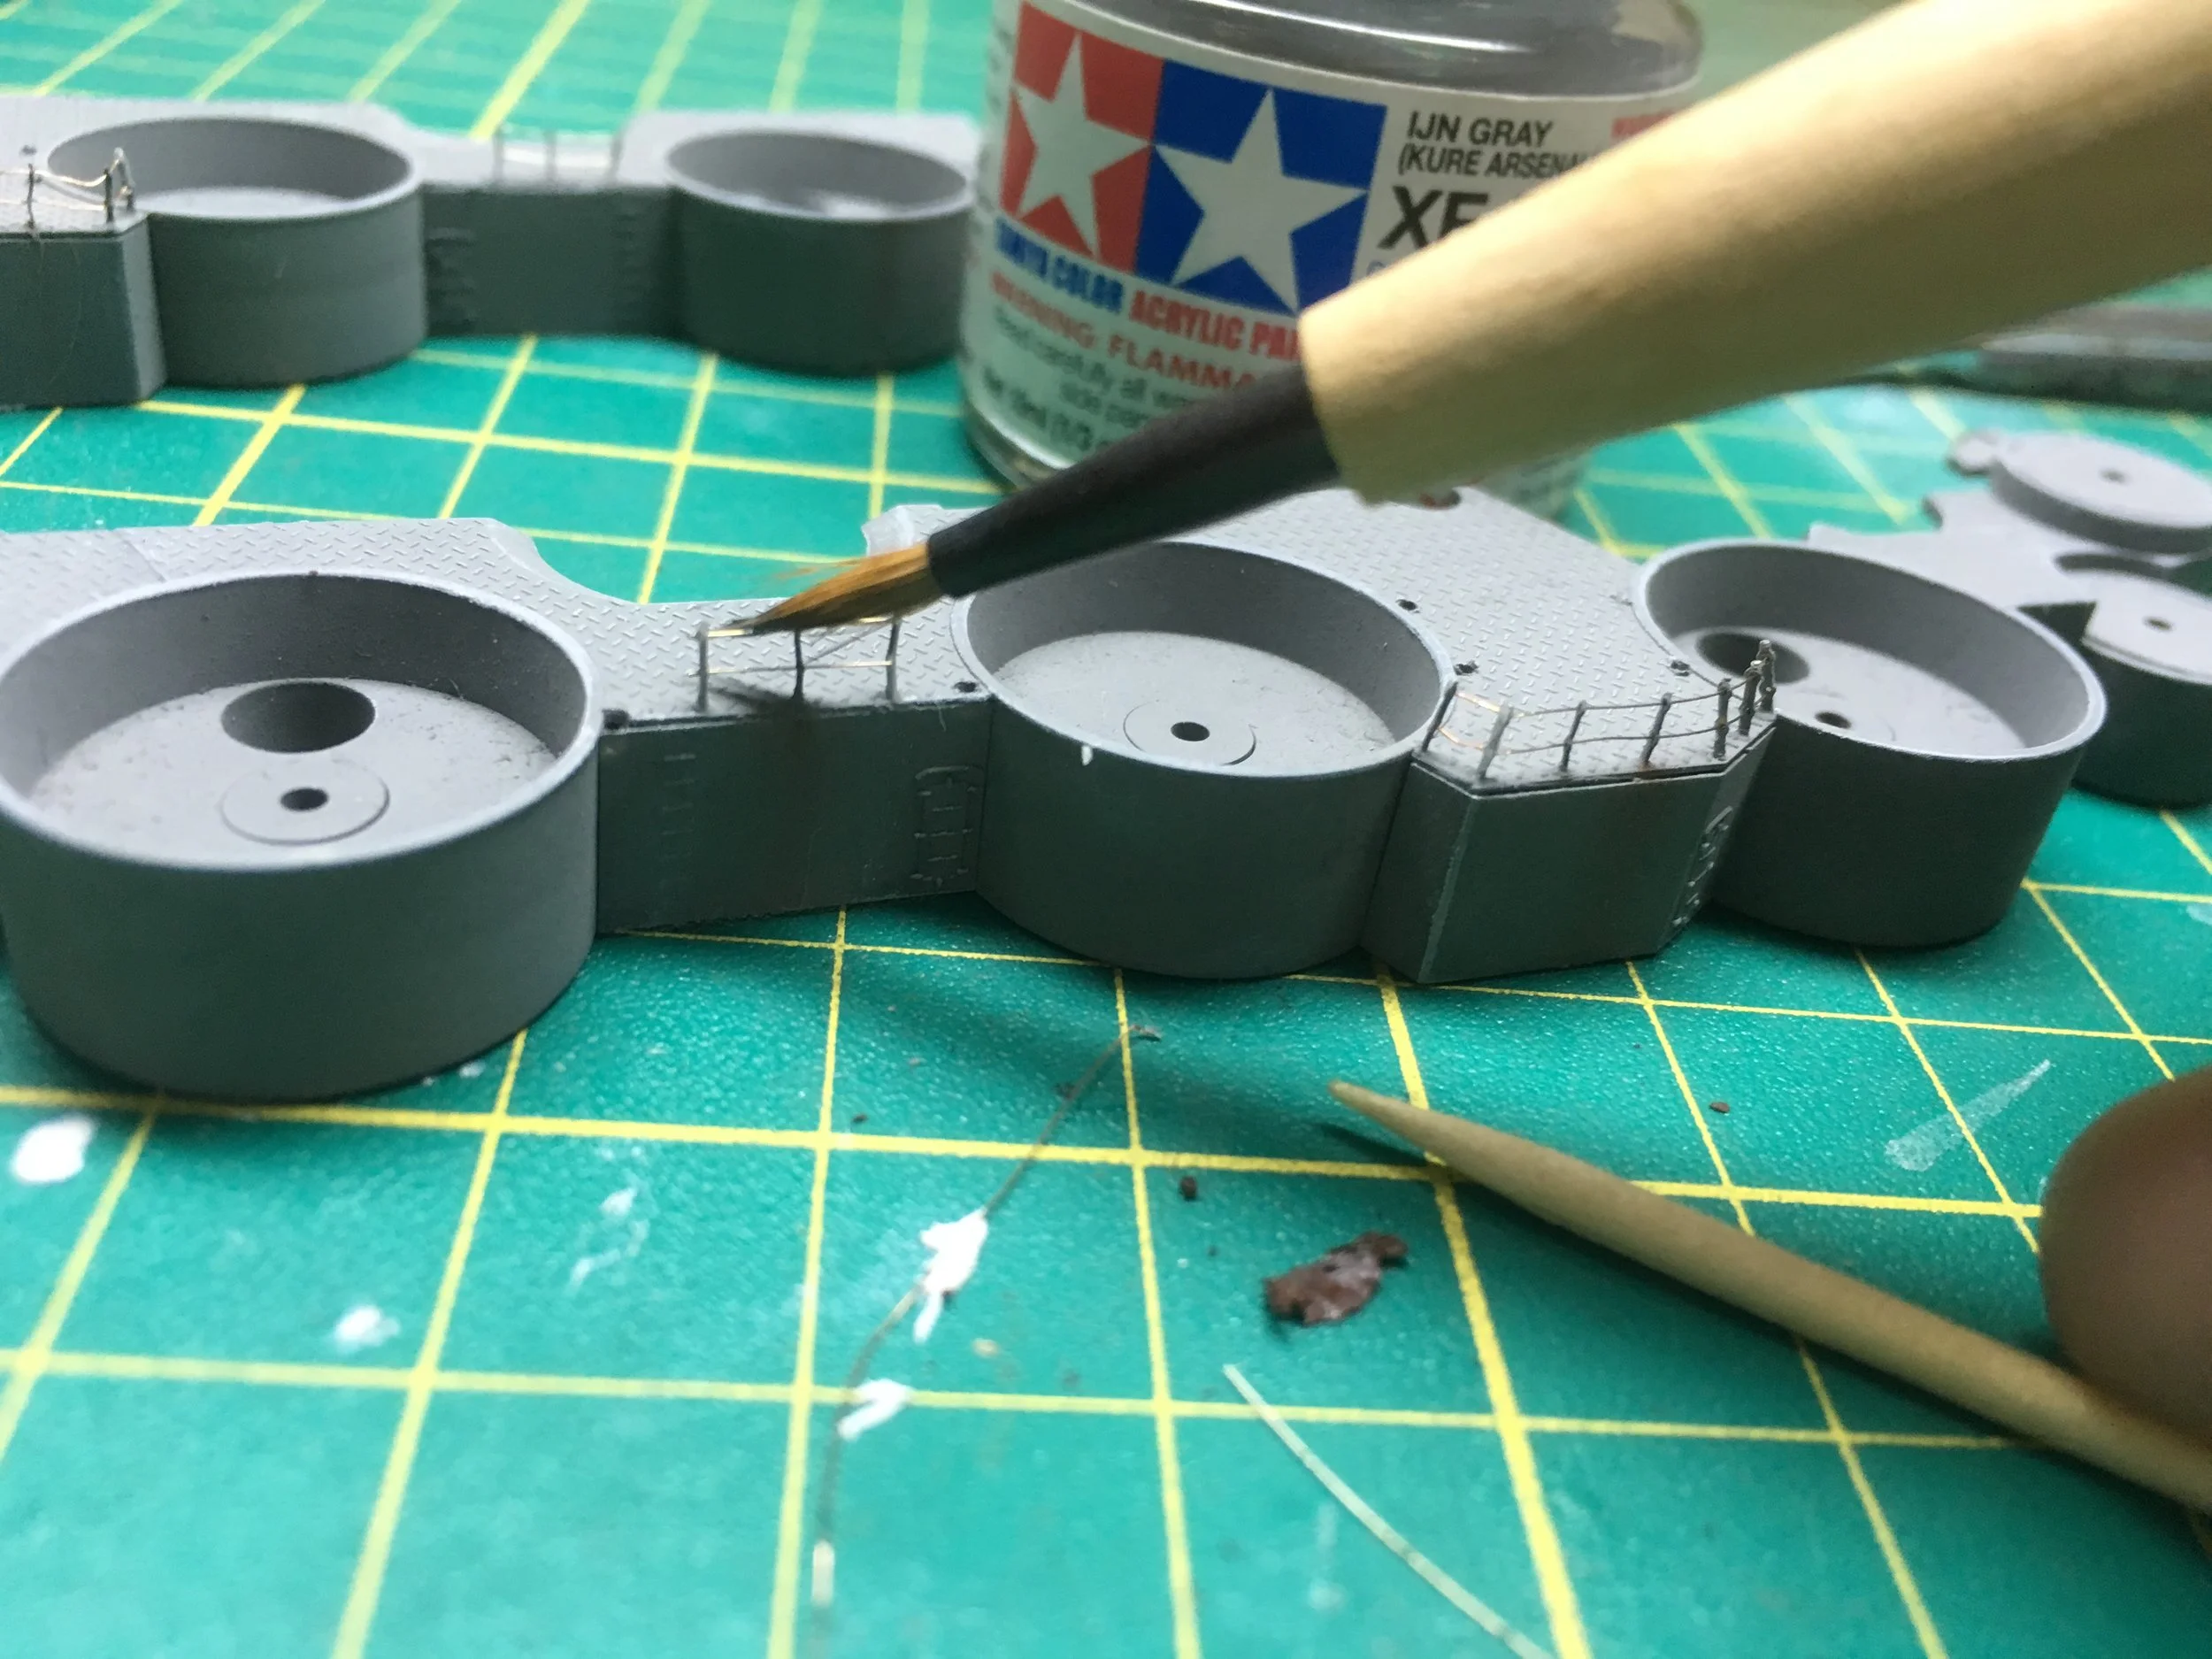
I inserted each post using tweezers, and also, because the hole was so small, the laser couldn't cut it perfectly, so the metal wire wouldn't fit through all the holes; as a result, I had to manually widen several of them using a needle.
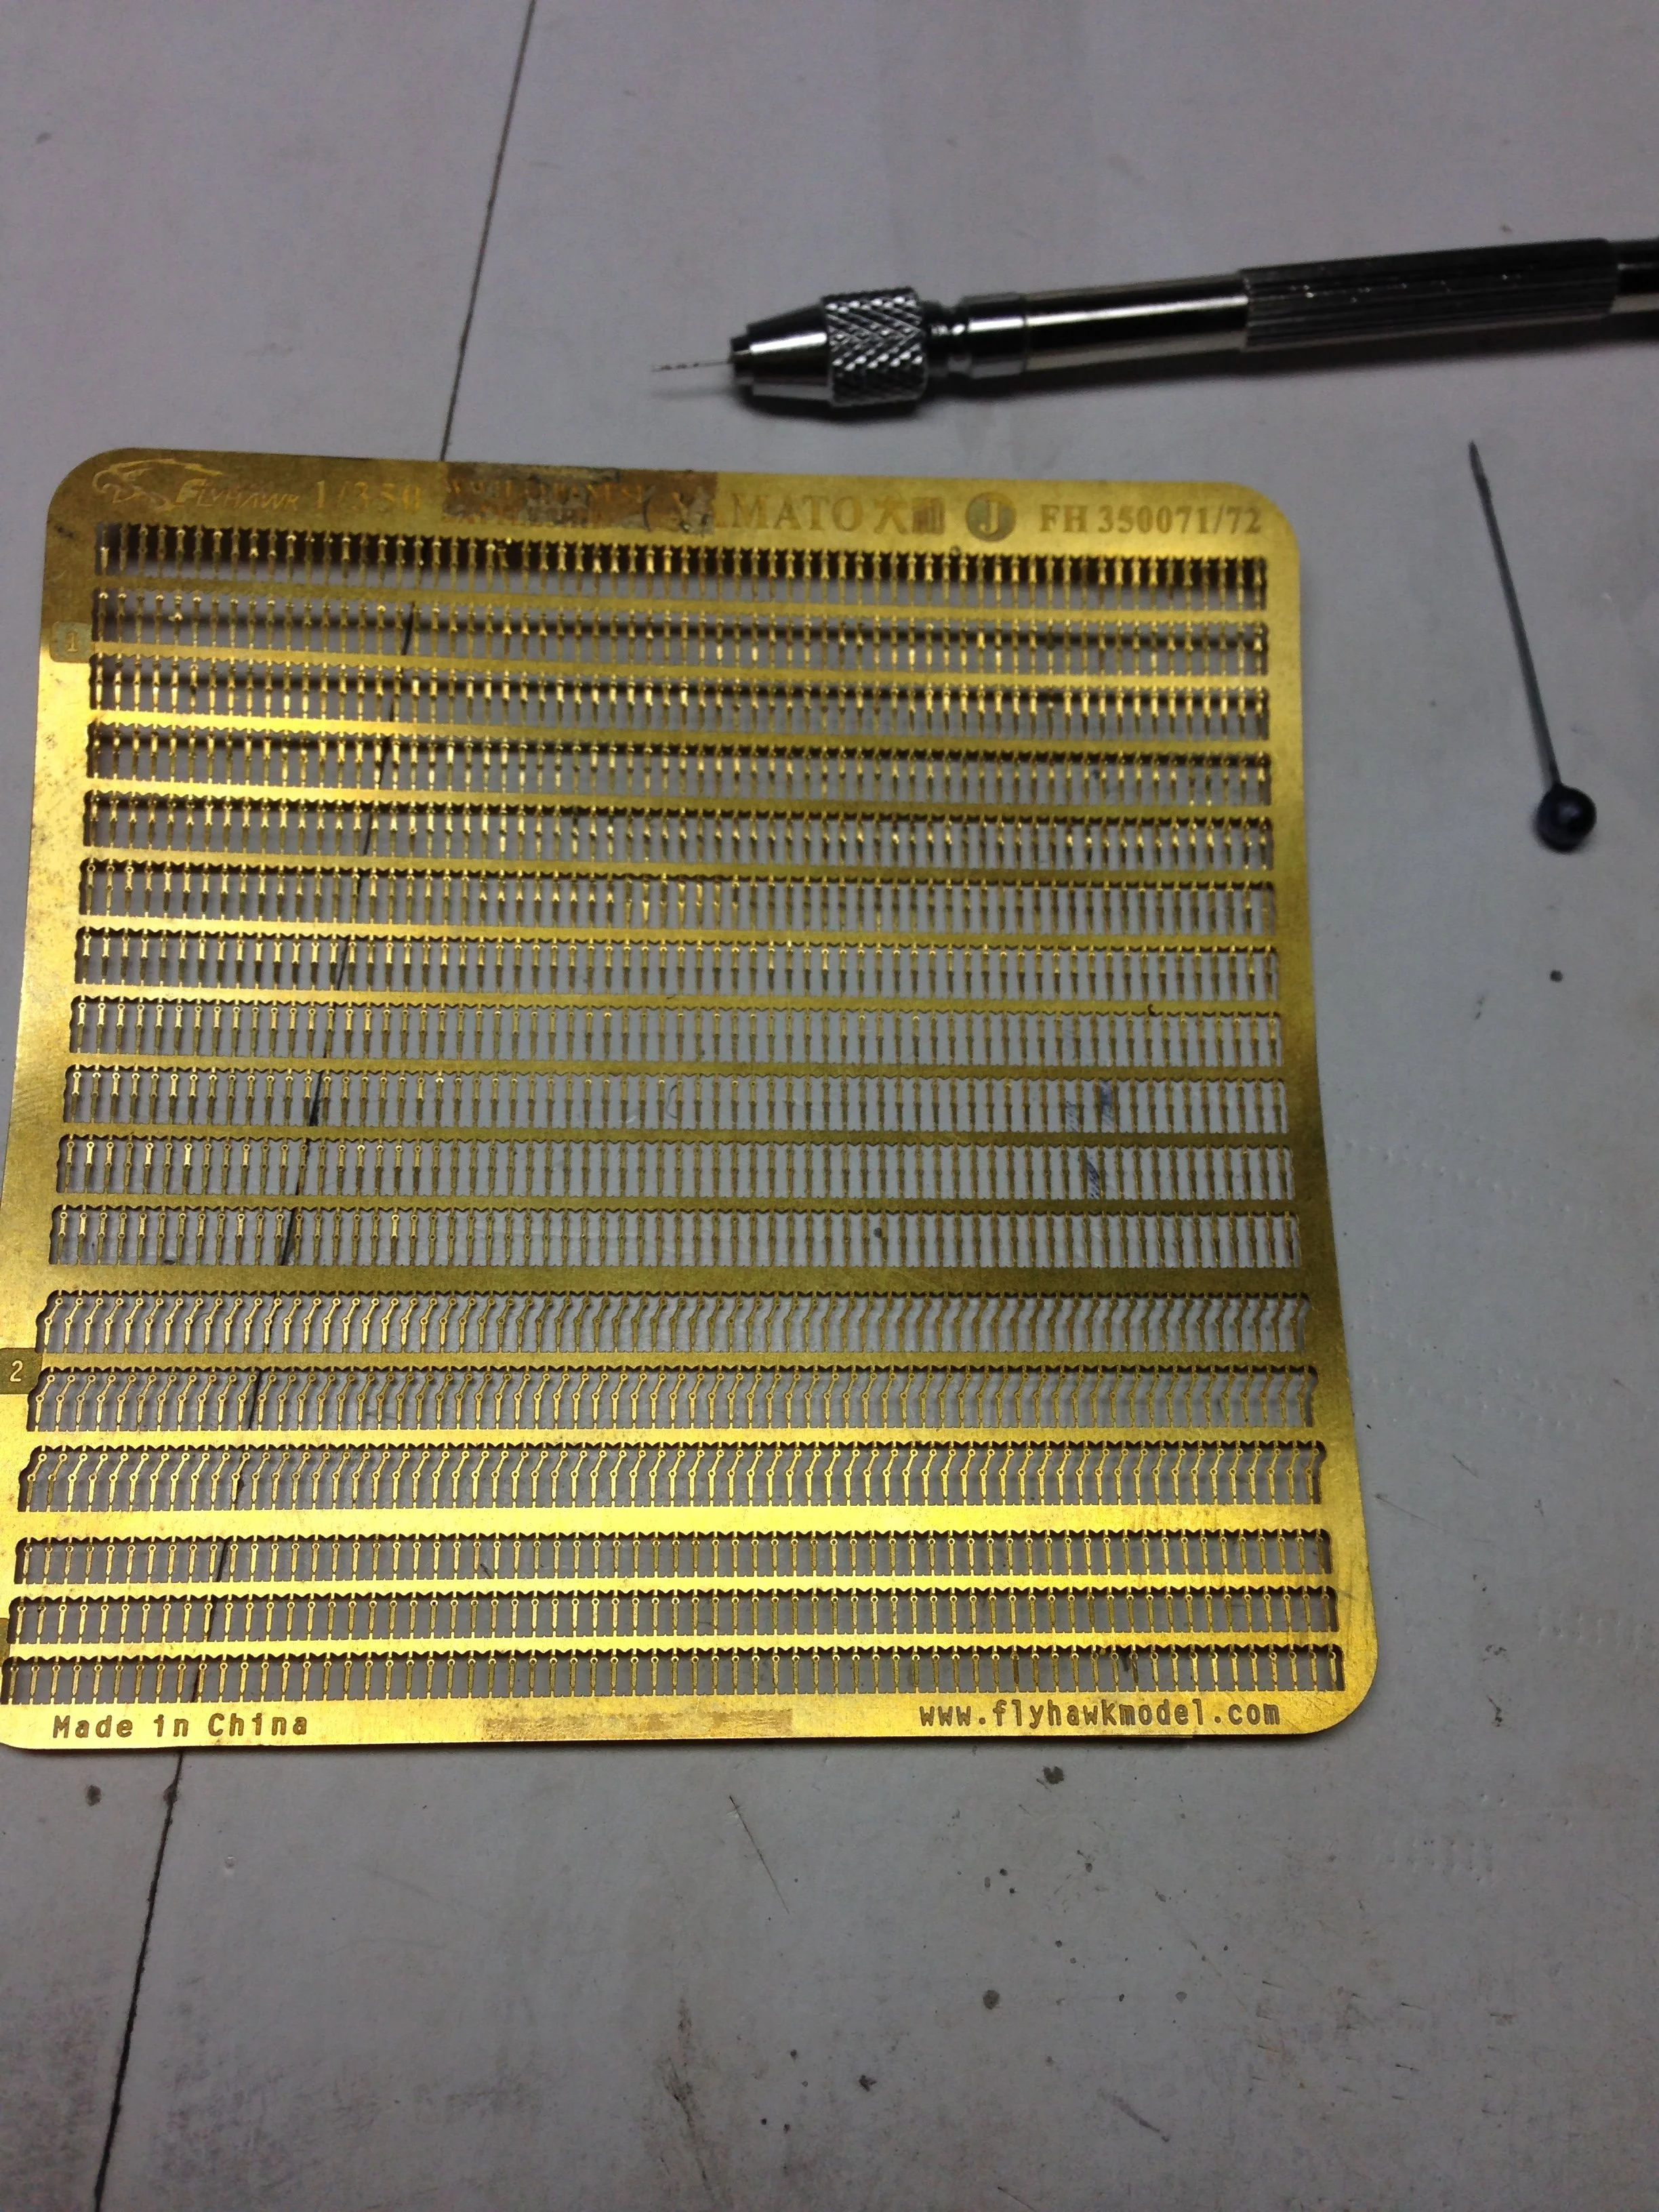
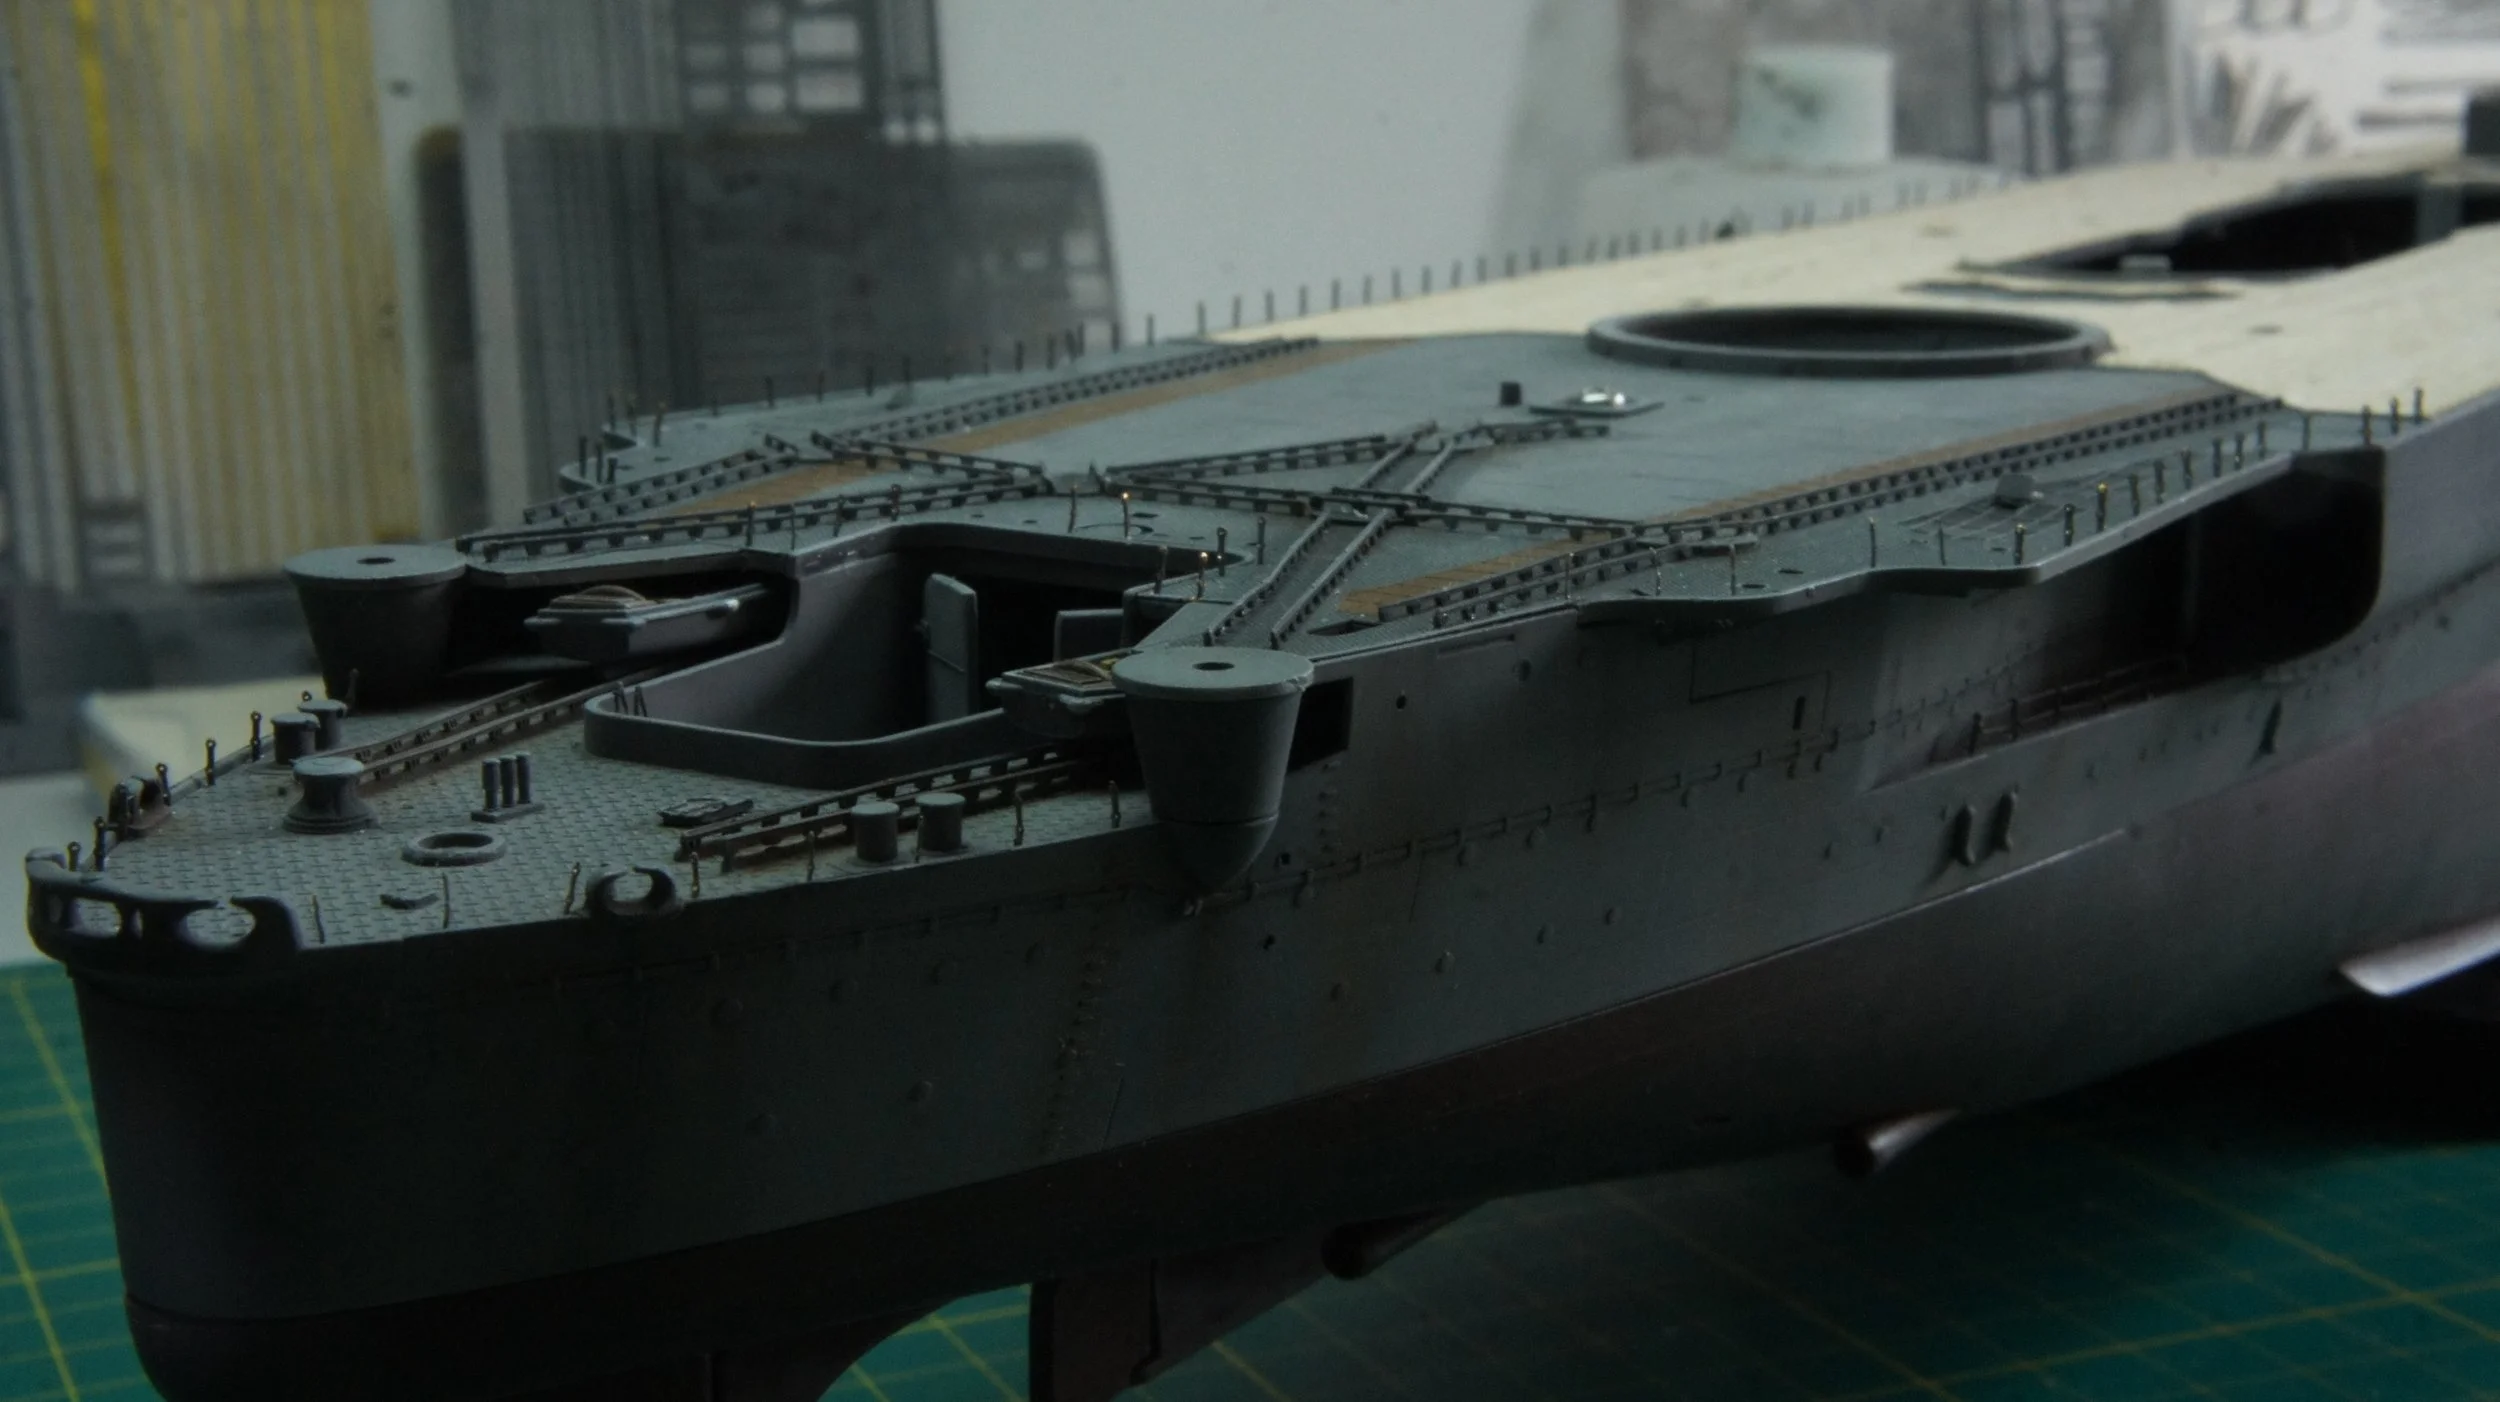
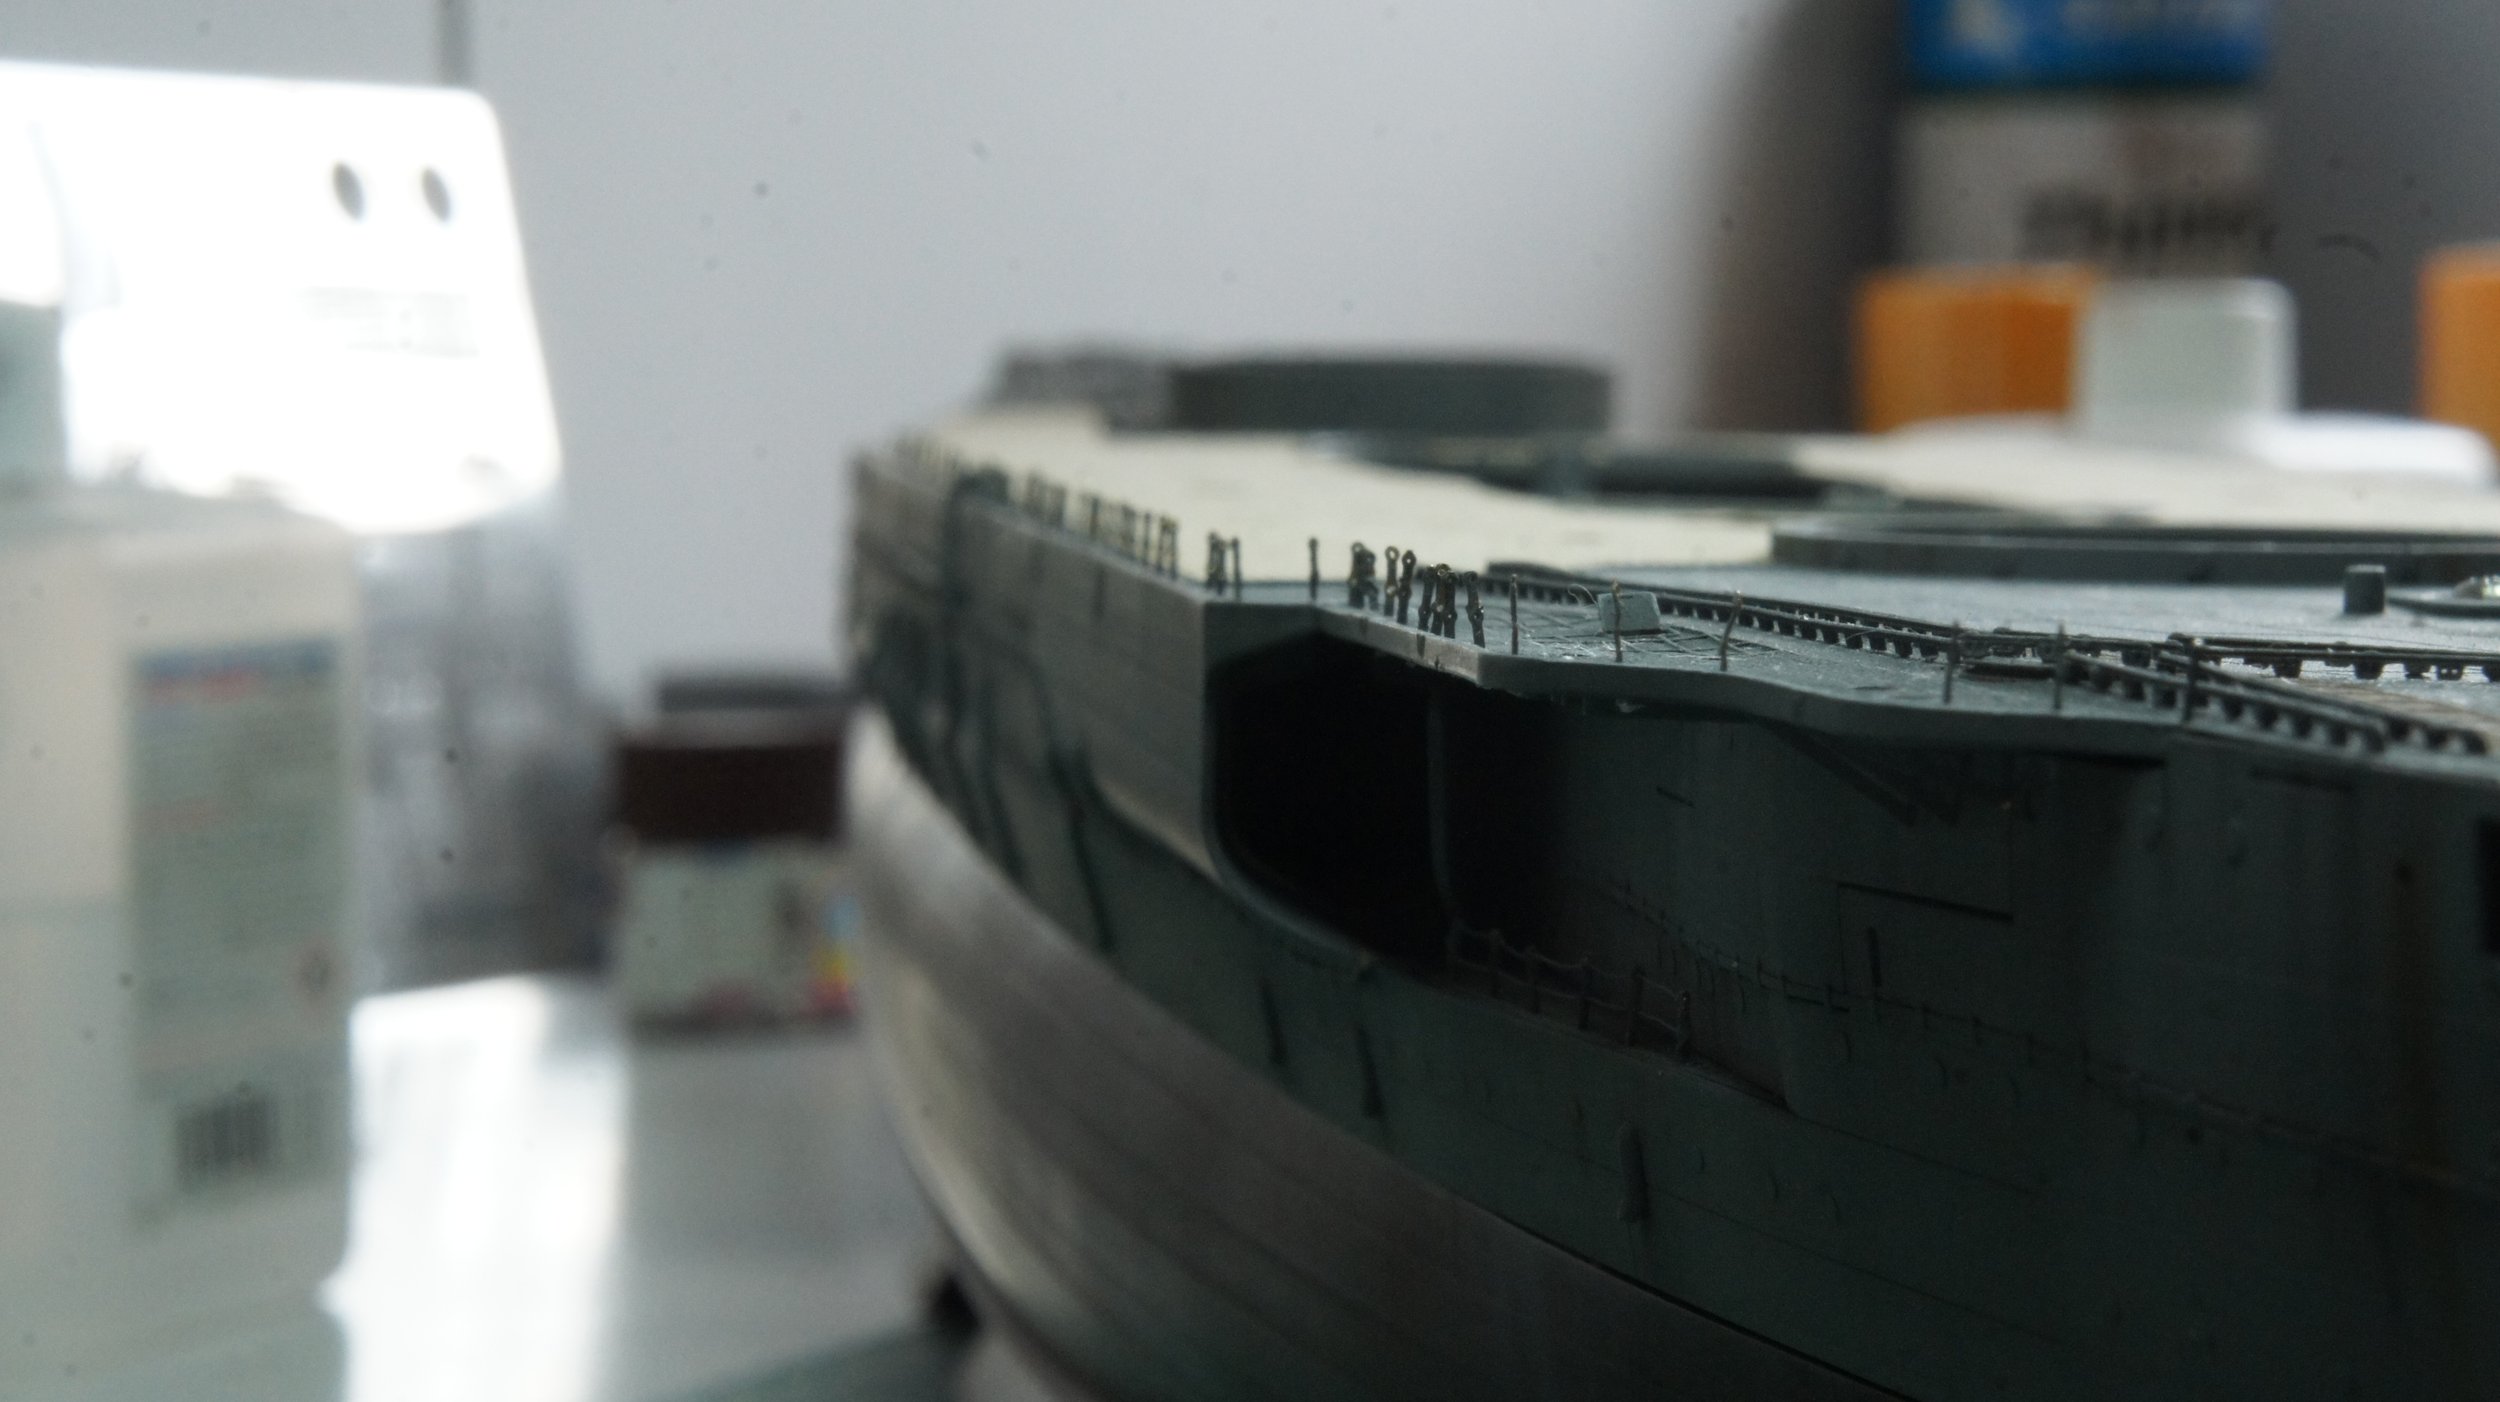
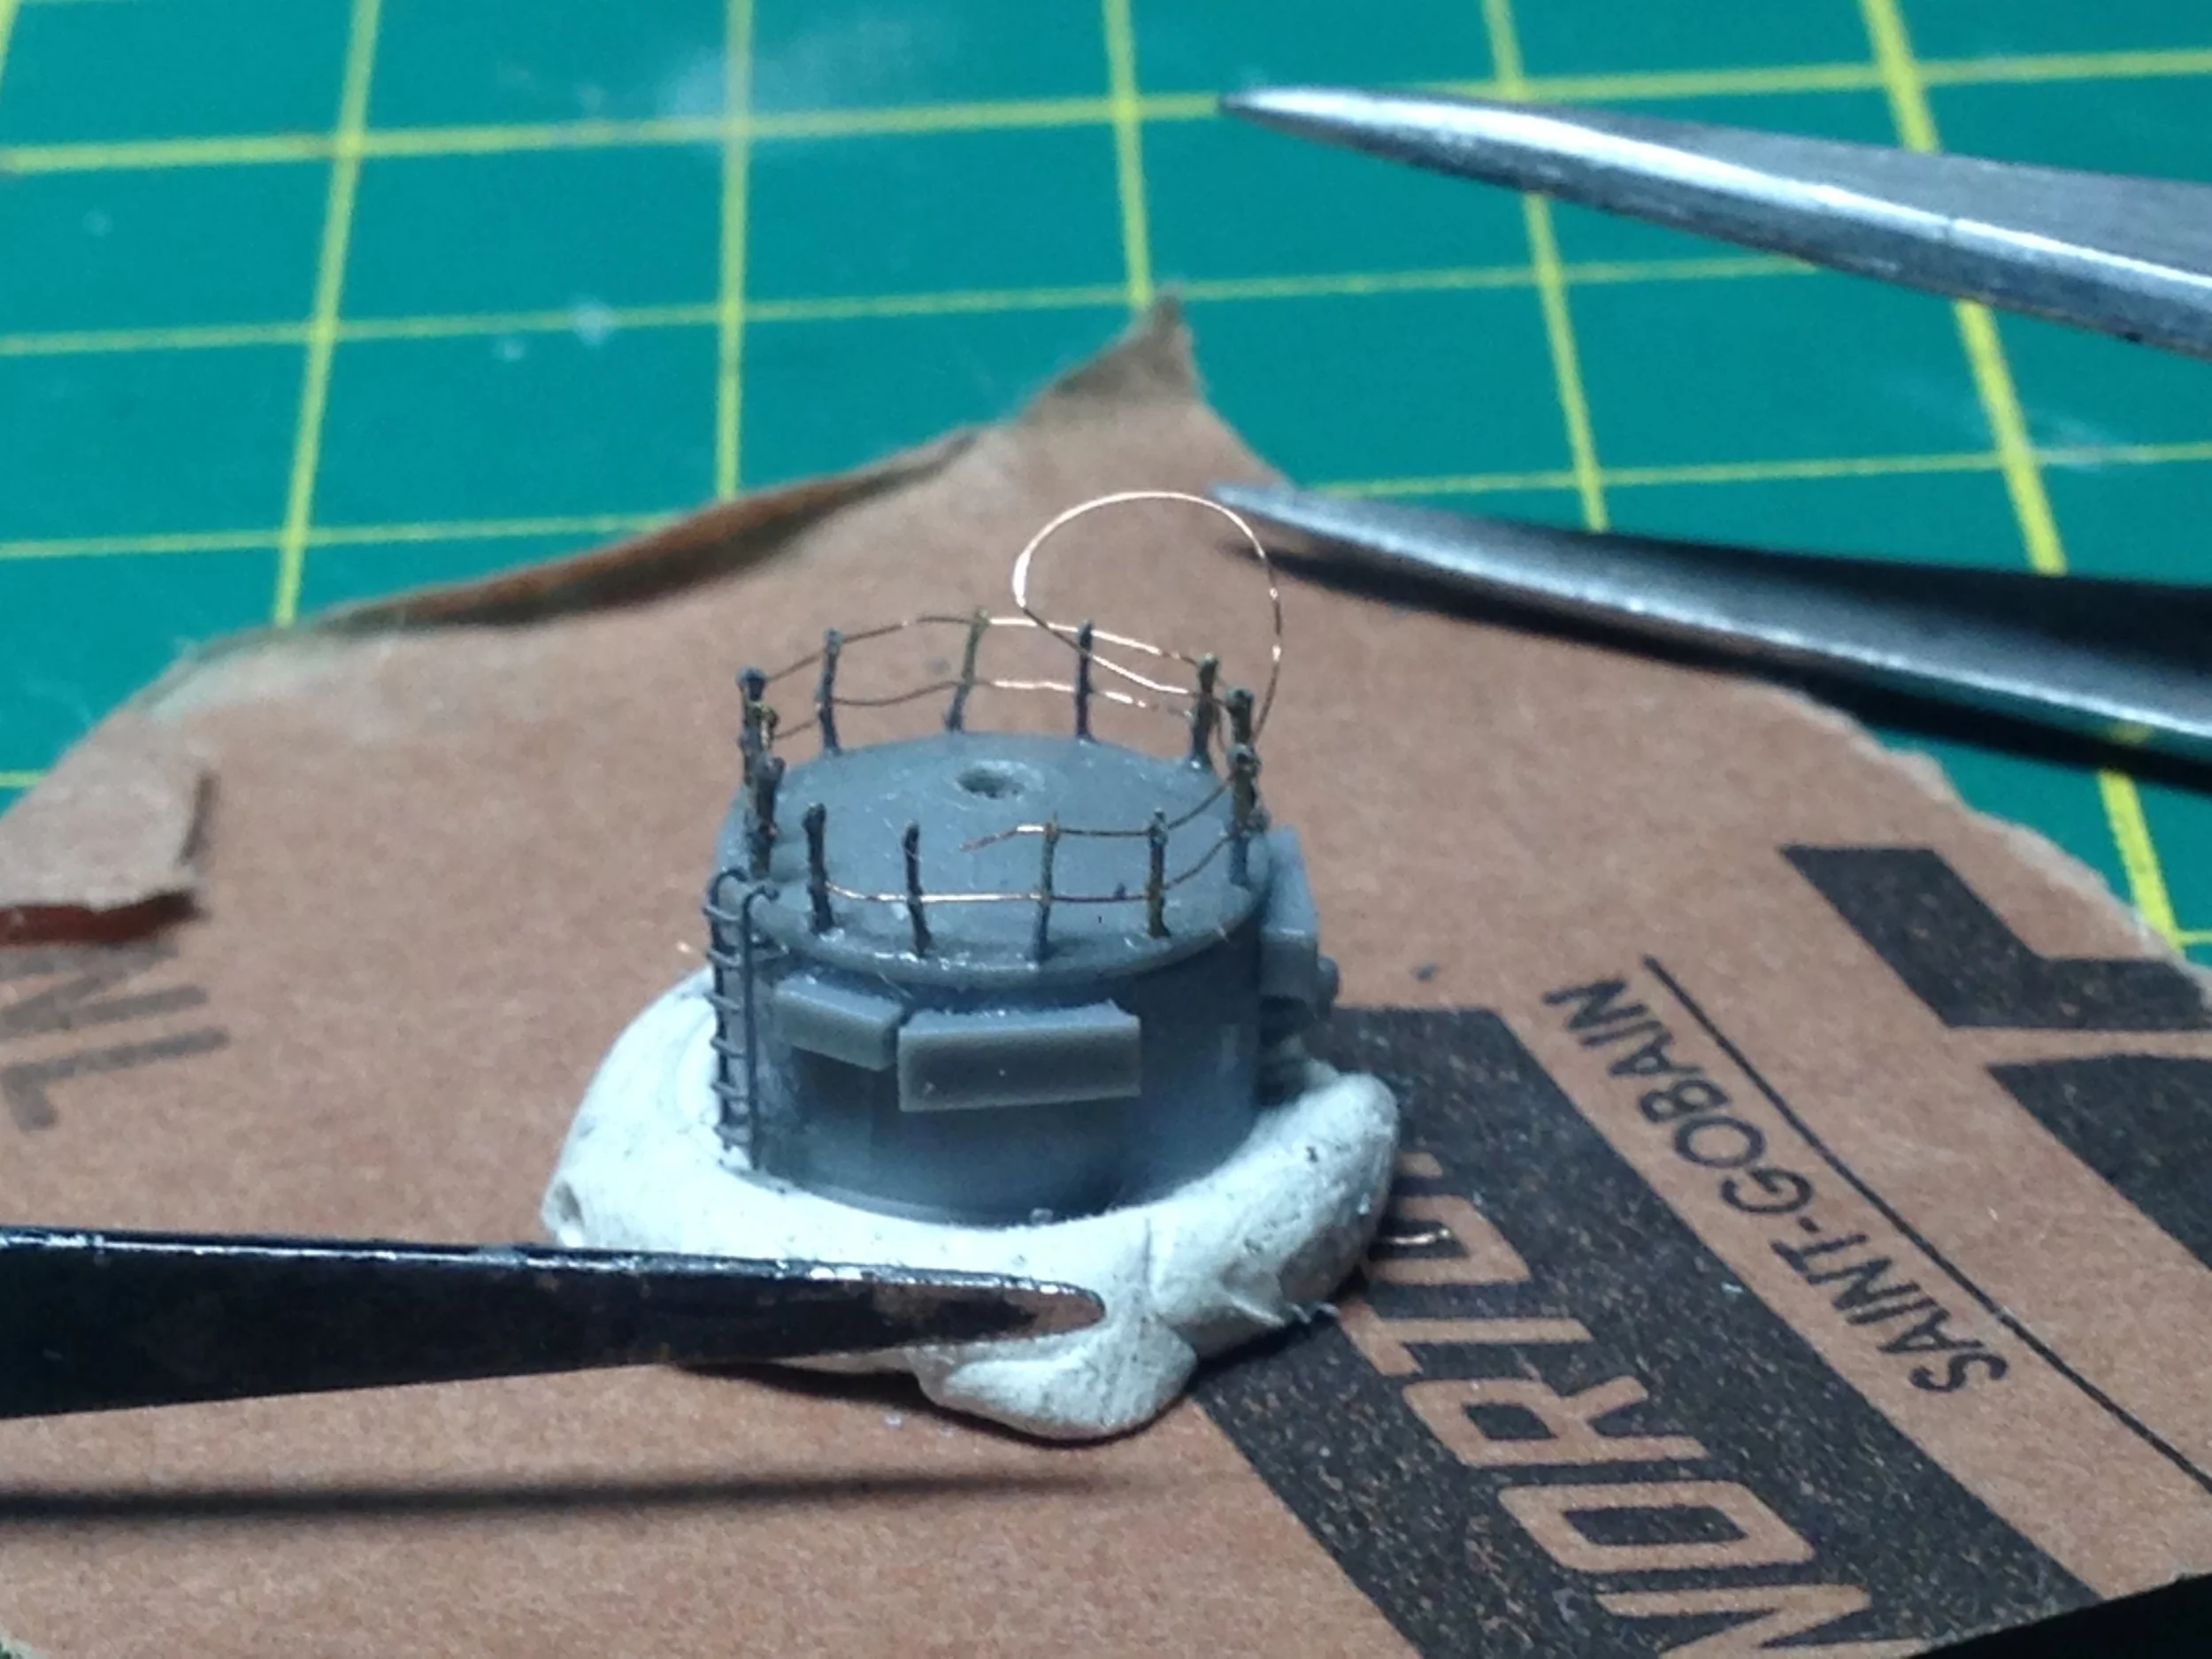
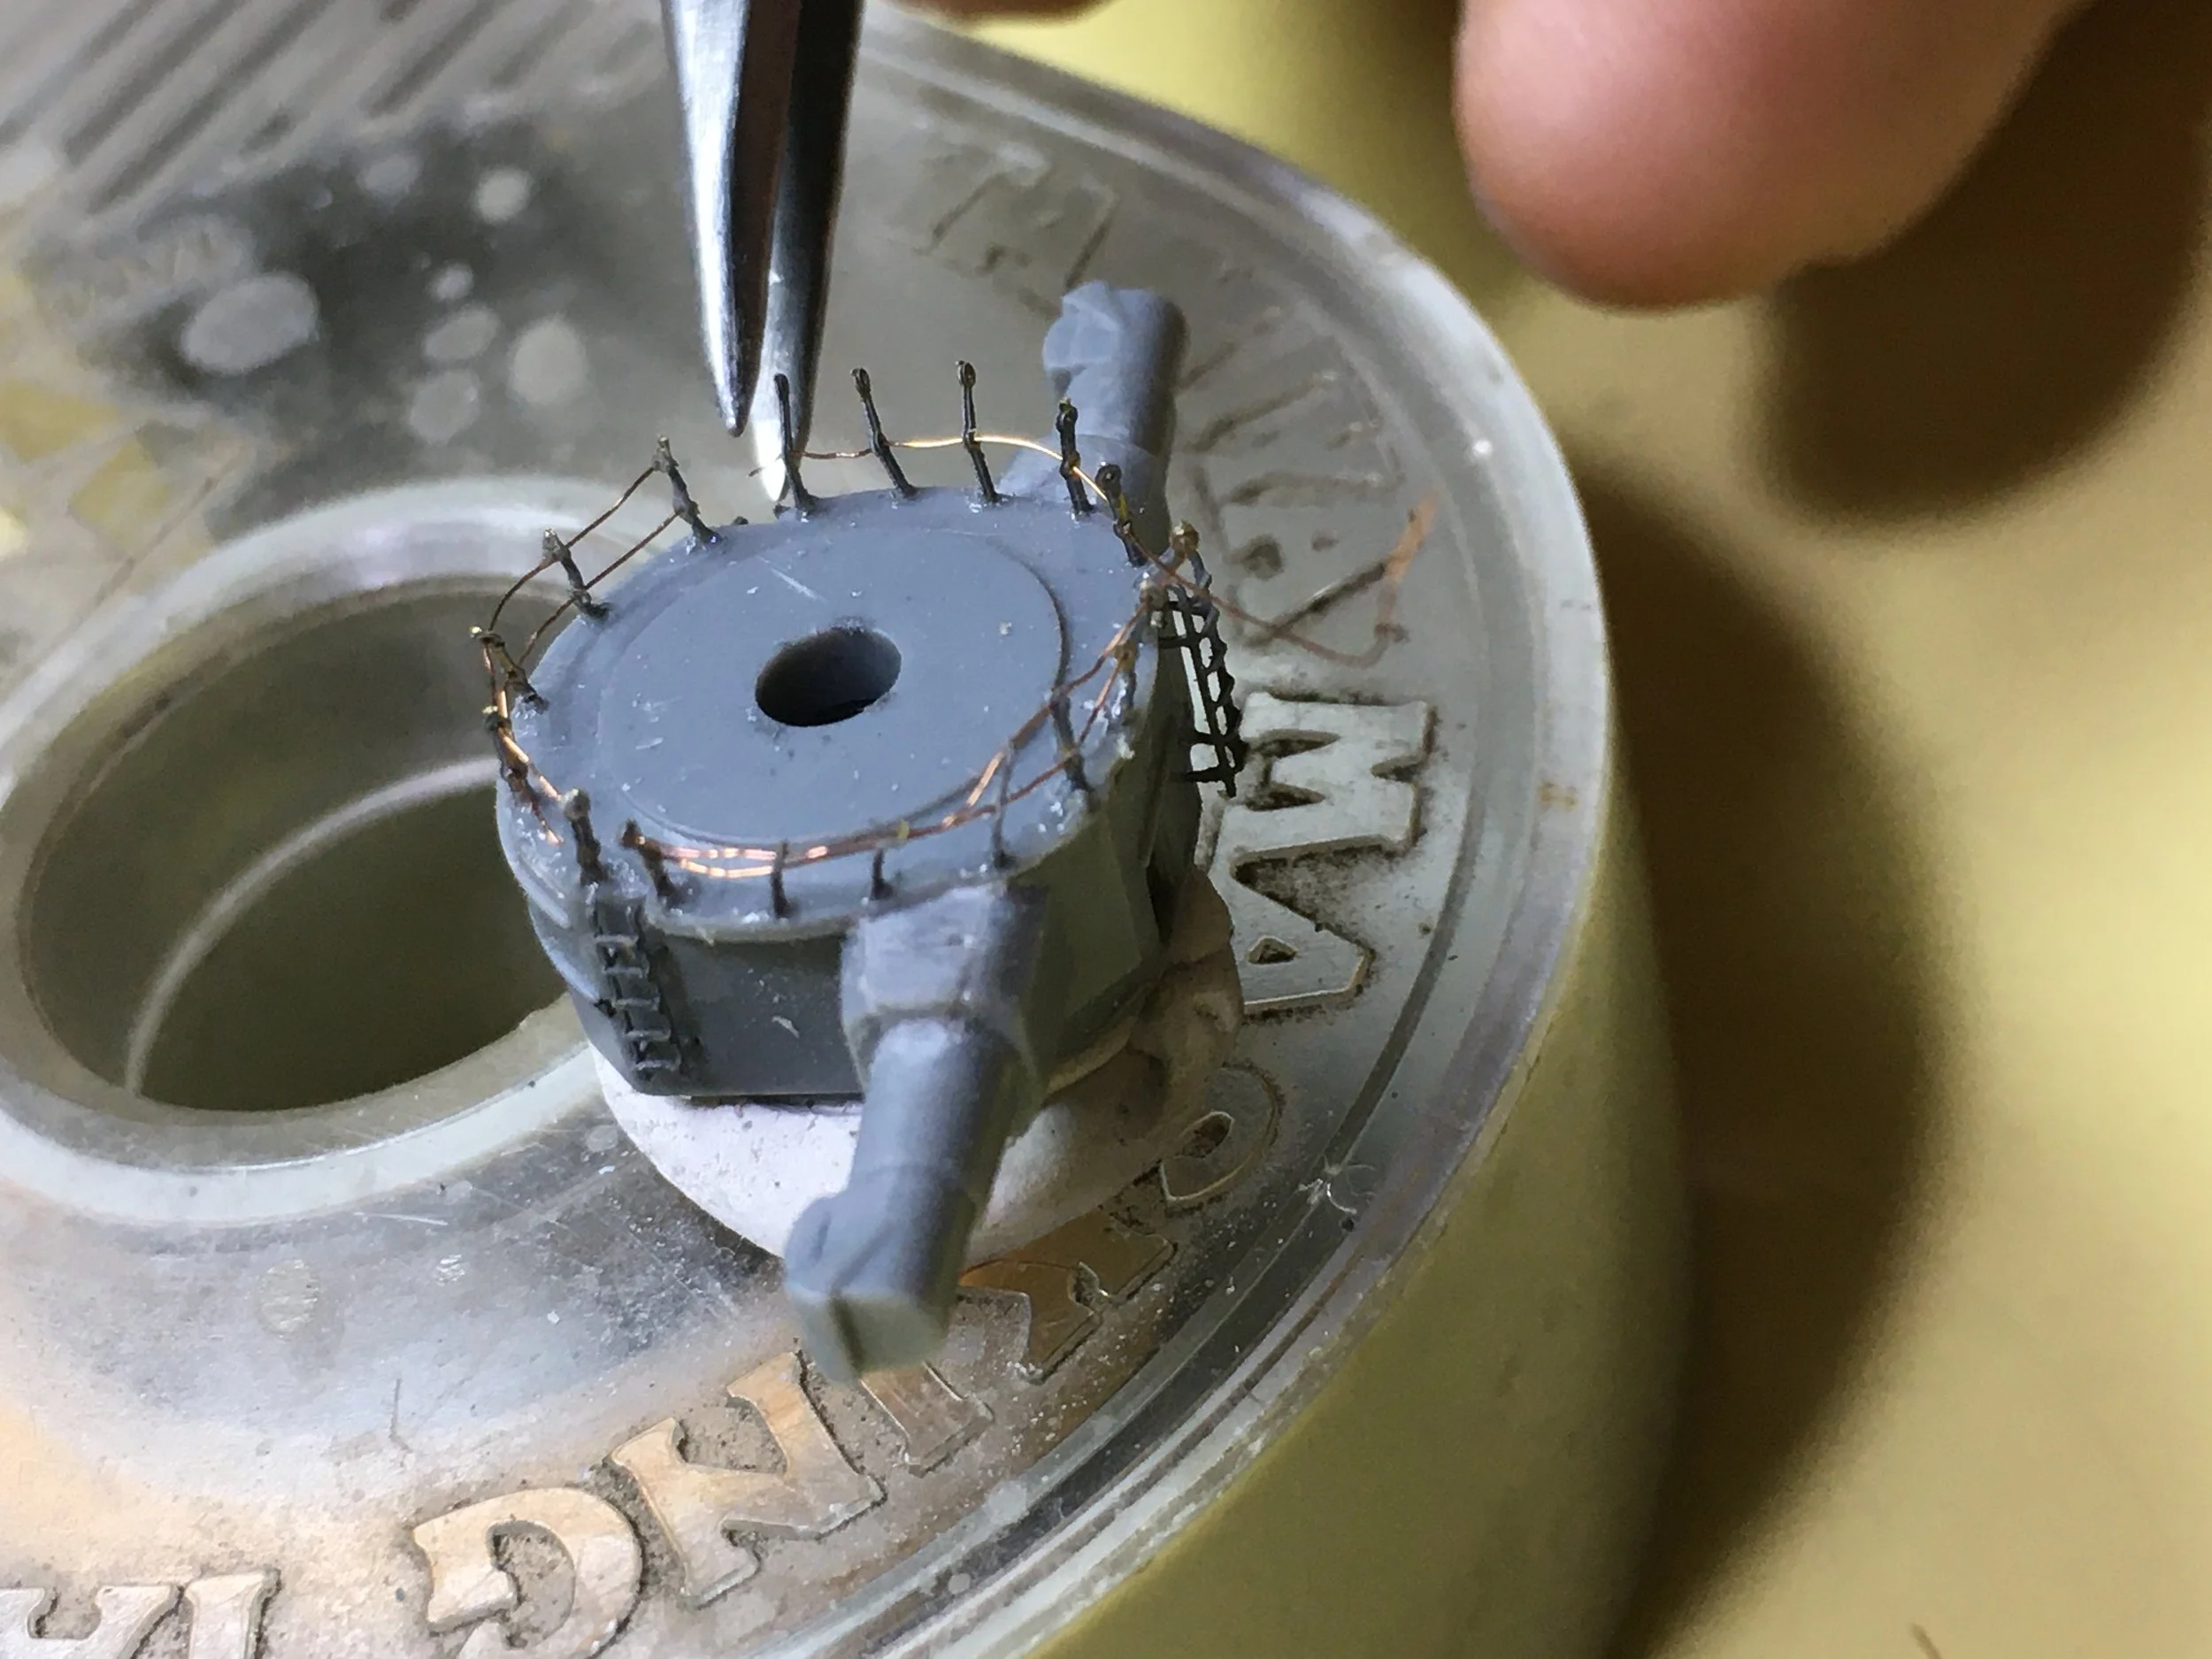
Knitting and trimming:
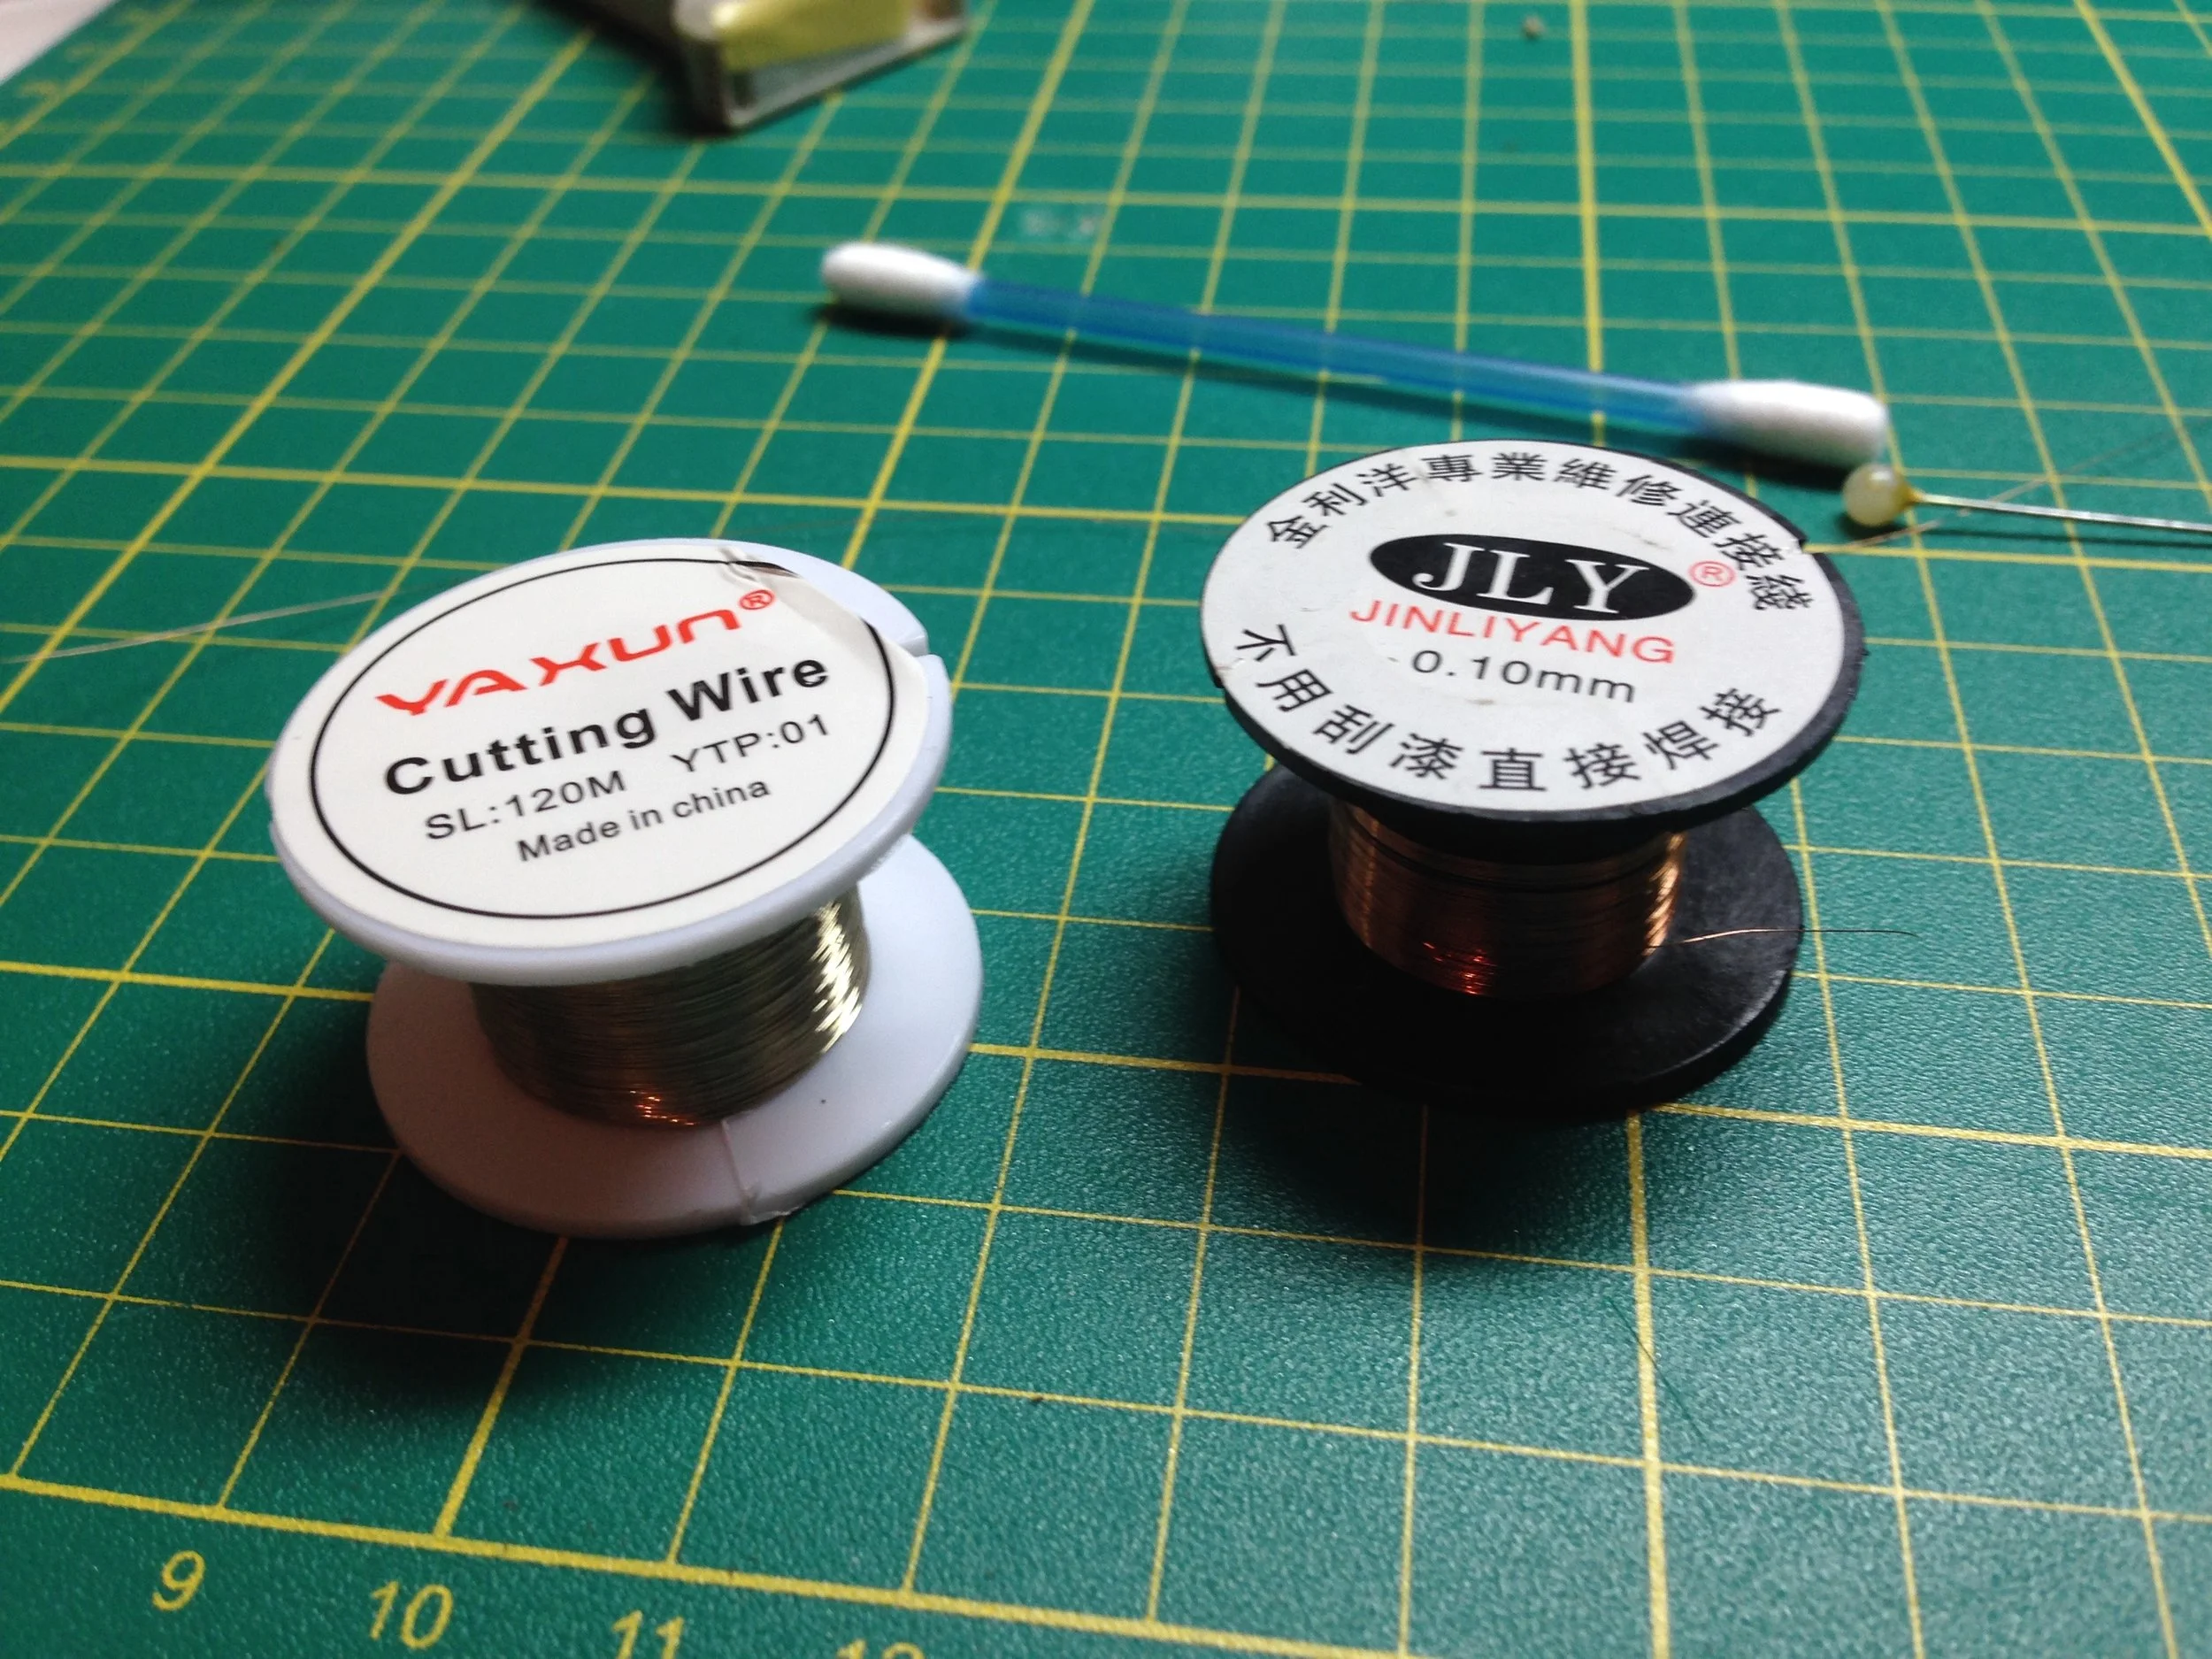
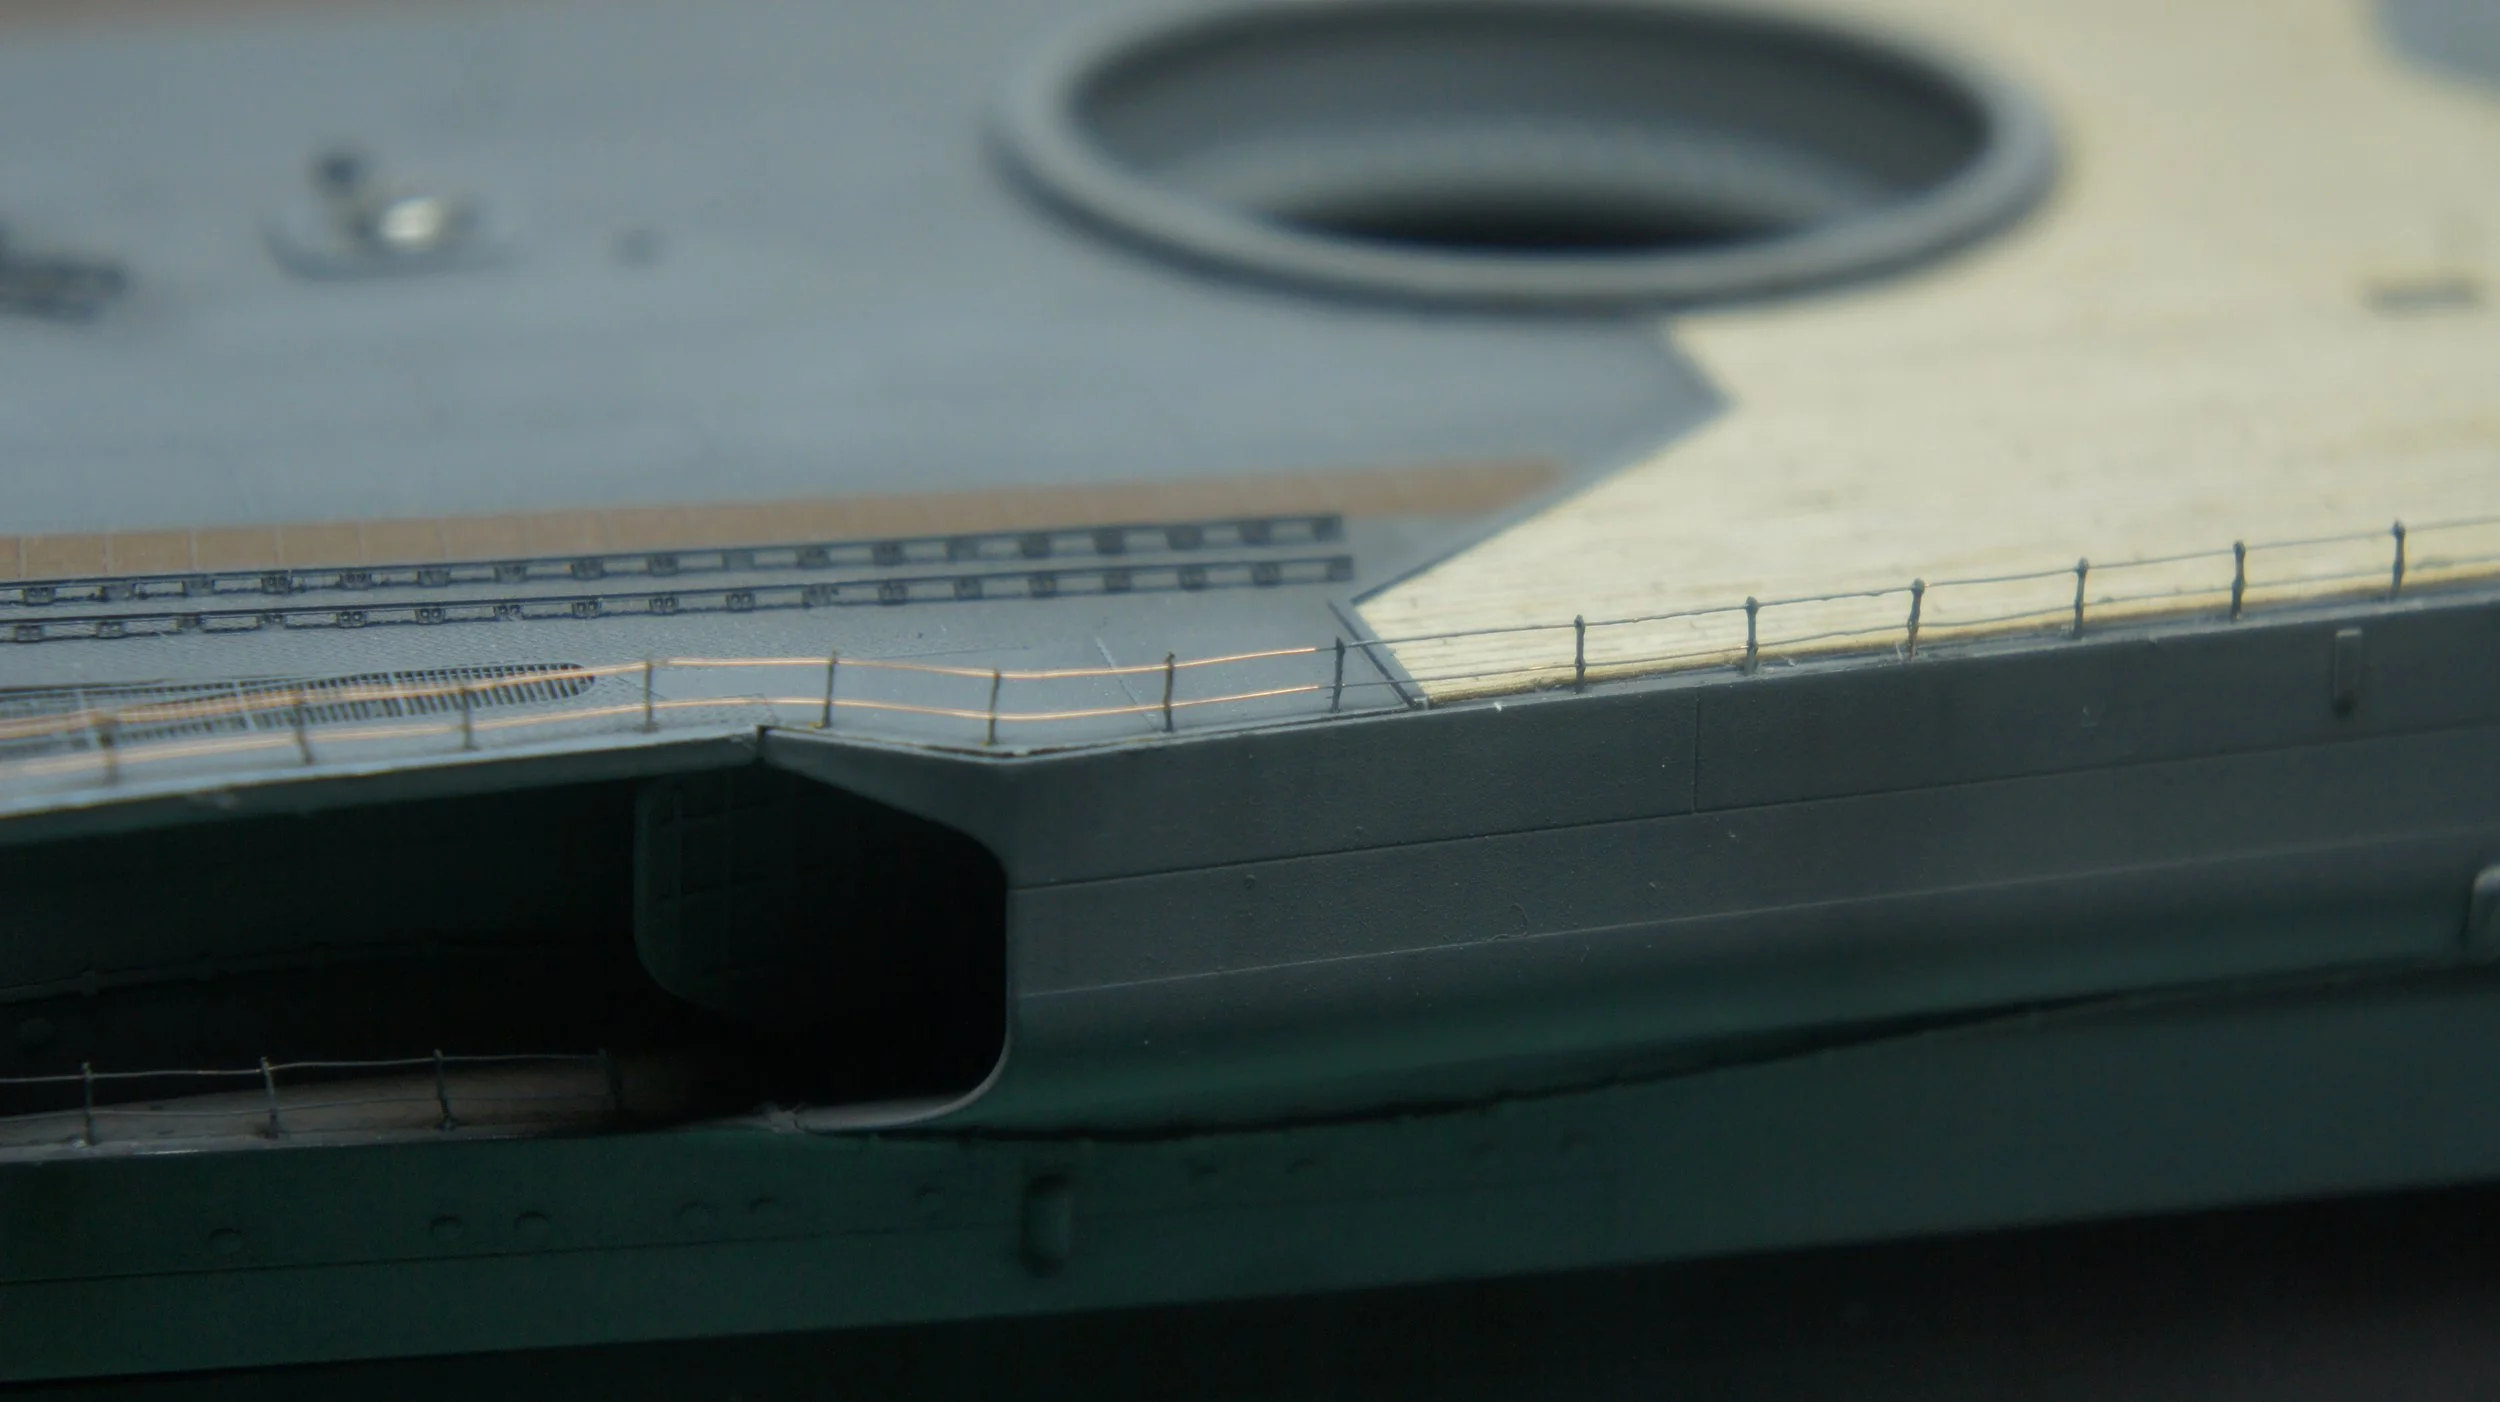
I started soldering the posts with 0.1 mm copper wire. After getting really frustrated, I ordered another spool, this time of stainless steel. That one was easier to work with, but I couldn’t make very sharp bends, so I mixed both materials depending on the situation.
This task plagued me throughout the entire process of building the diorama, since the cracks were present in many places
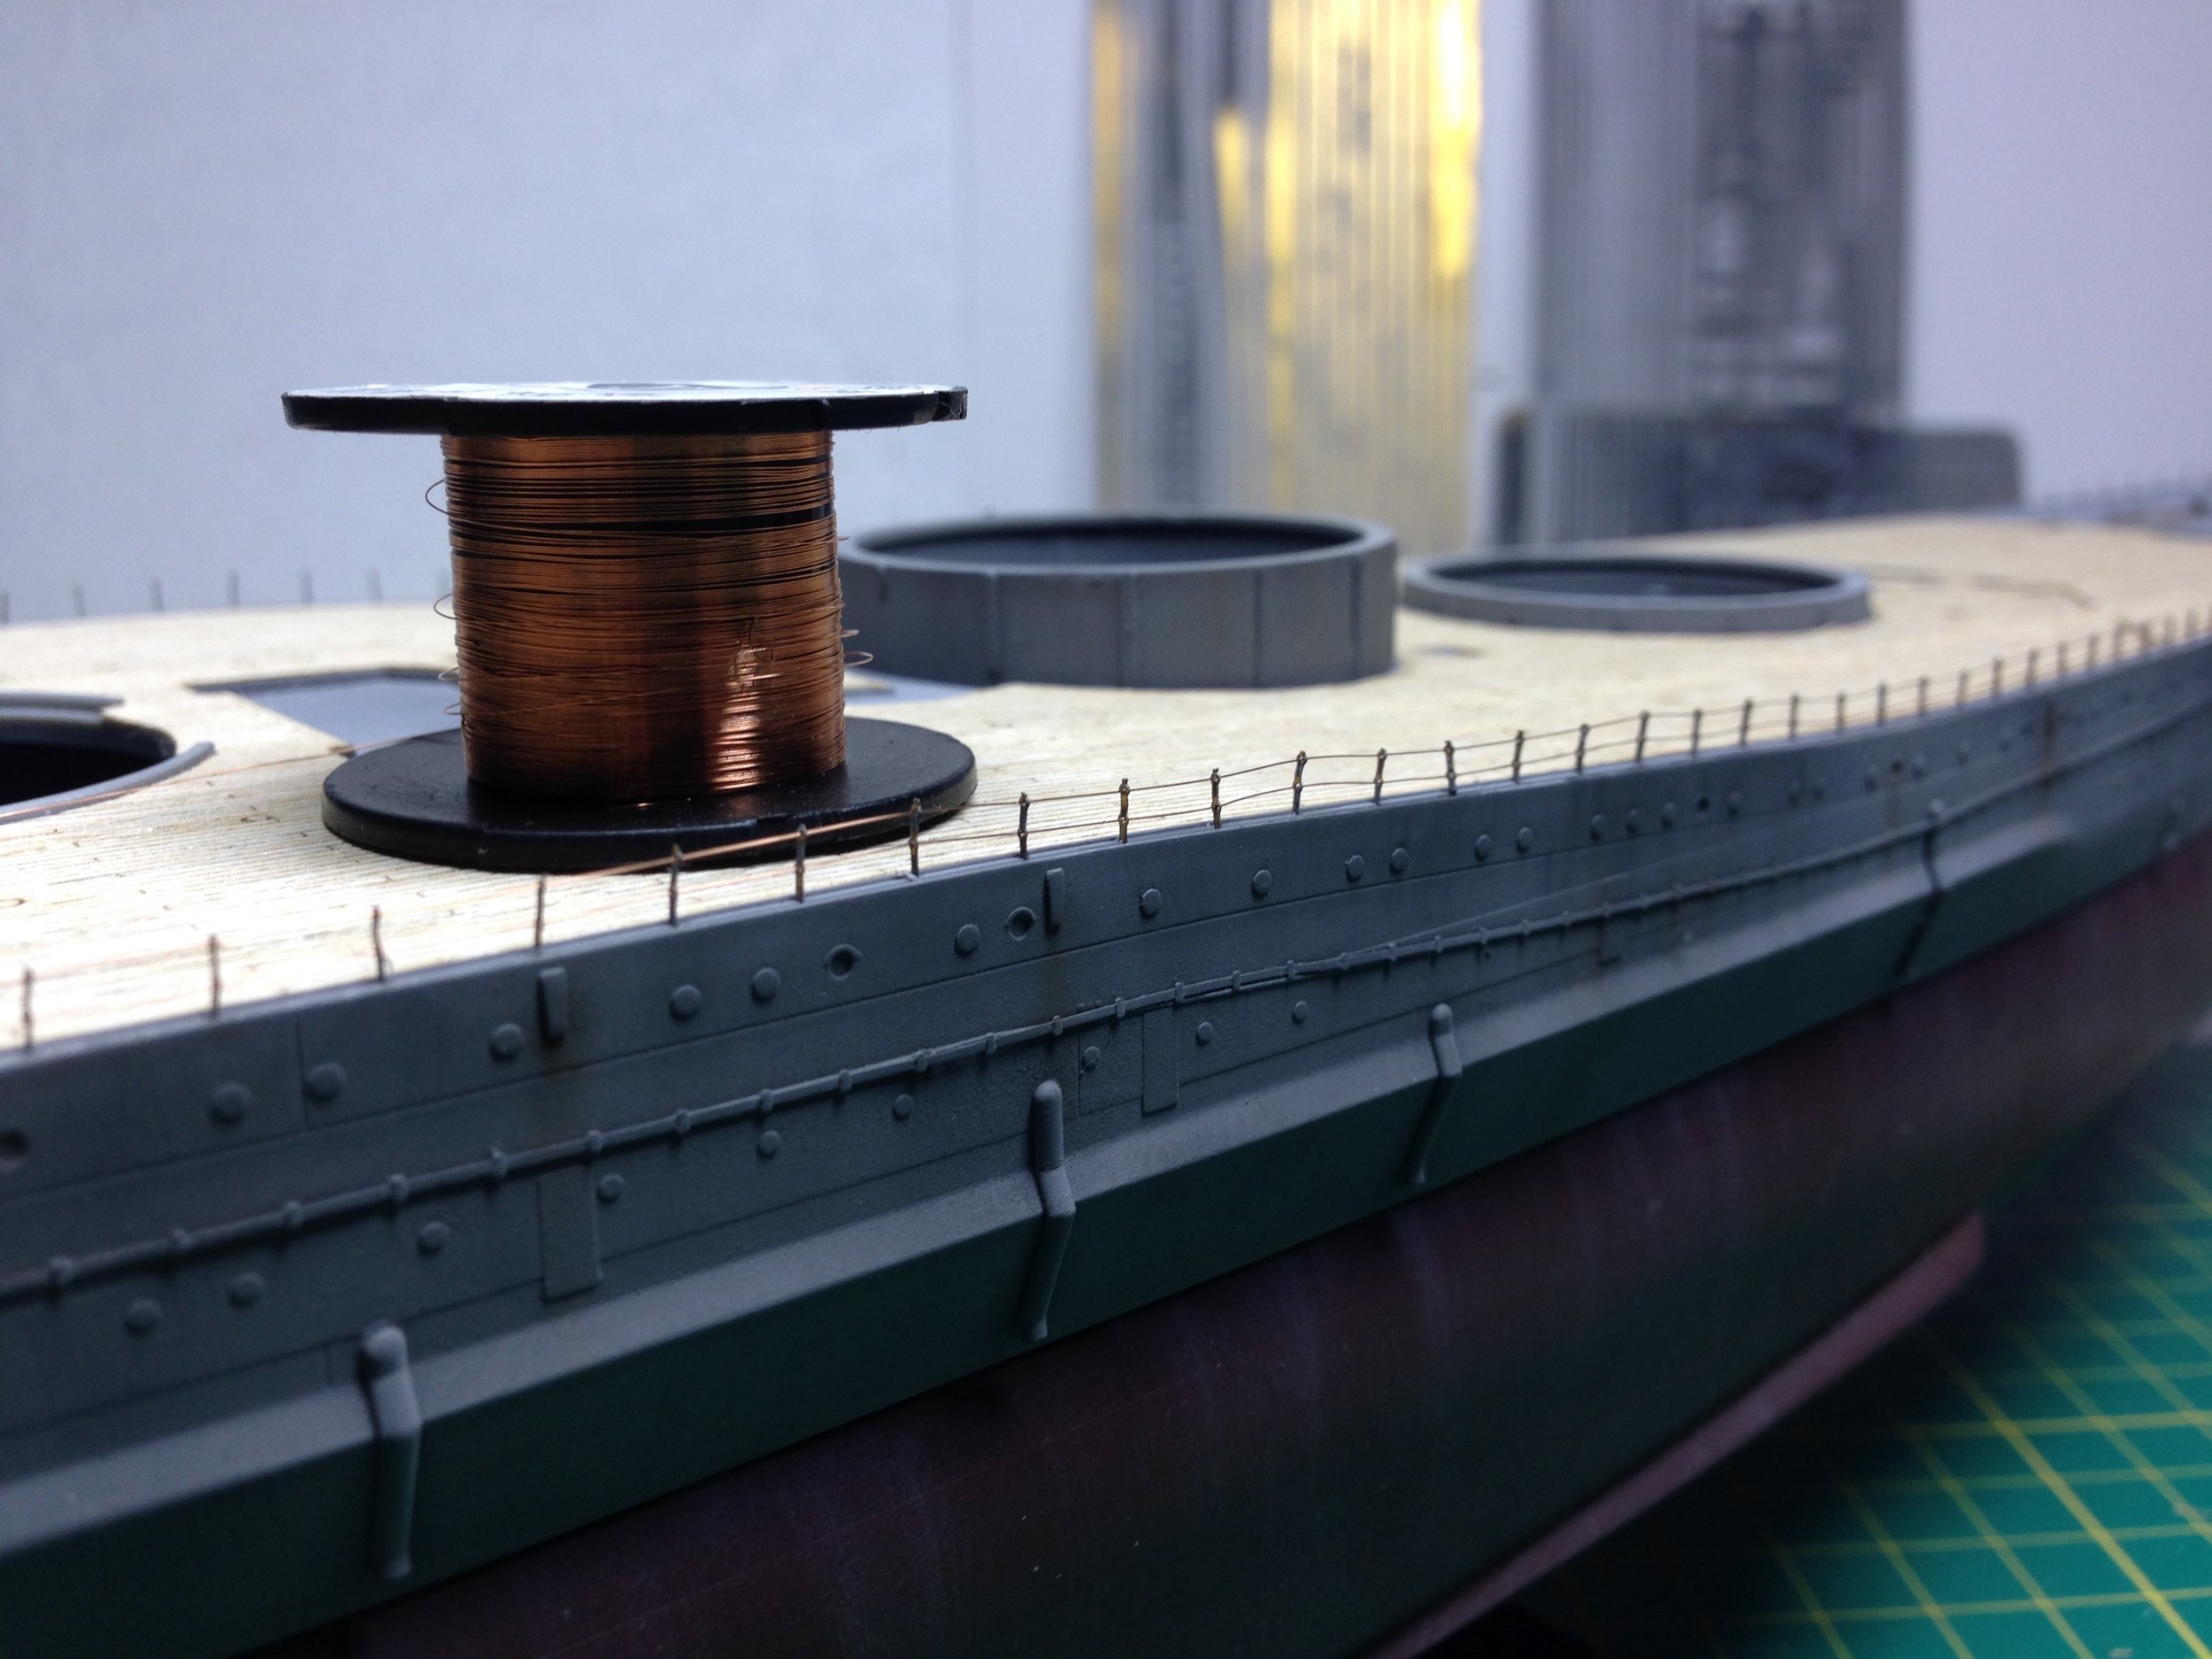
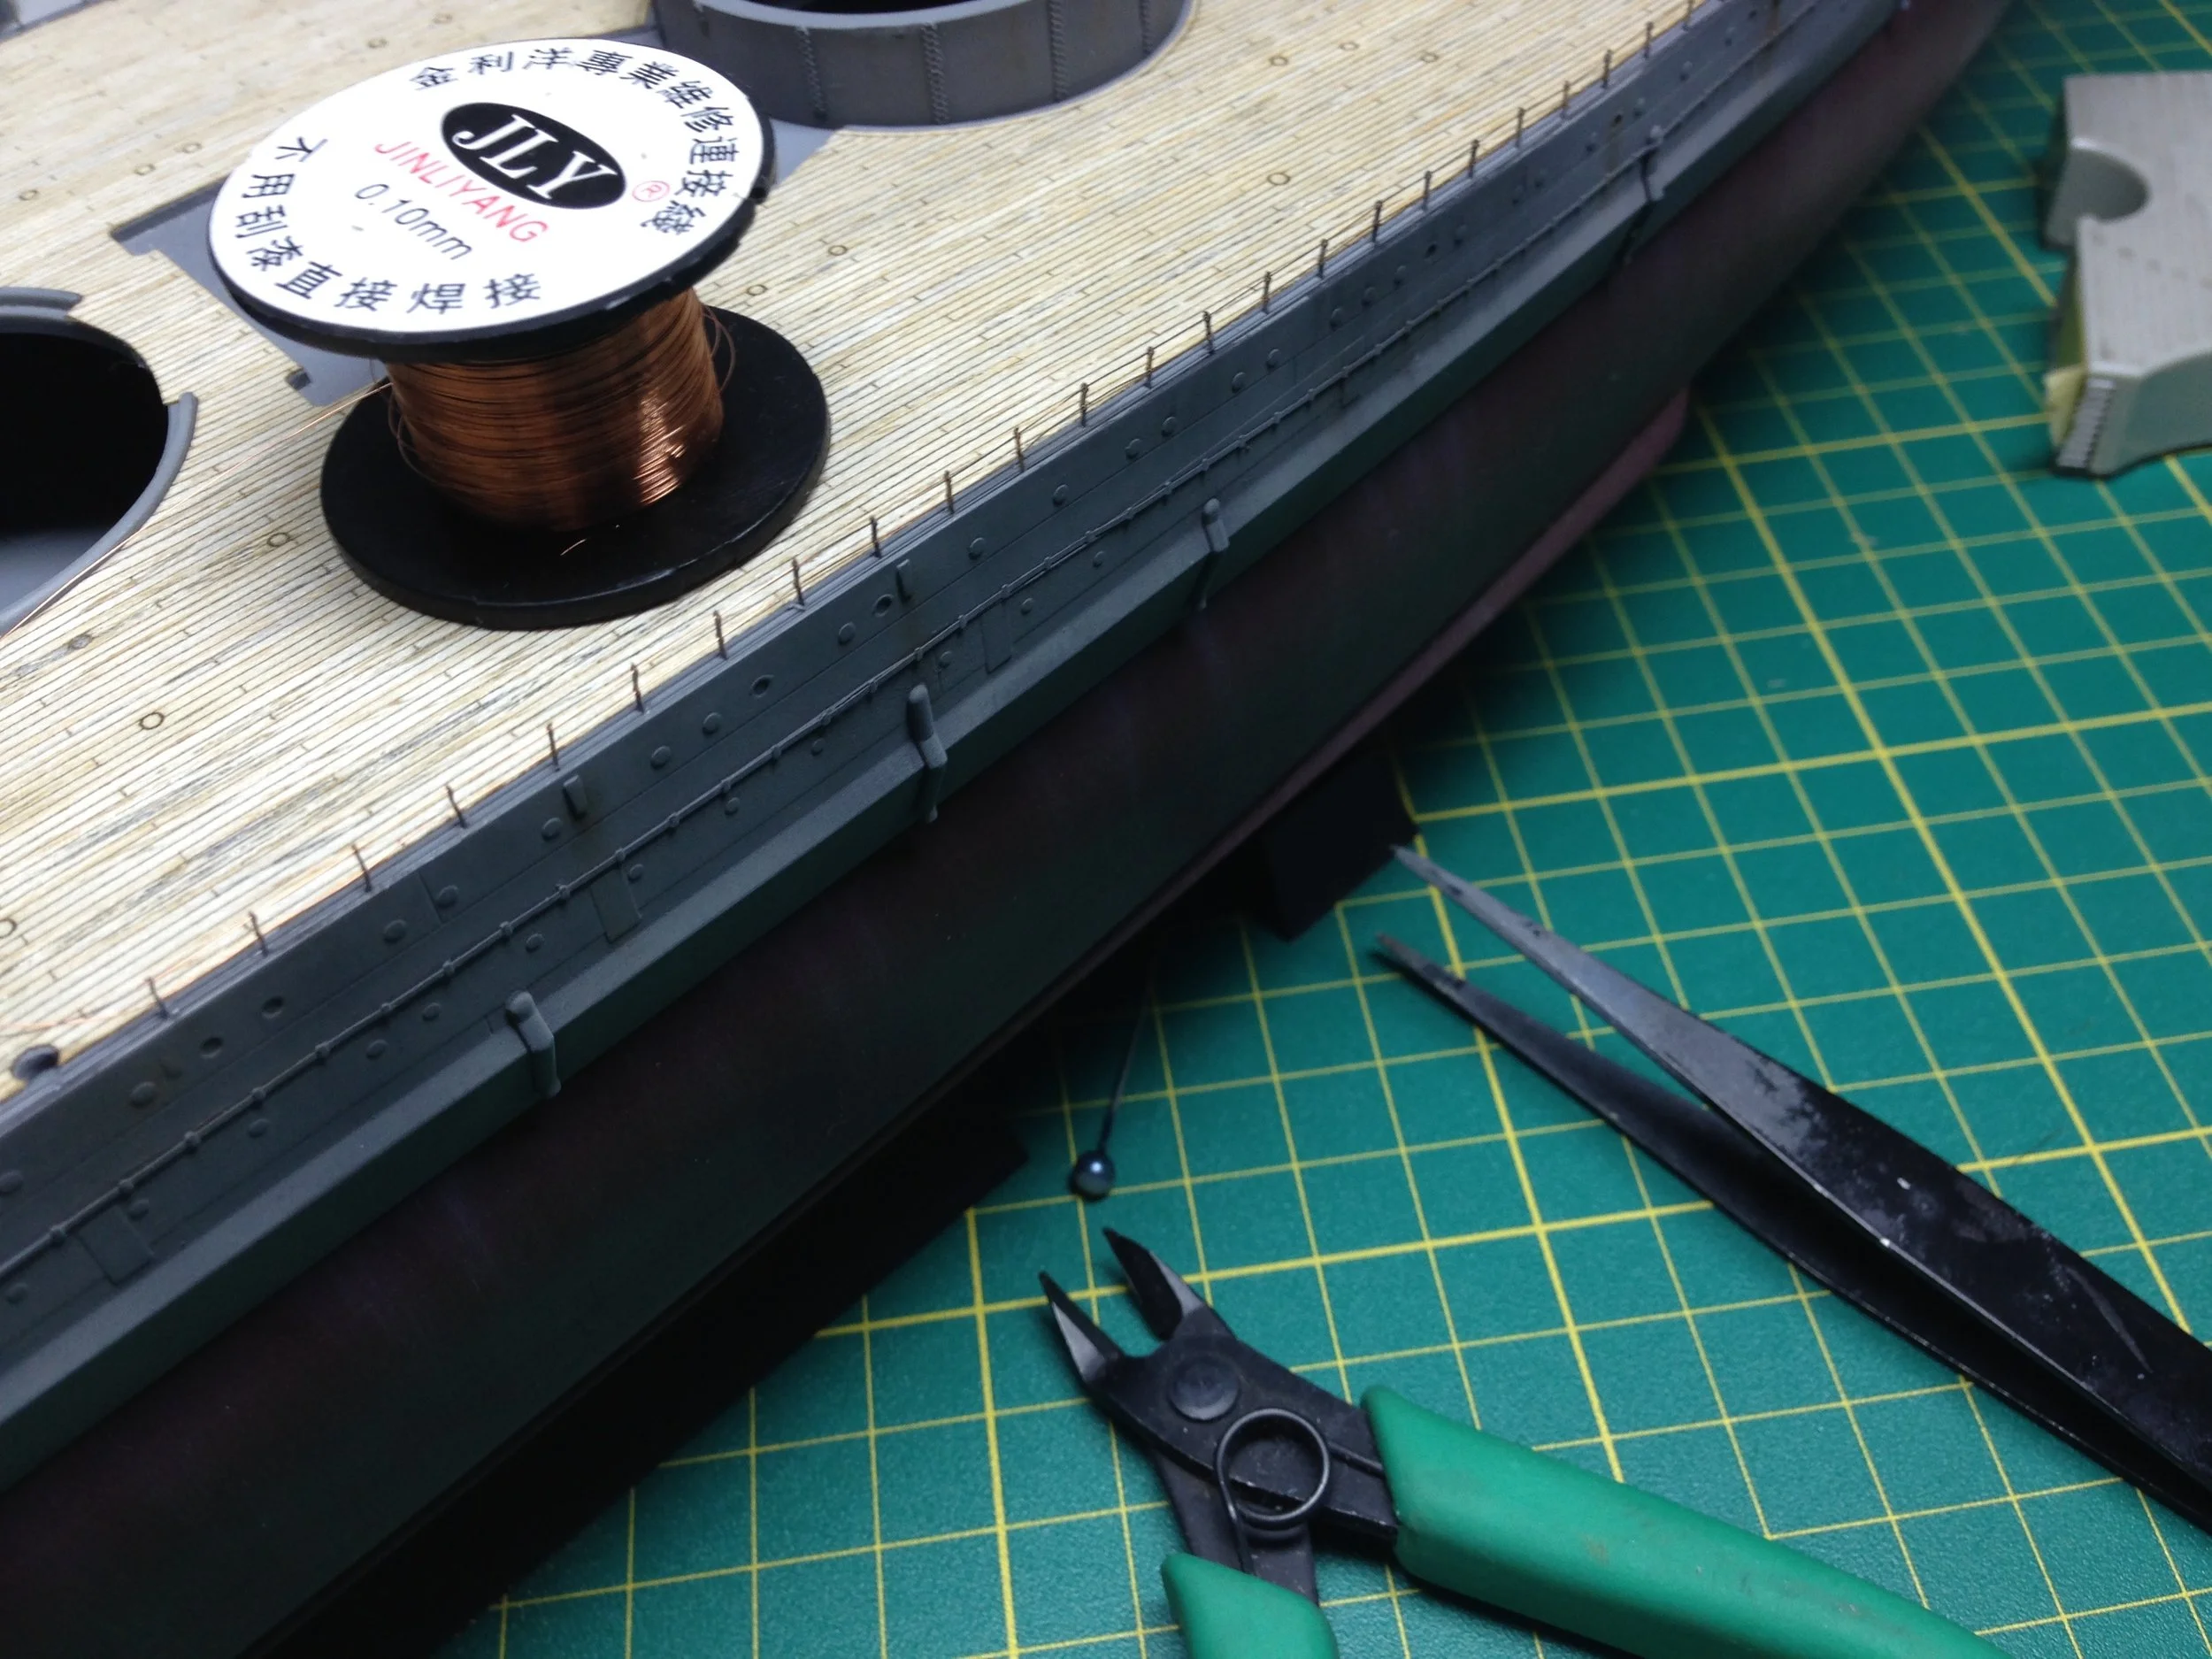
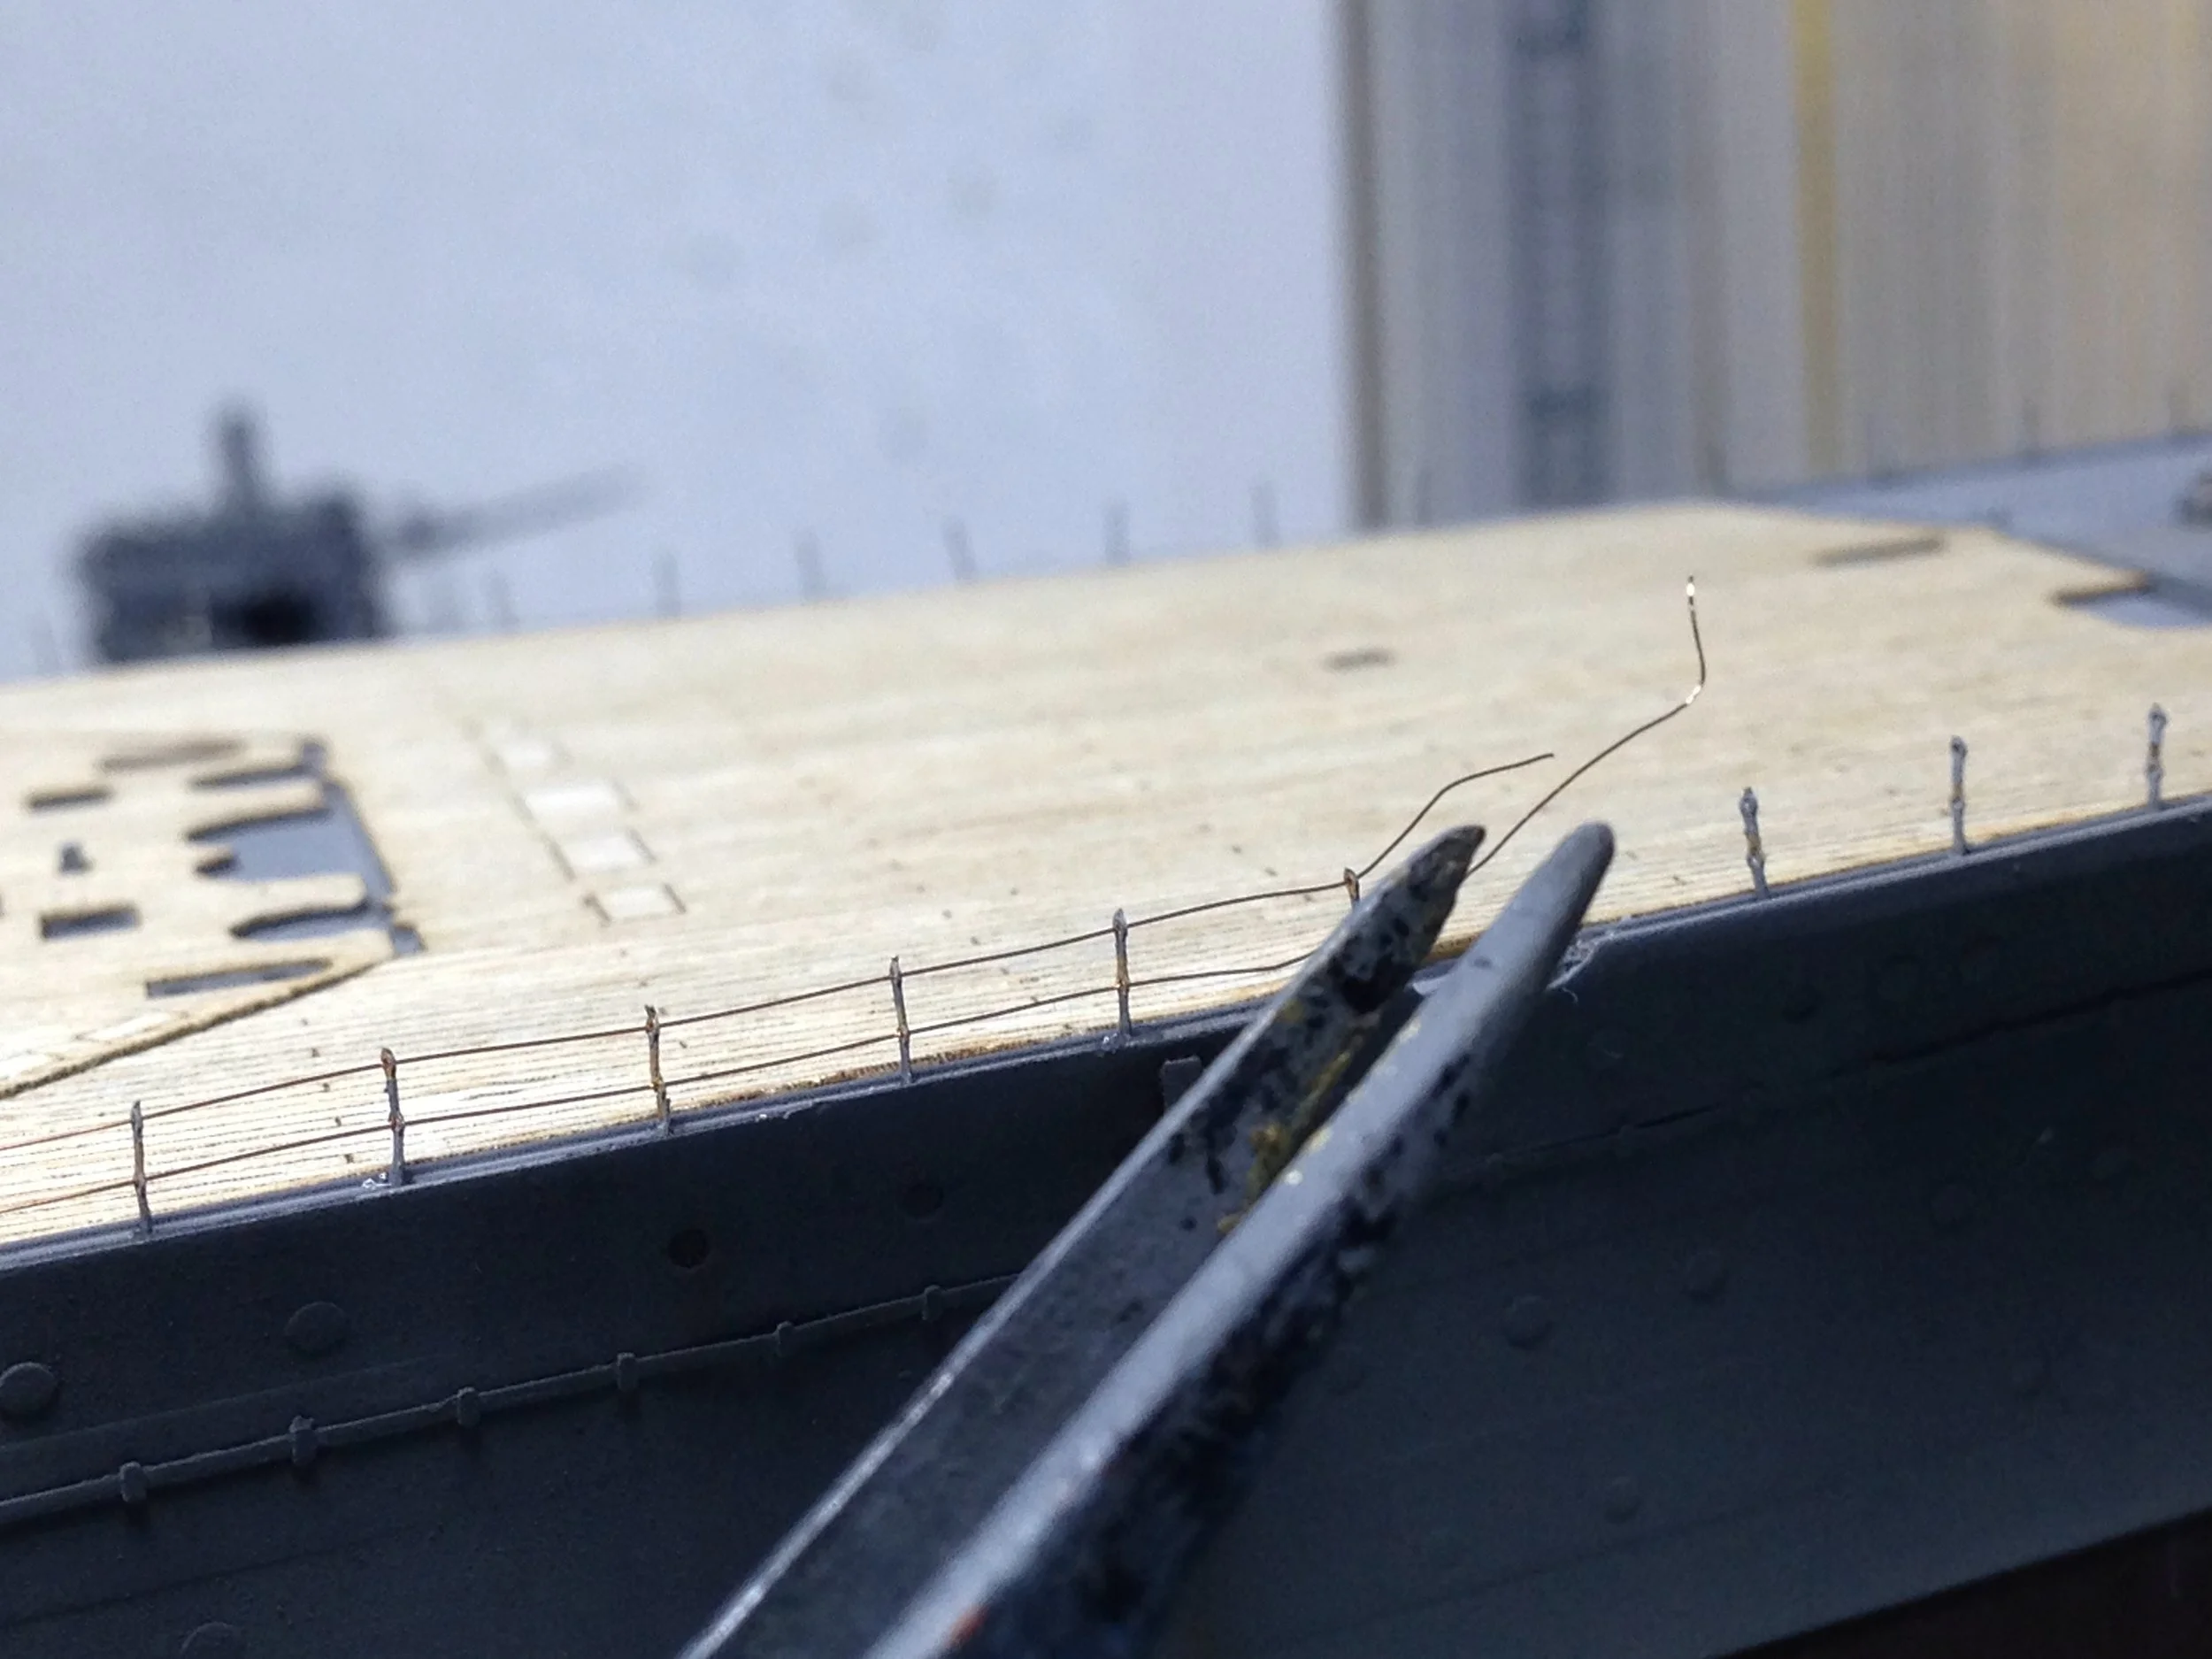
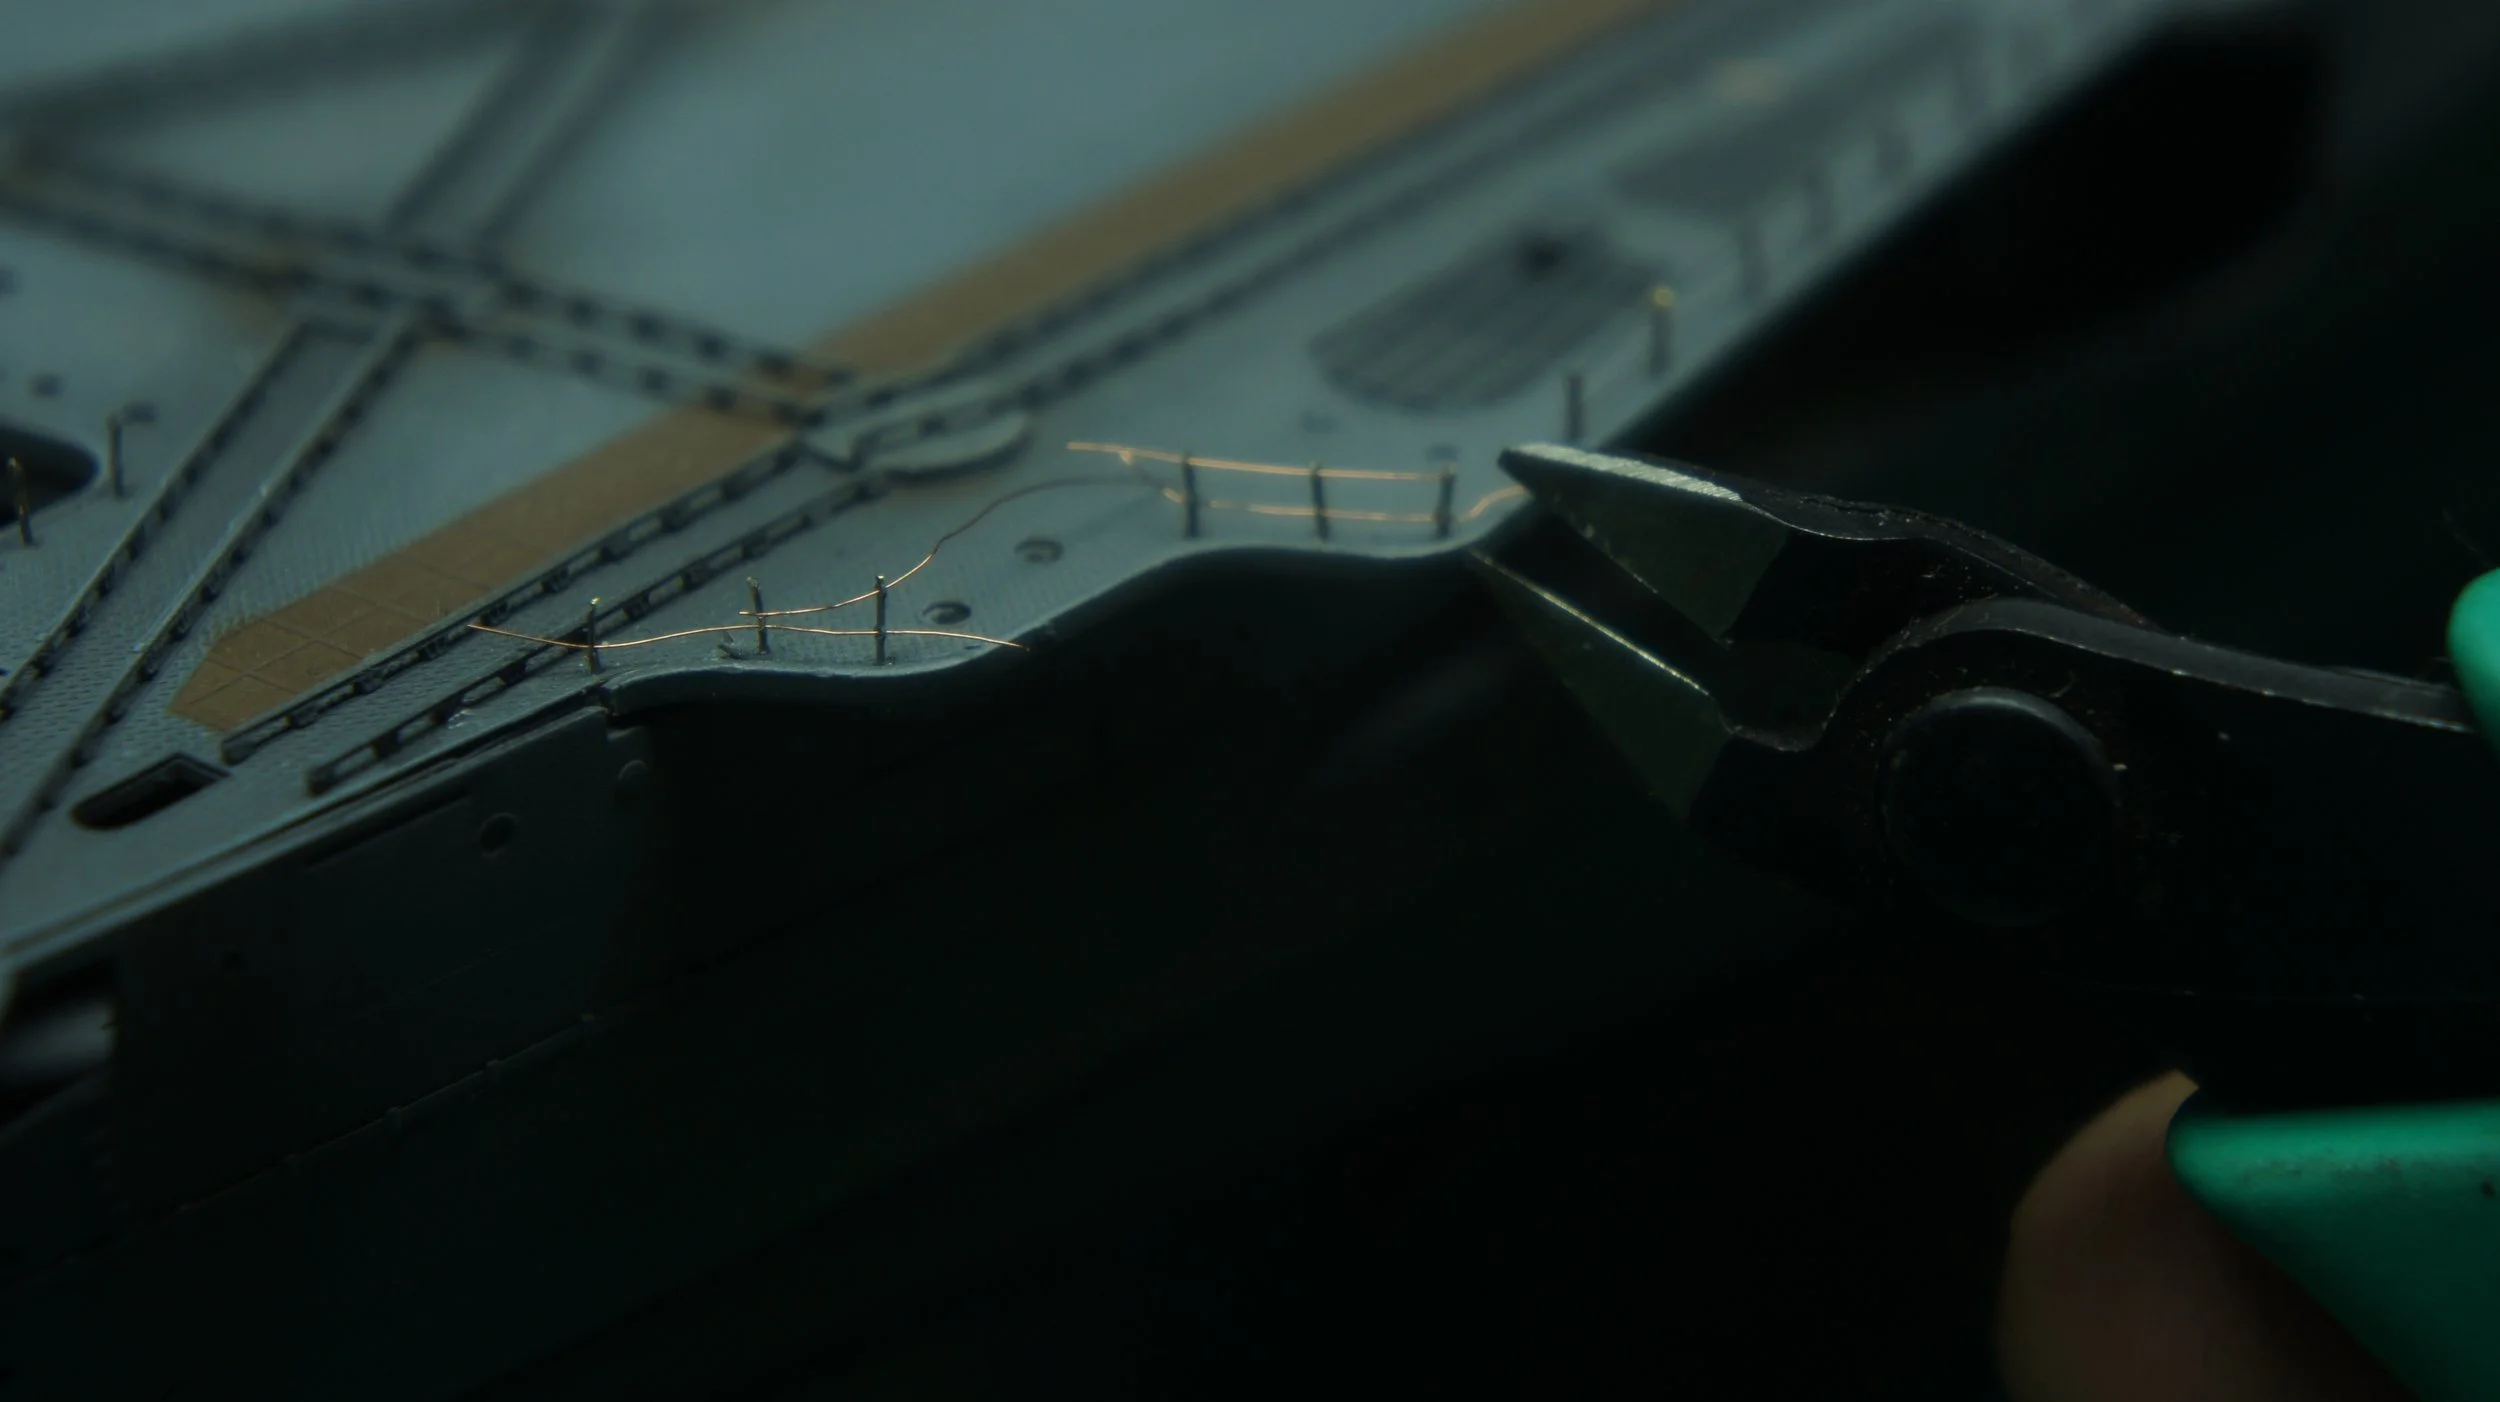
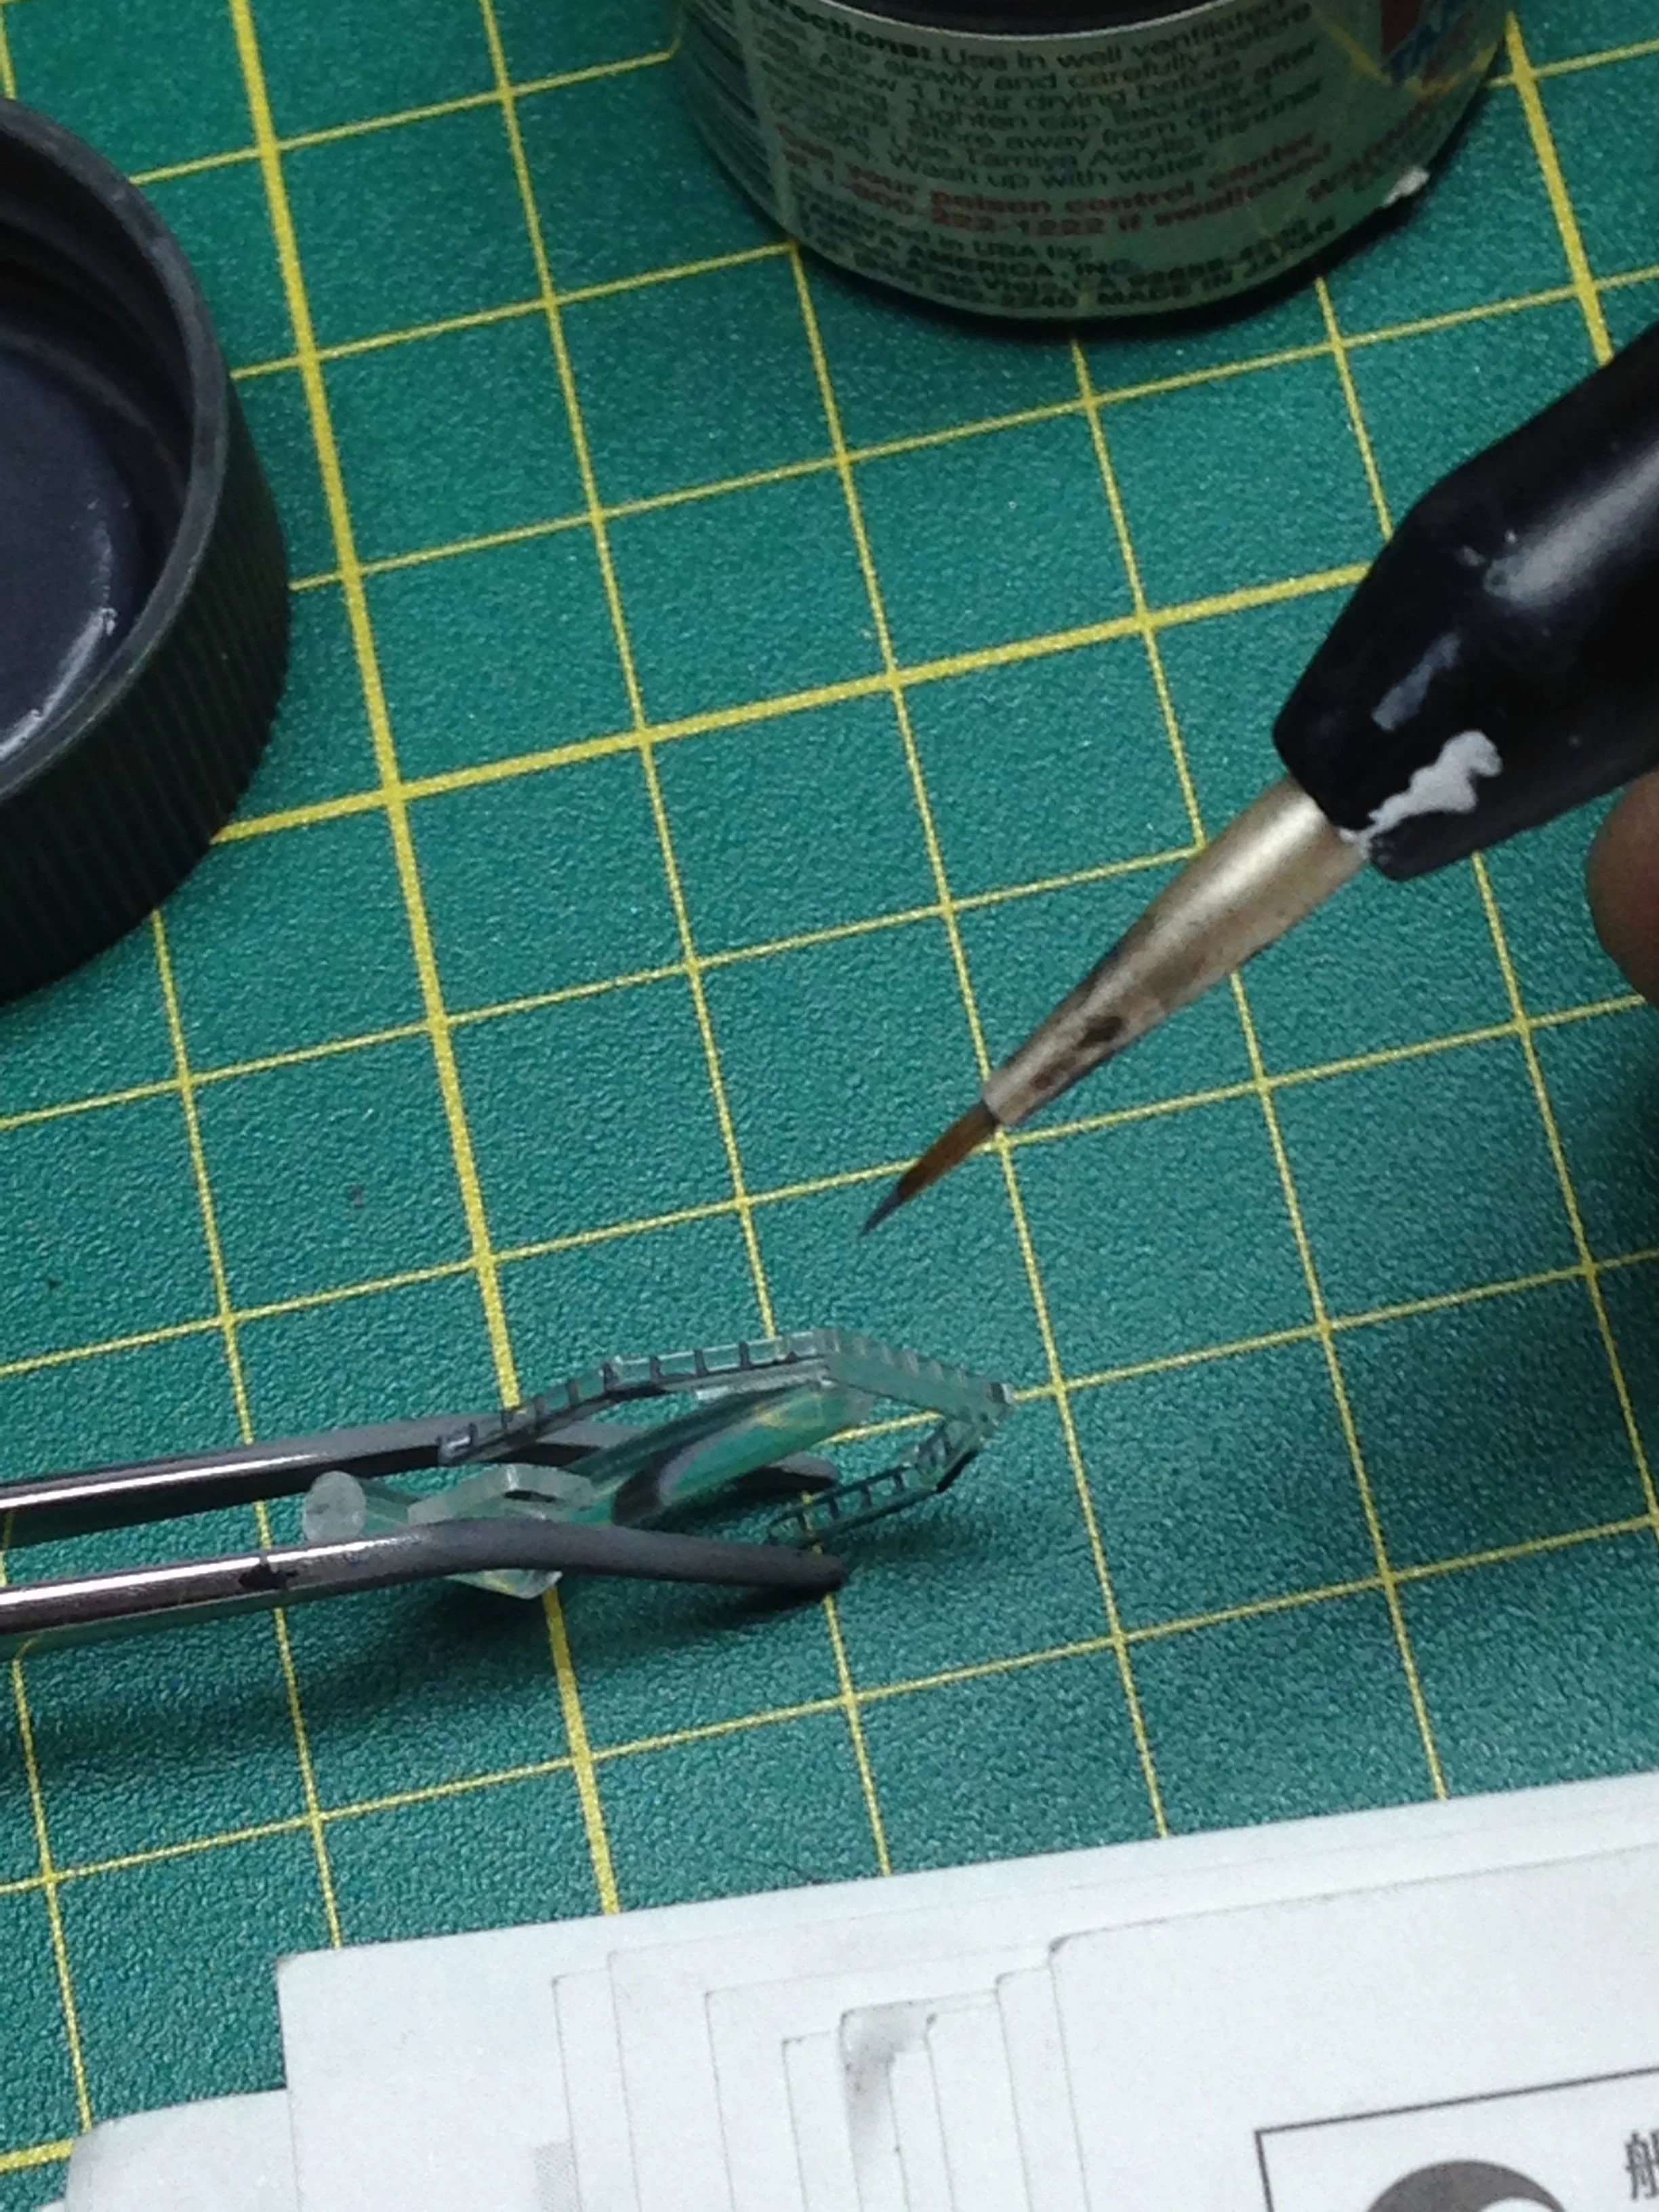
Painting:
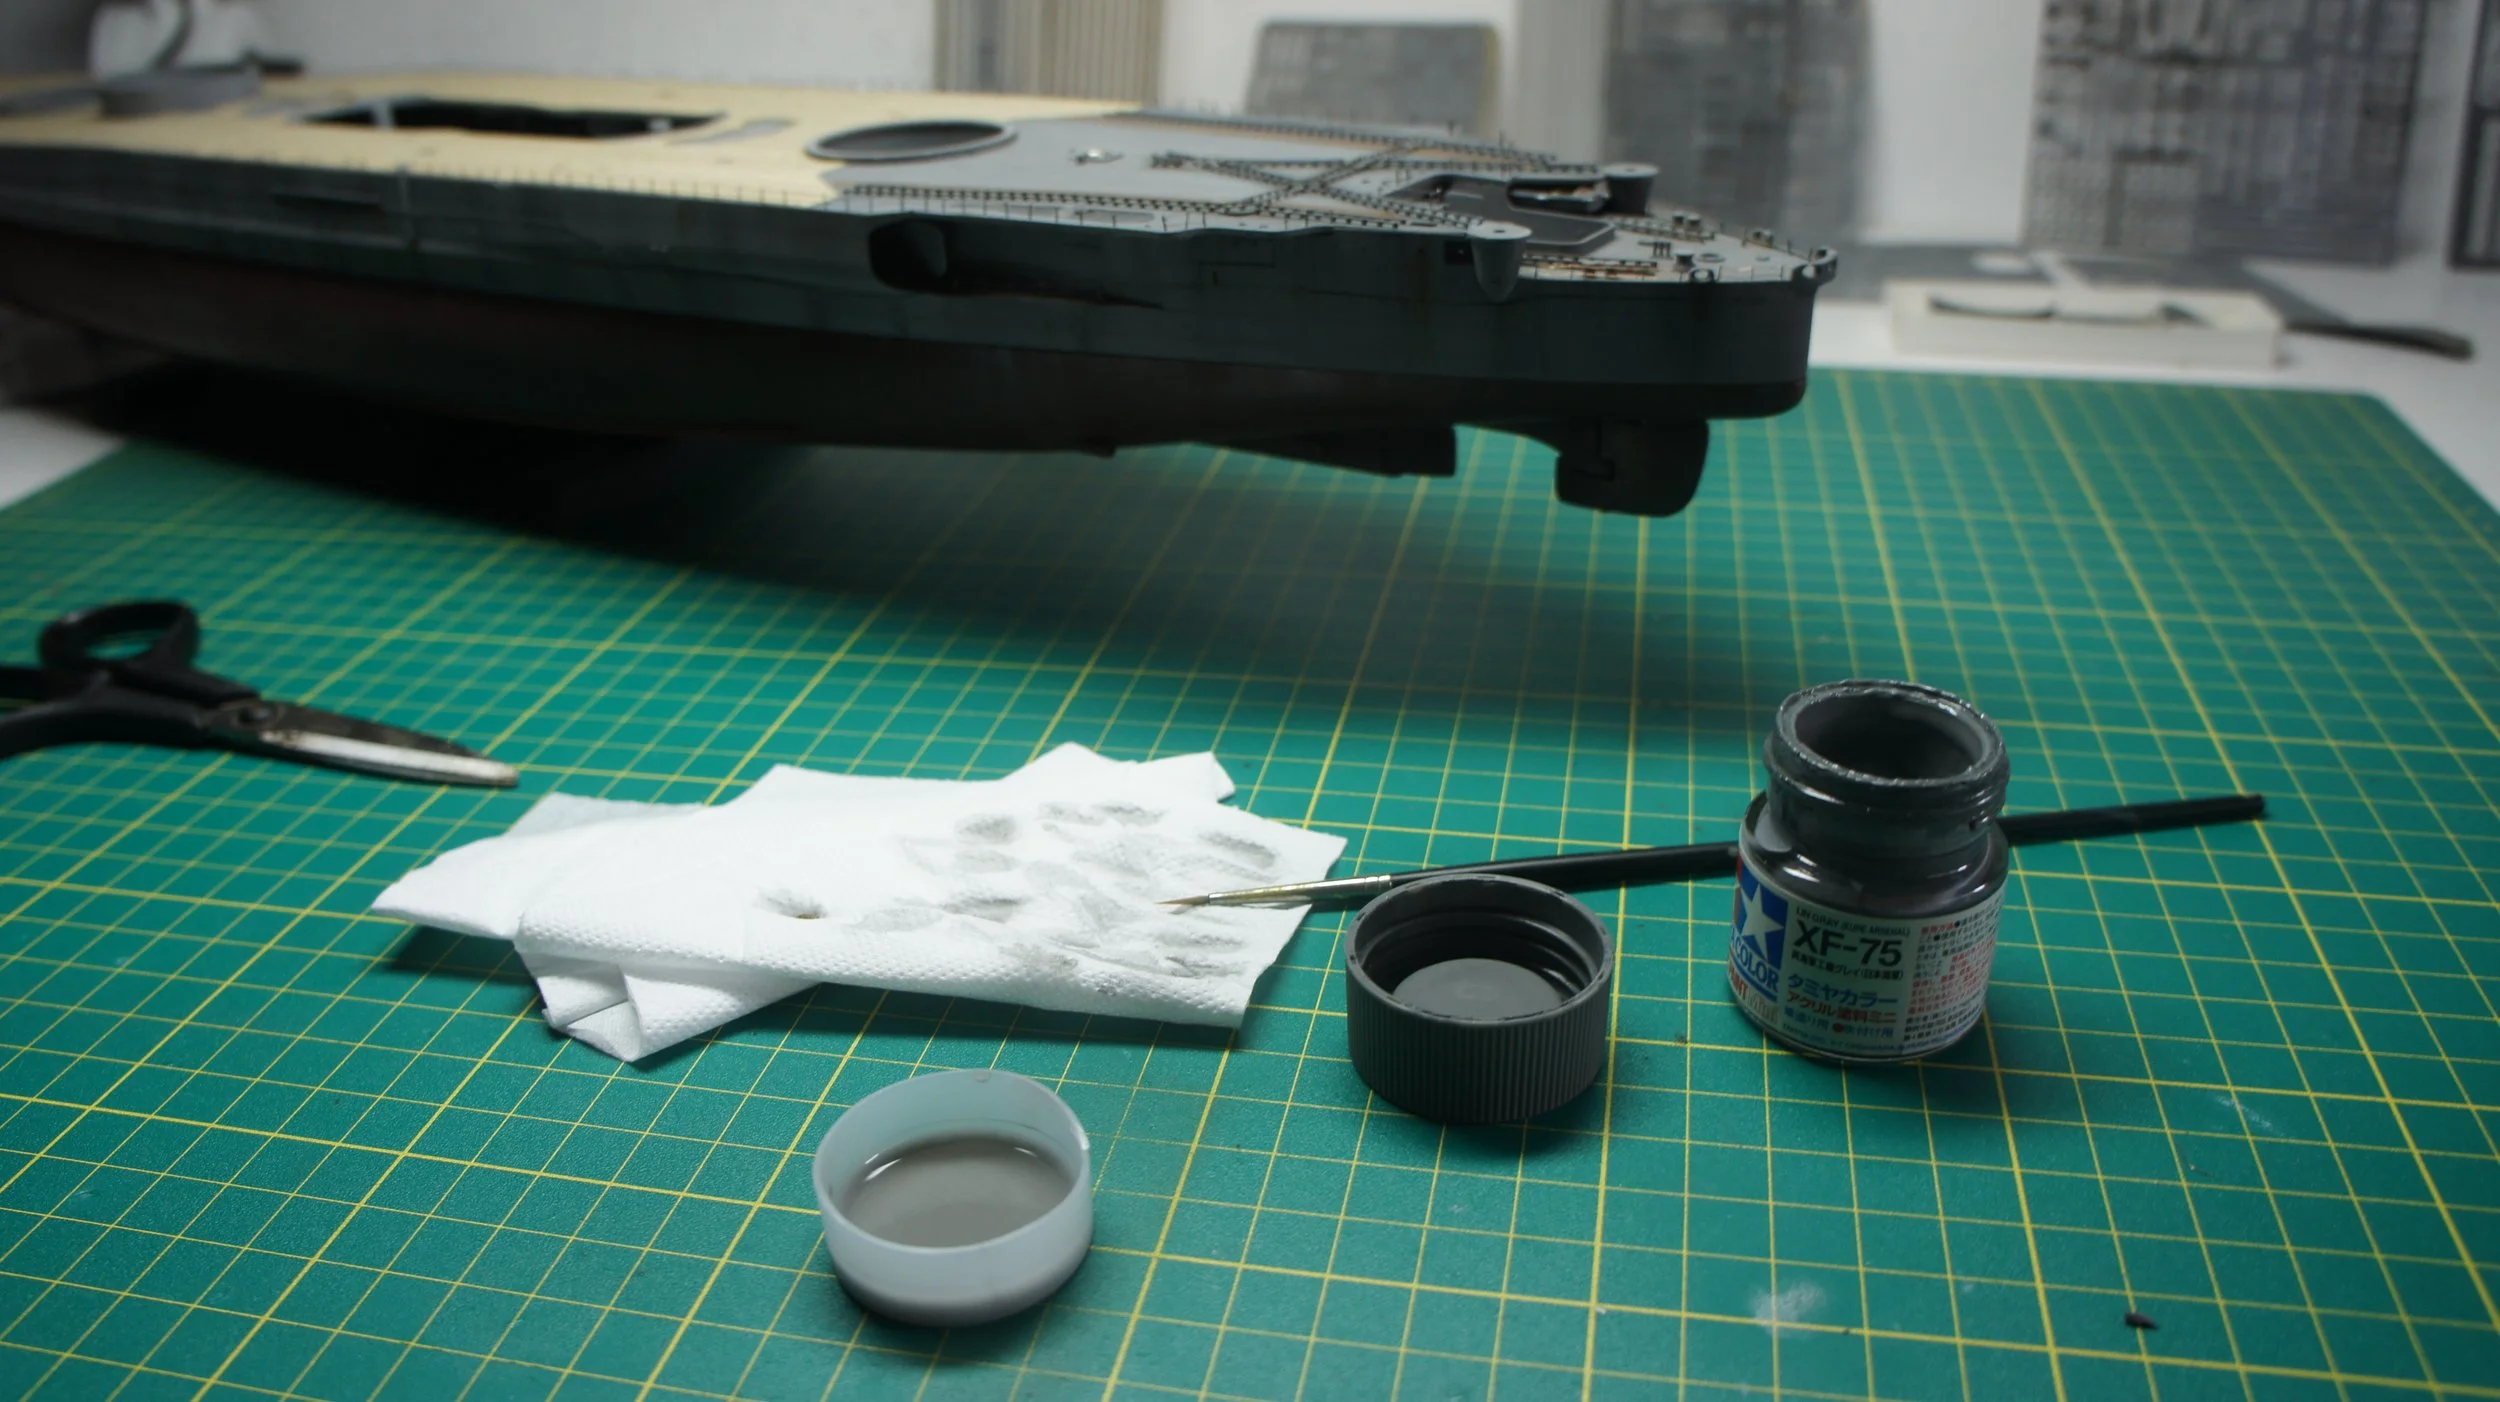
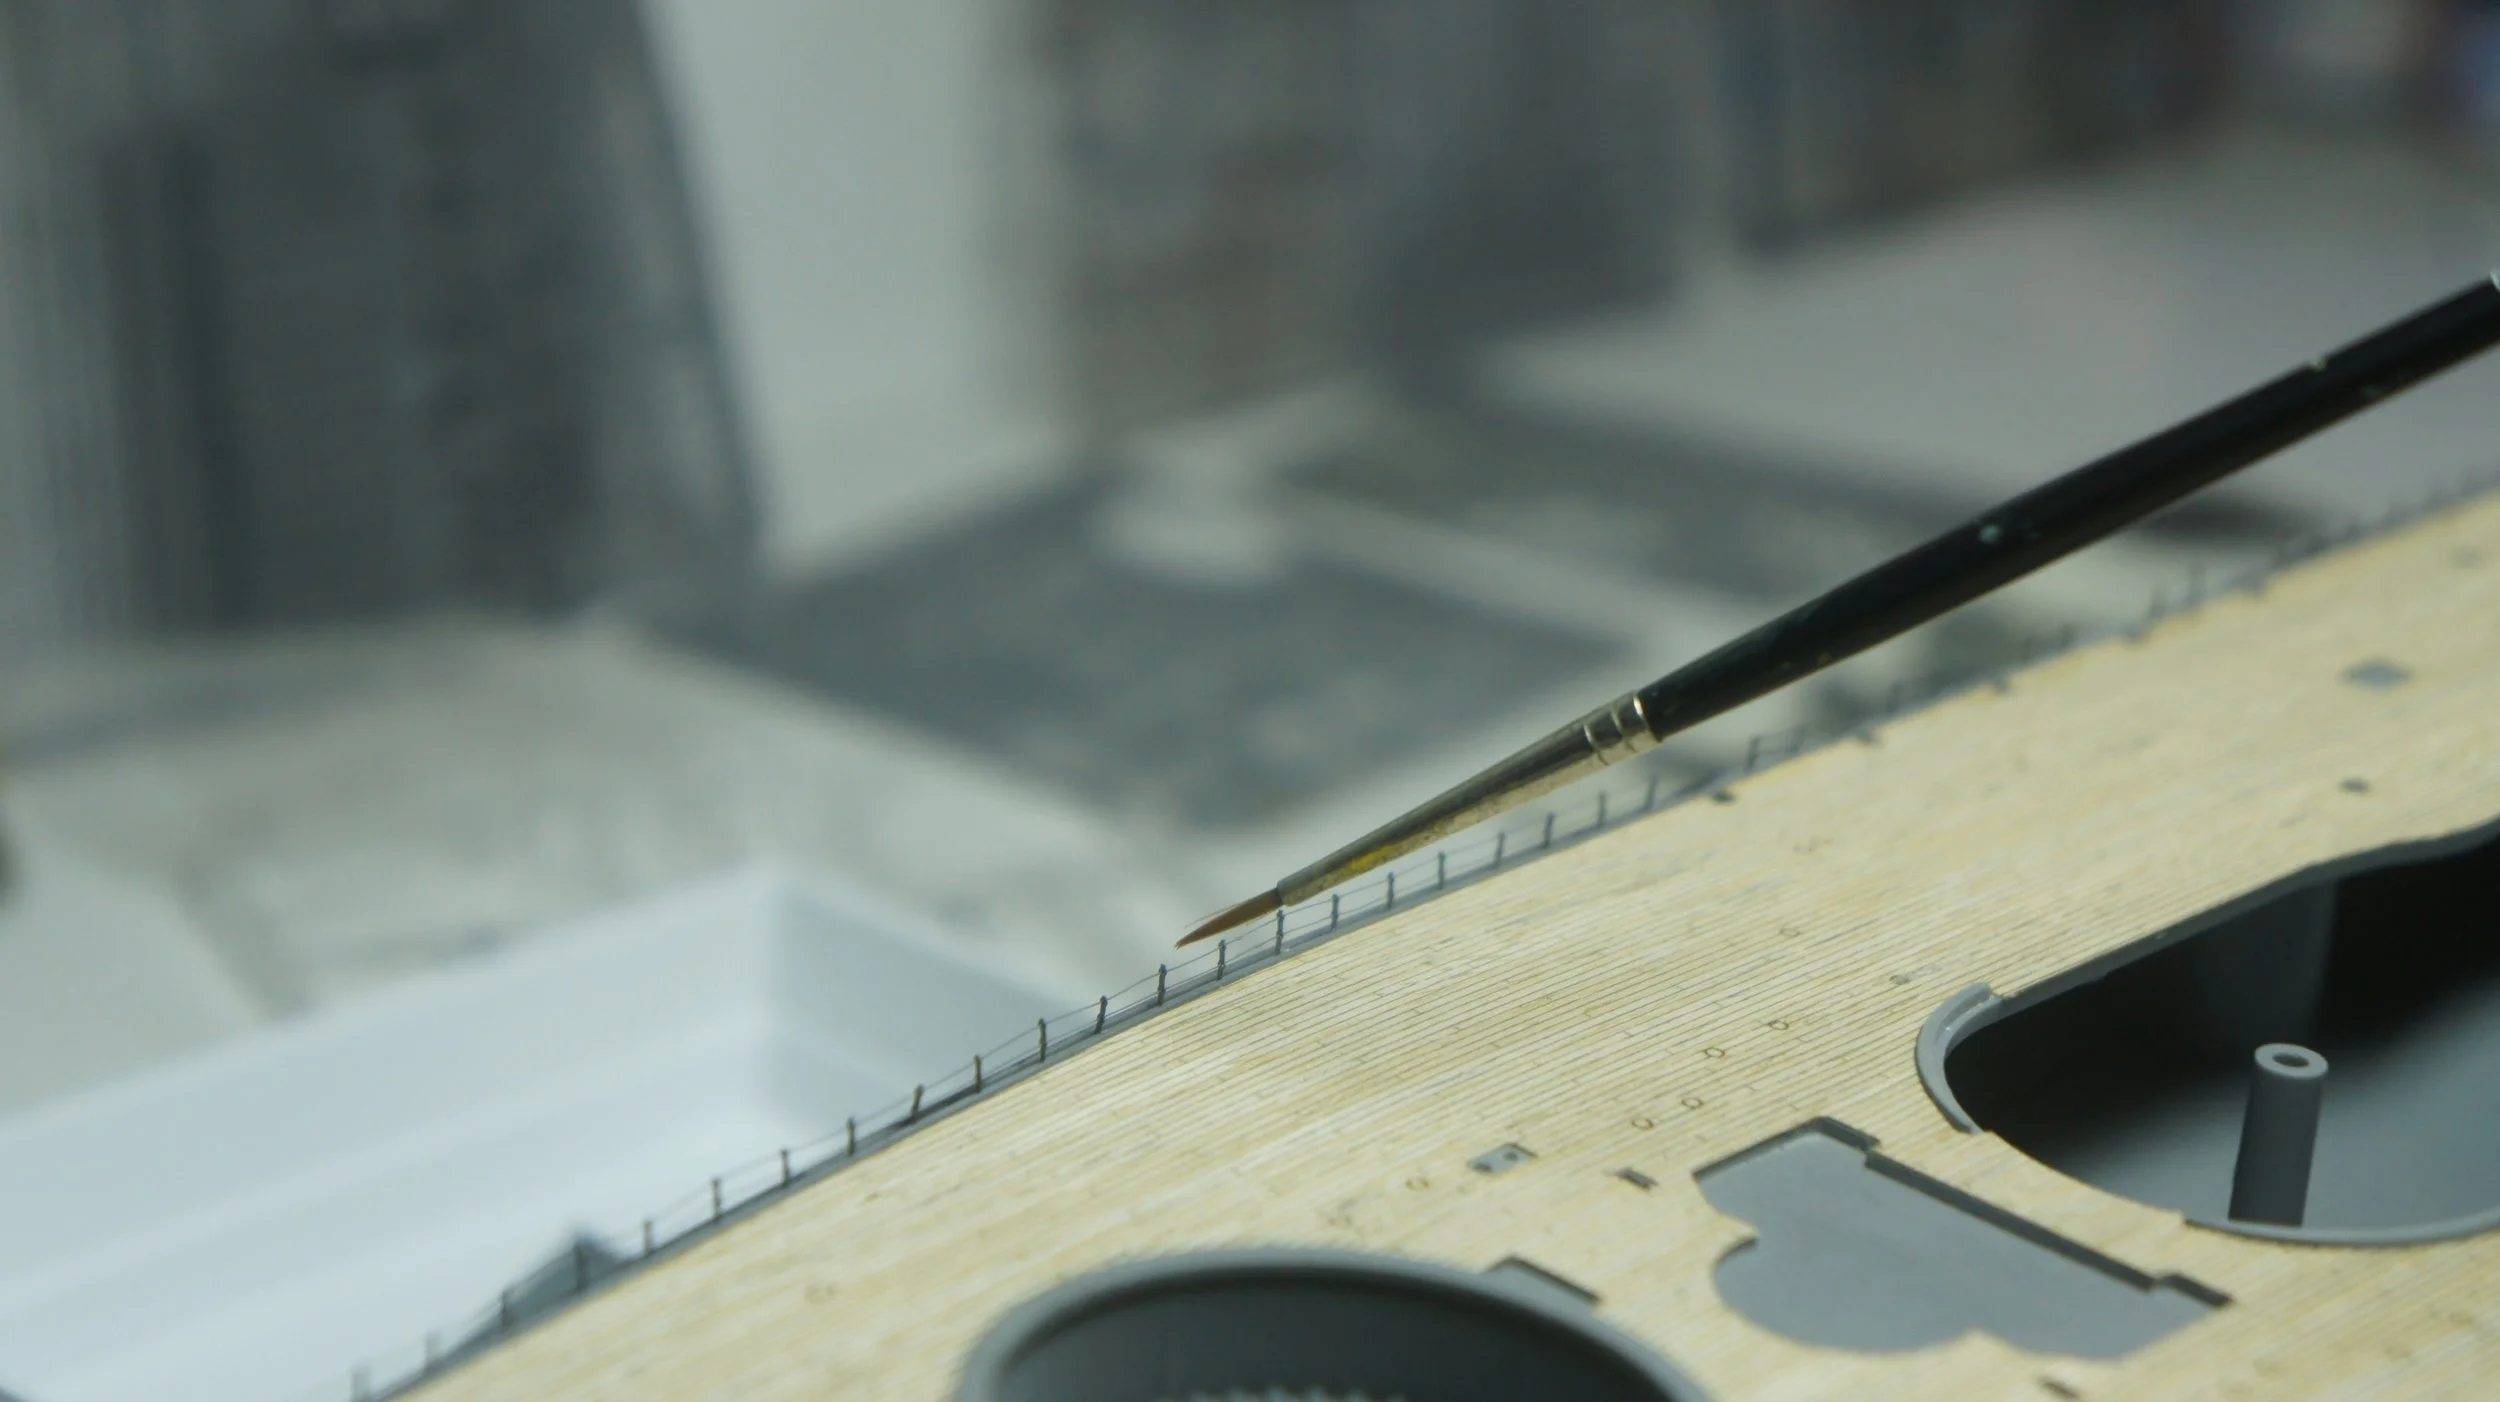
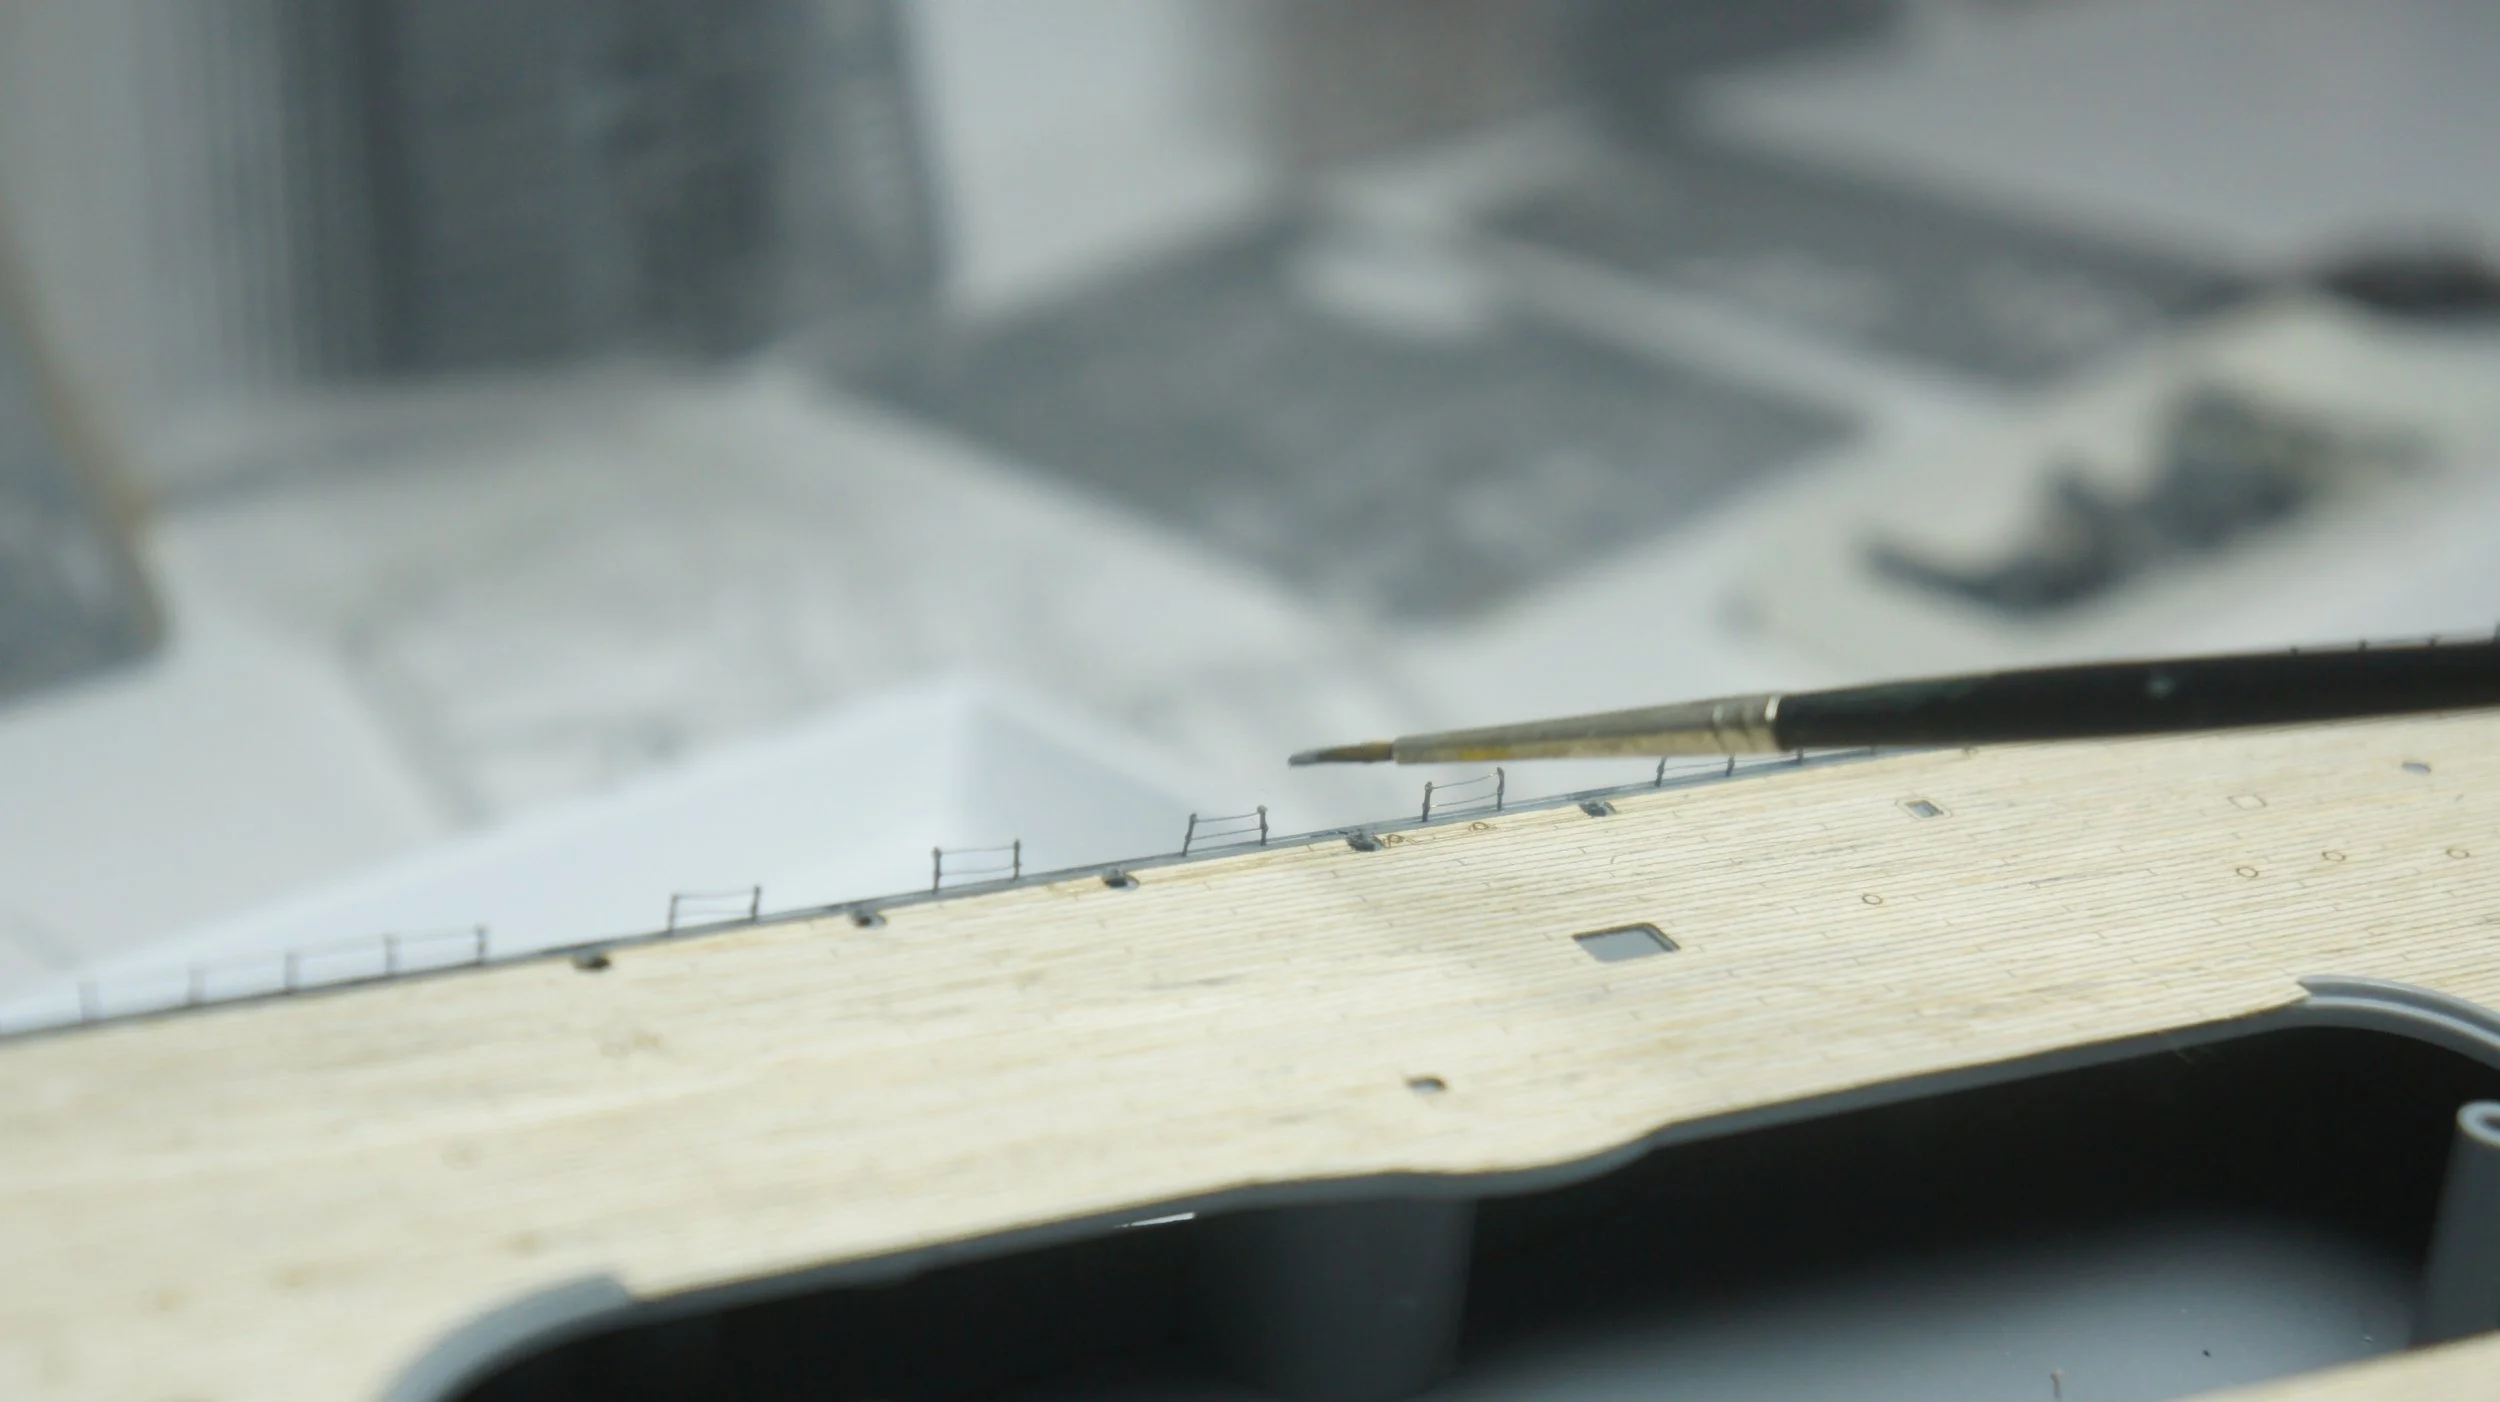
After installing all the railings, I took a paintbrush and painted them all.
Loading Dock:
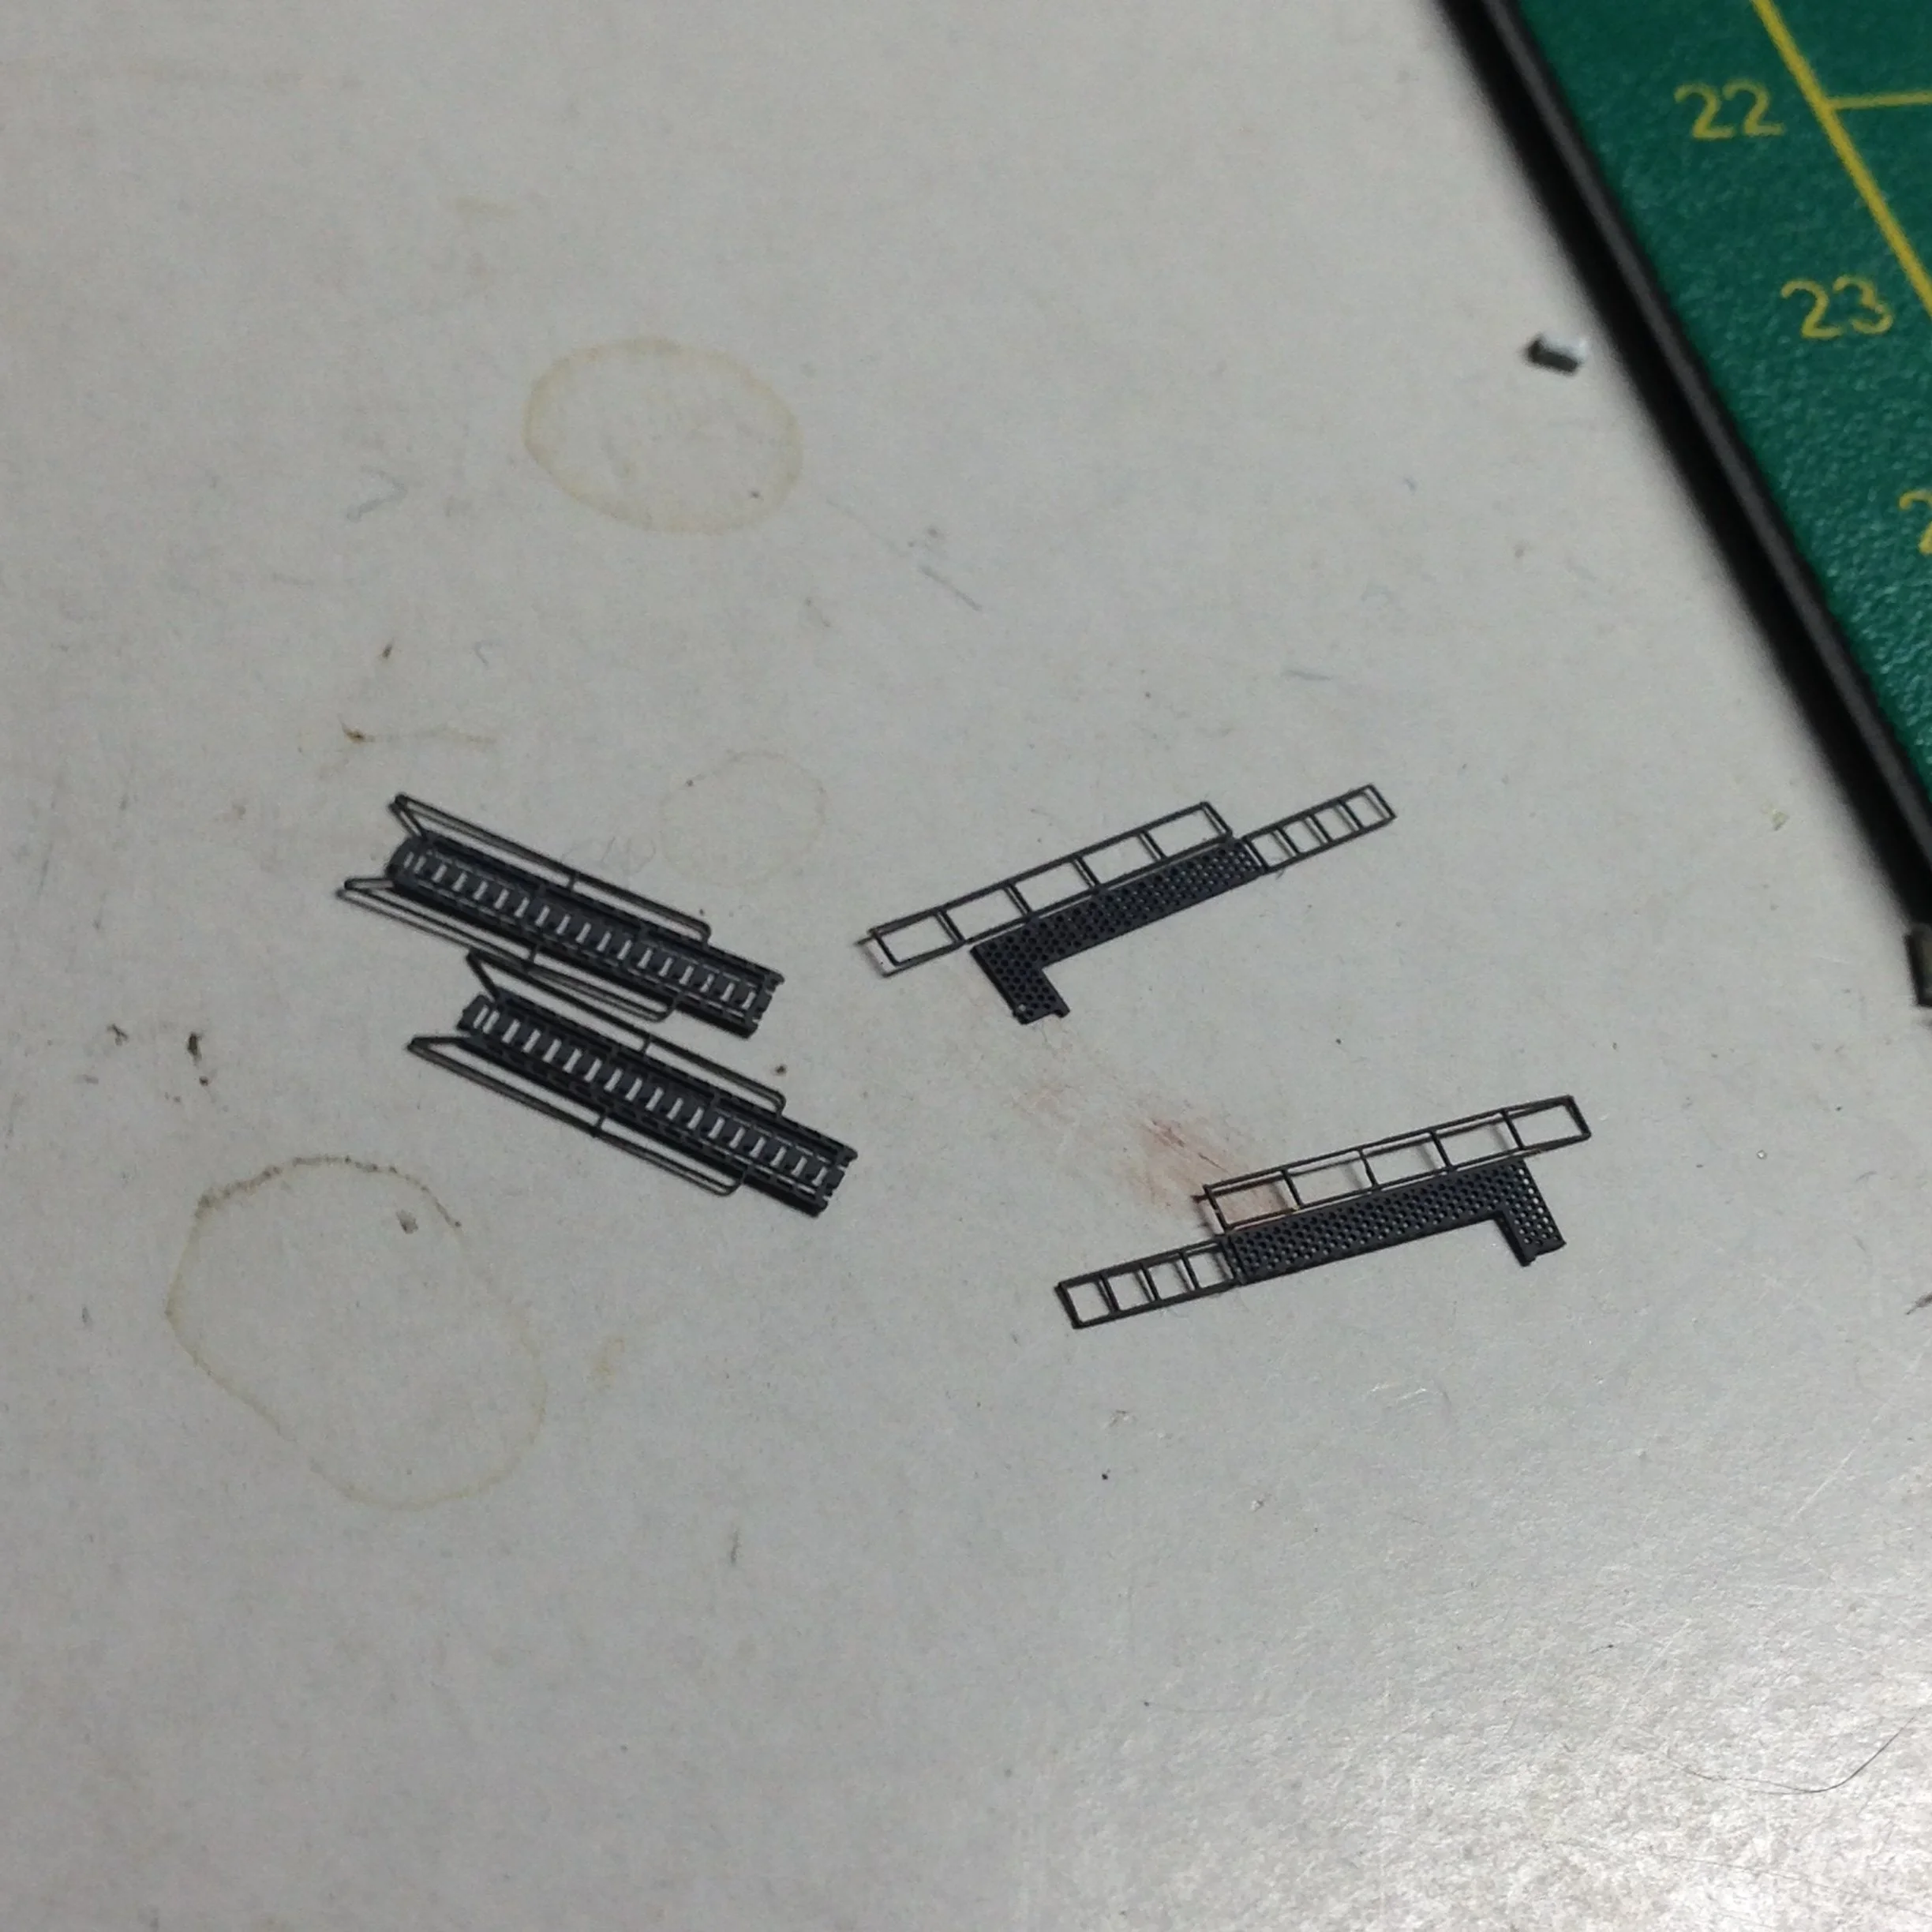
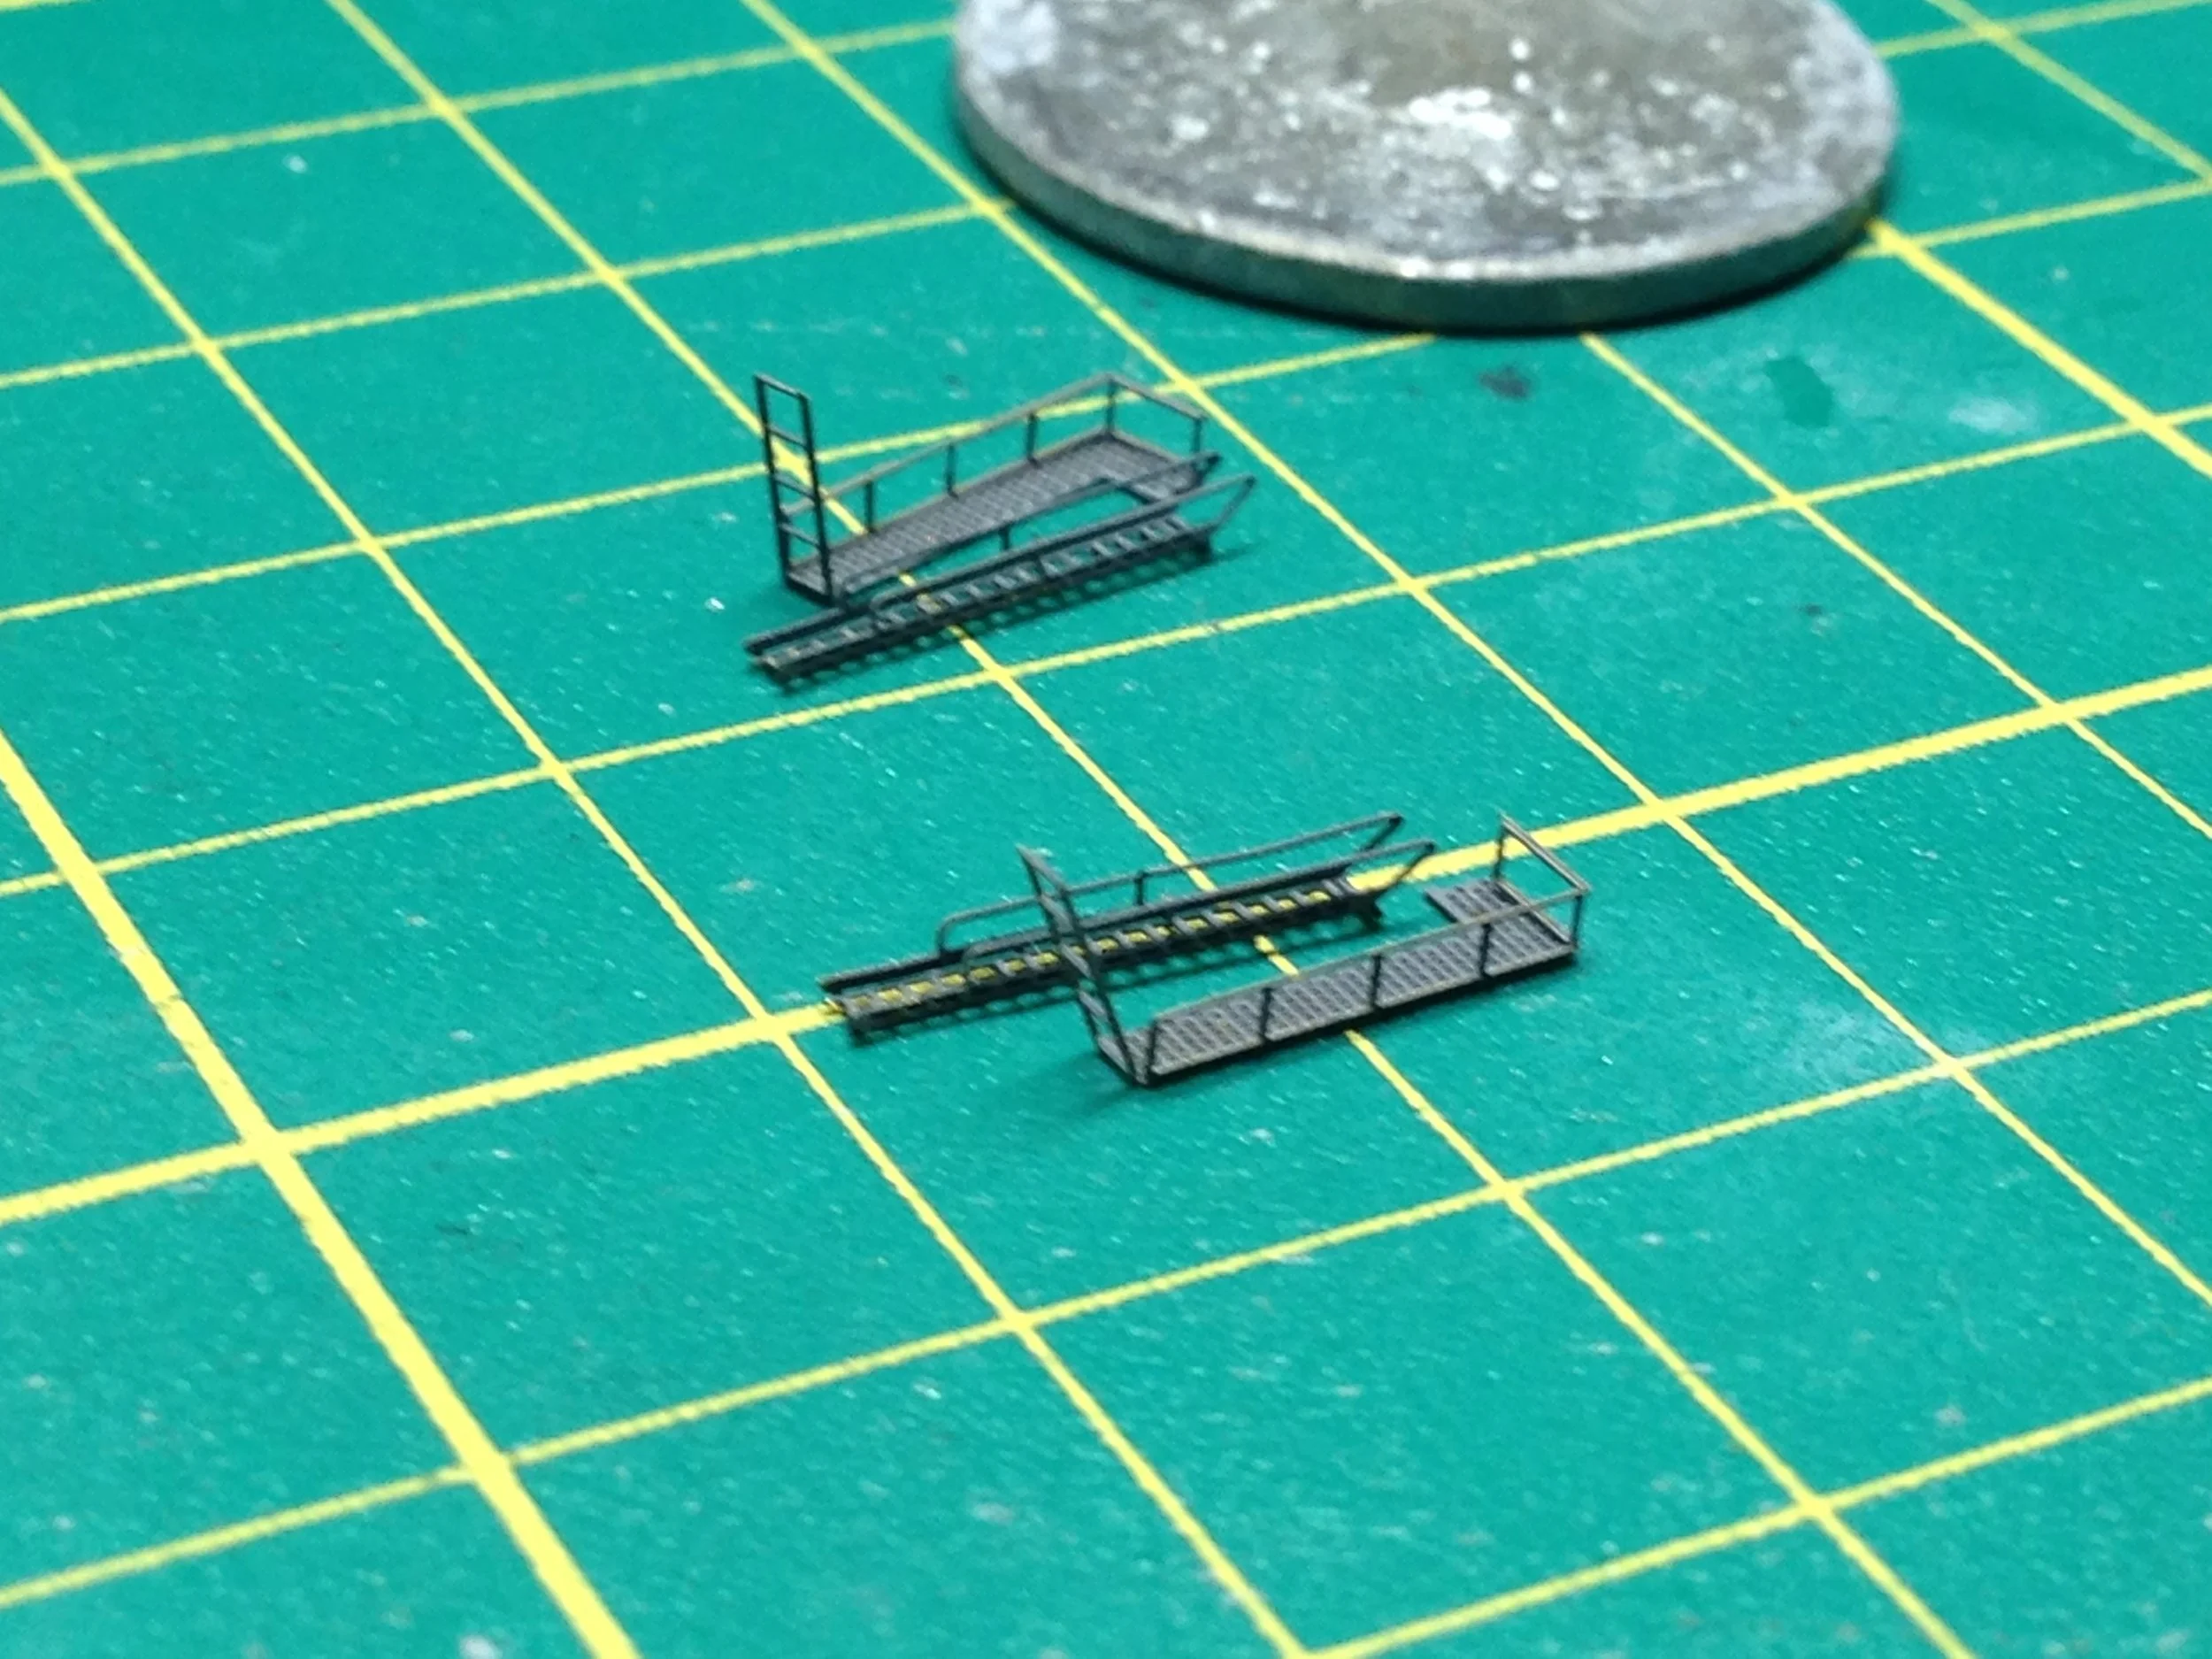
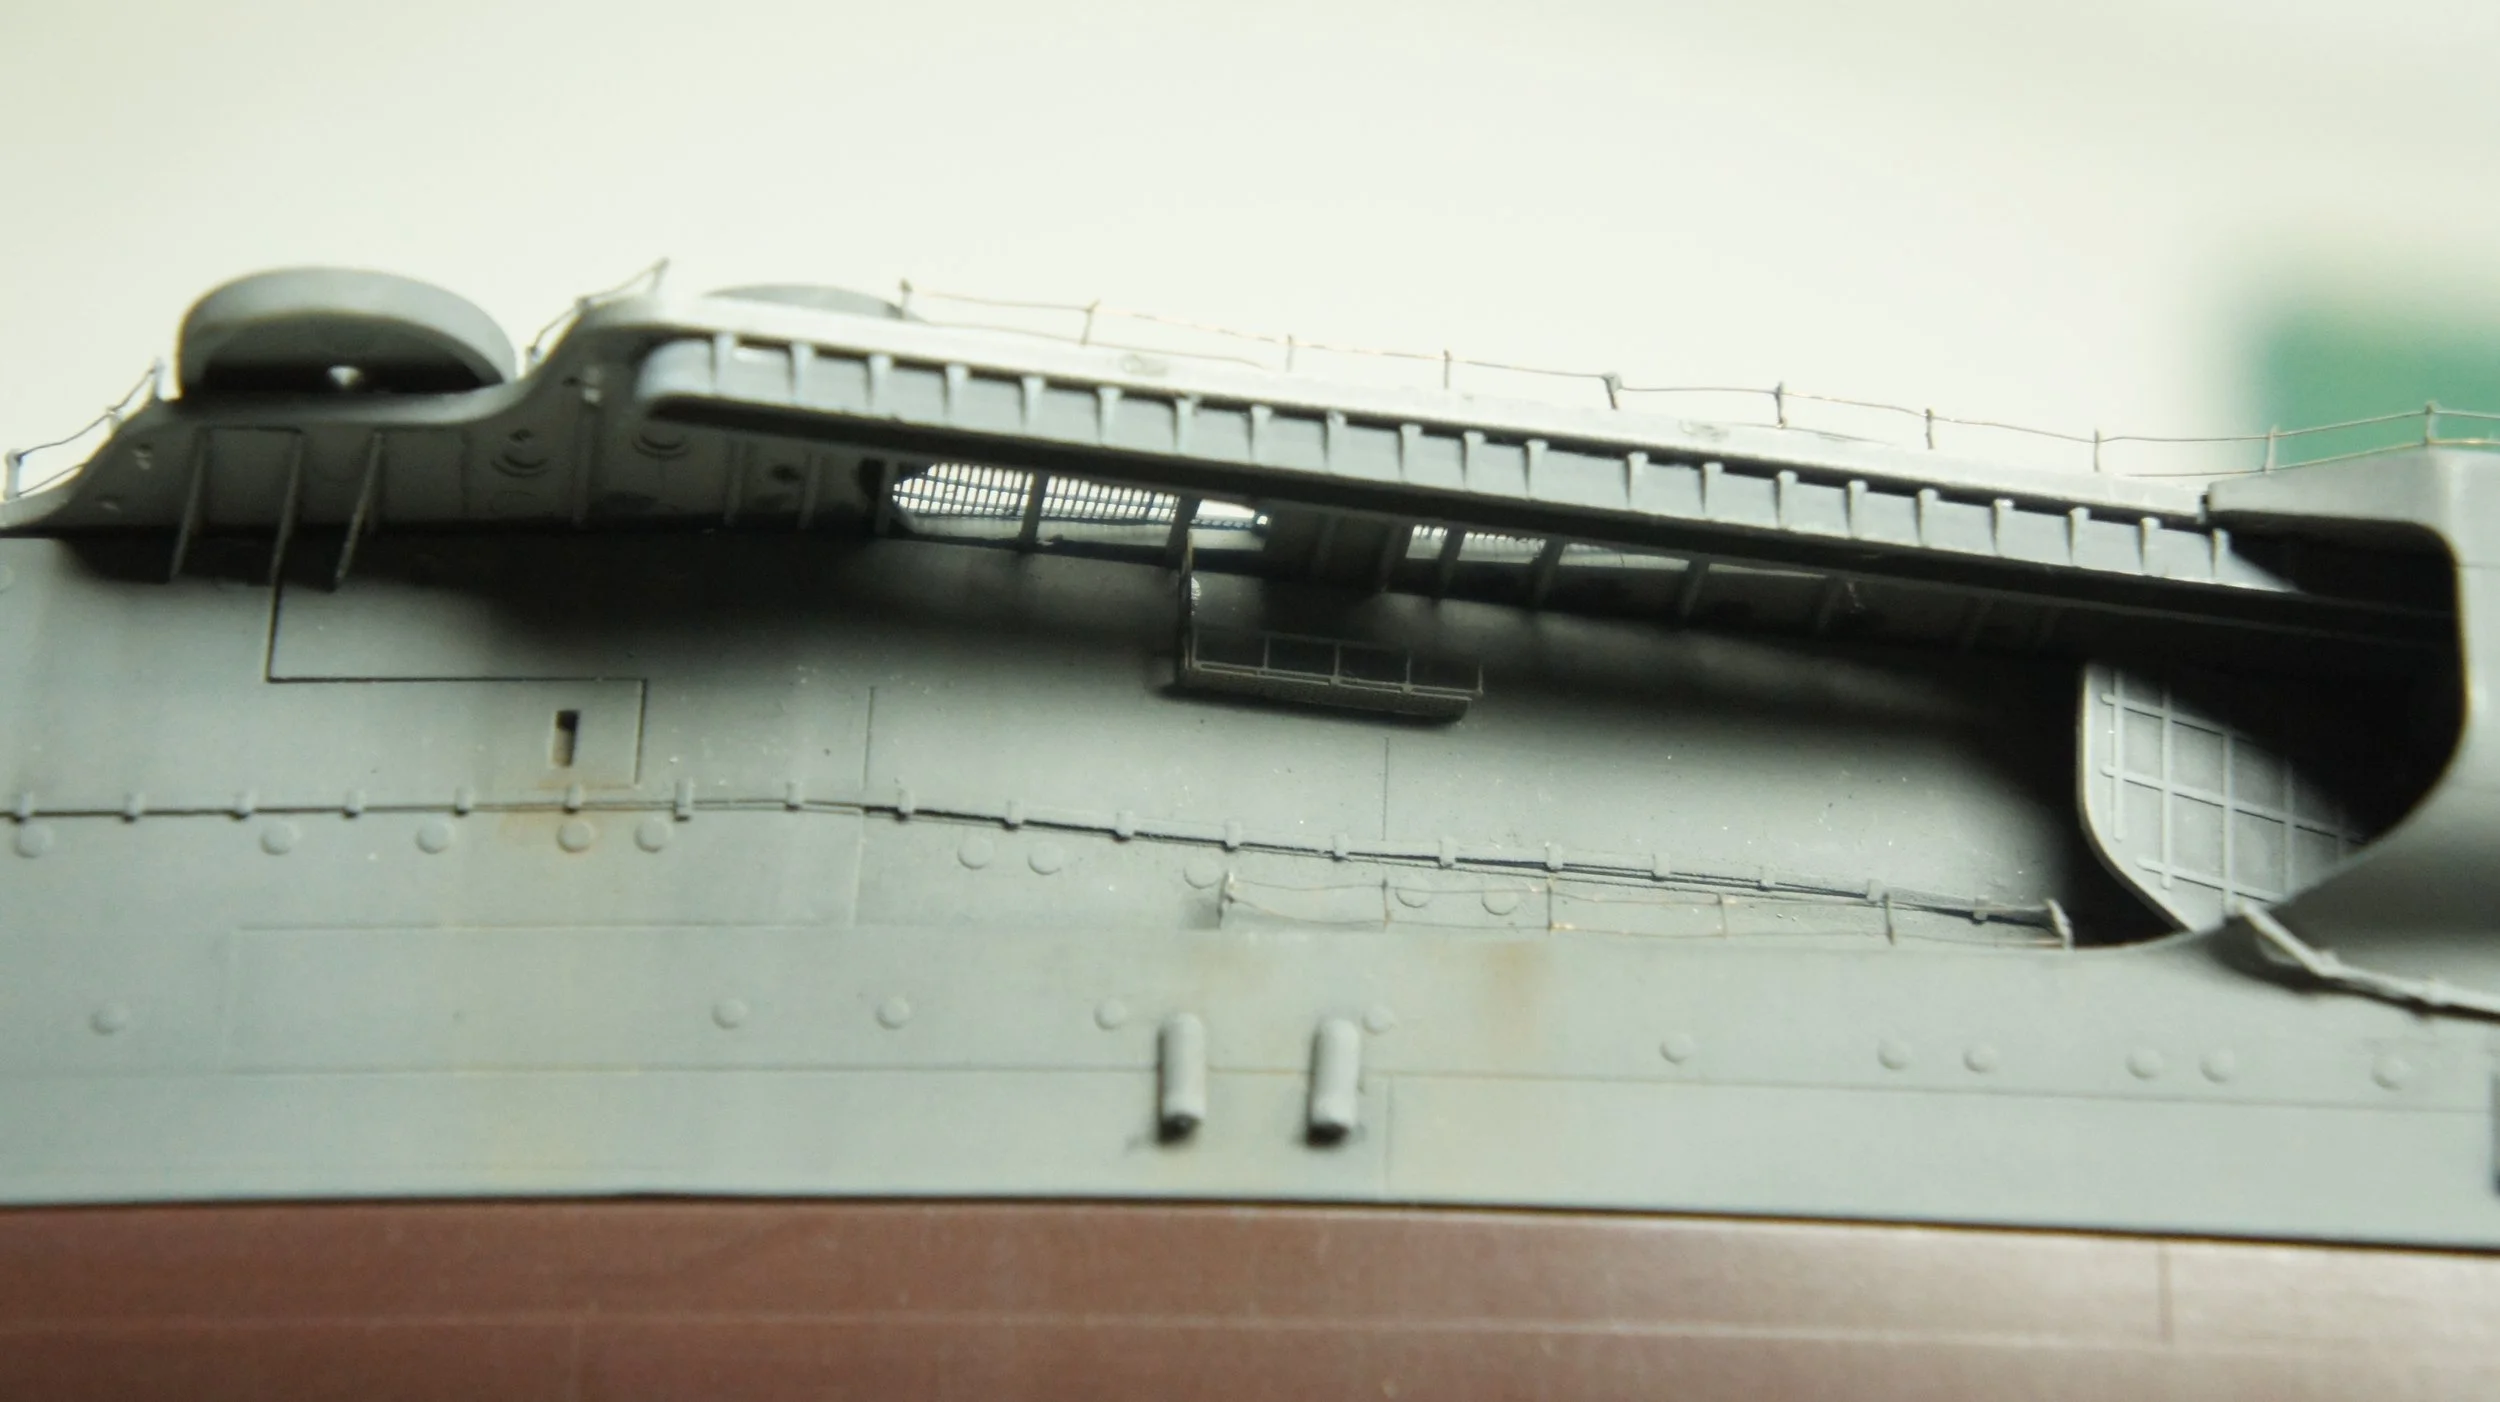
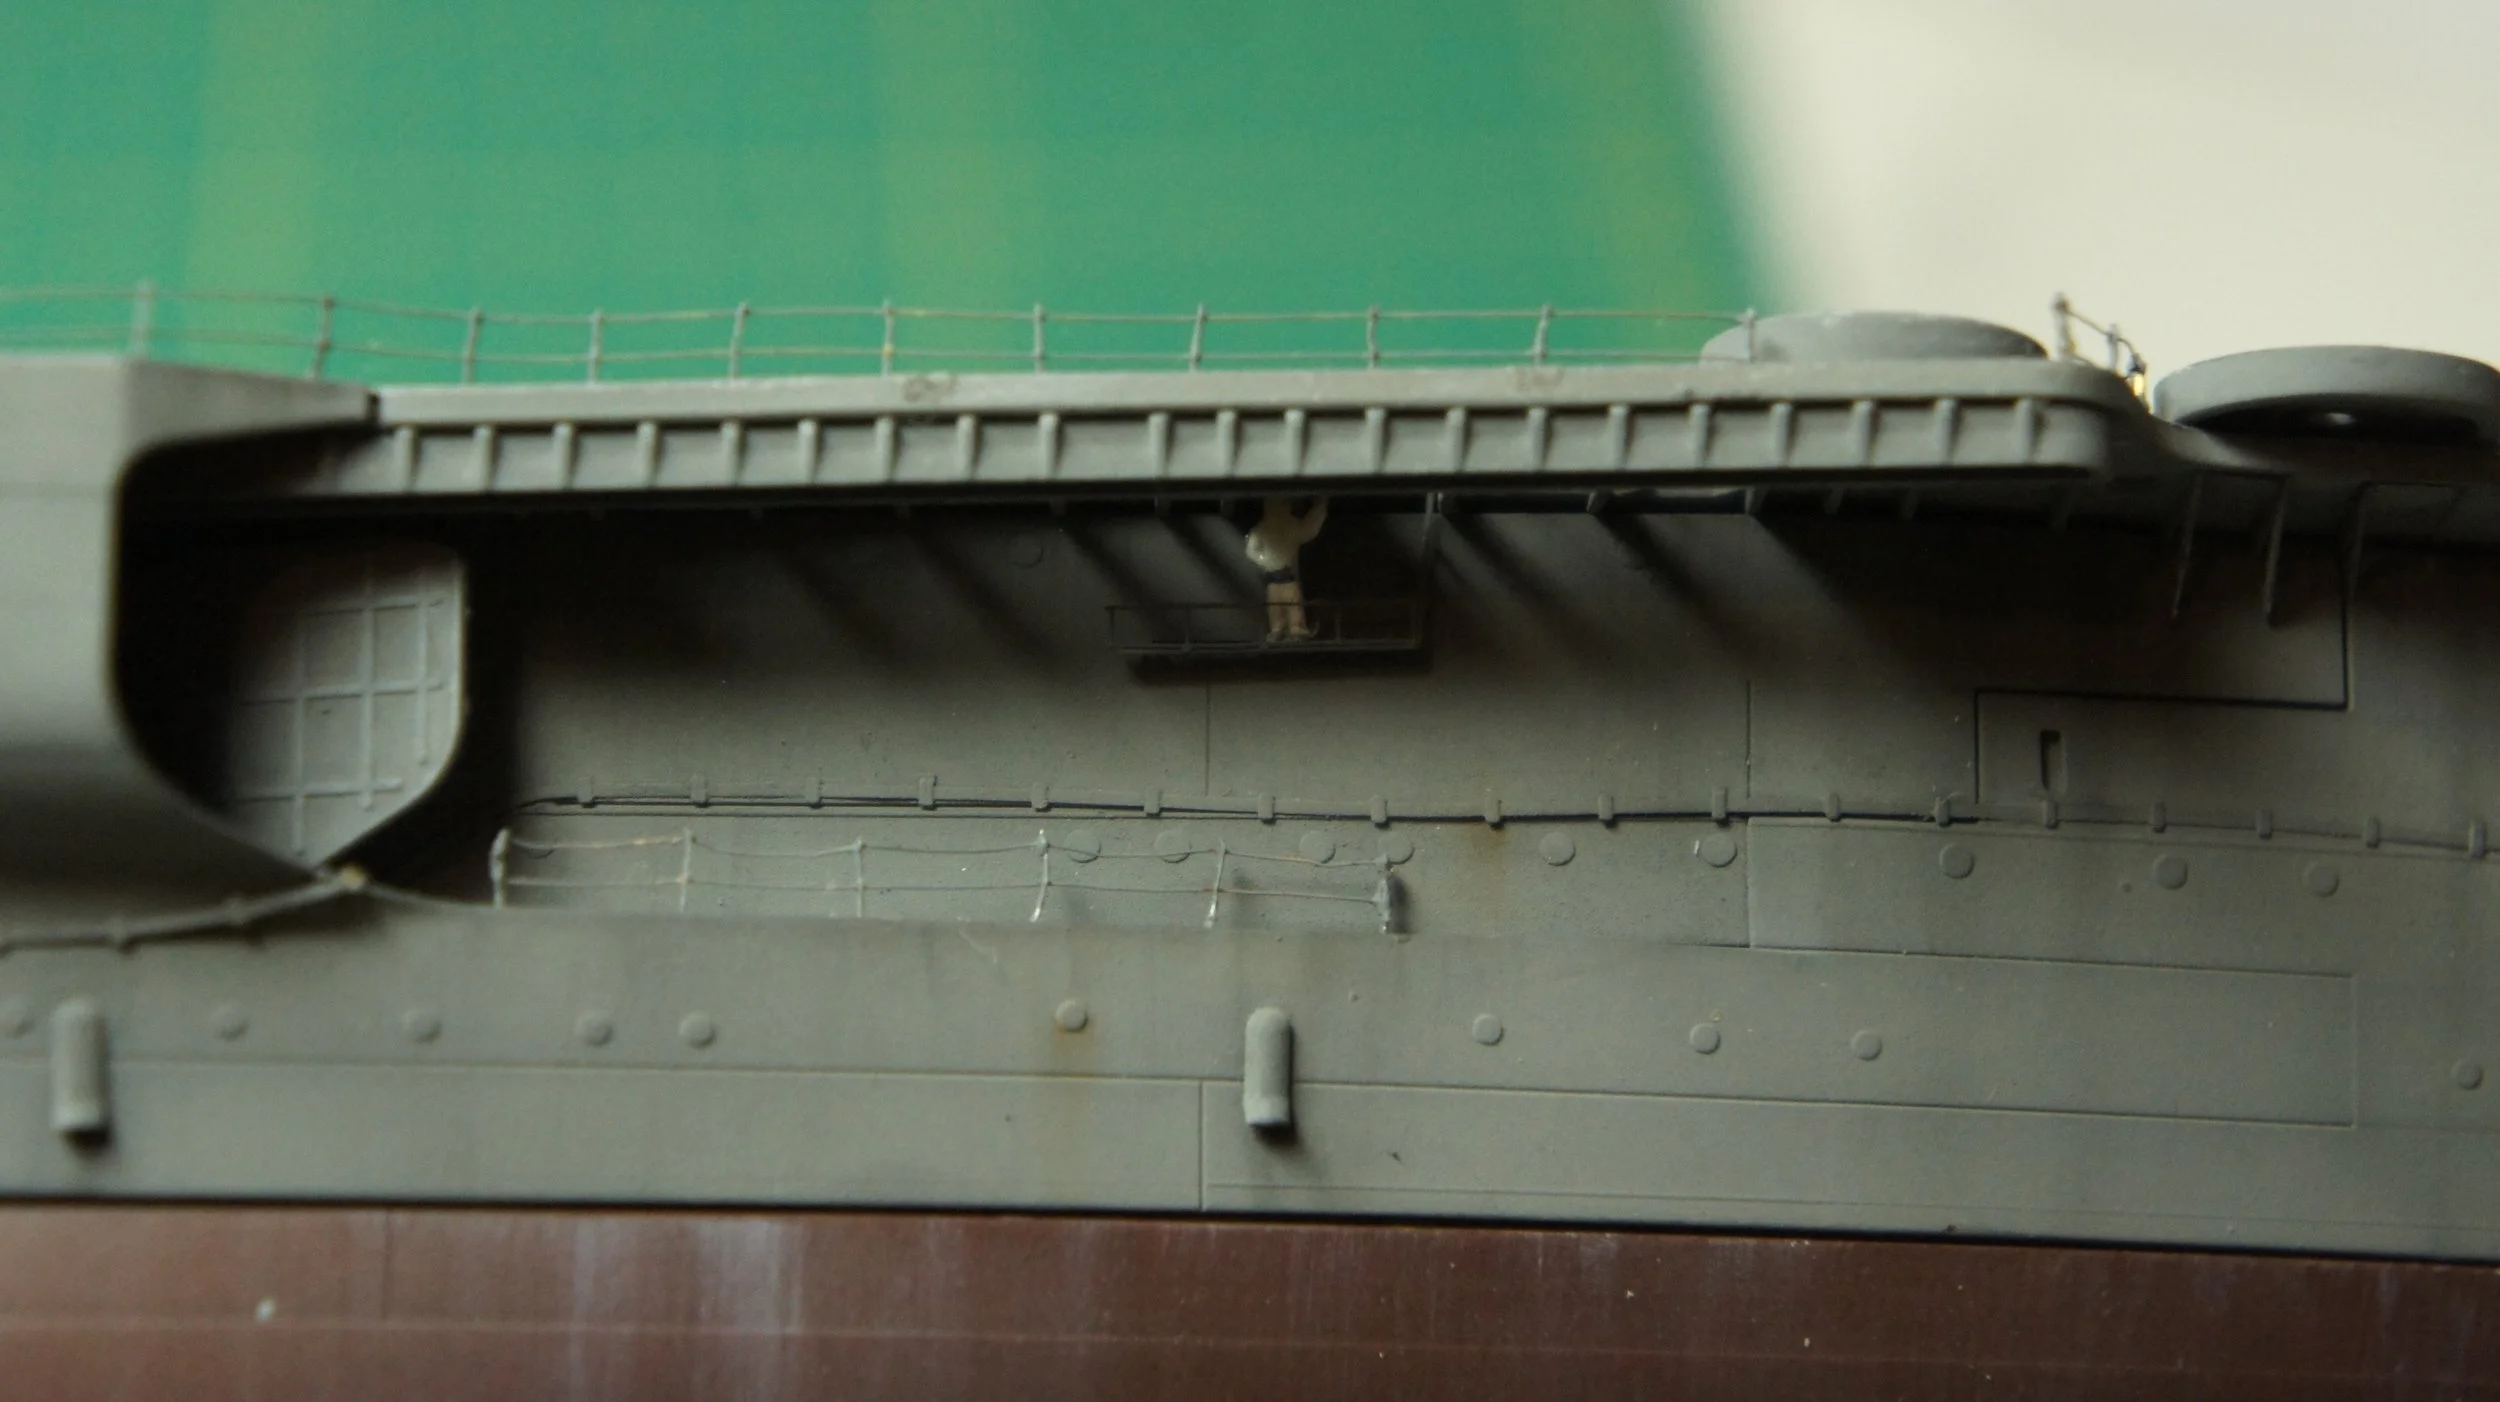
Funnel + Center superstructure:
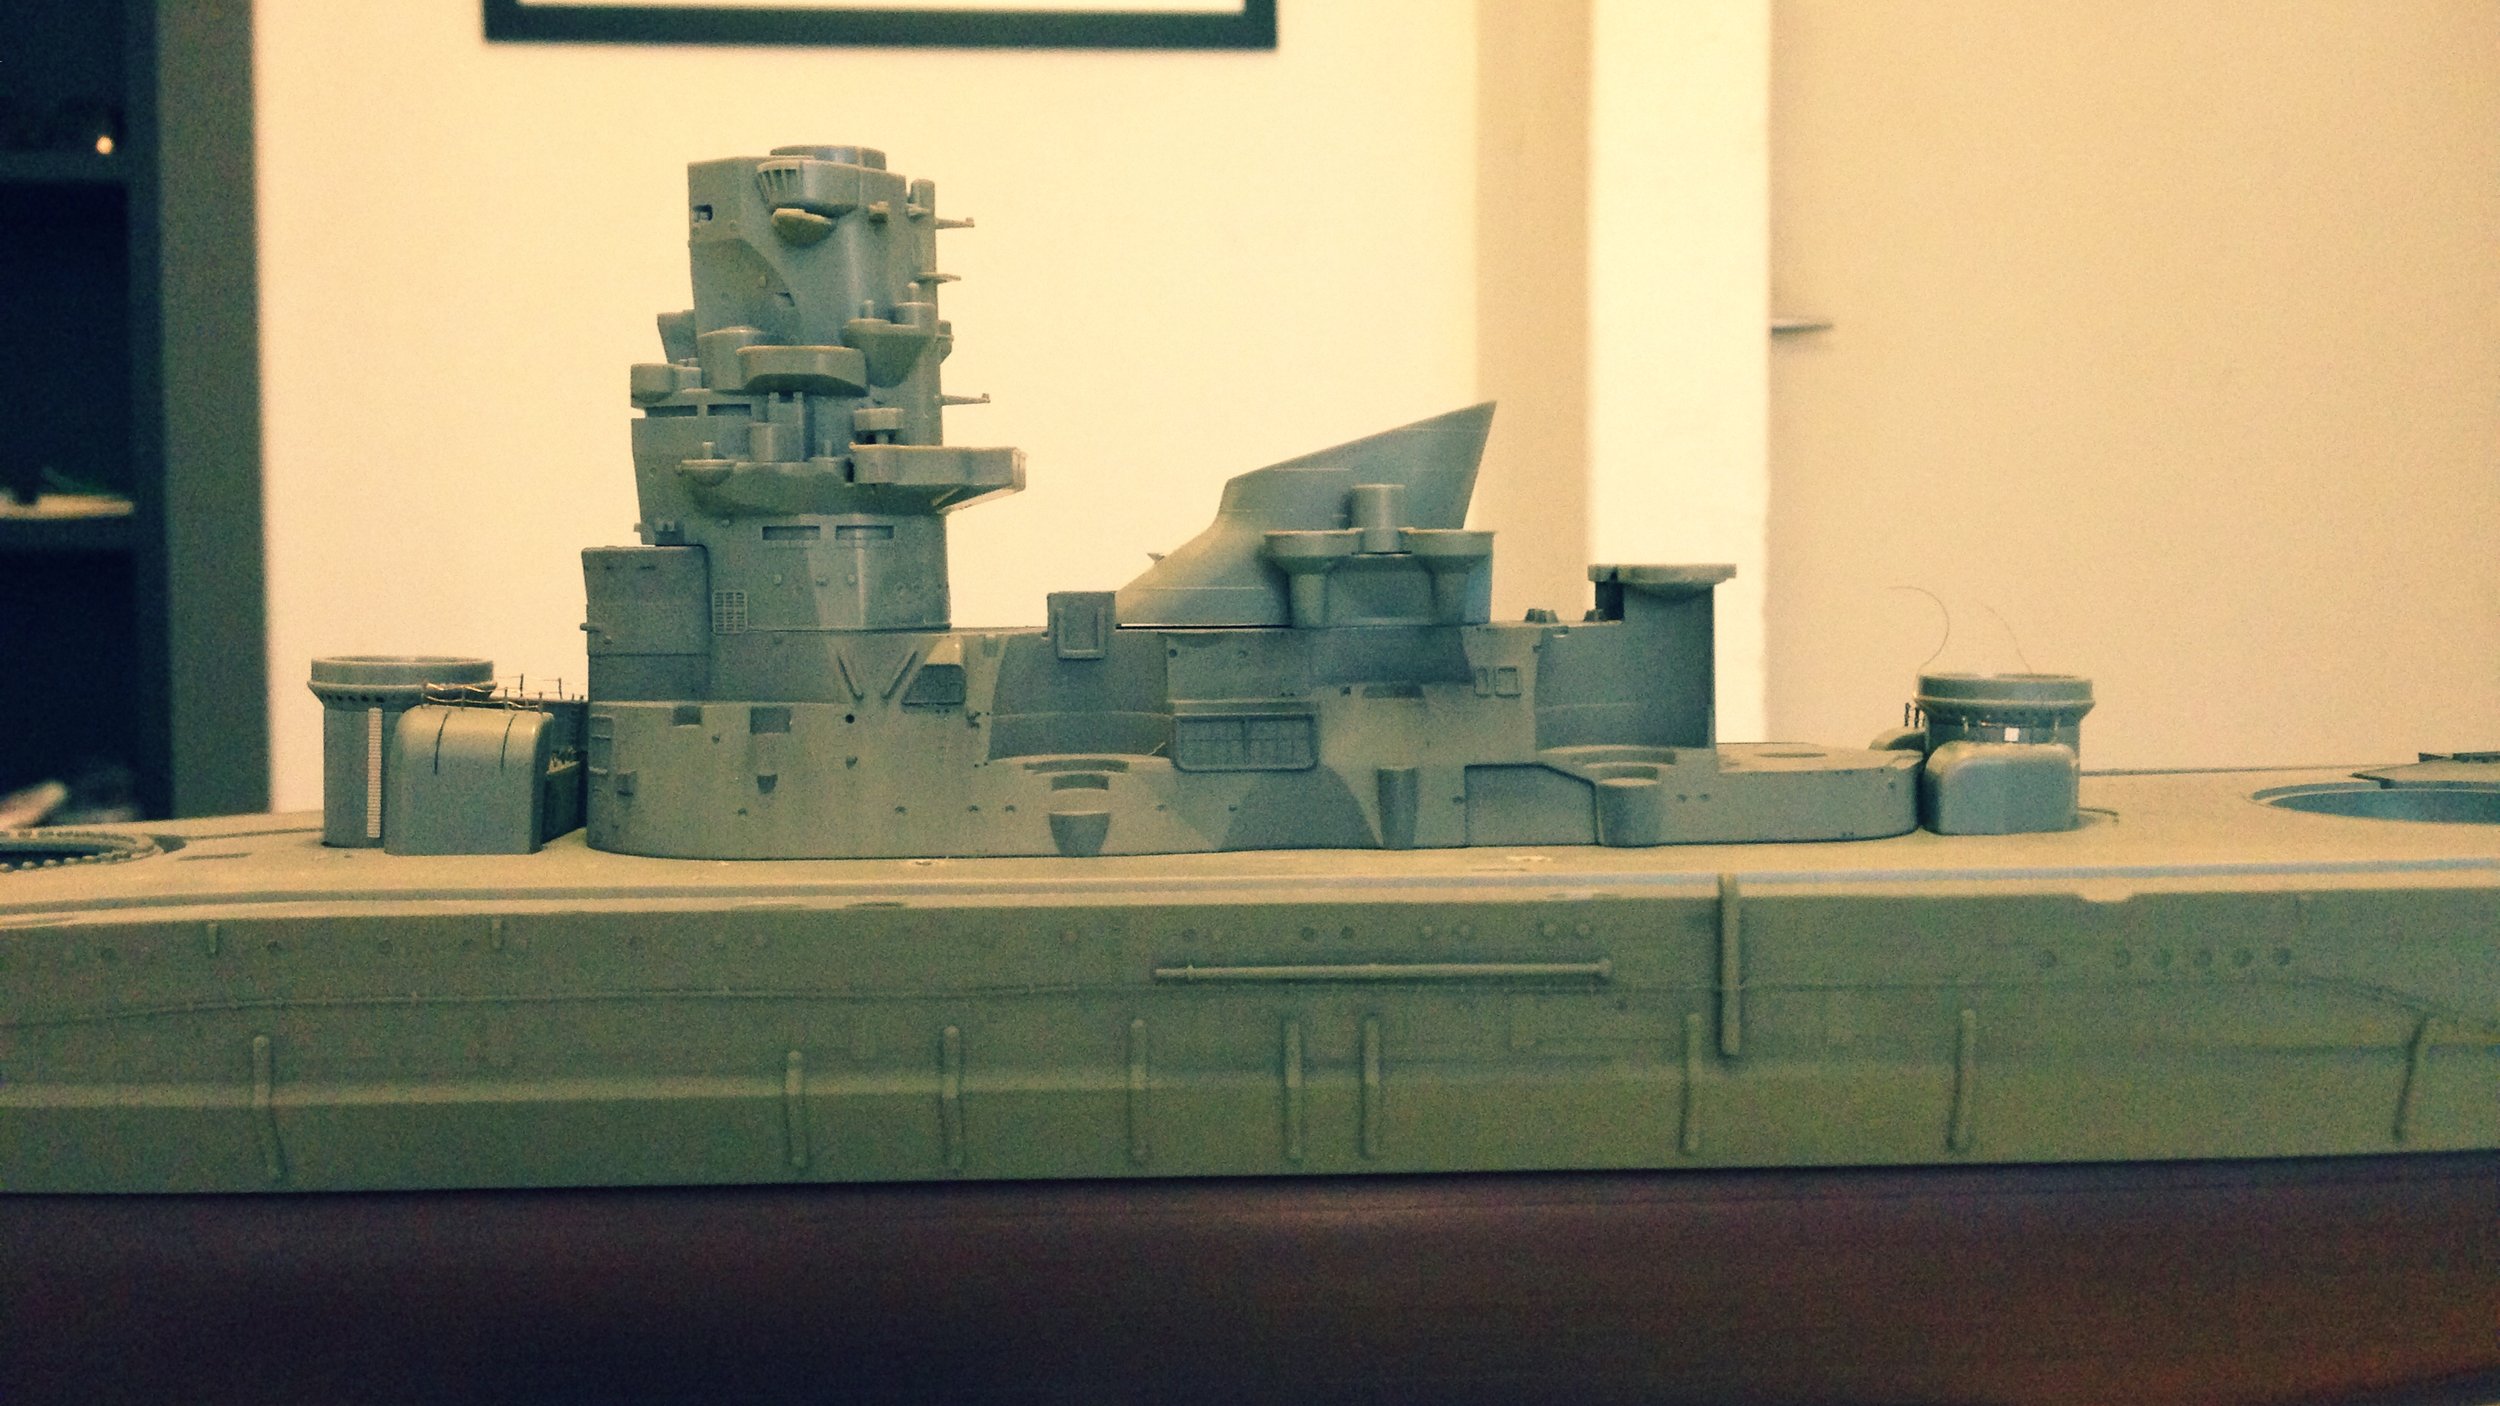
Funnel:
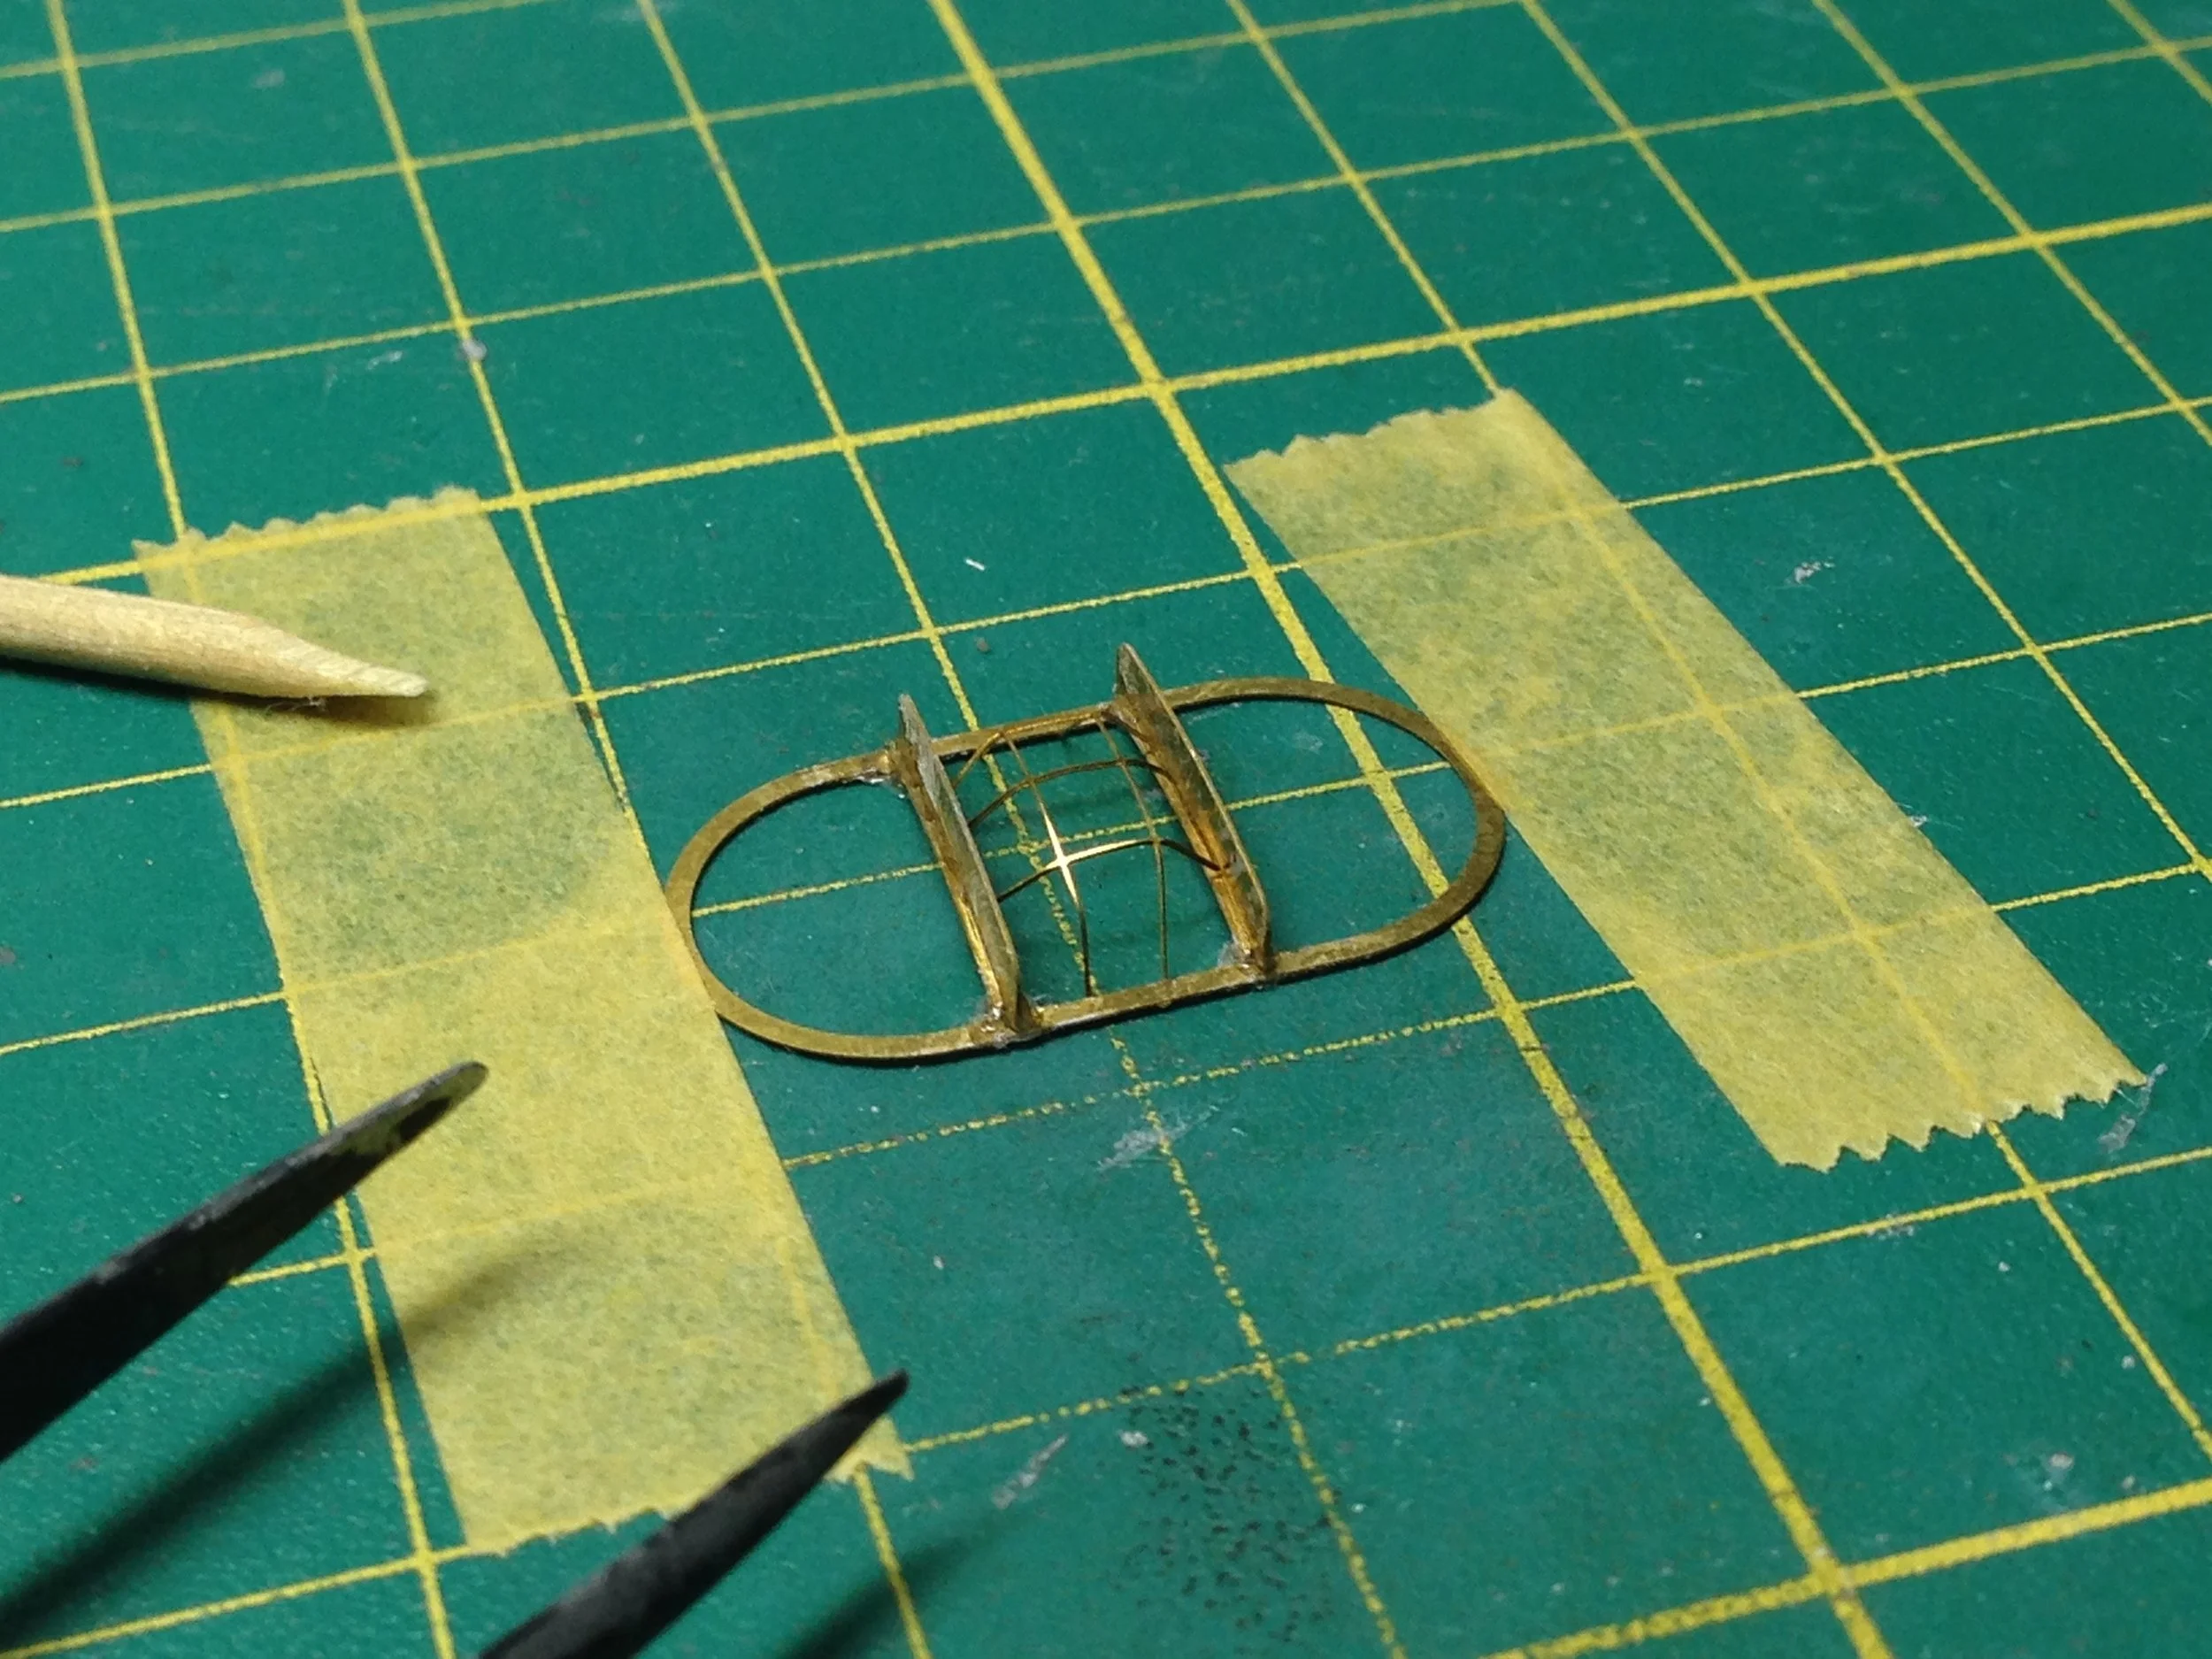
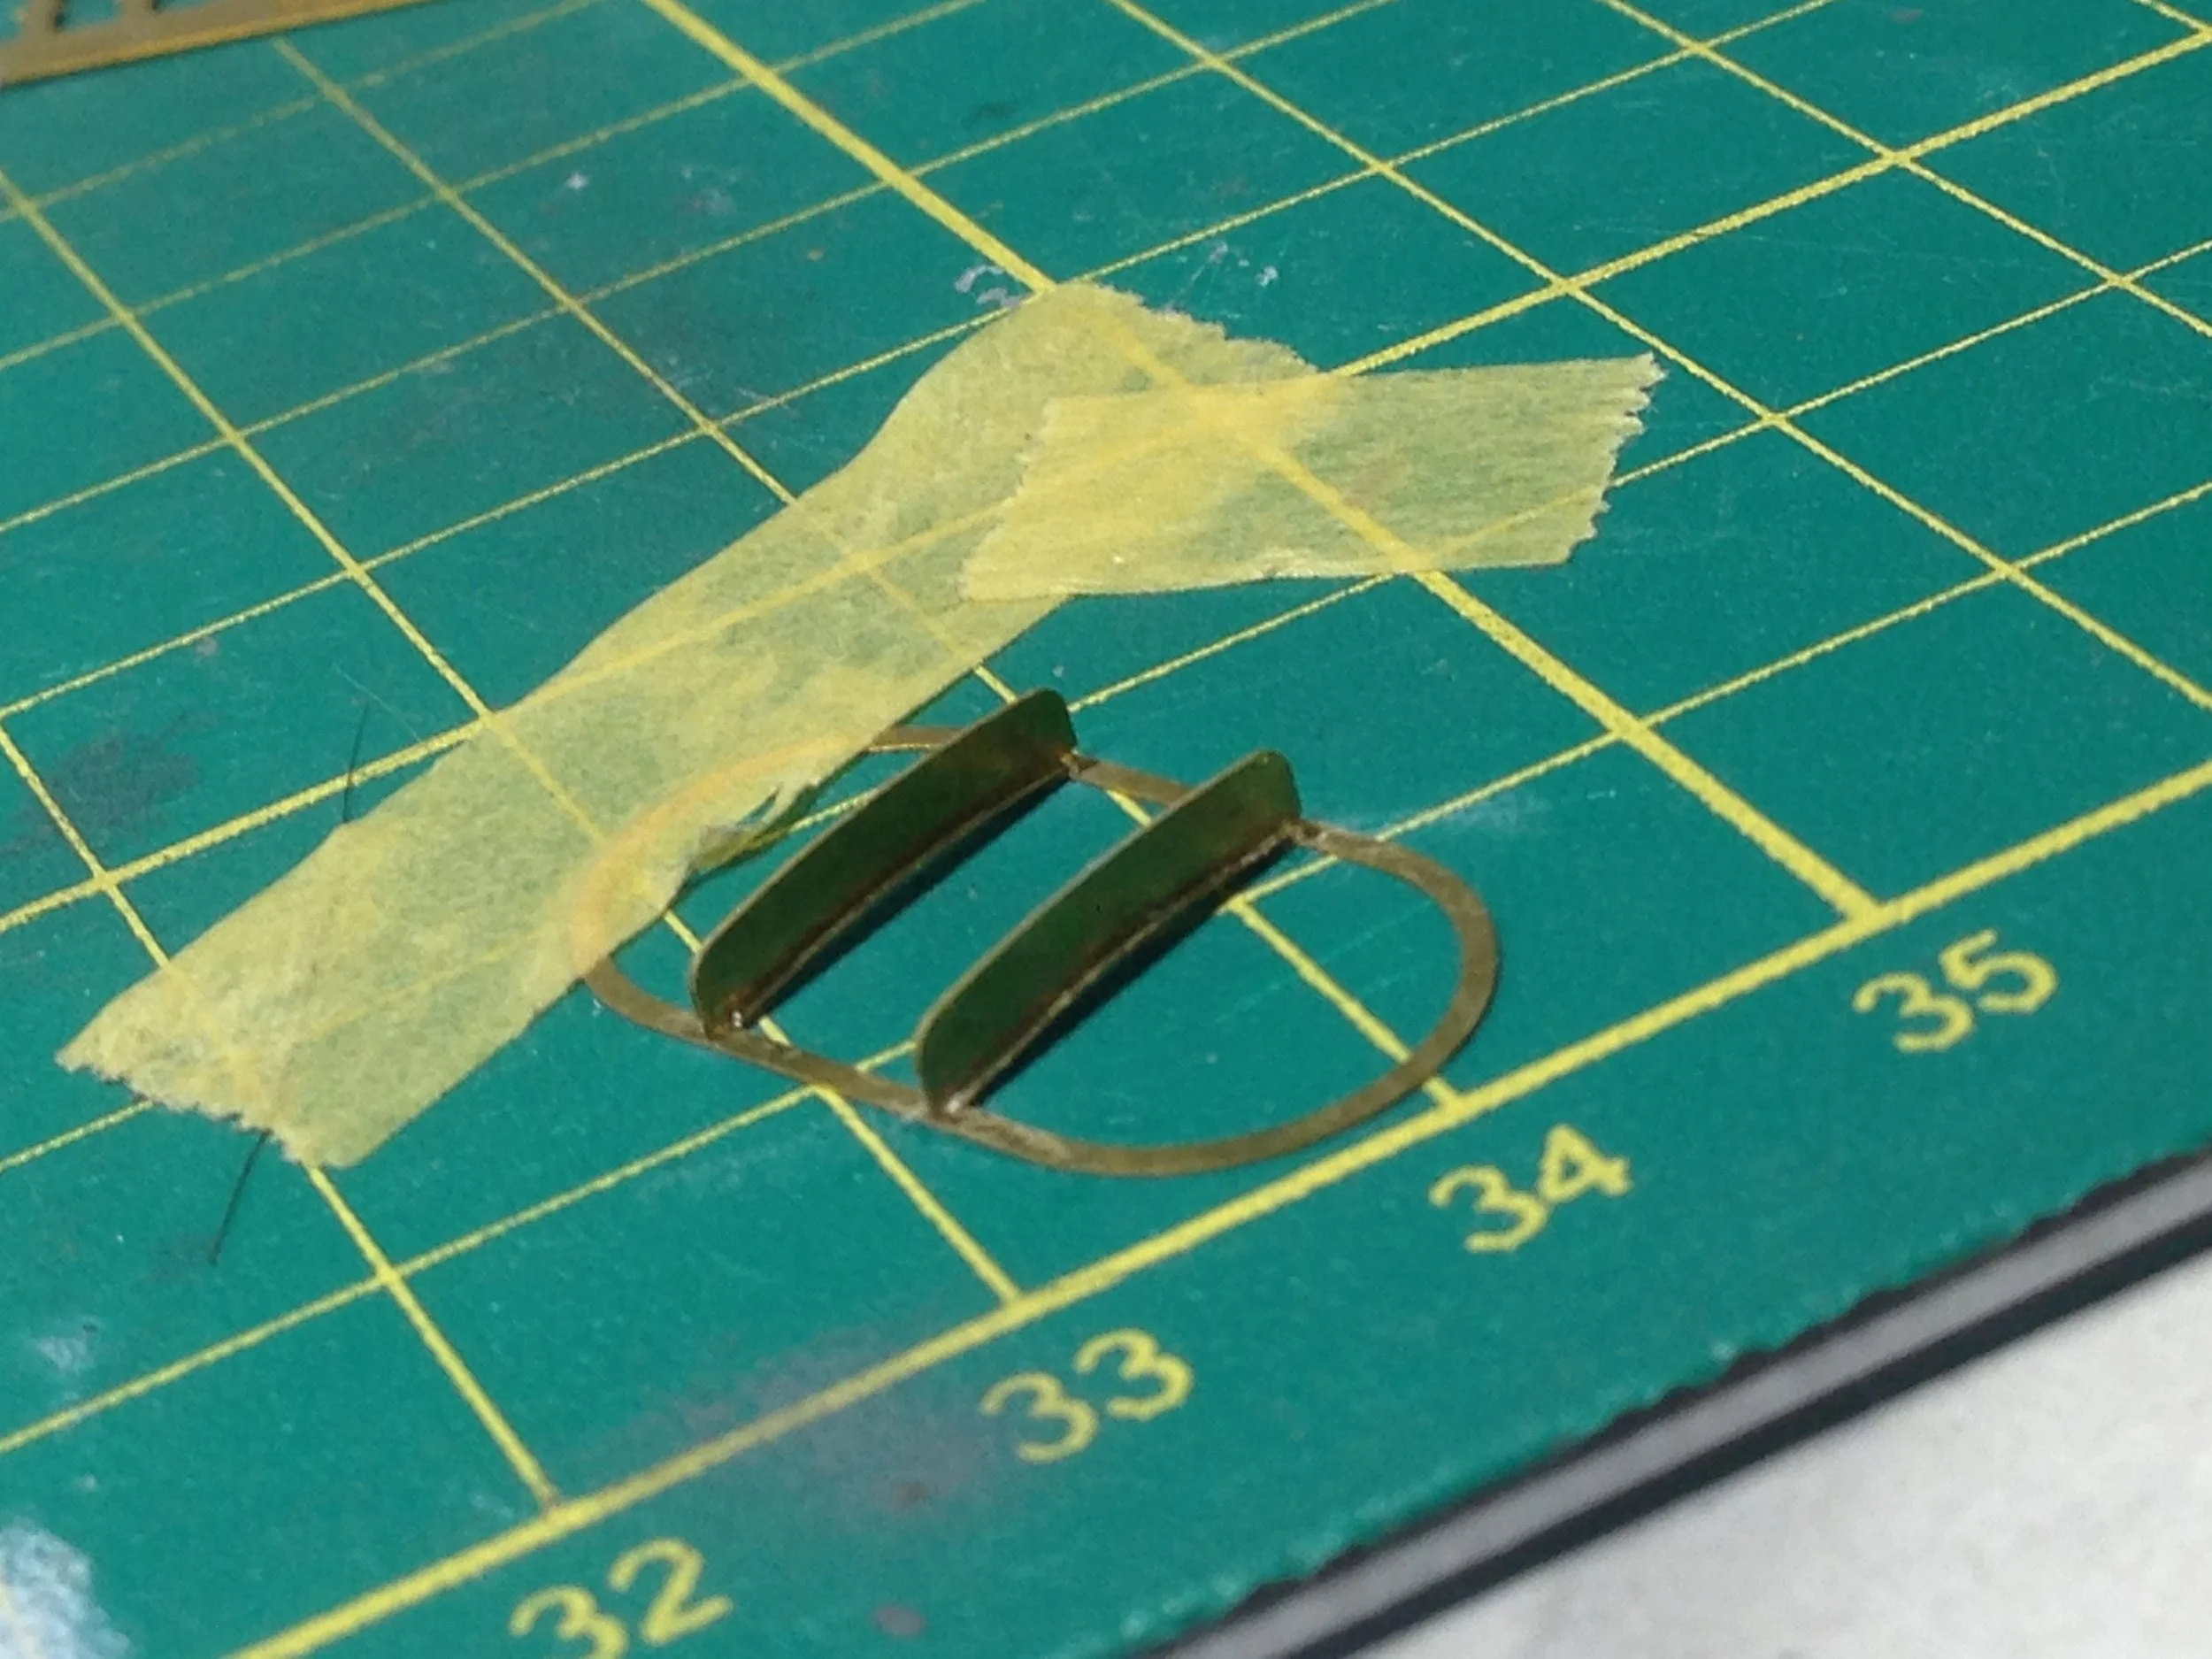
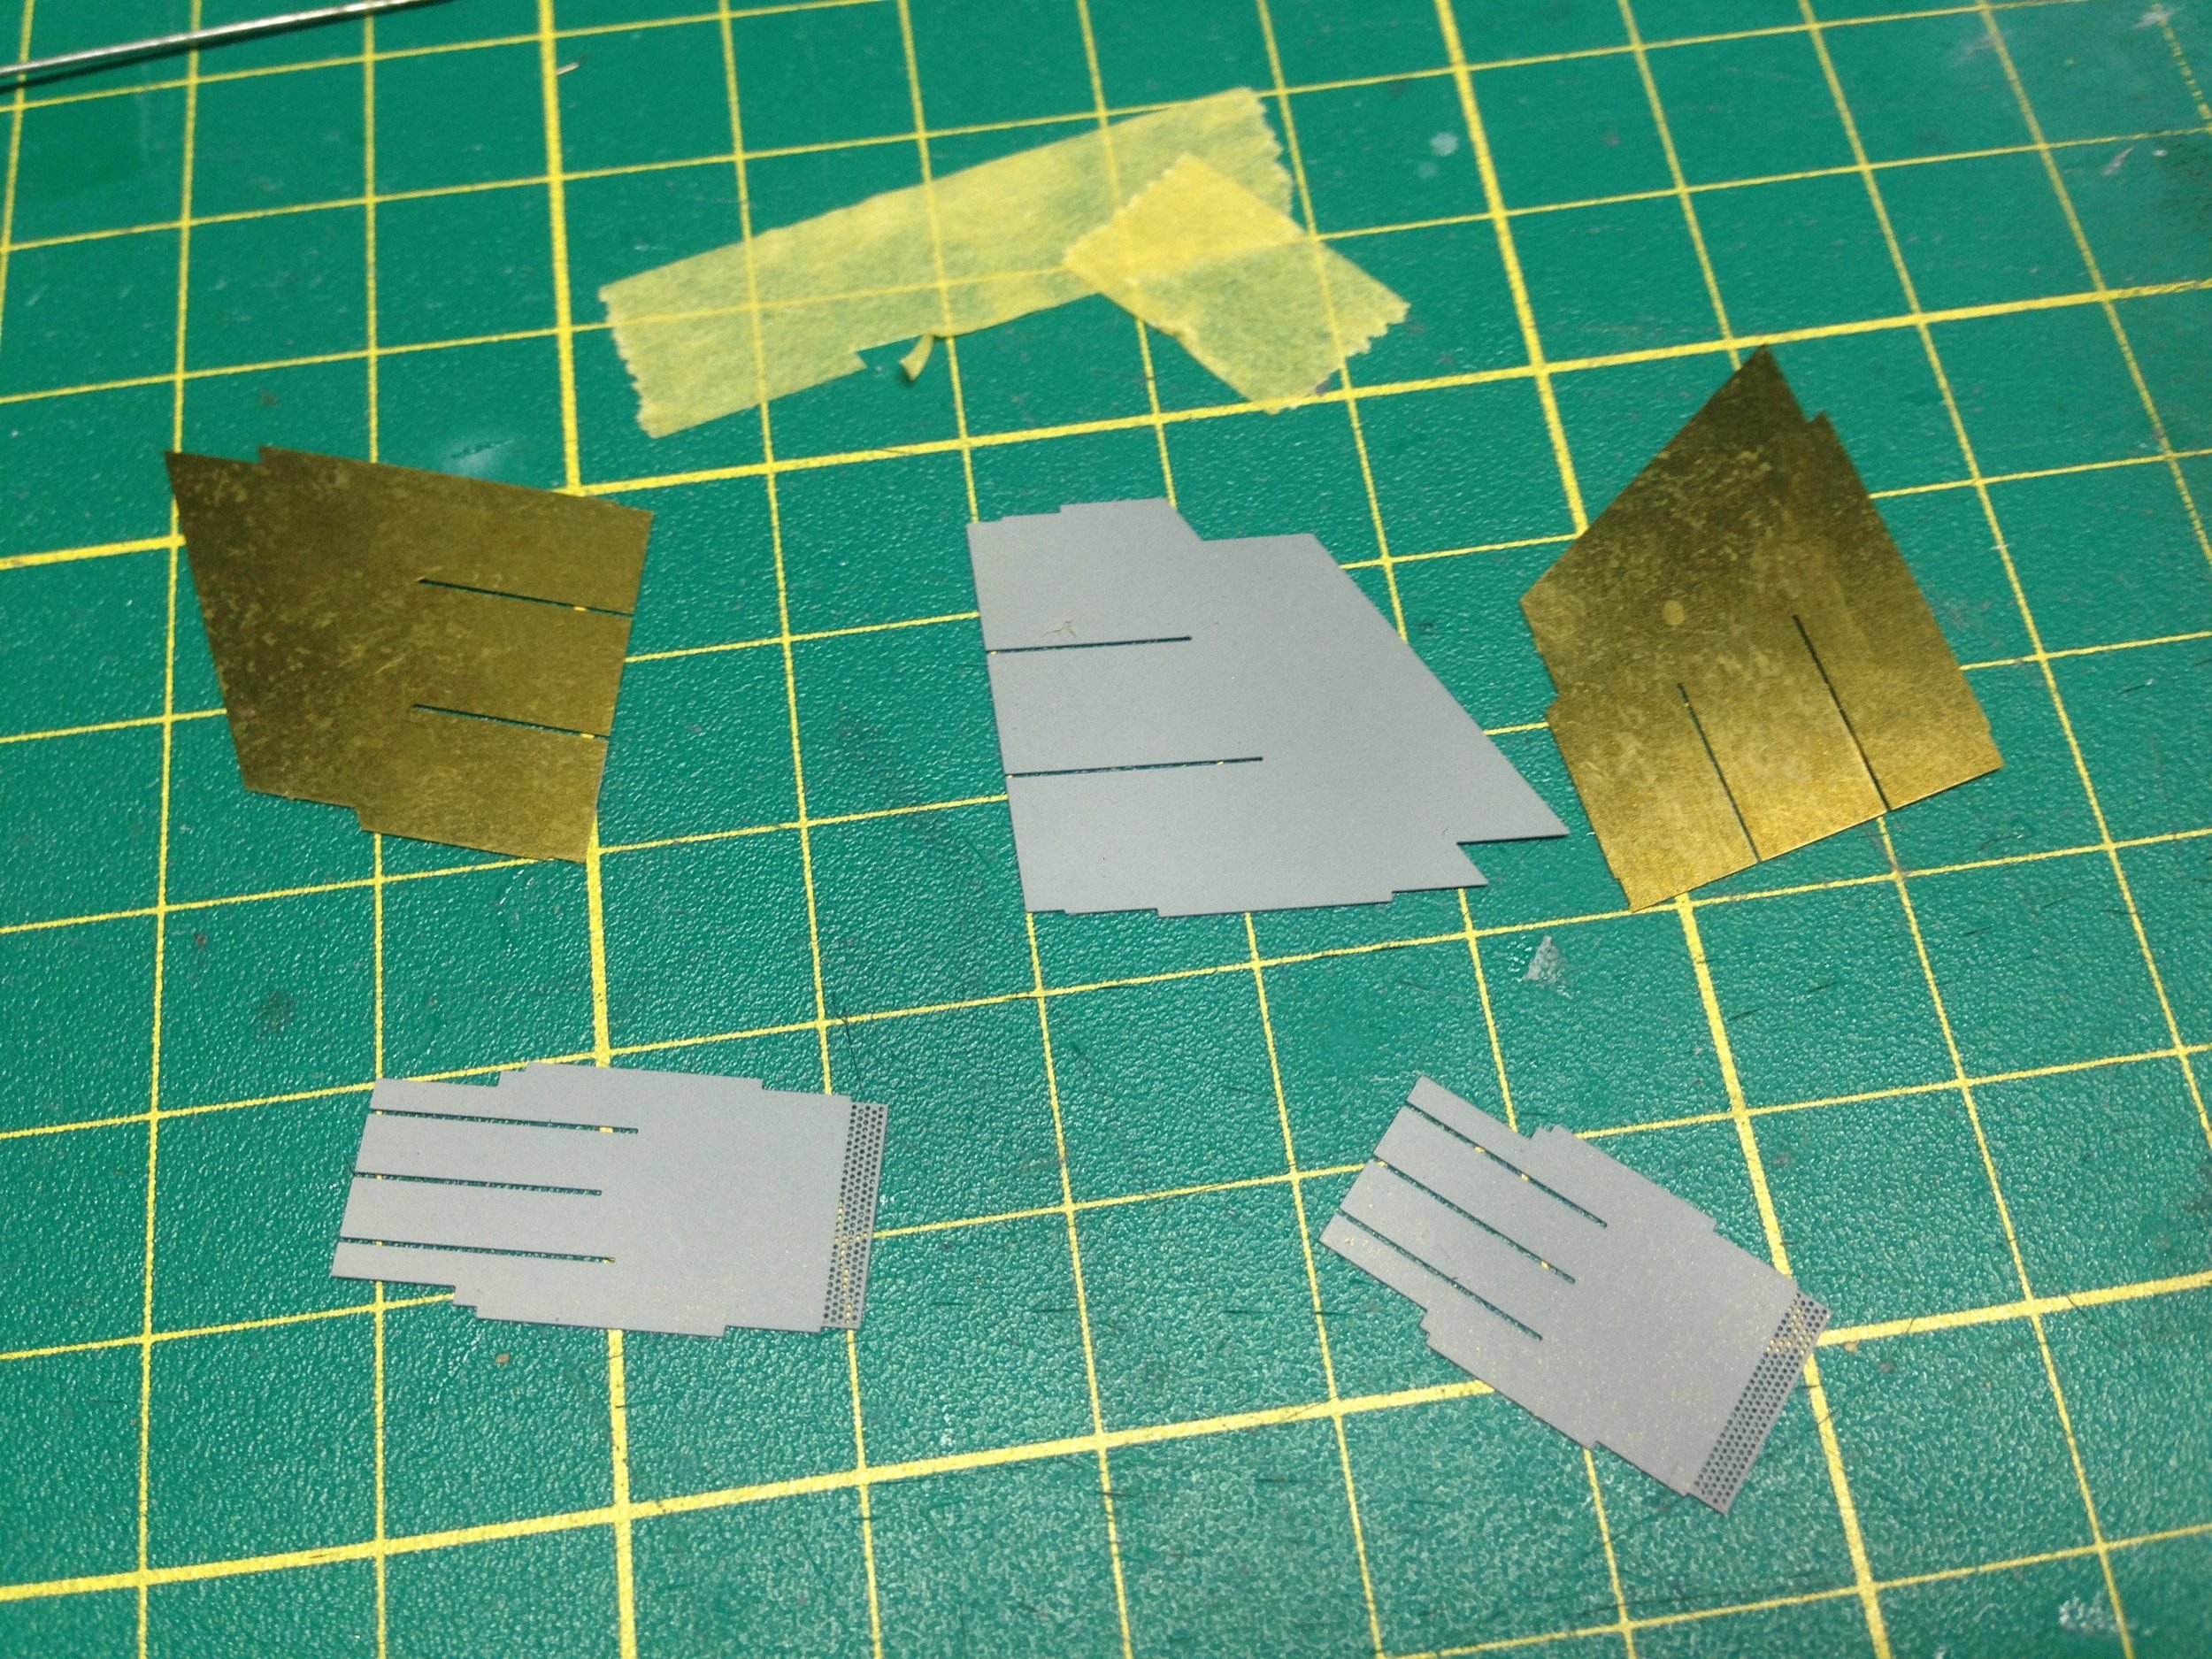
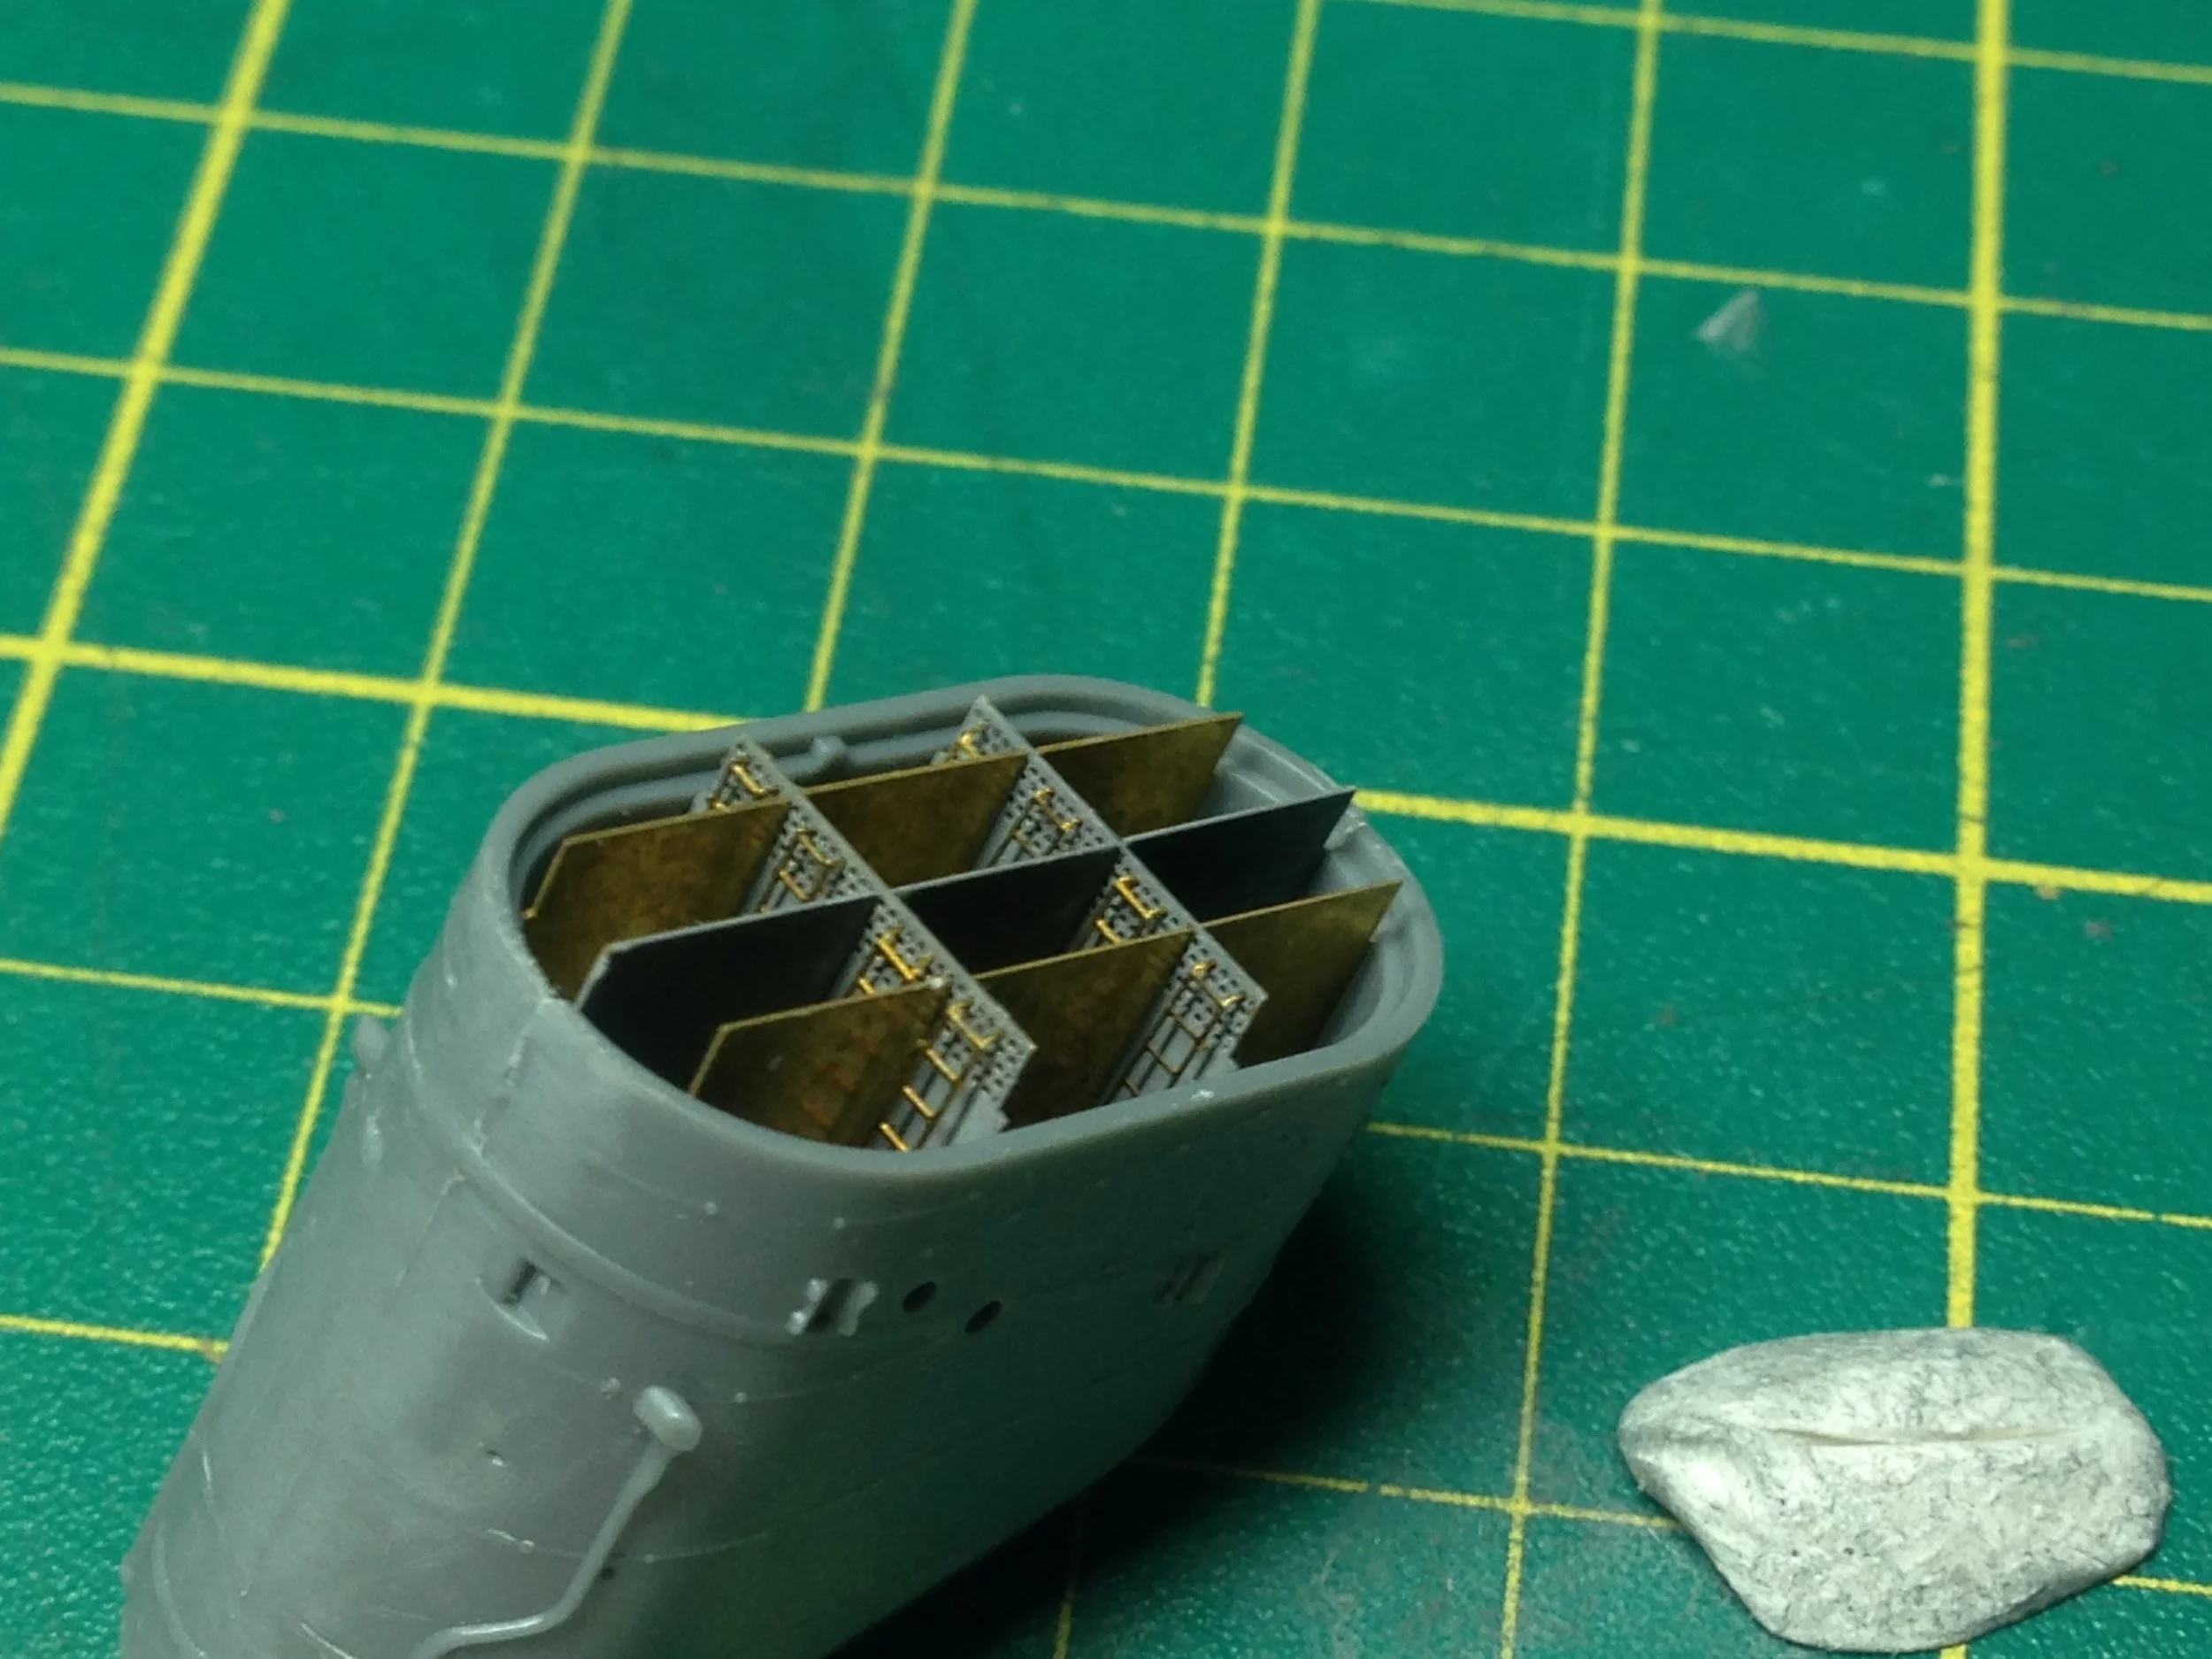
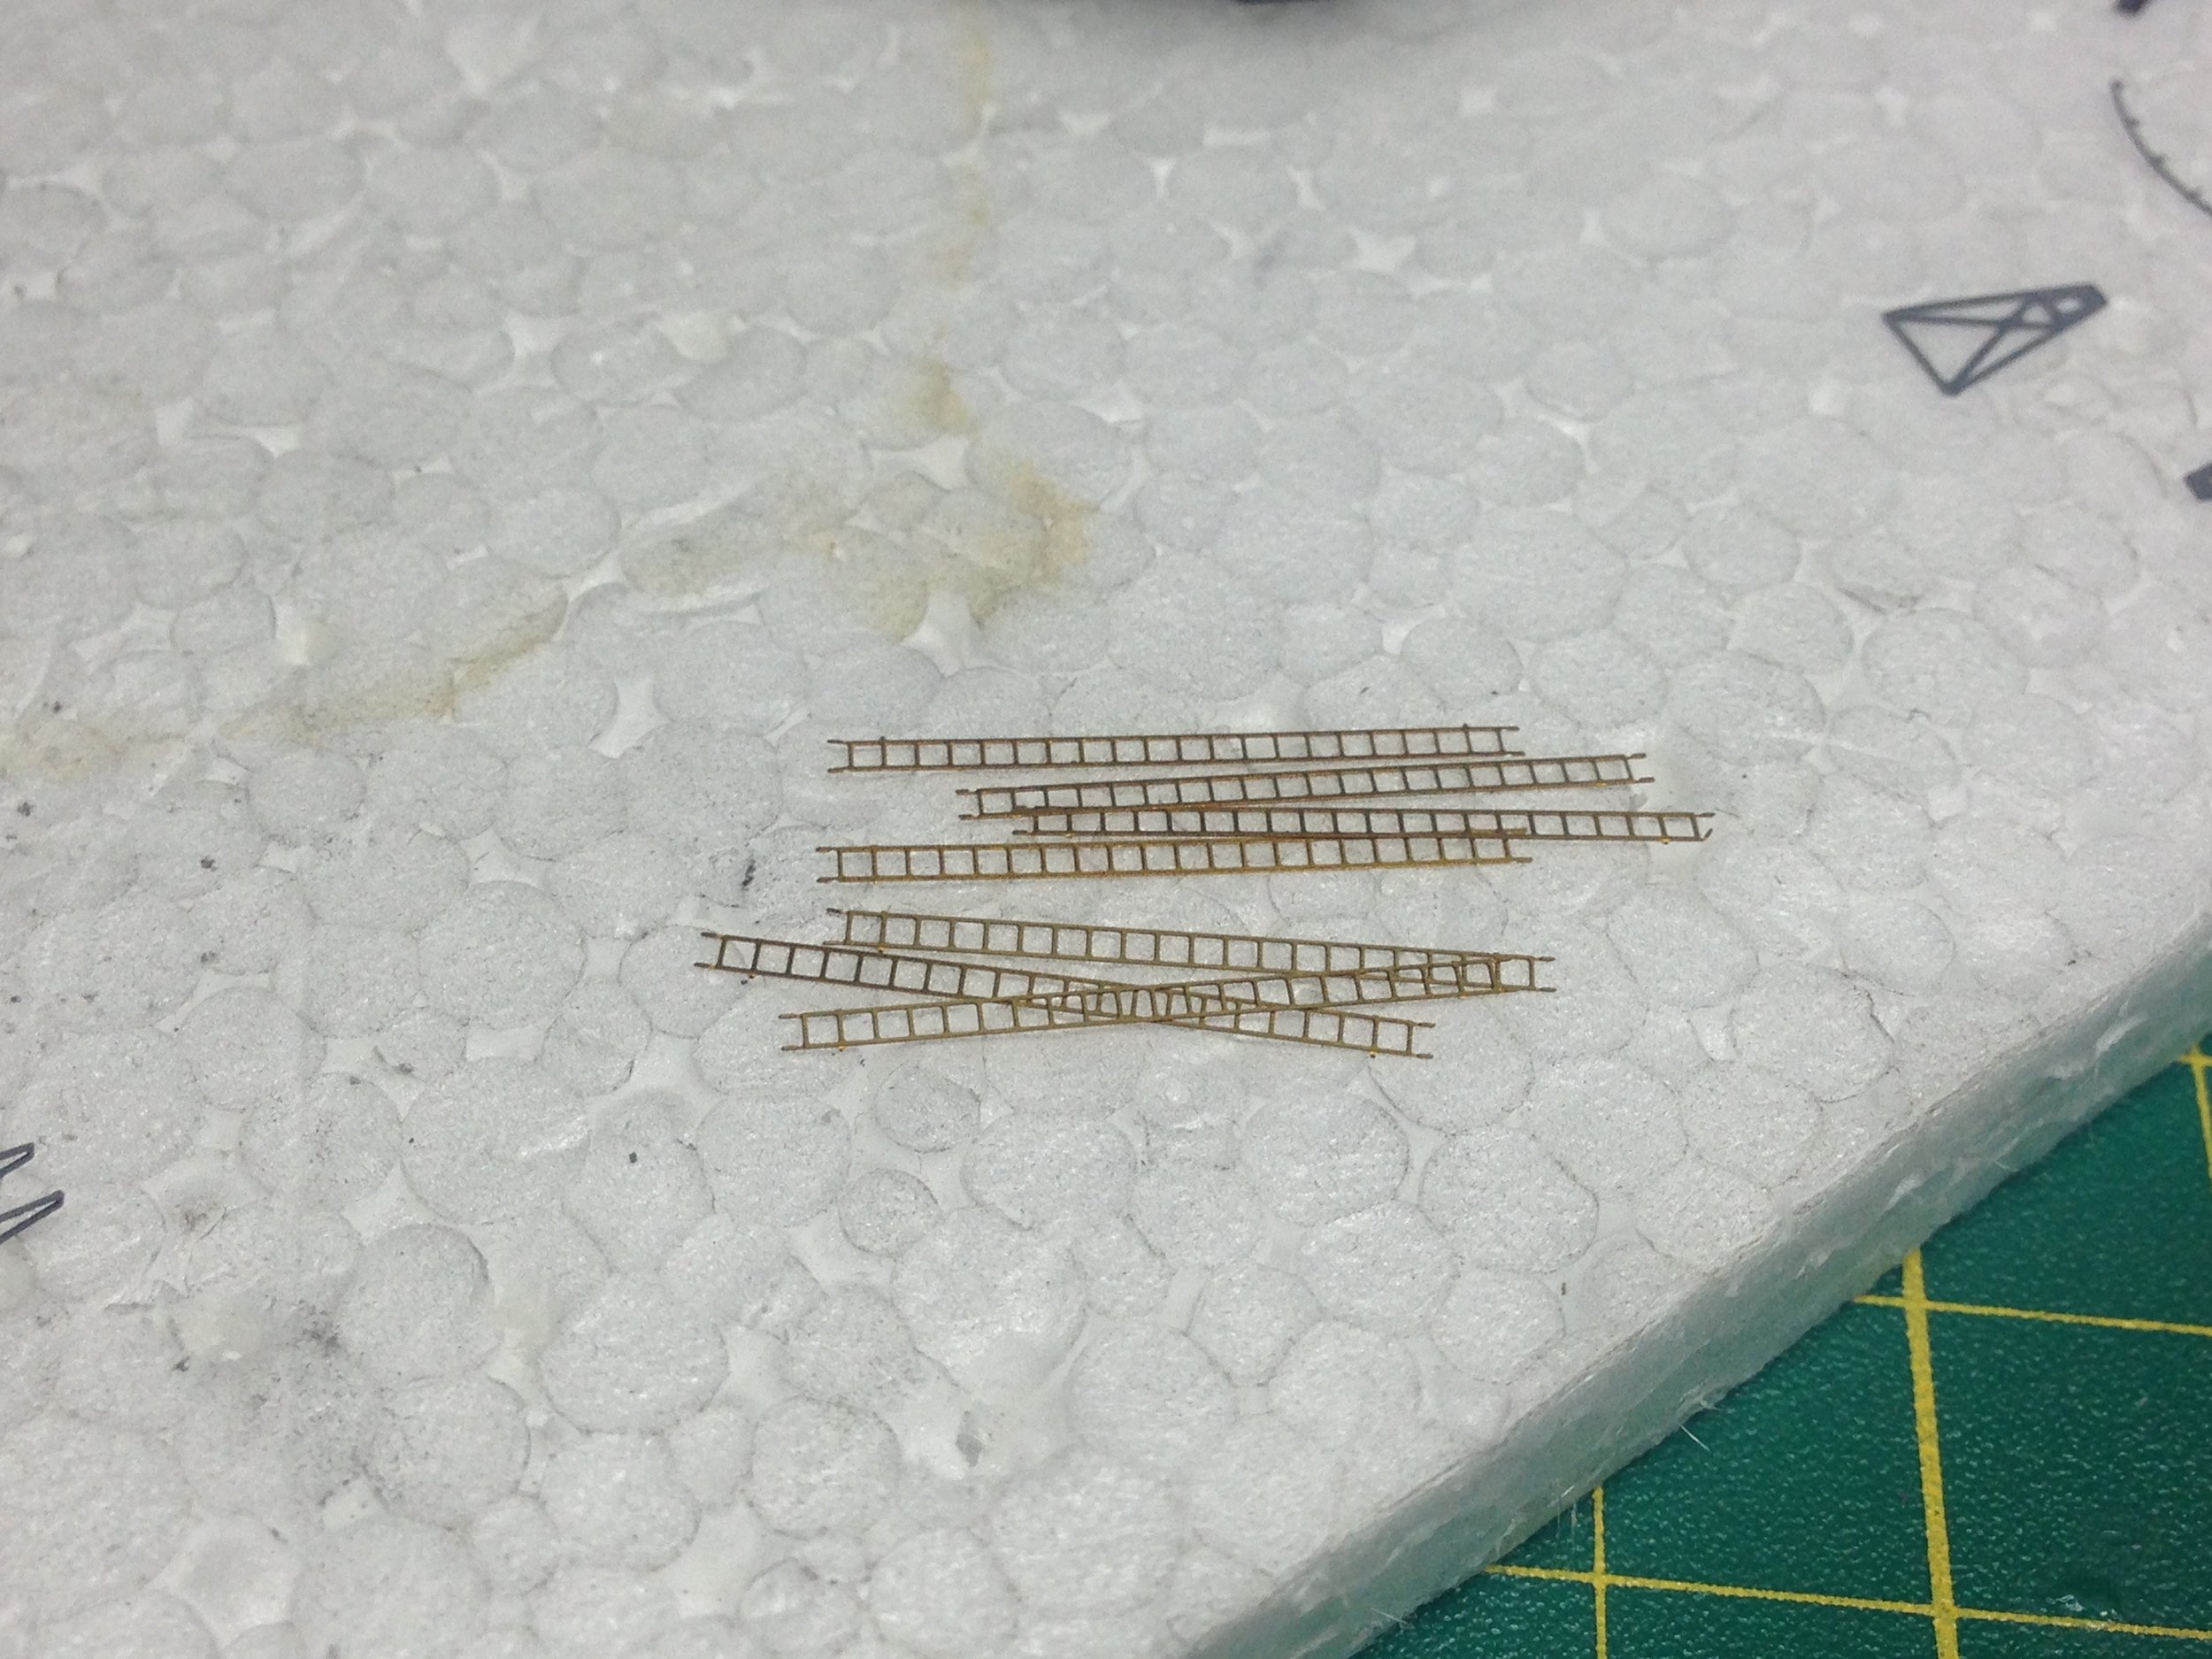
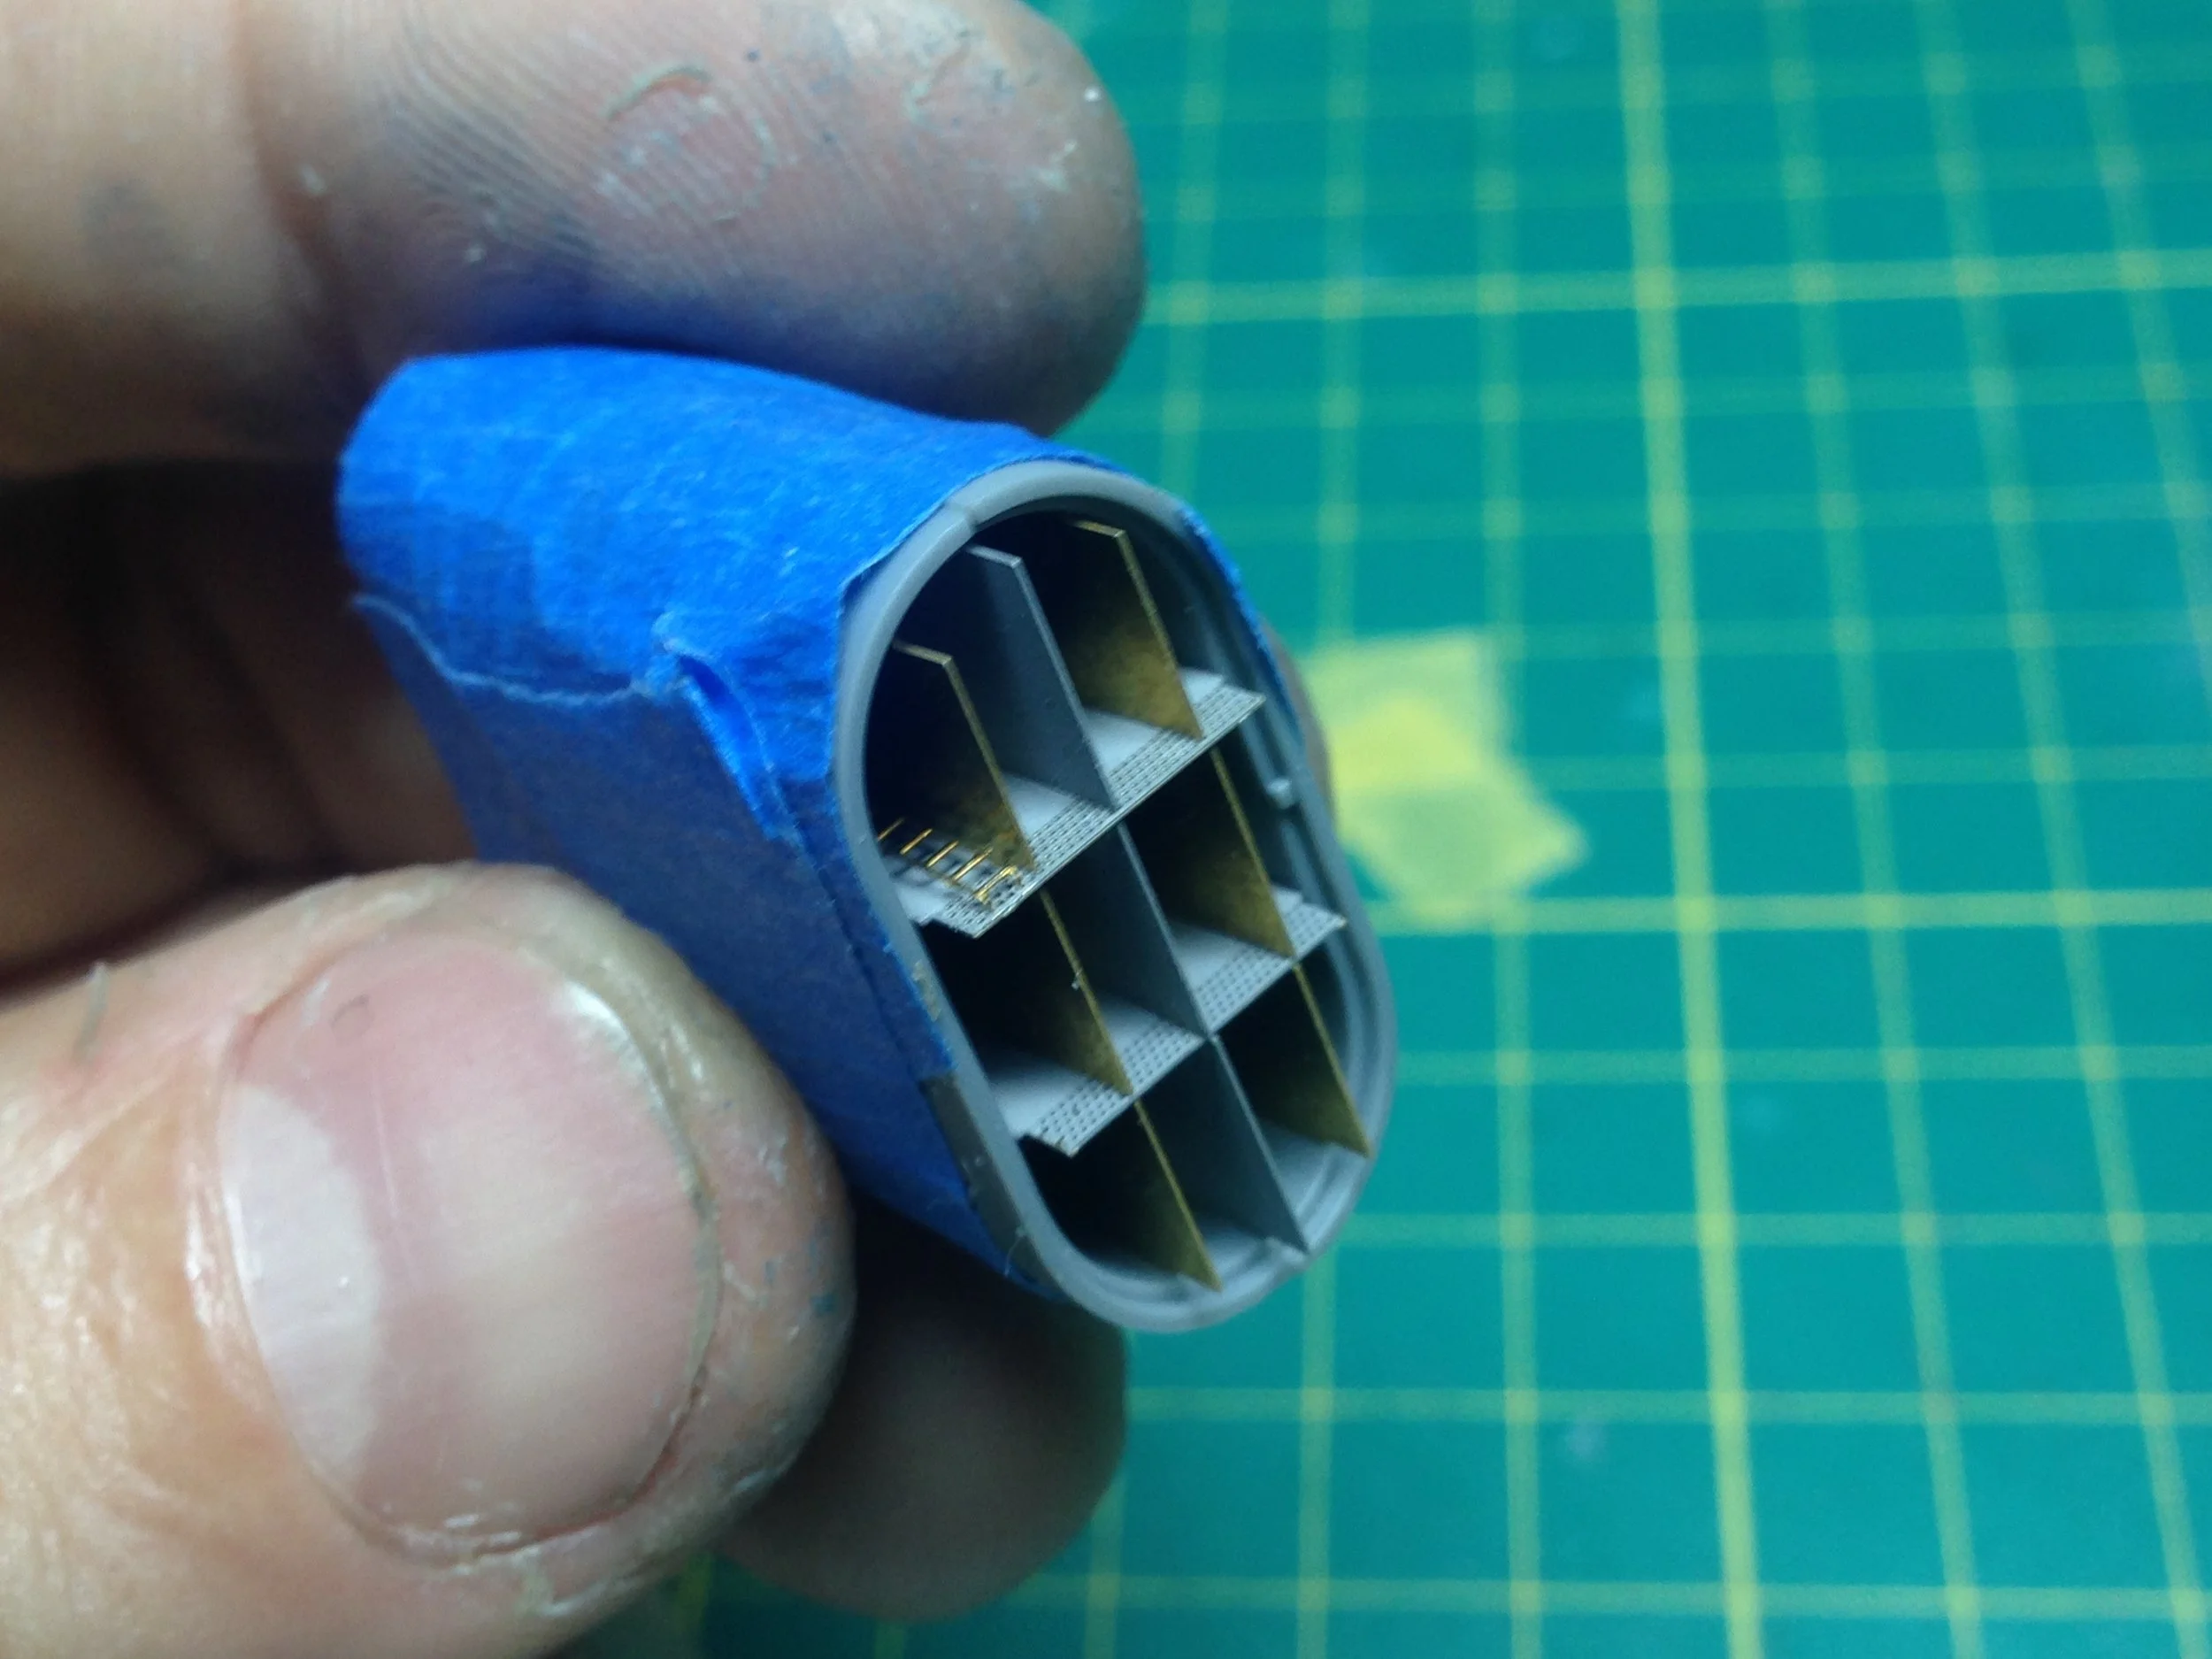
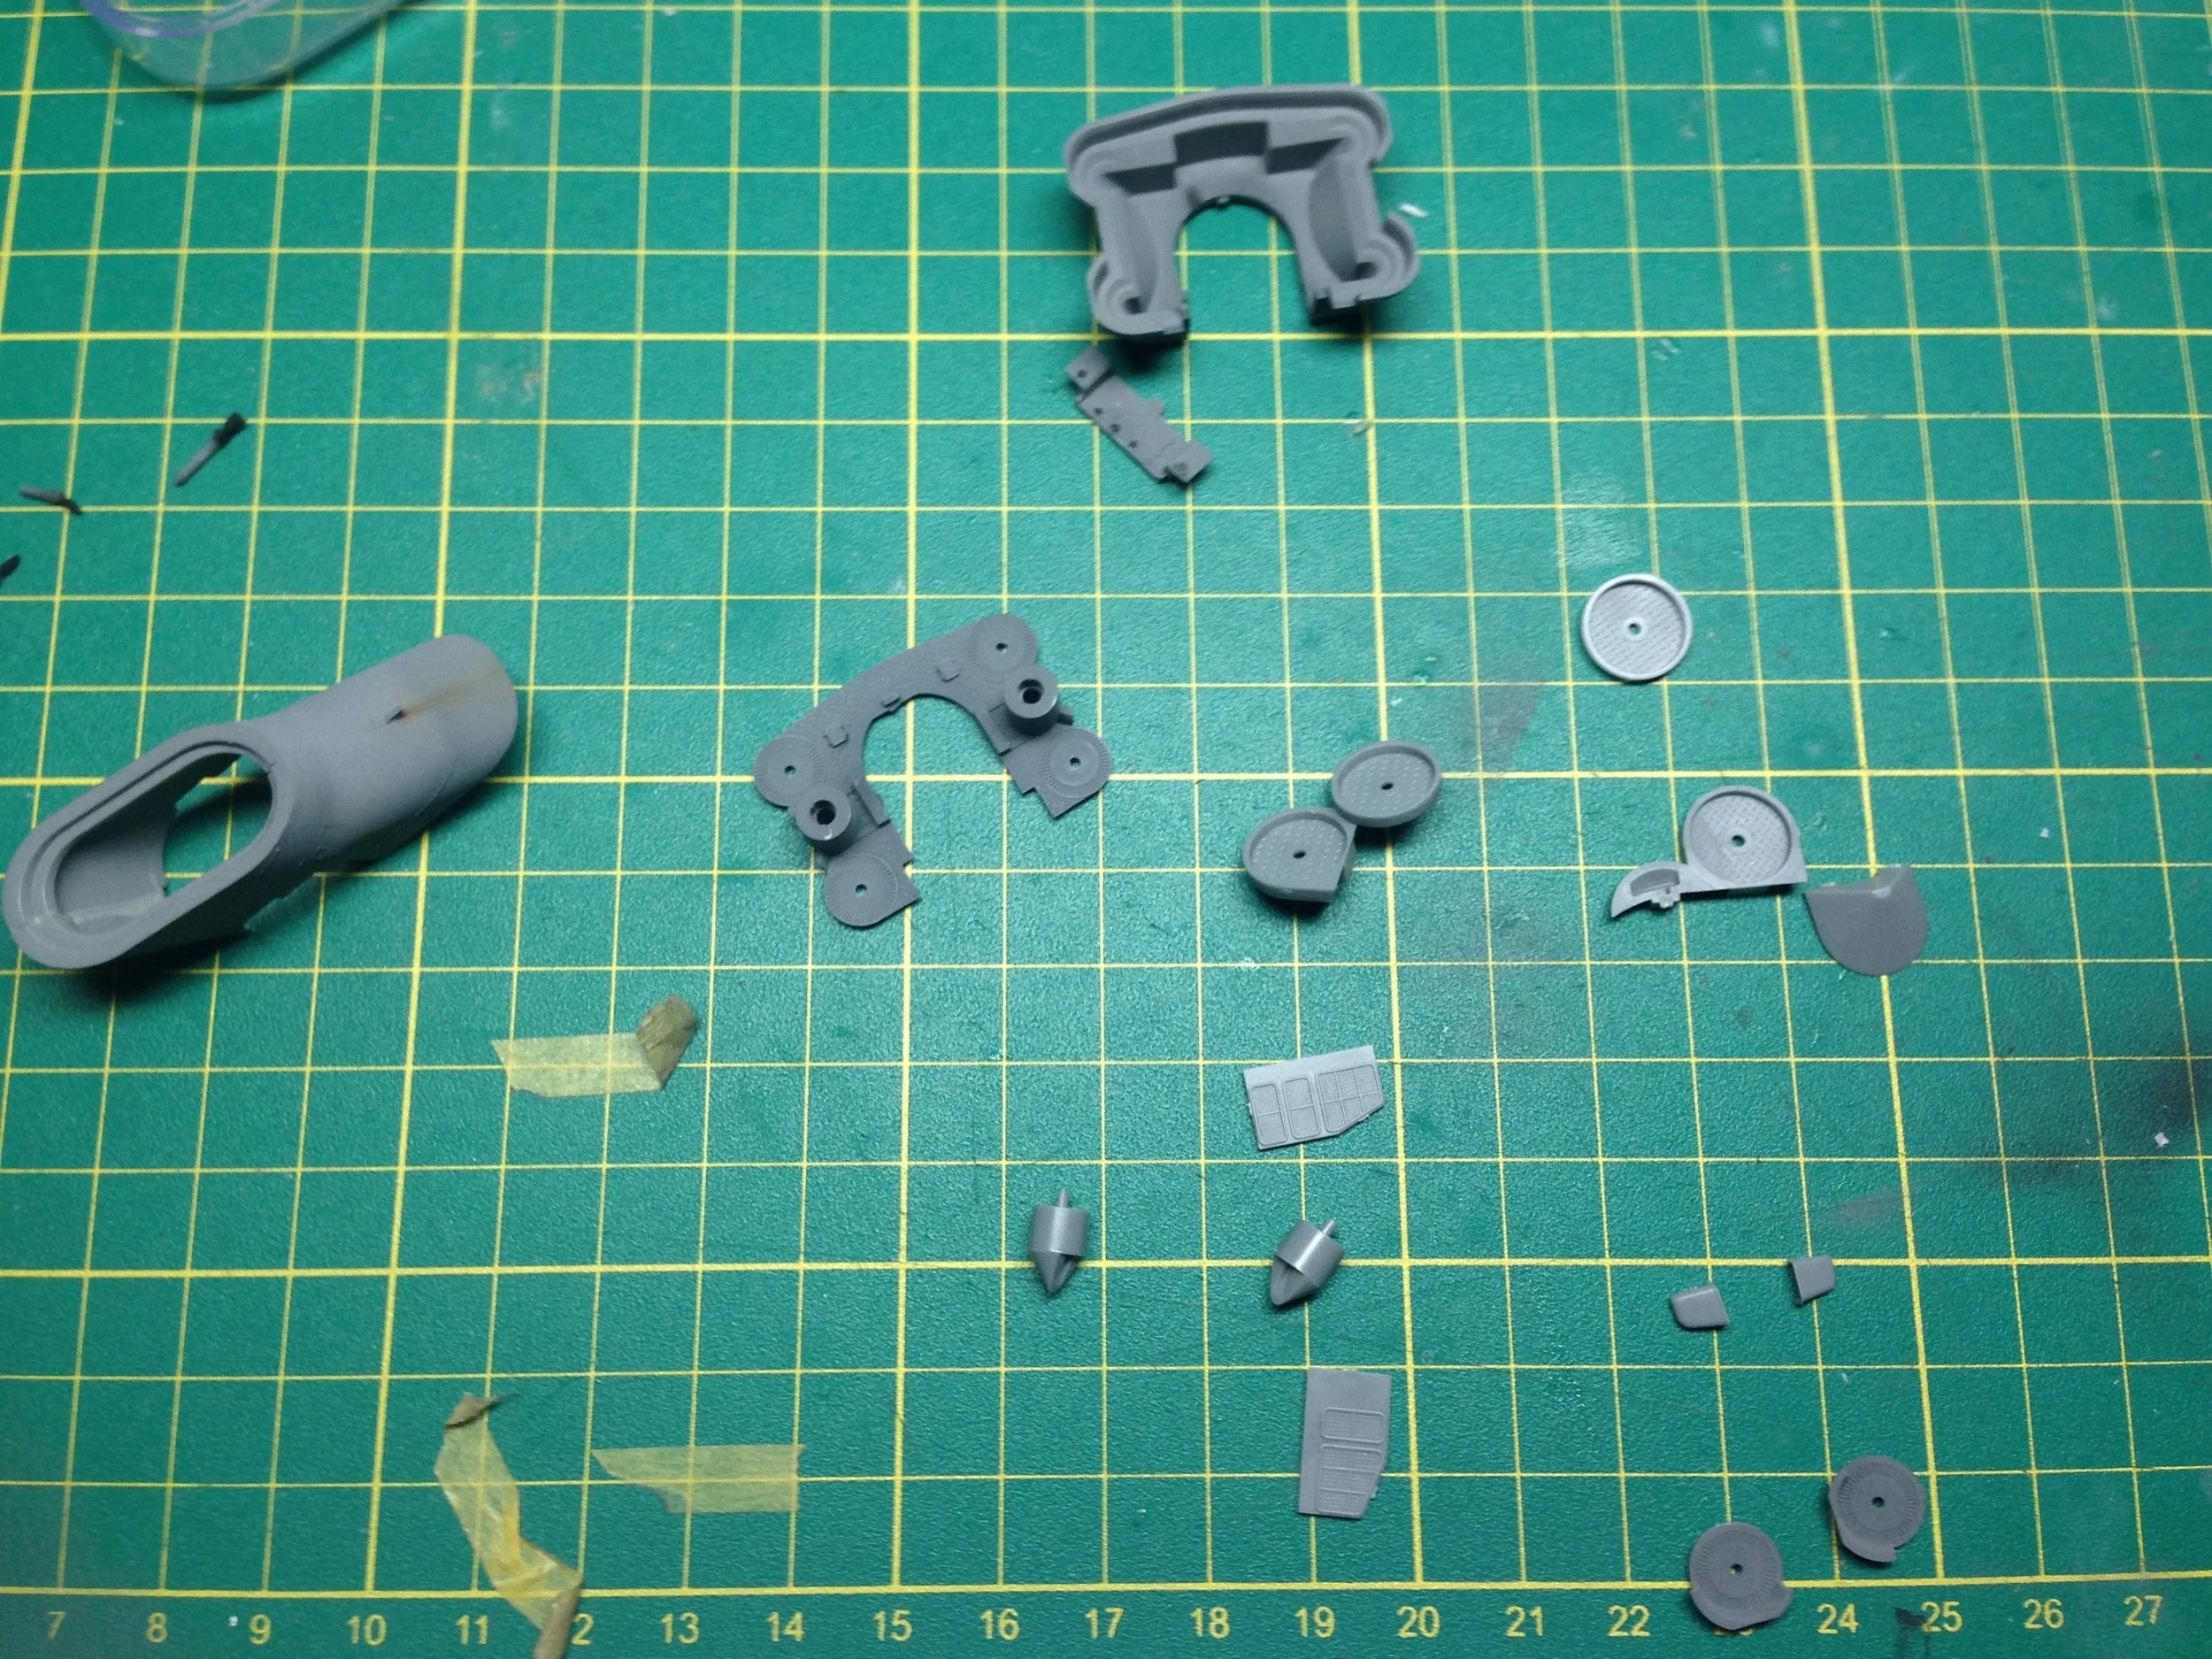
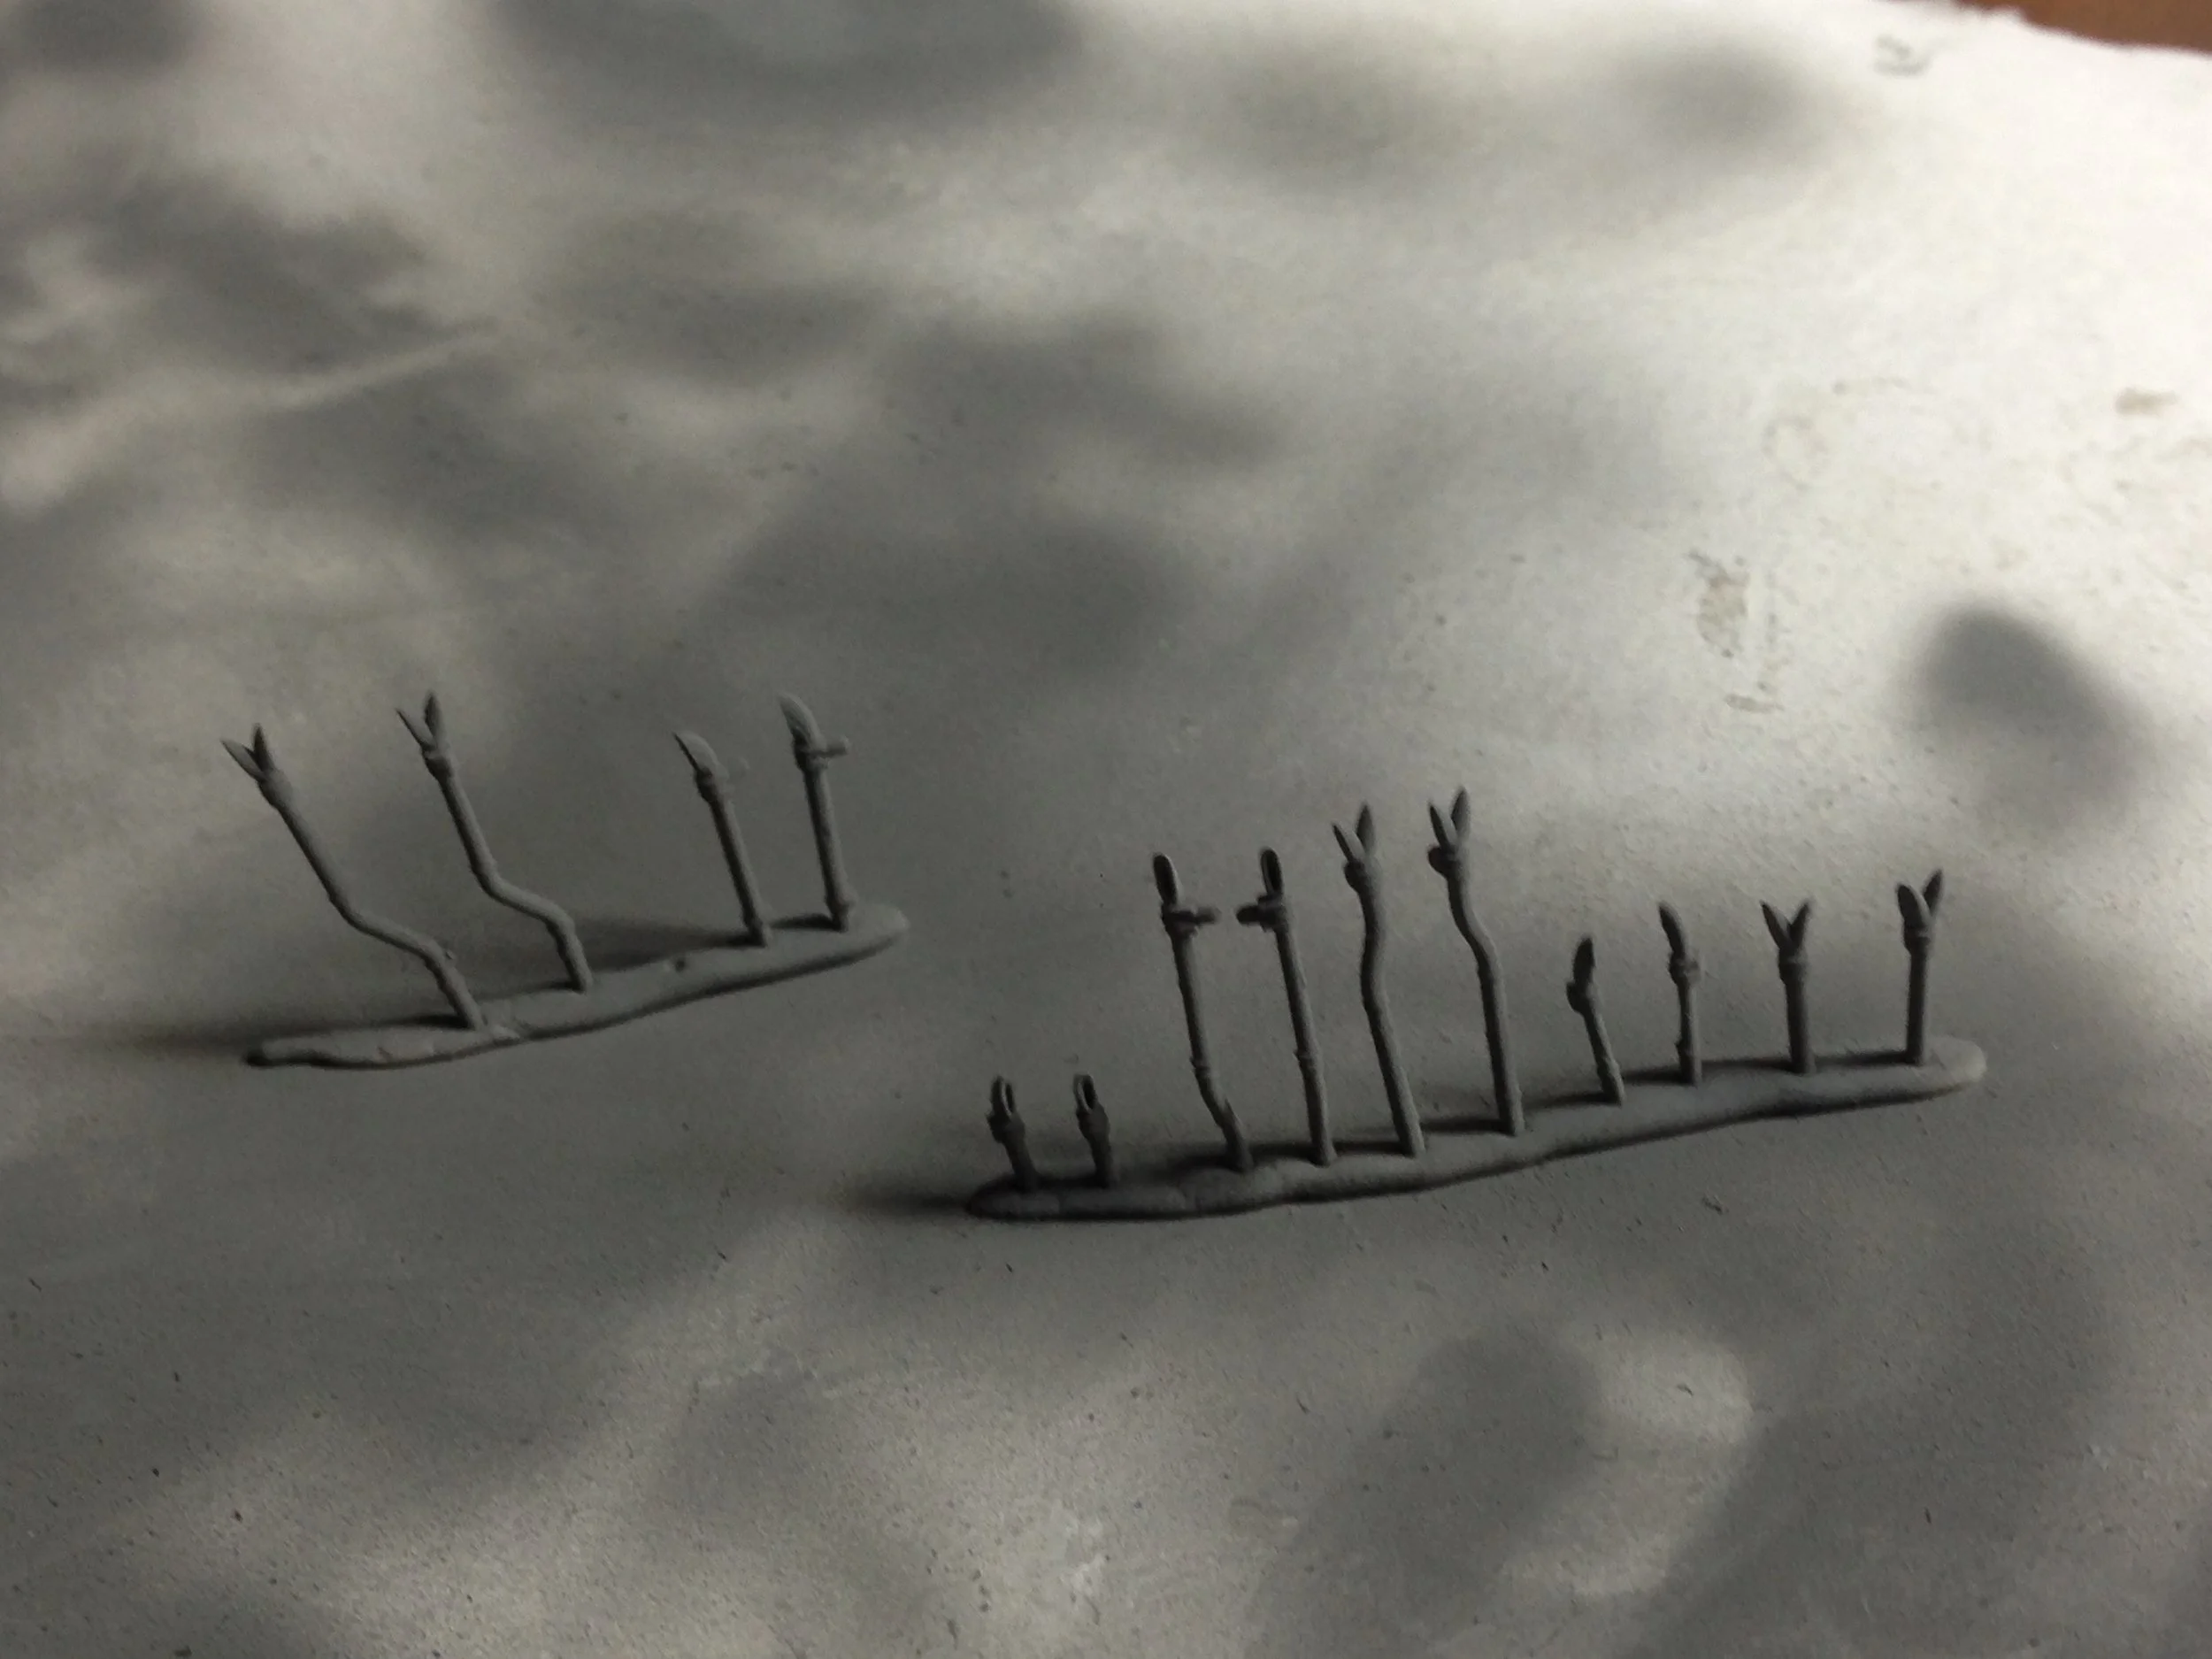
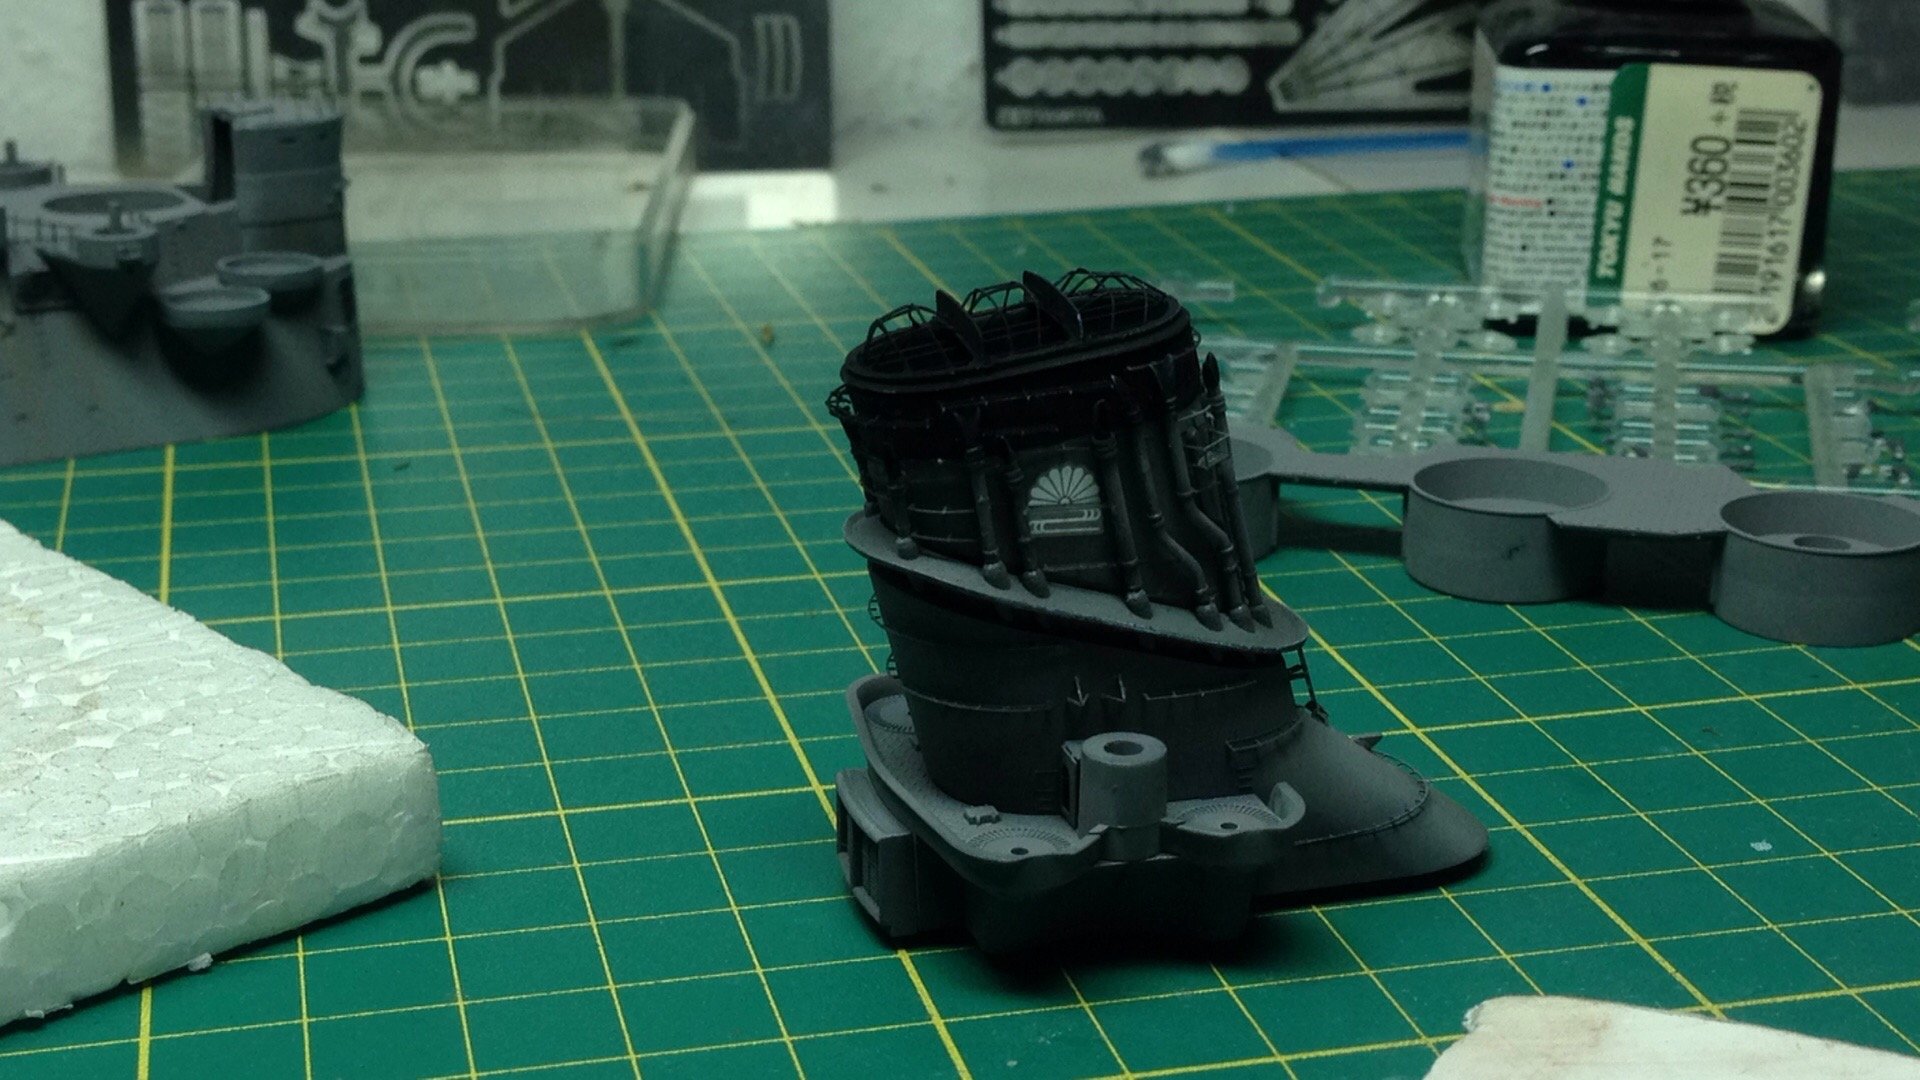
Center superstructure itens:
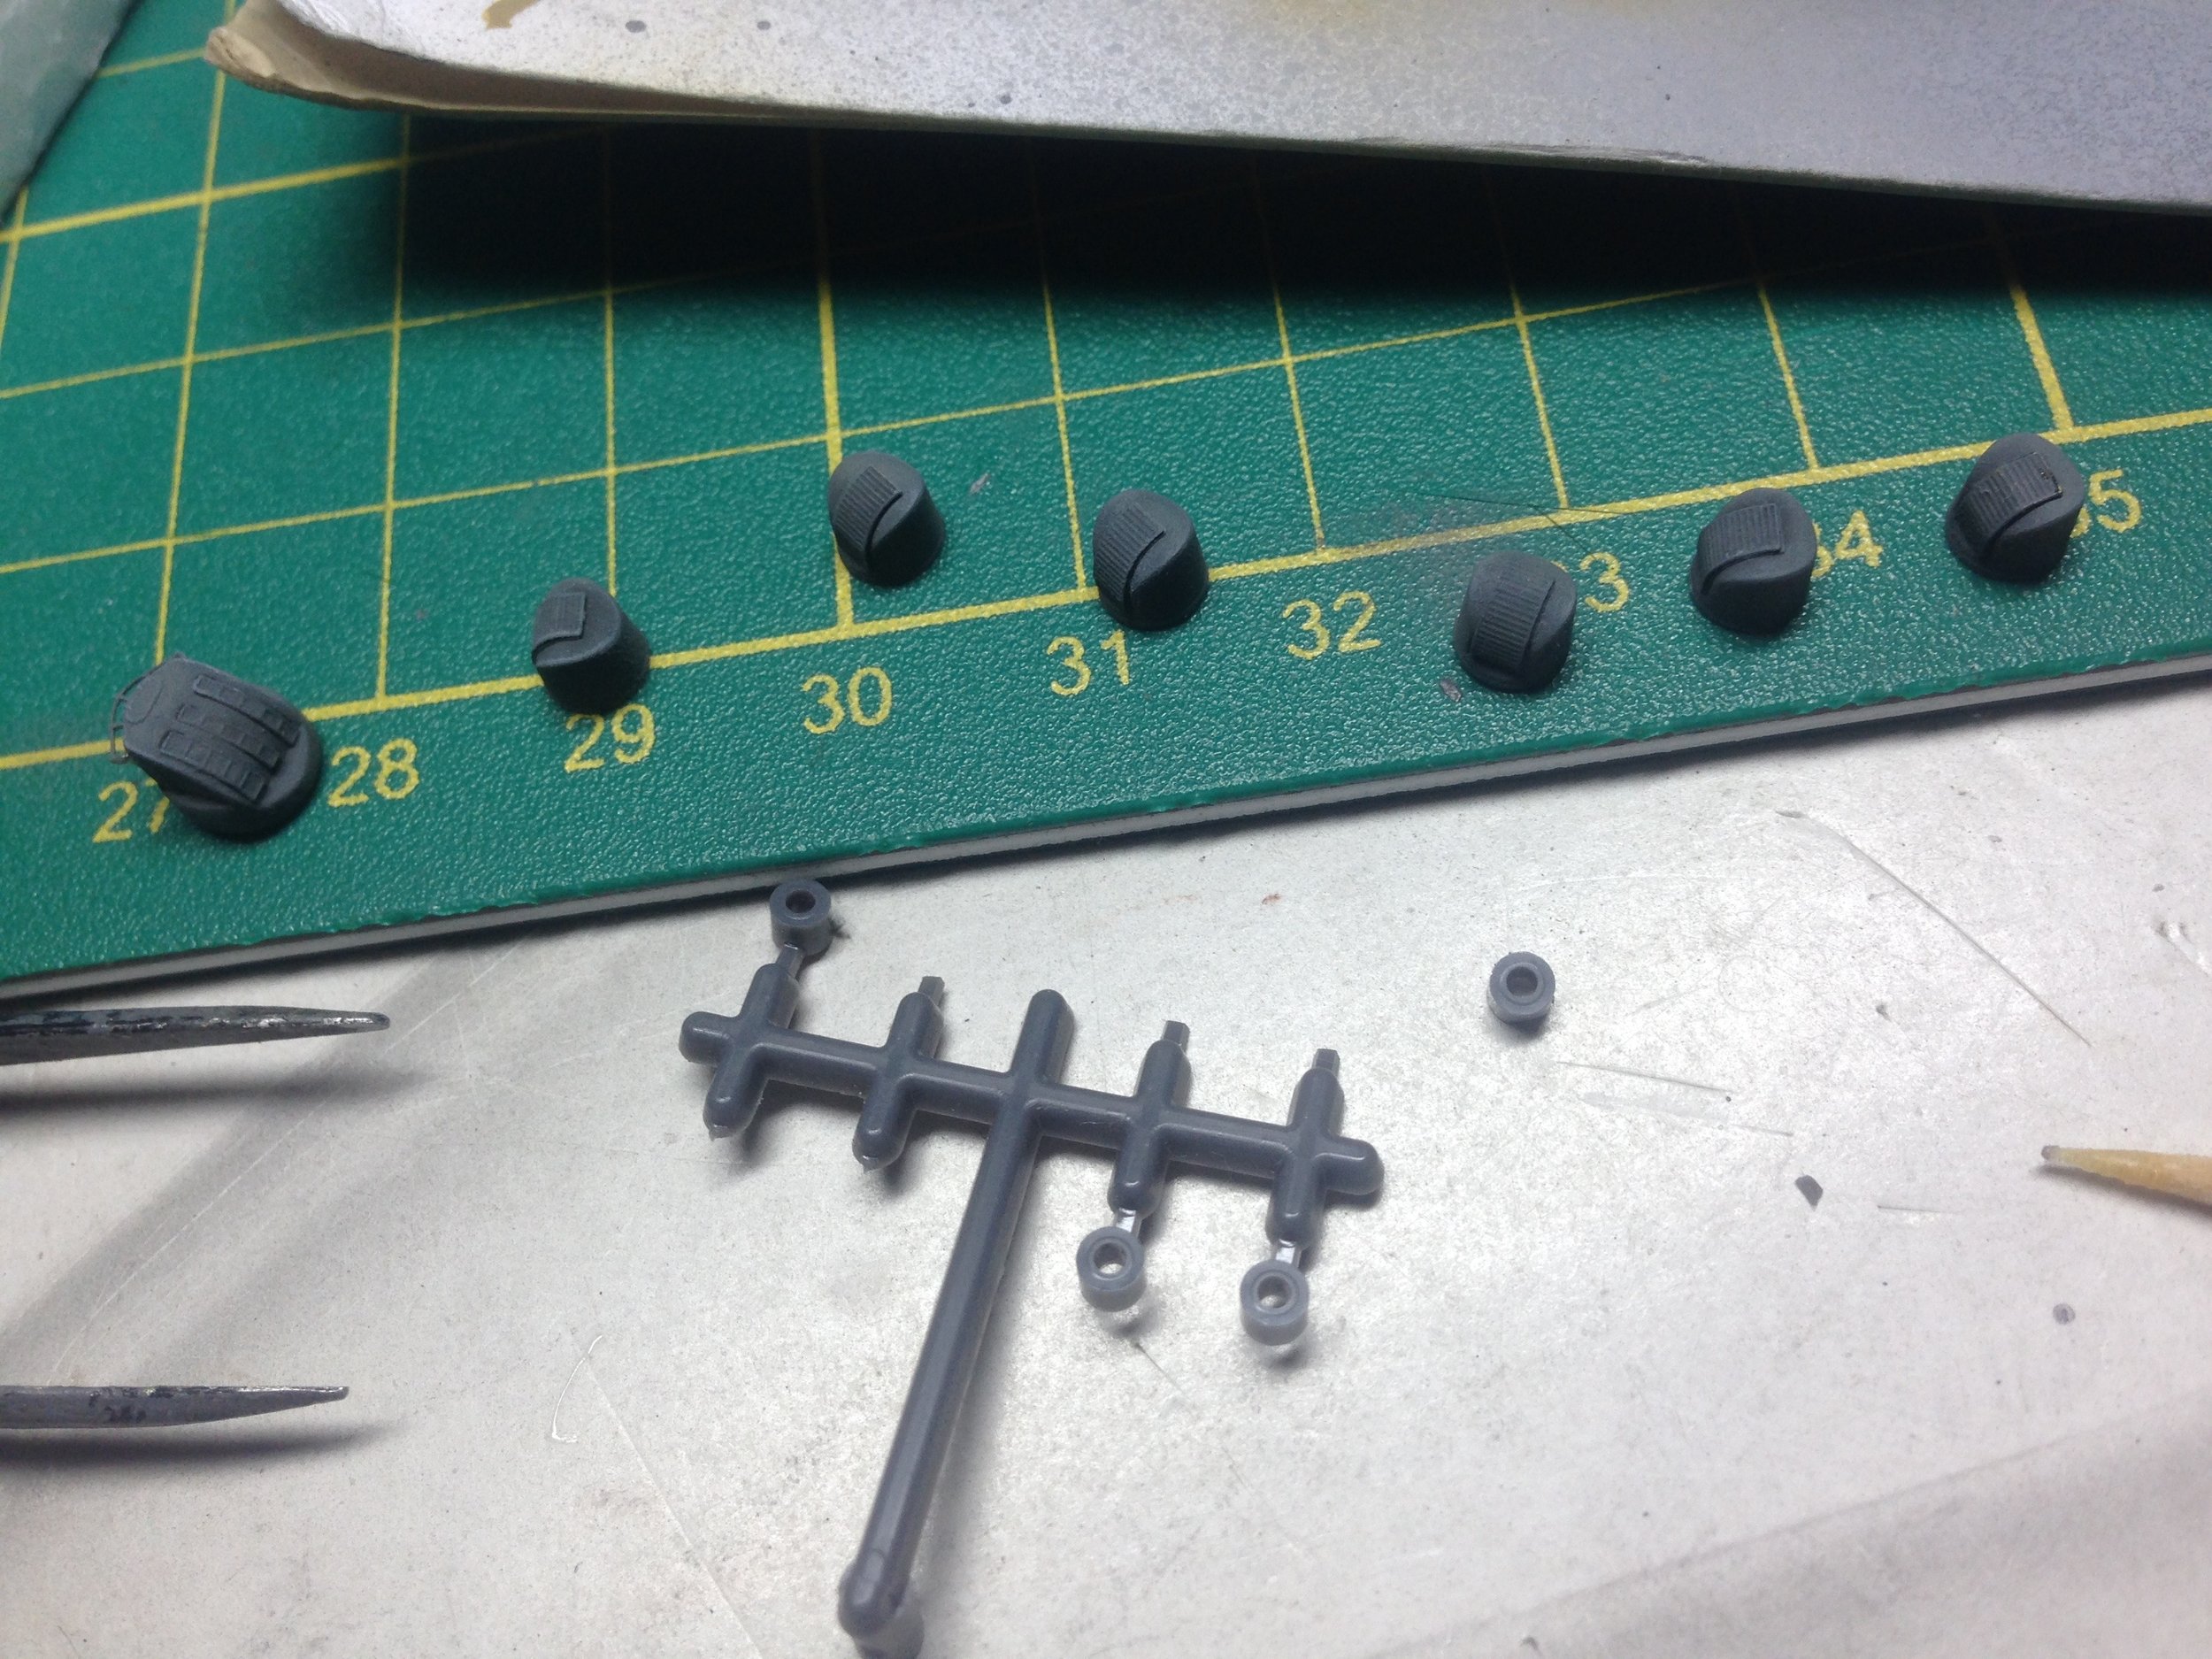
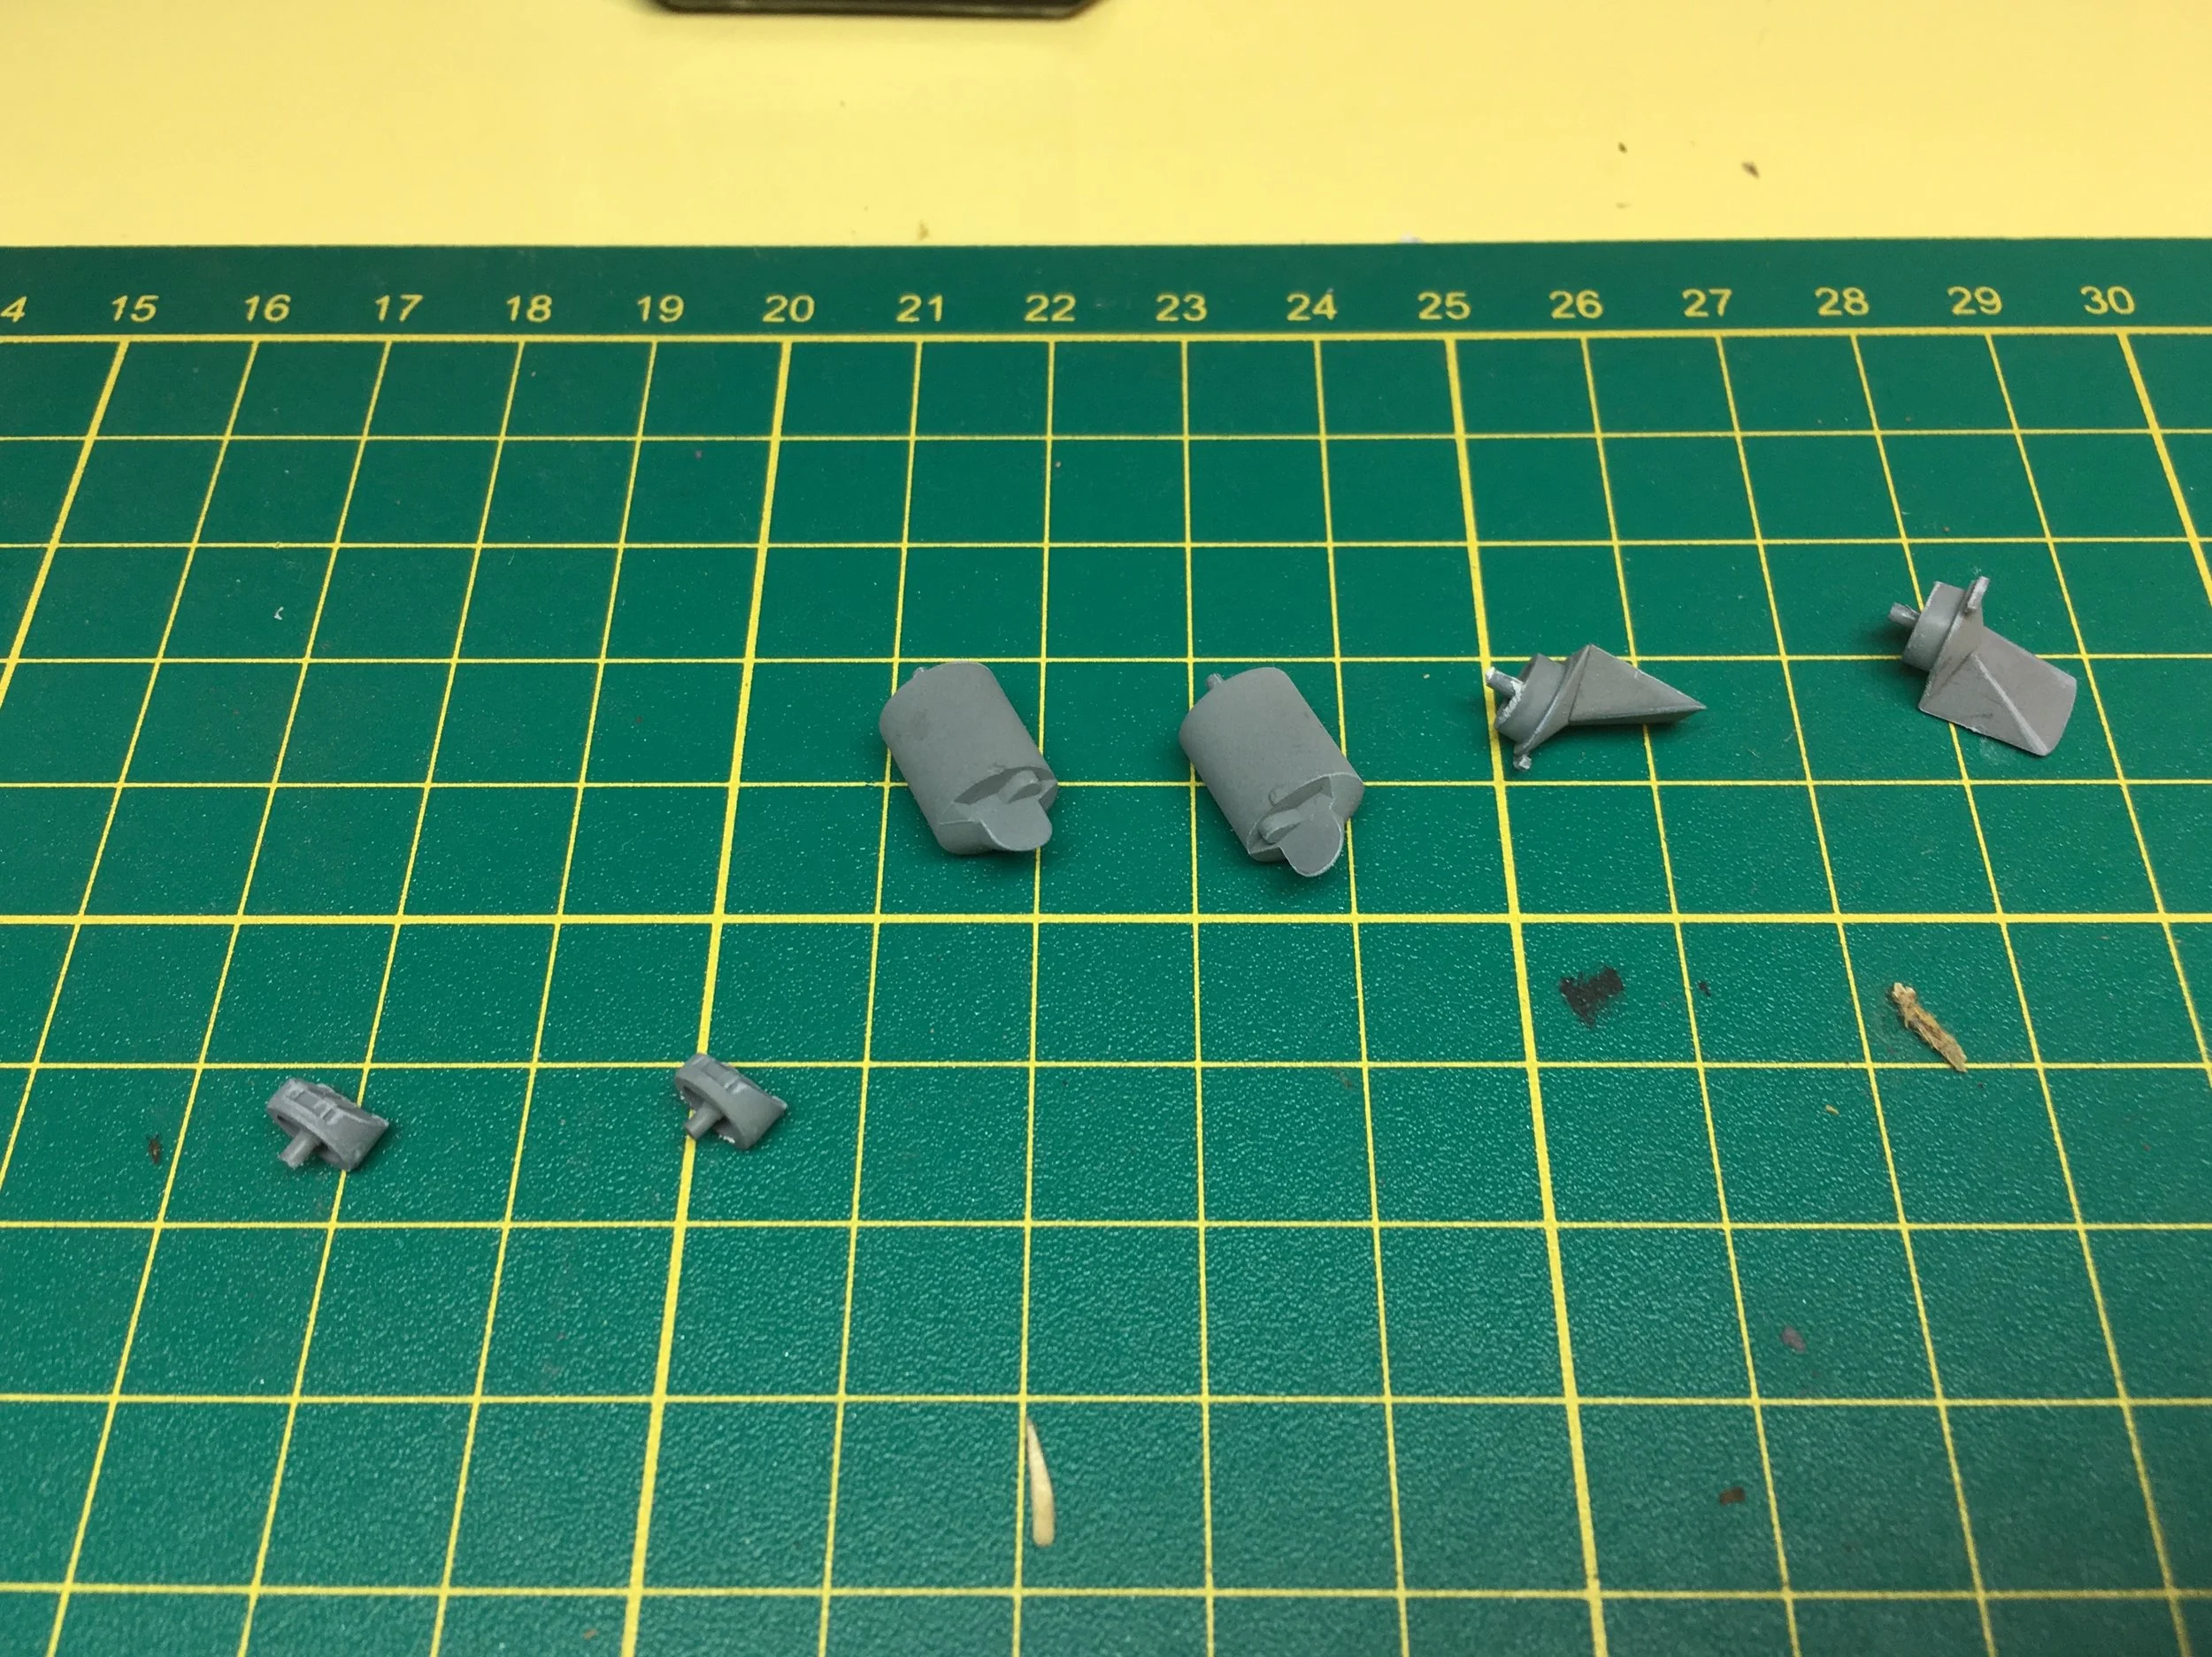
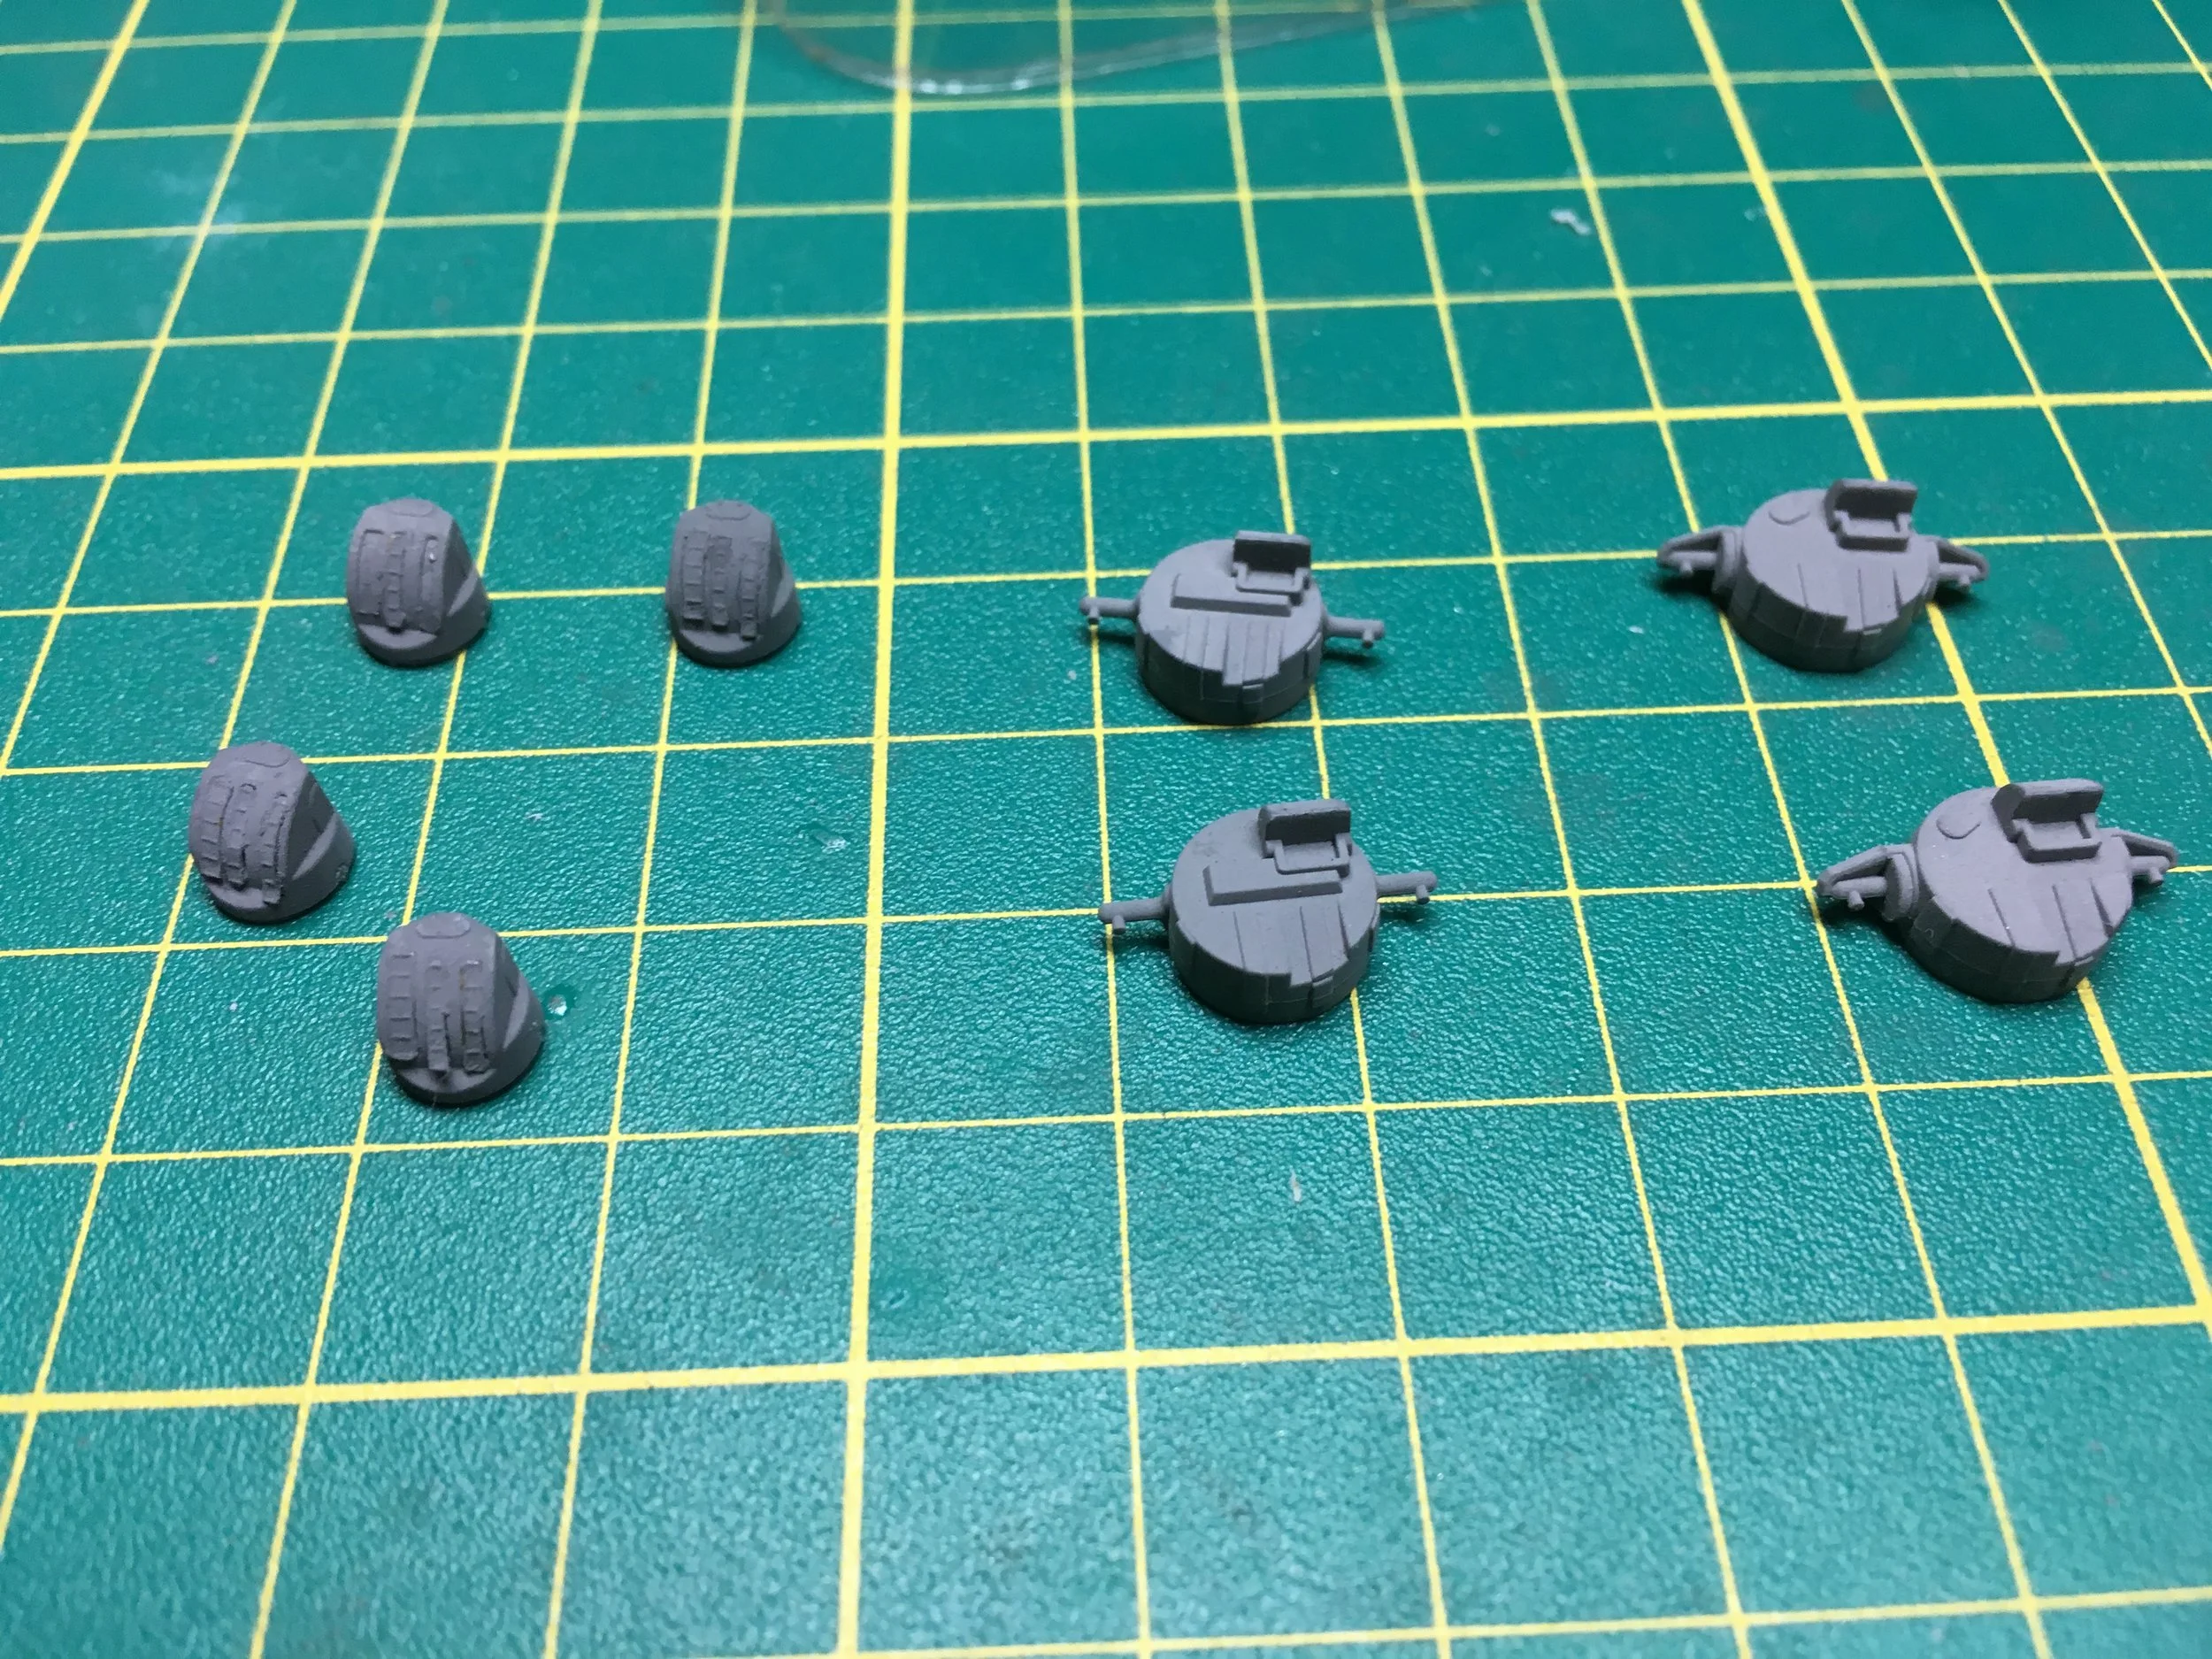
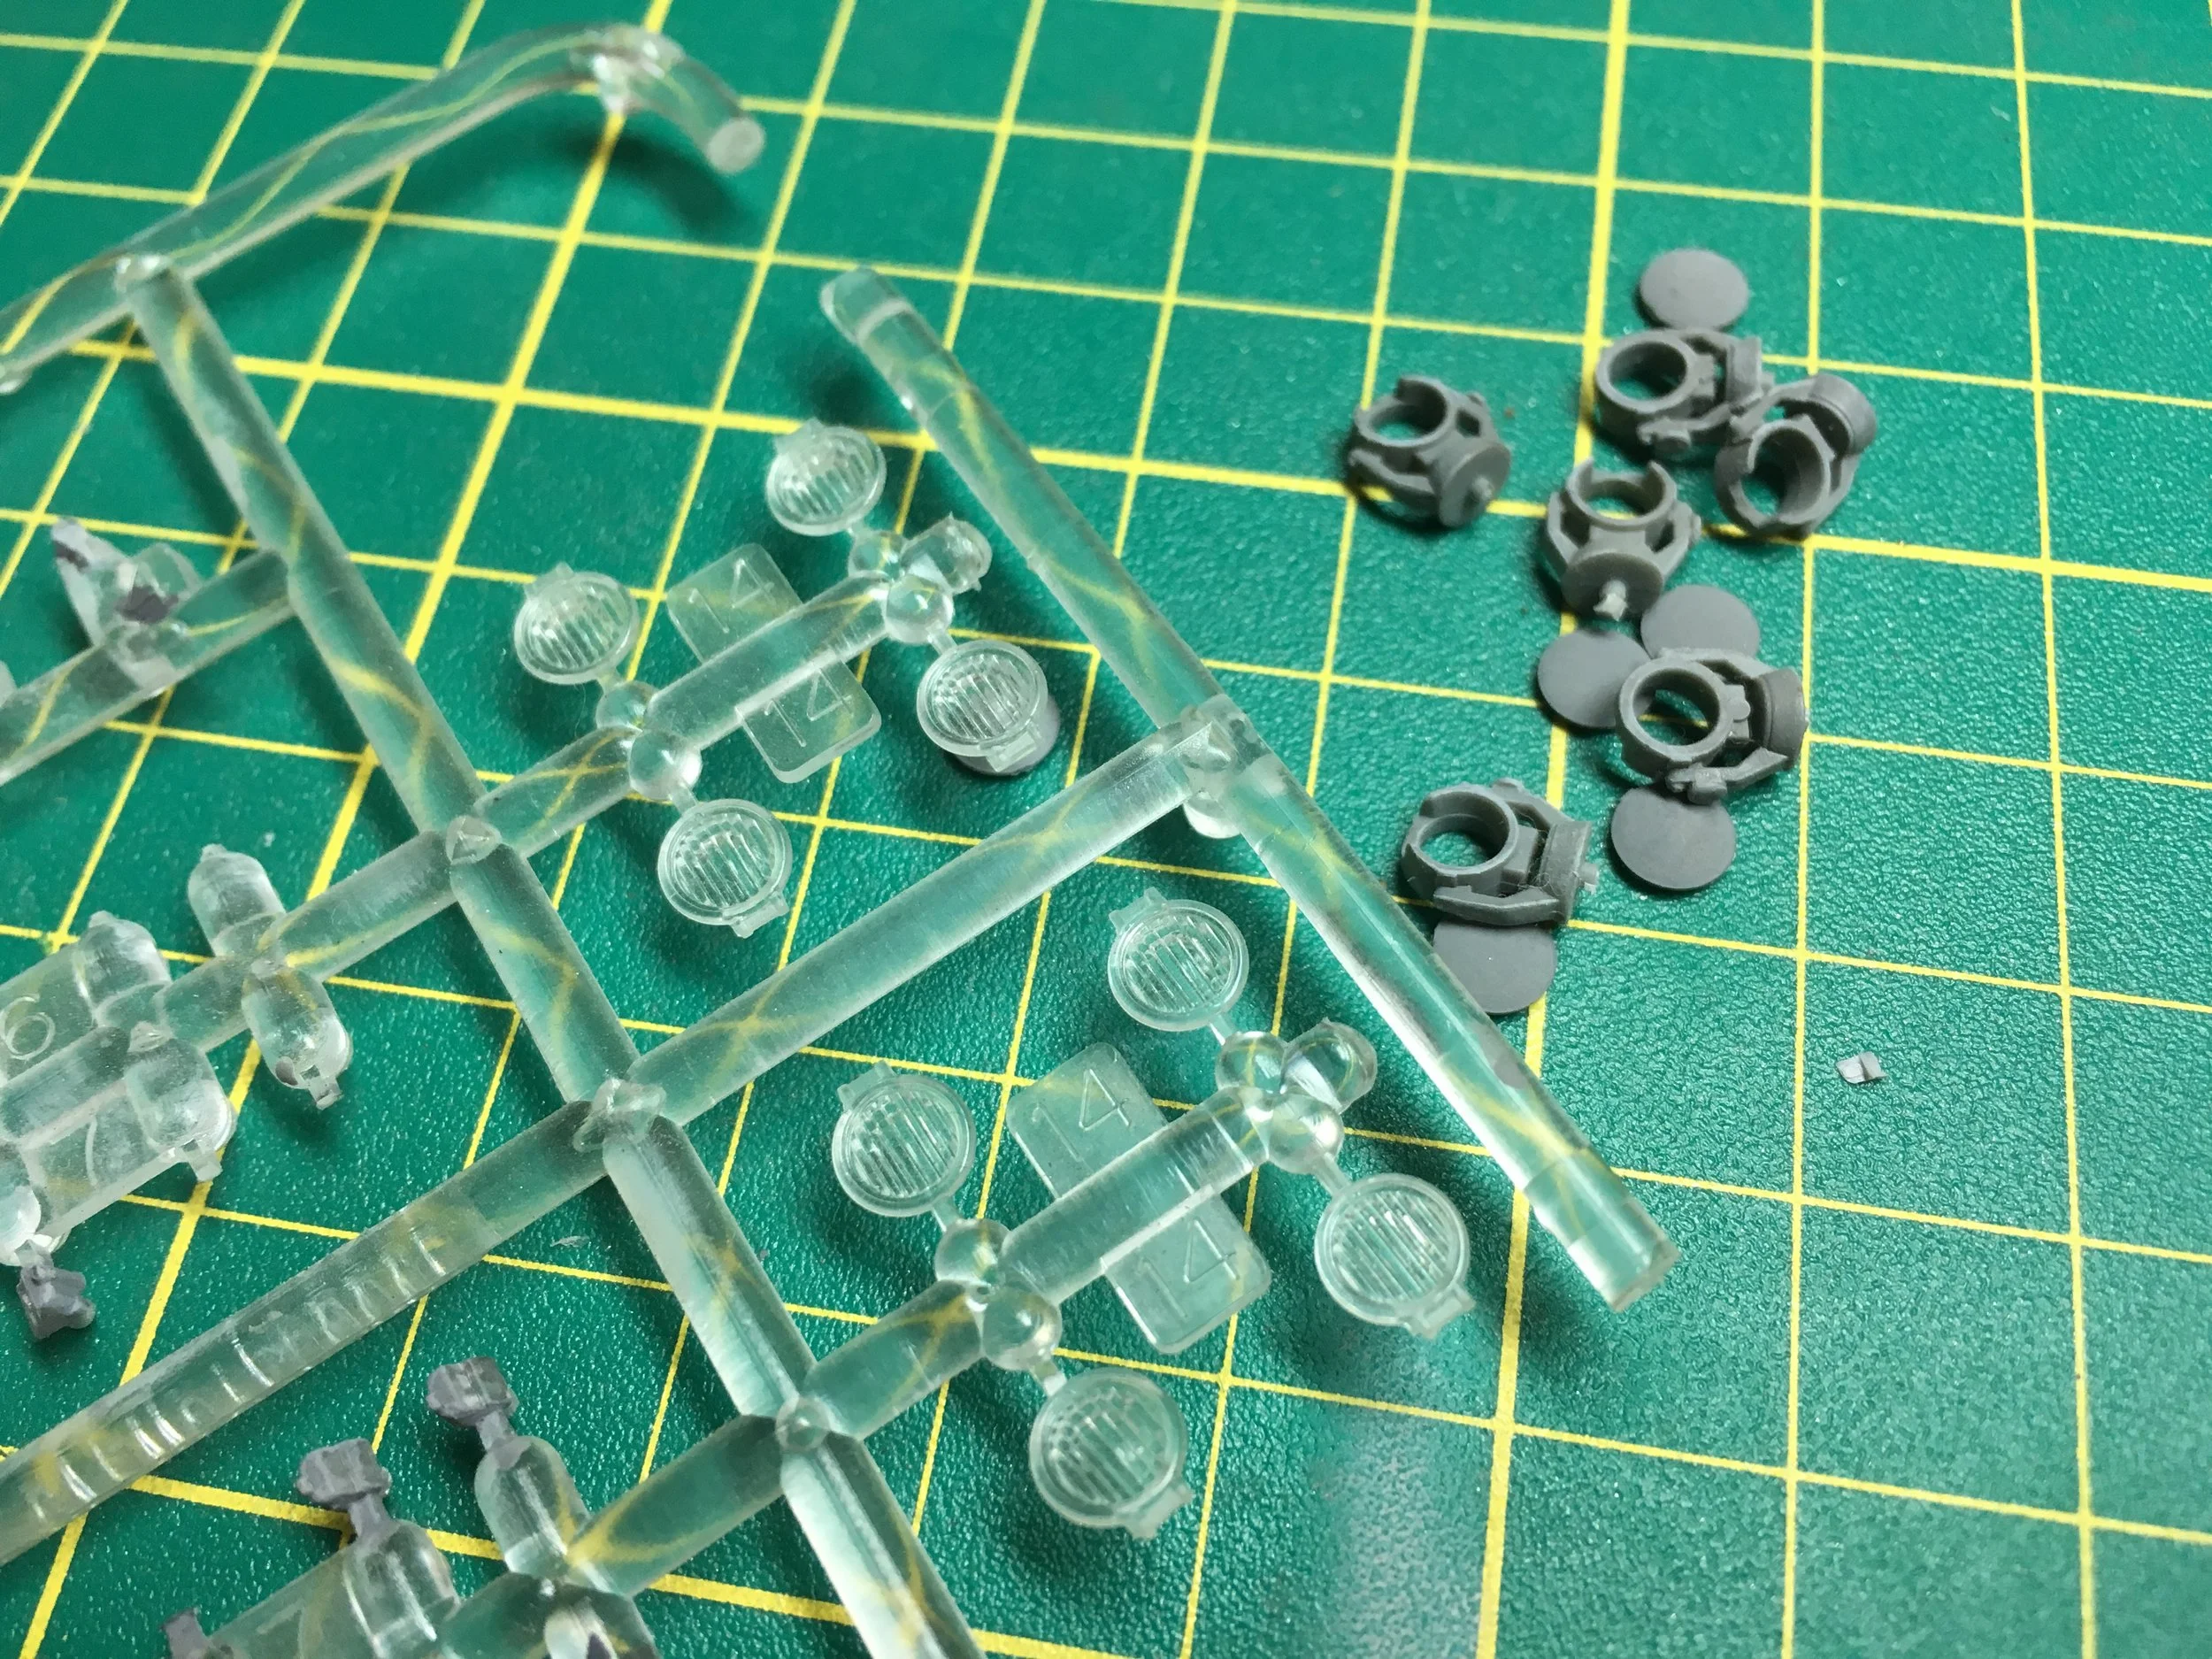
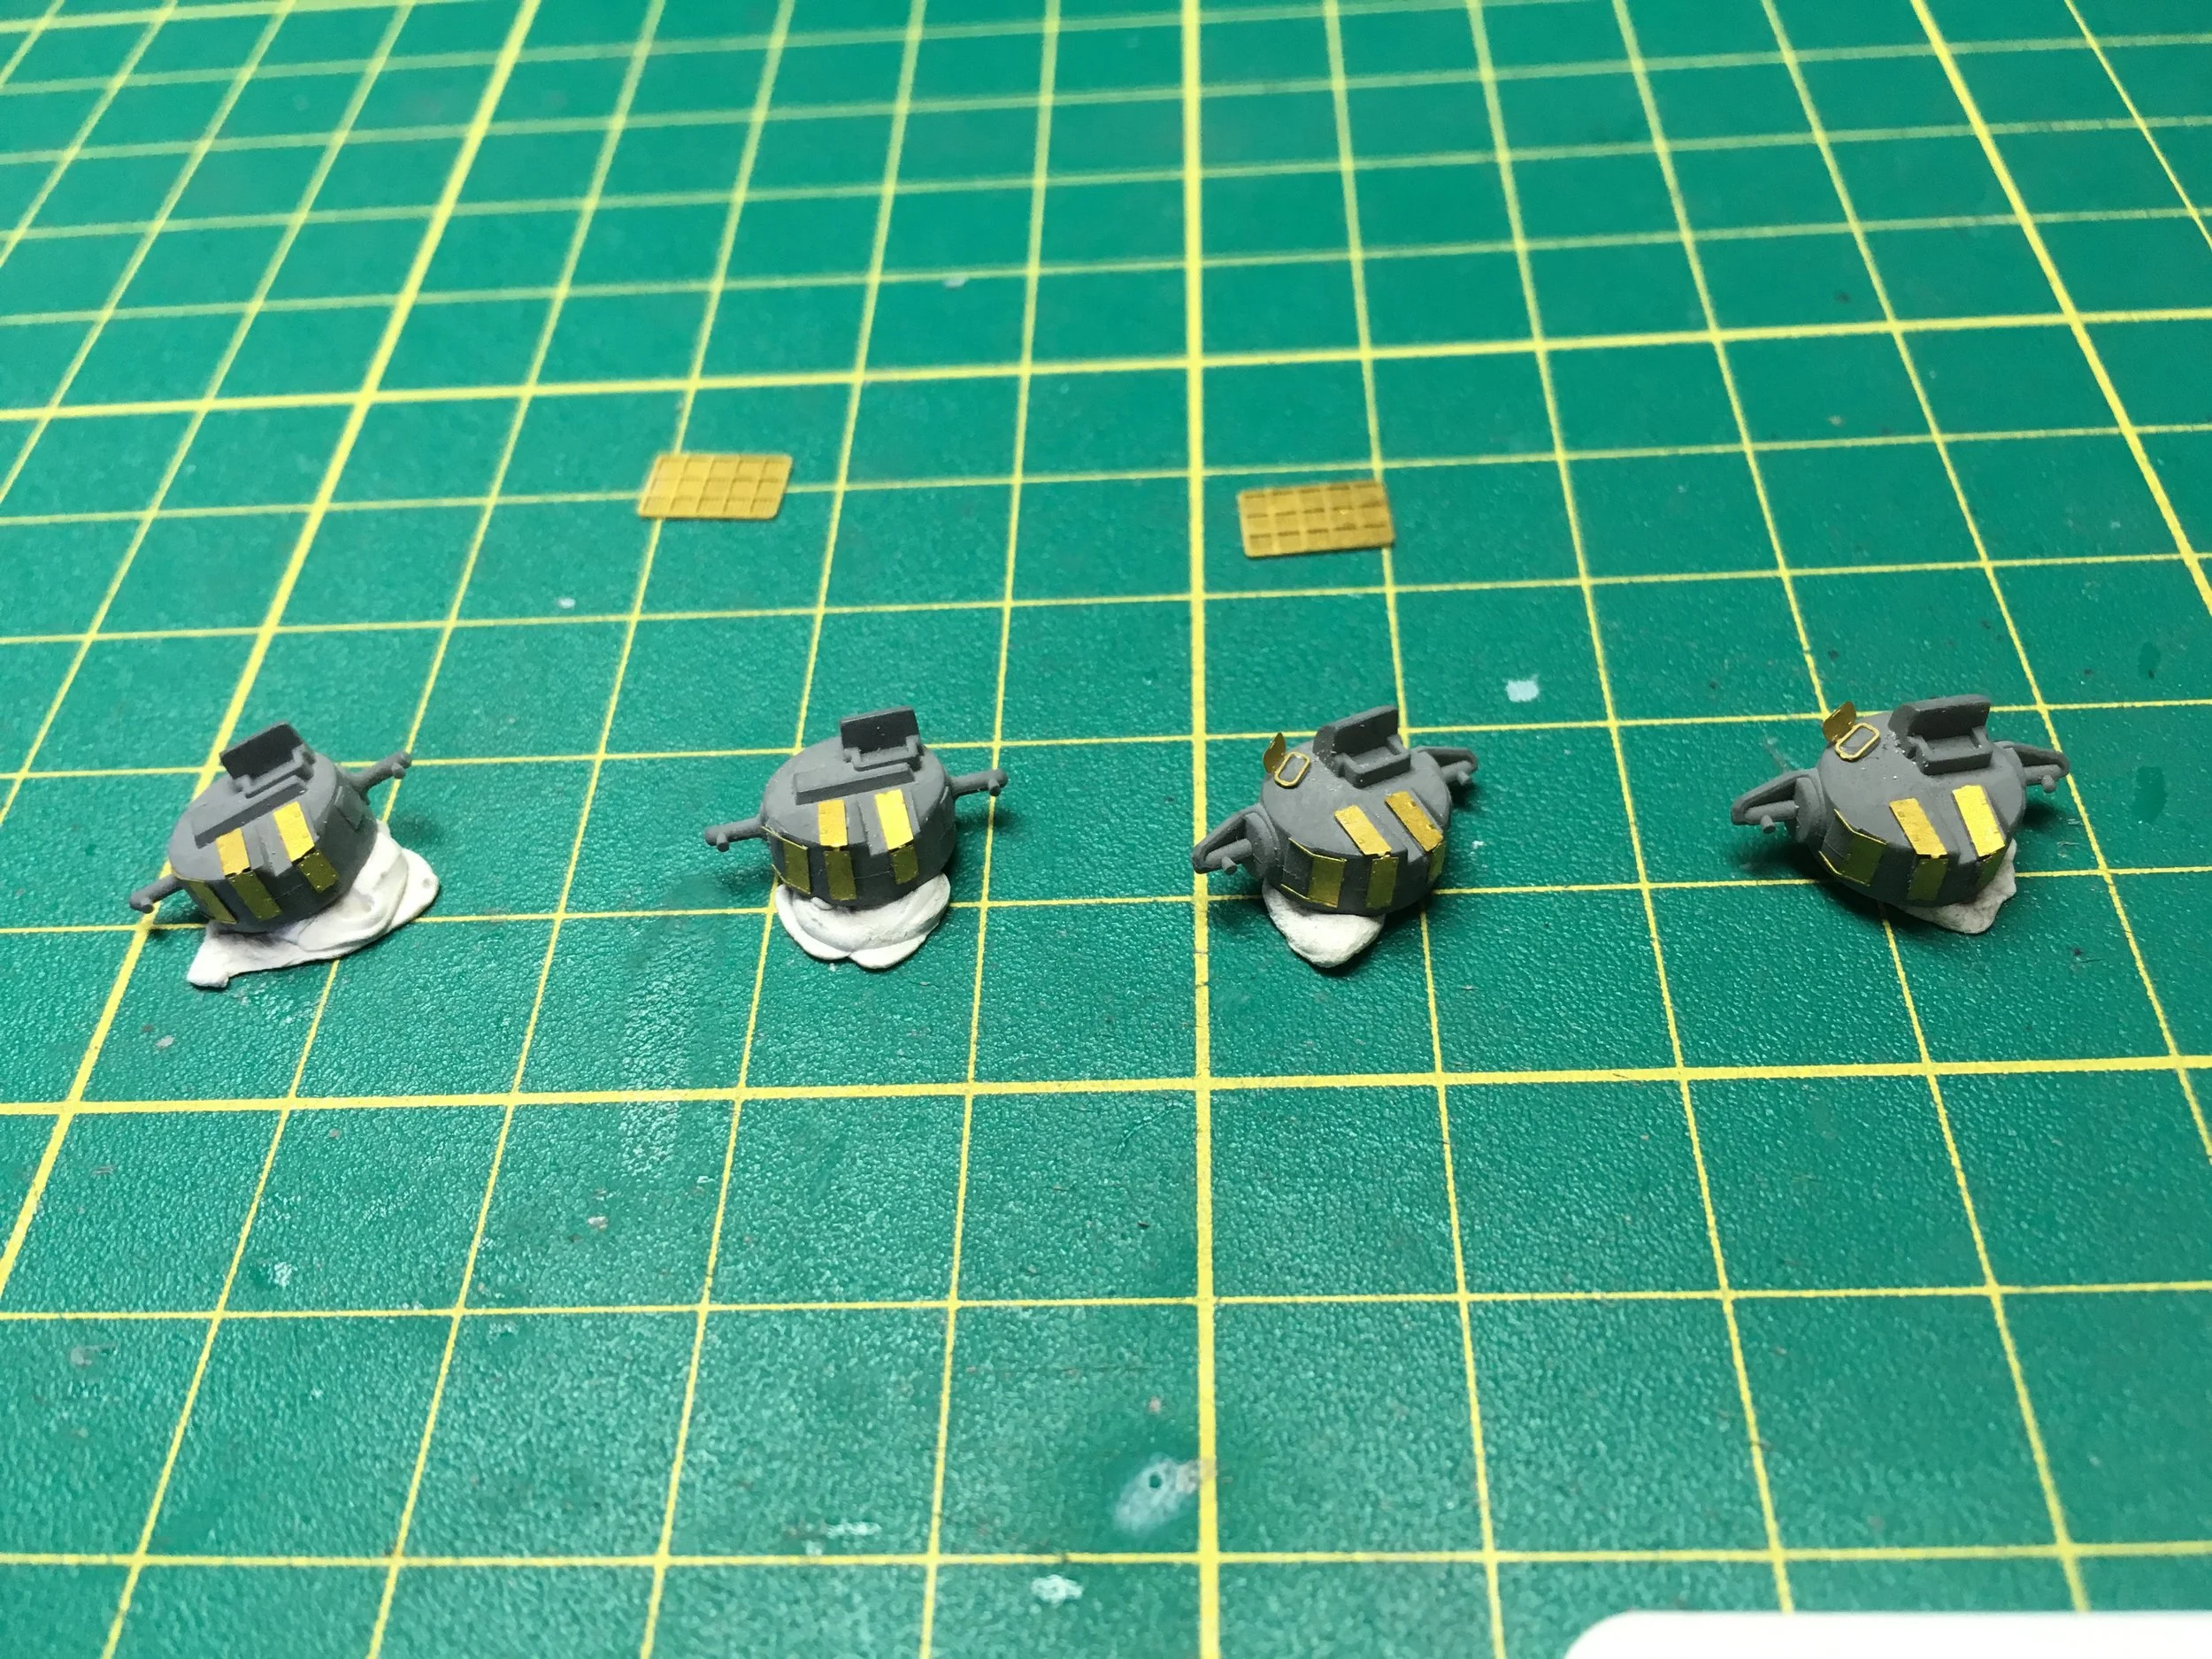
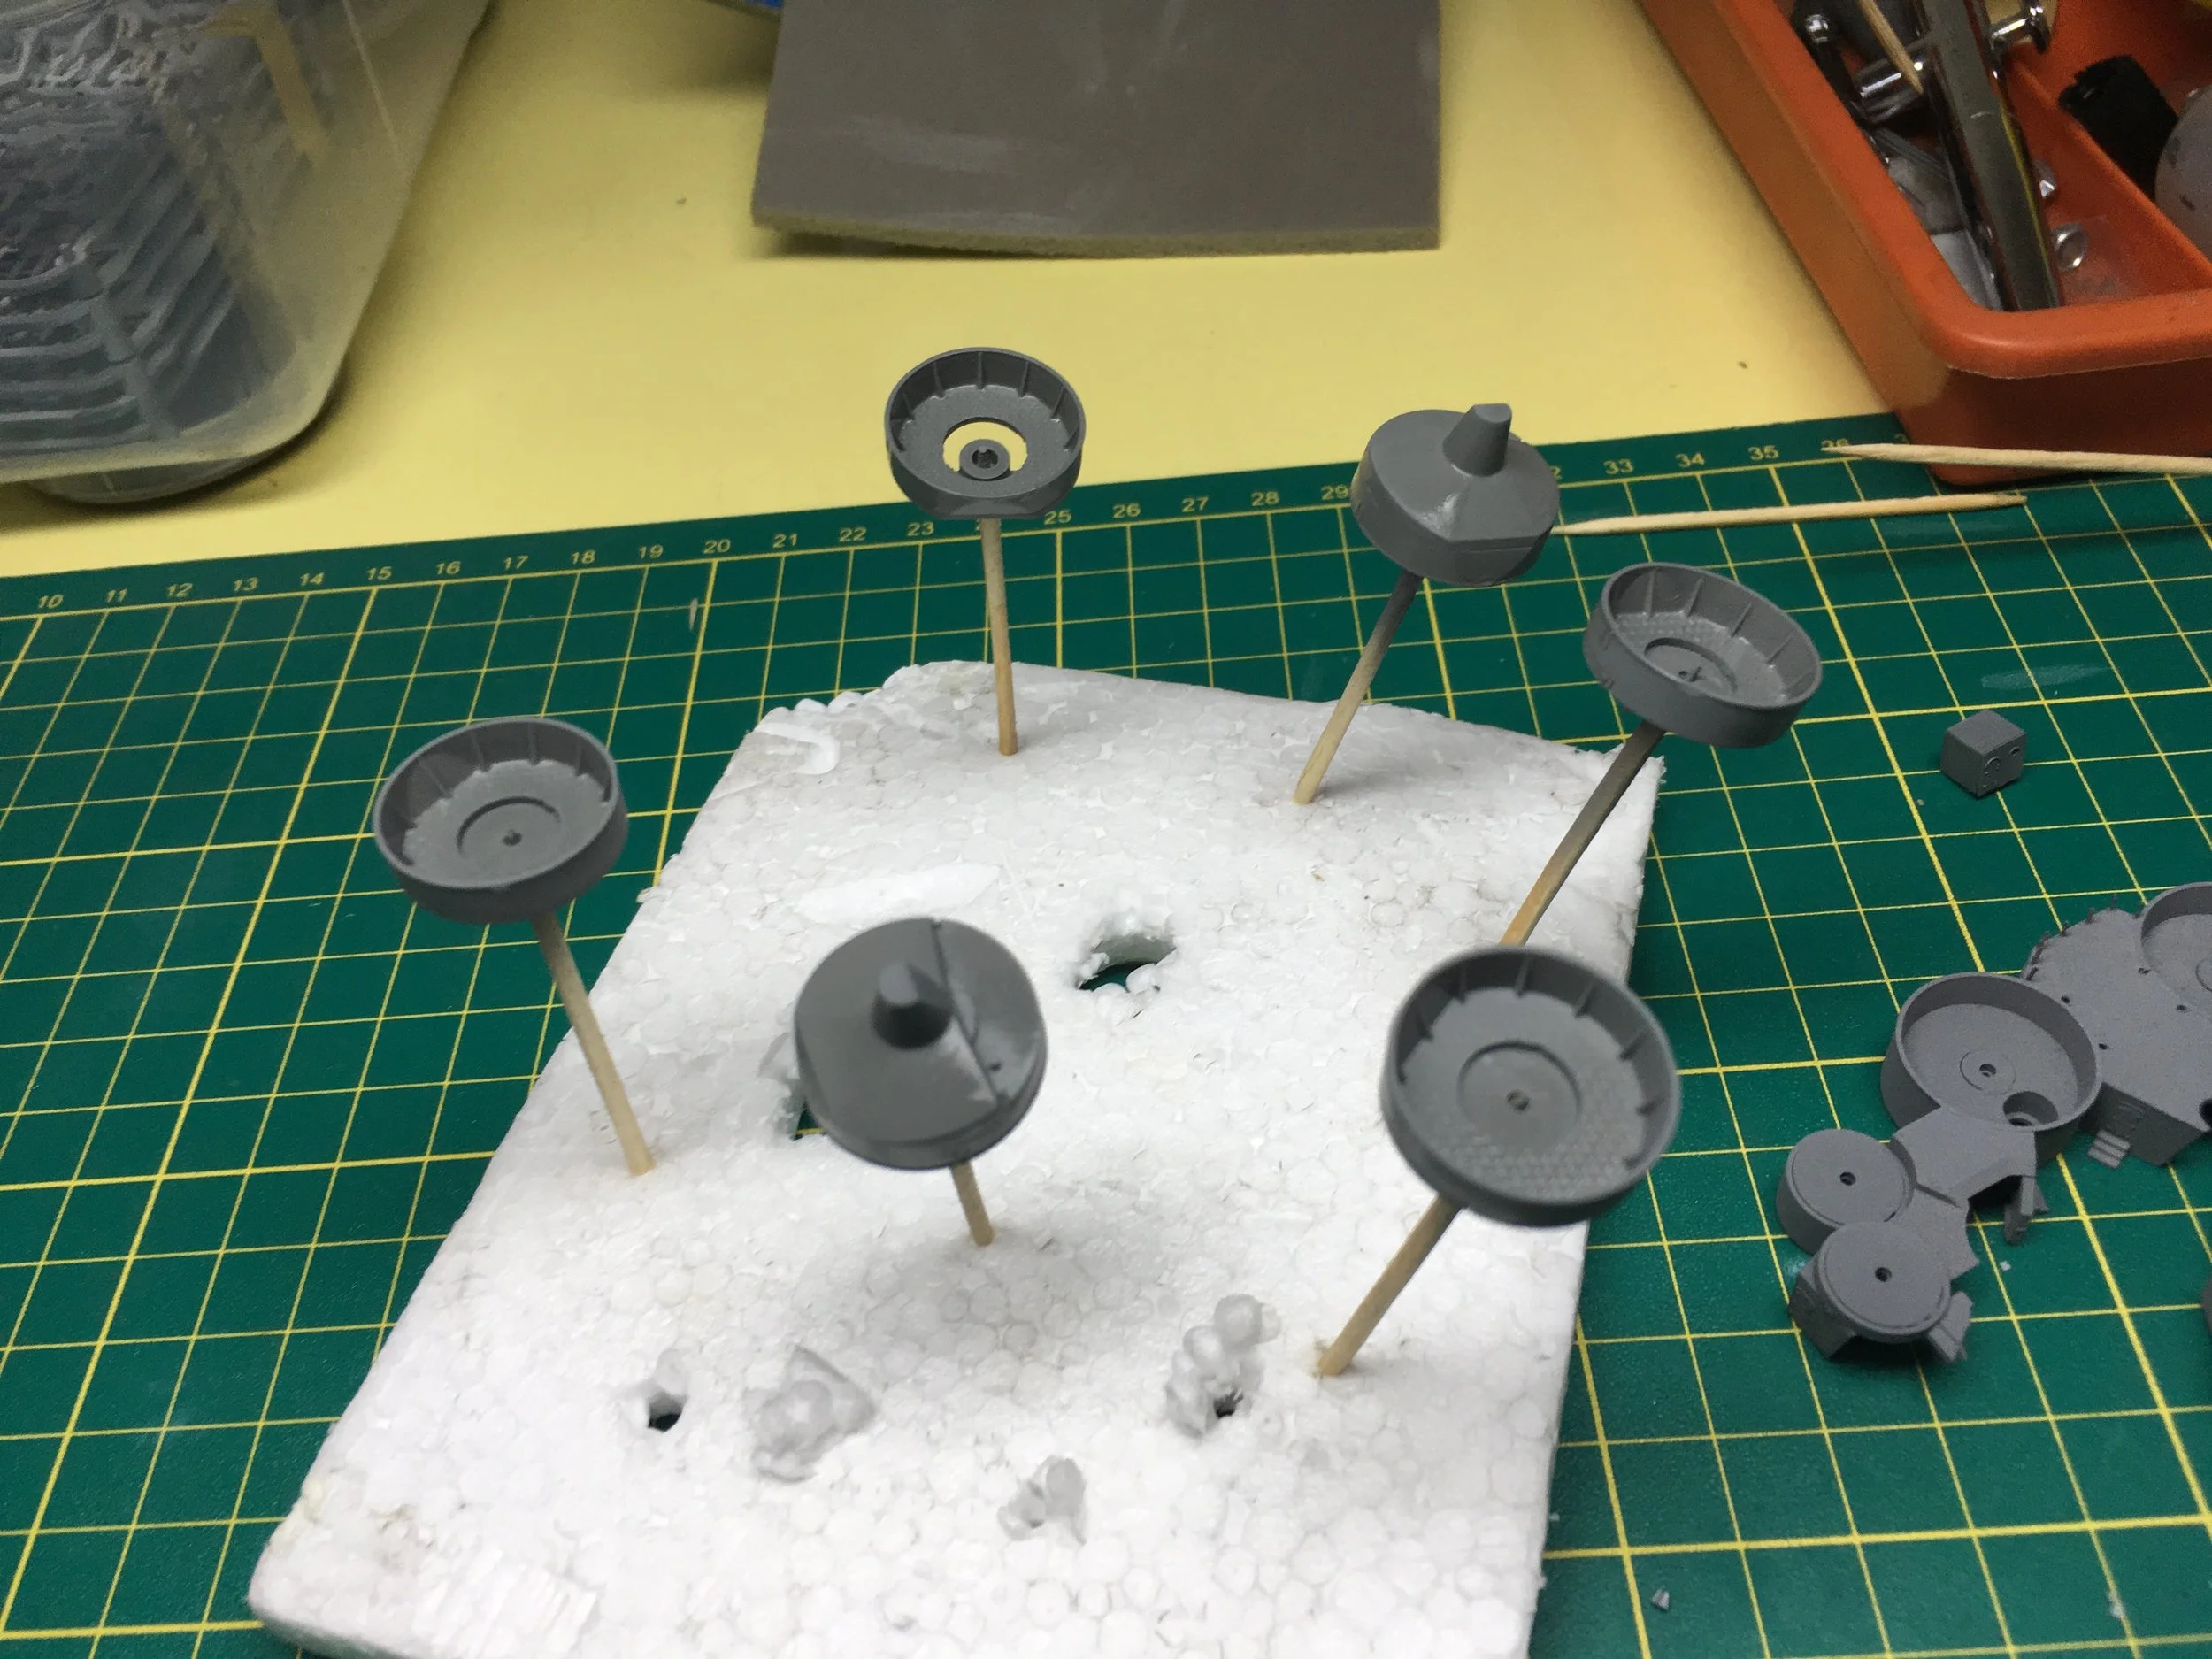
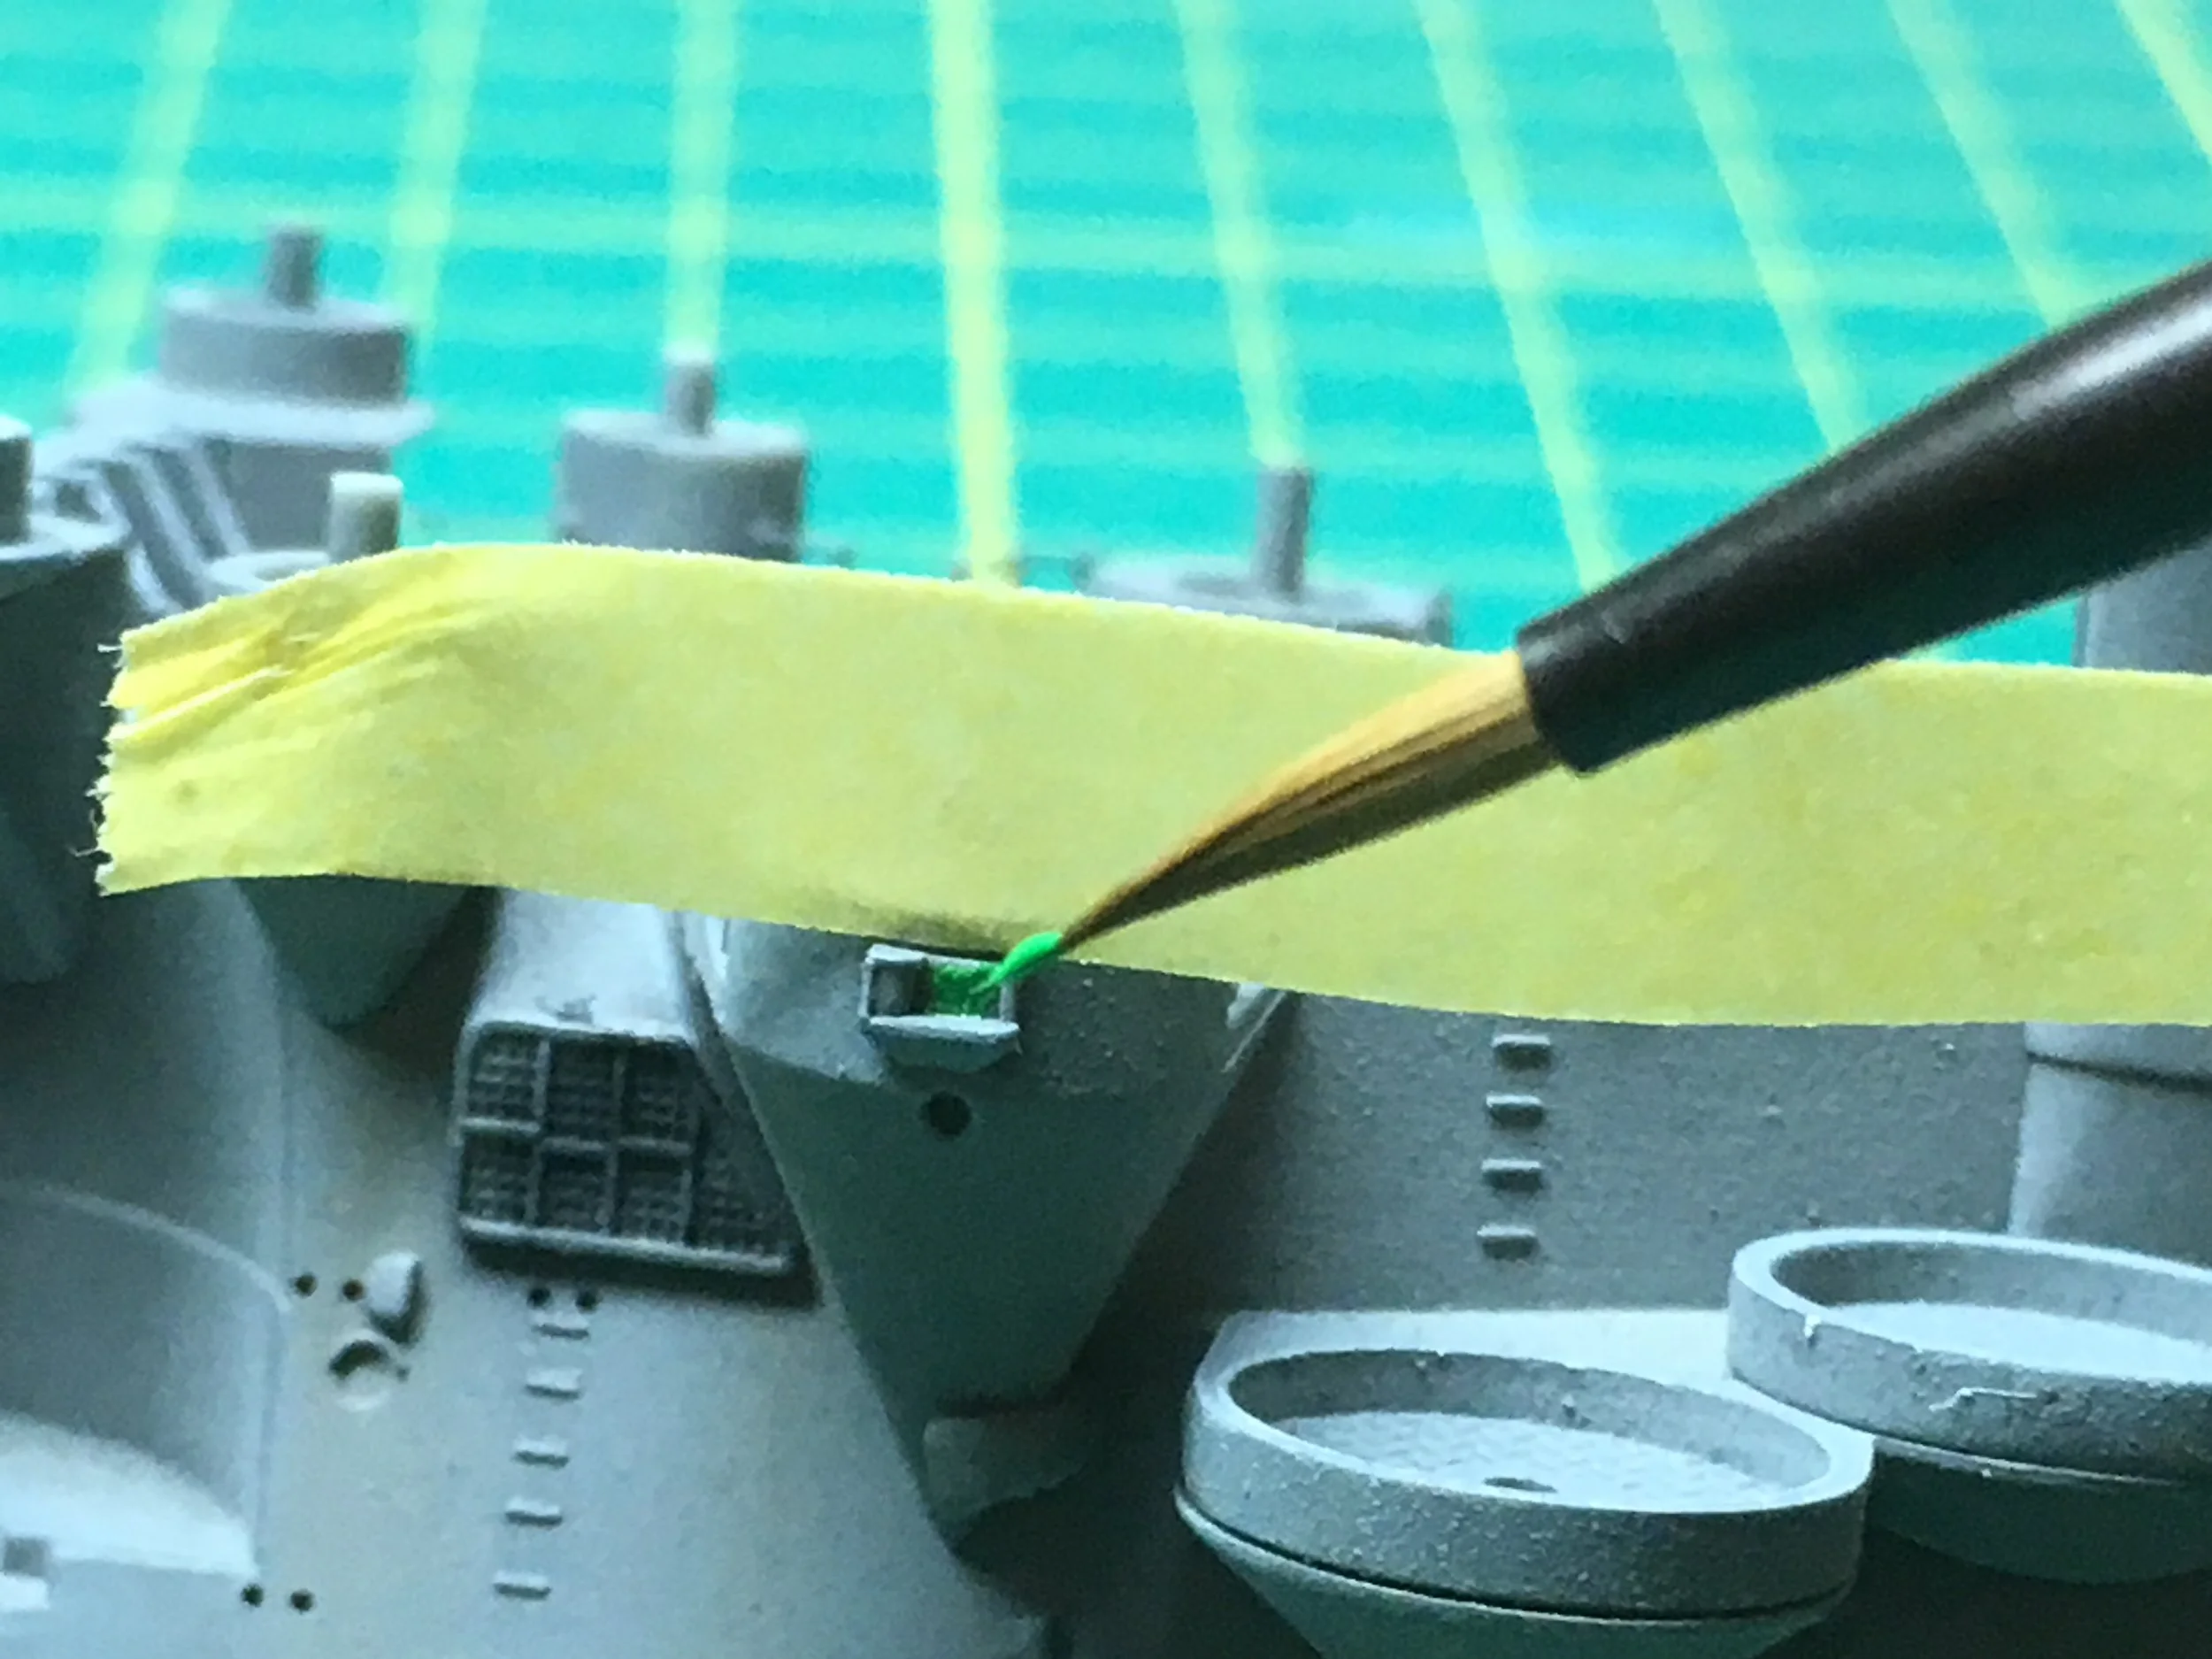
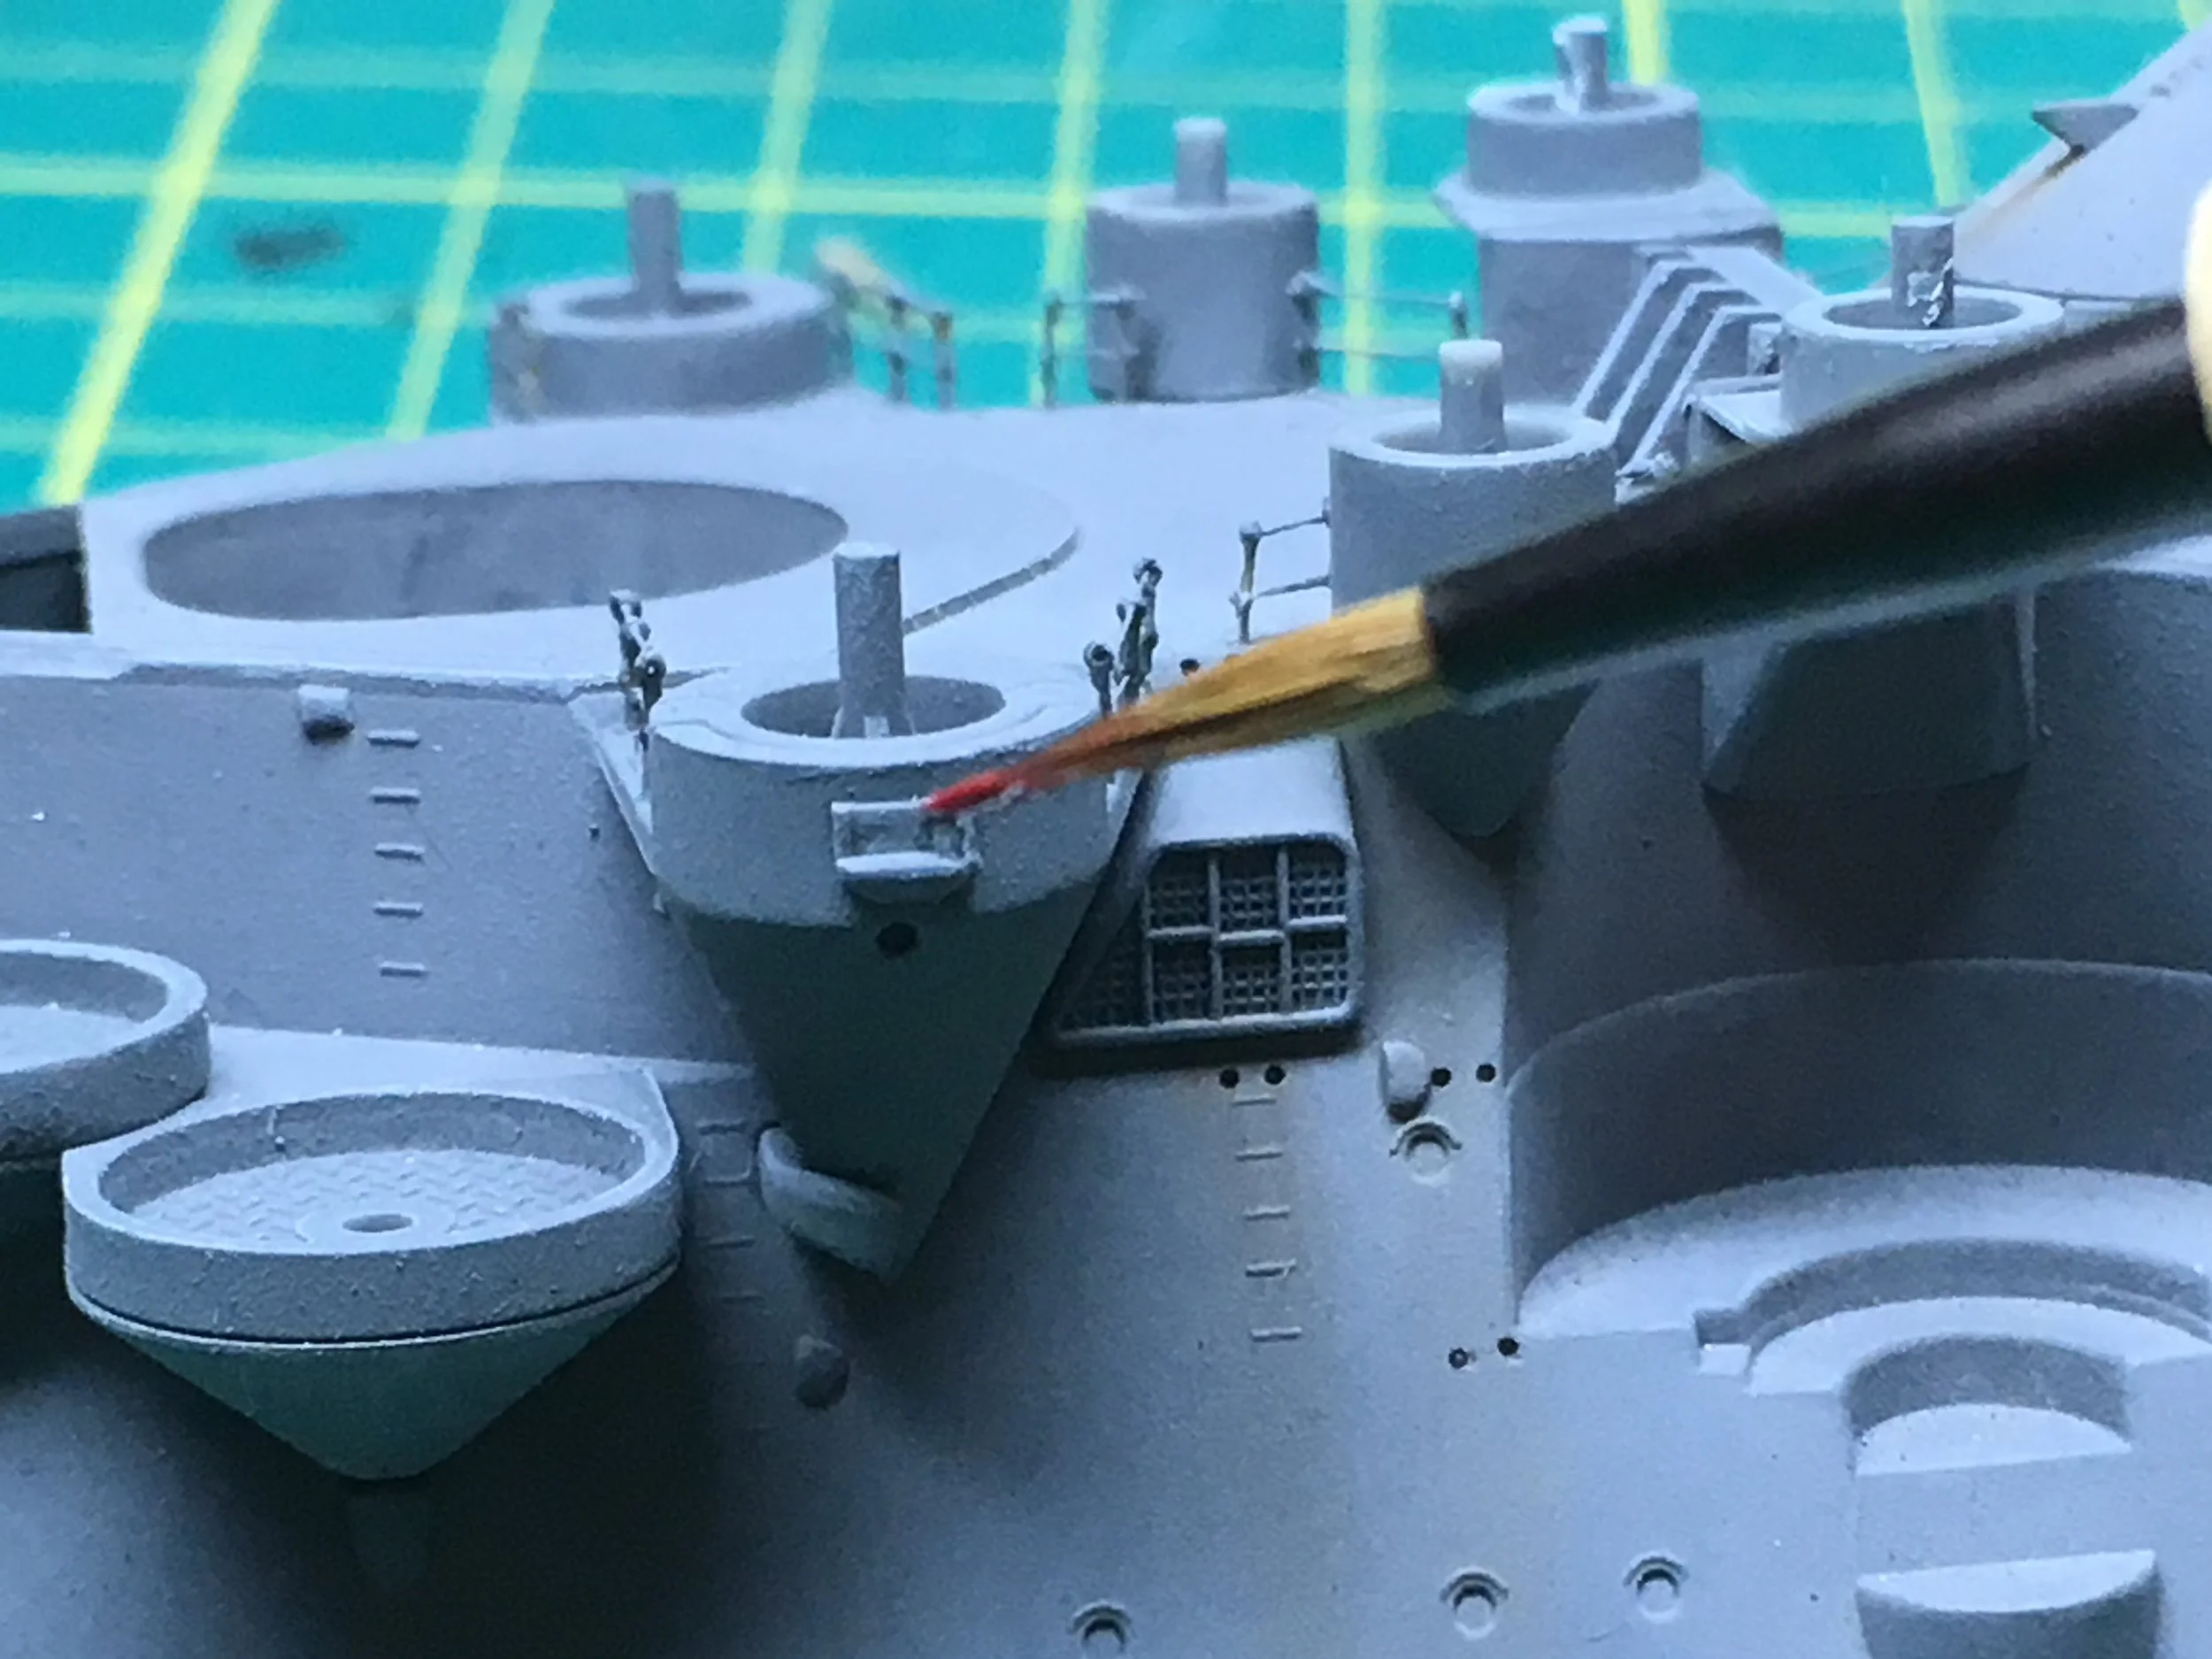
Attaching Funnel:
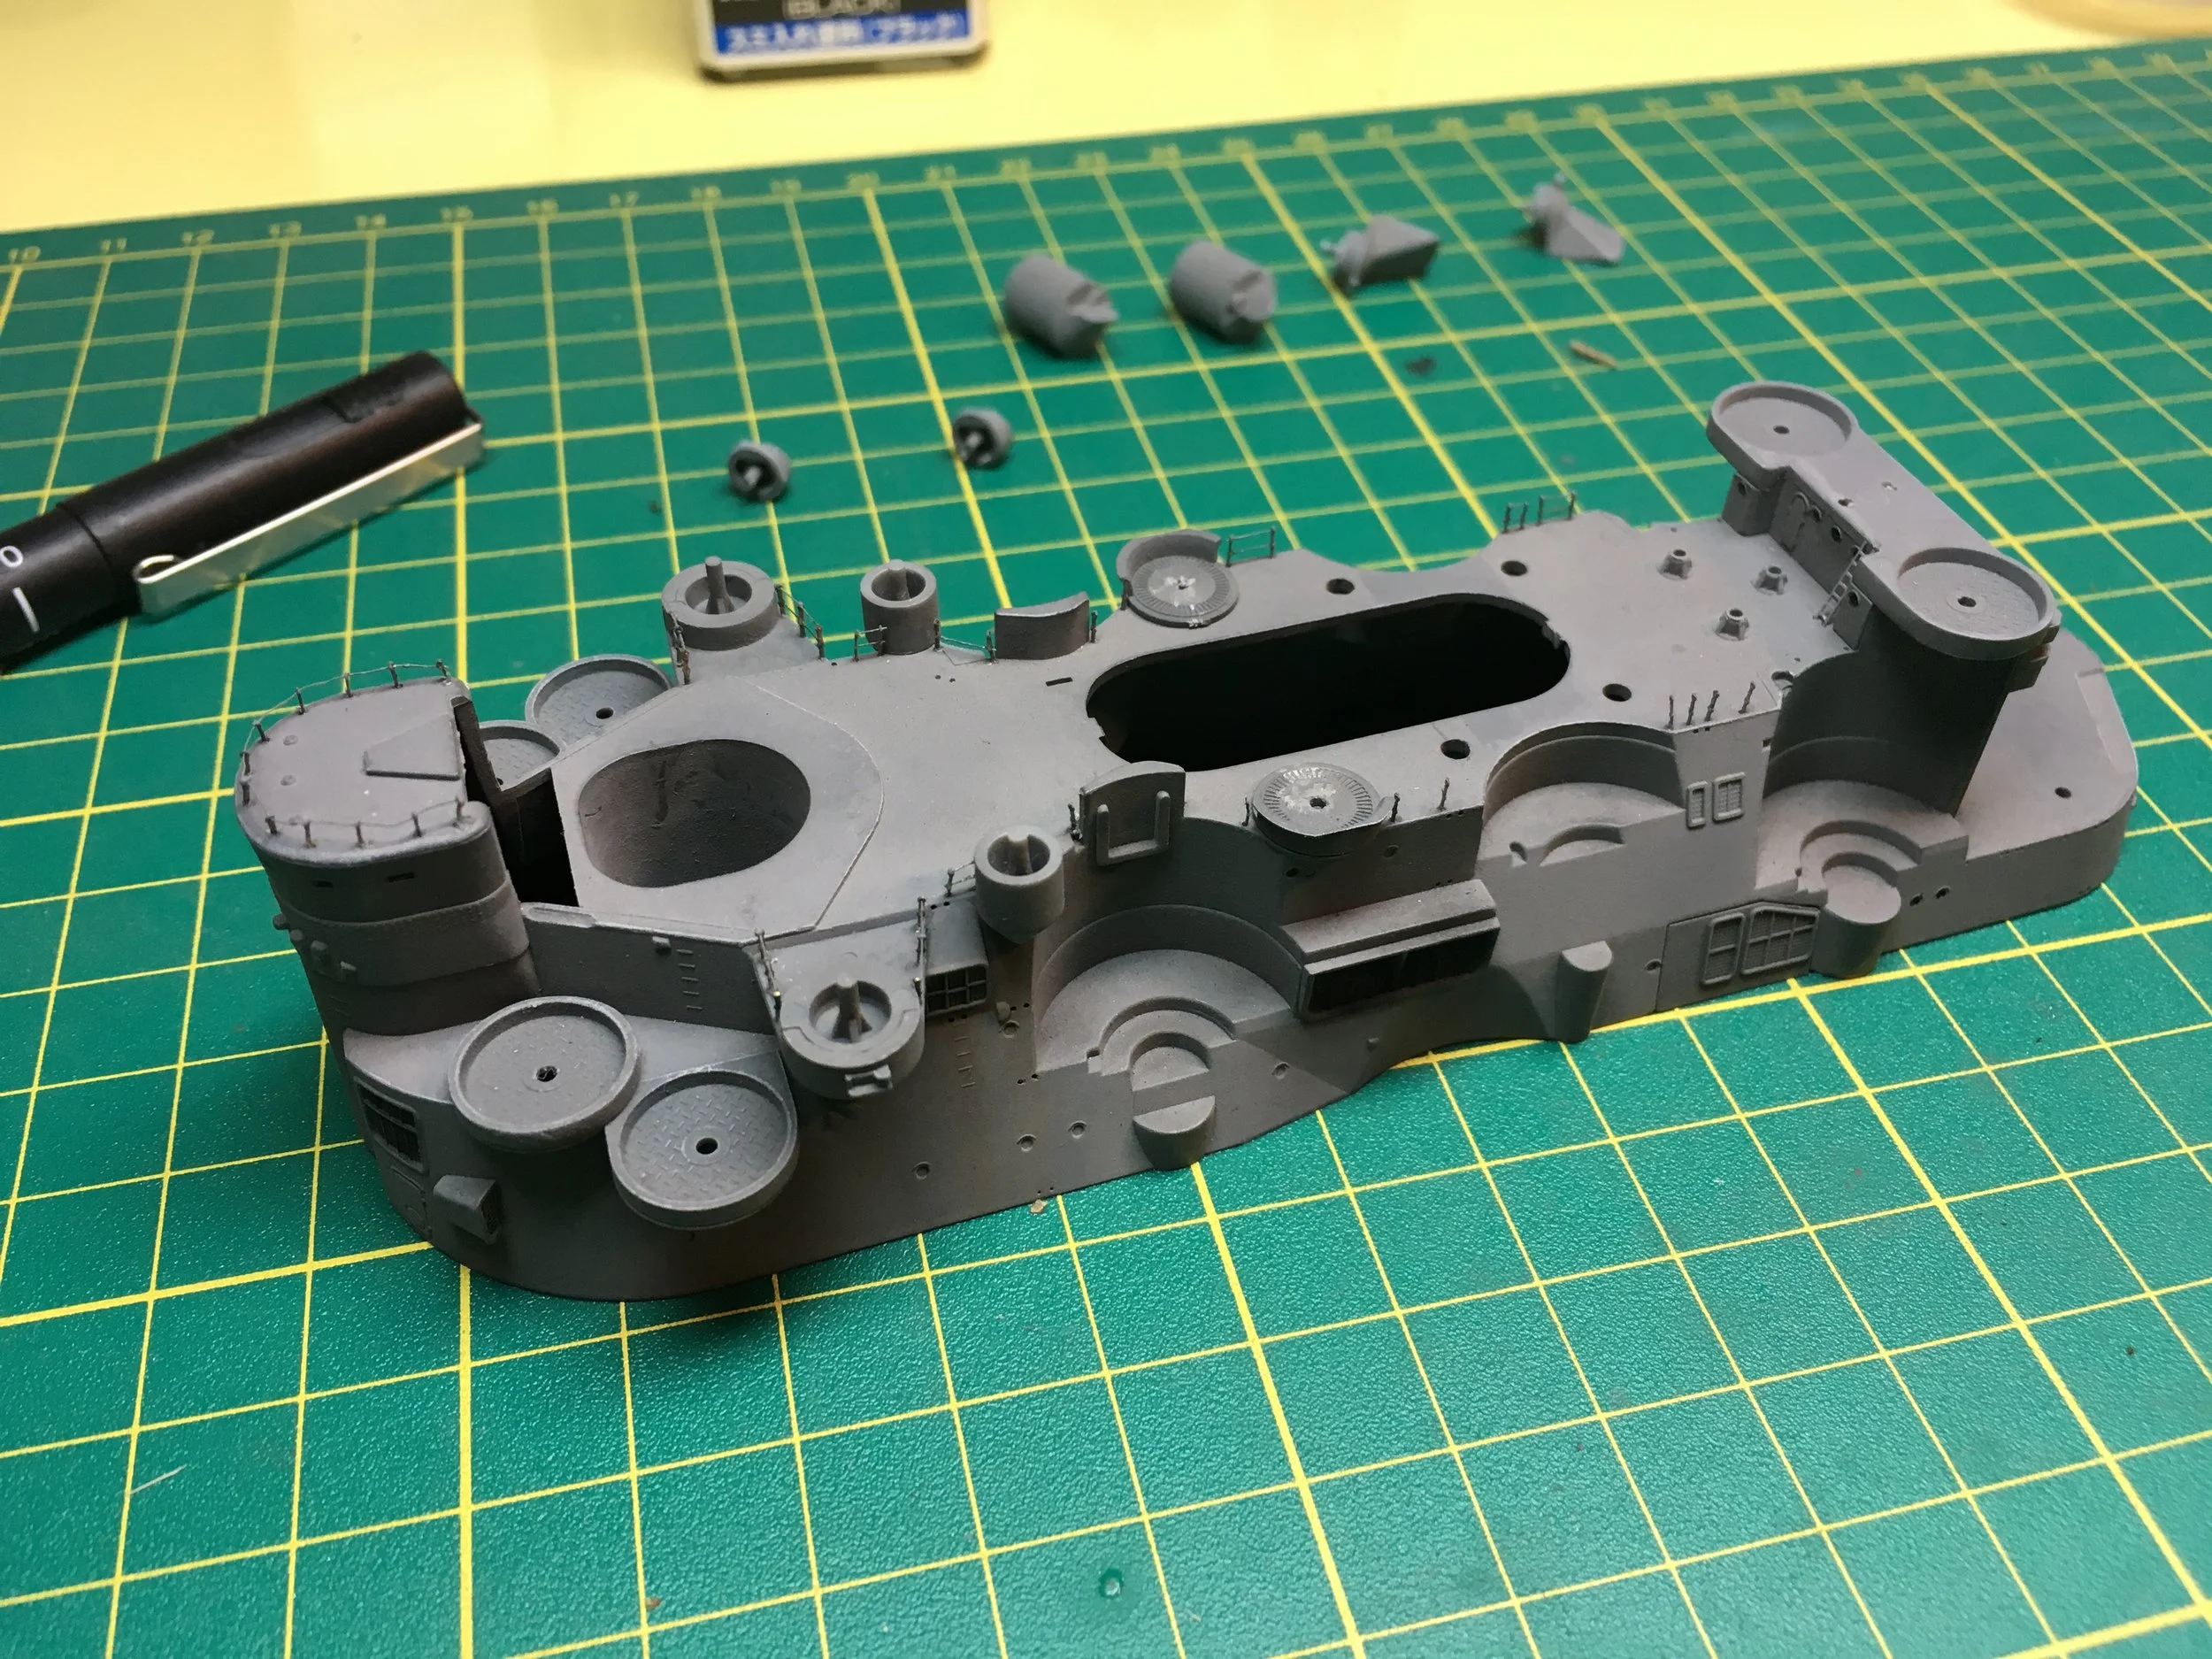
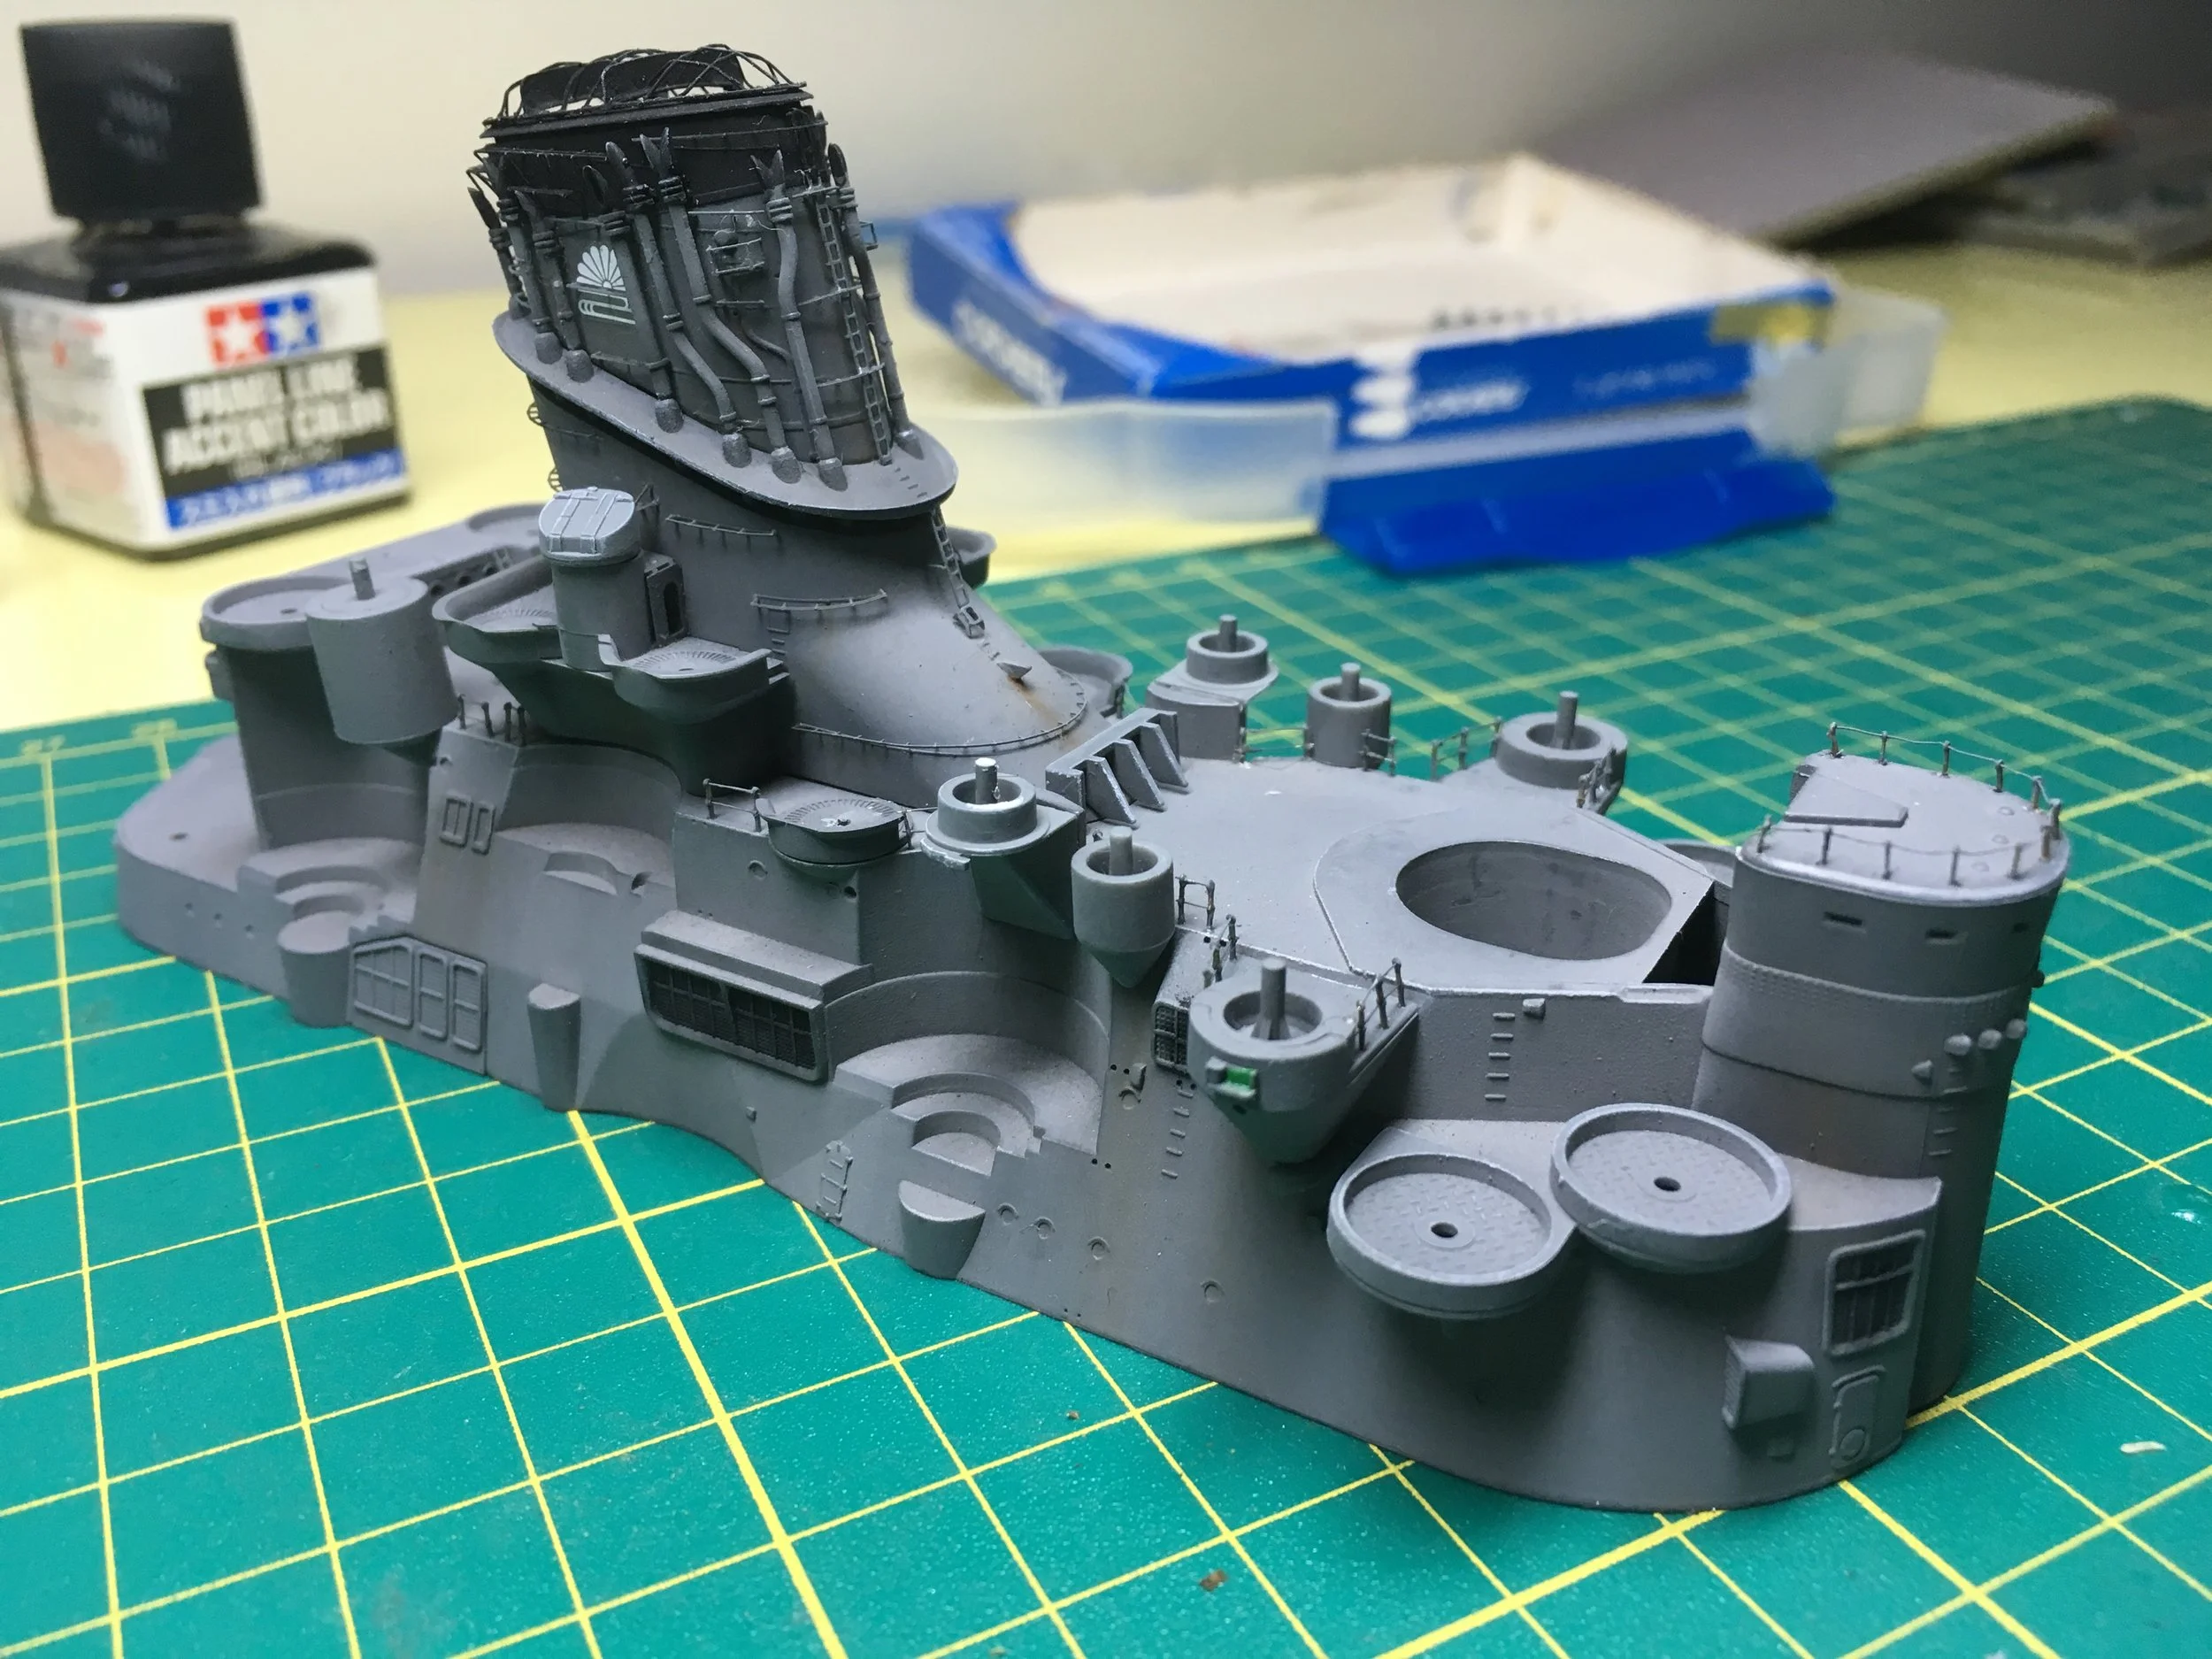
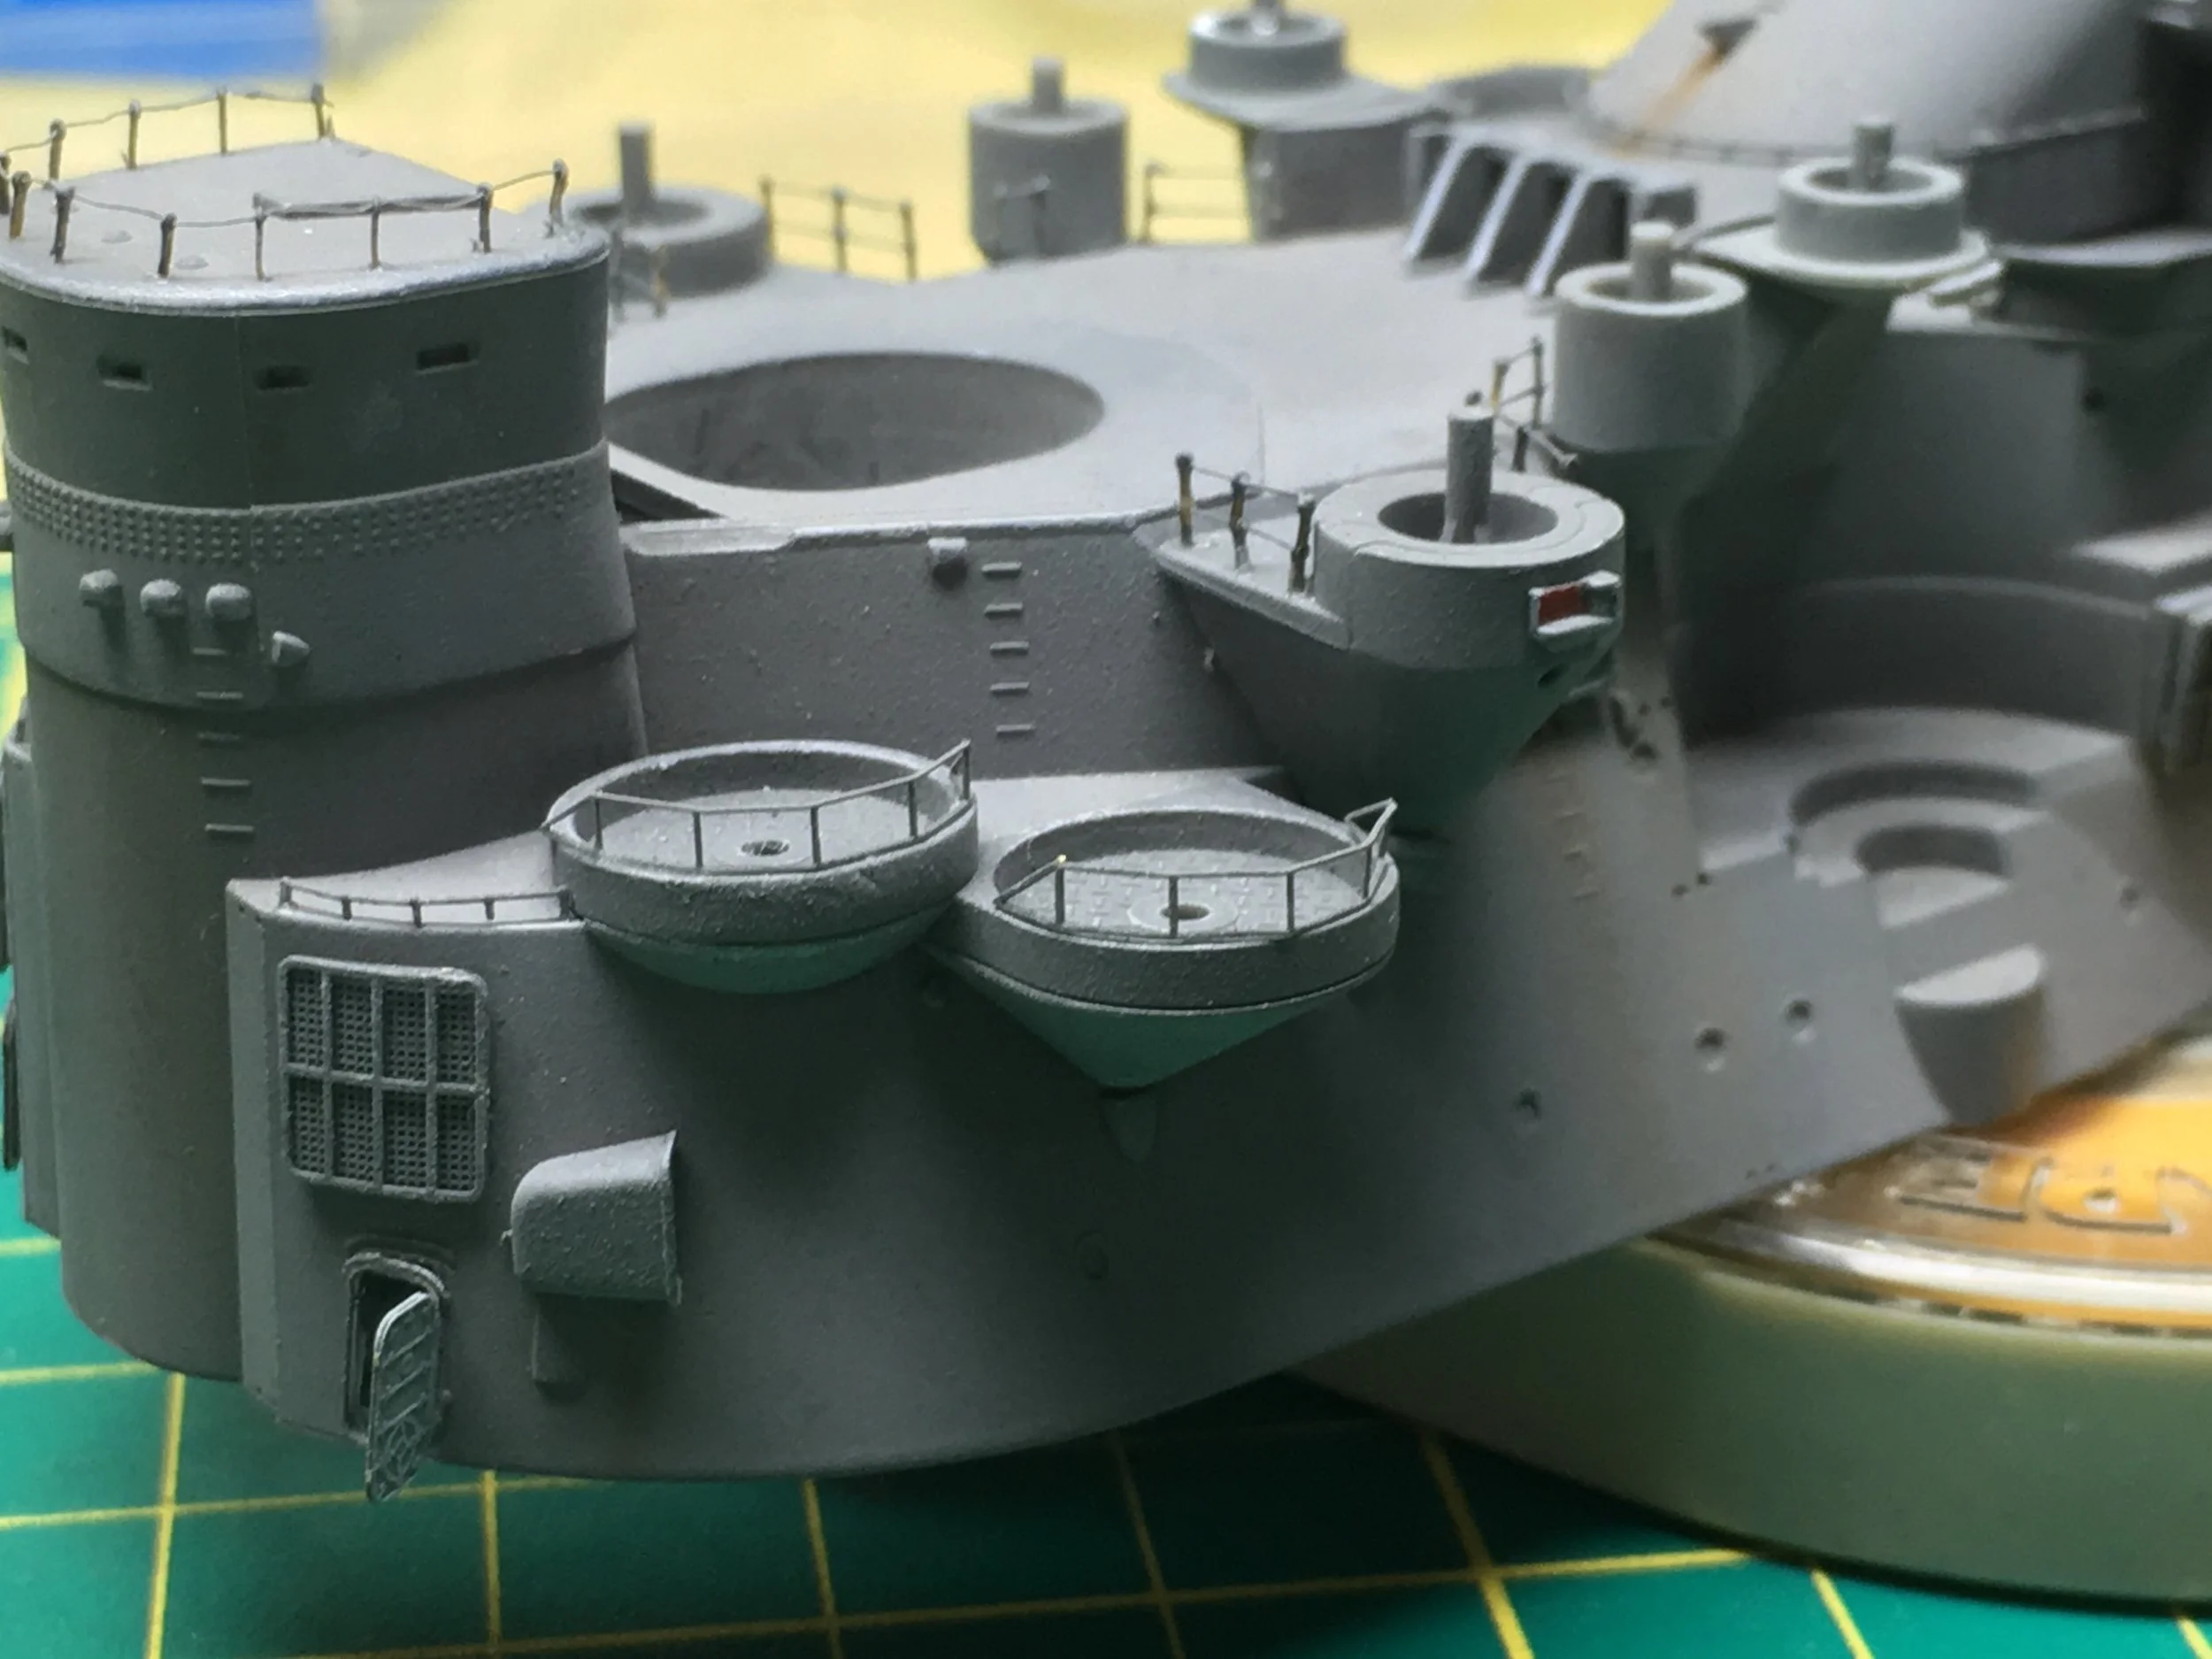
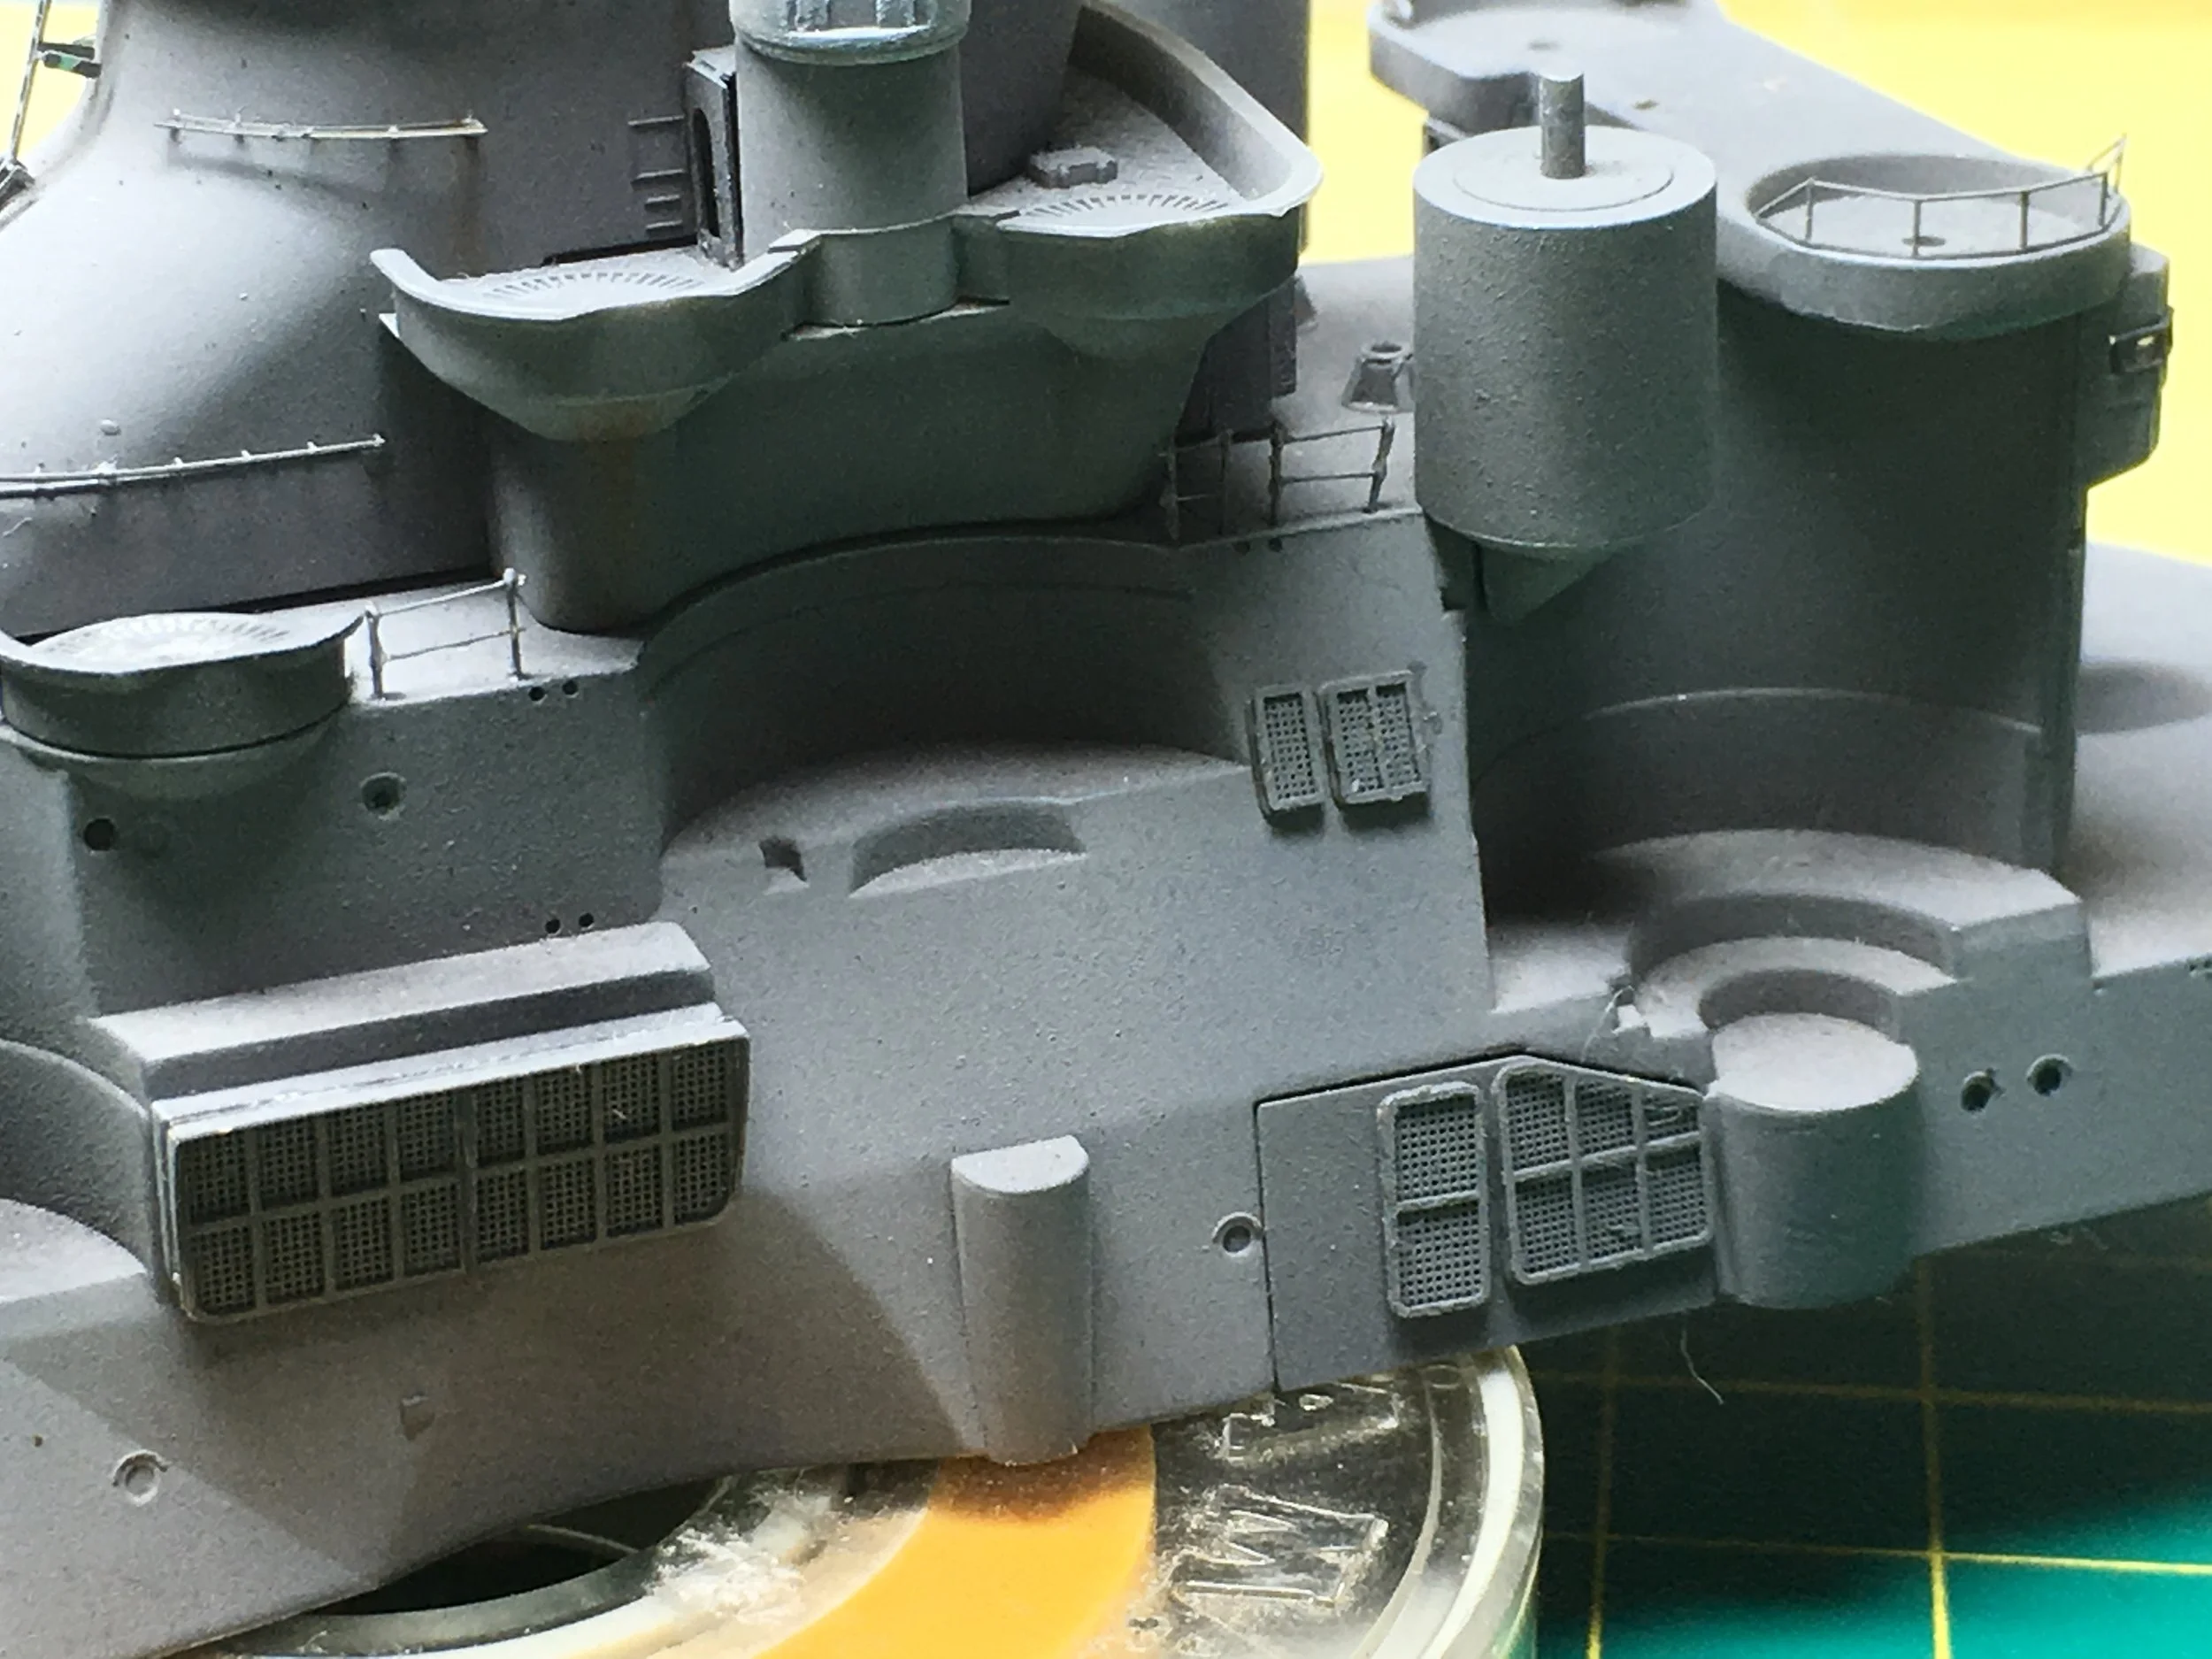
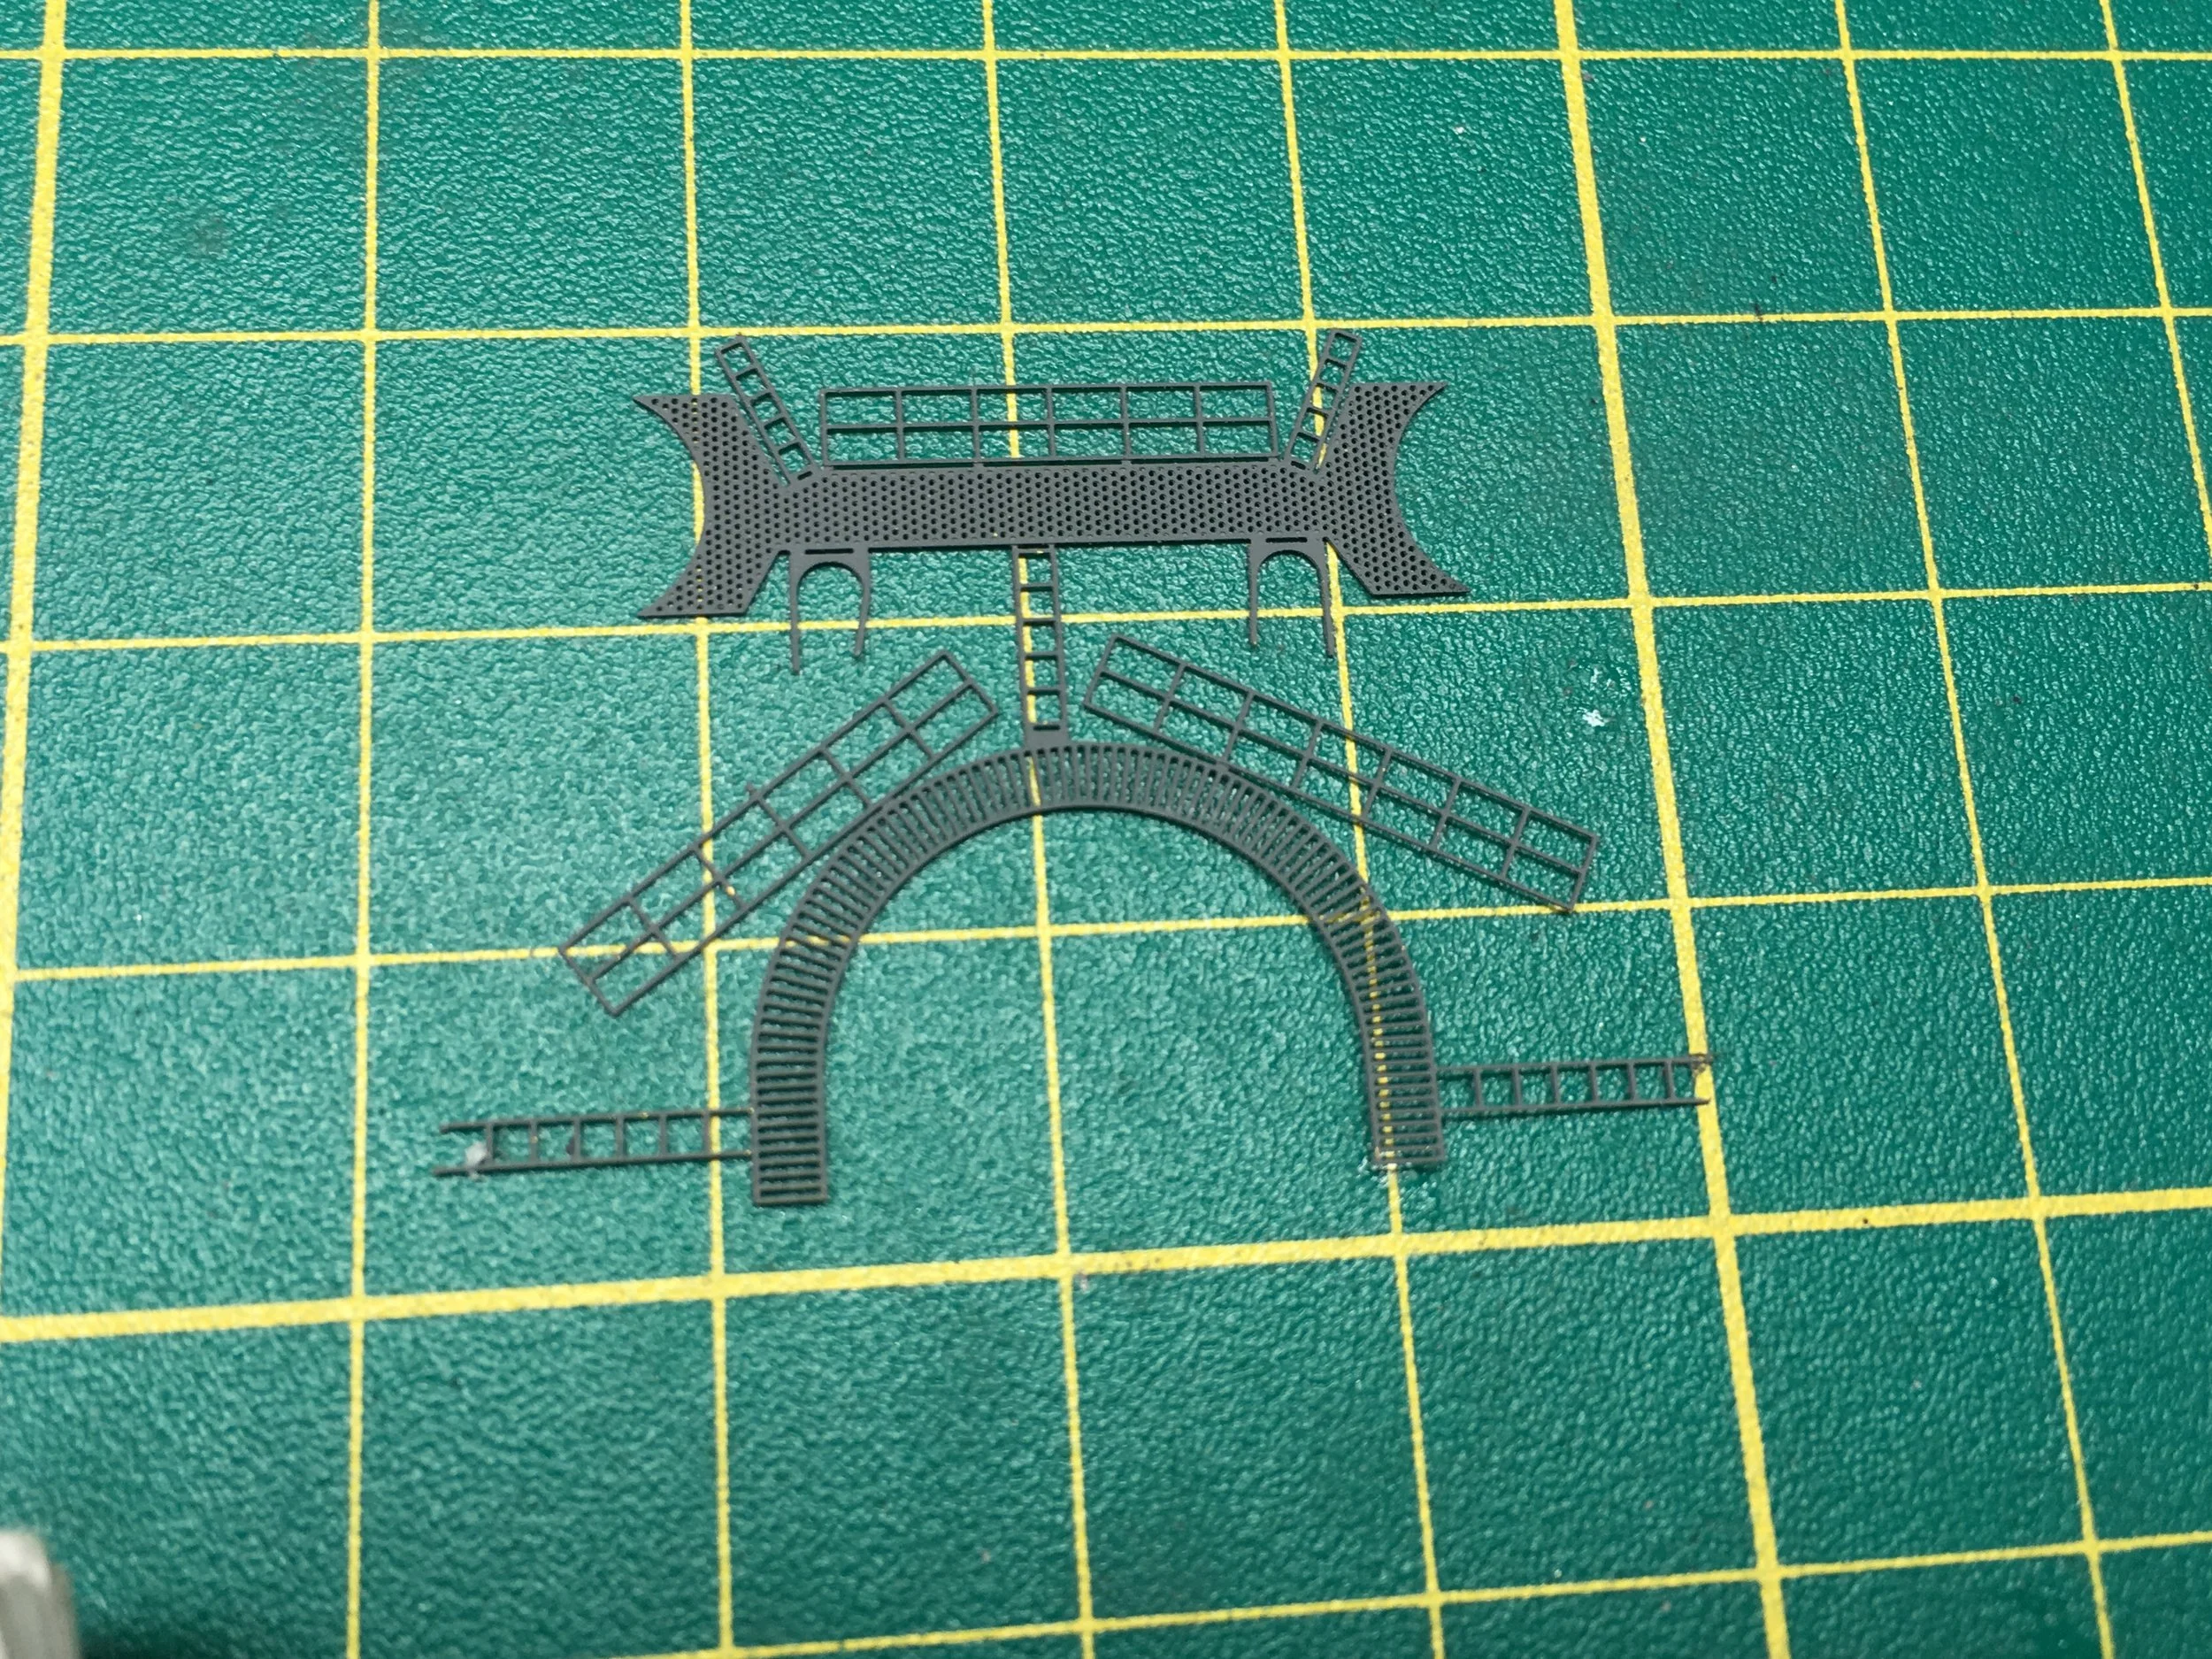
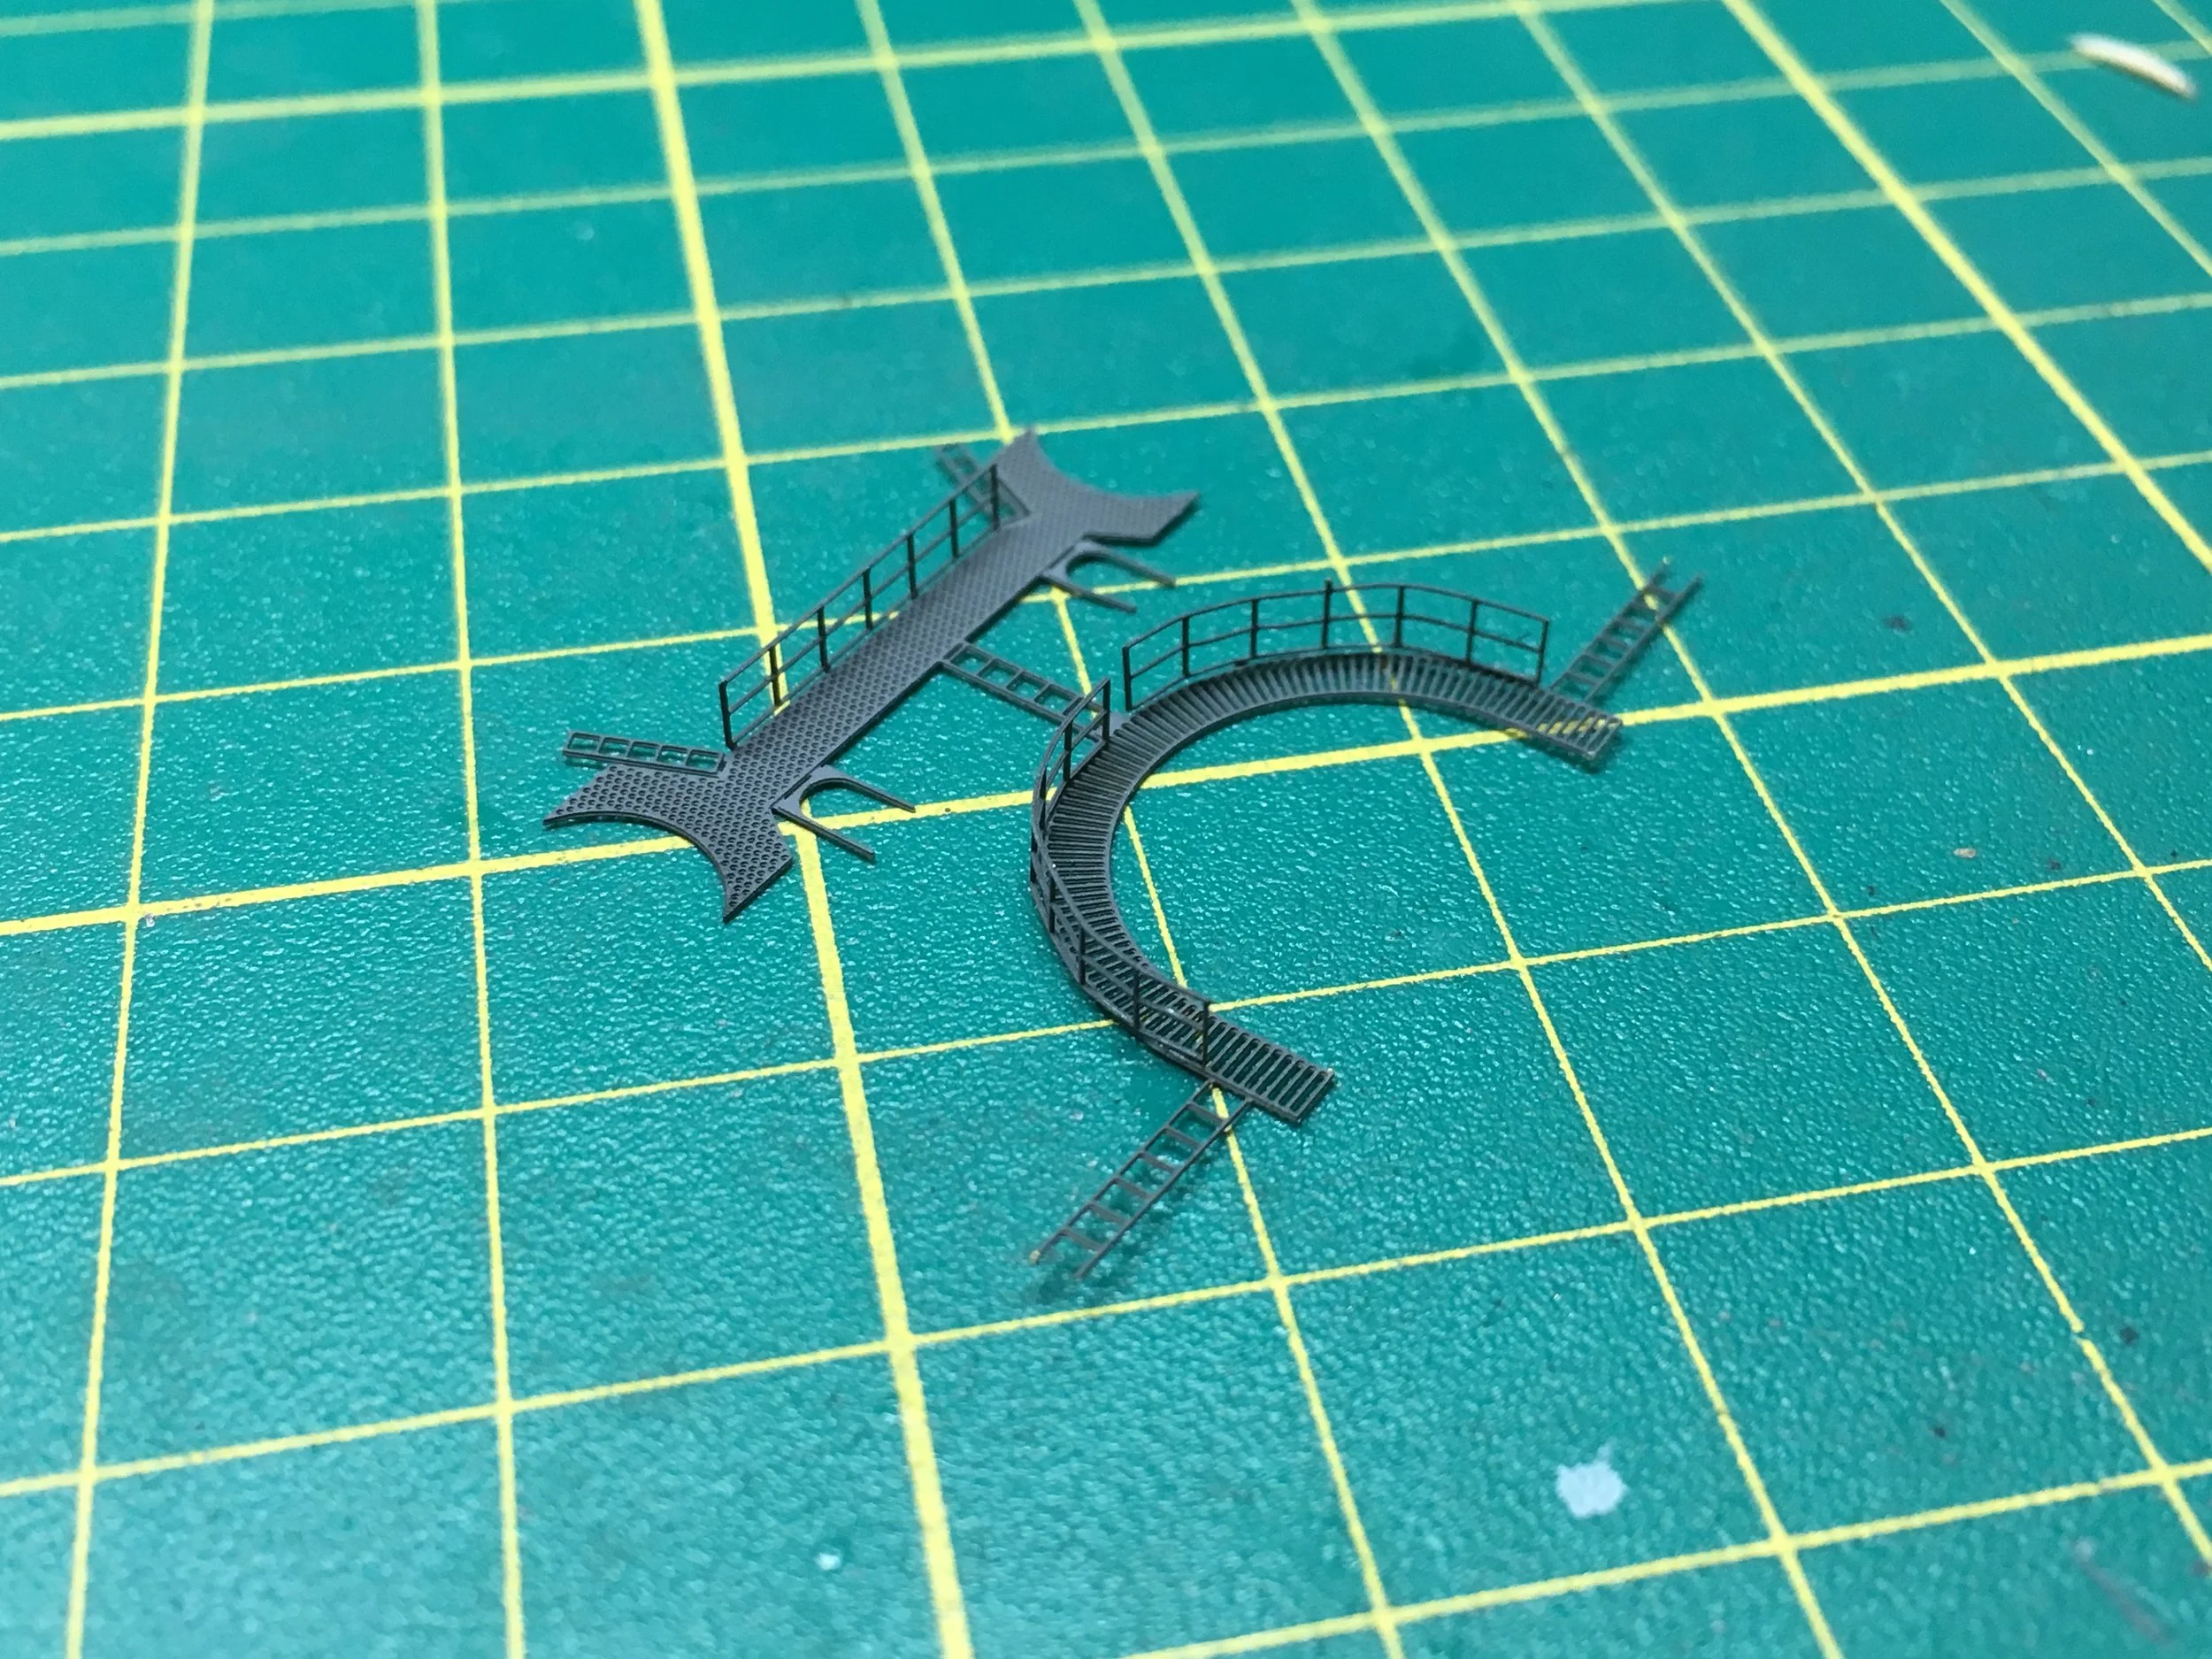
Center superstructure to deck Assembly:
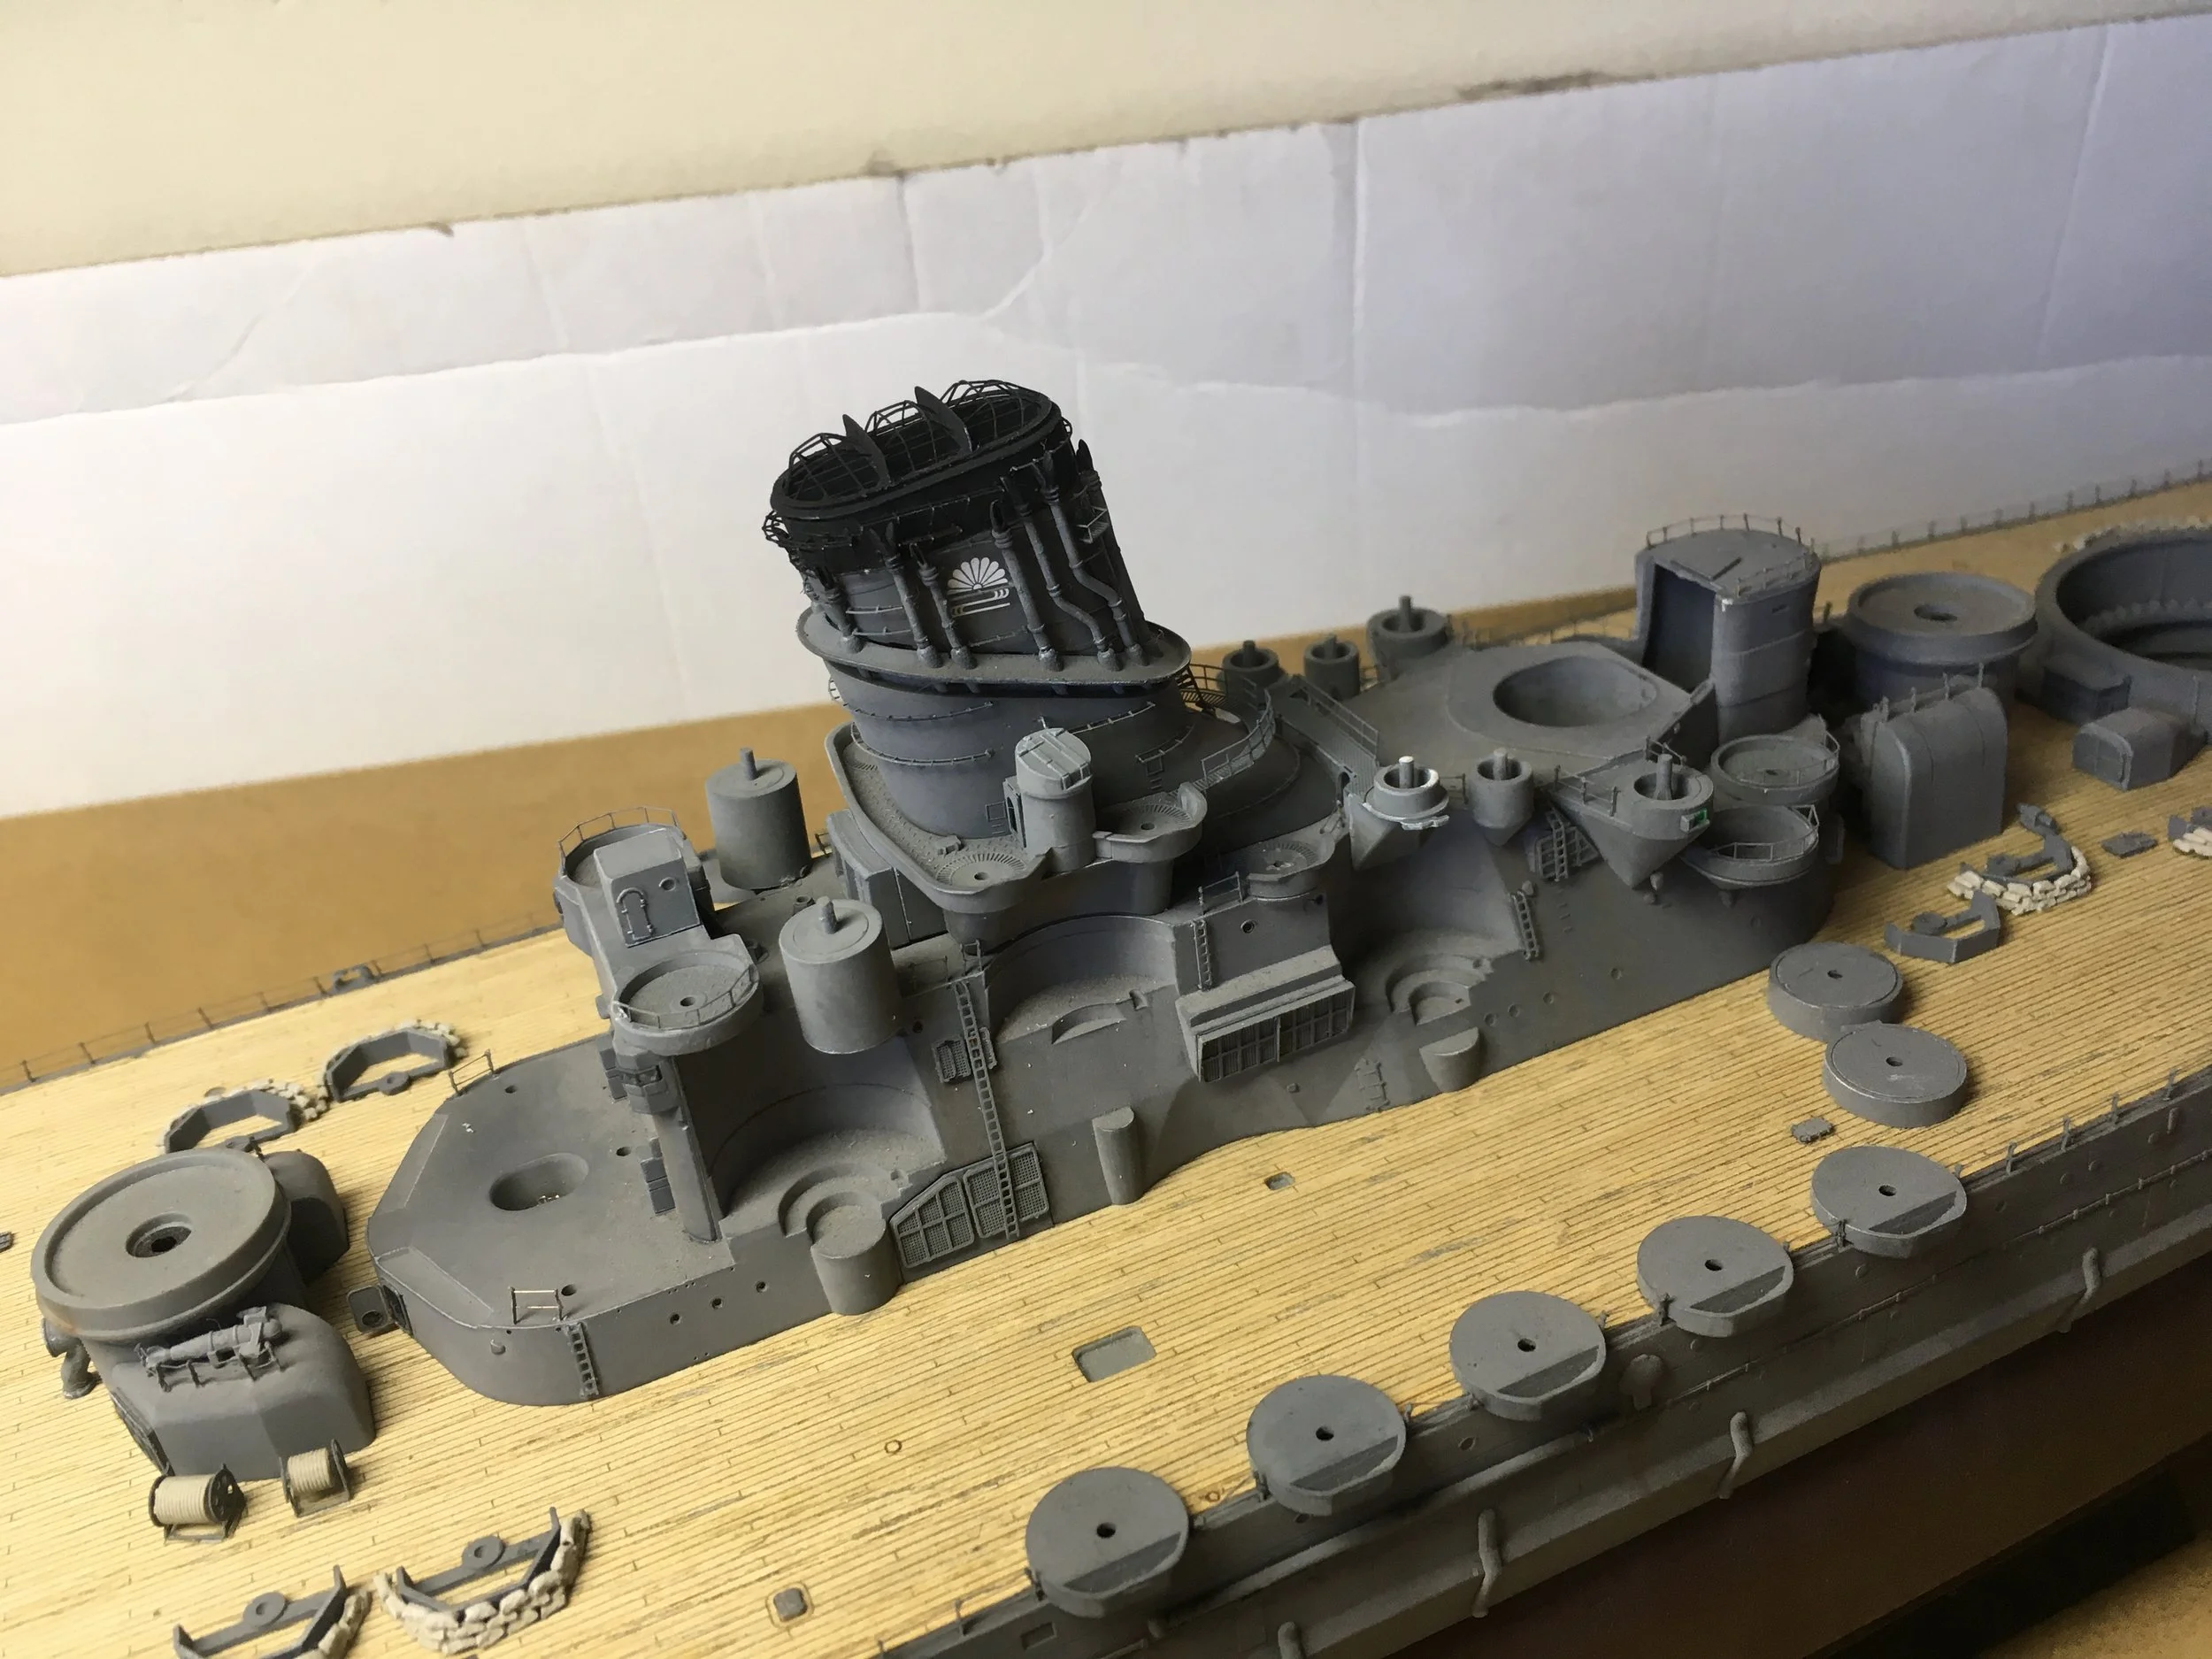
Assembly bridge and side DP gun nests to center superstructure:
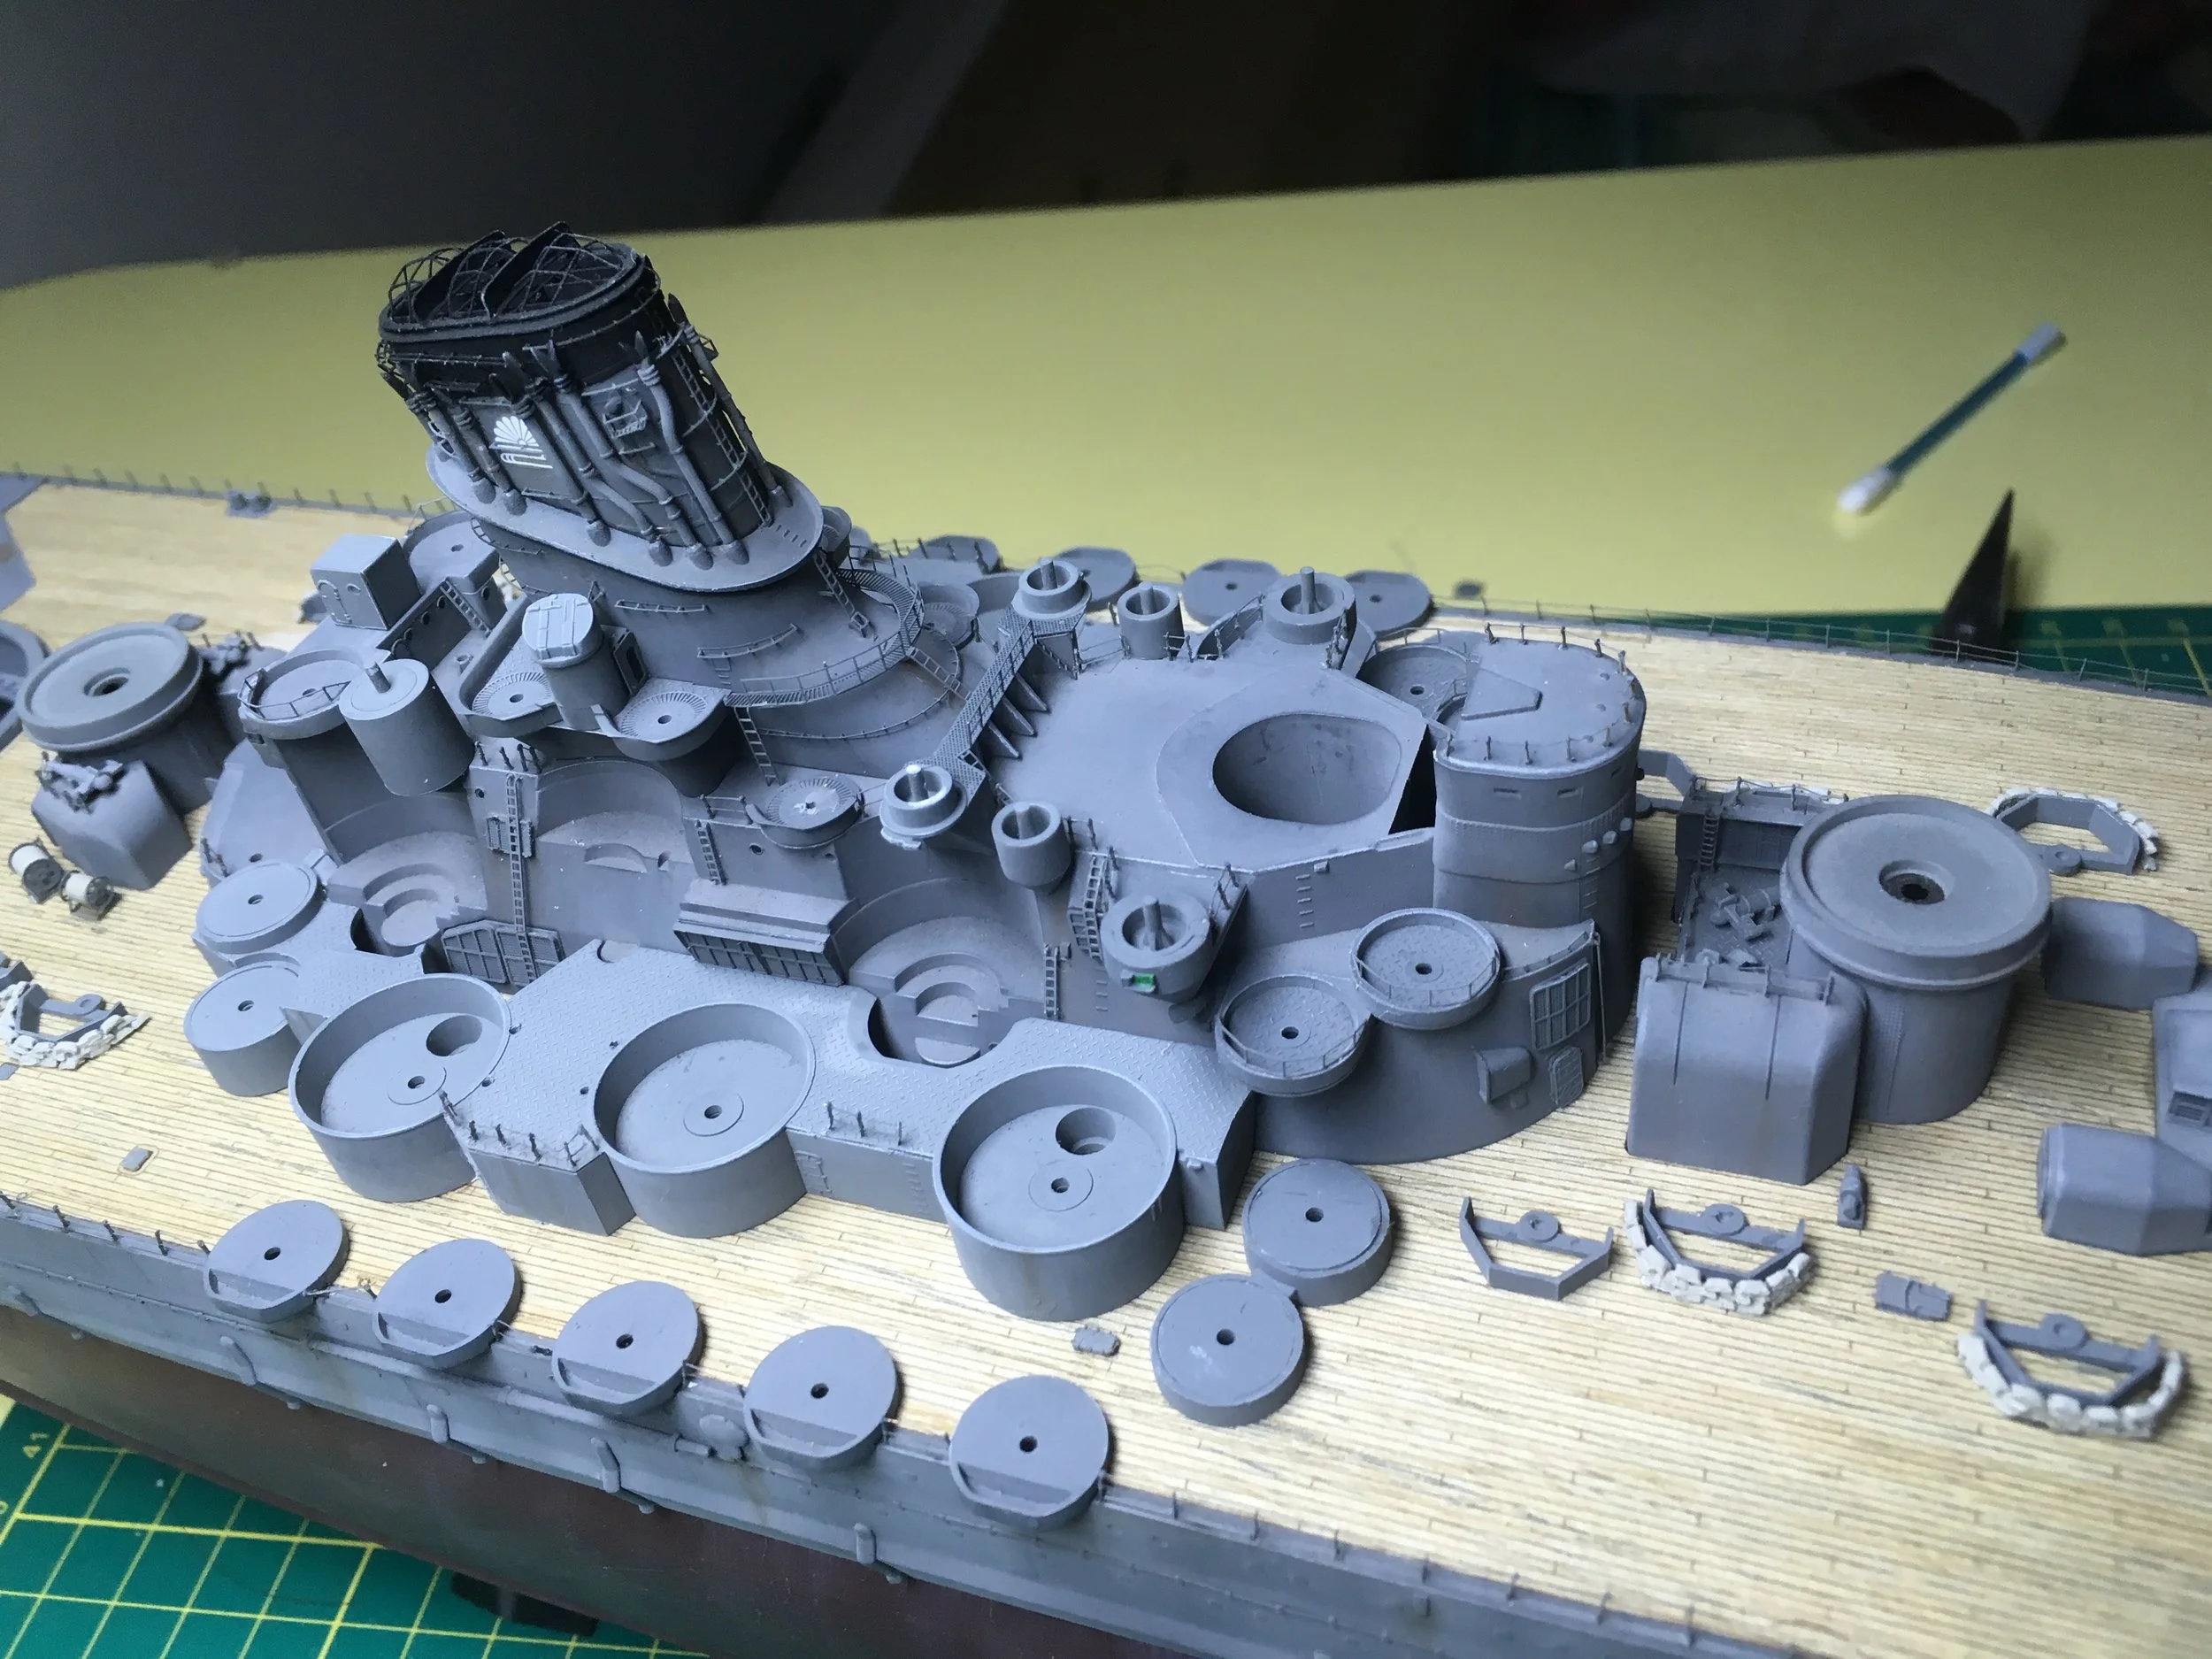
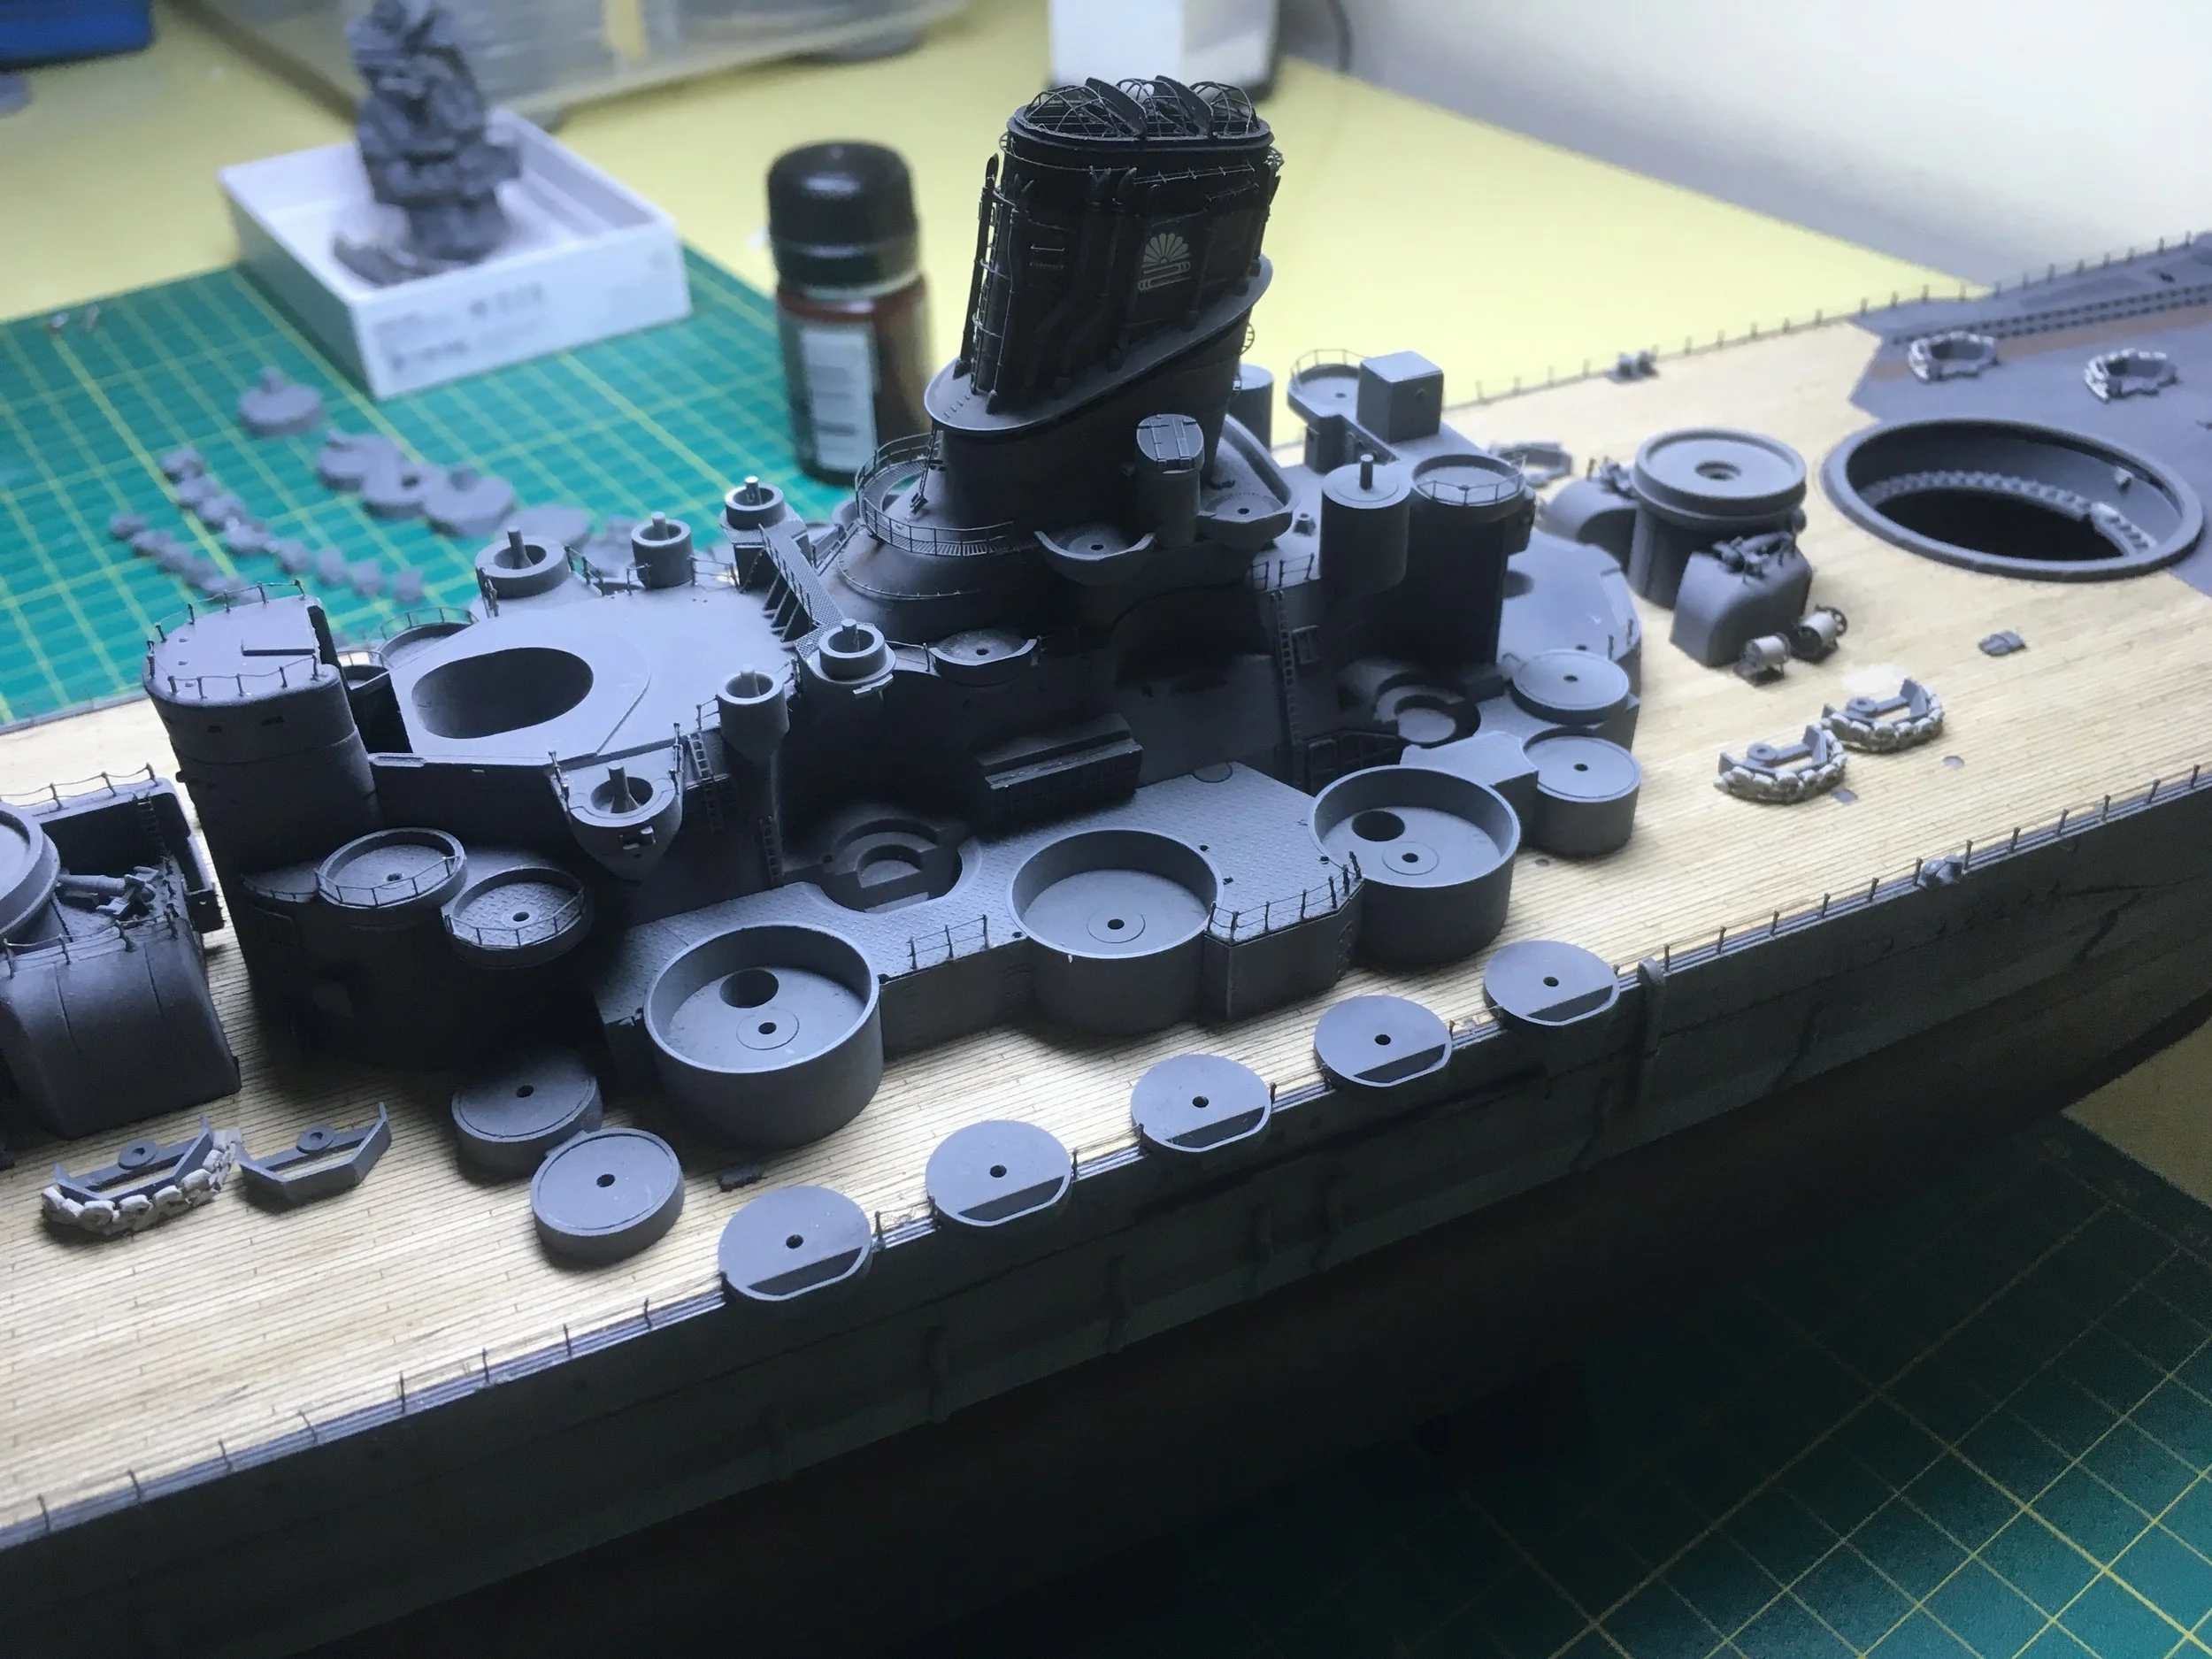
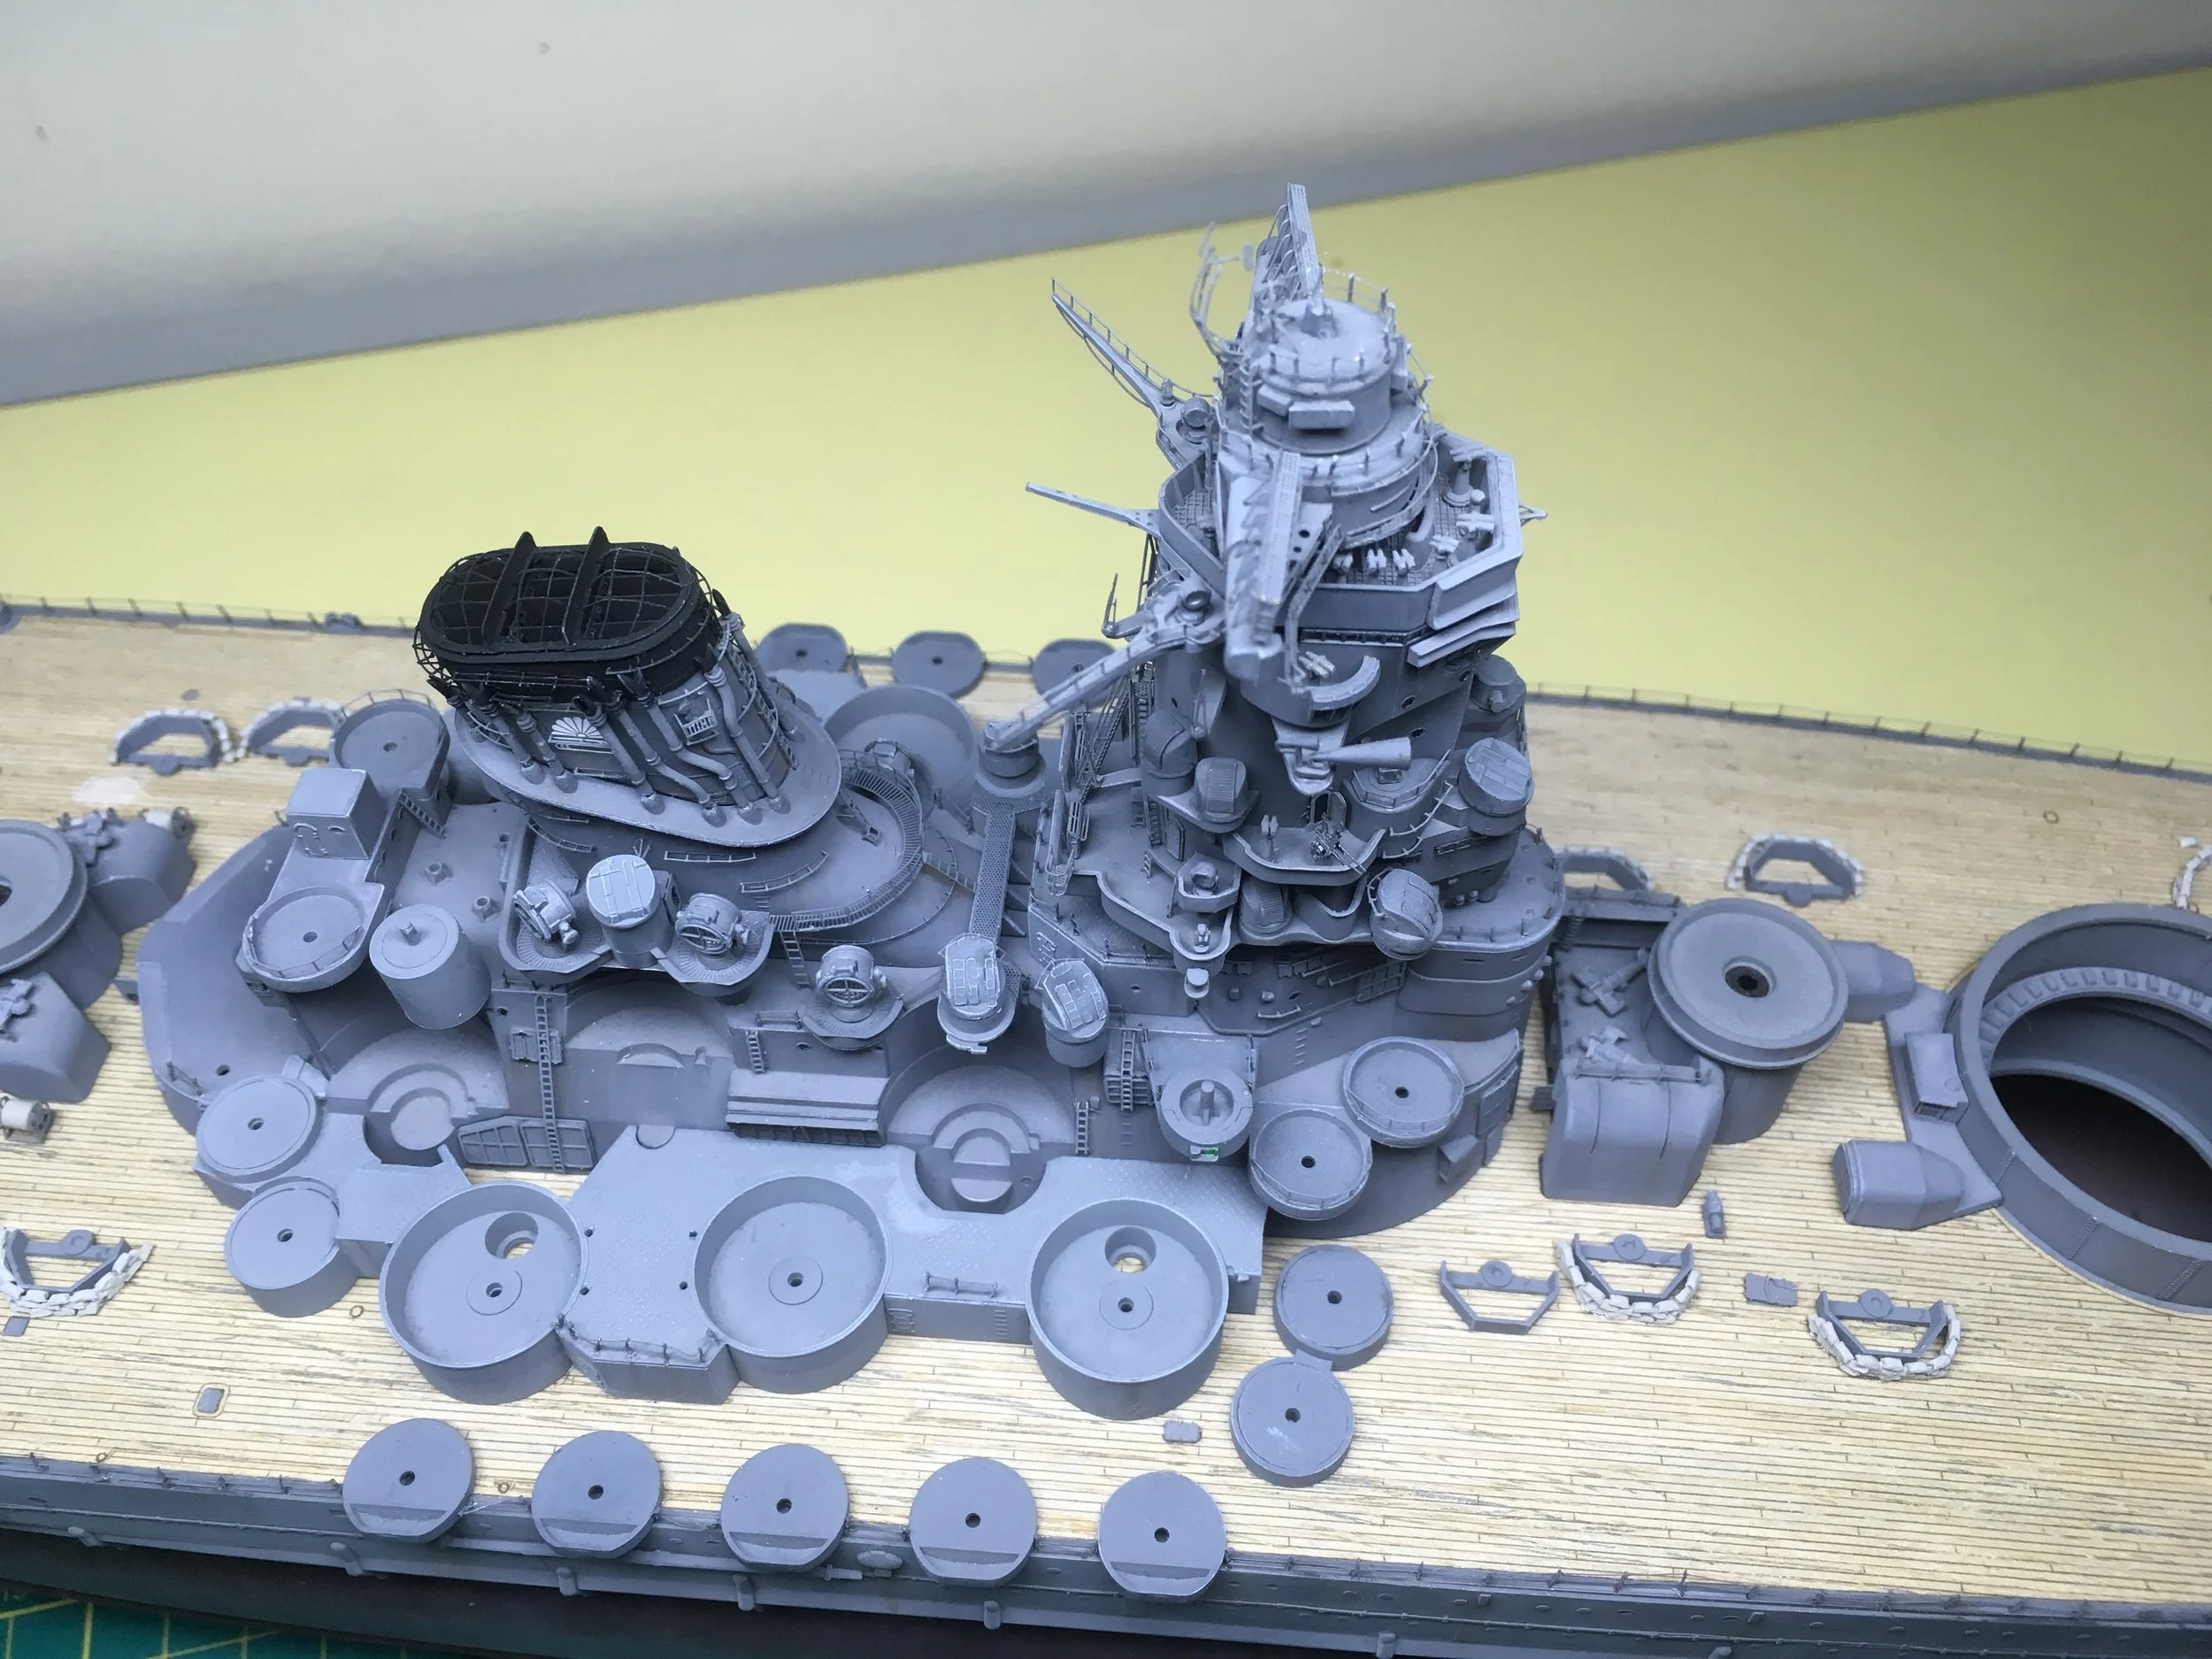
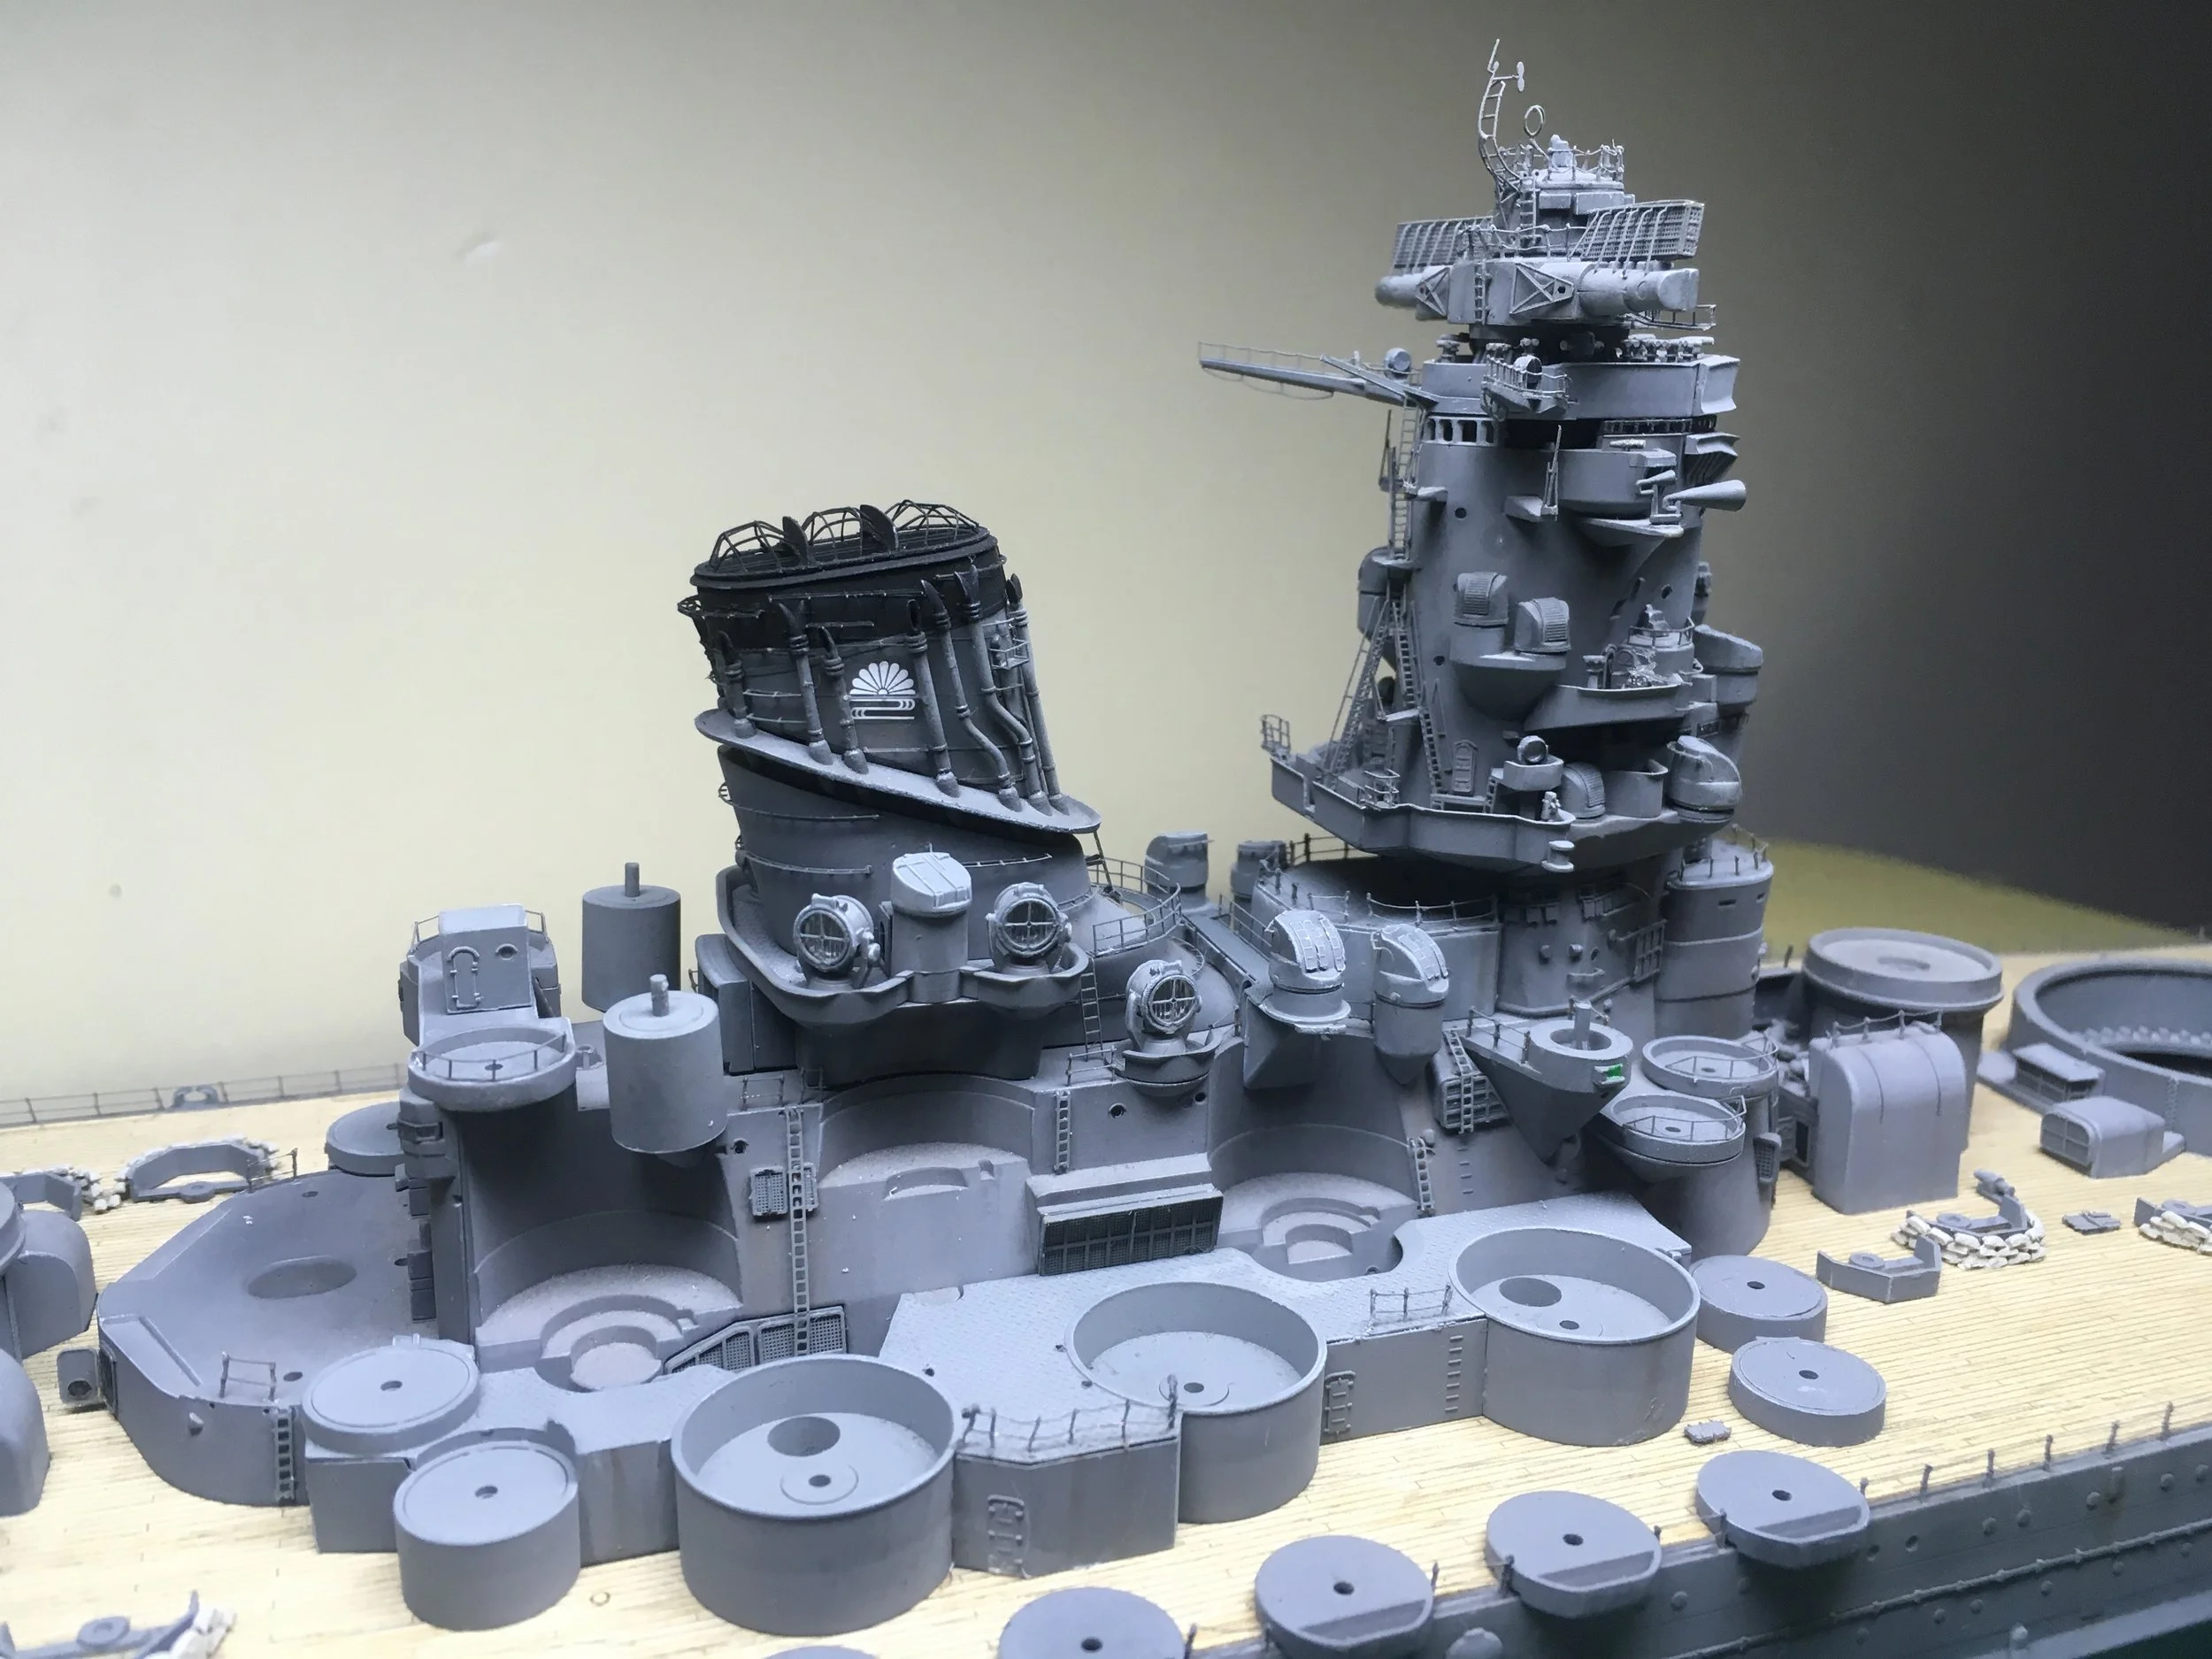
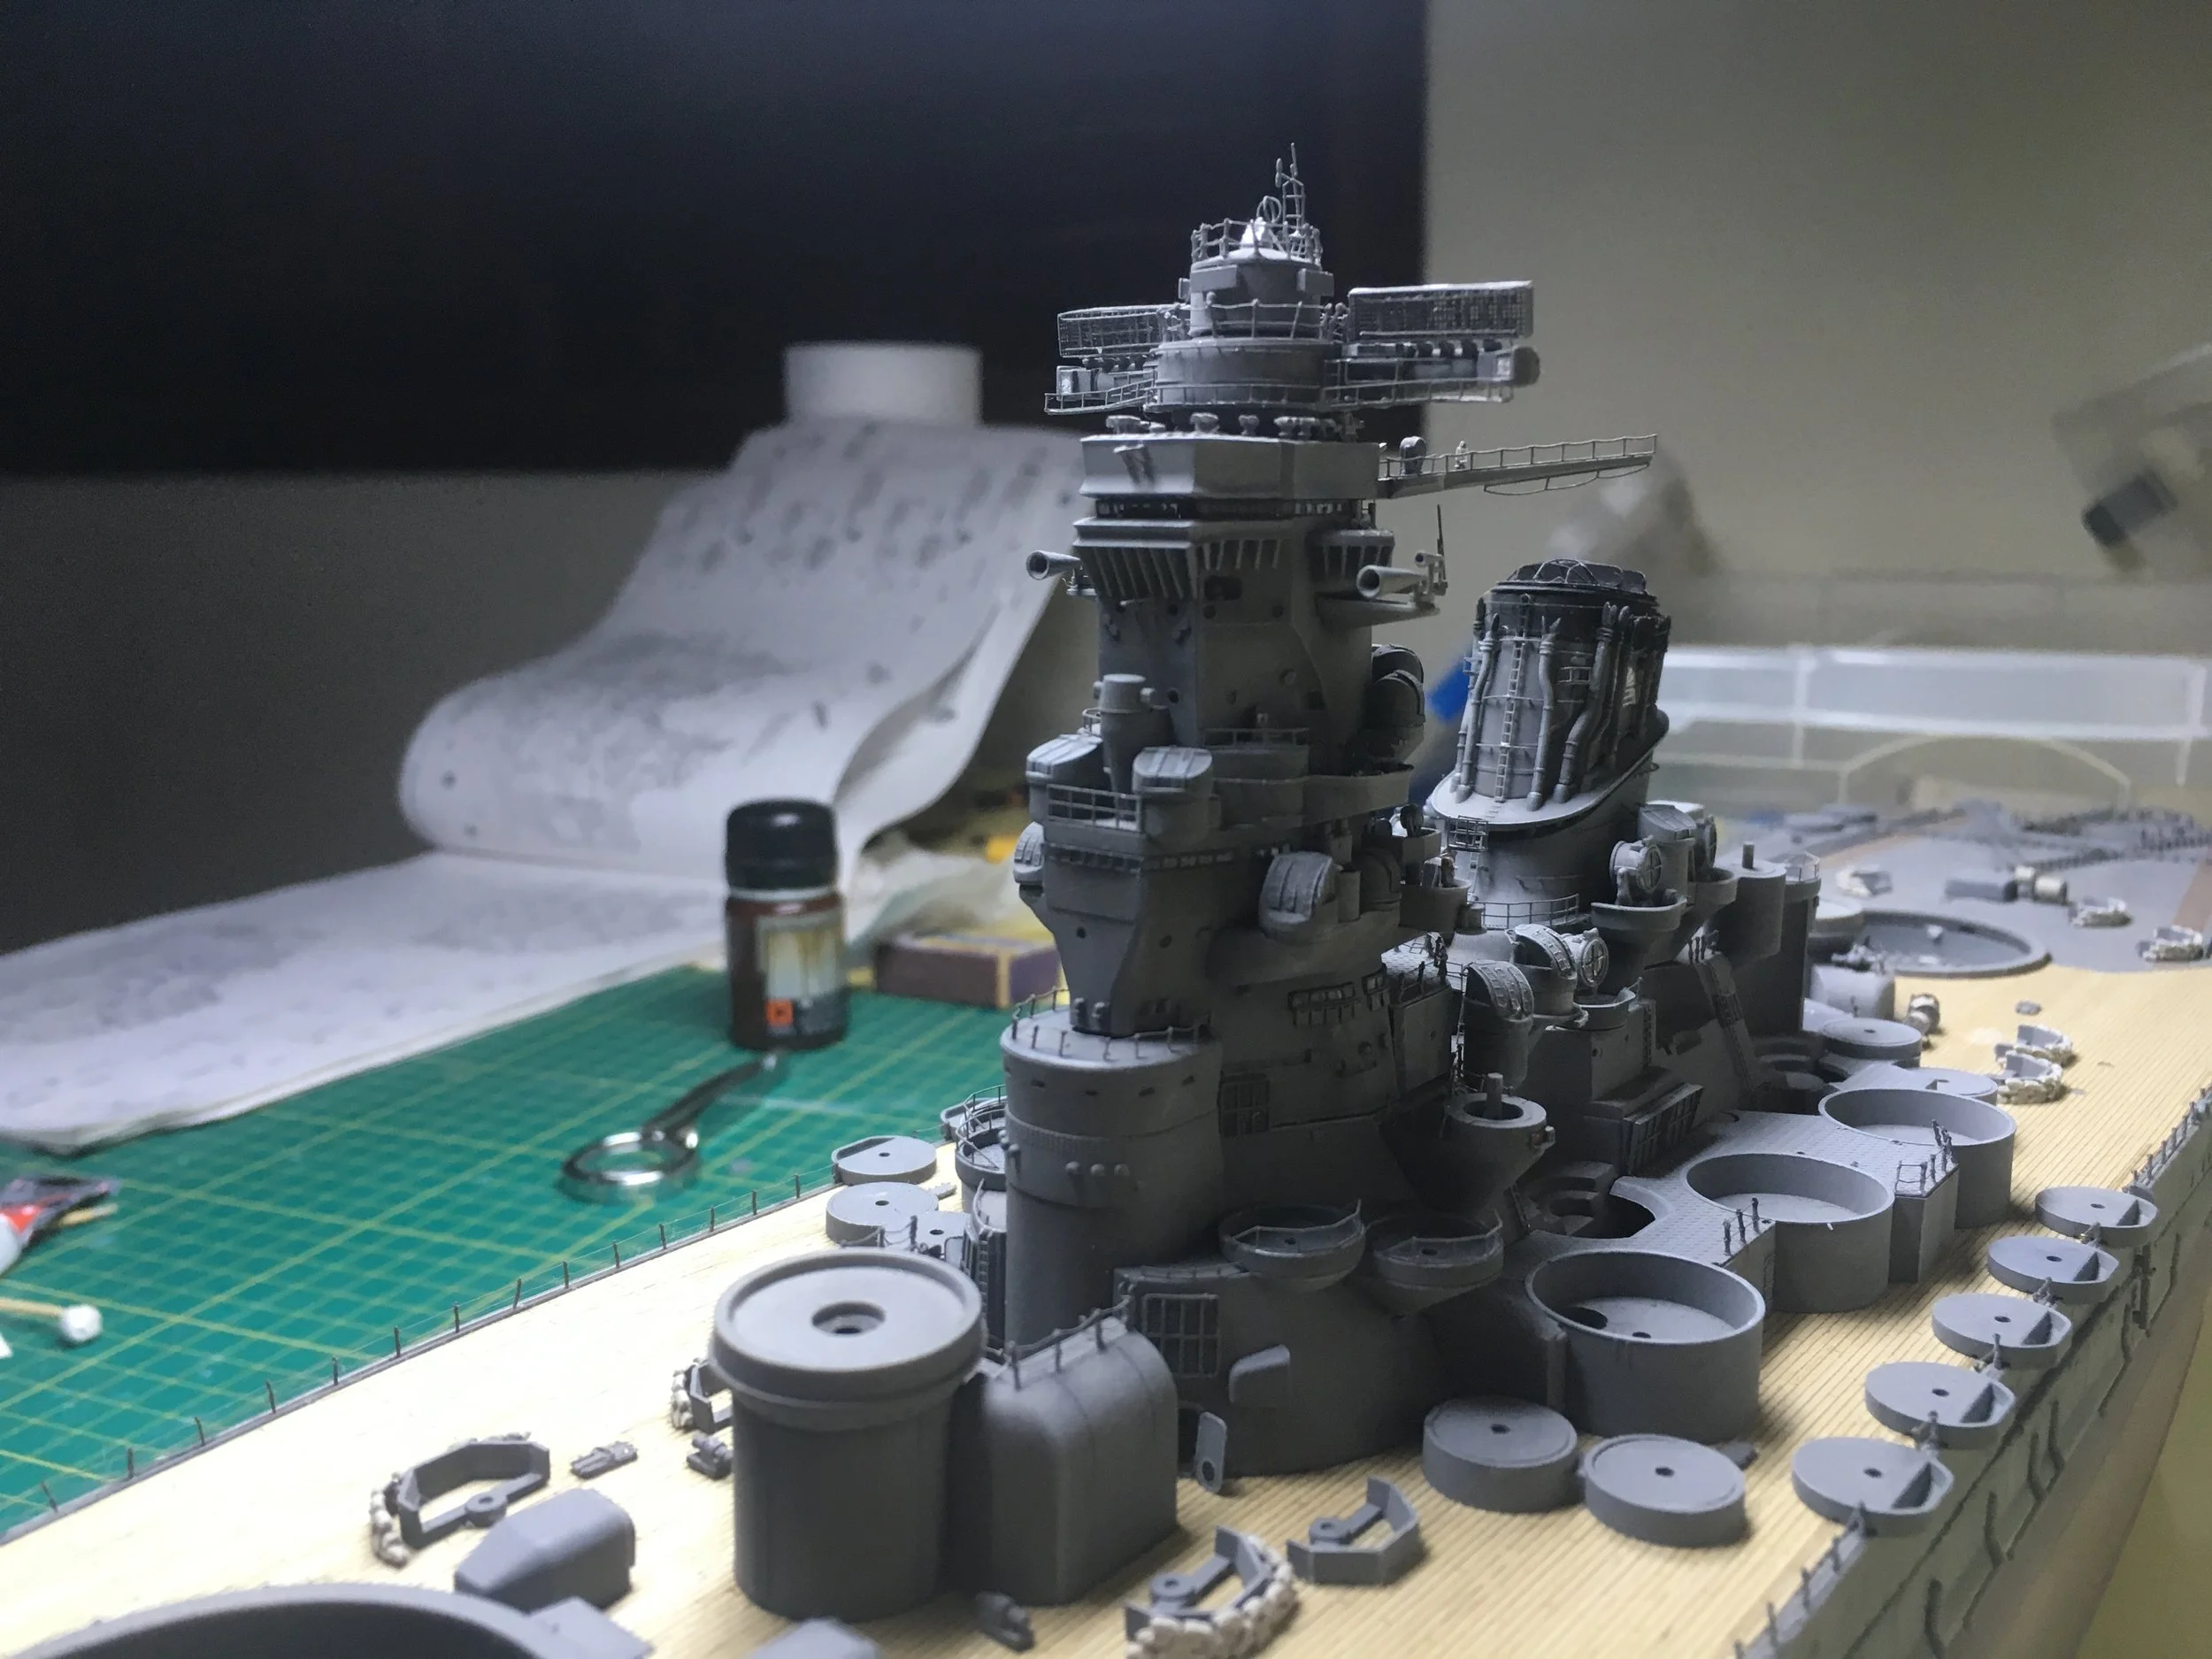
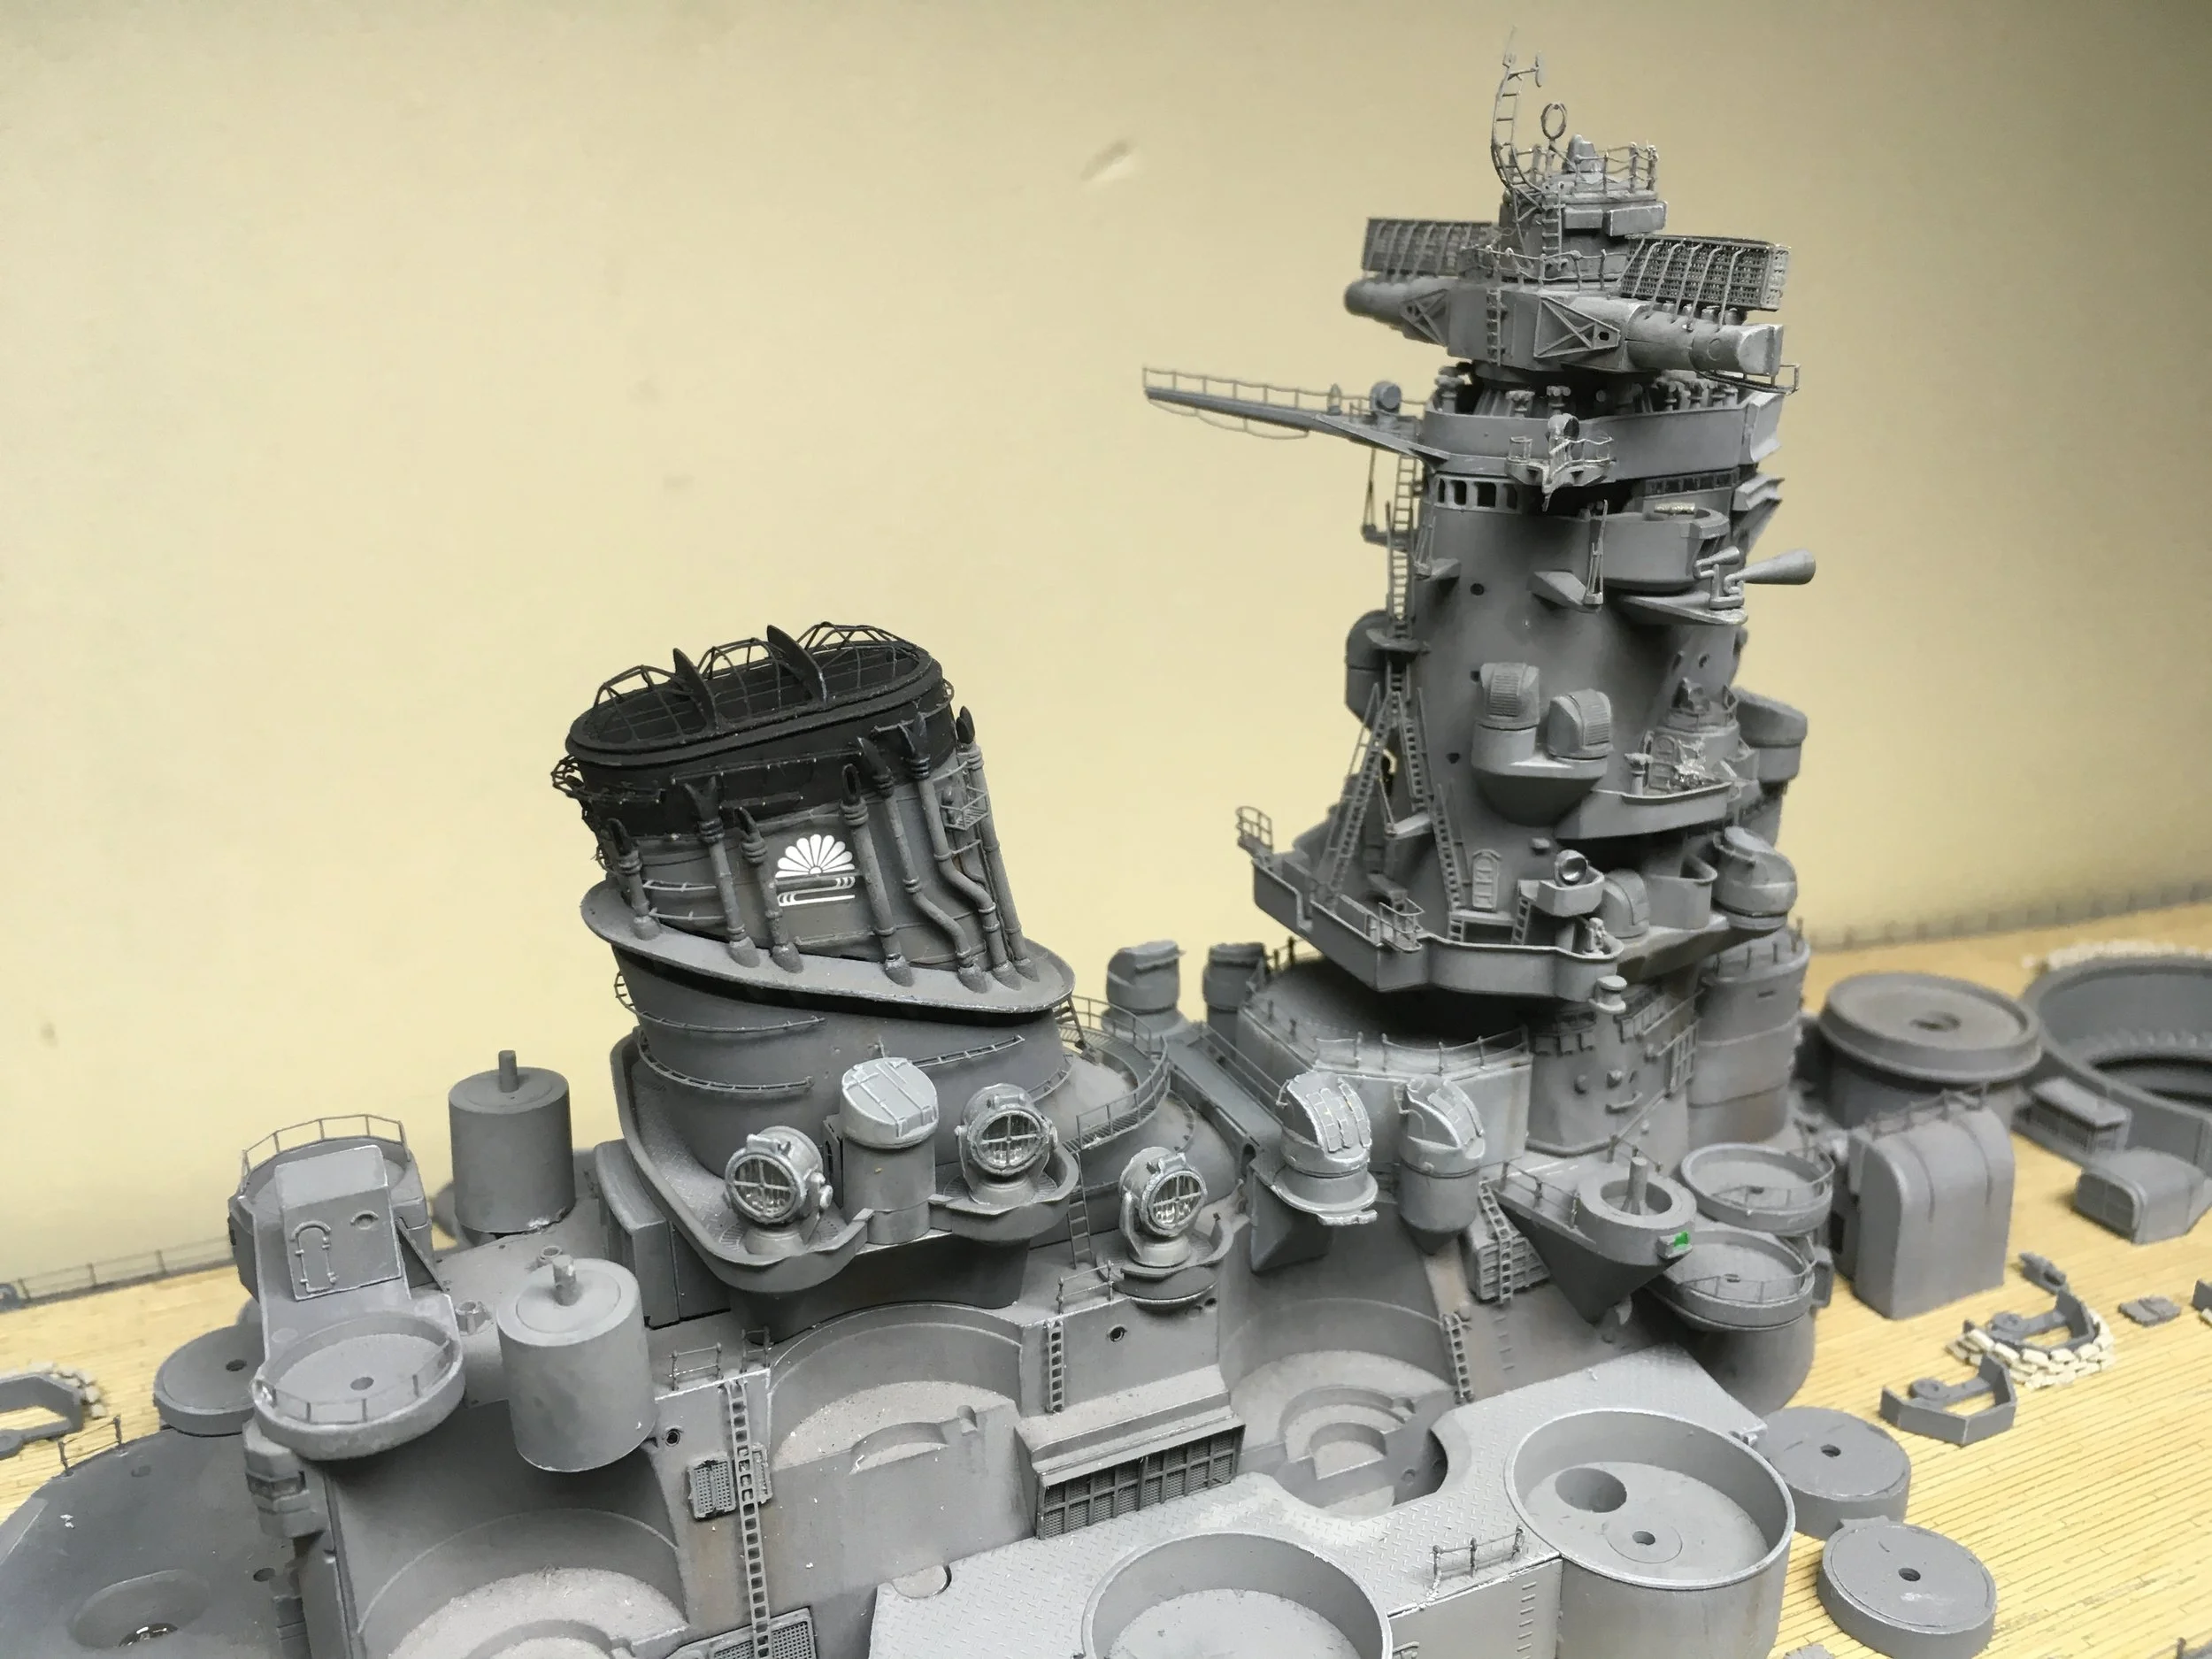
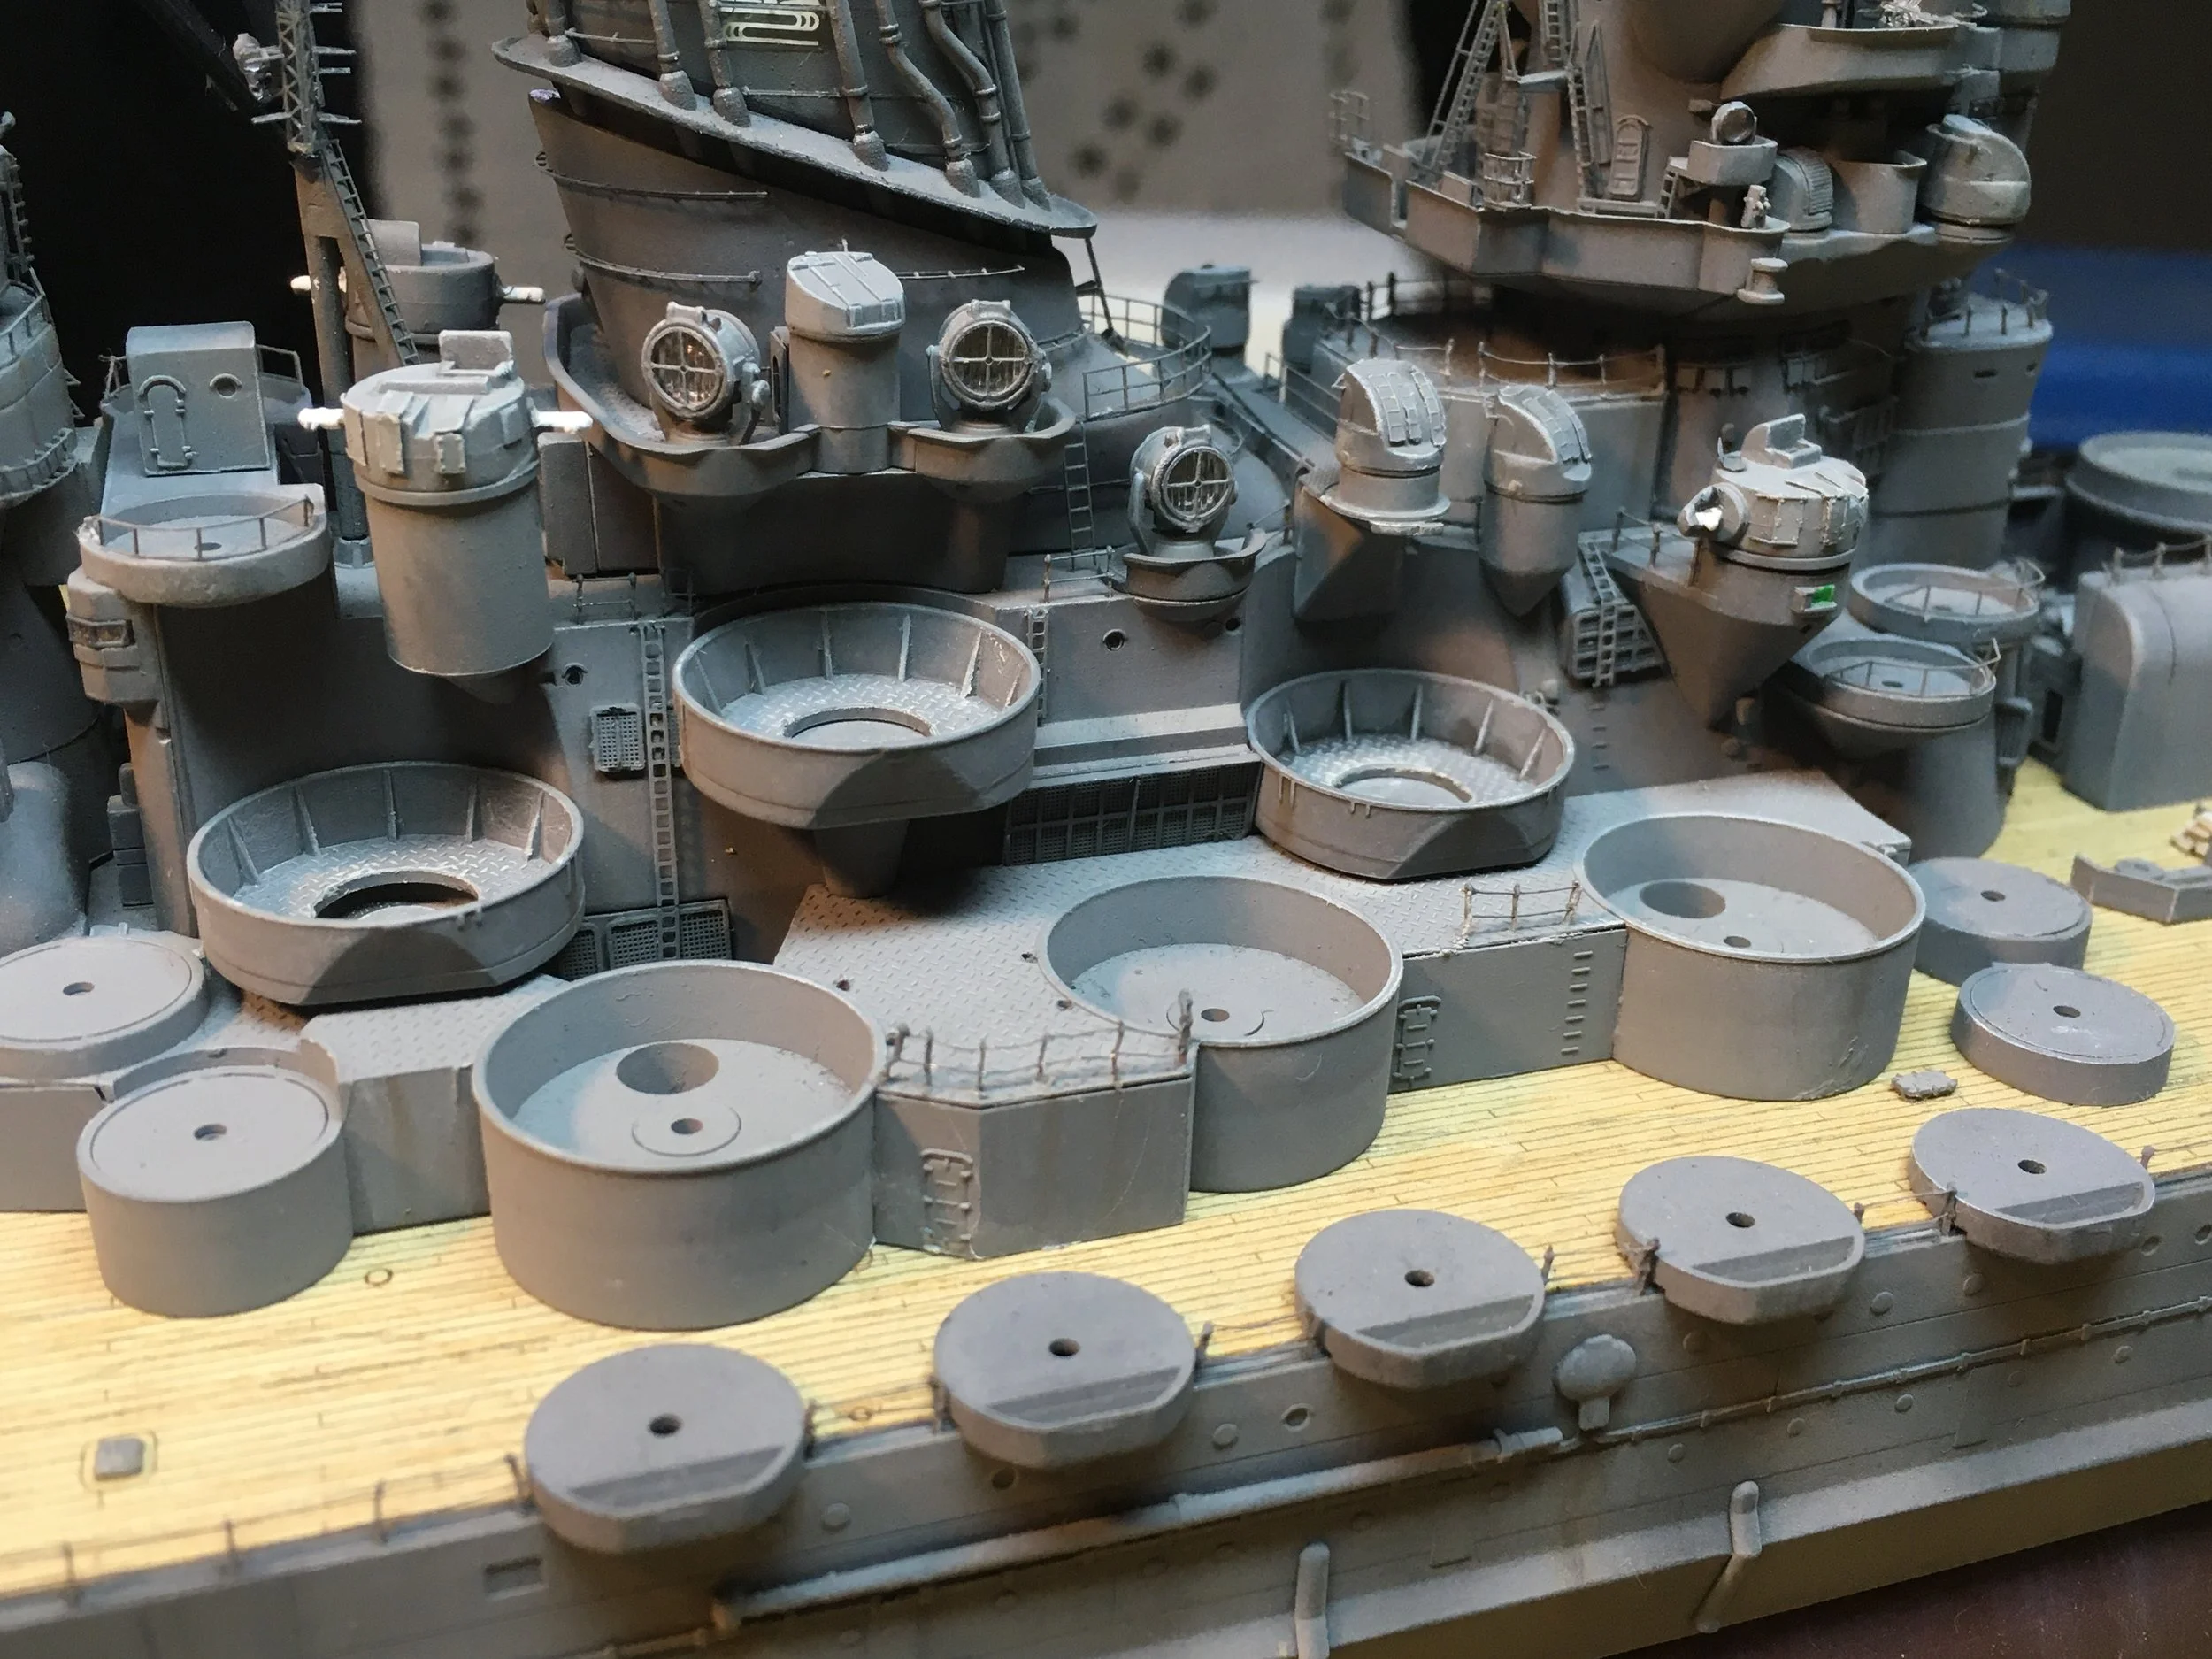
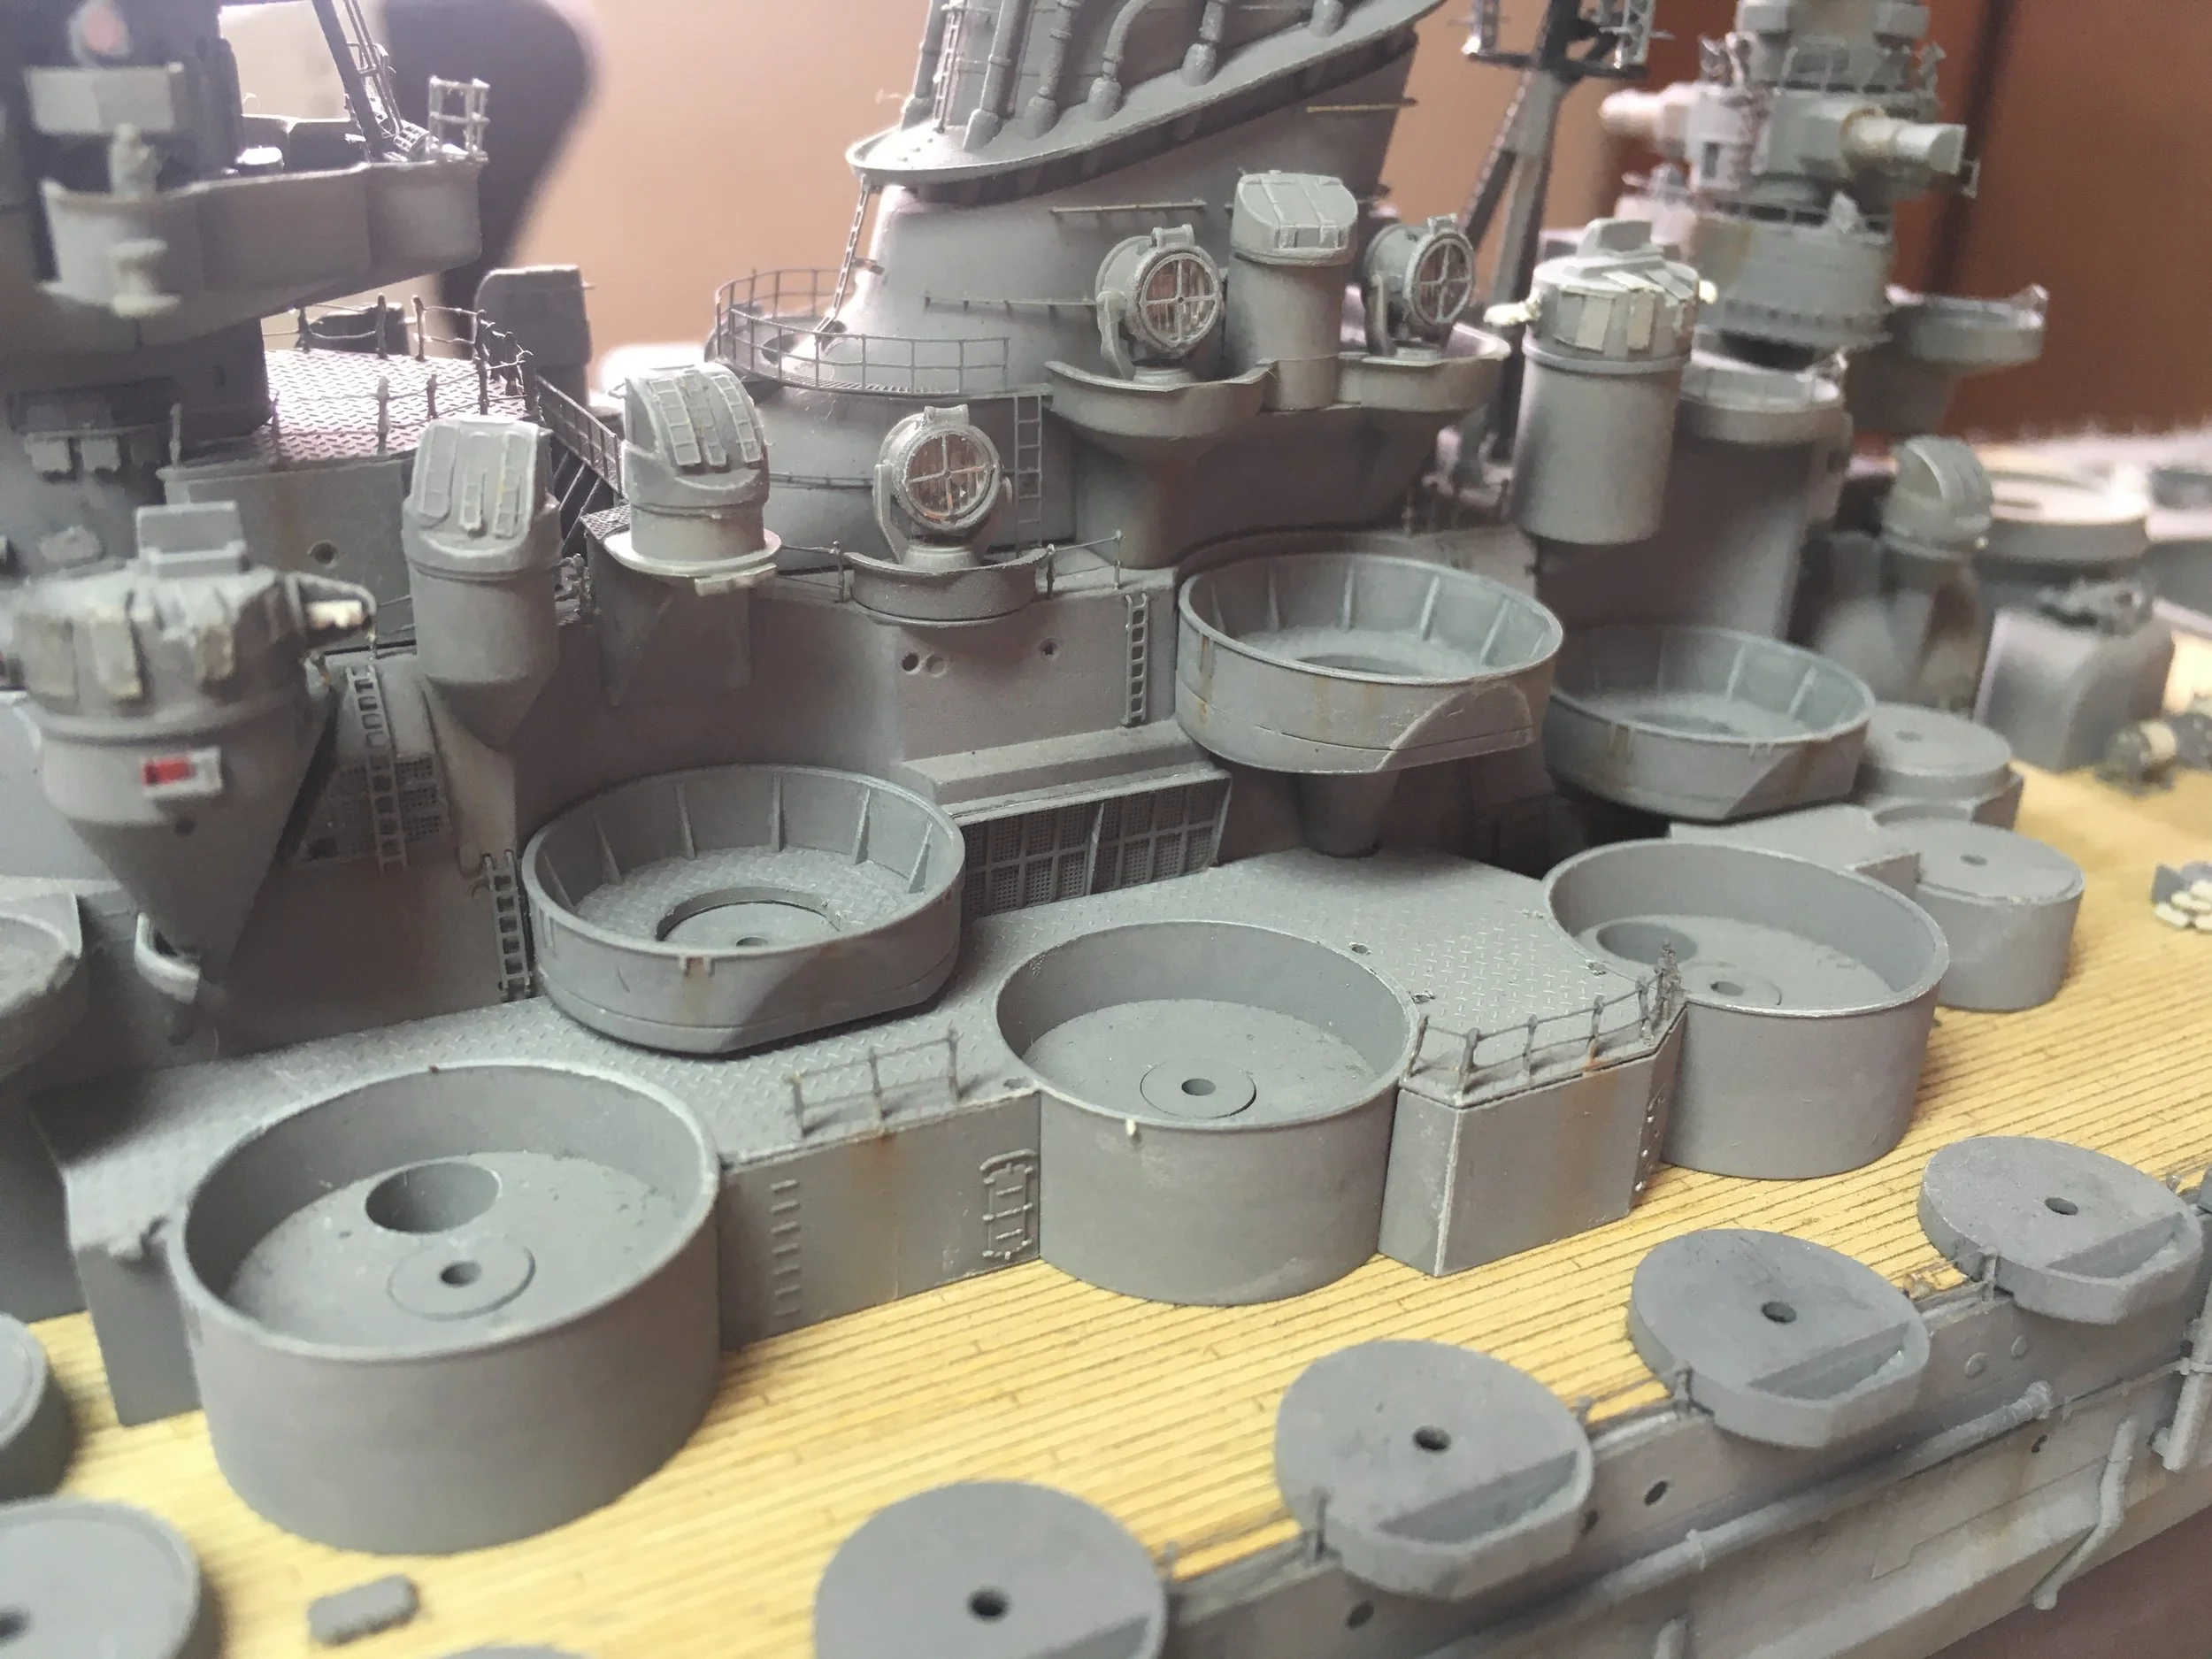
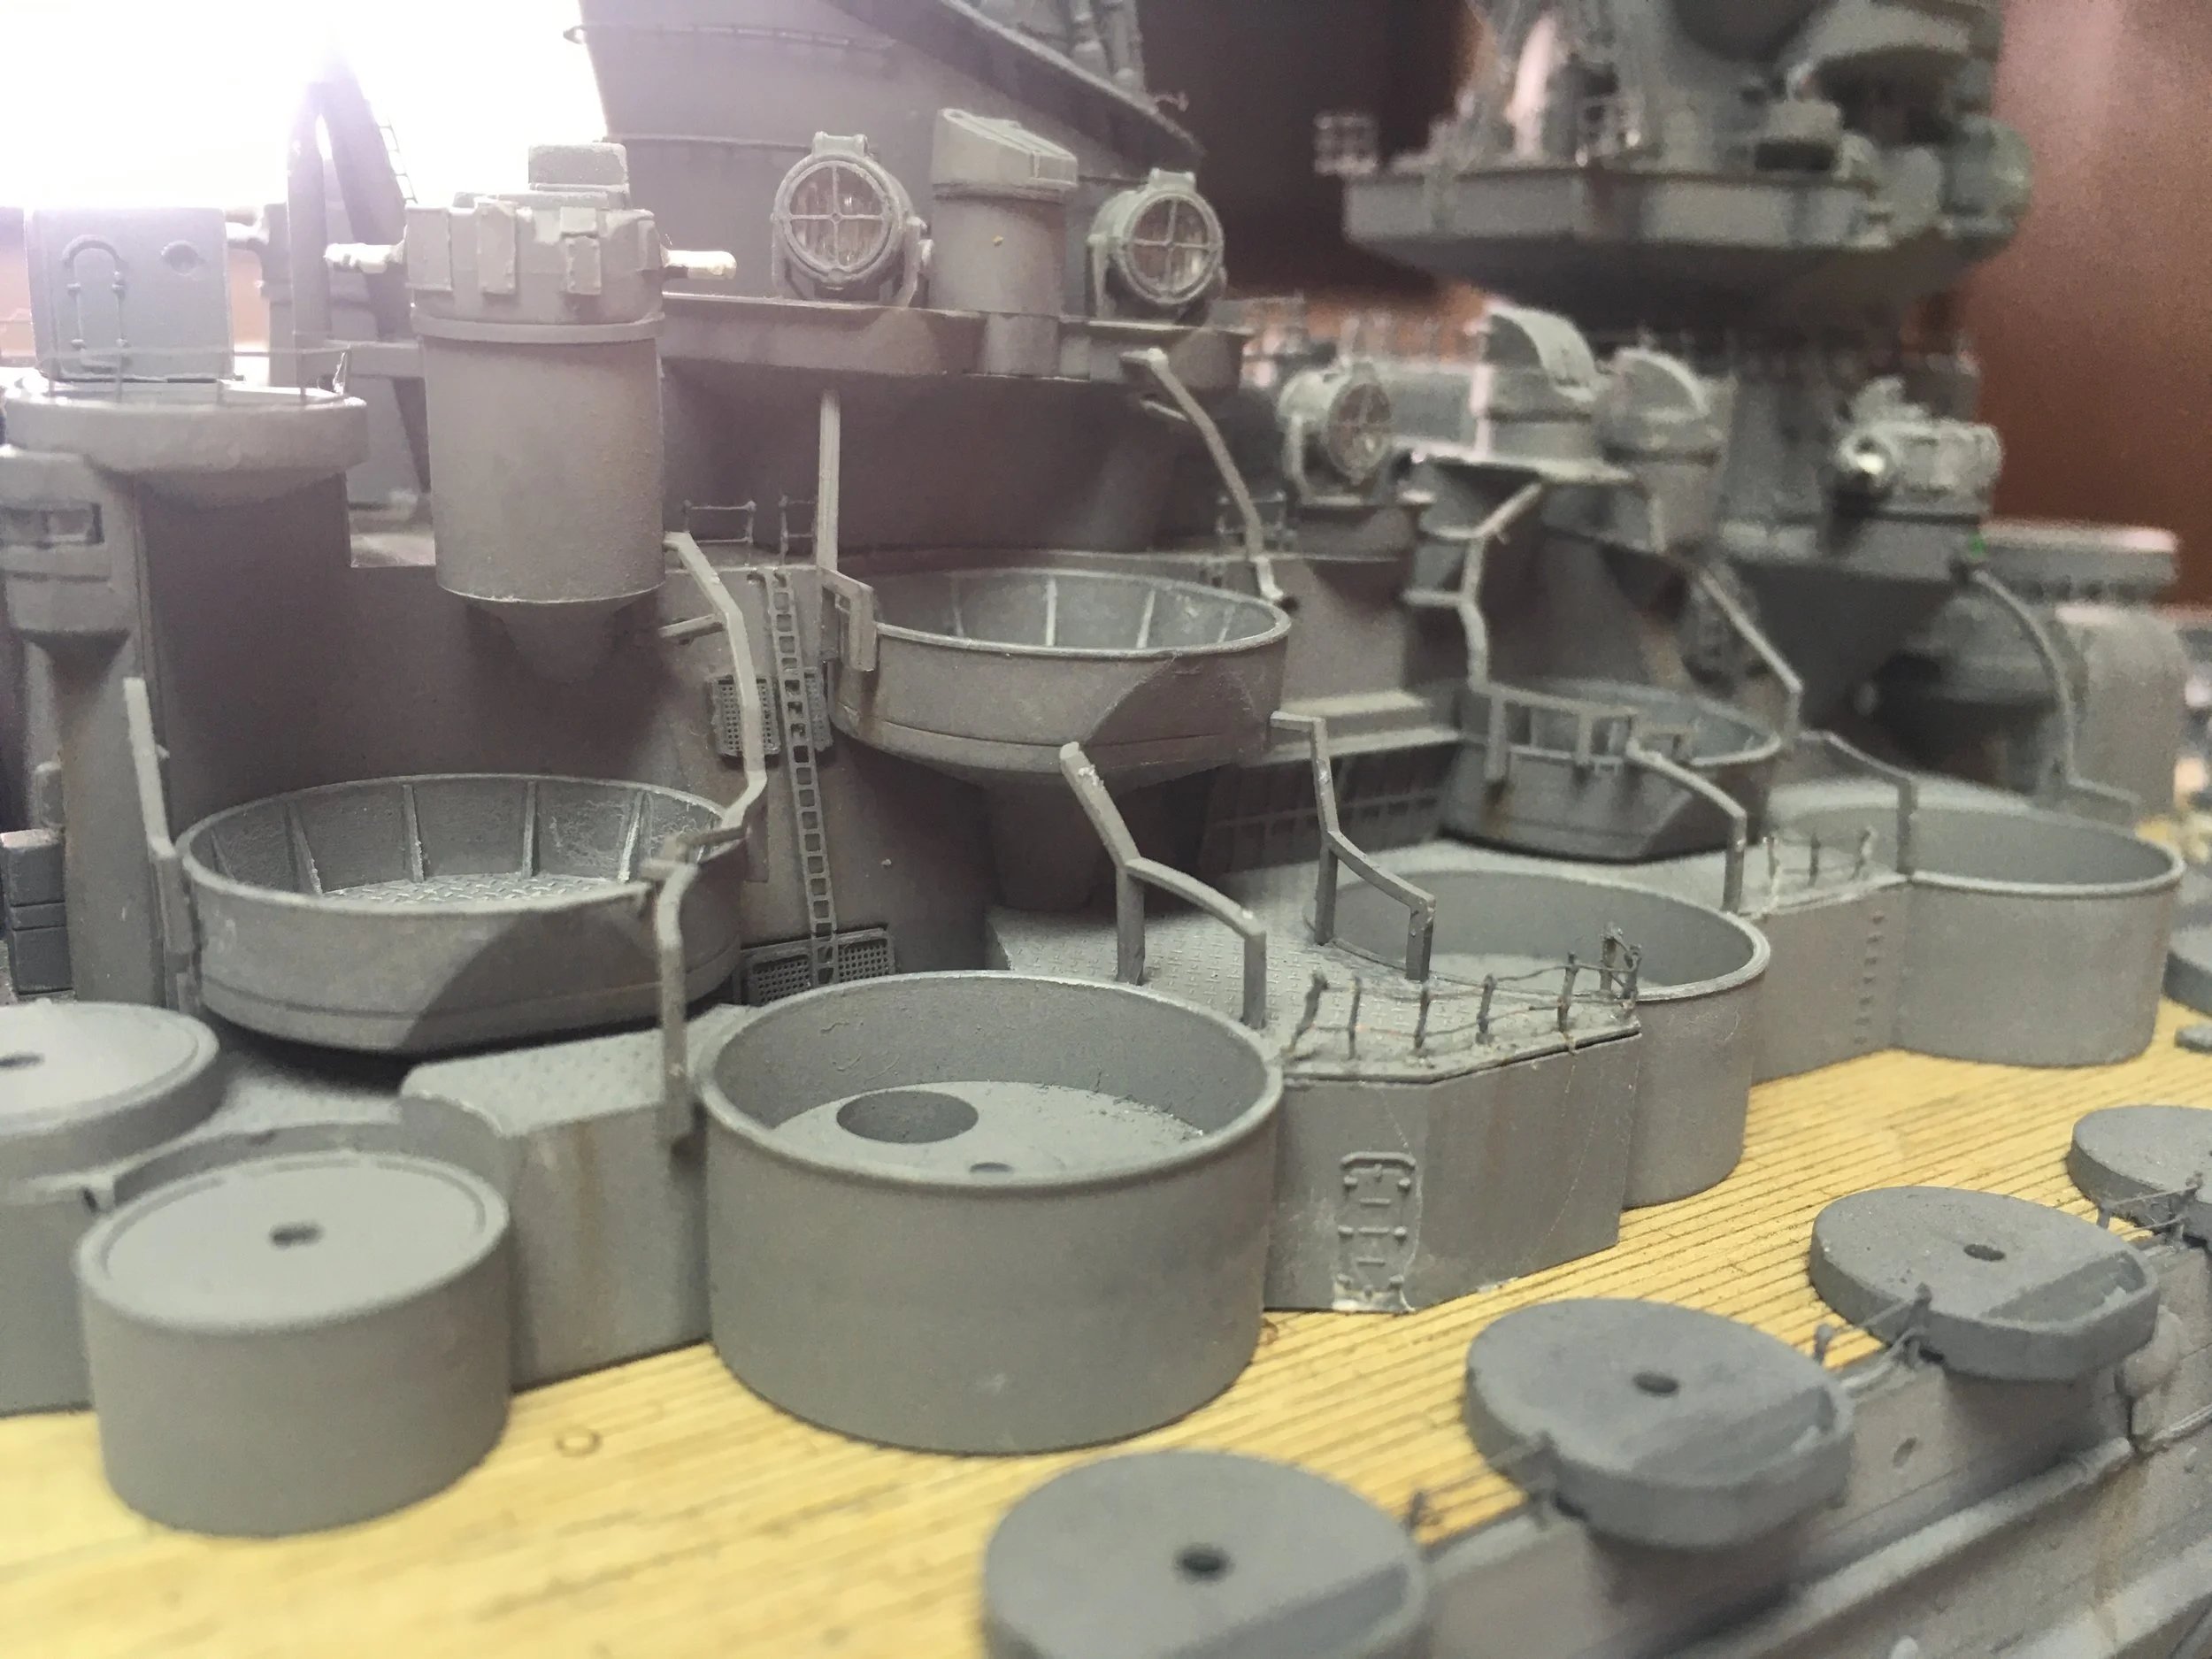
Main mast and rear rangefinder:
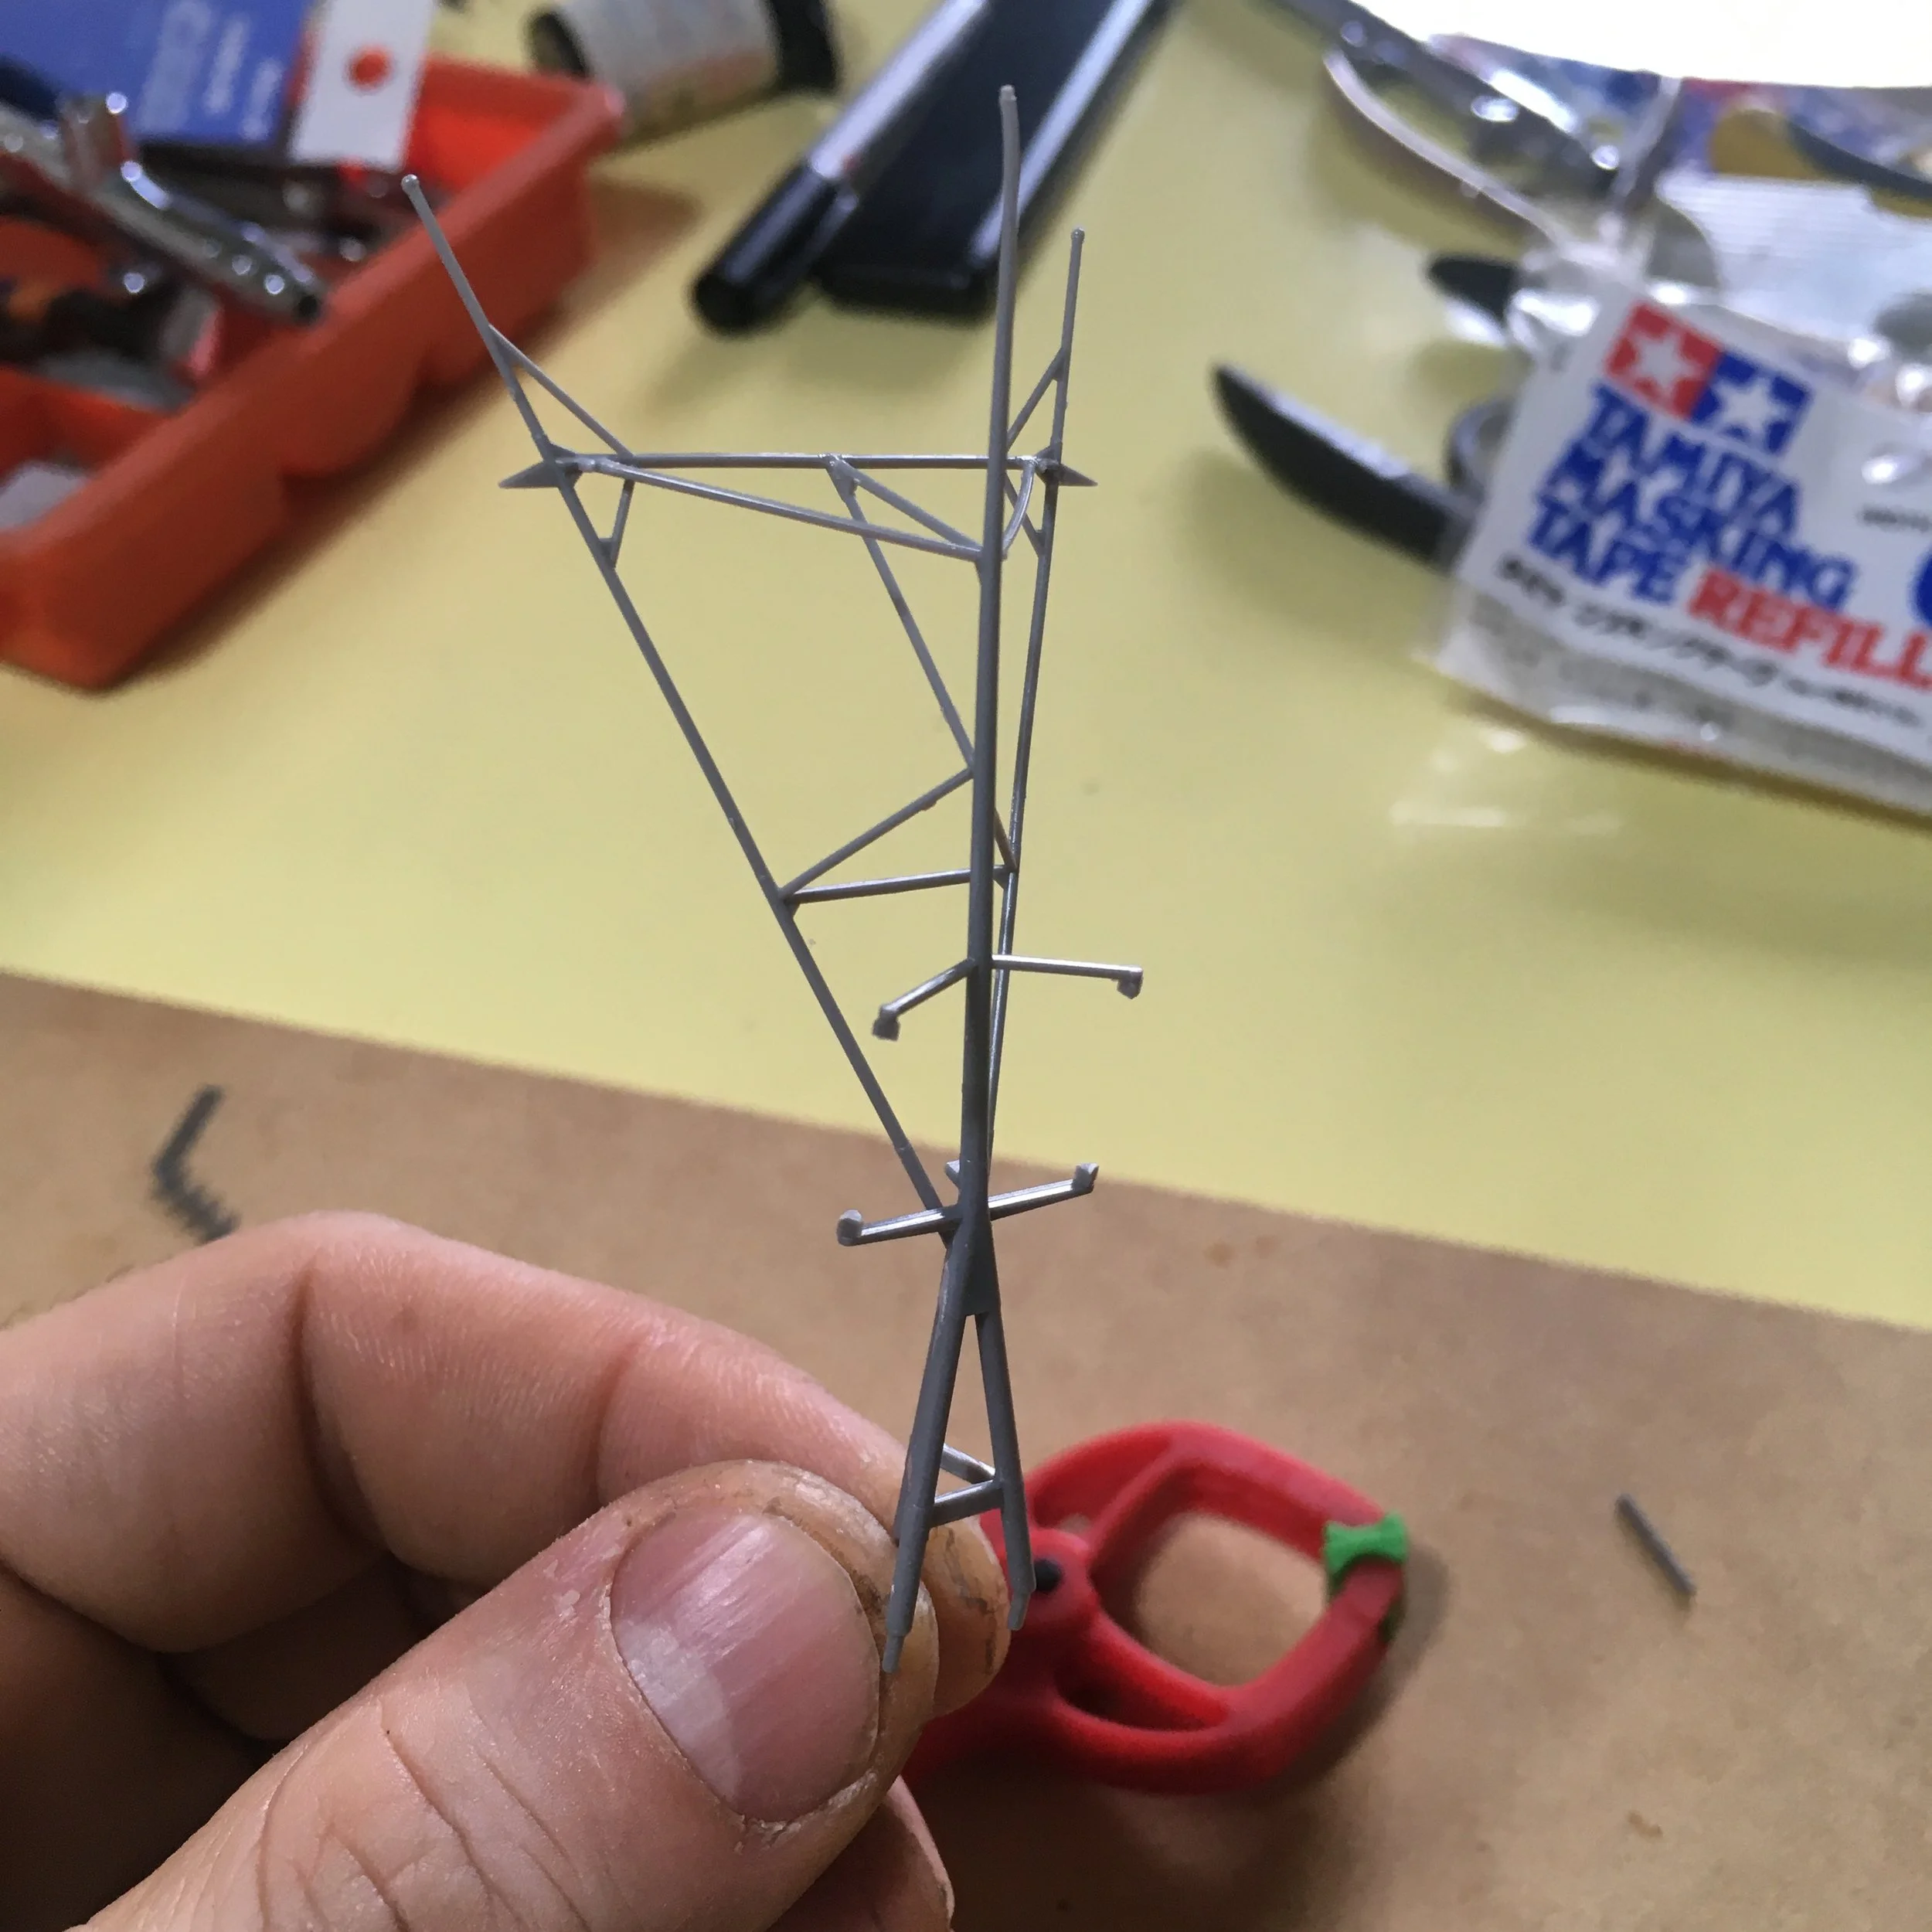
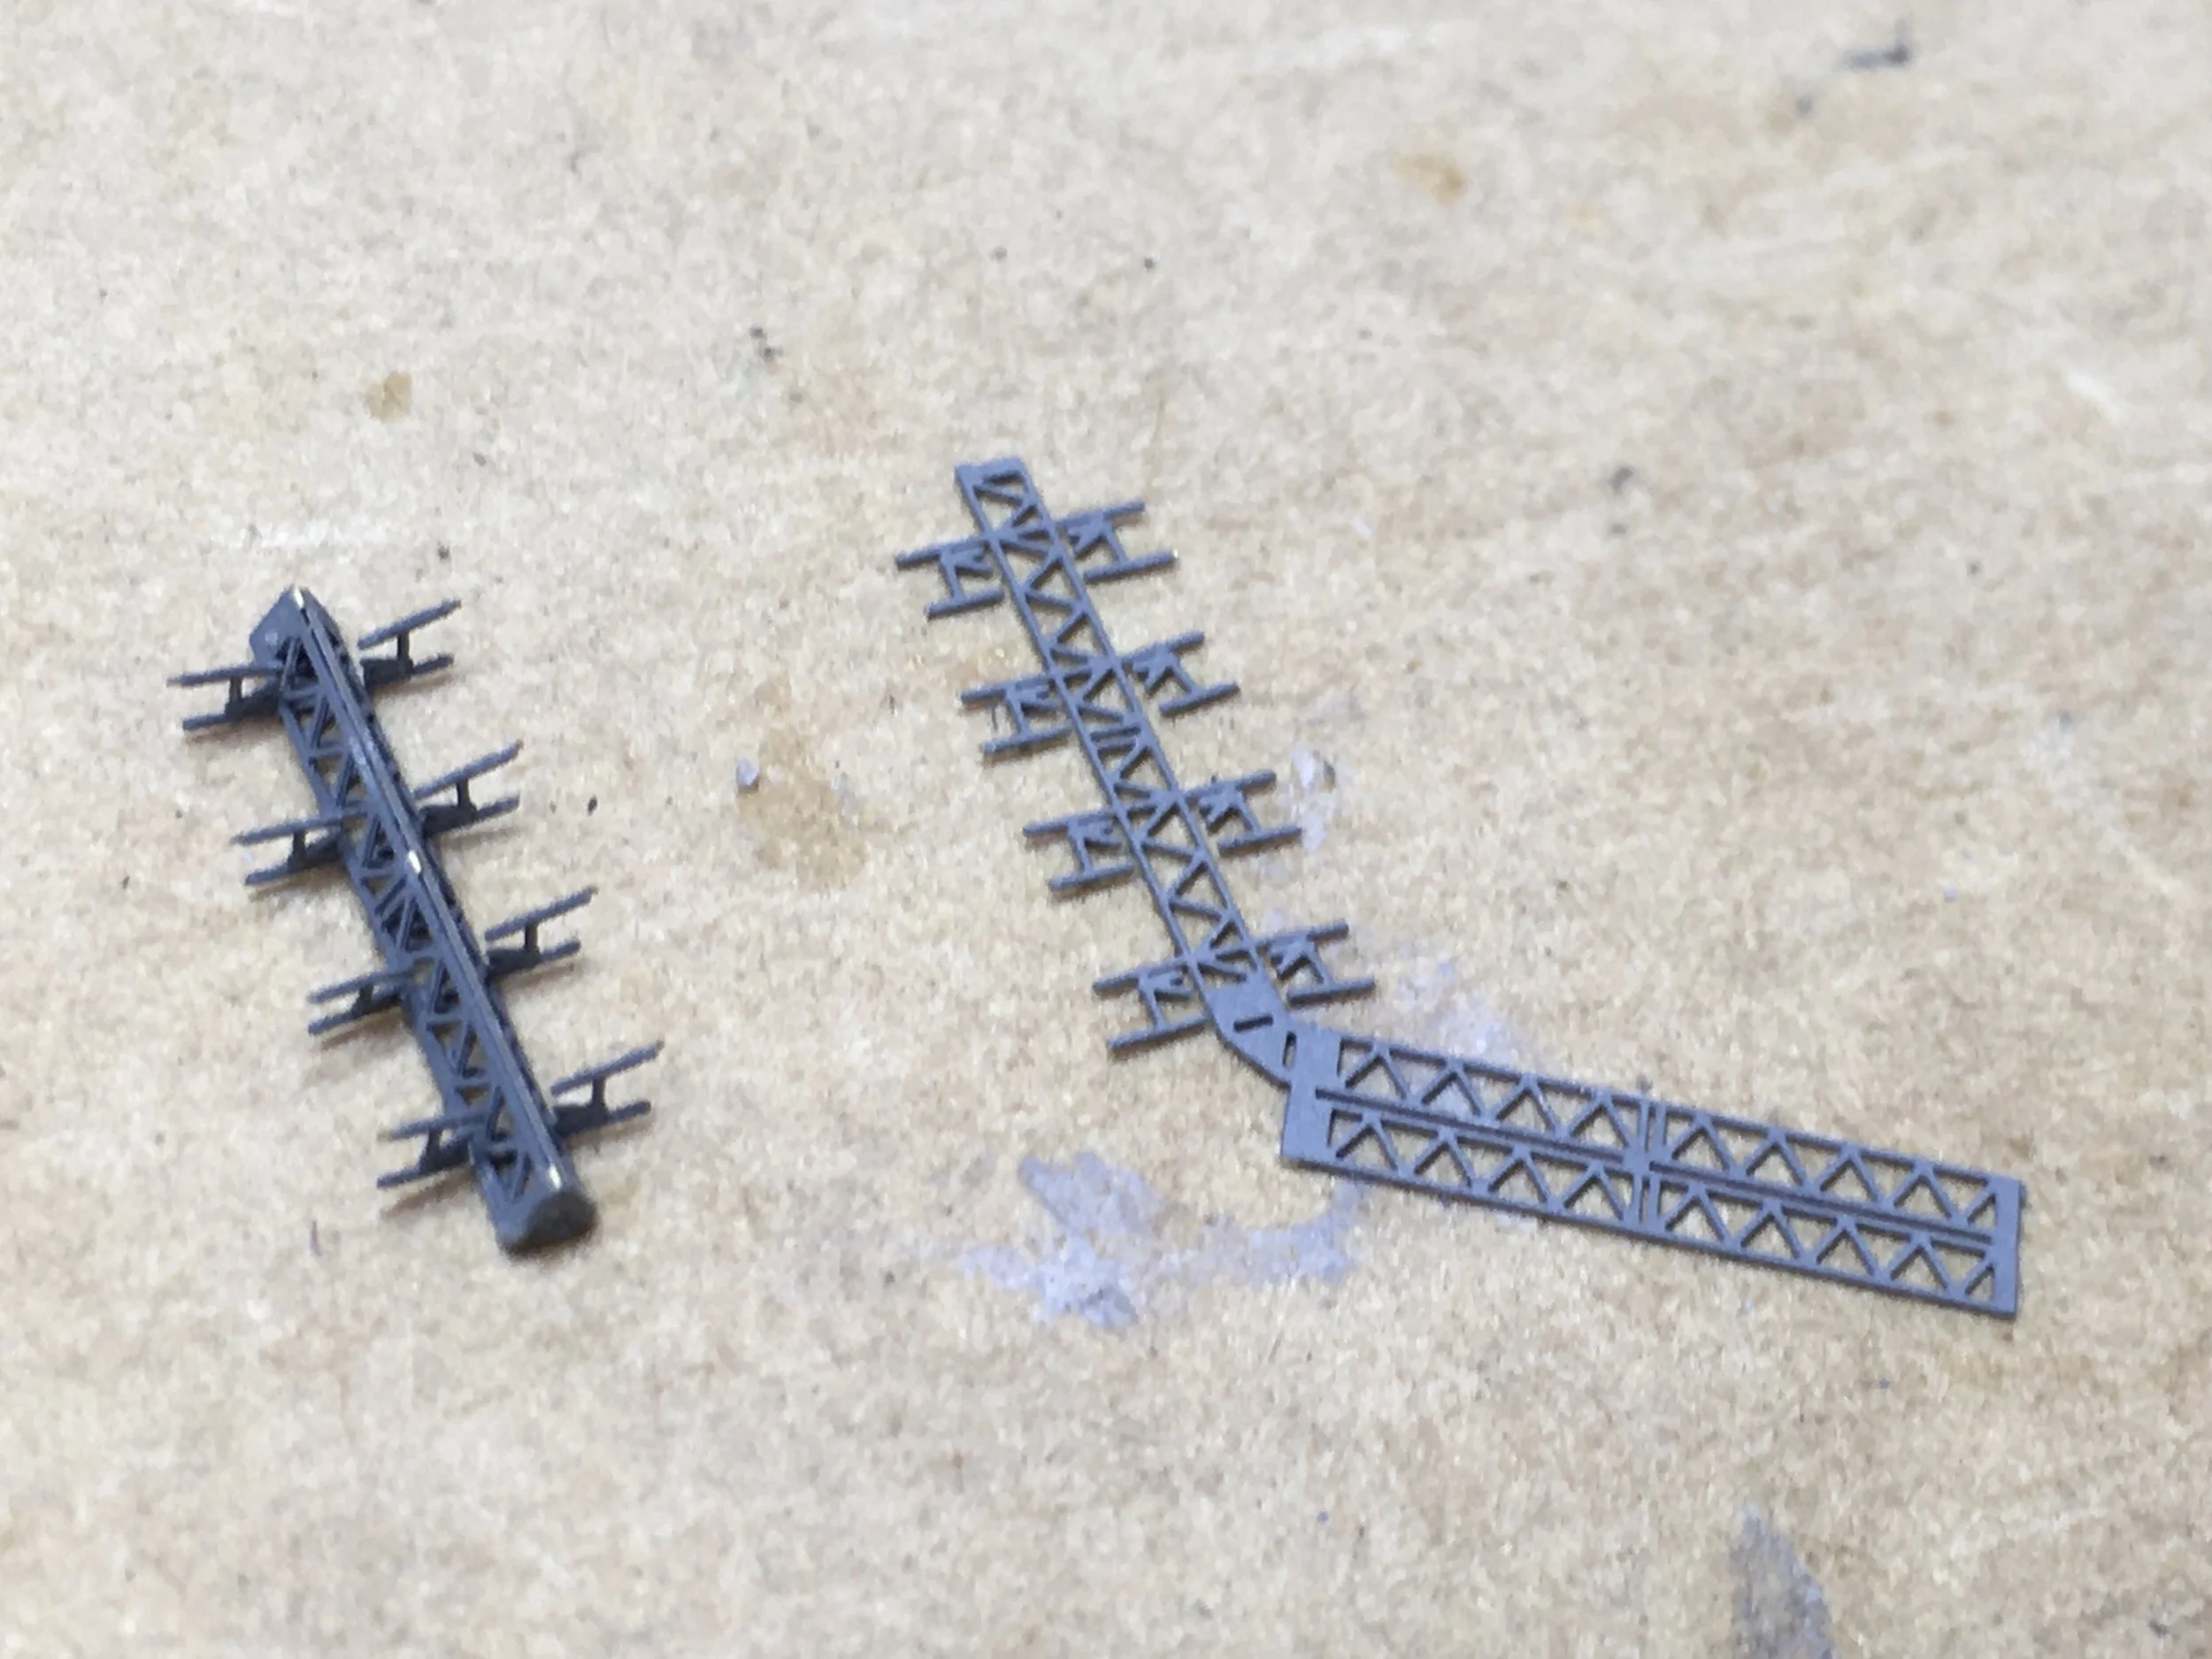
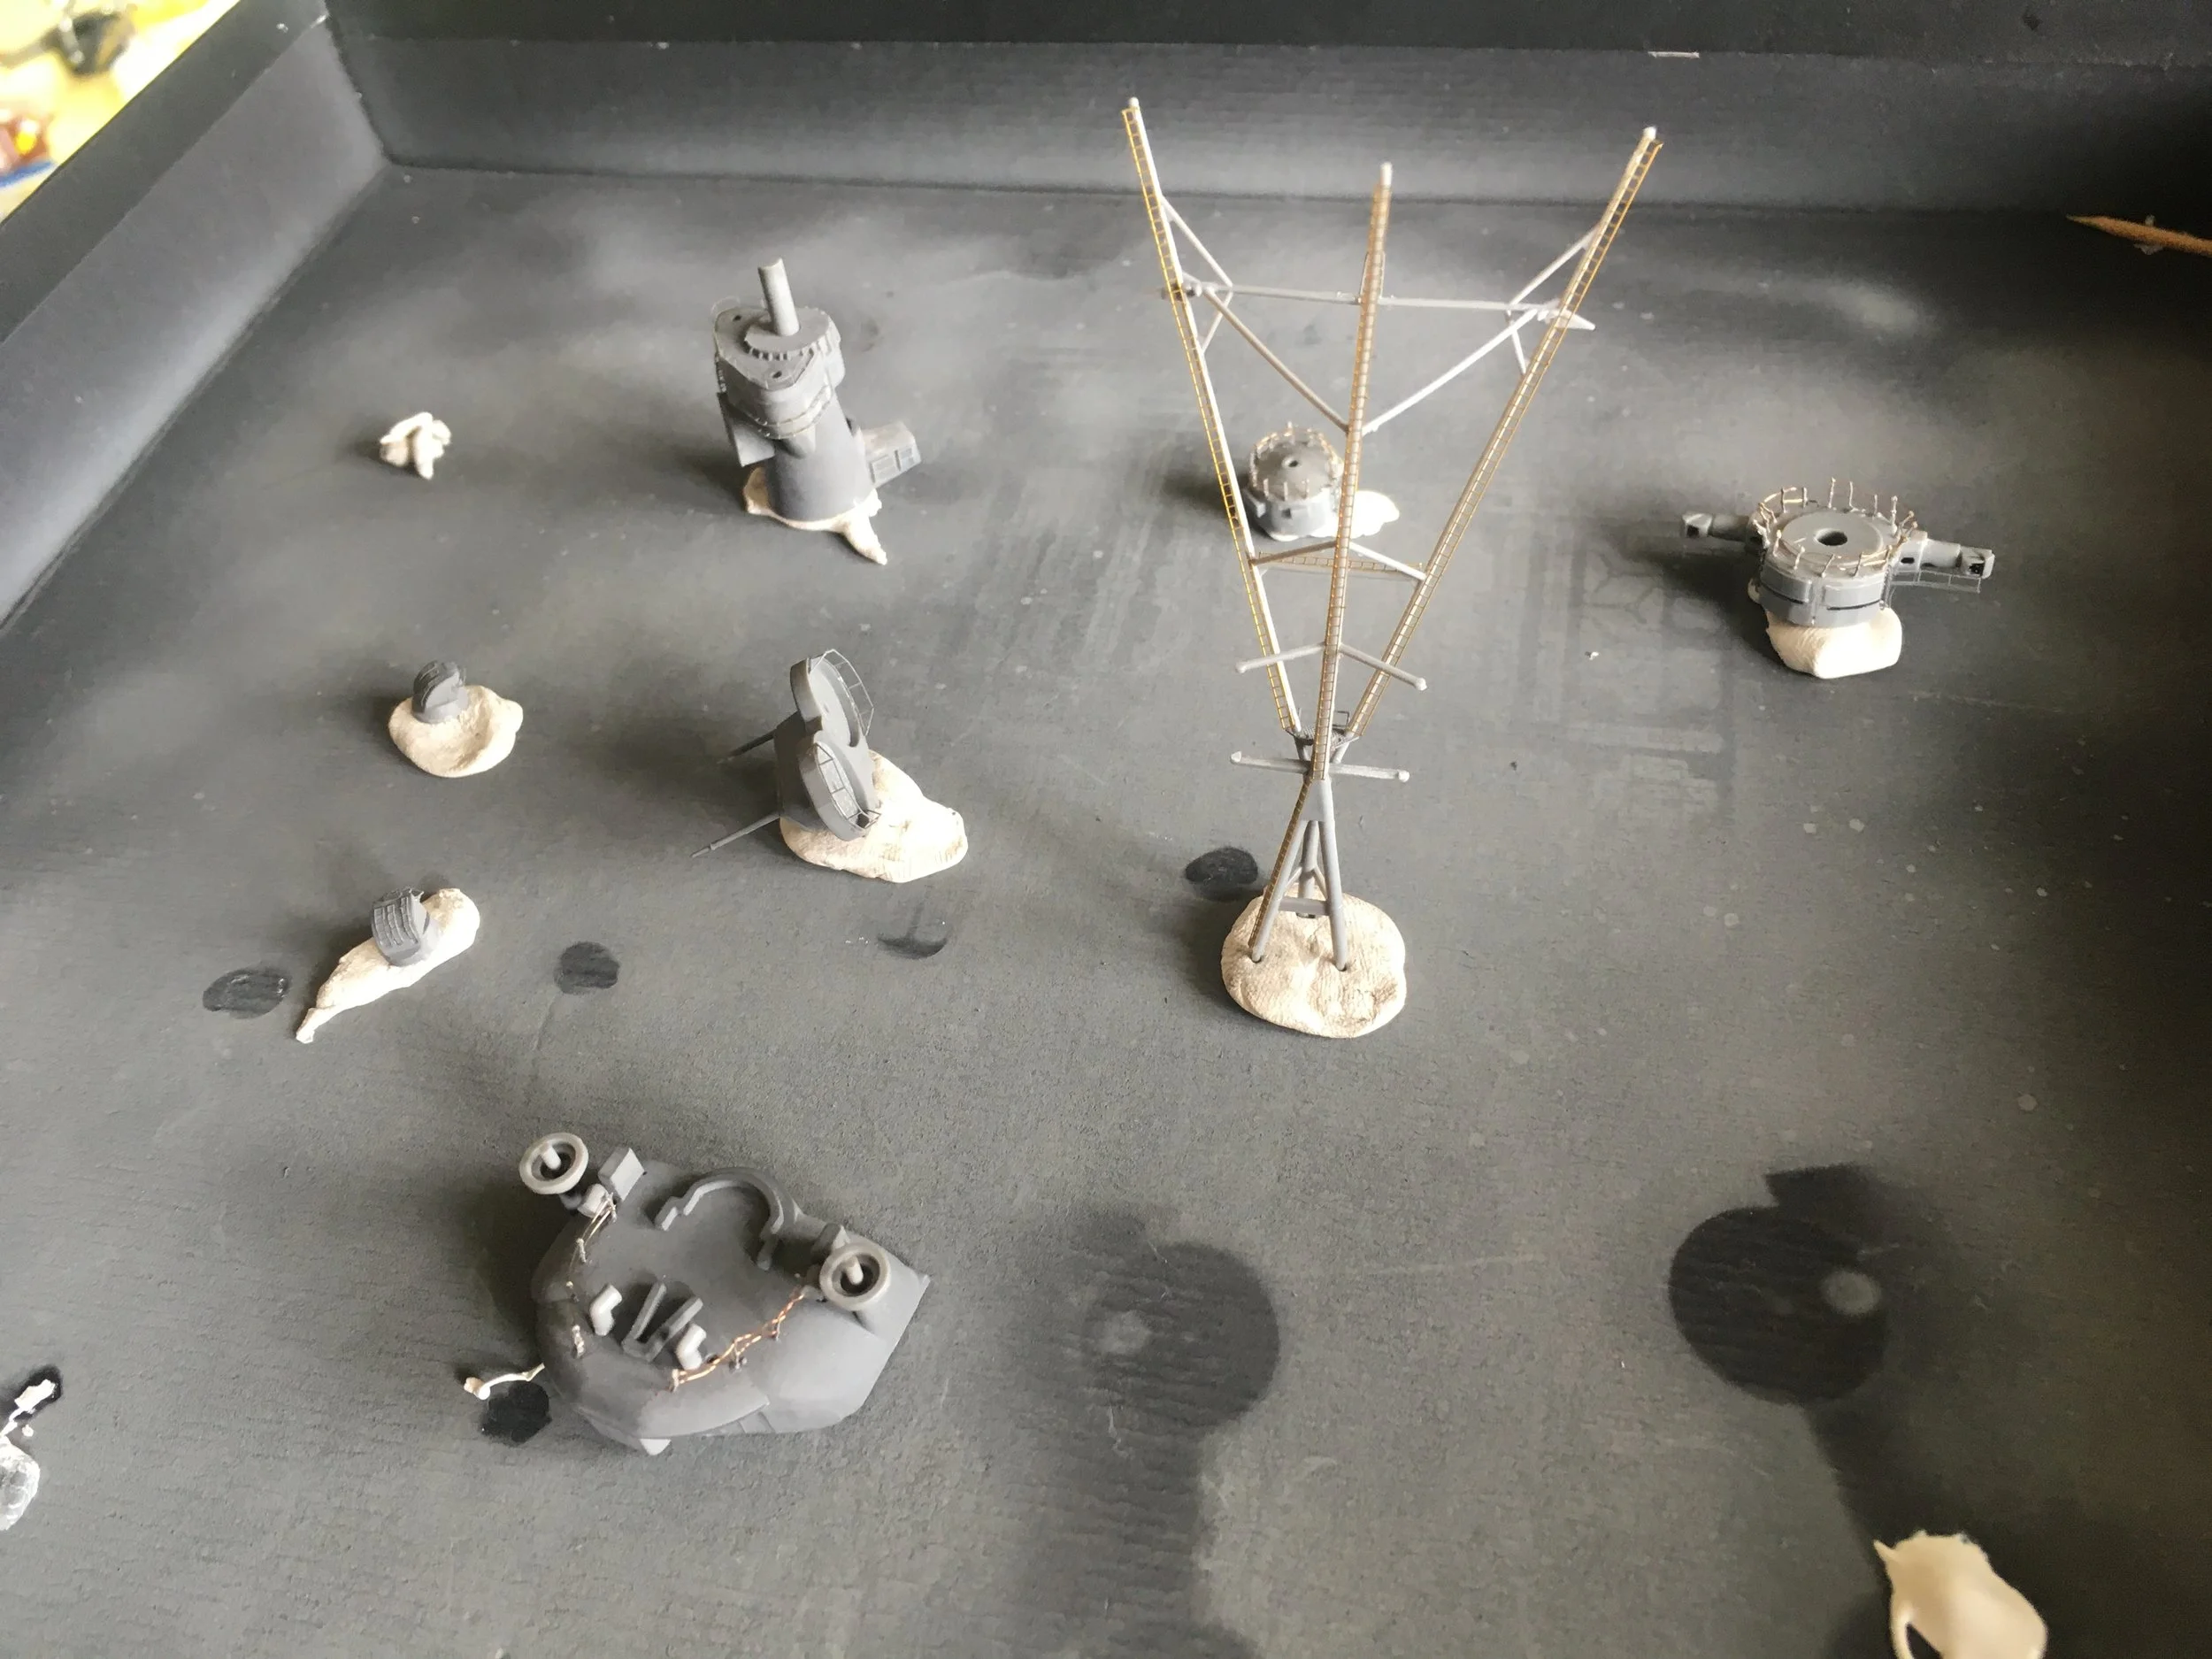
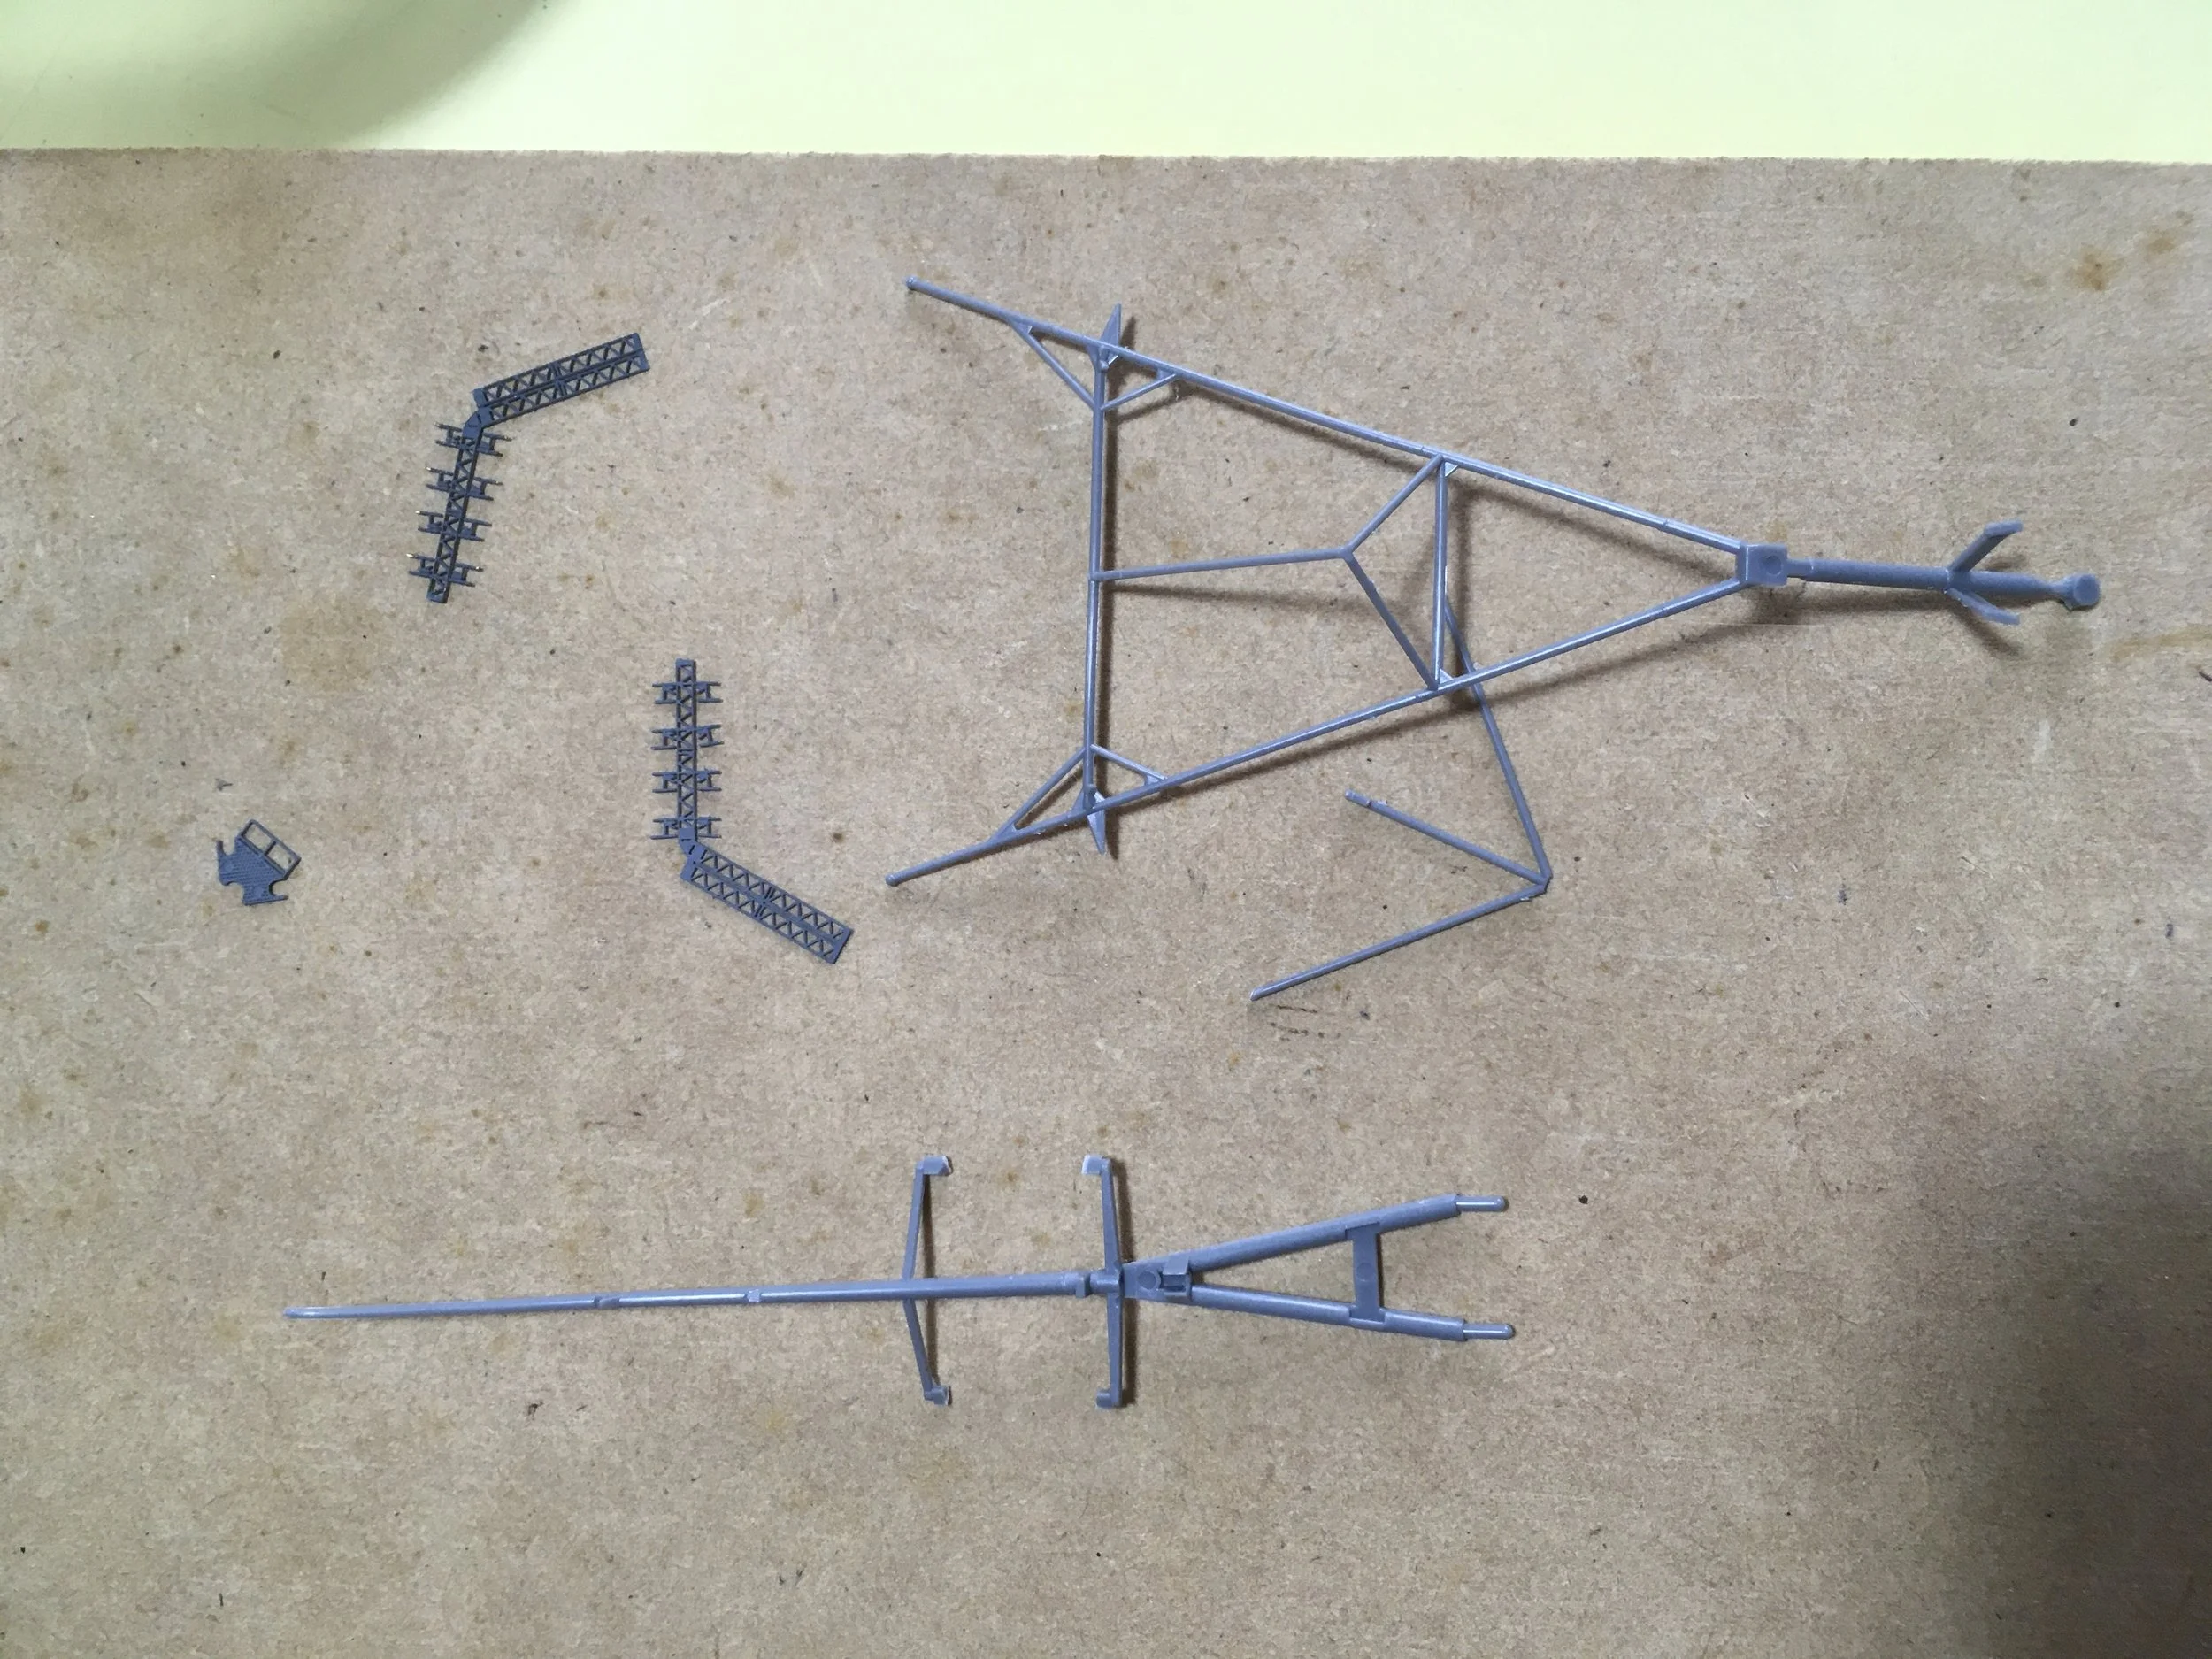
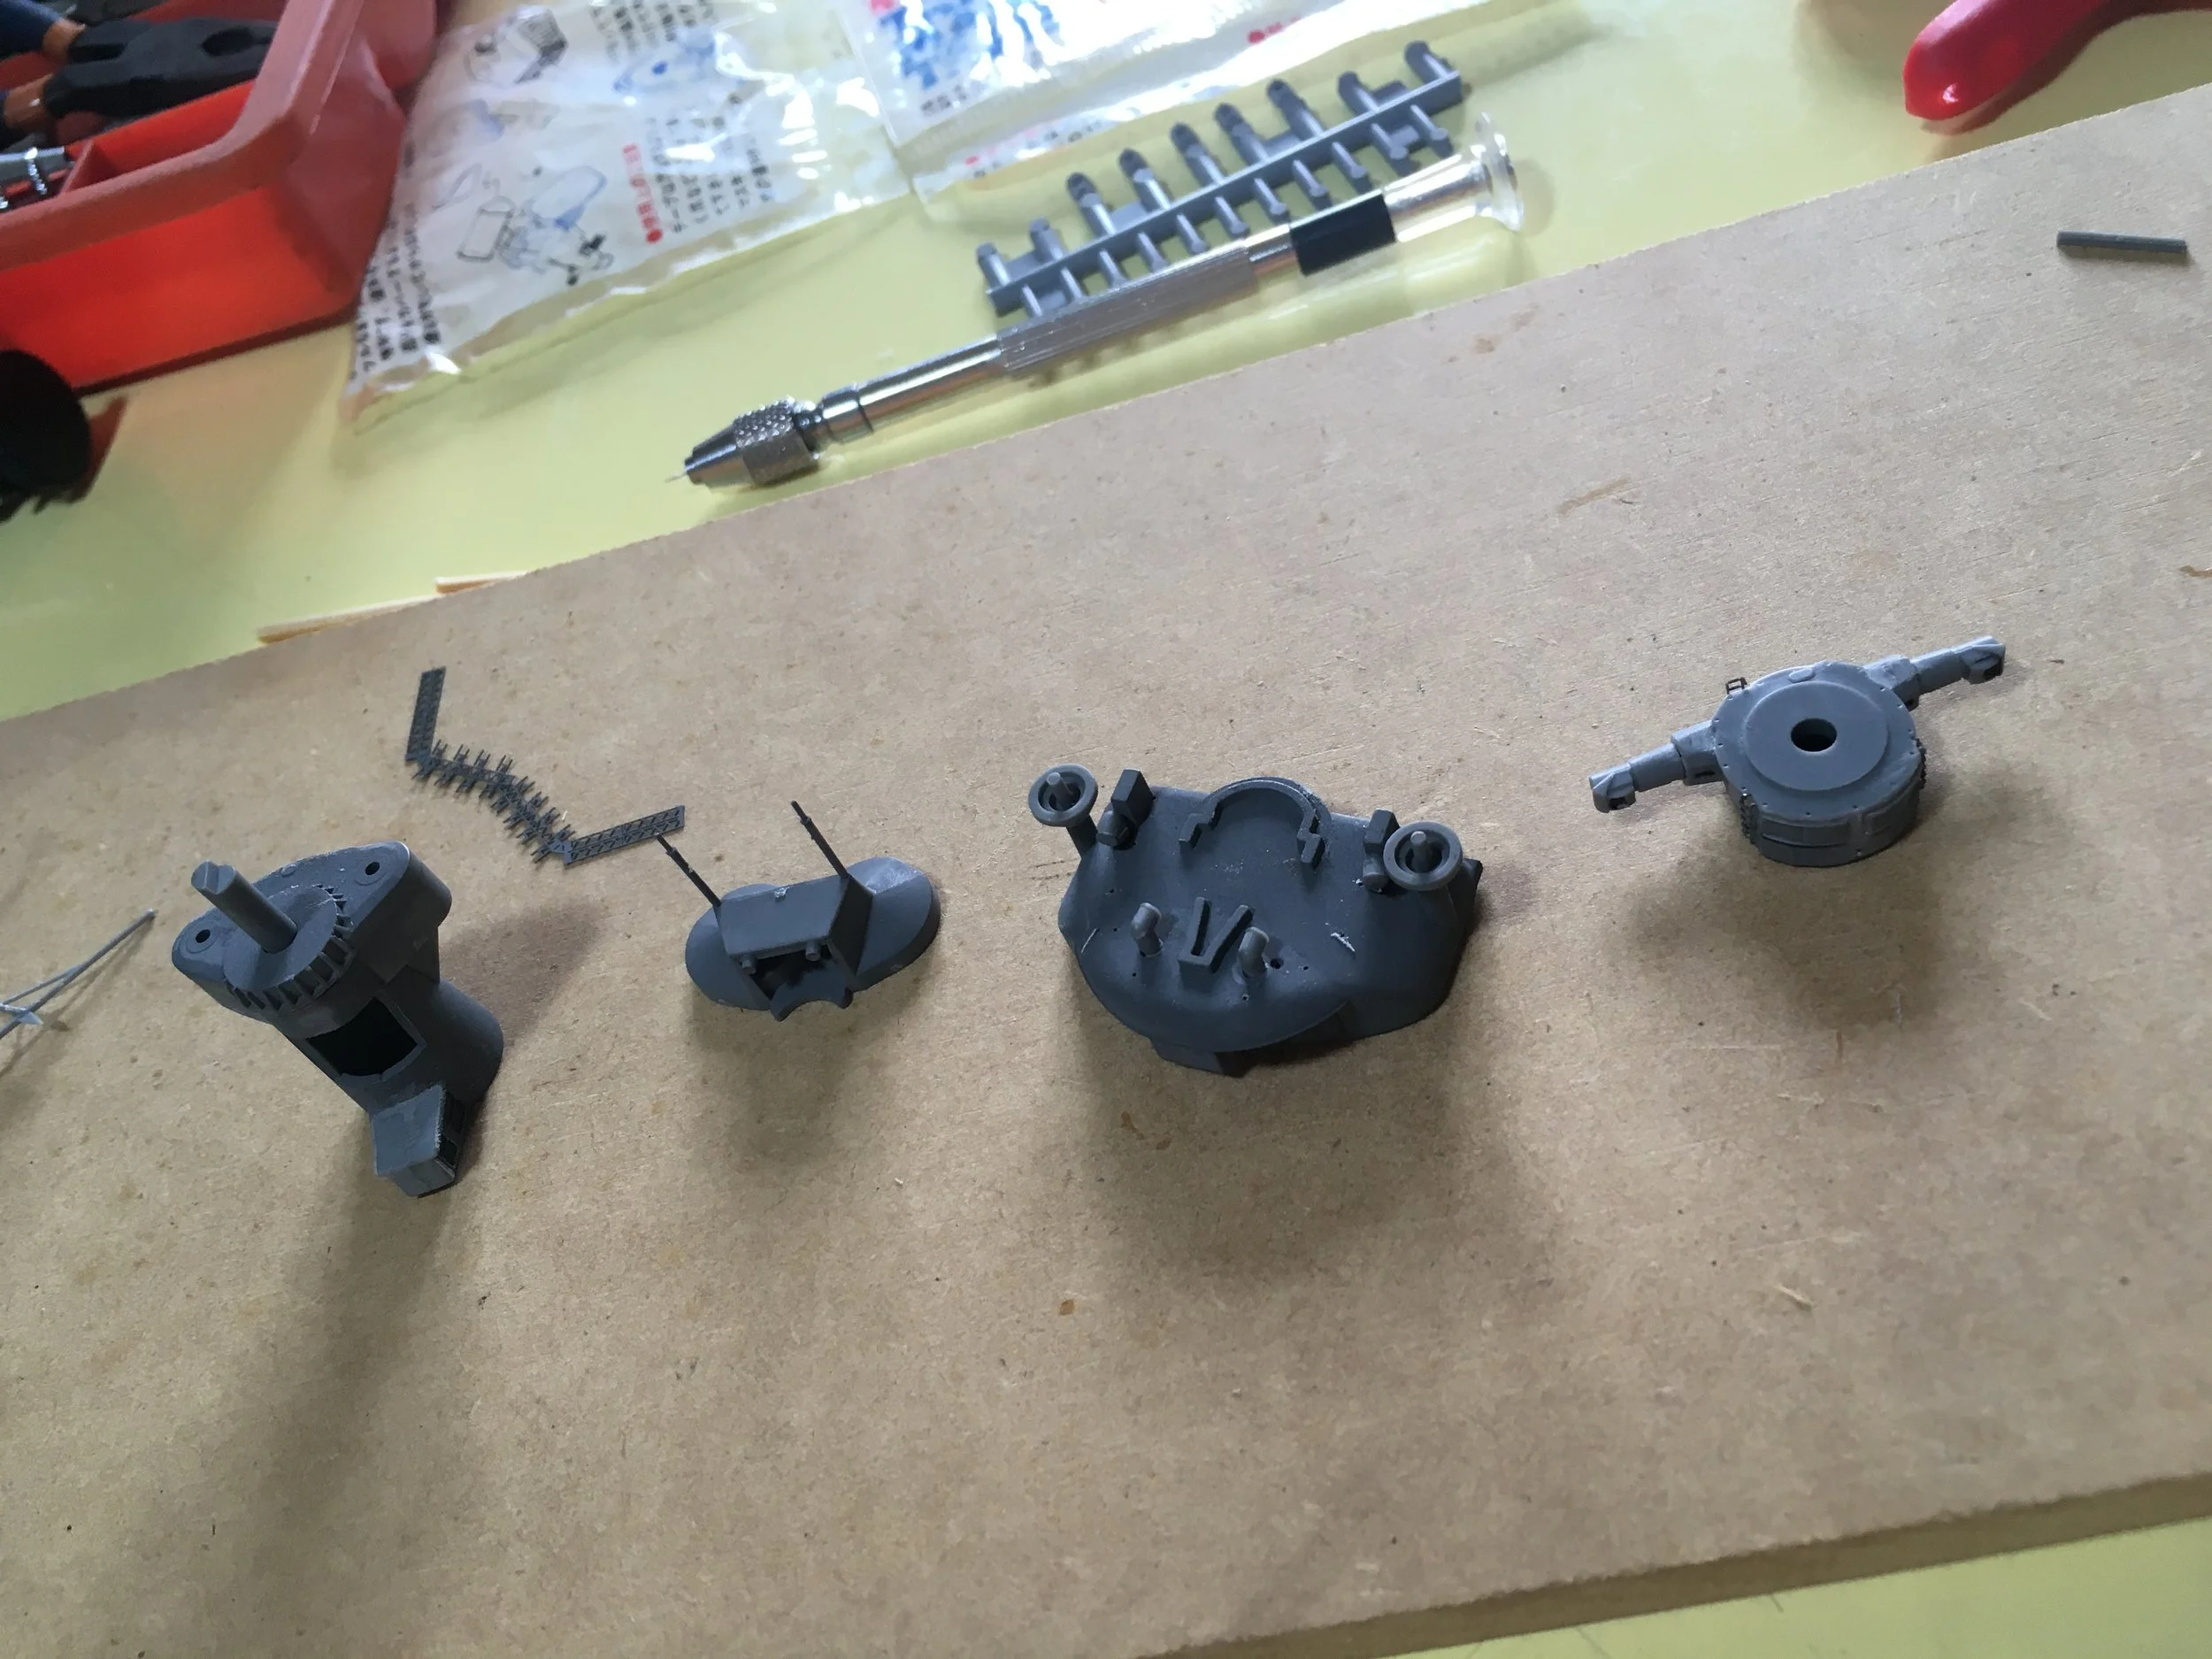
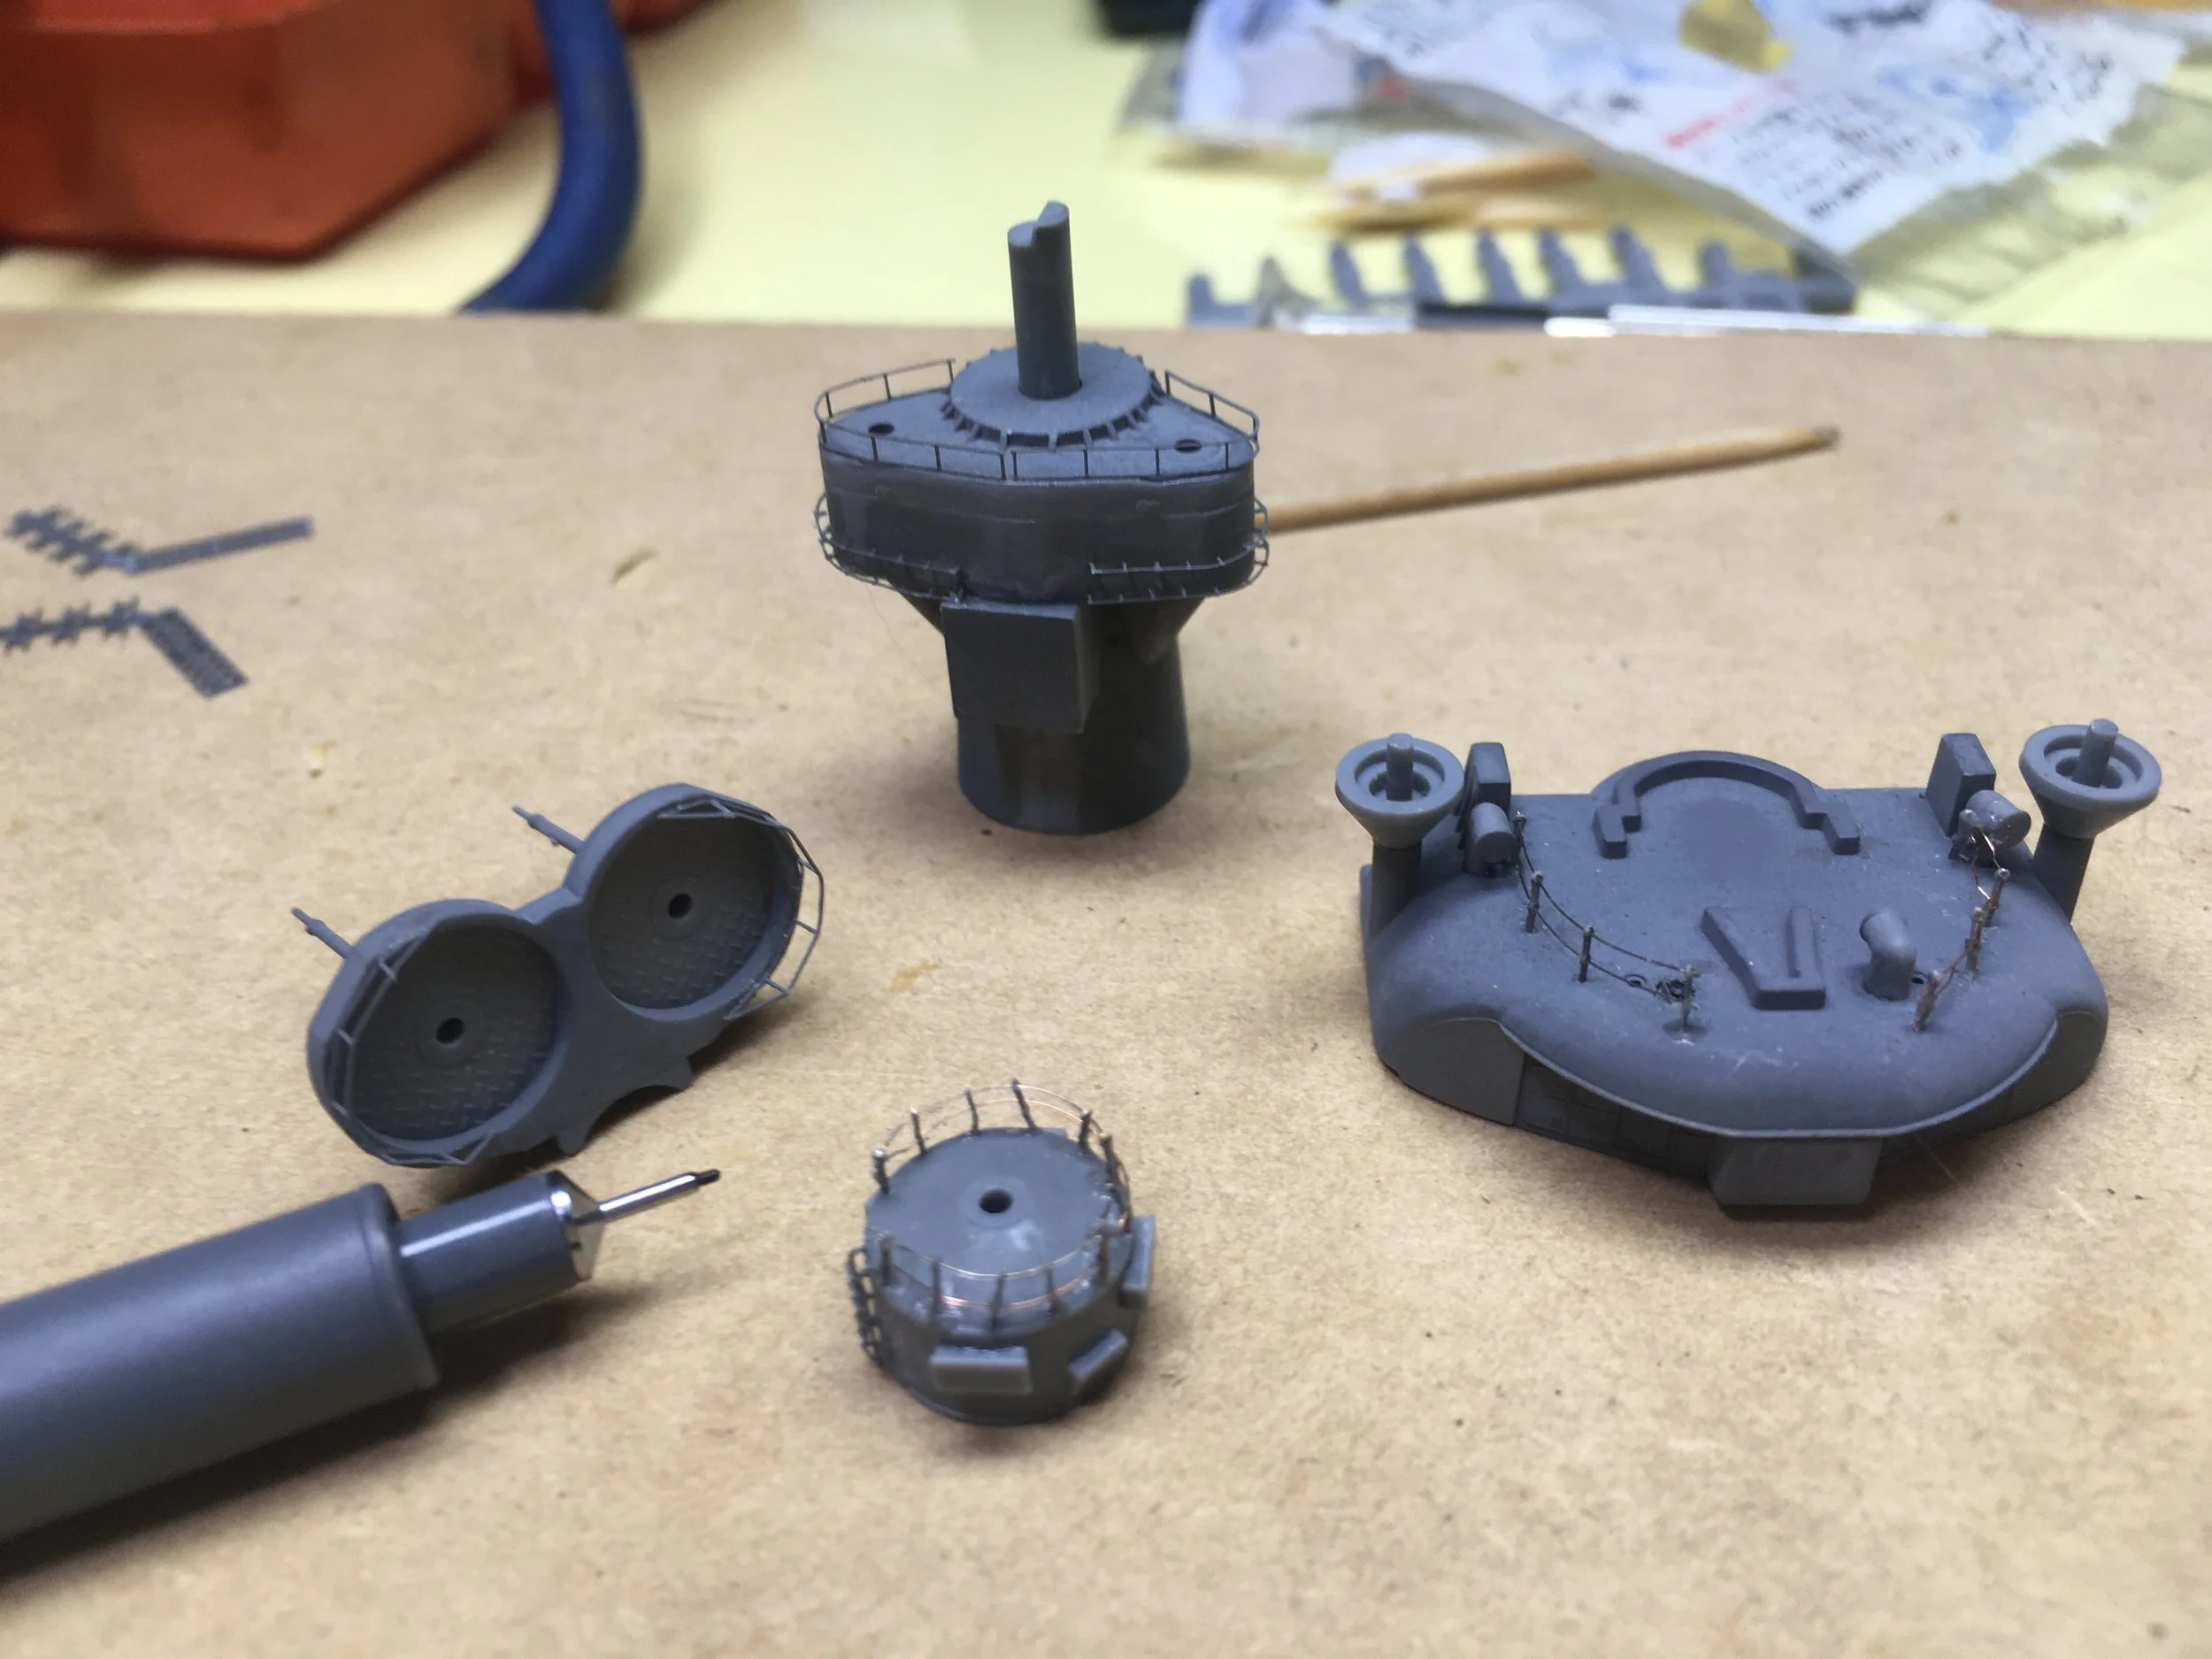
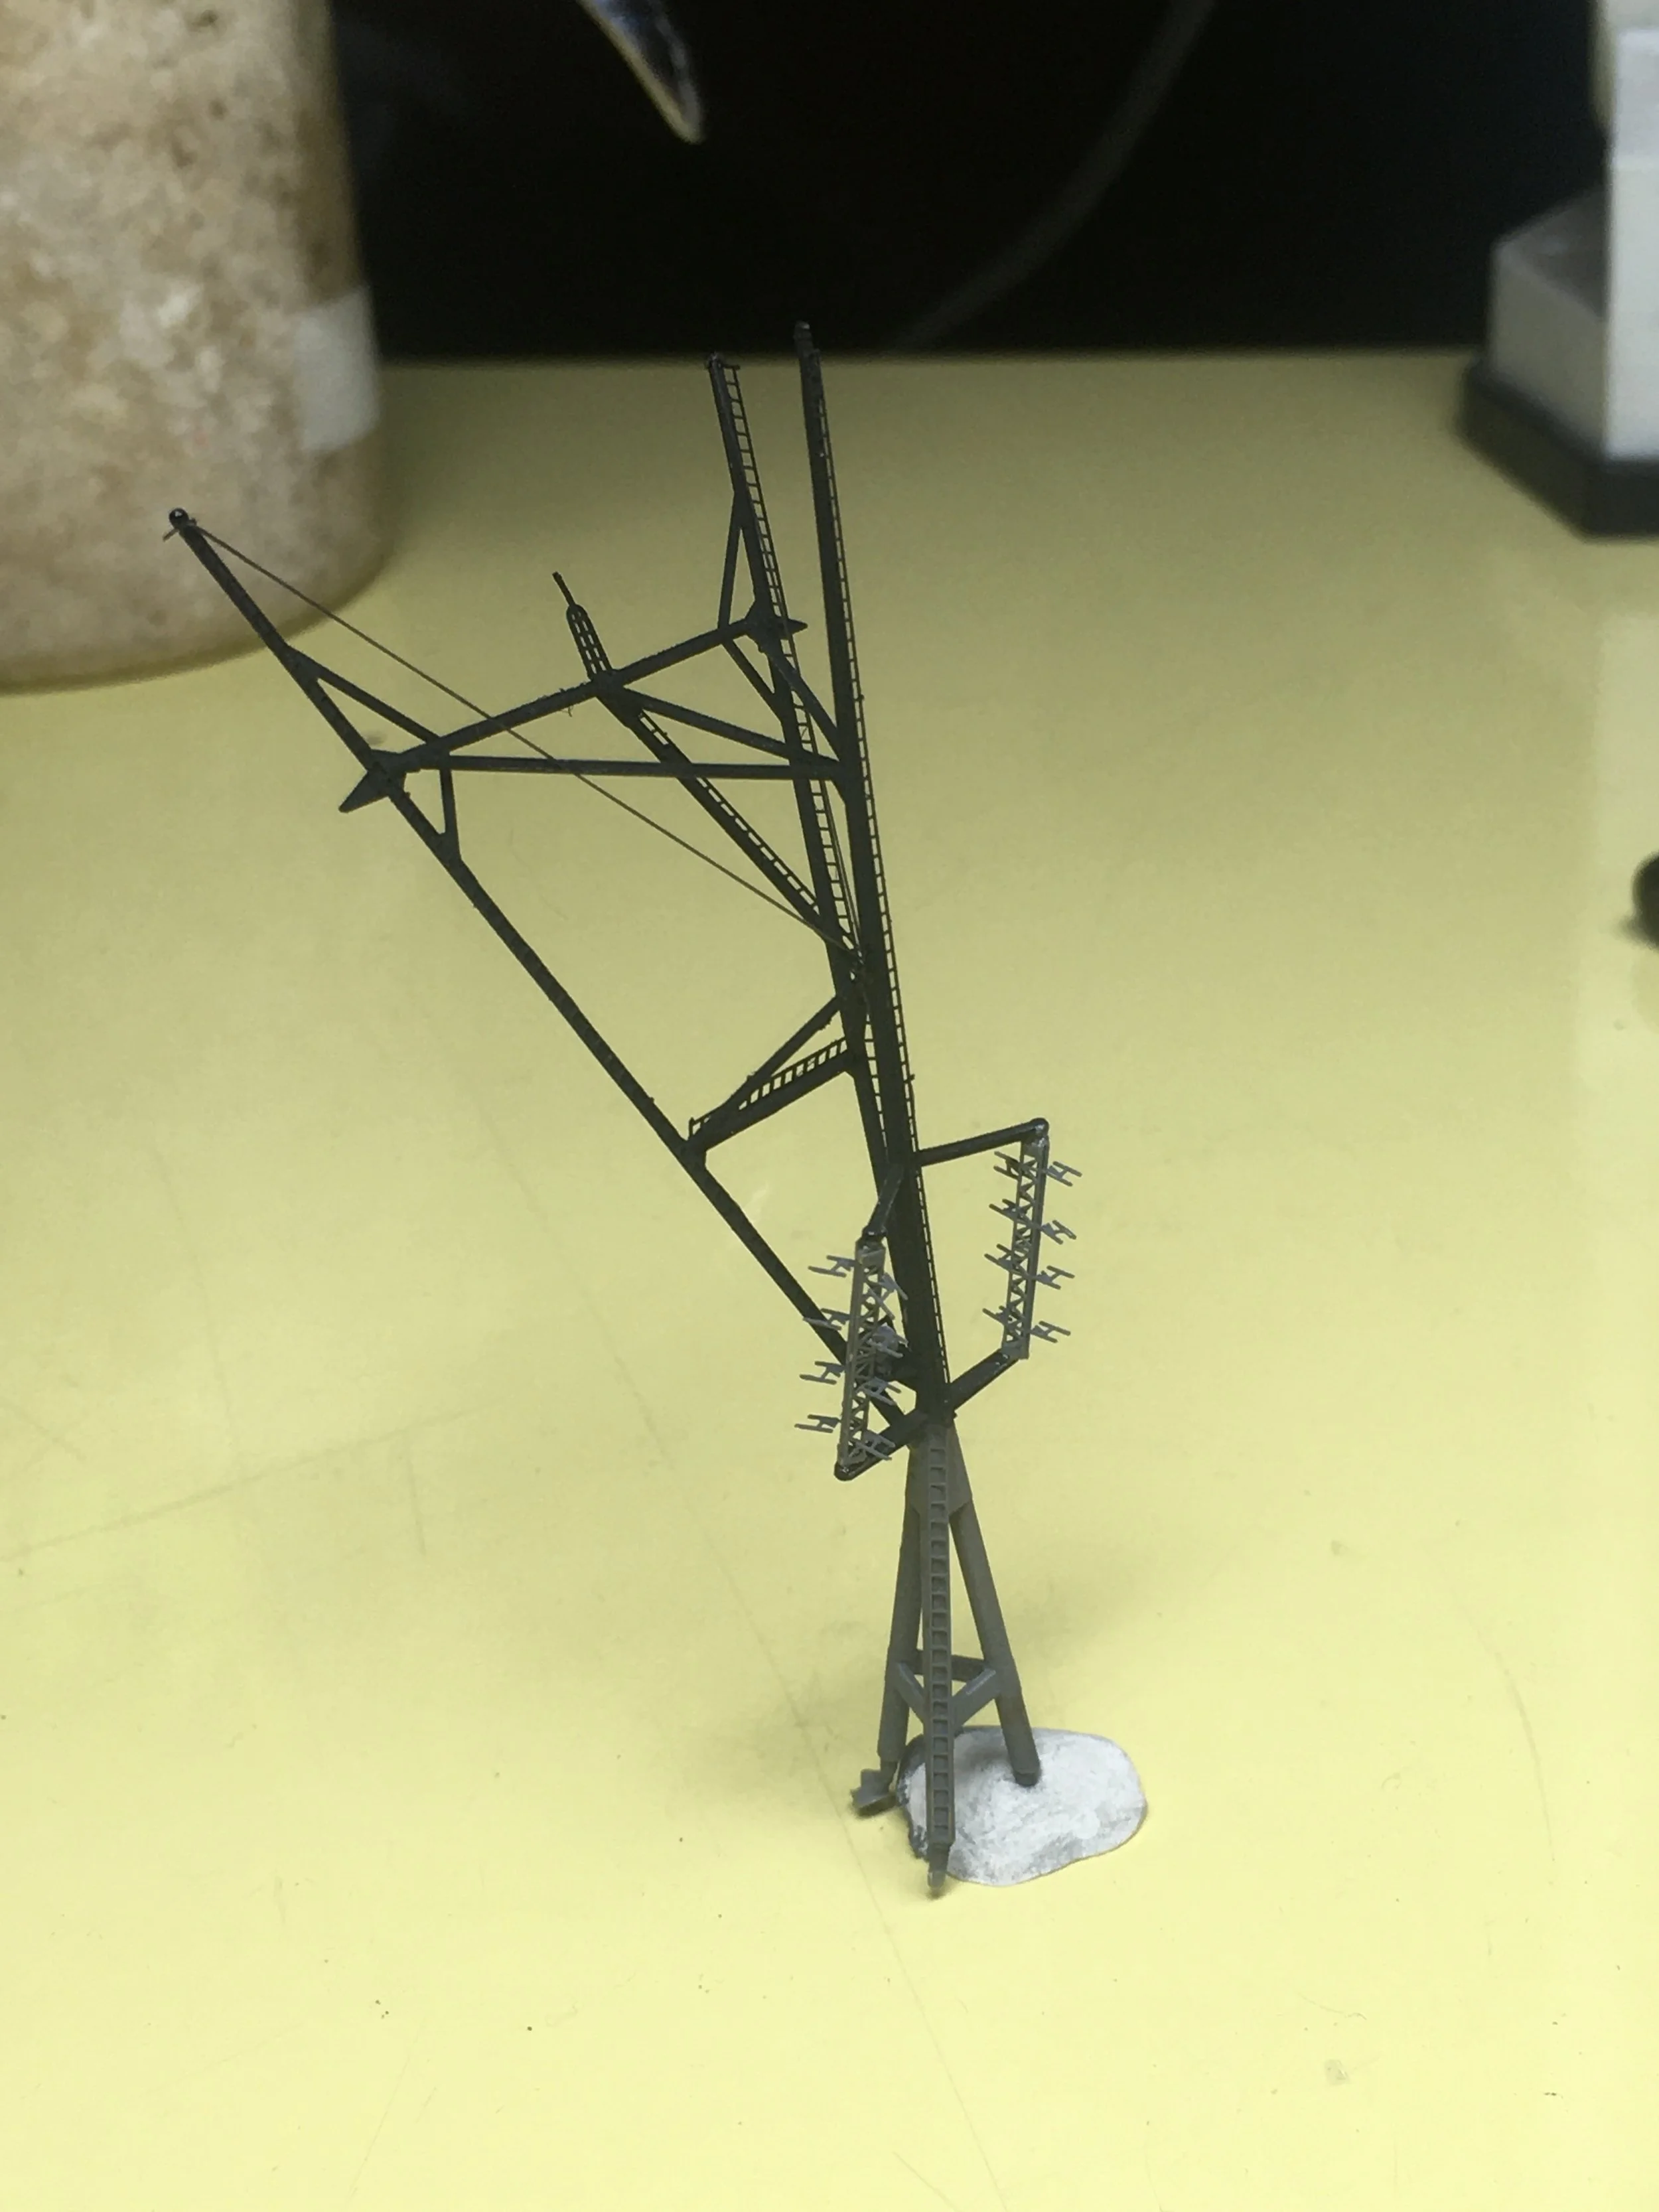
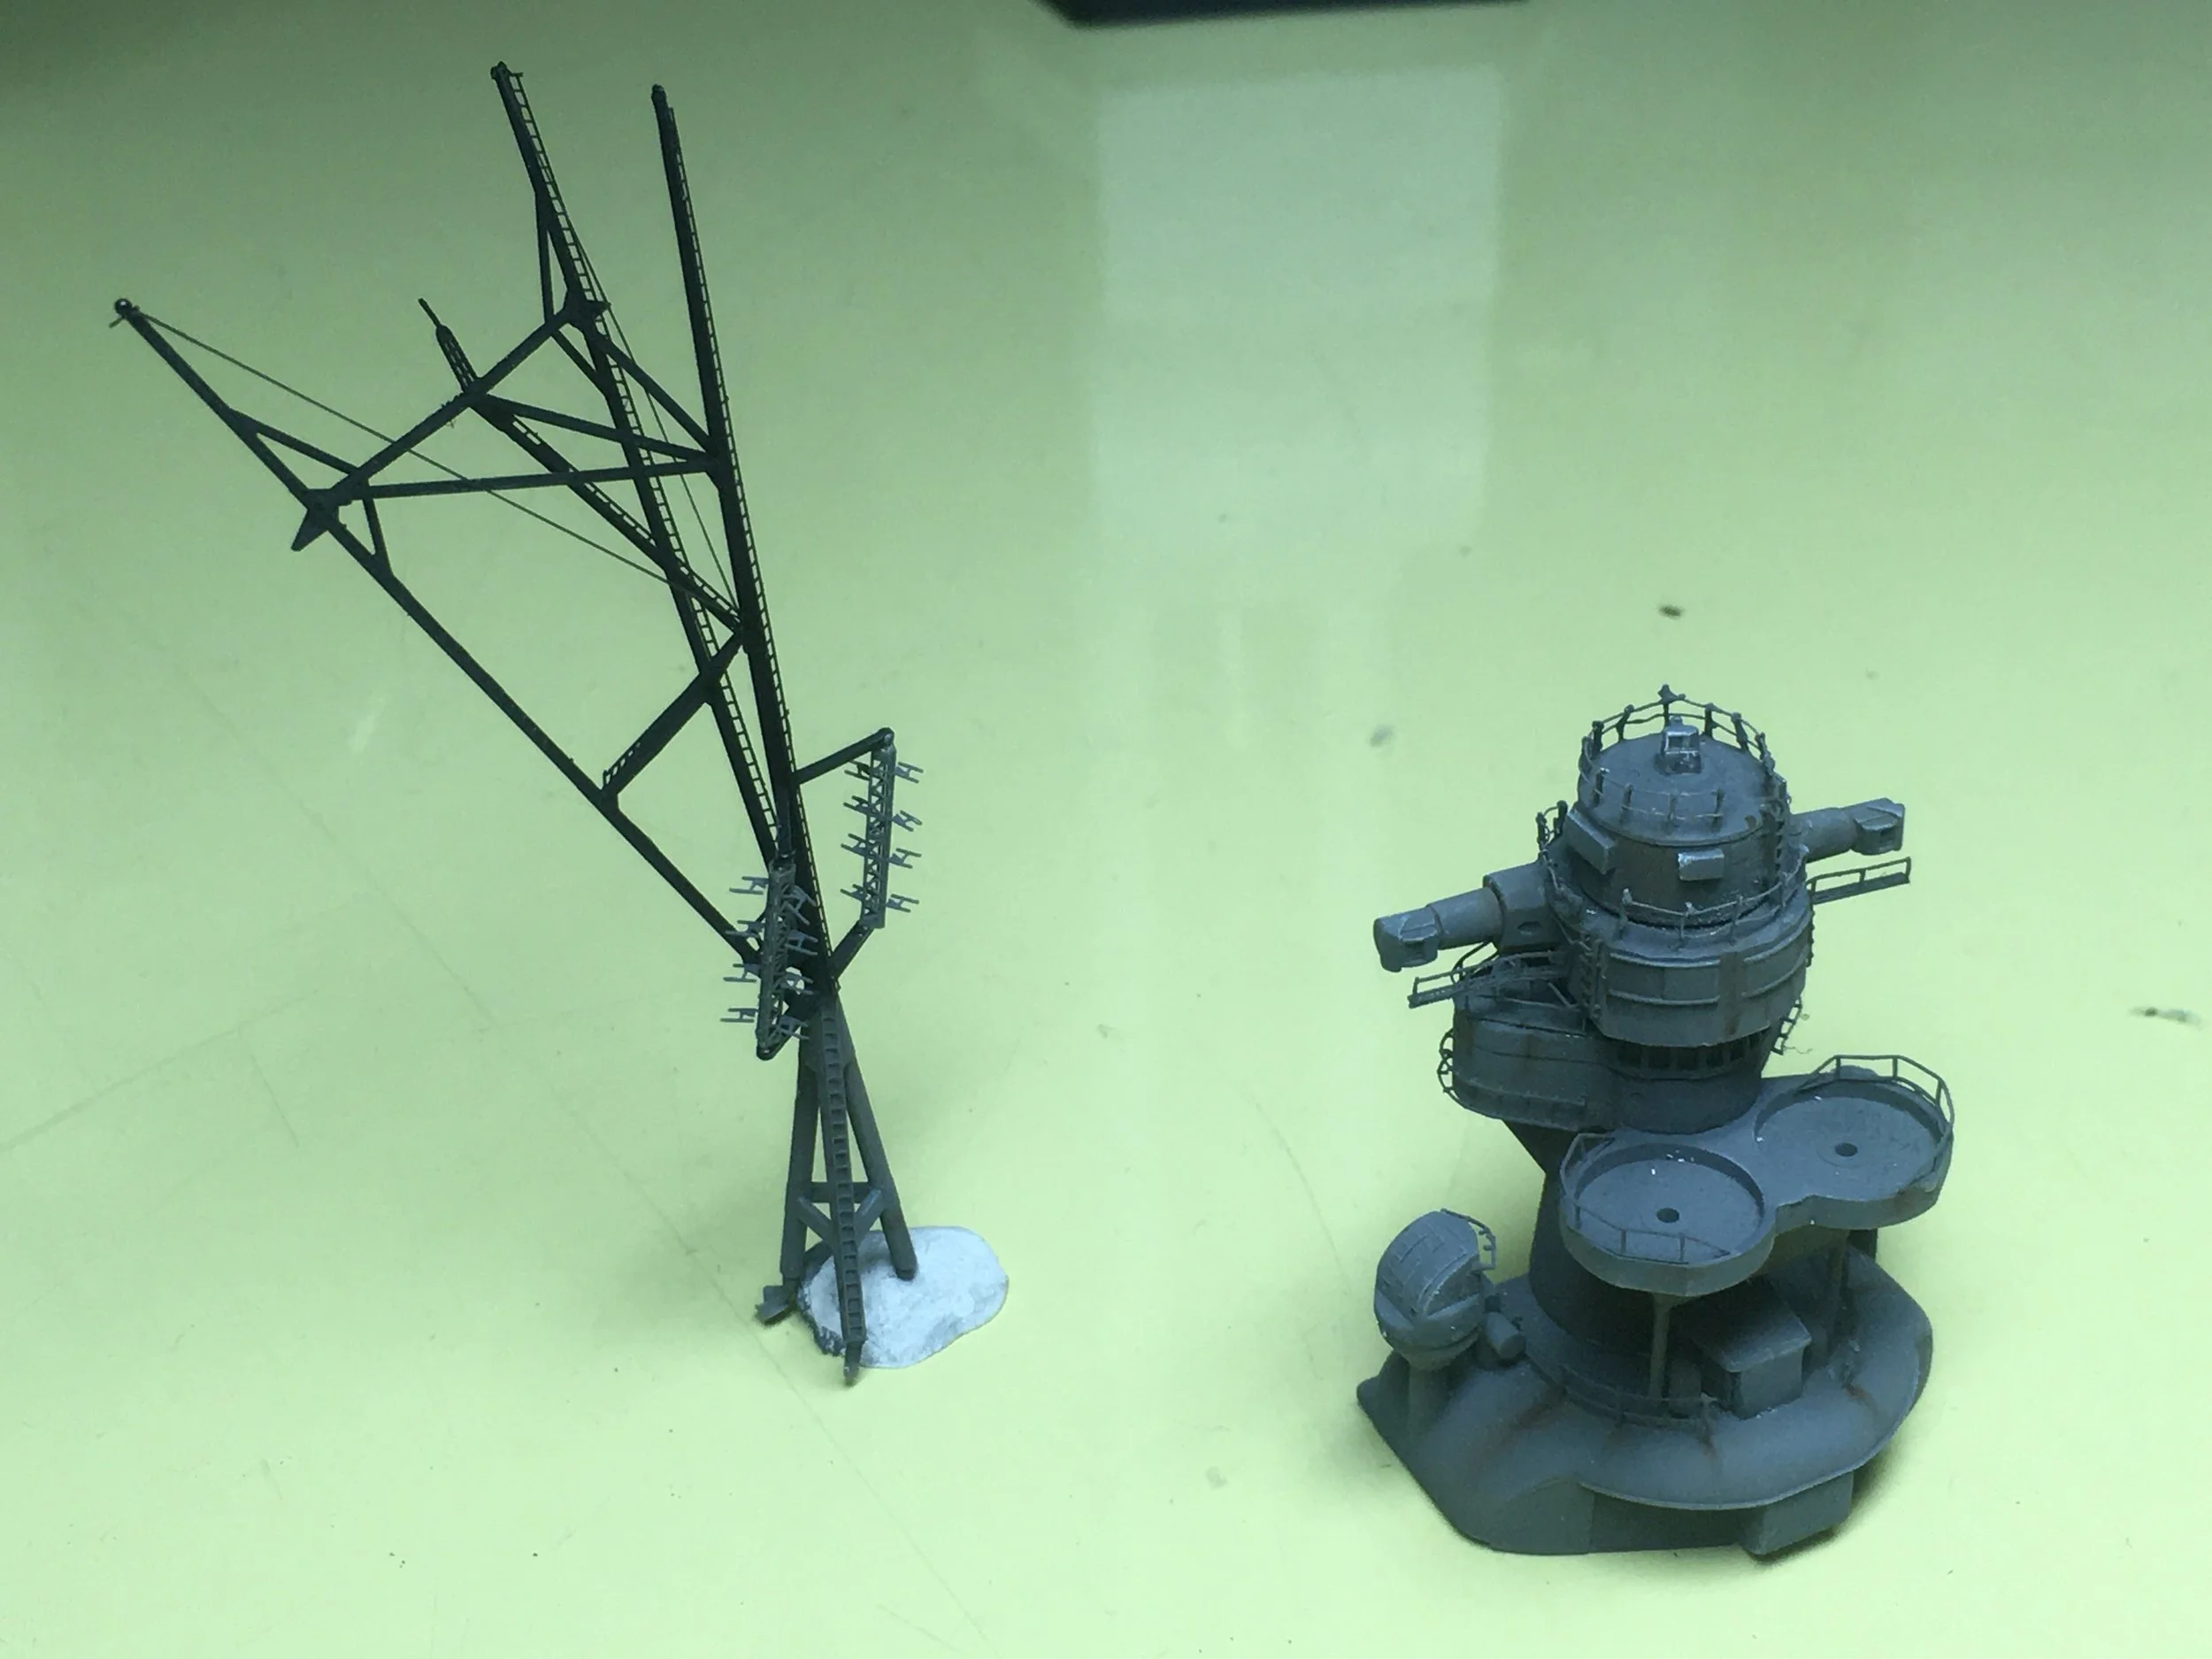
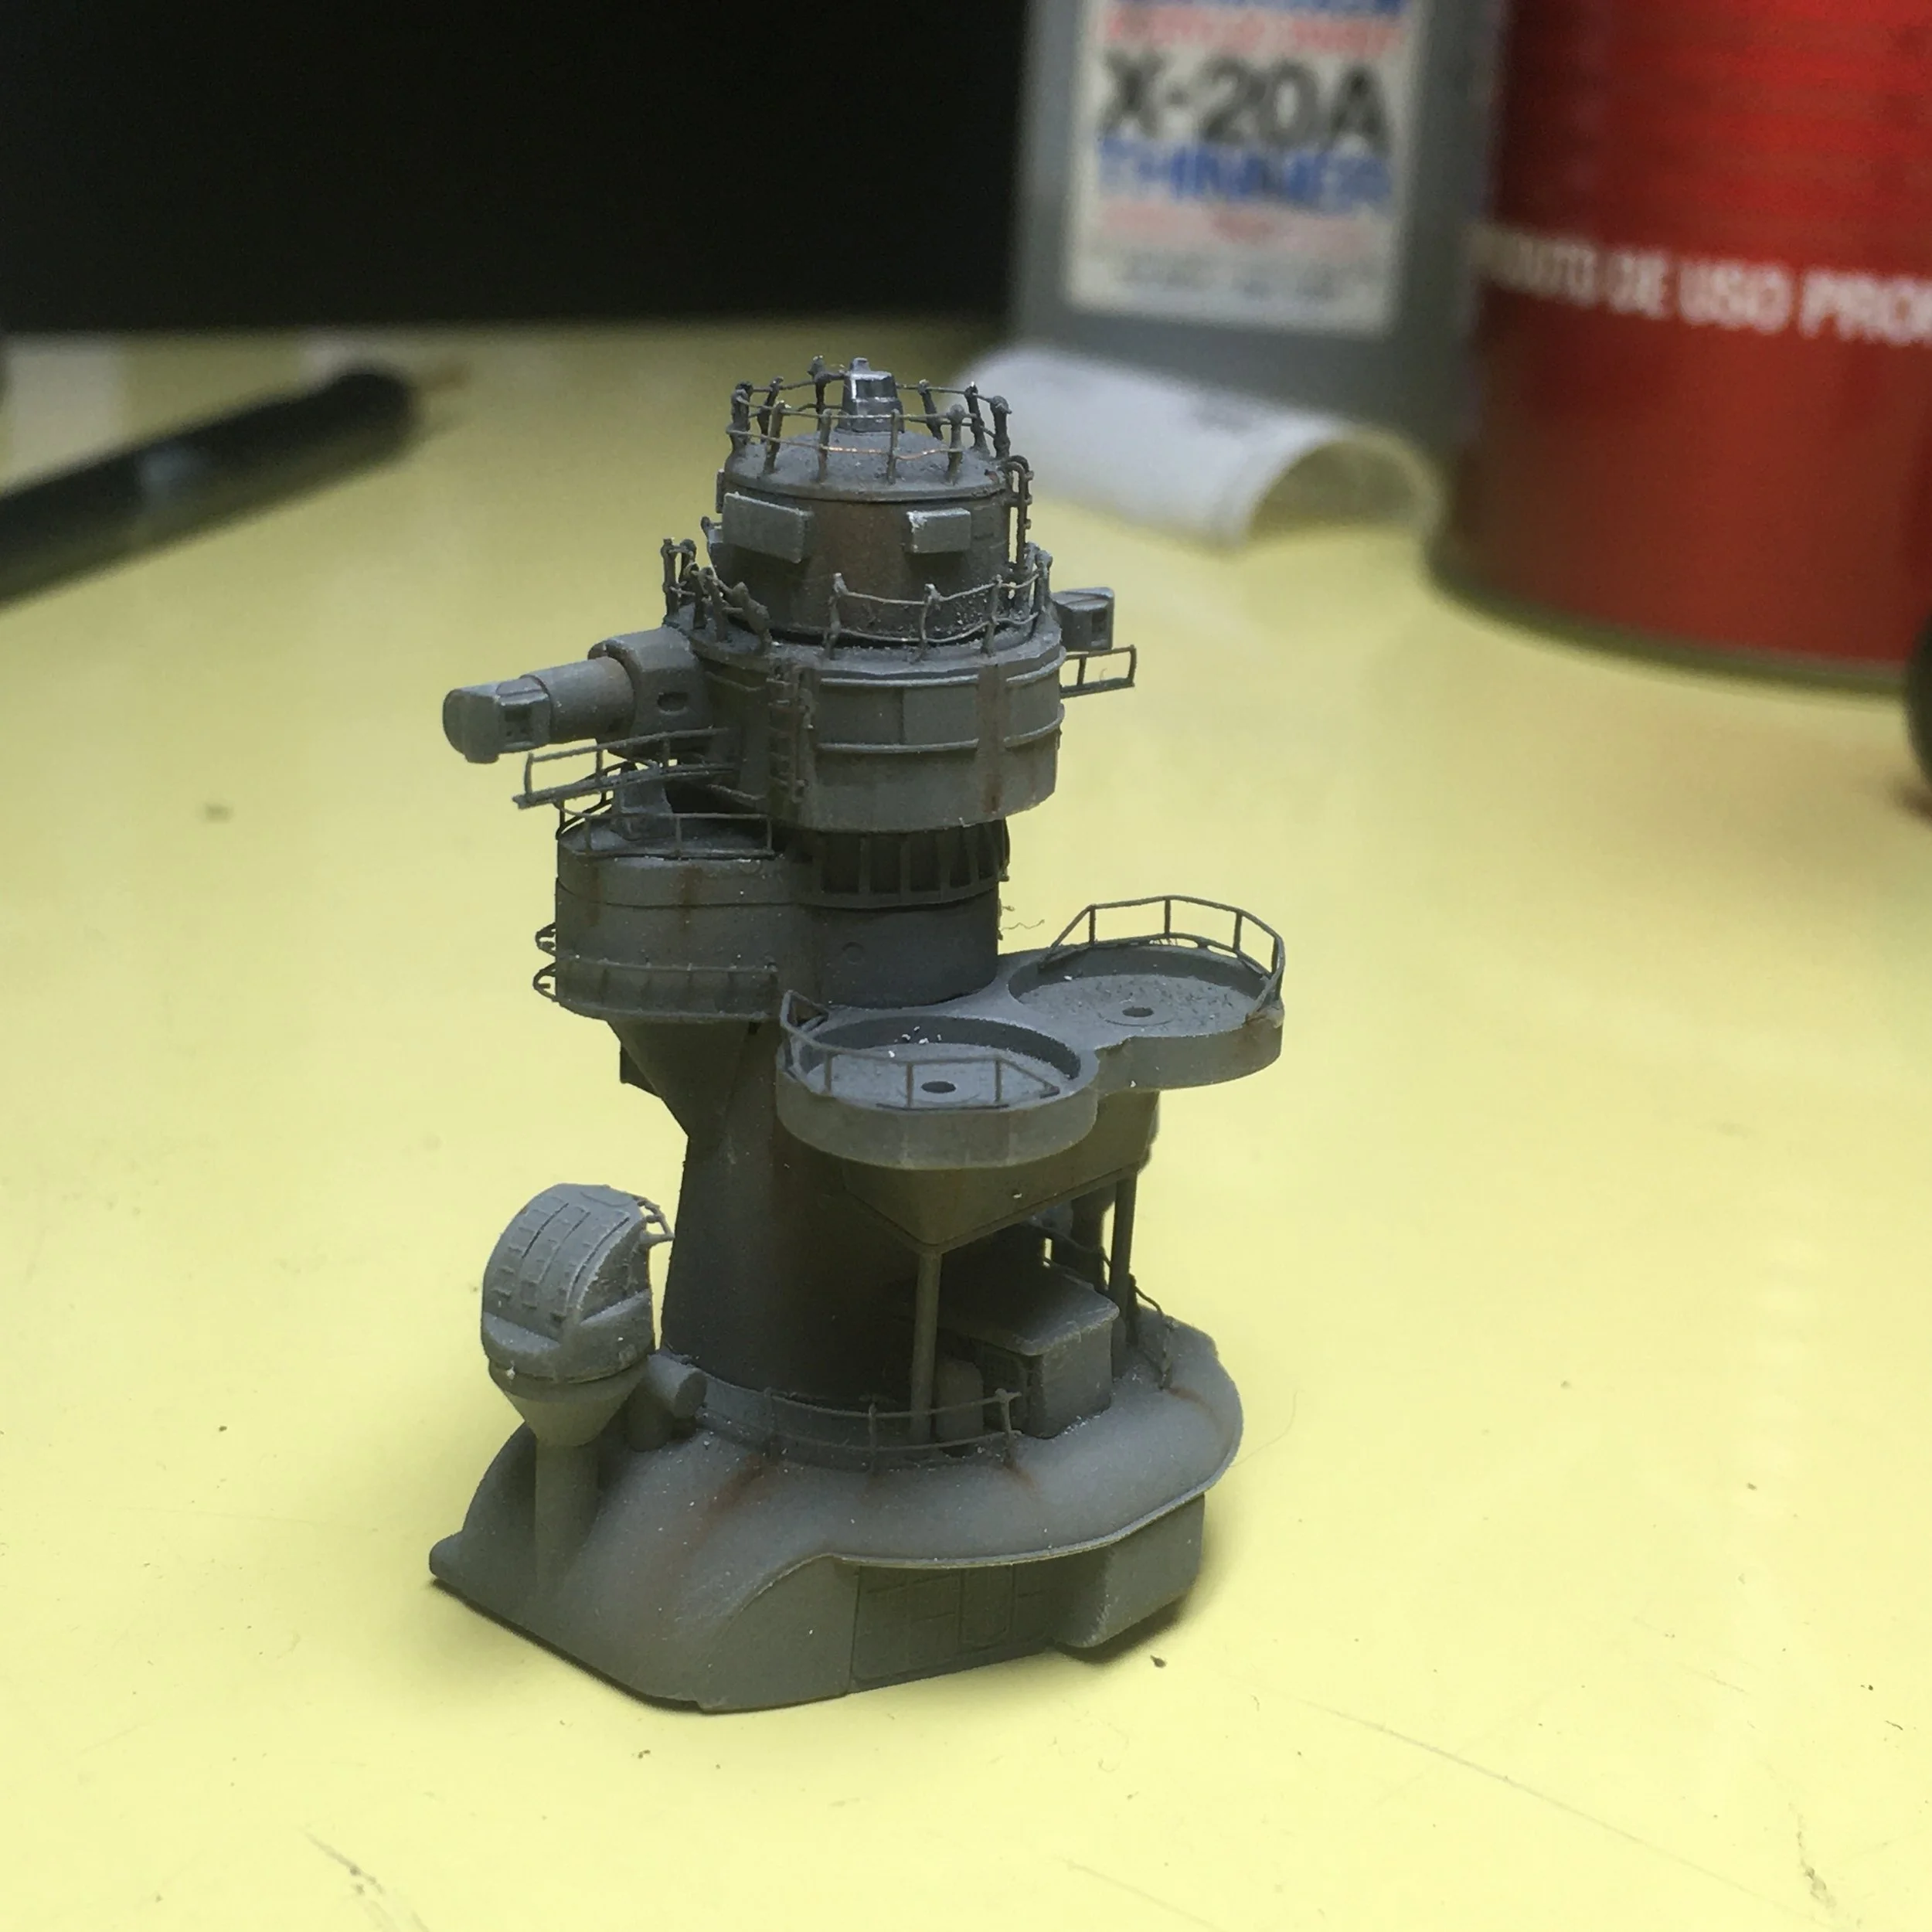
Attaching main mast and rear range finder to center superstructure:
Utility boat set
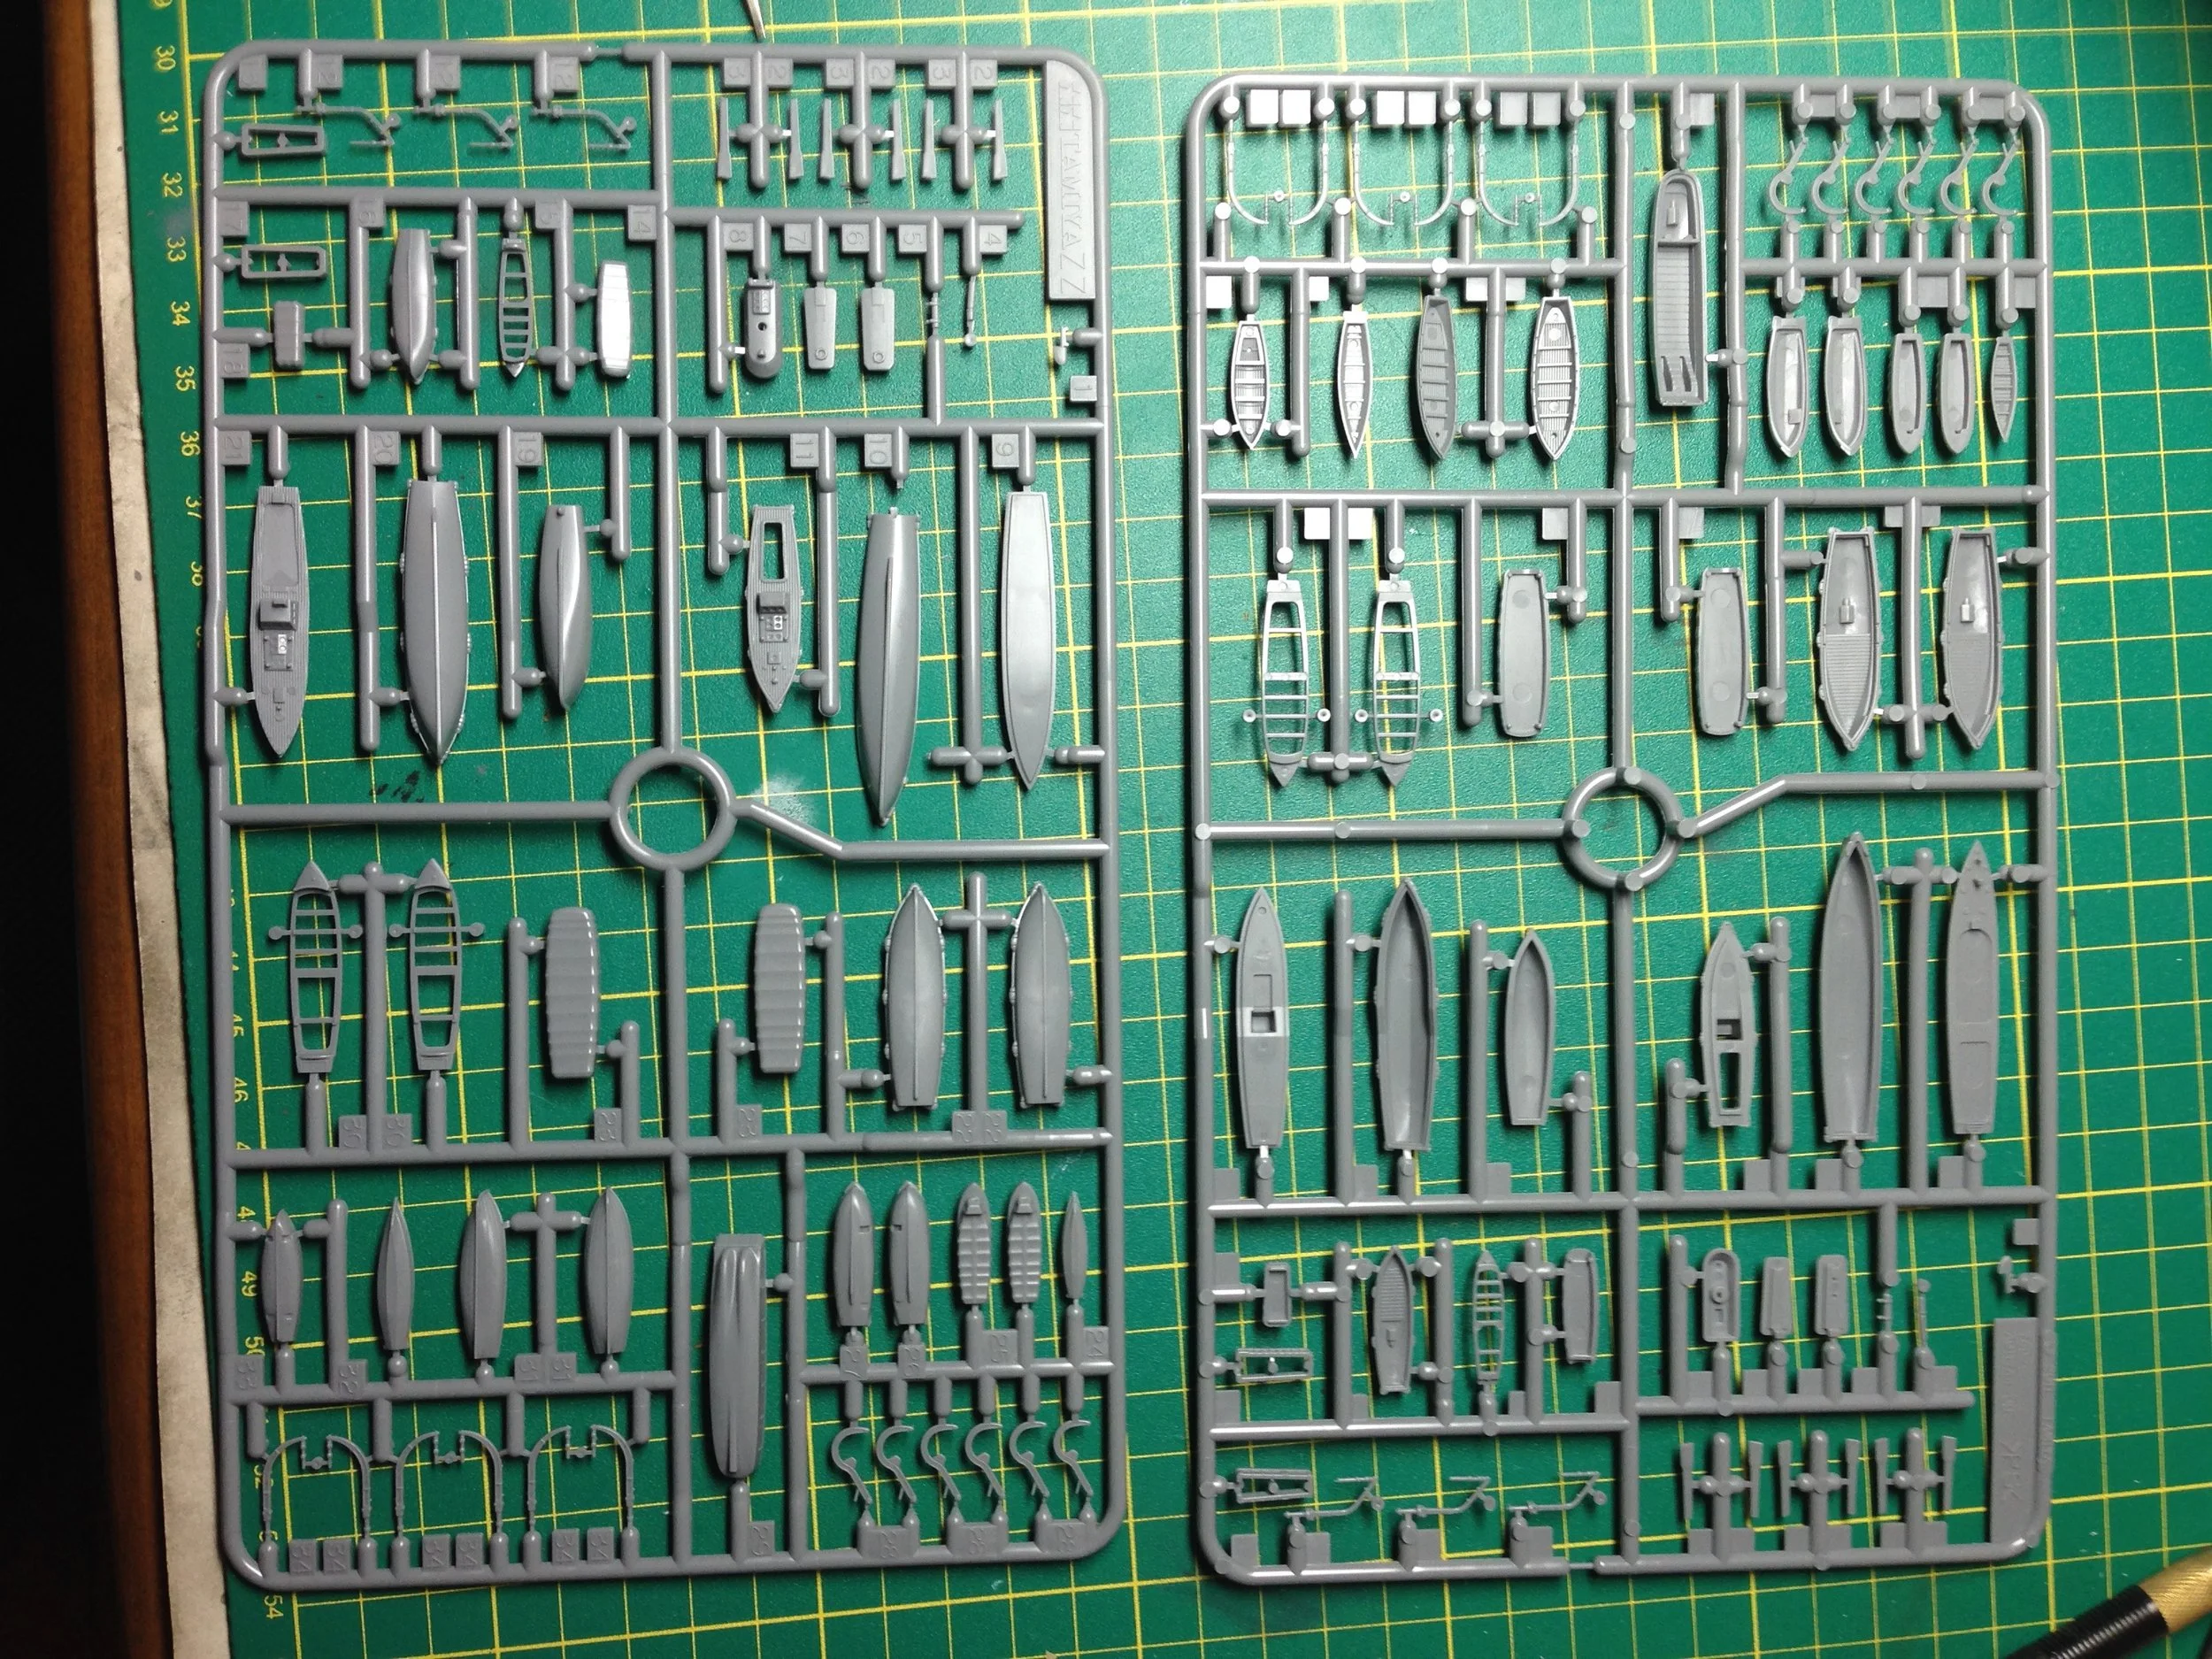
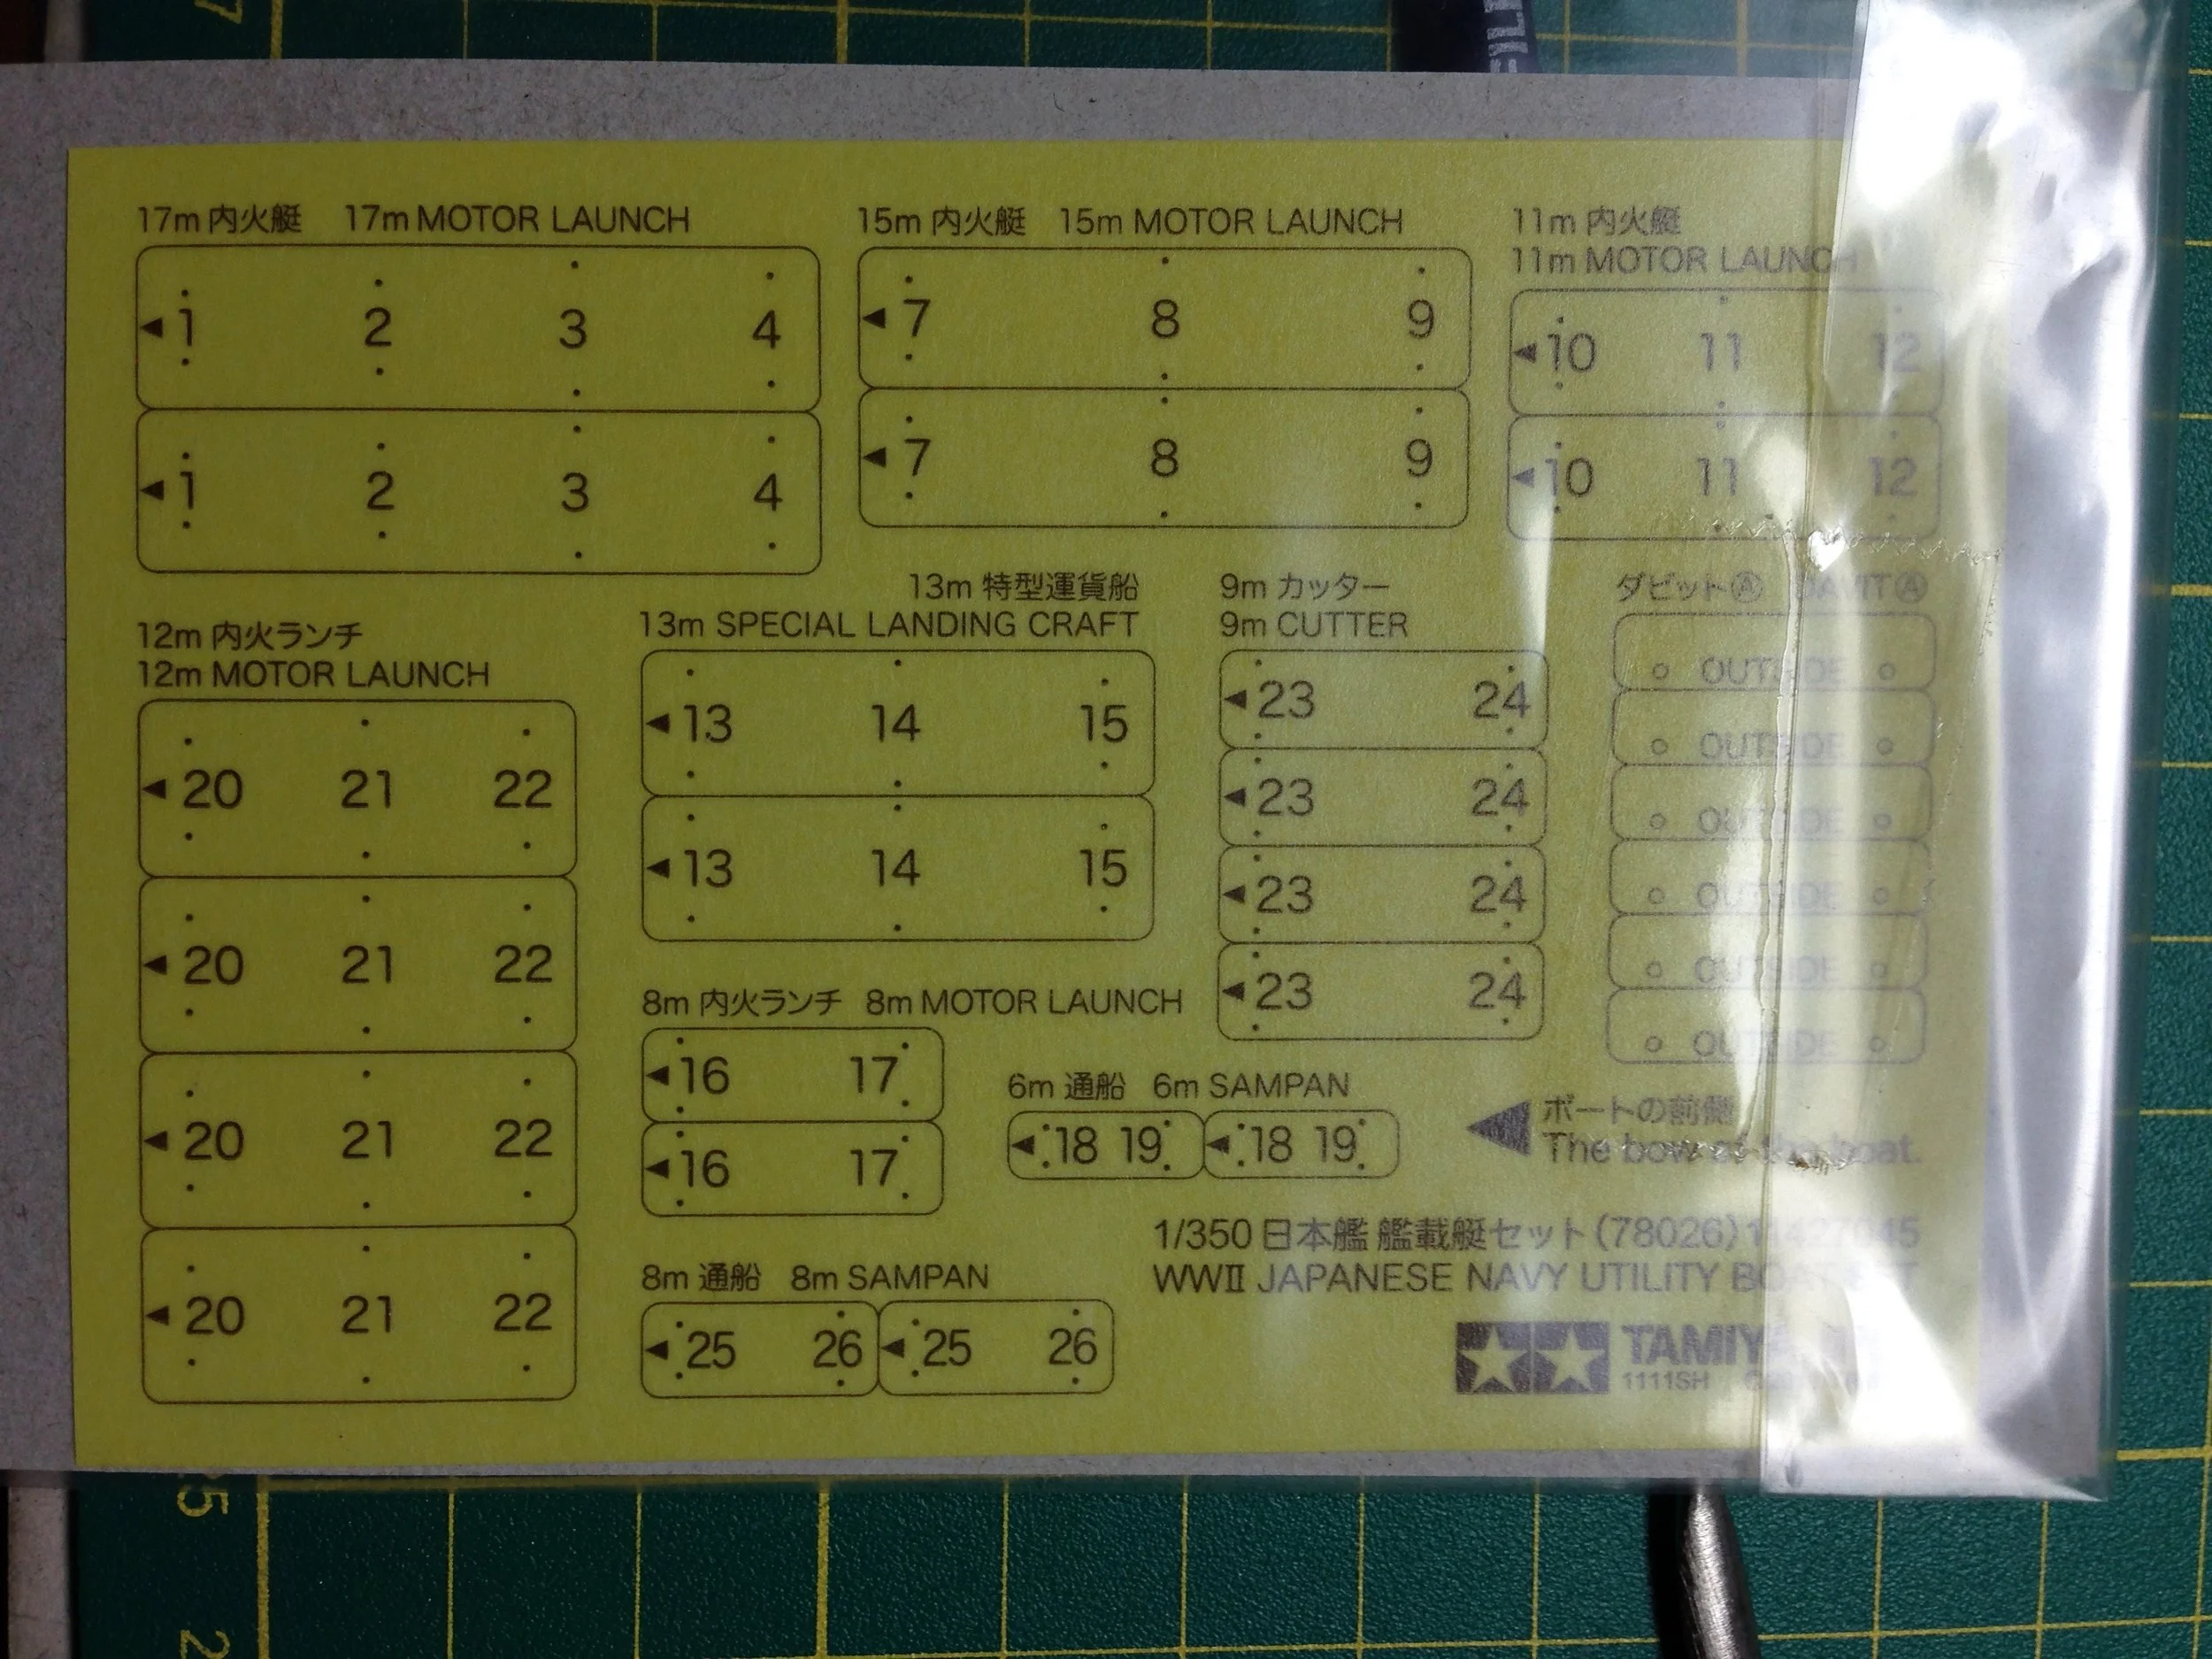
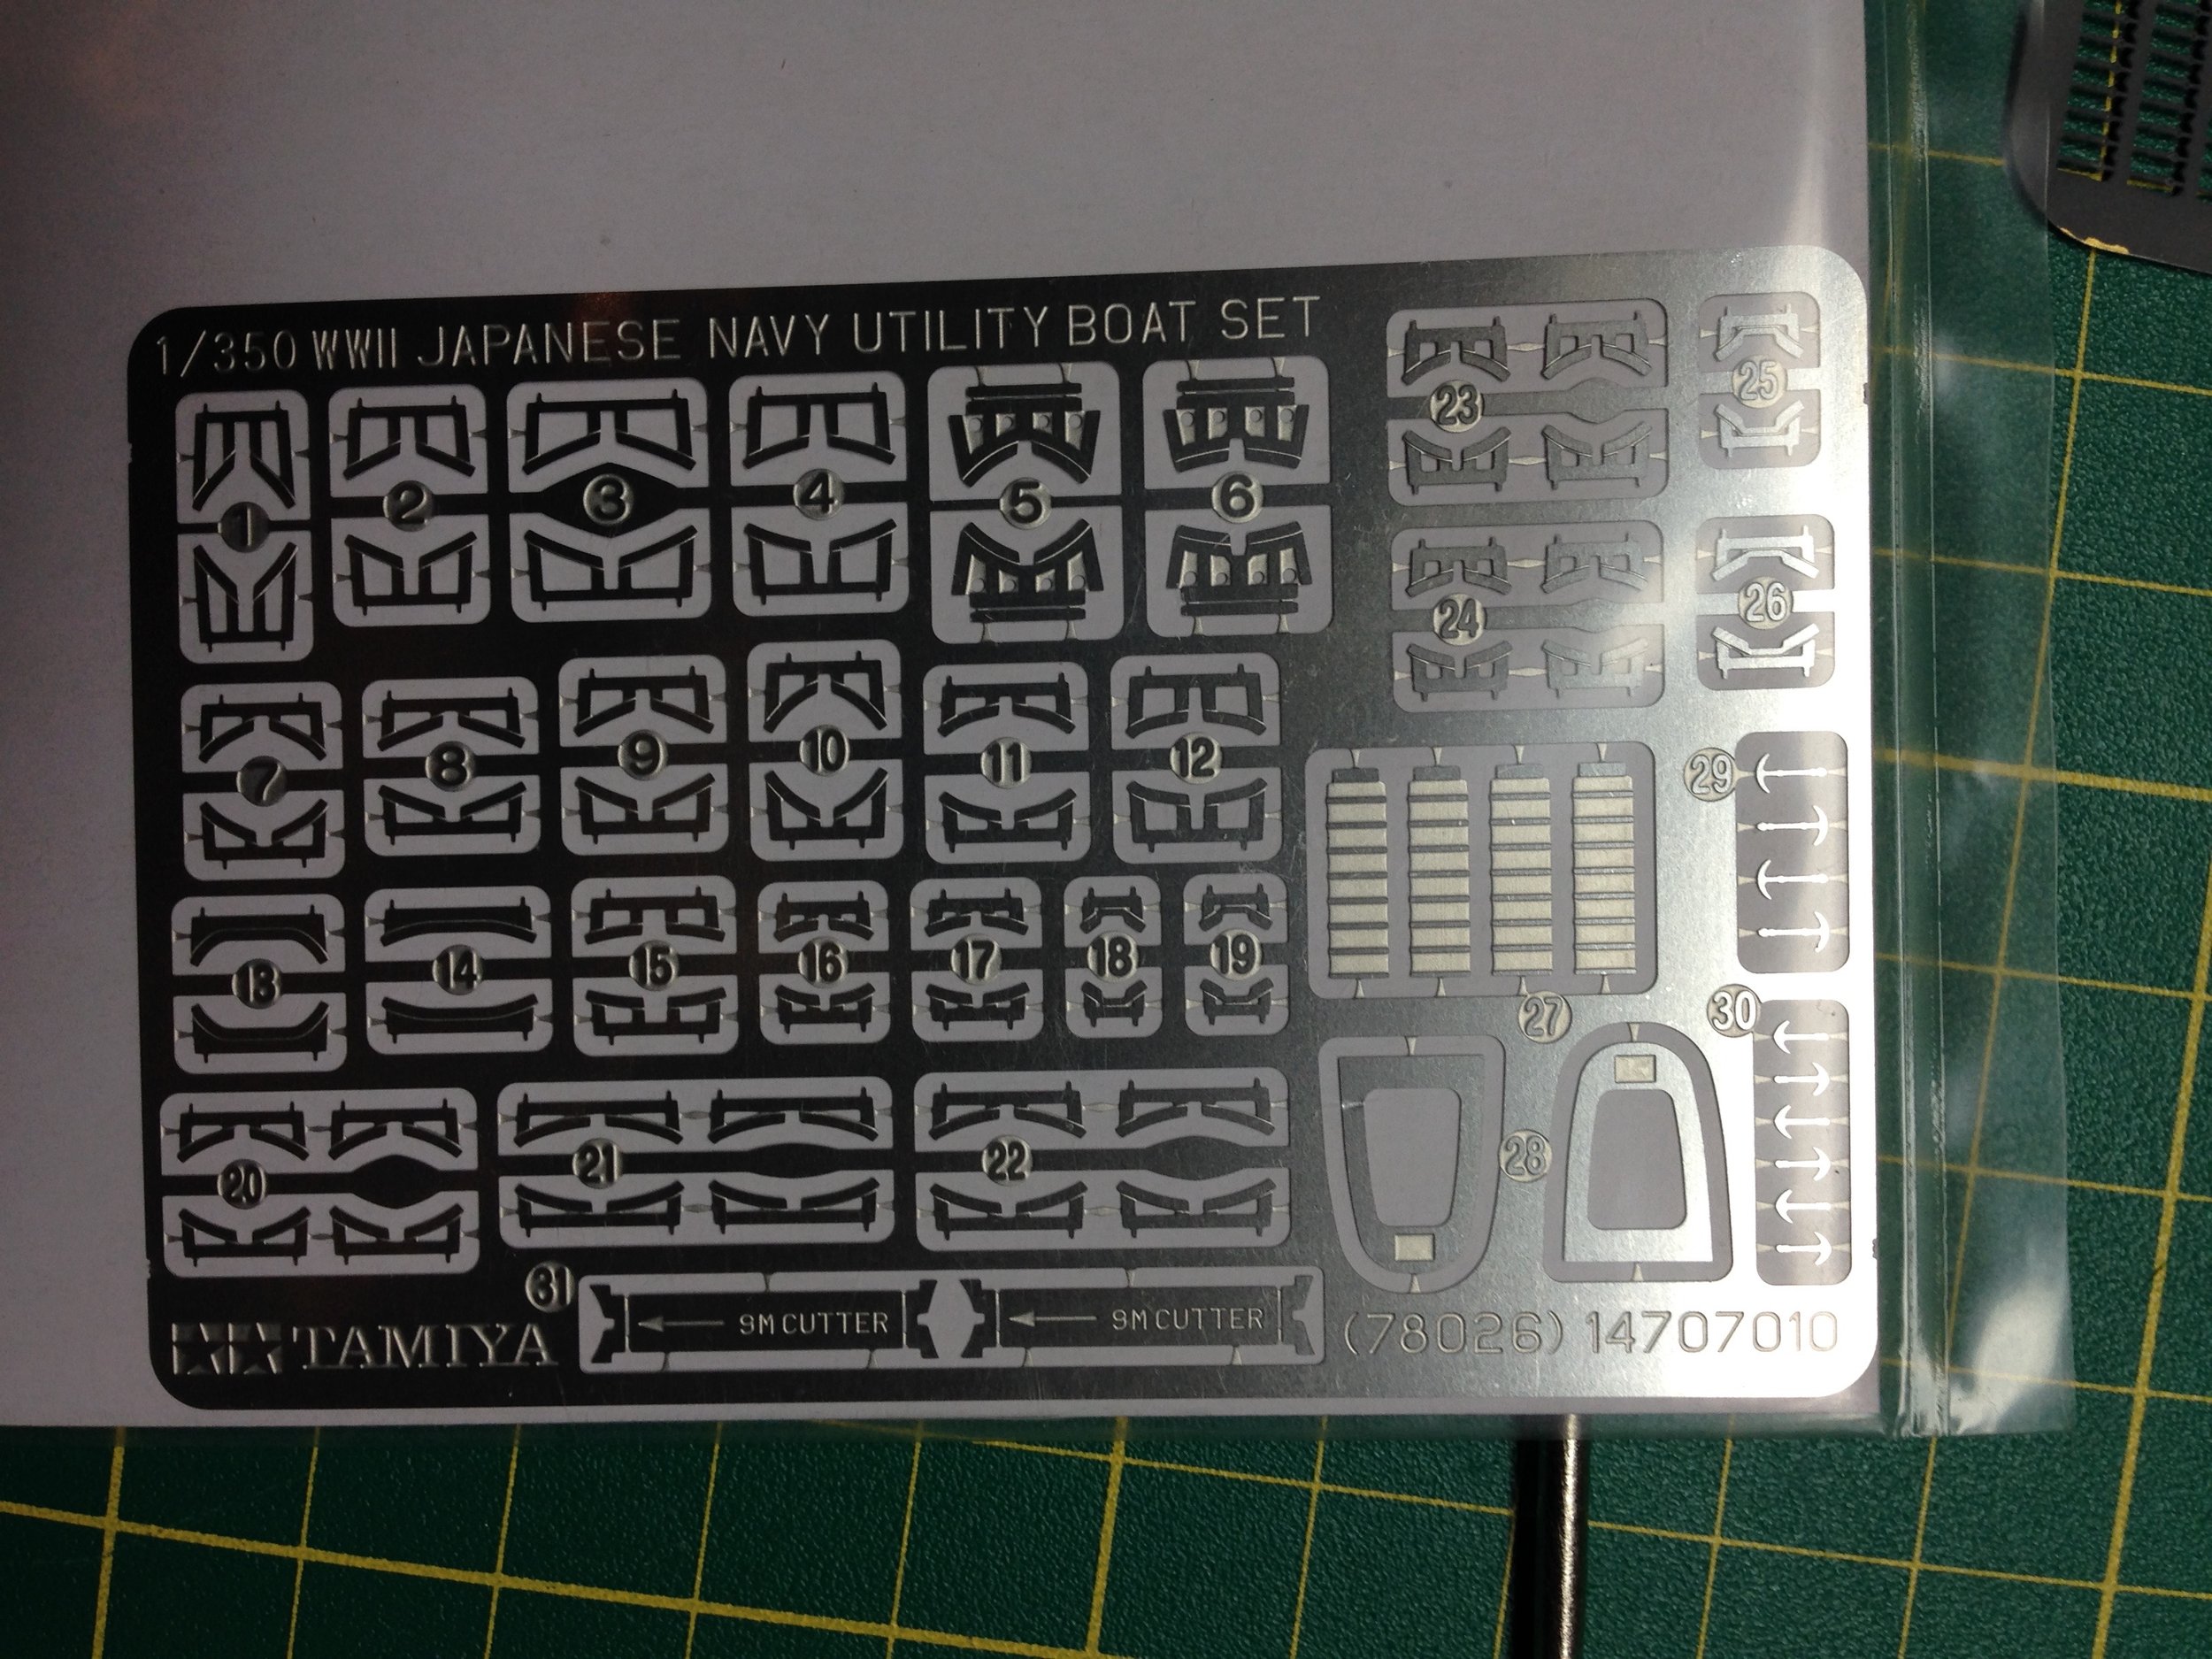
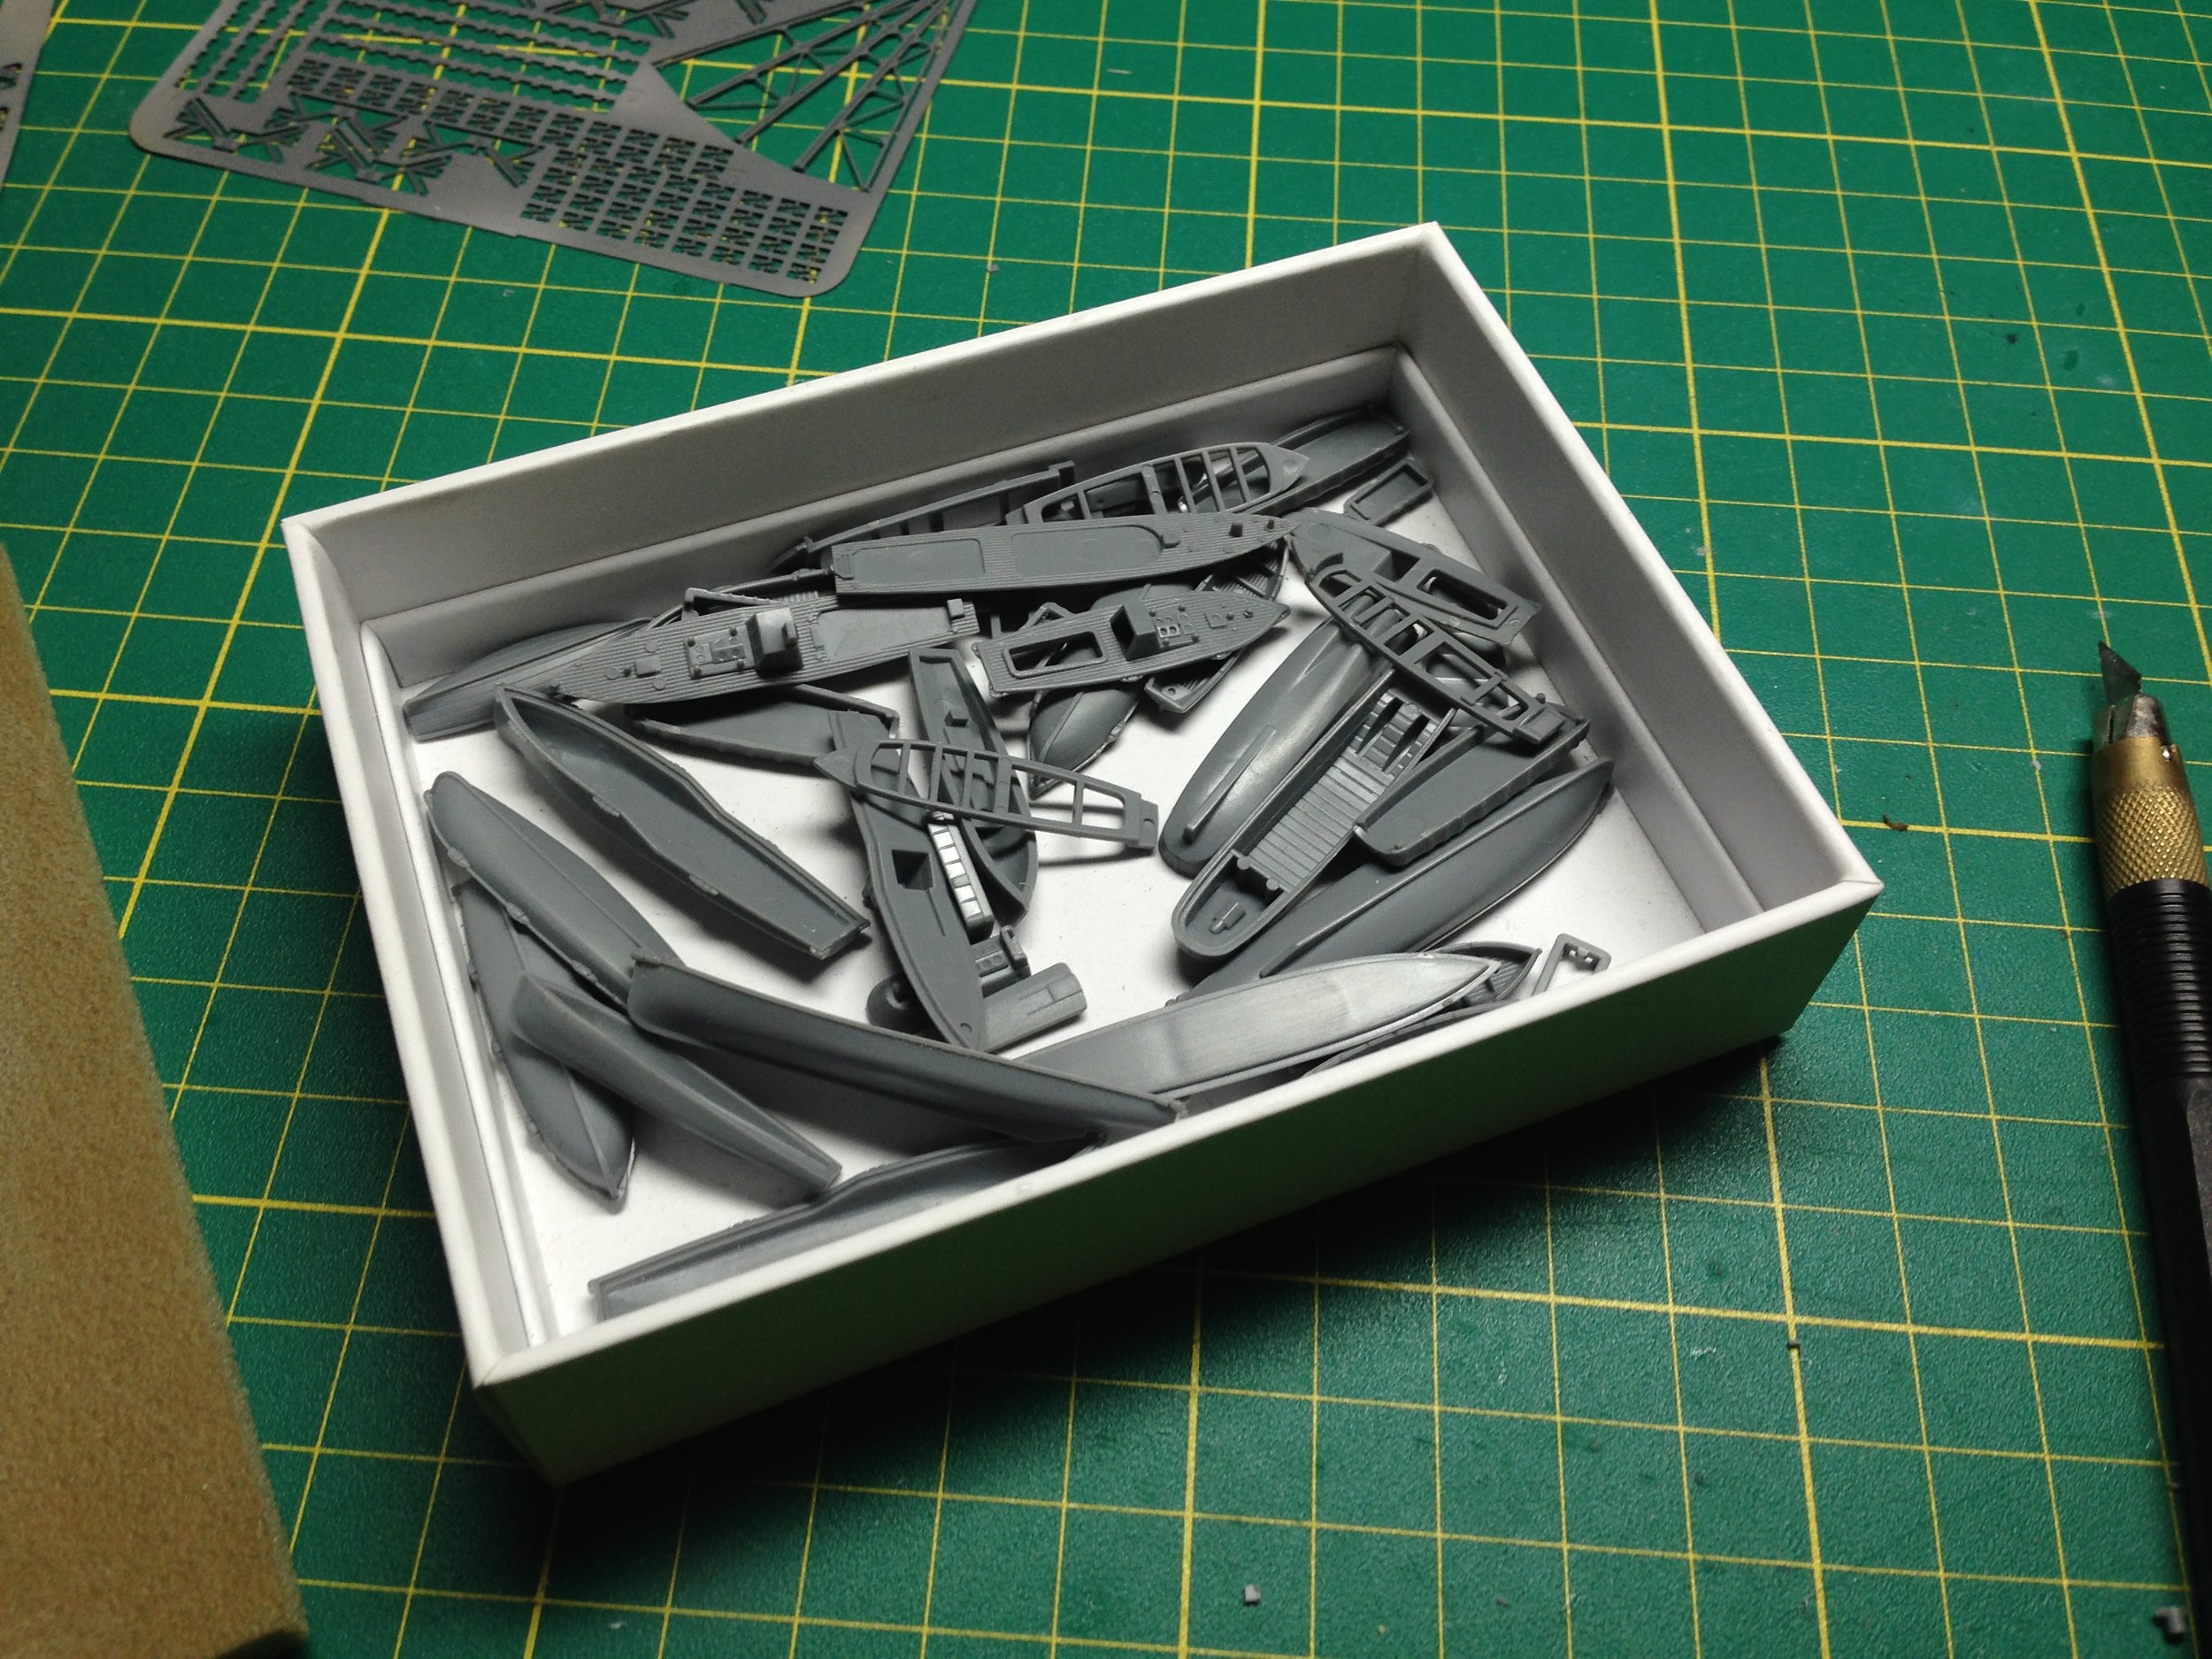
Customized landing boats with cargo made with photo-etched boxes and lefovers from the Scort ship.
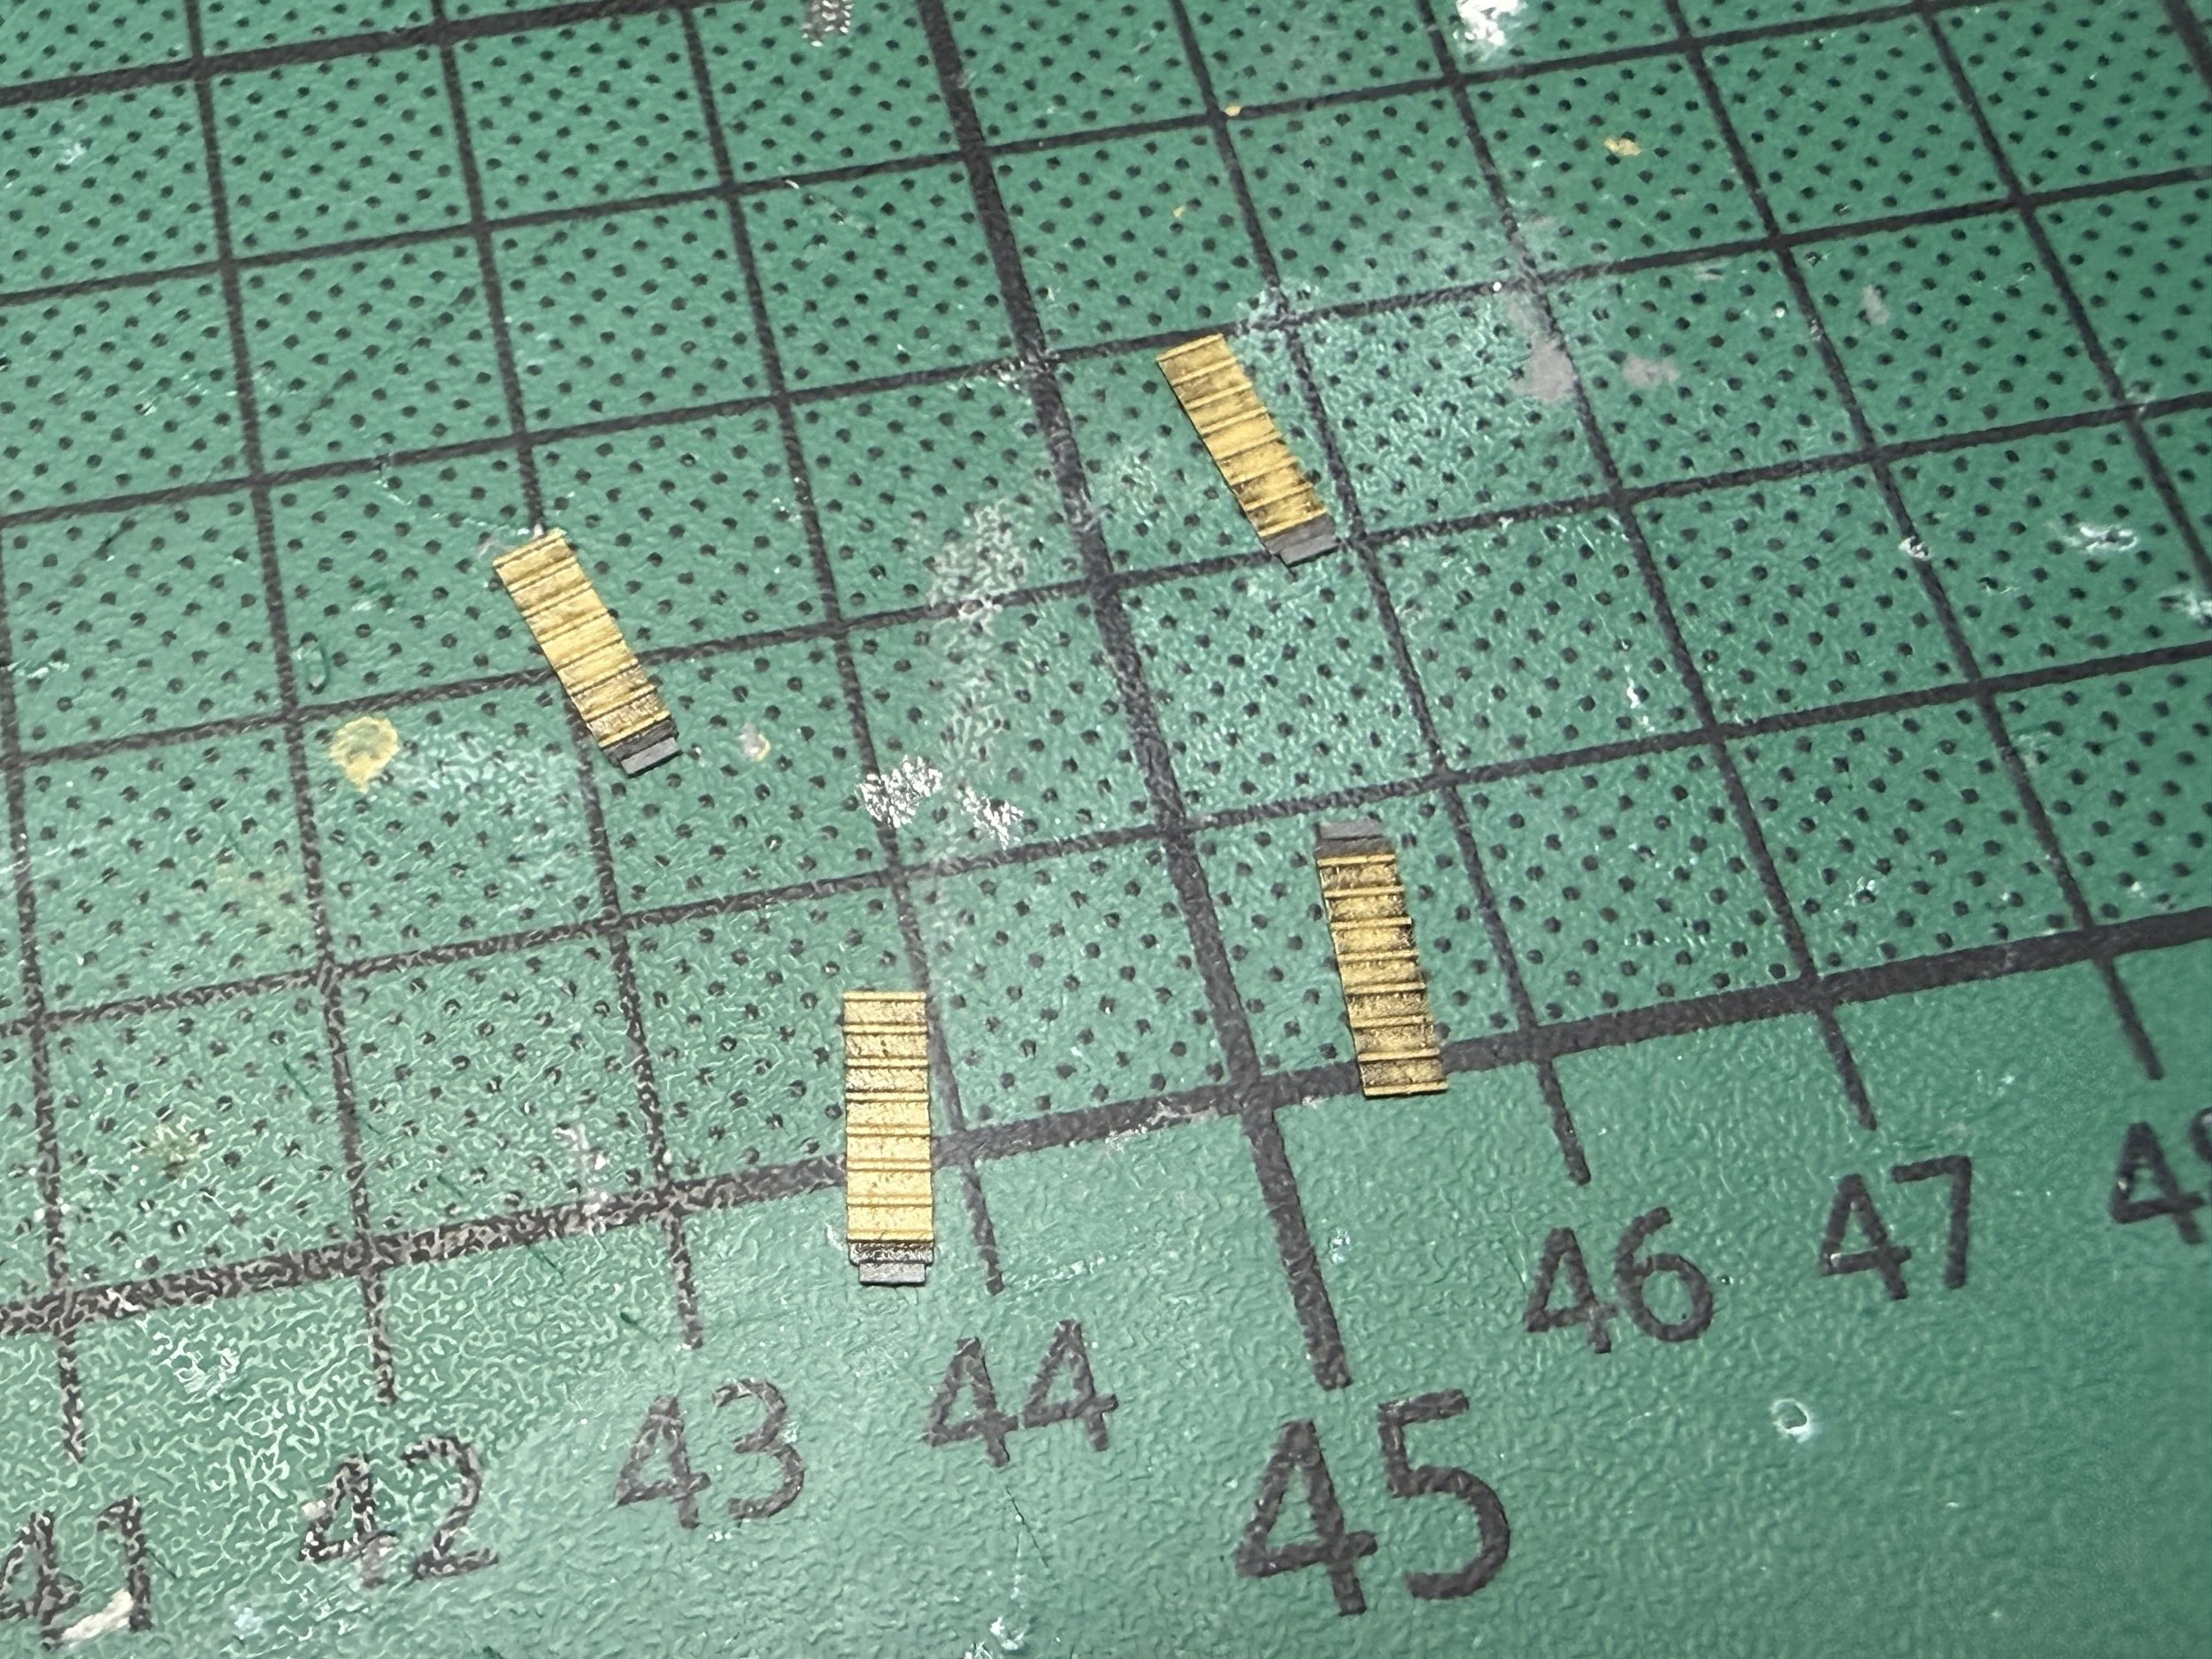
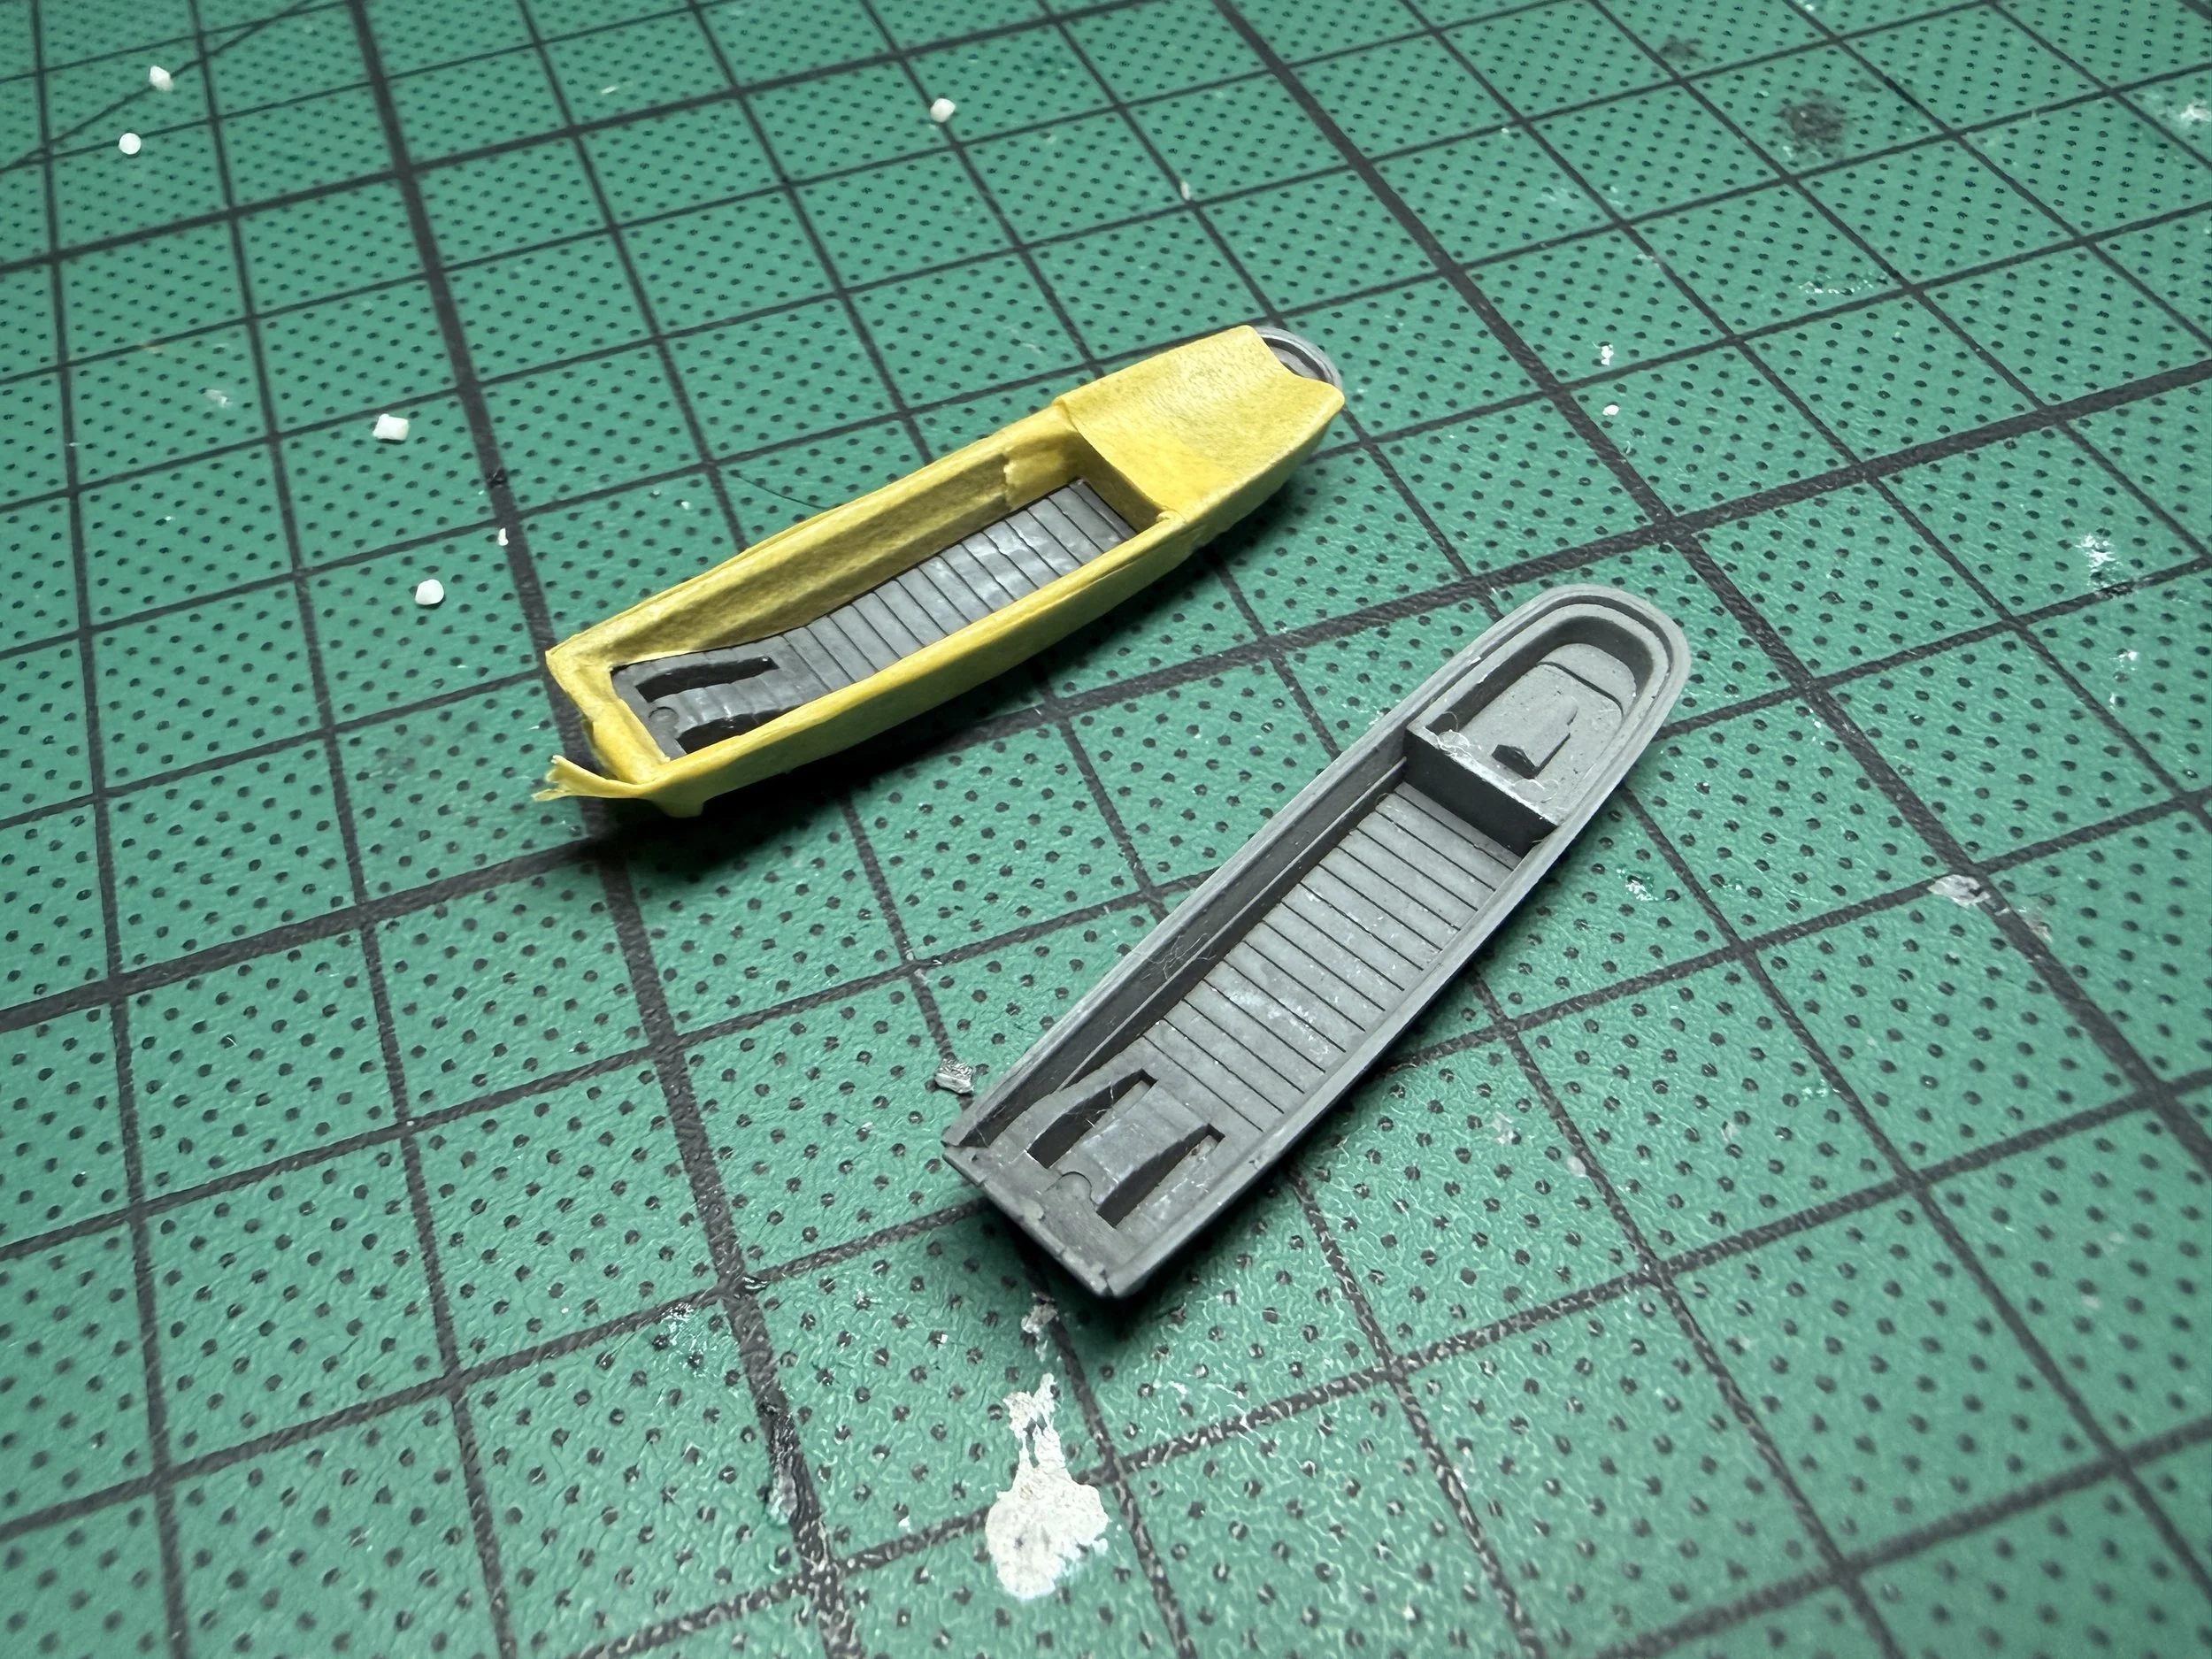
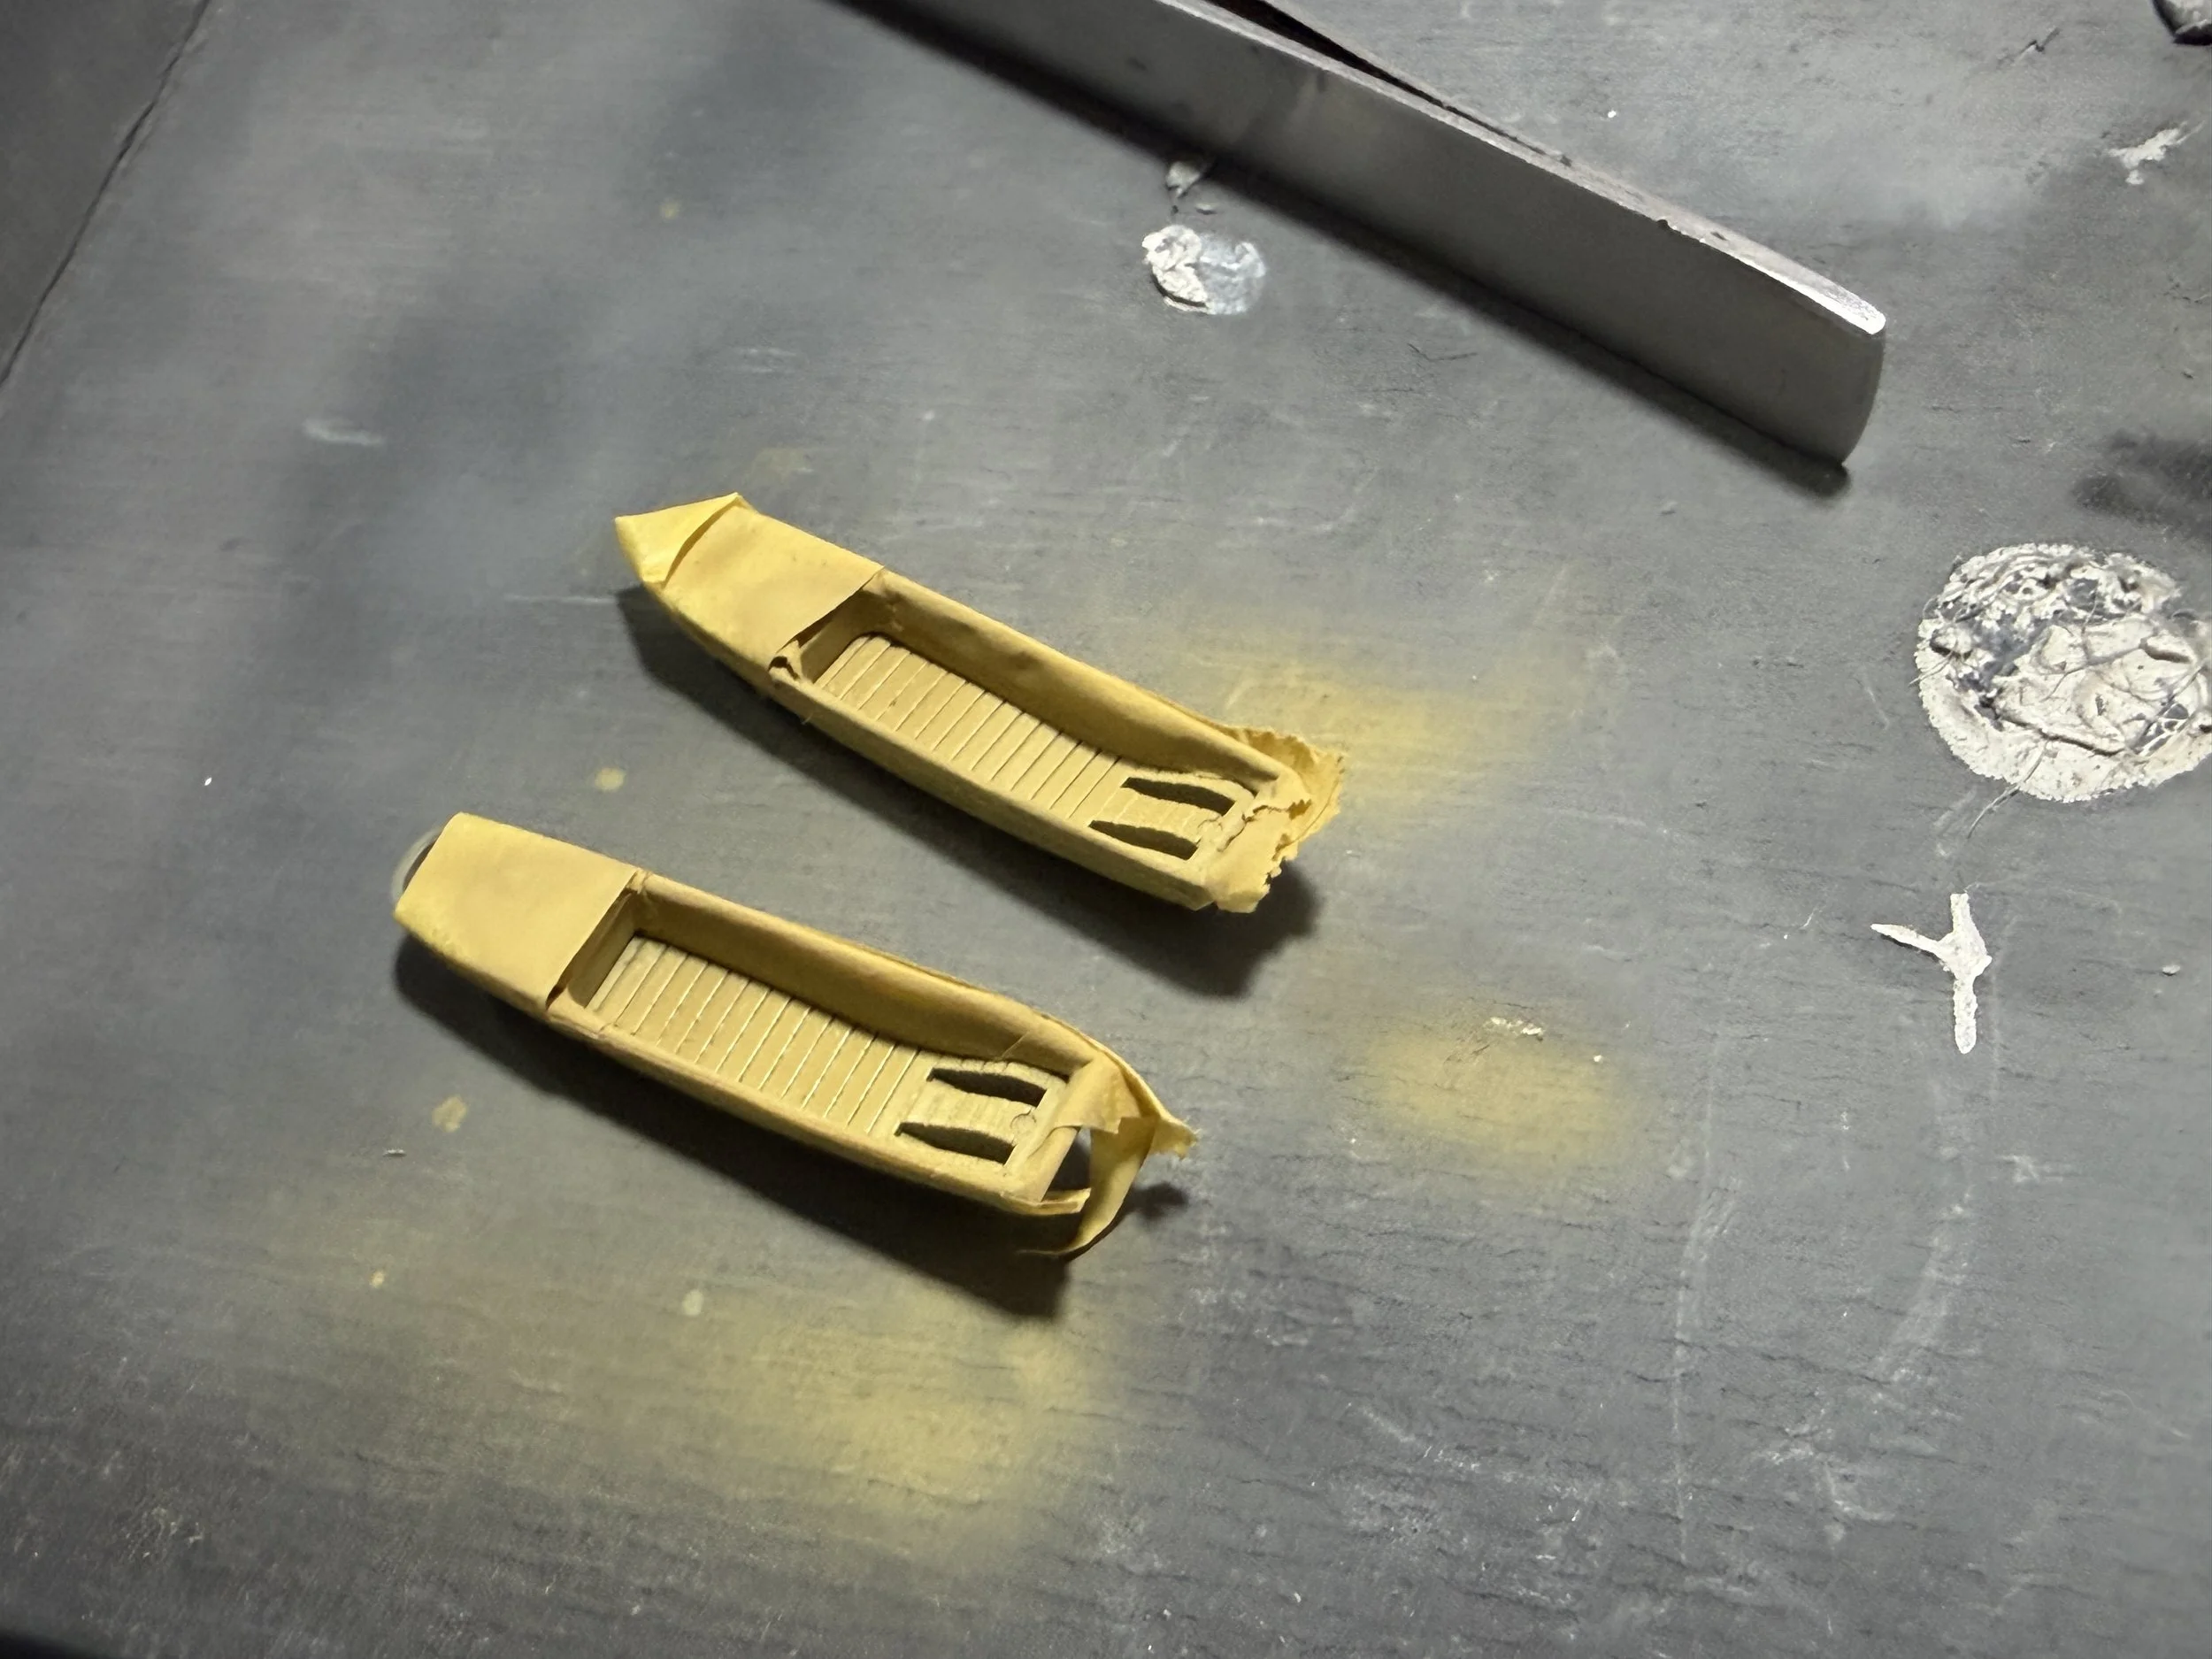
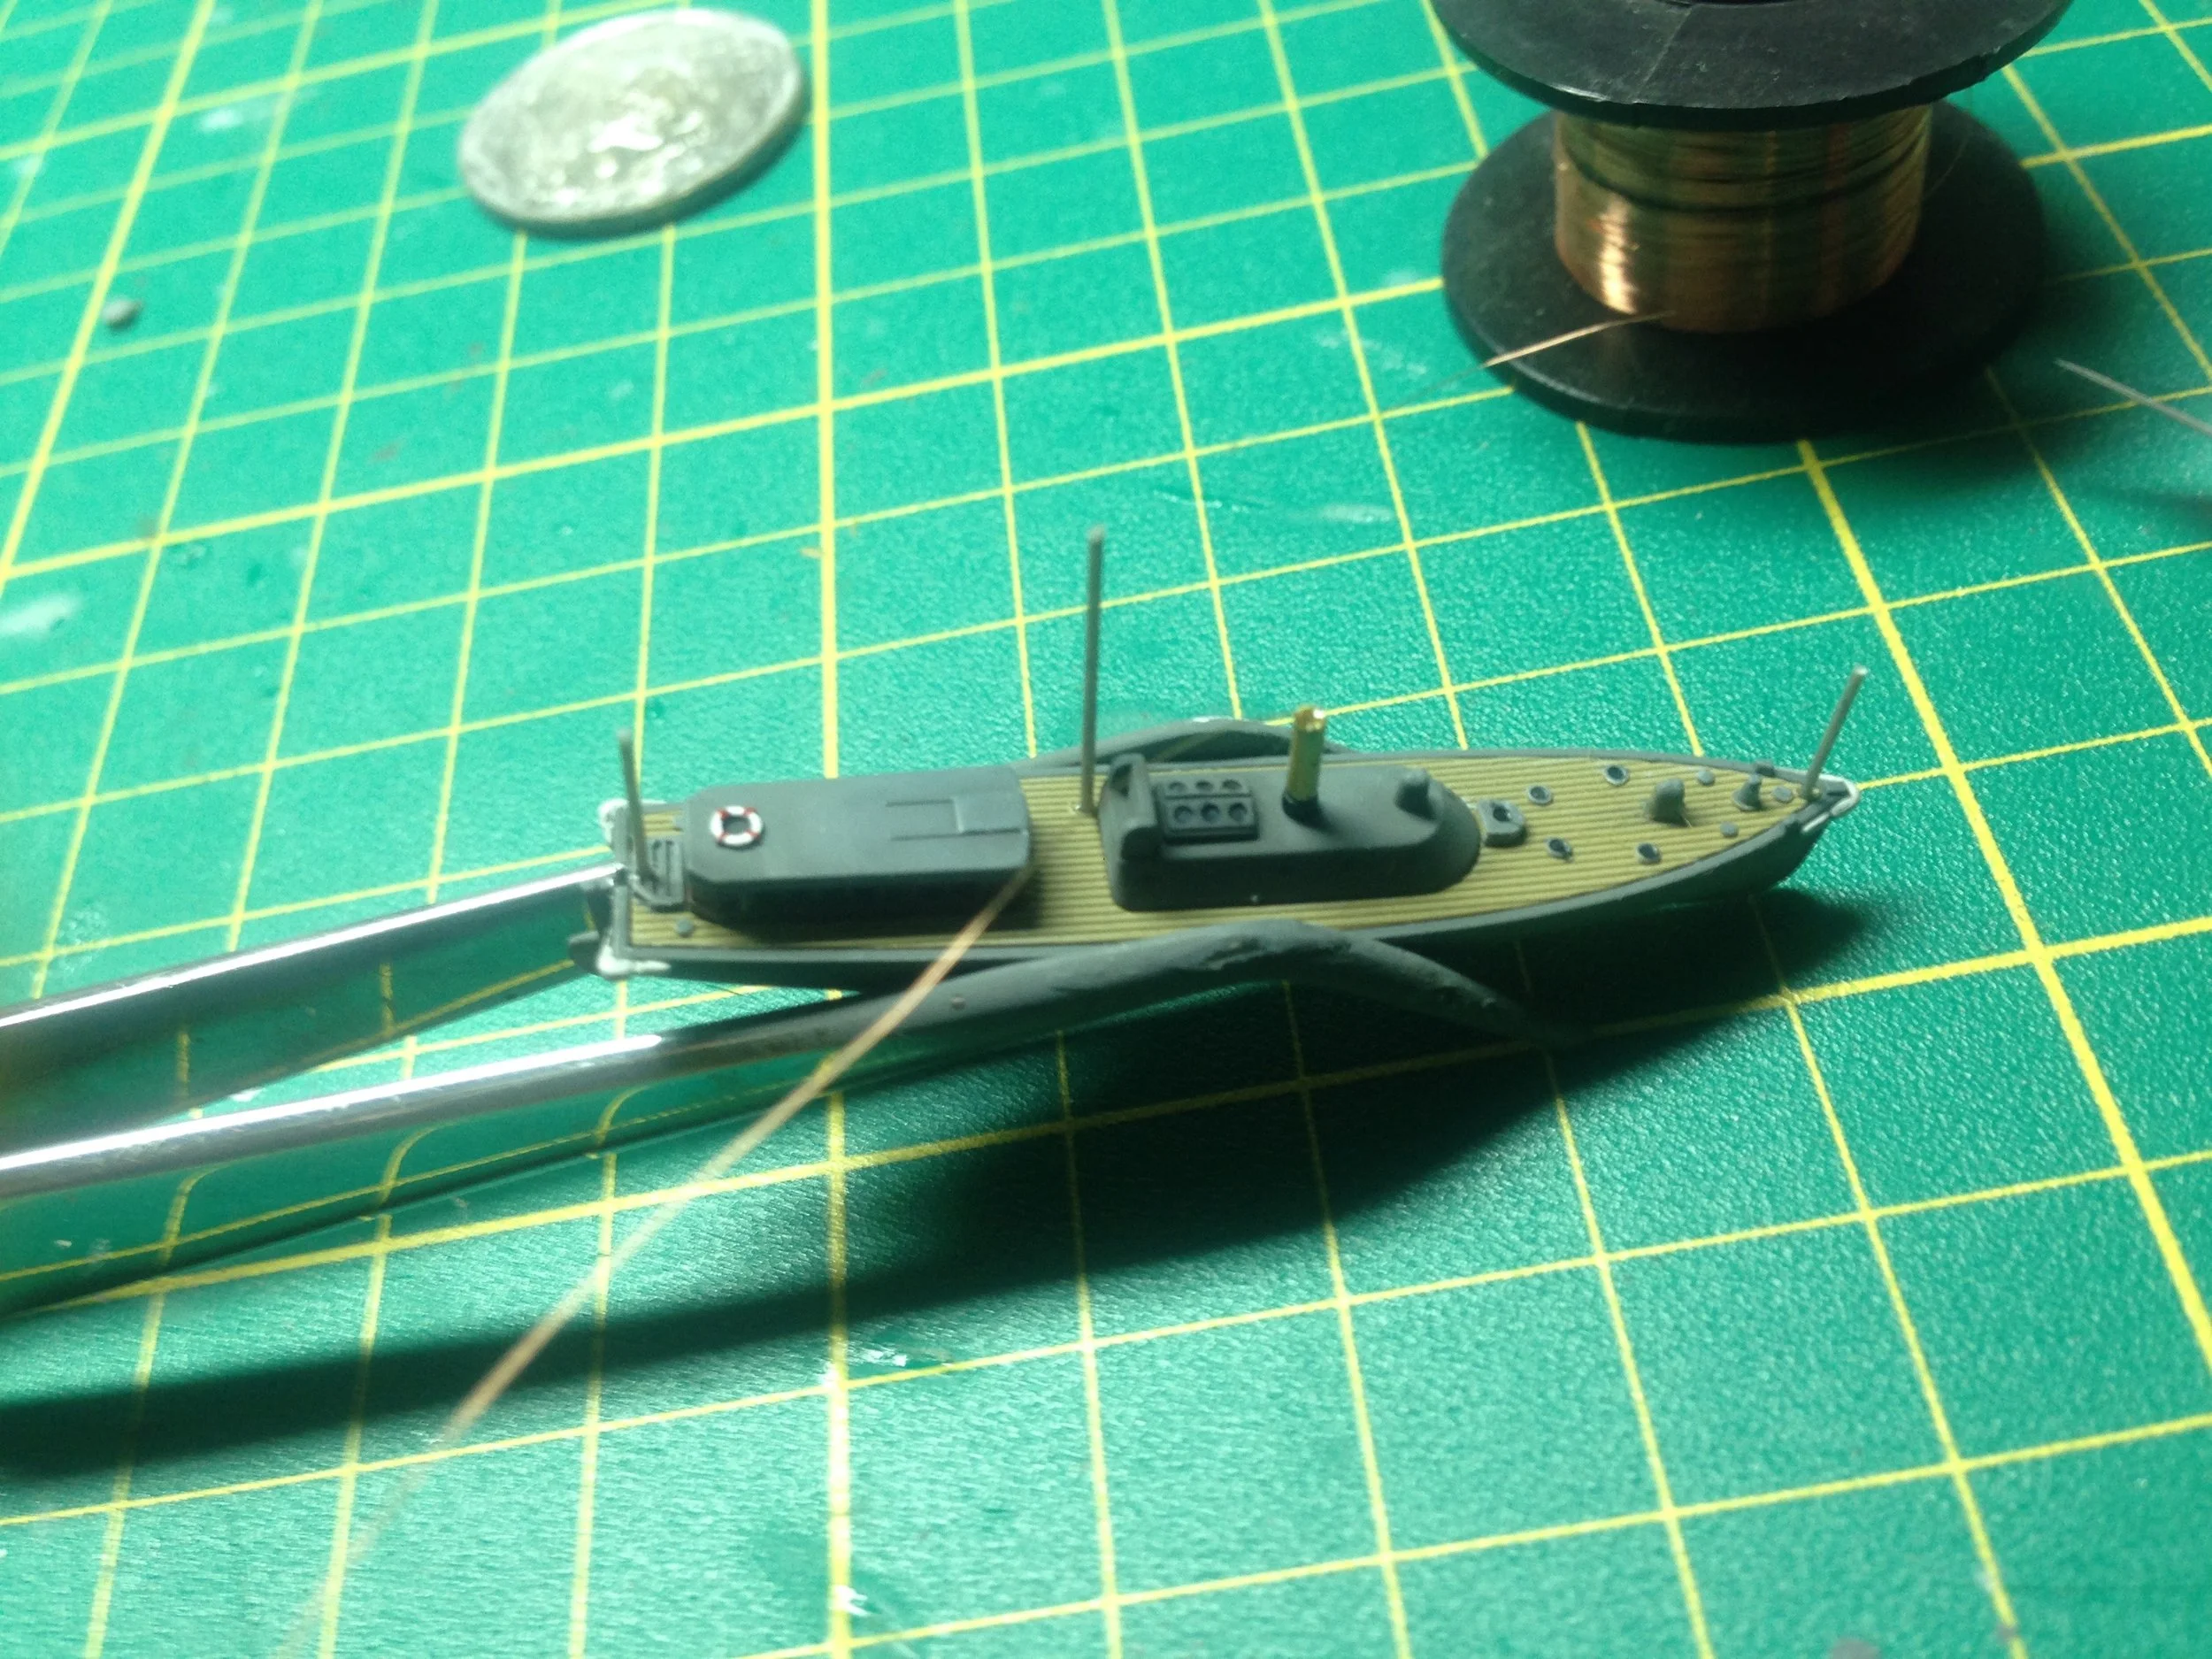
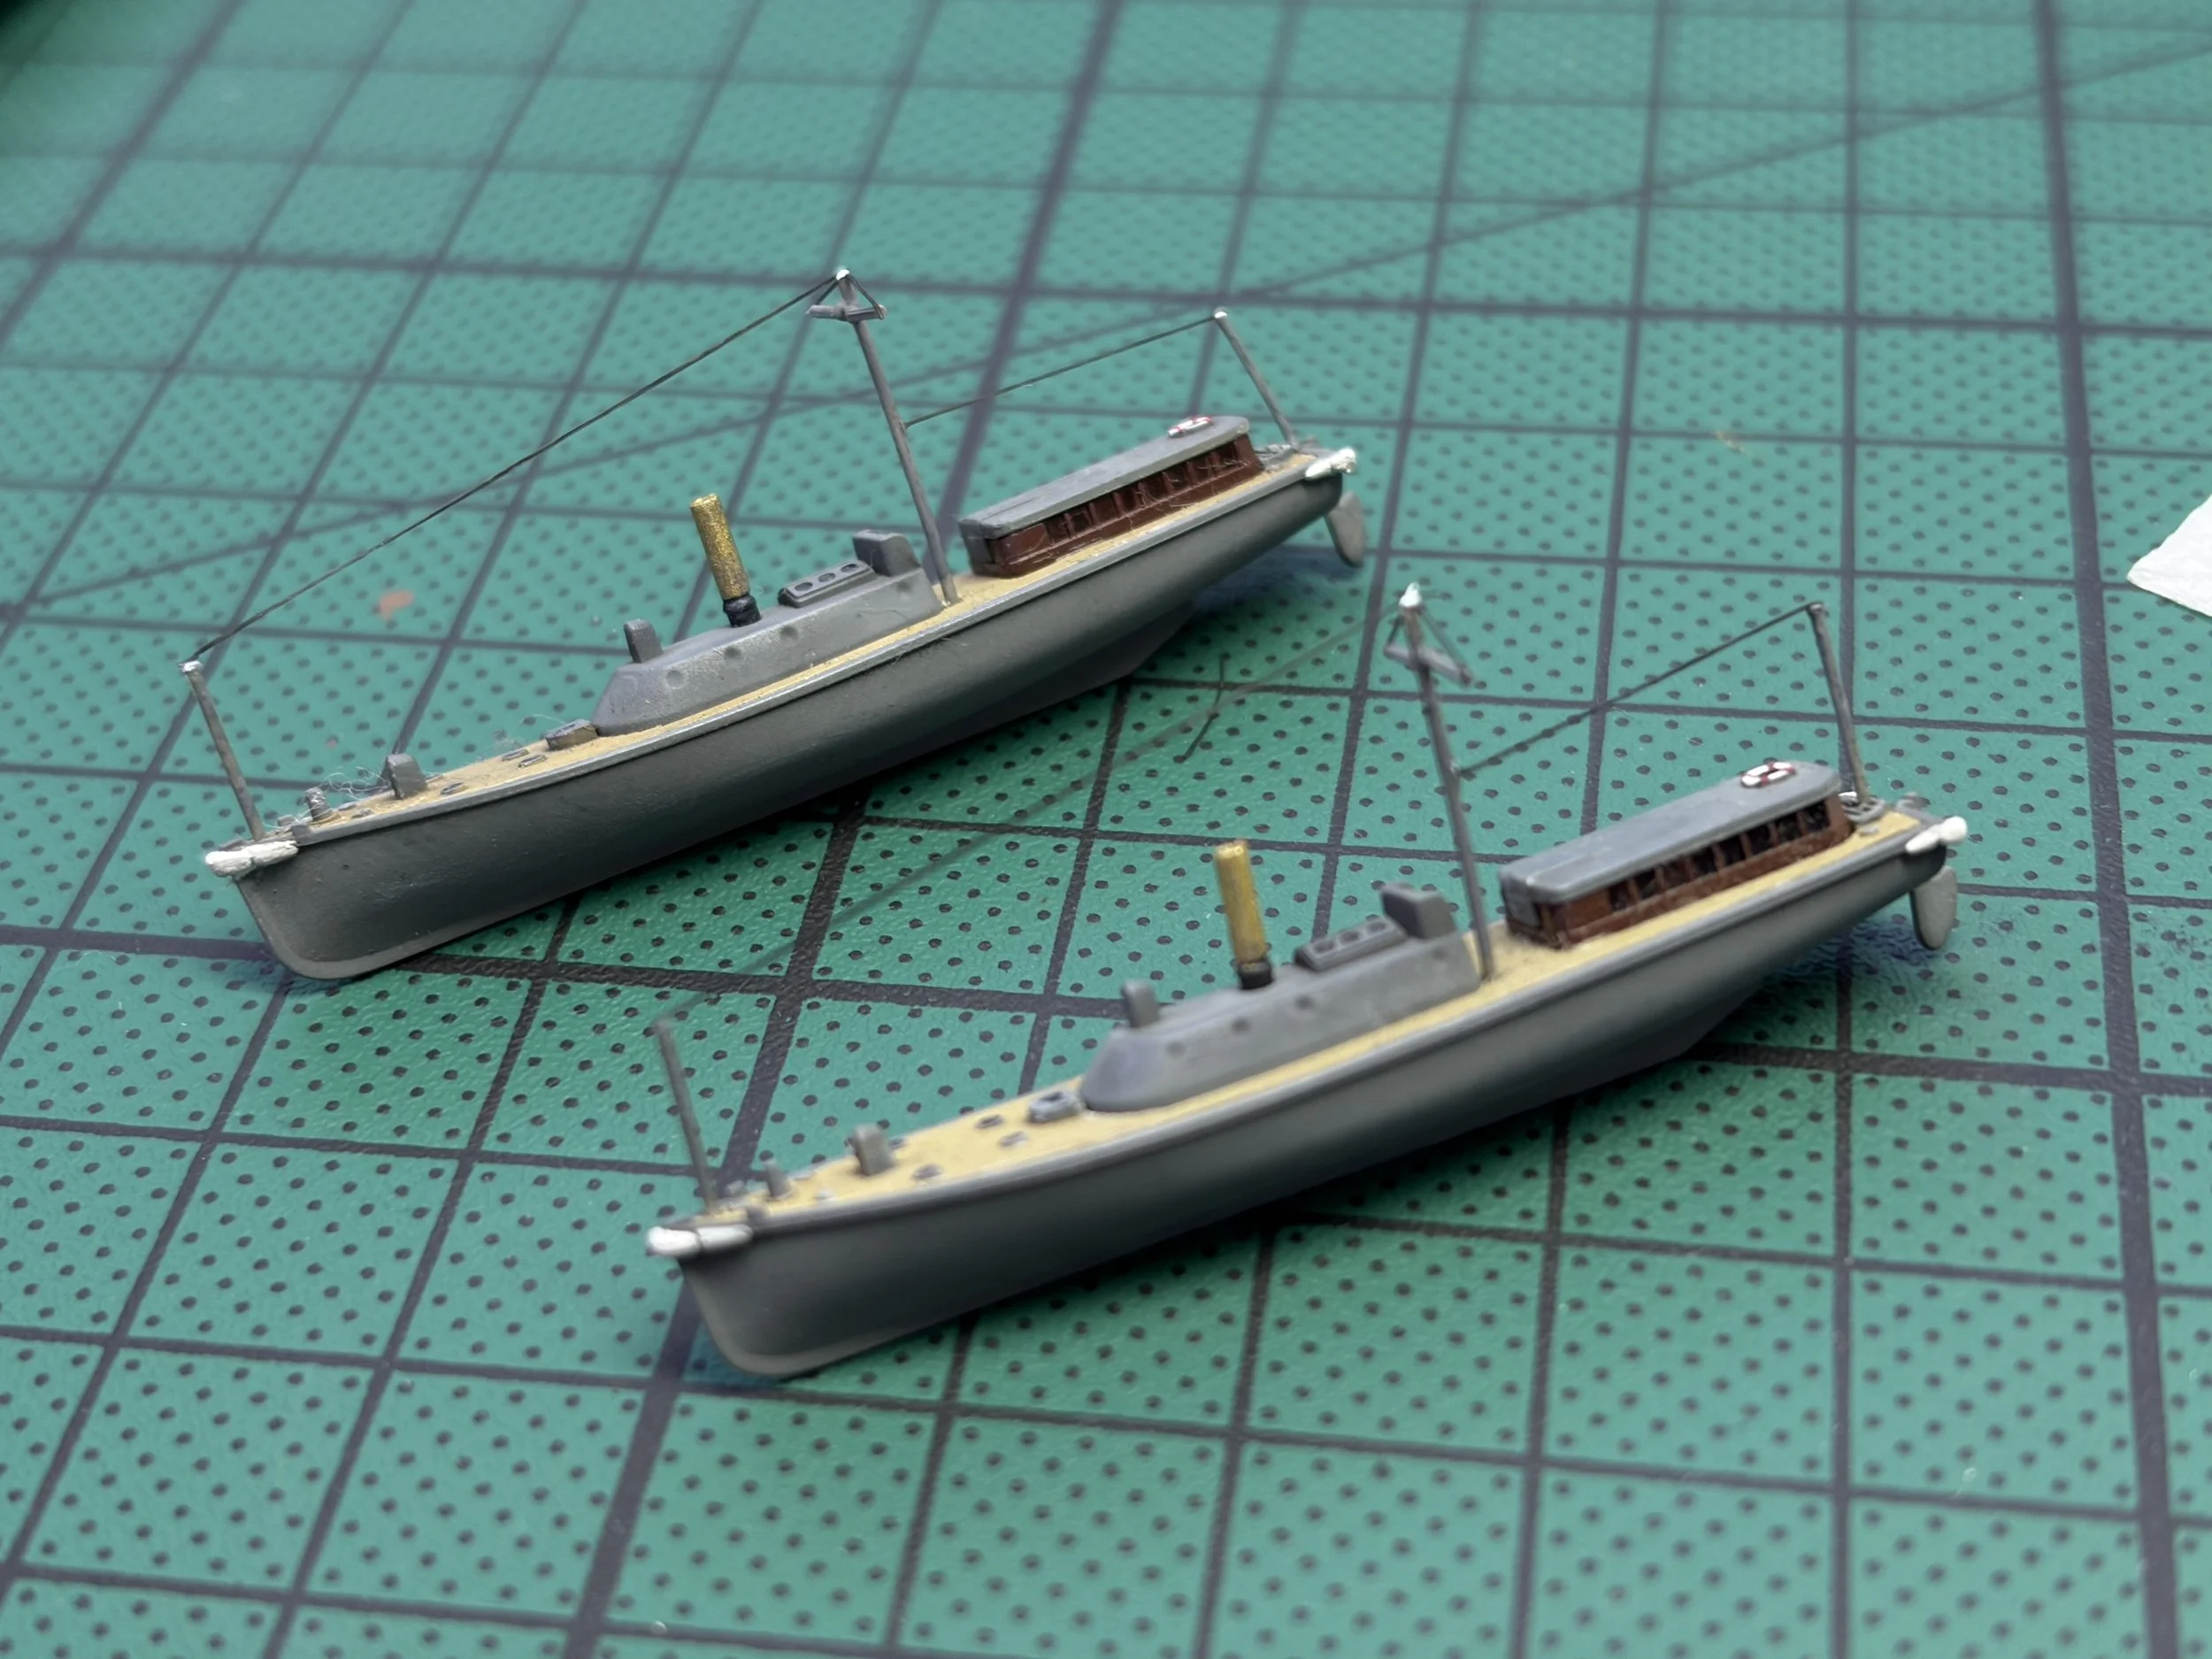
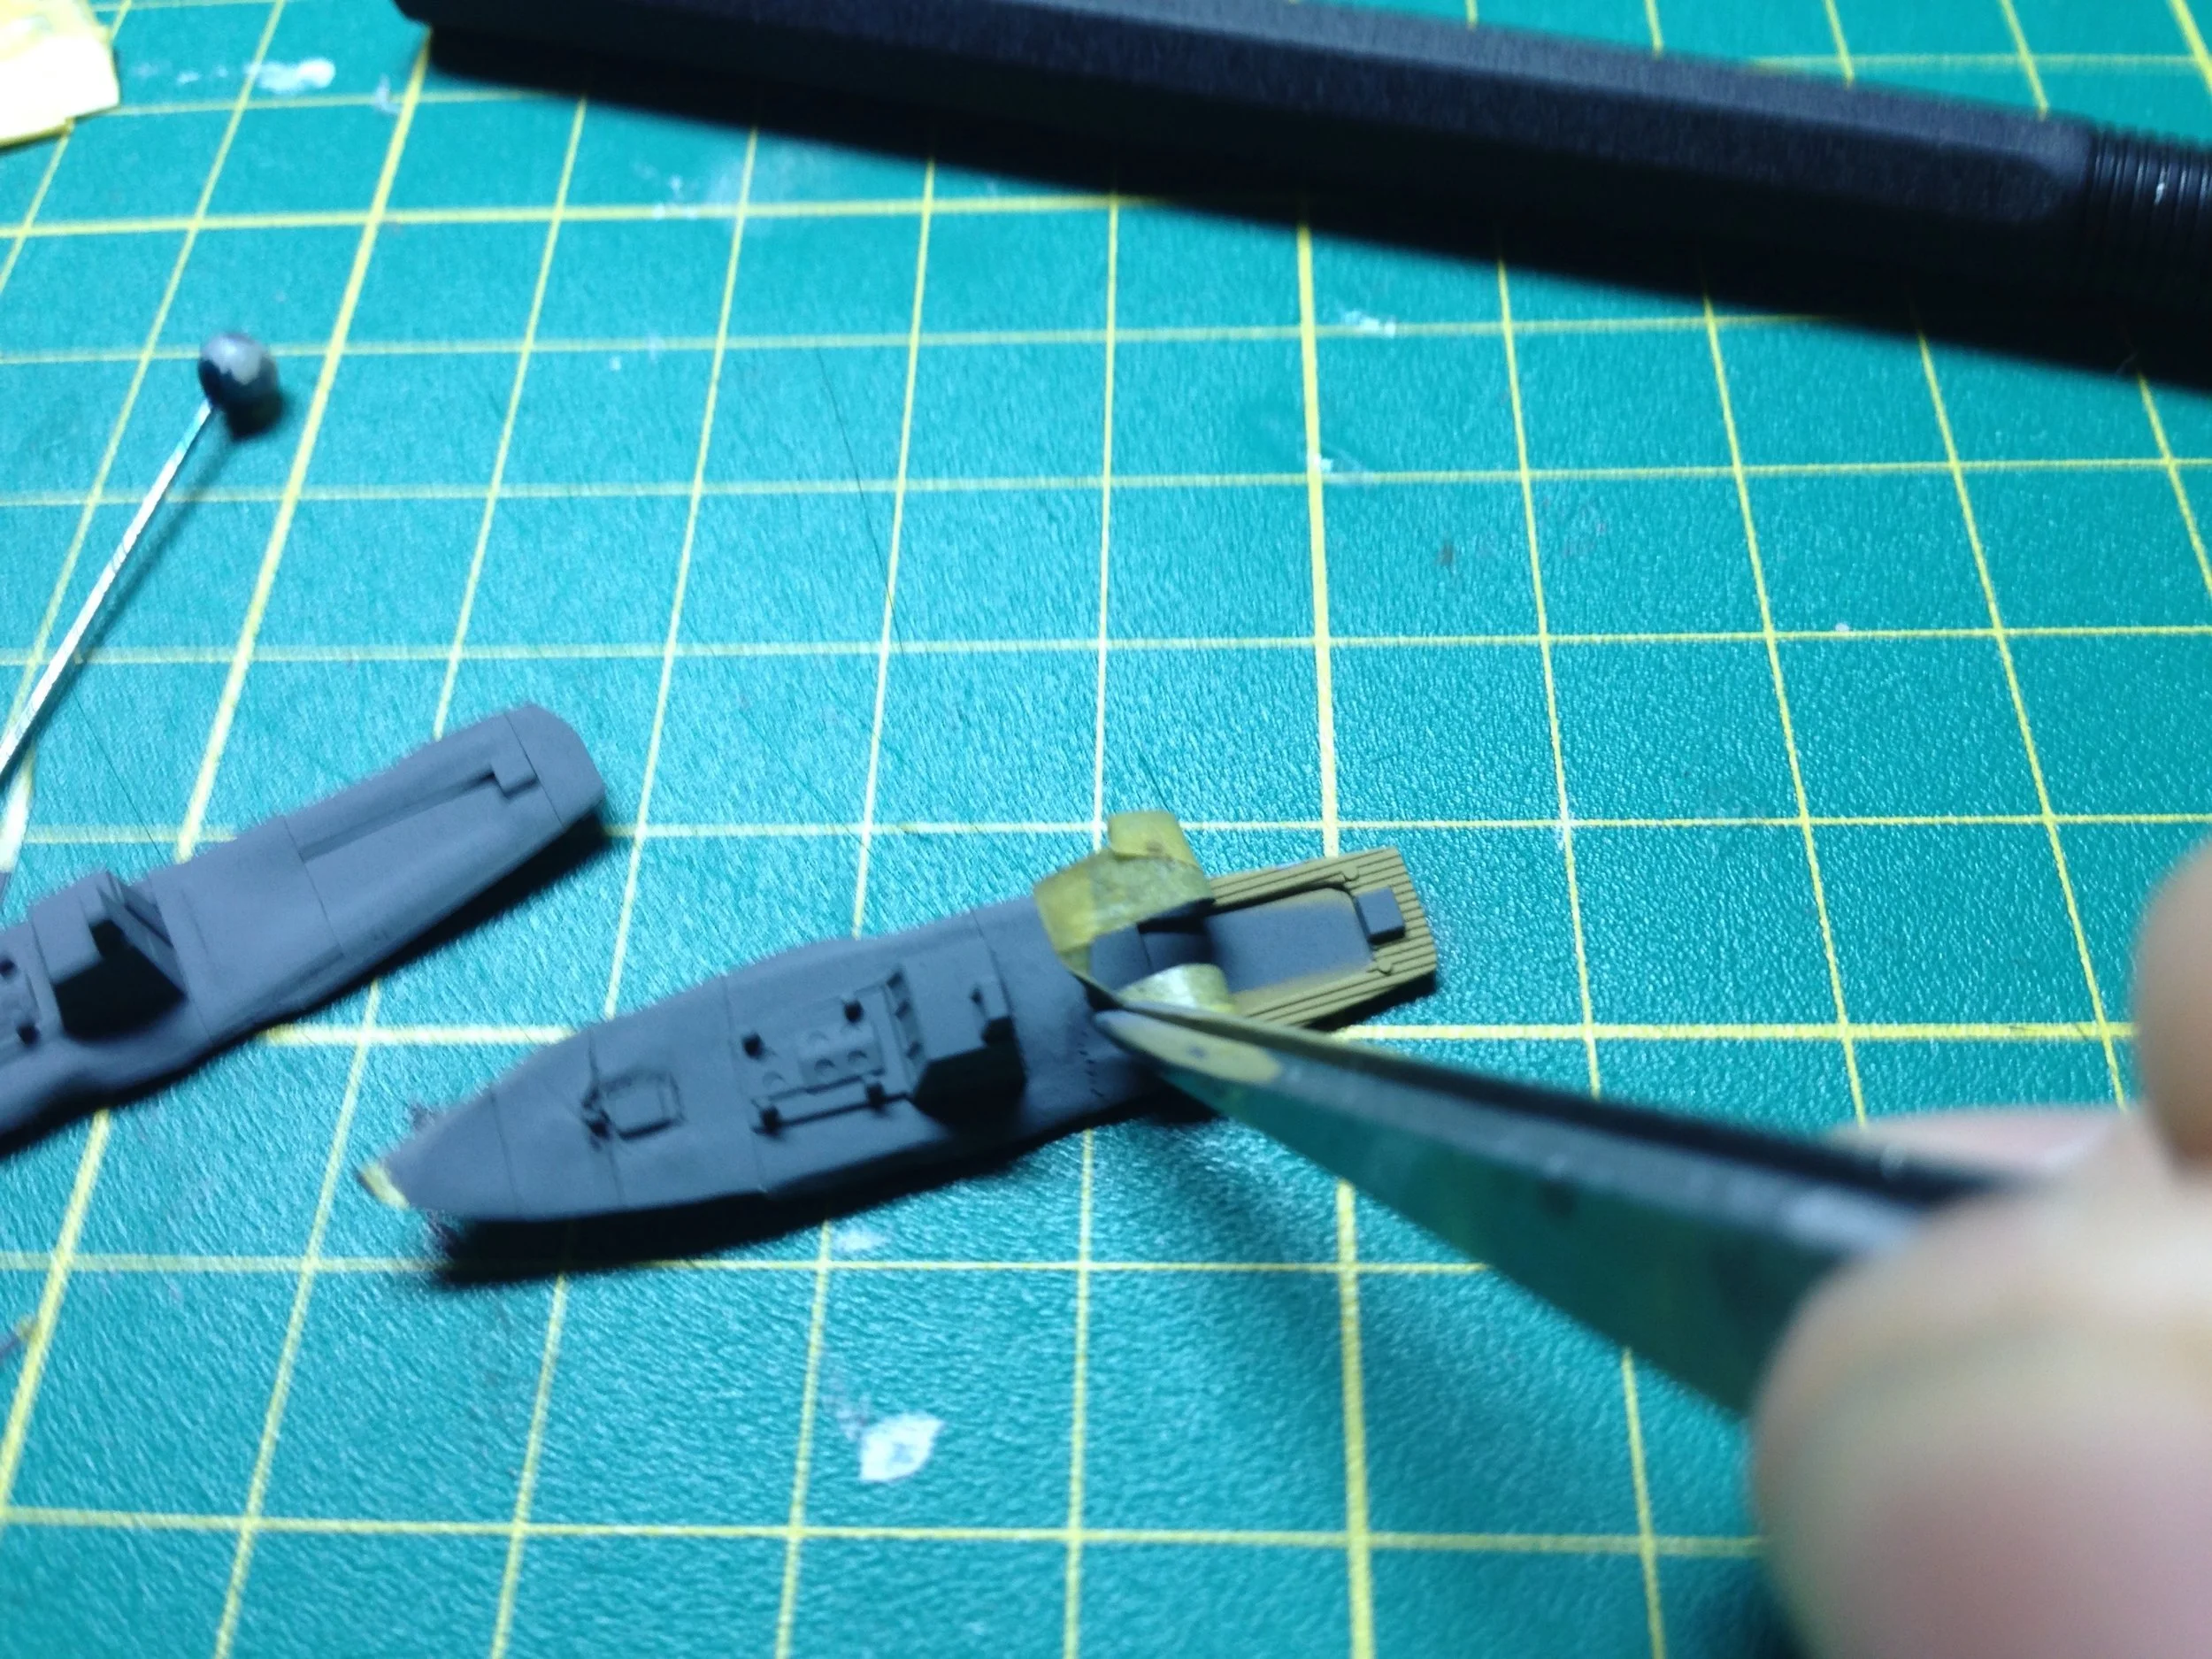
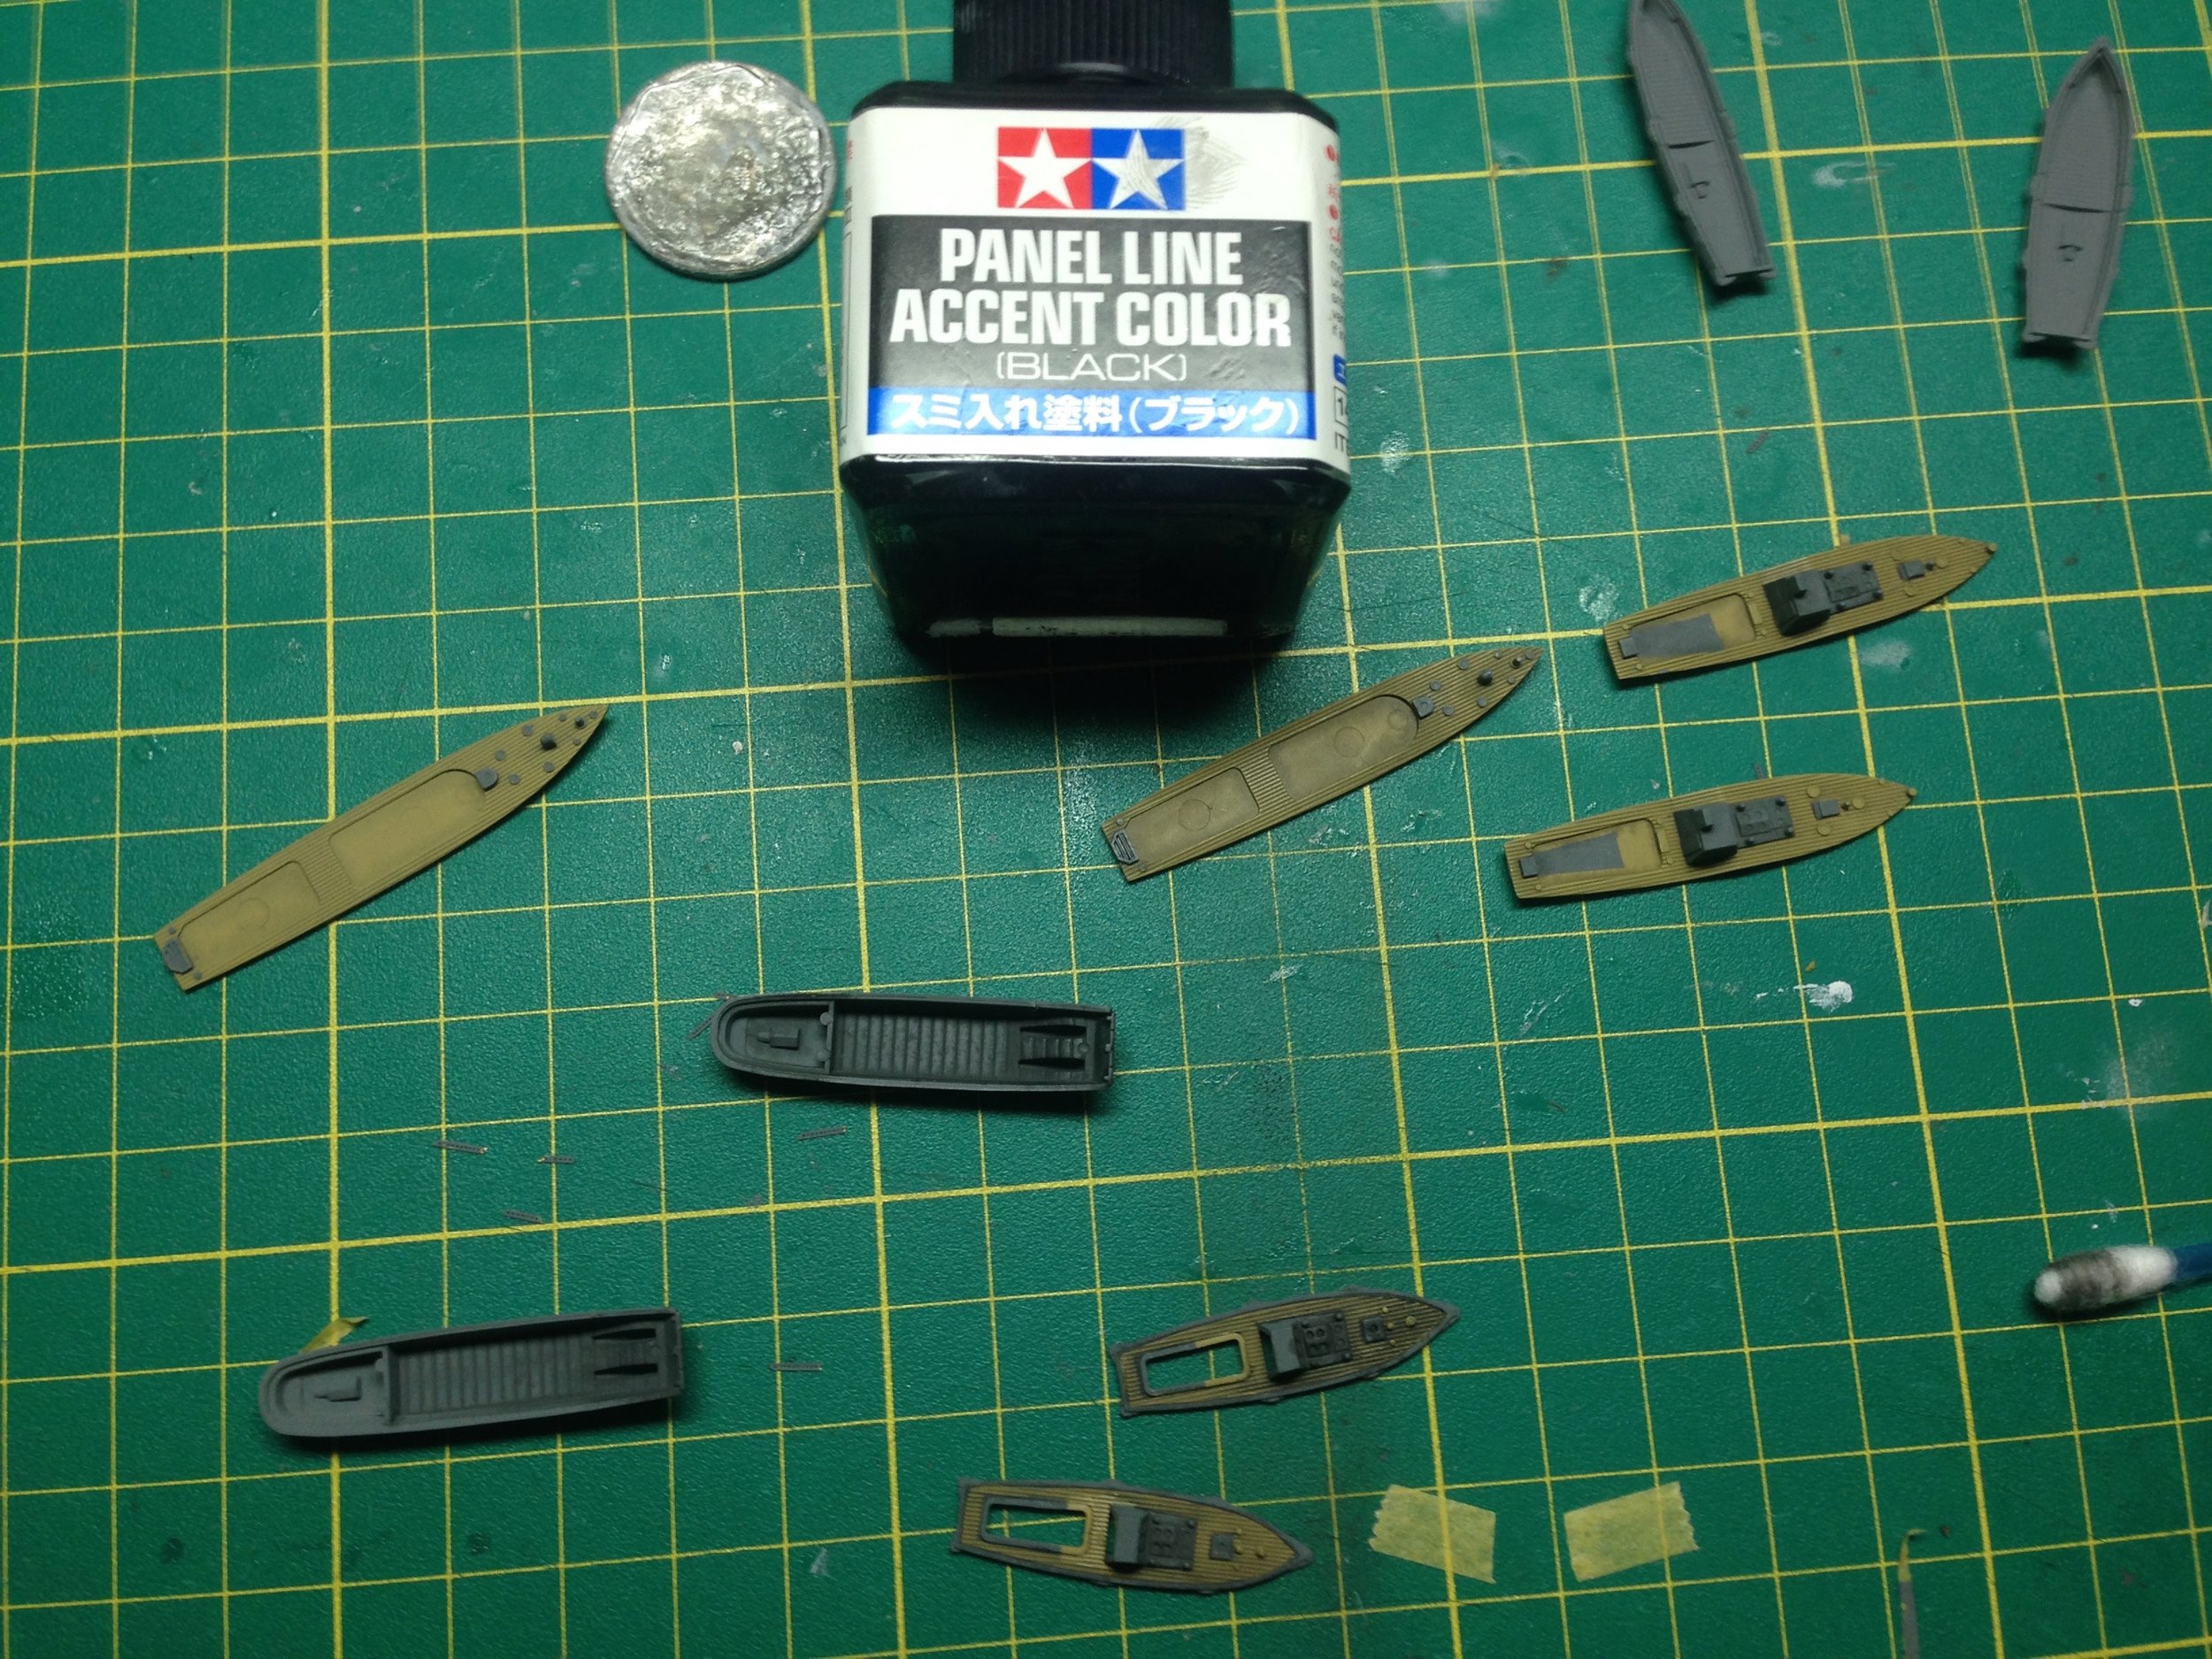
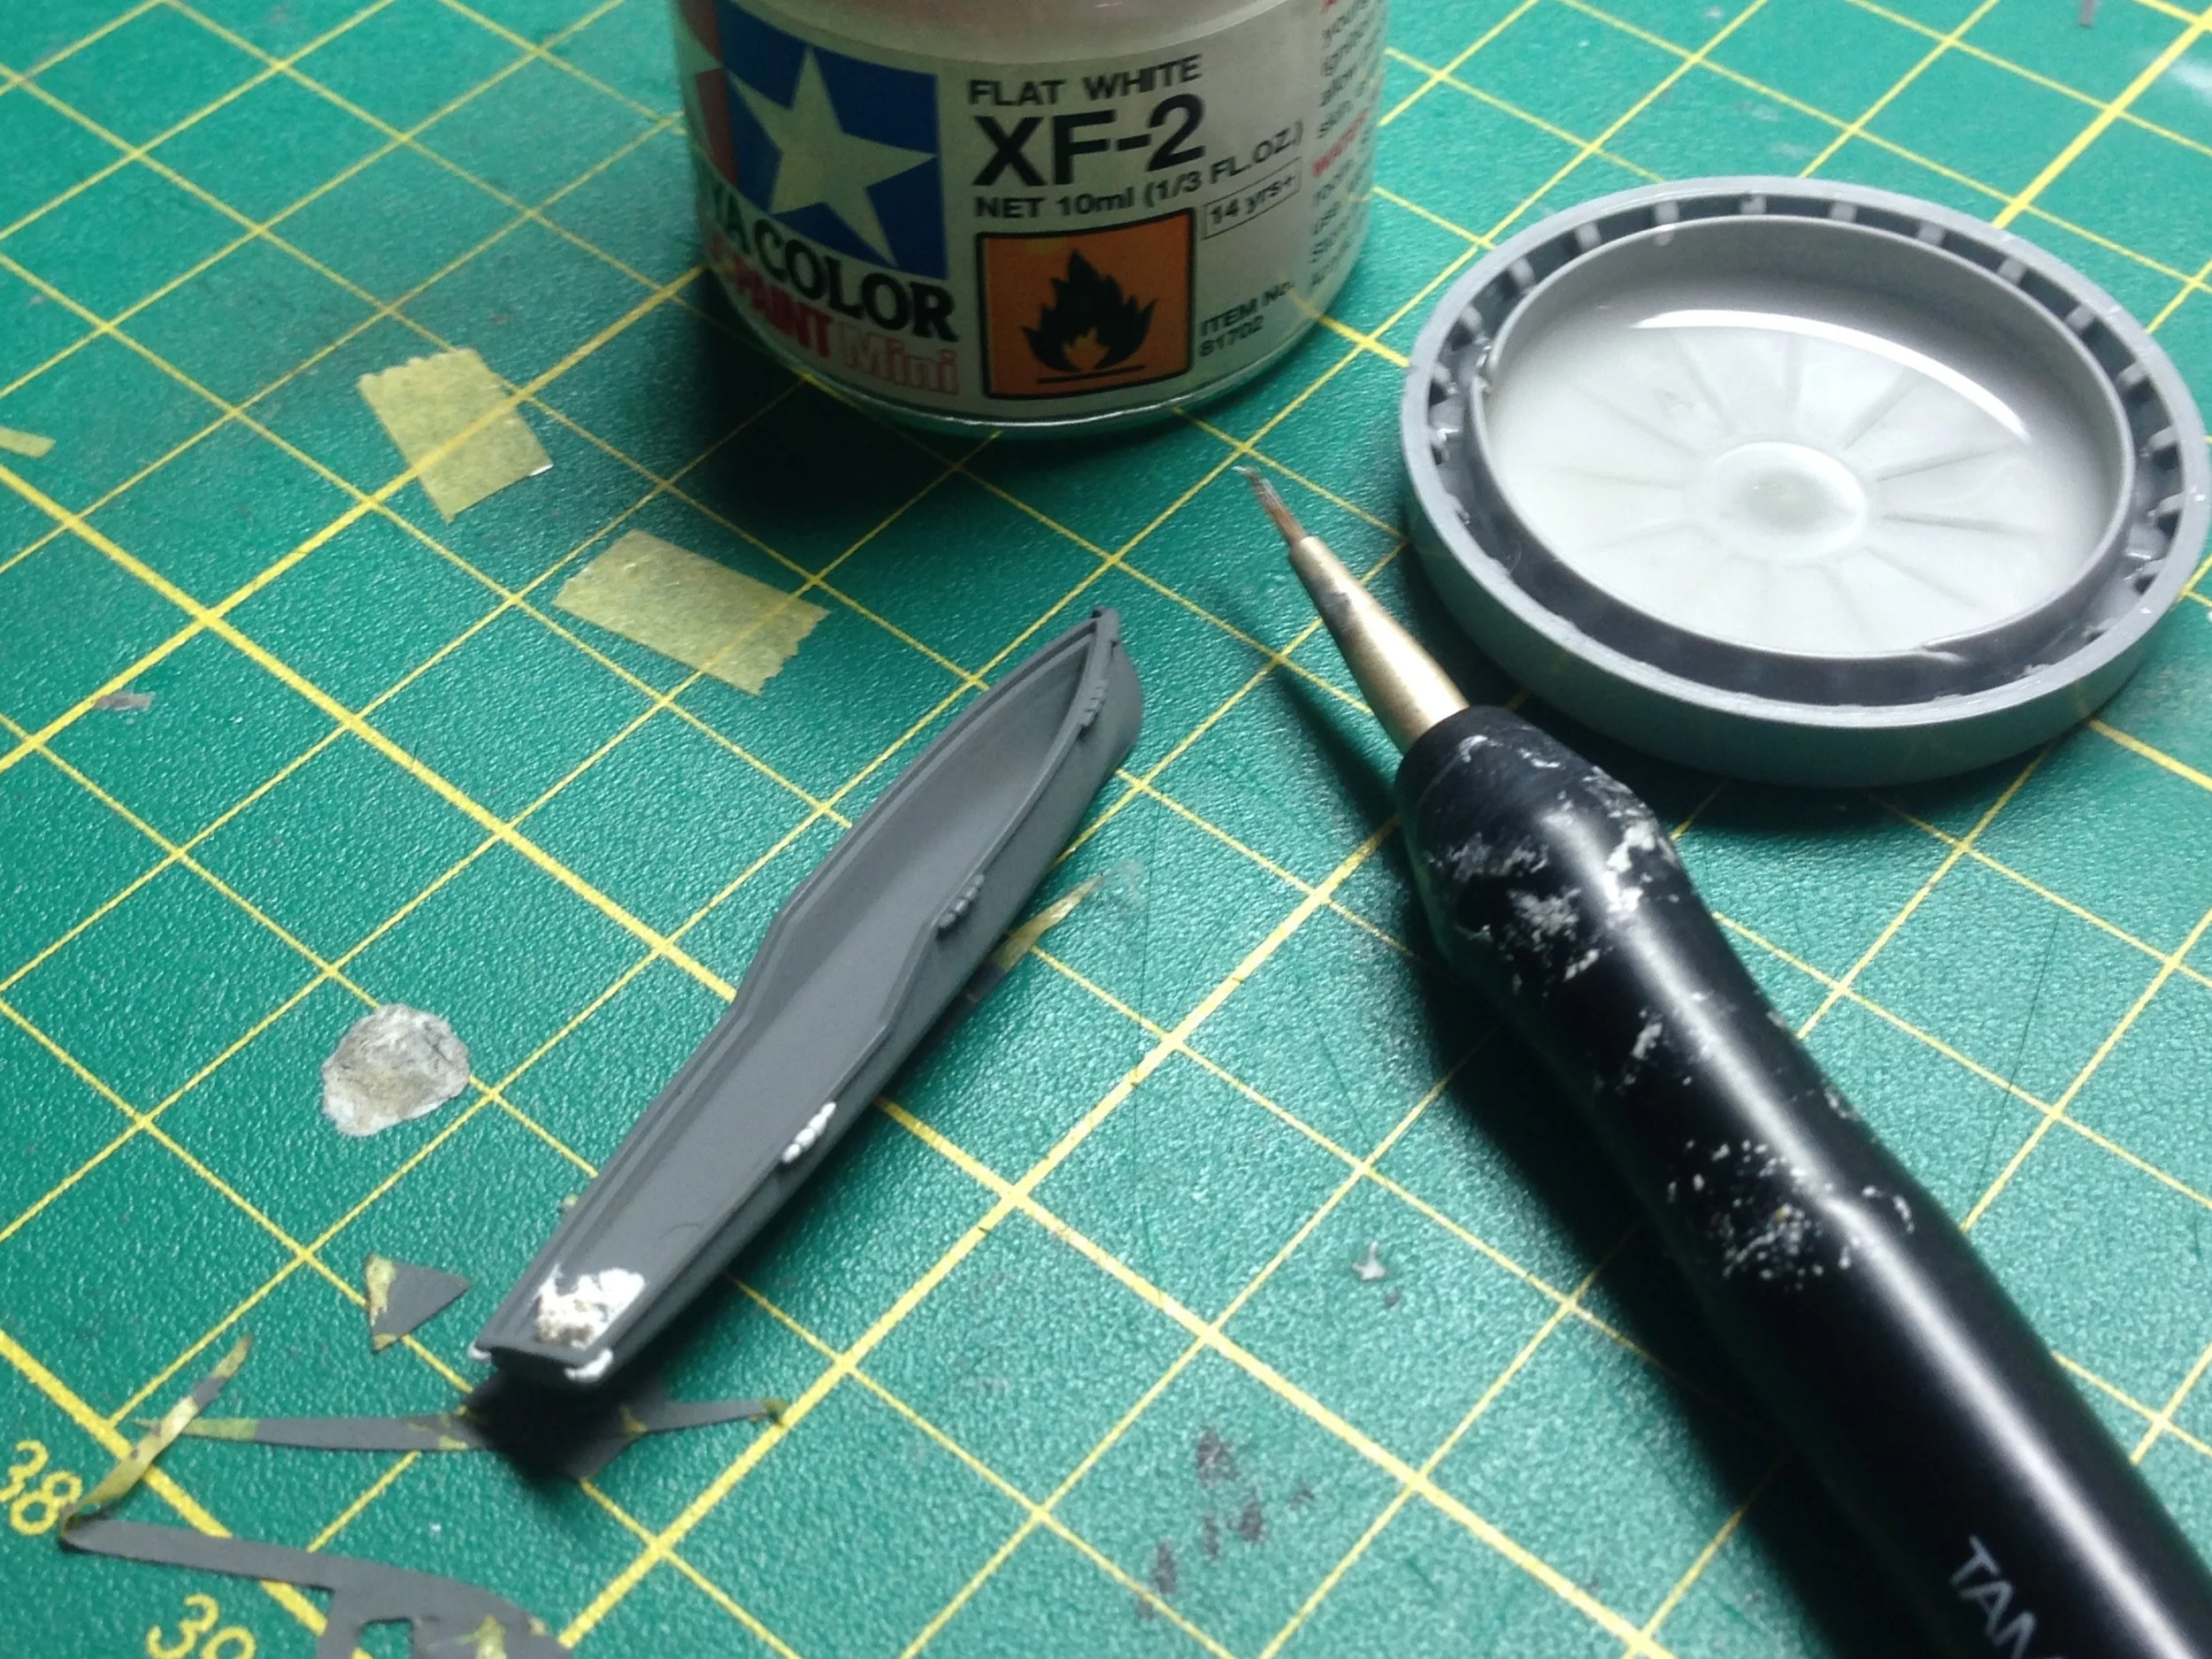
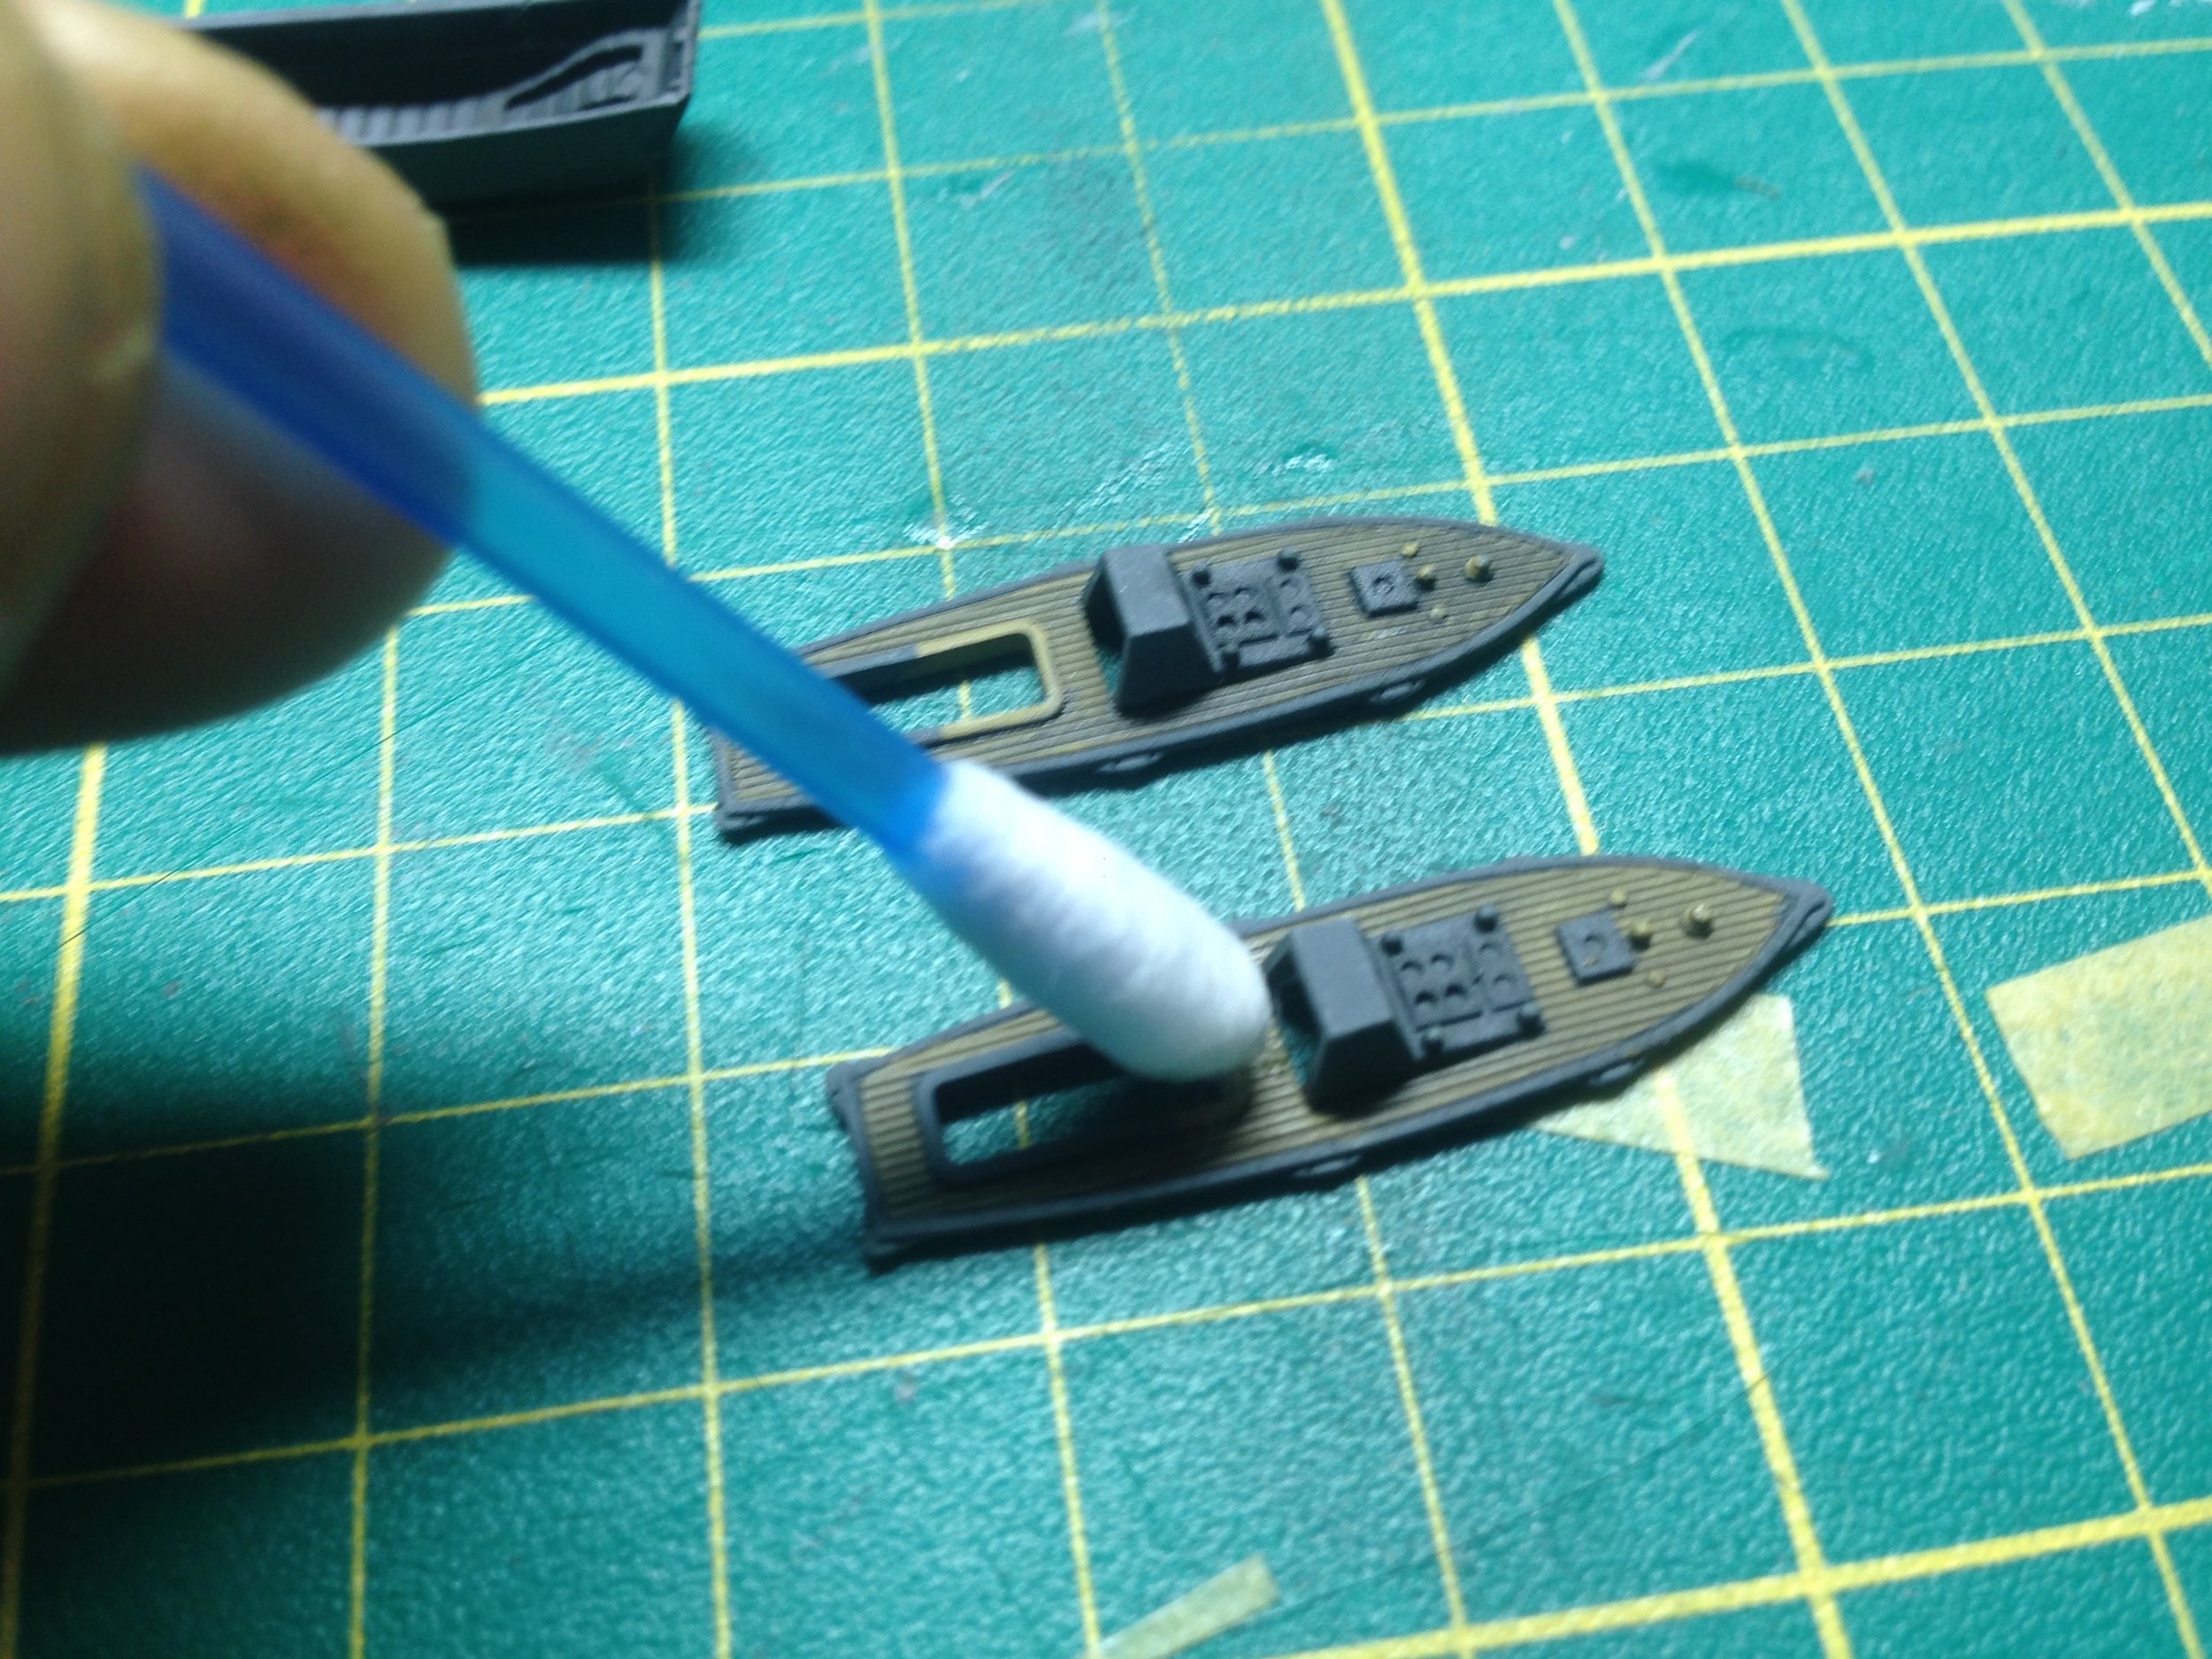
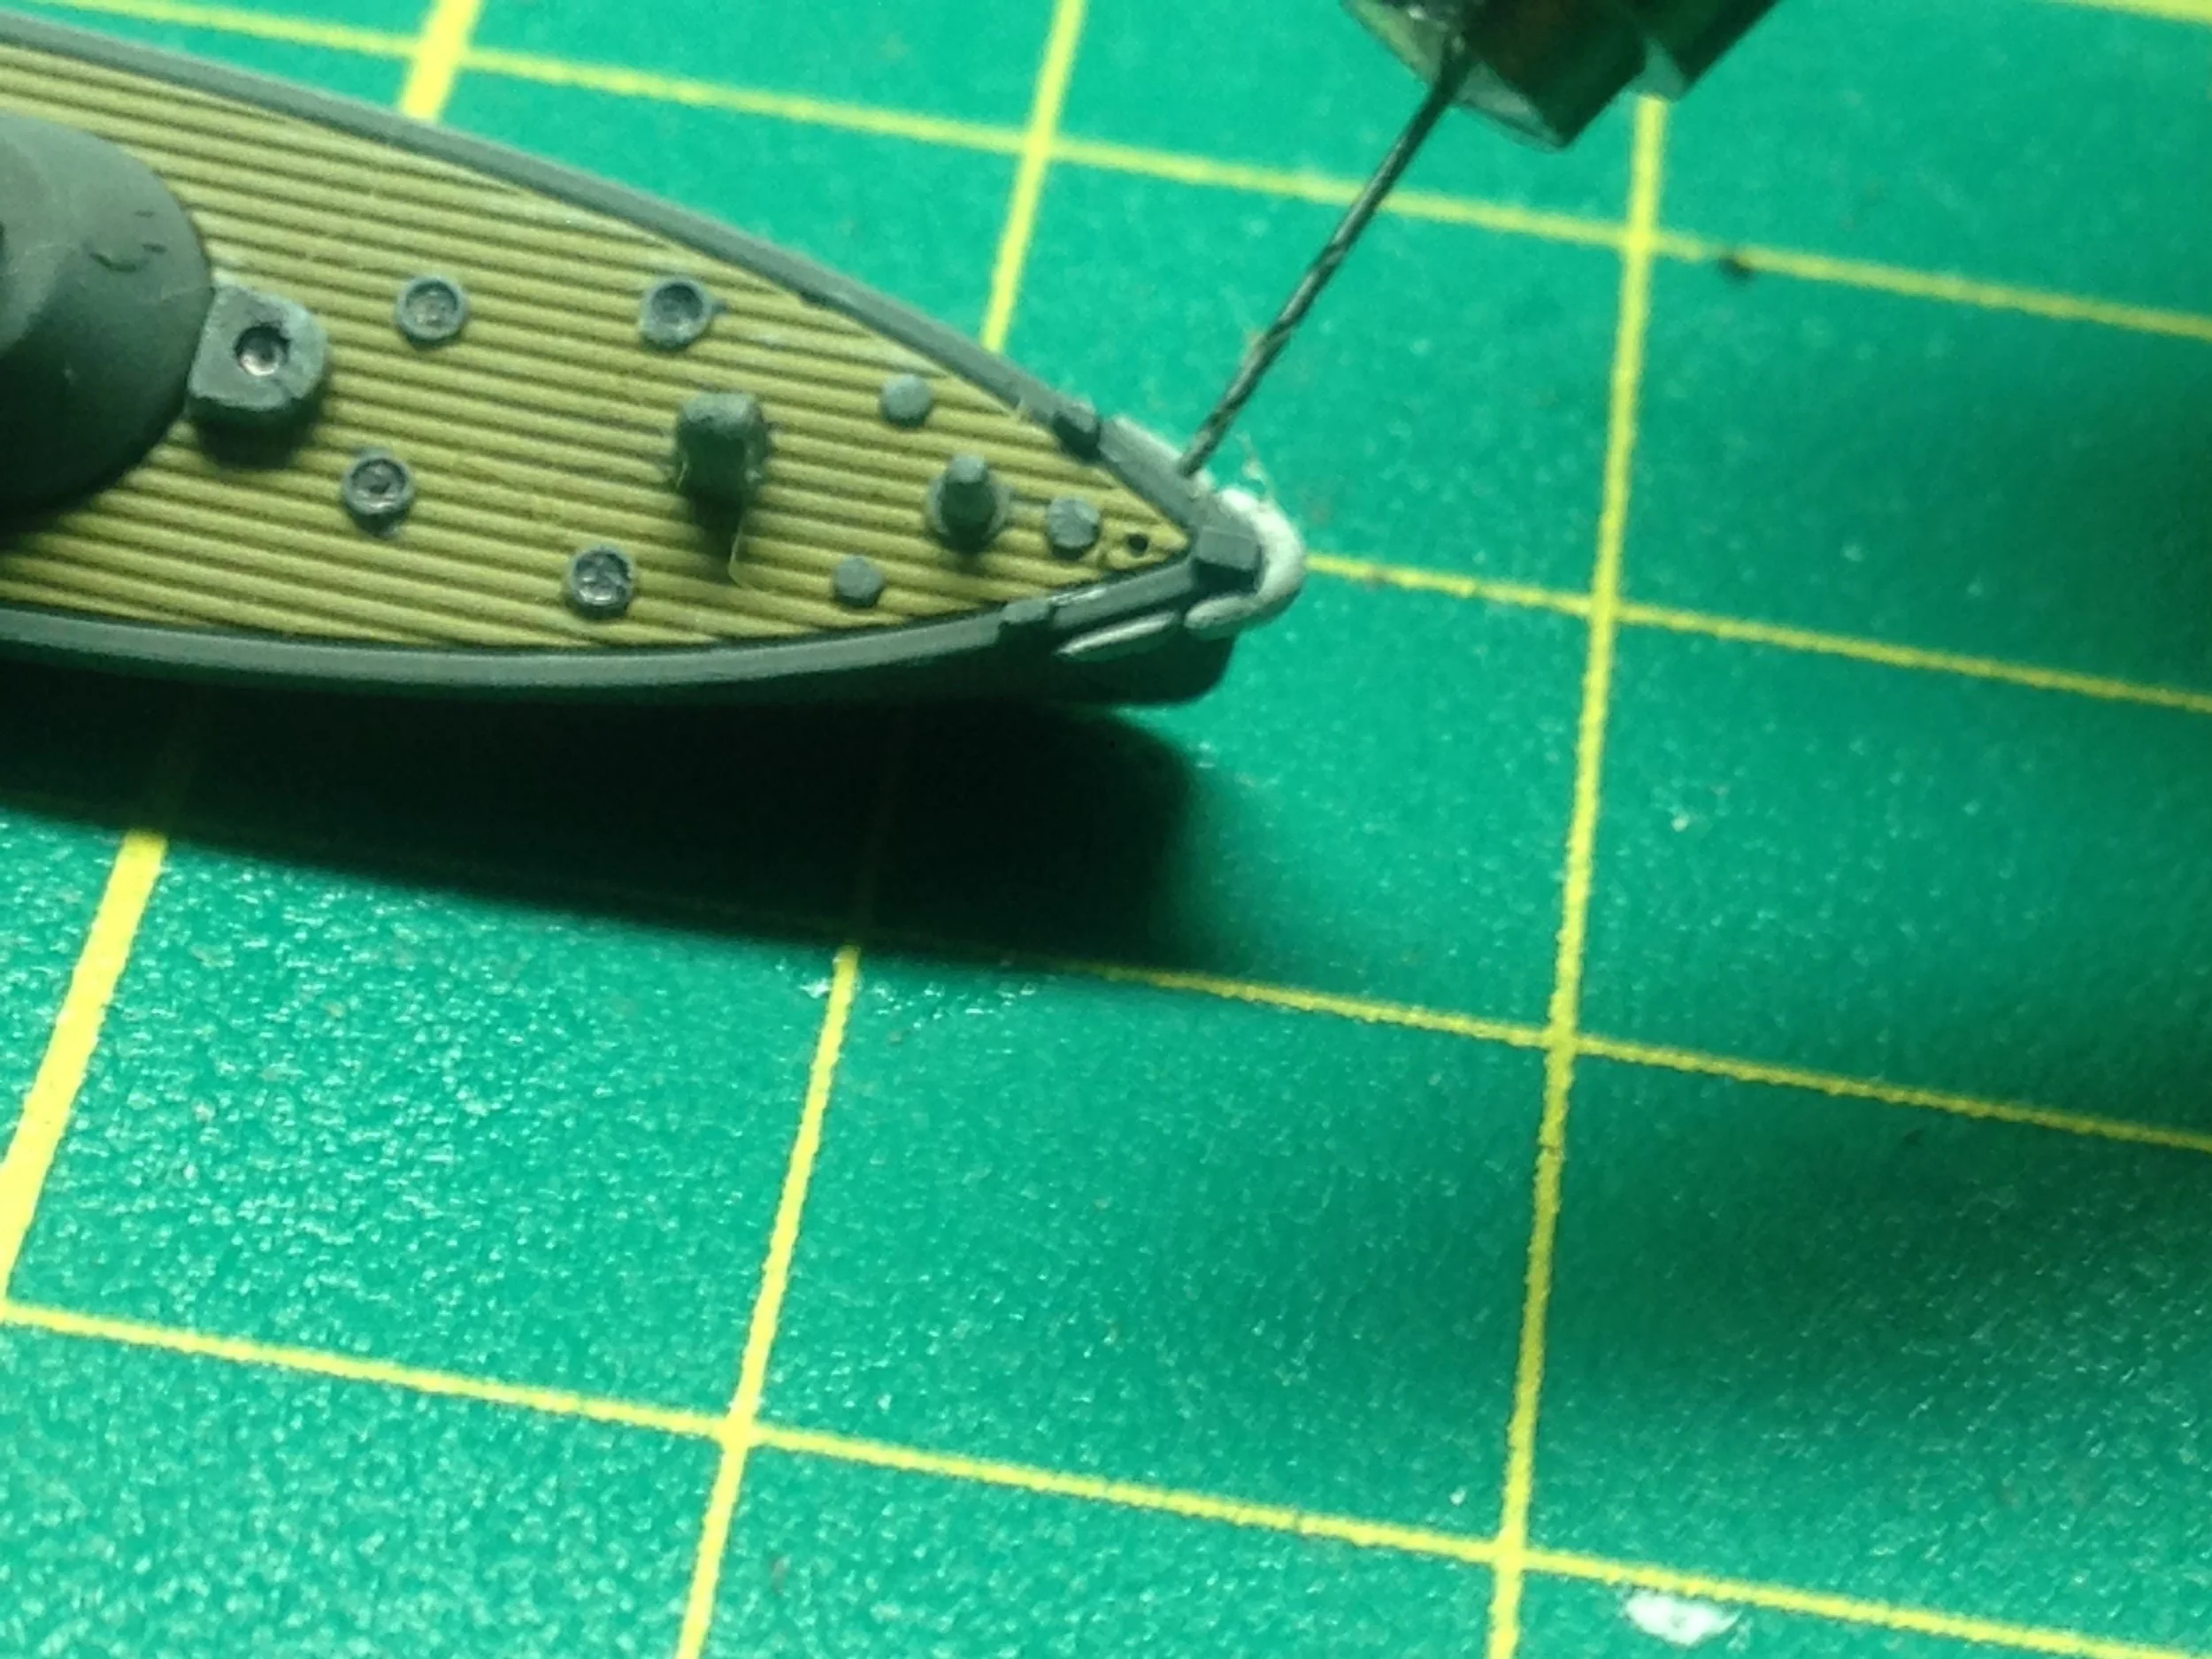
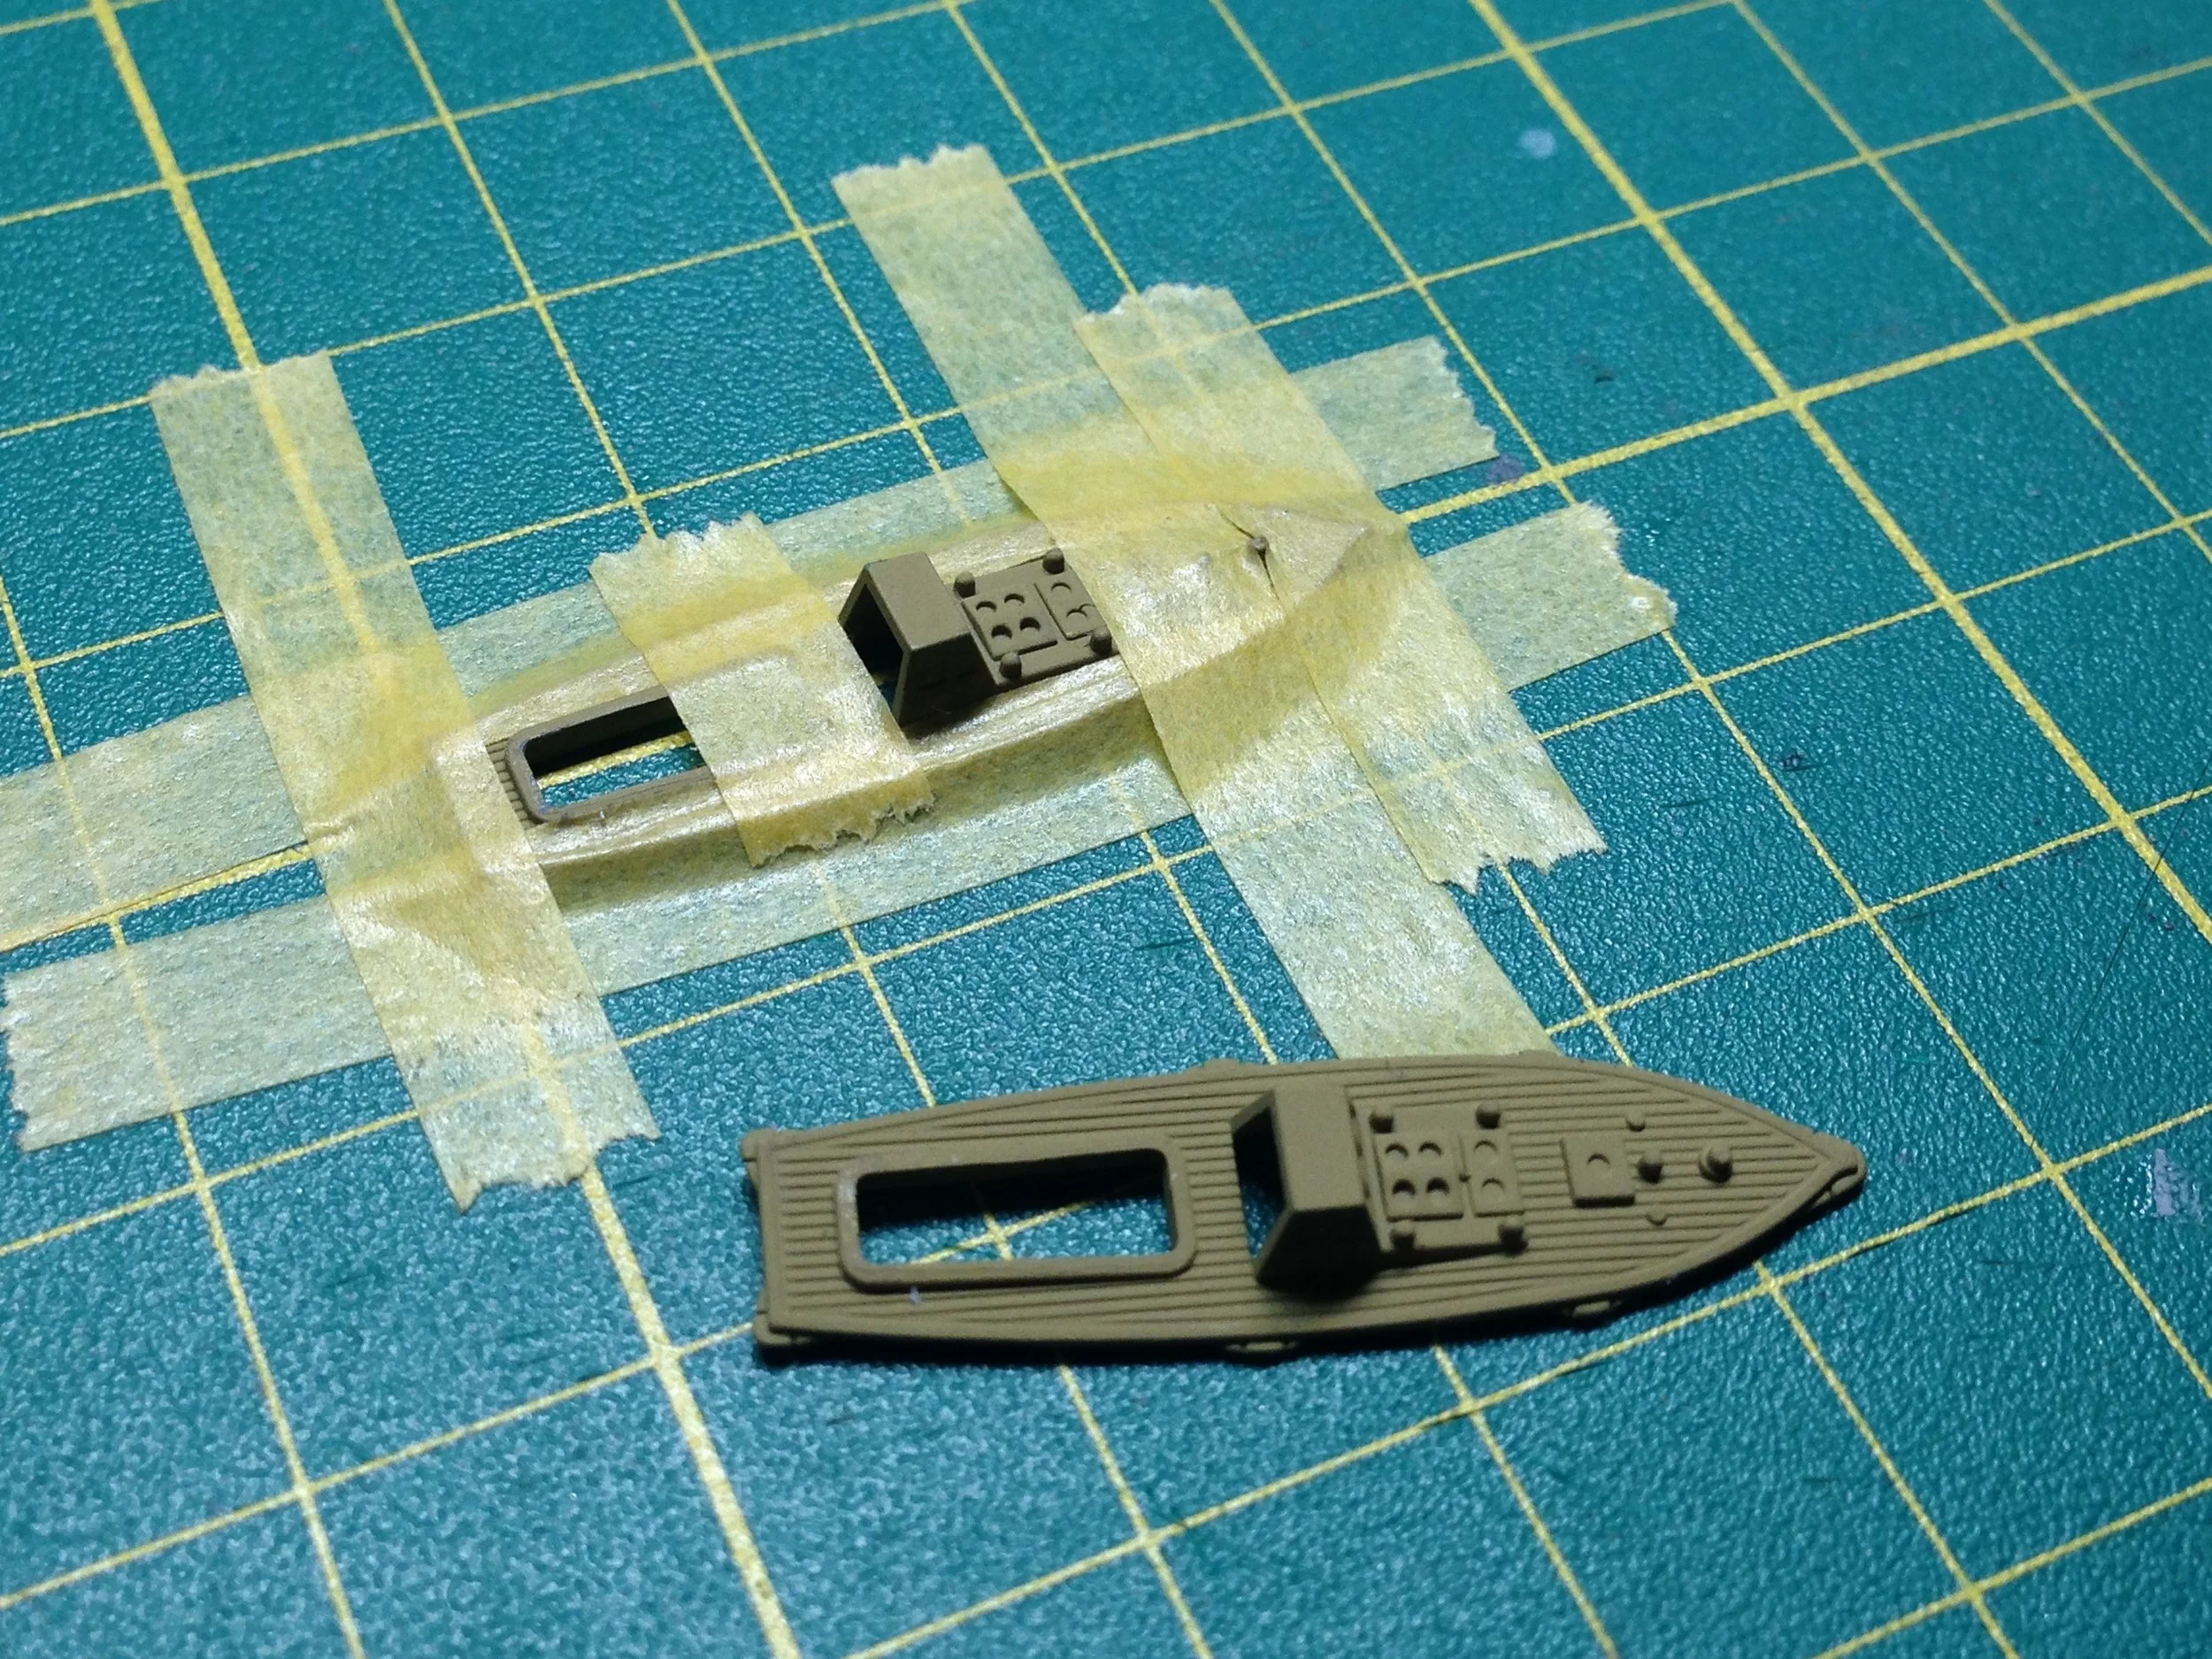
Scort ship:
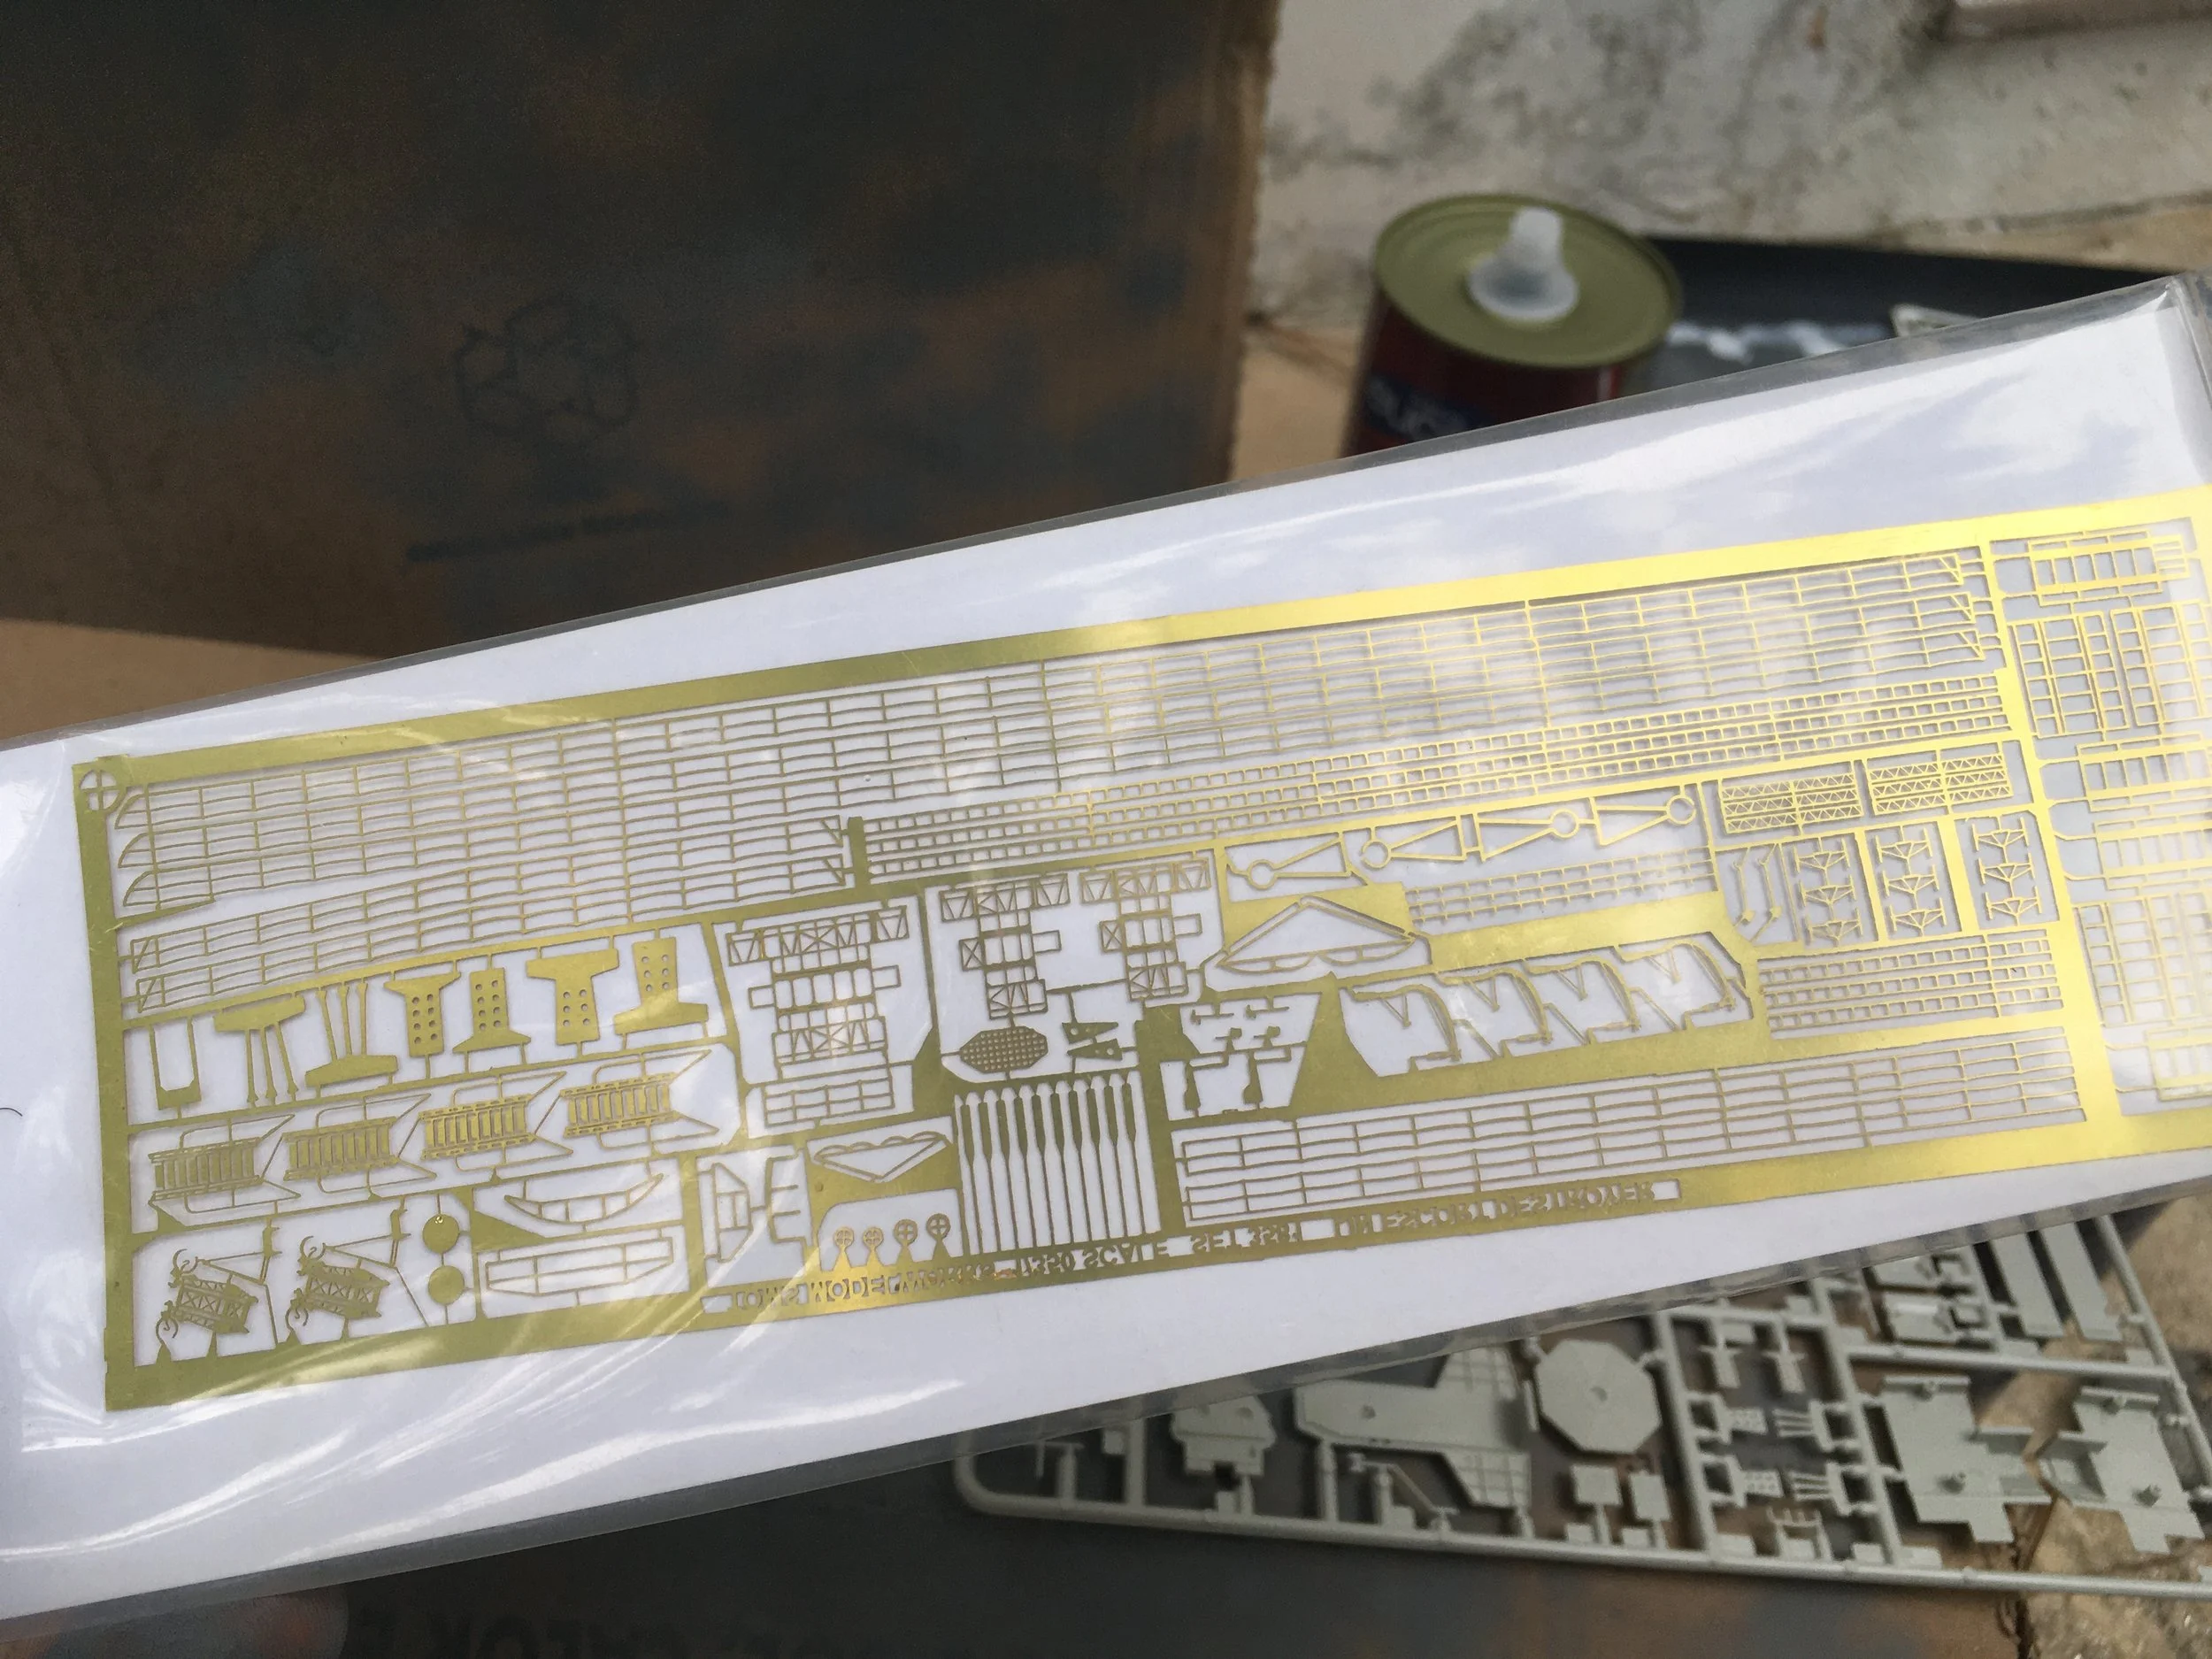
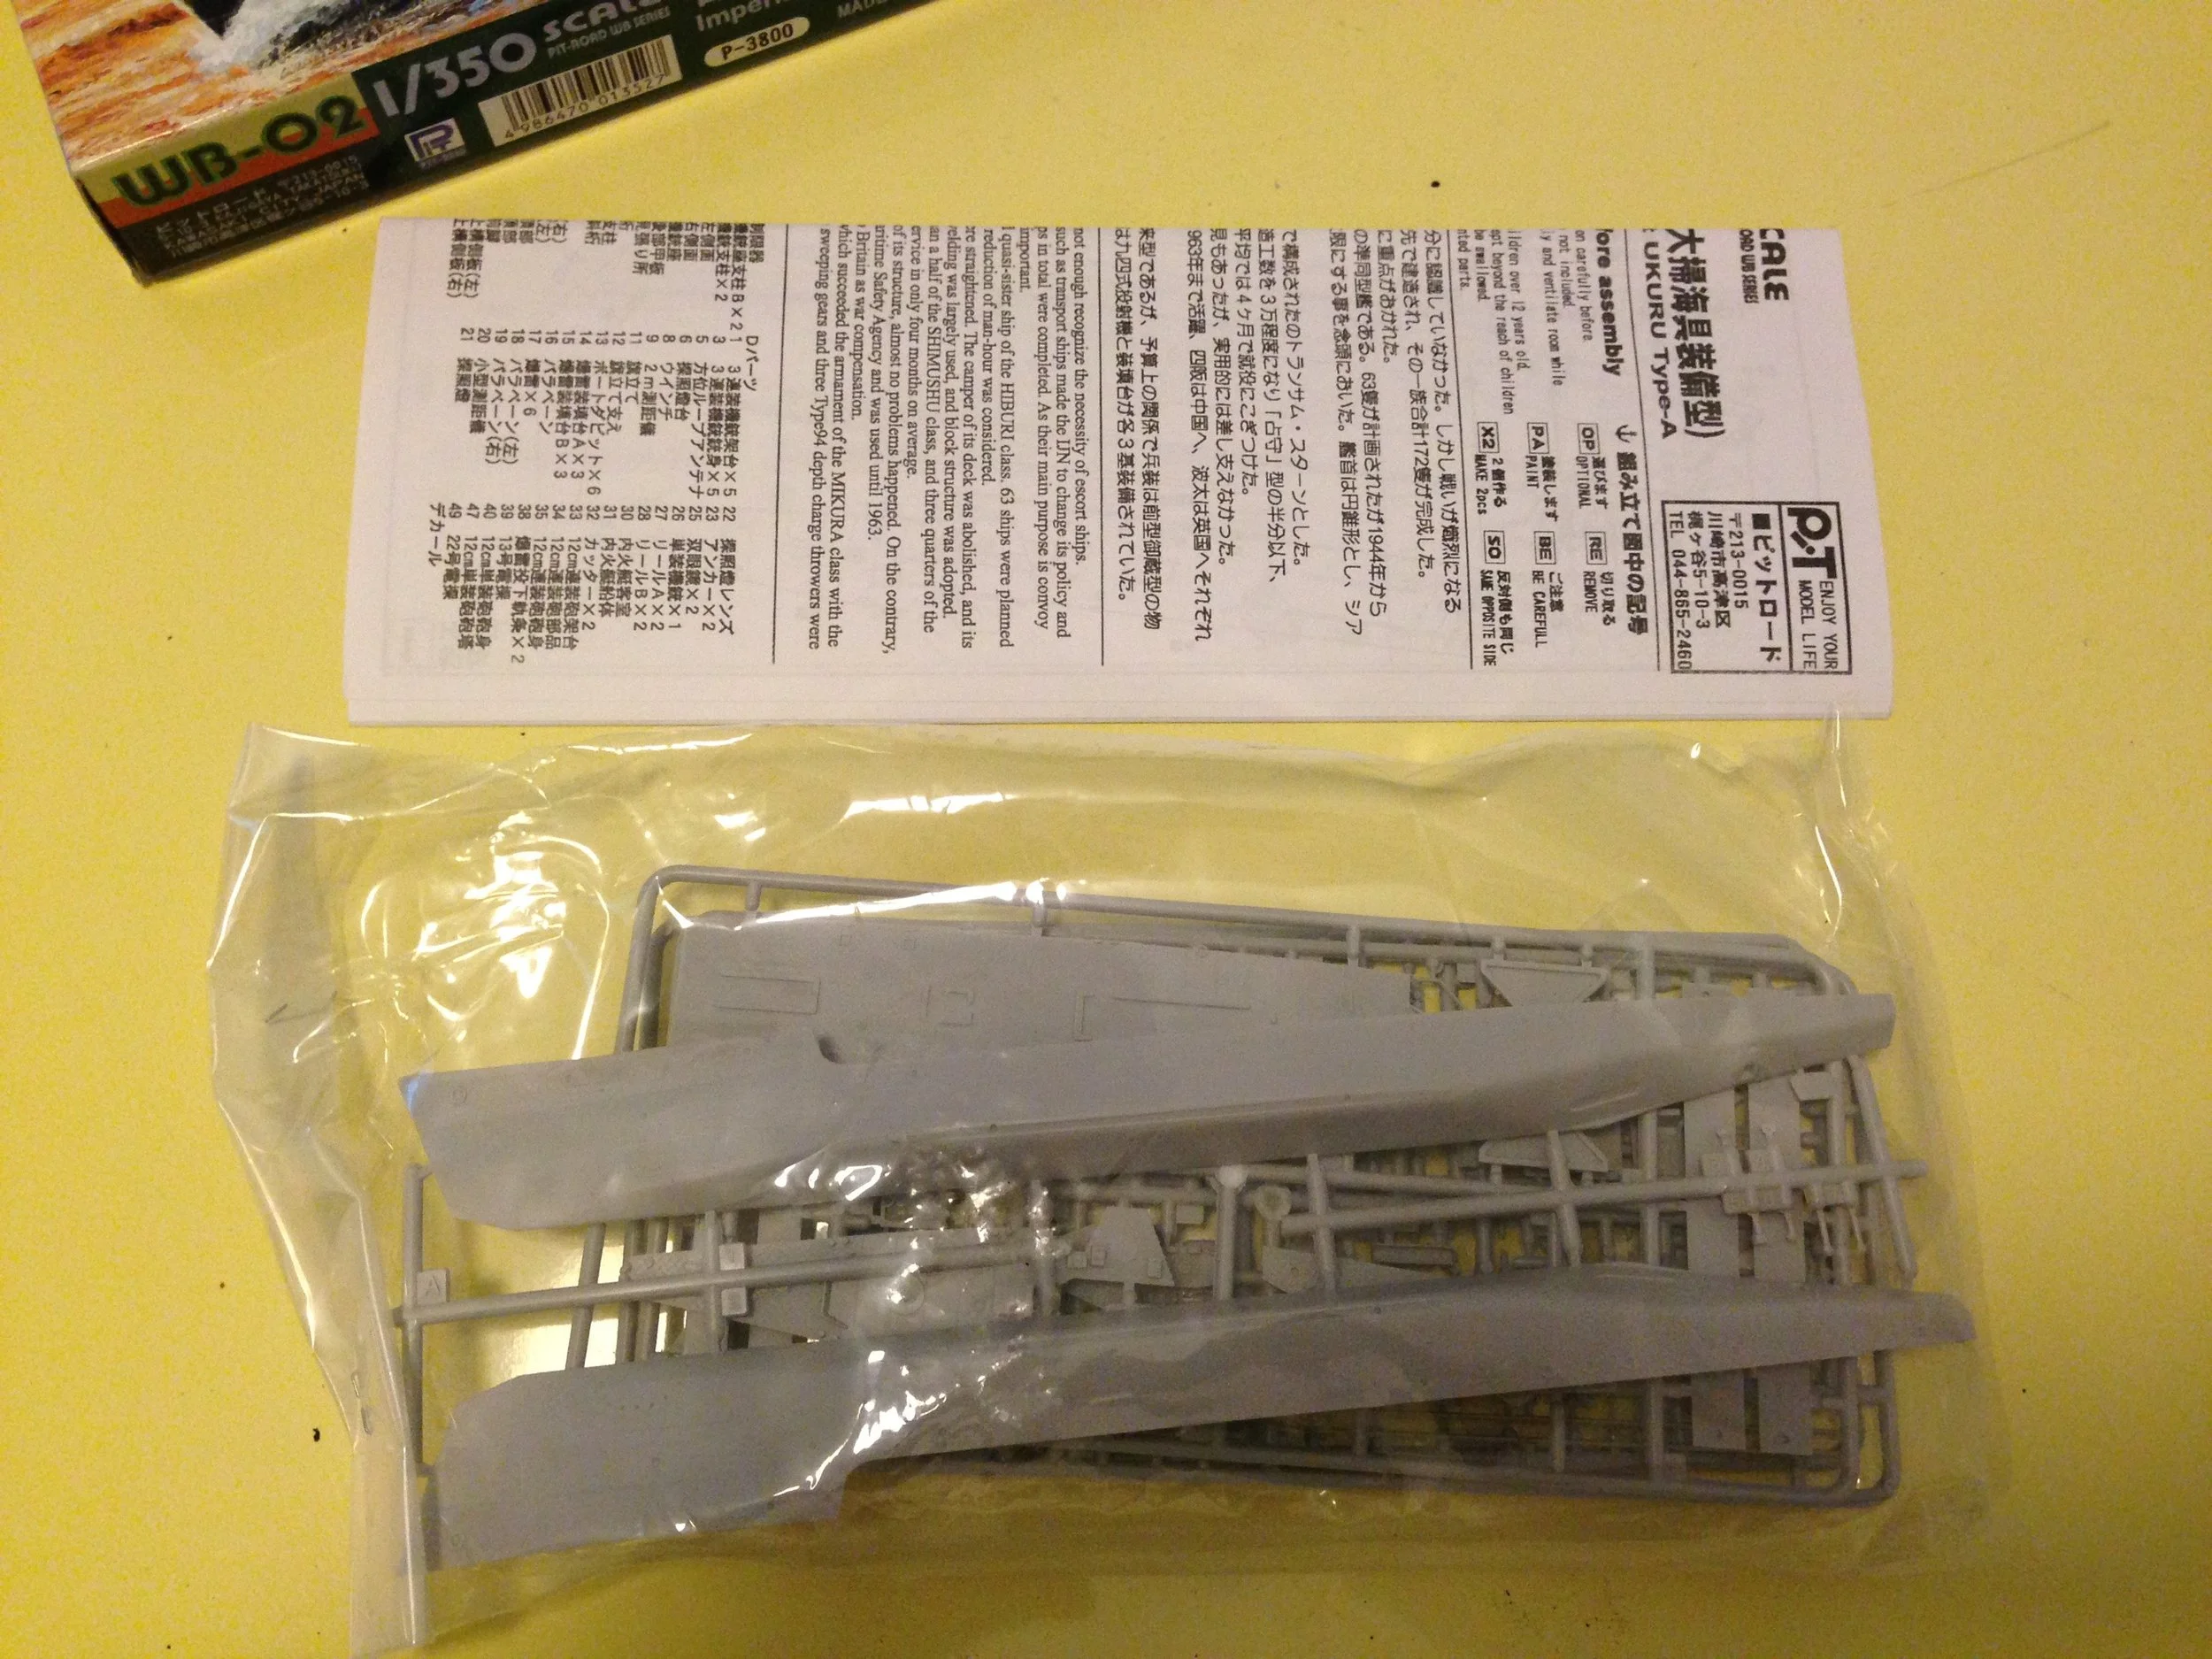
Hull:
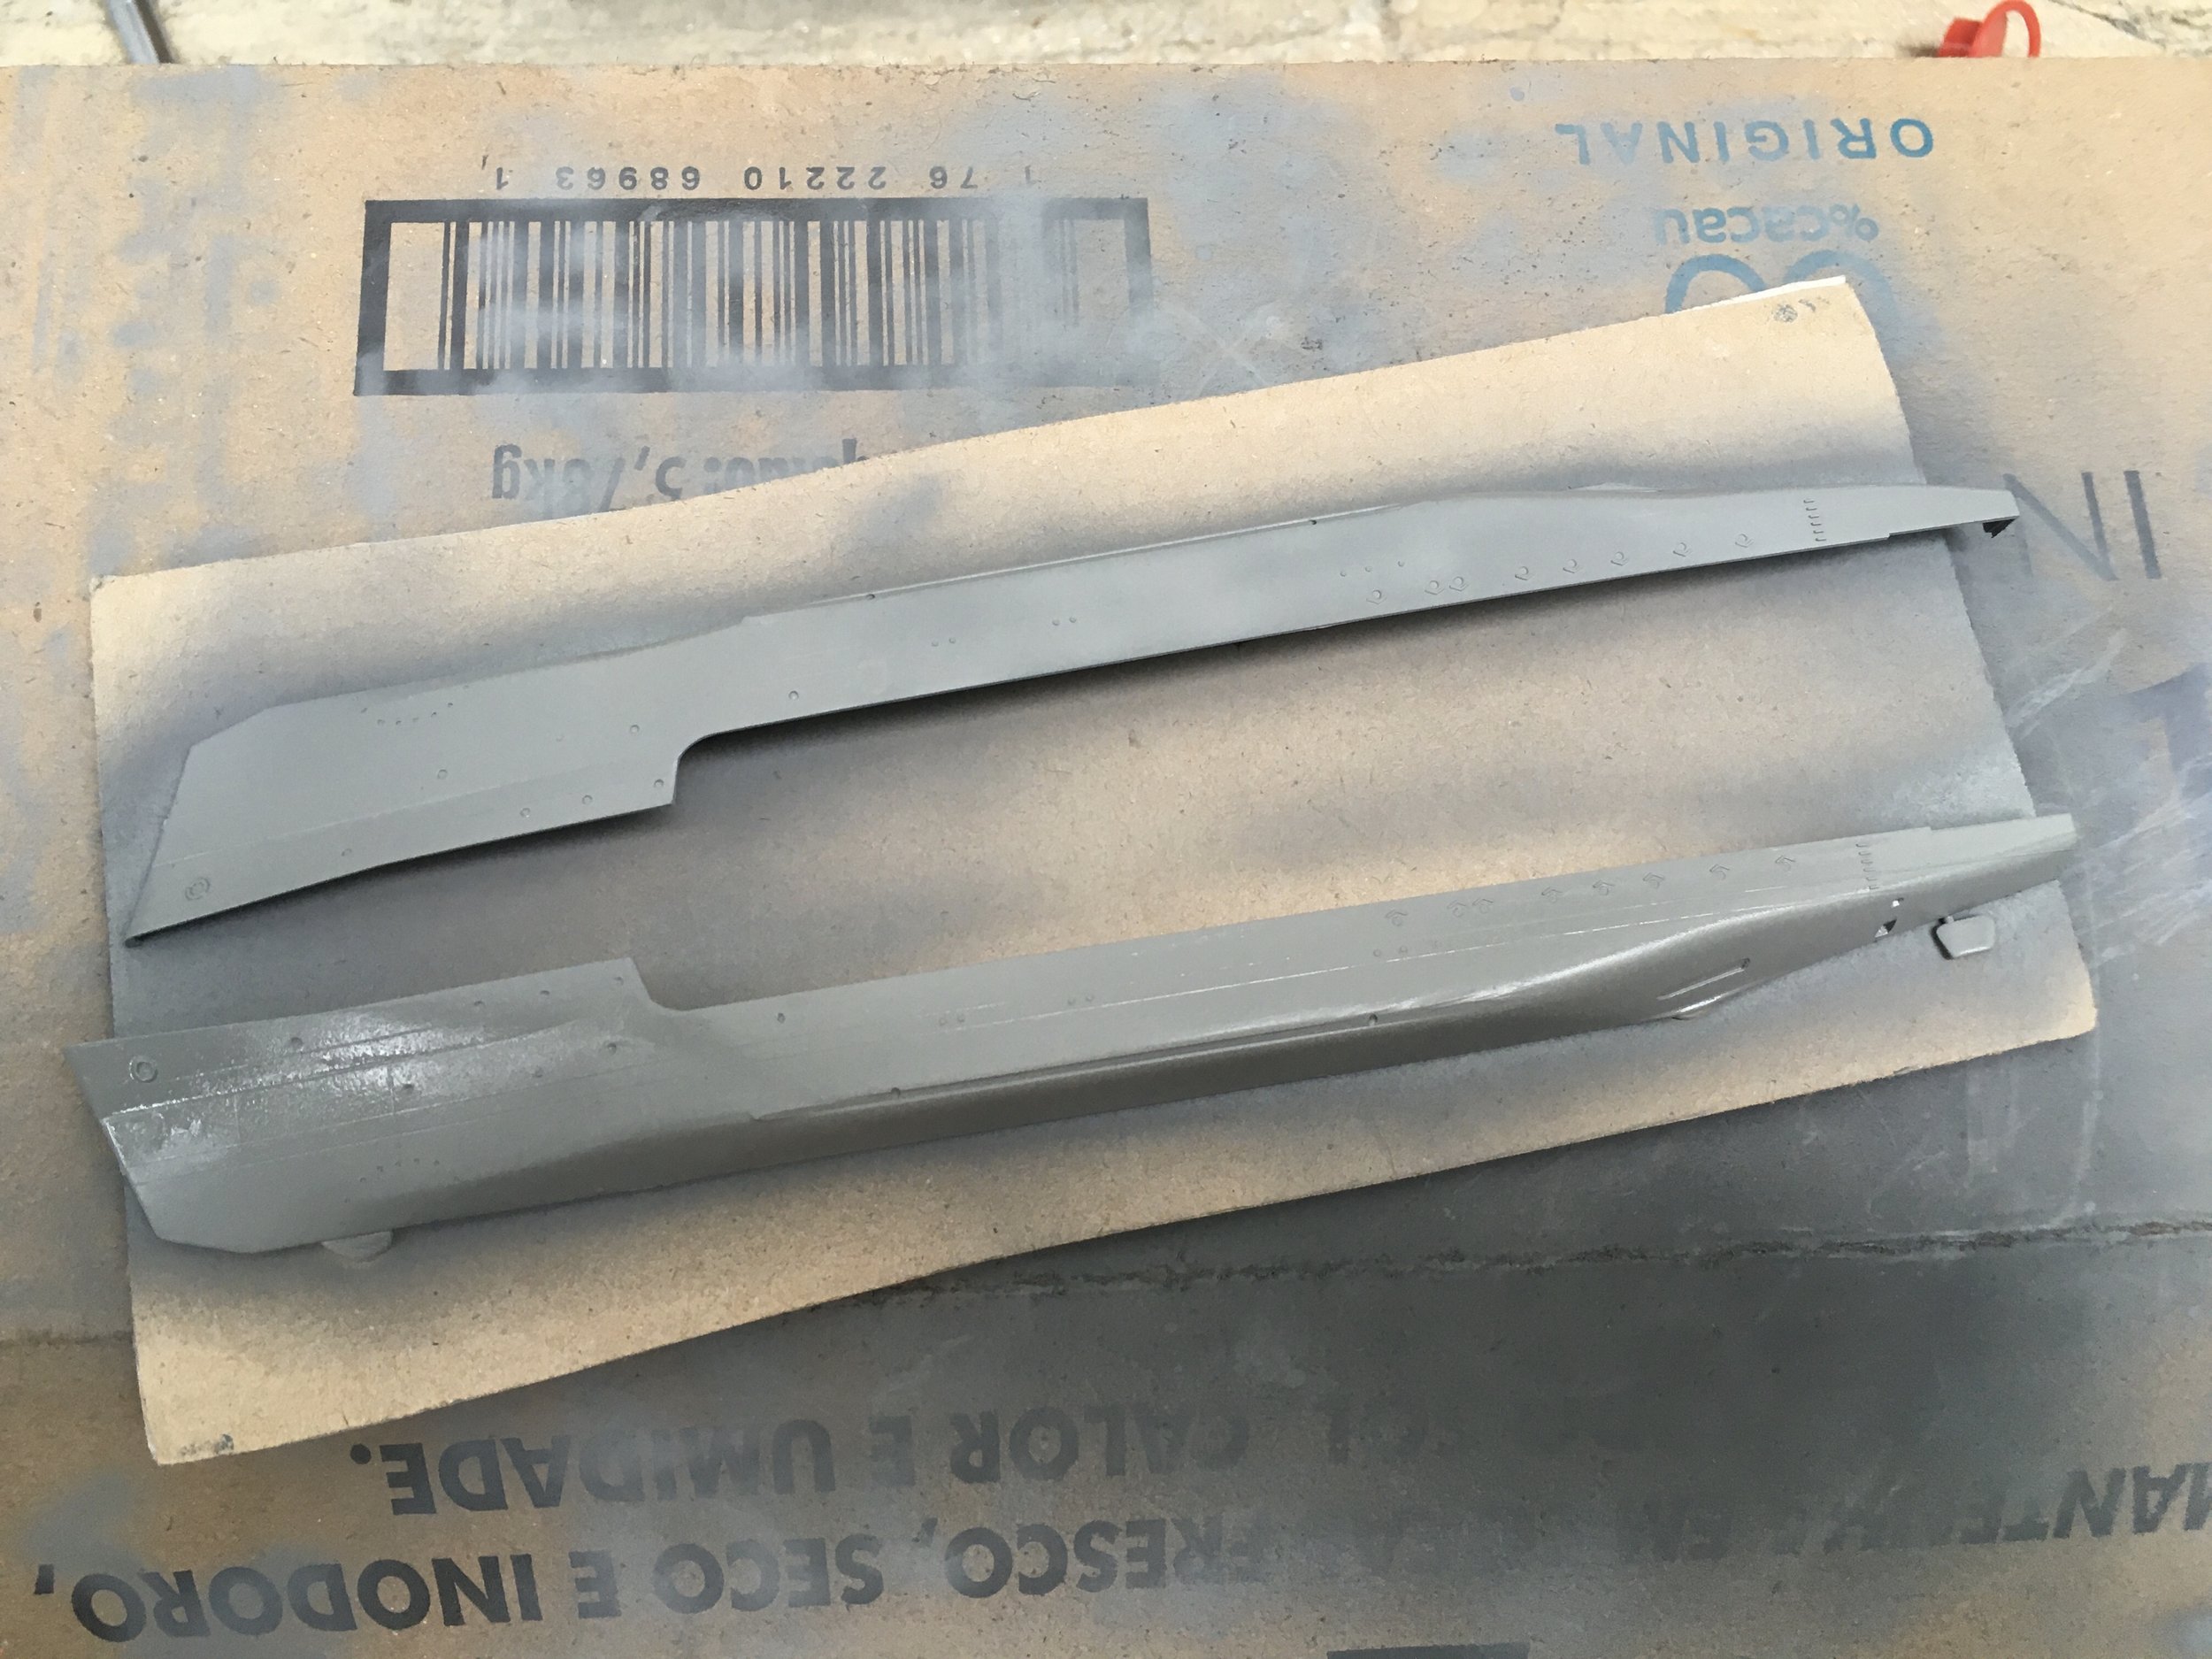
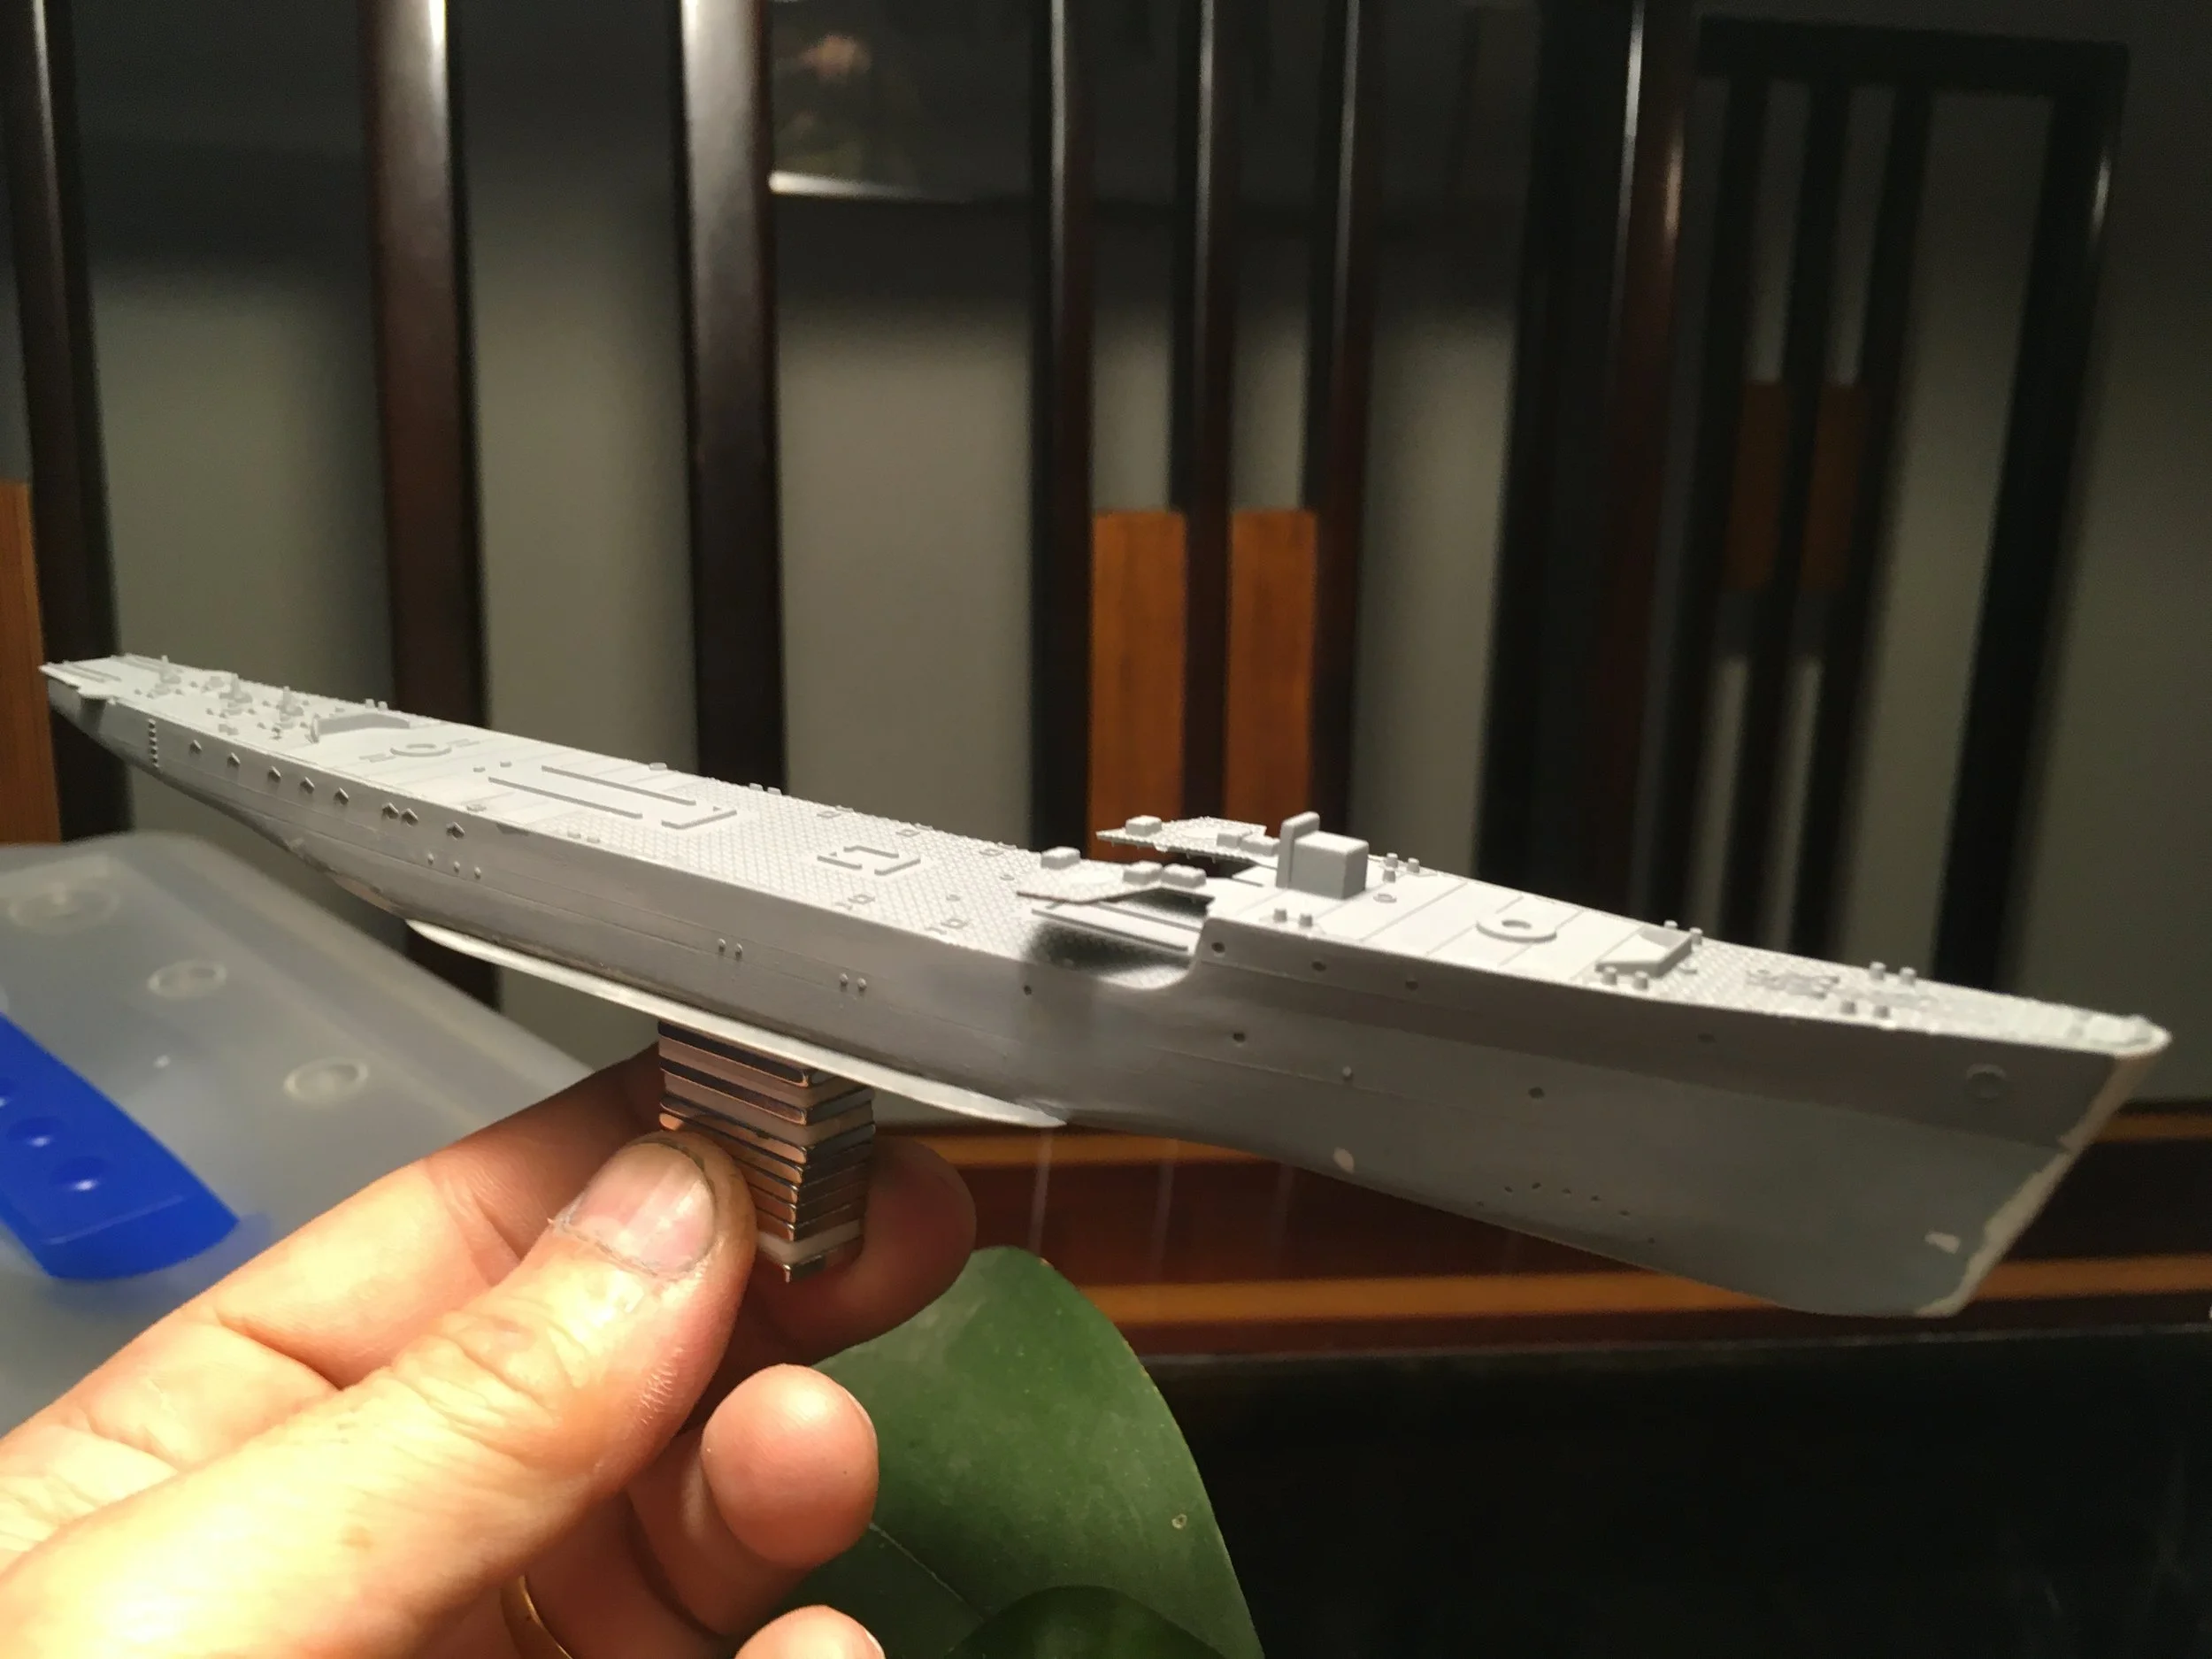
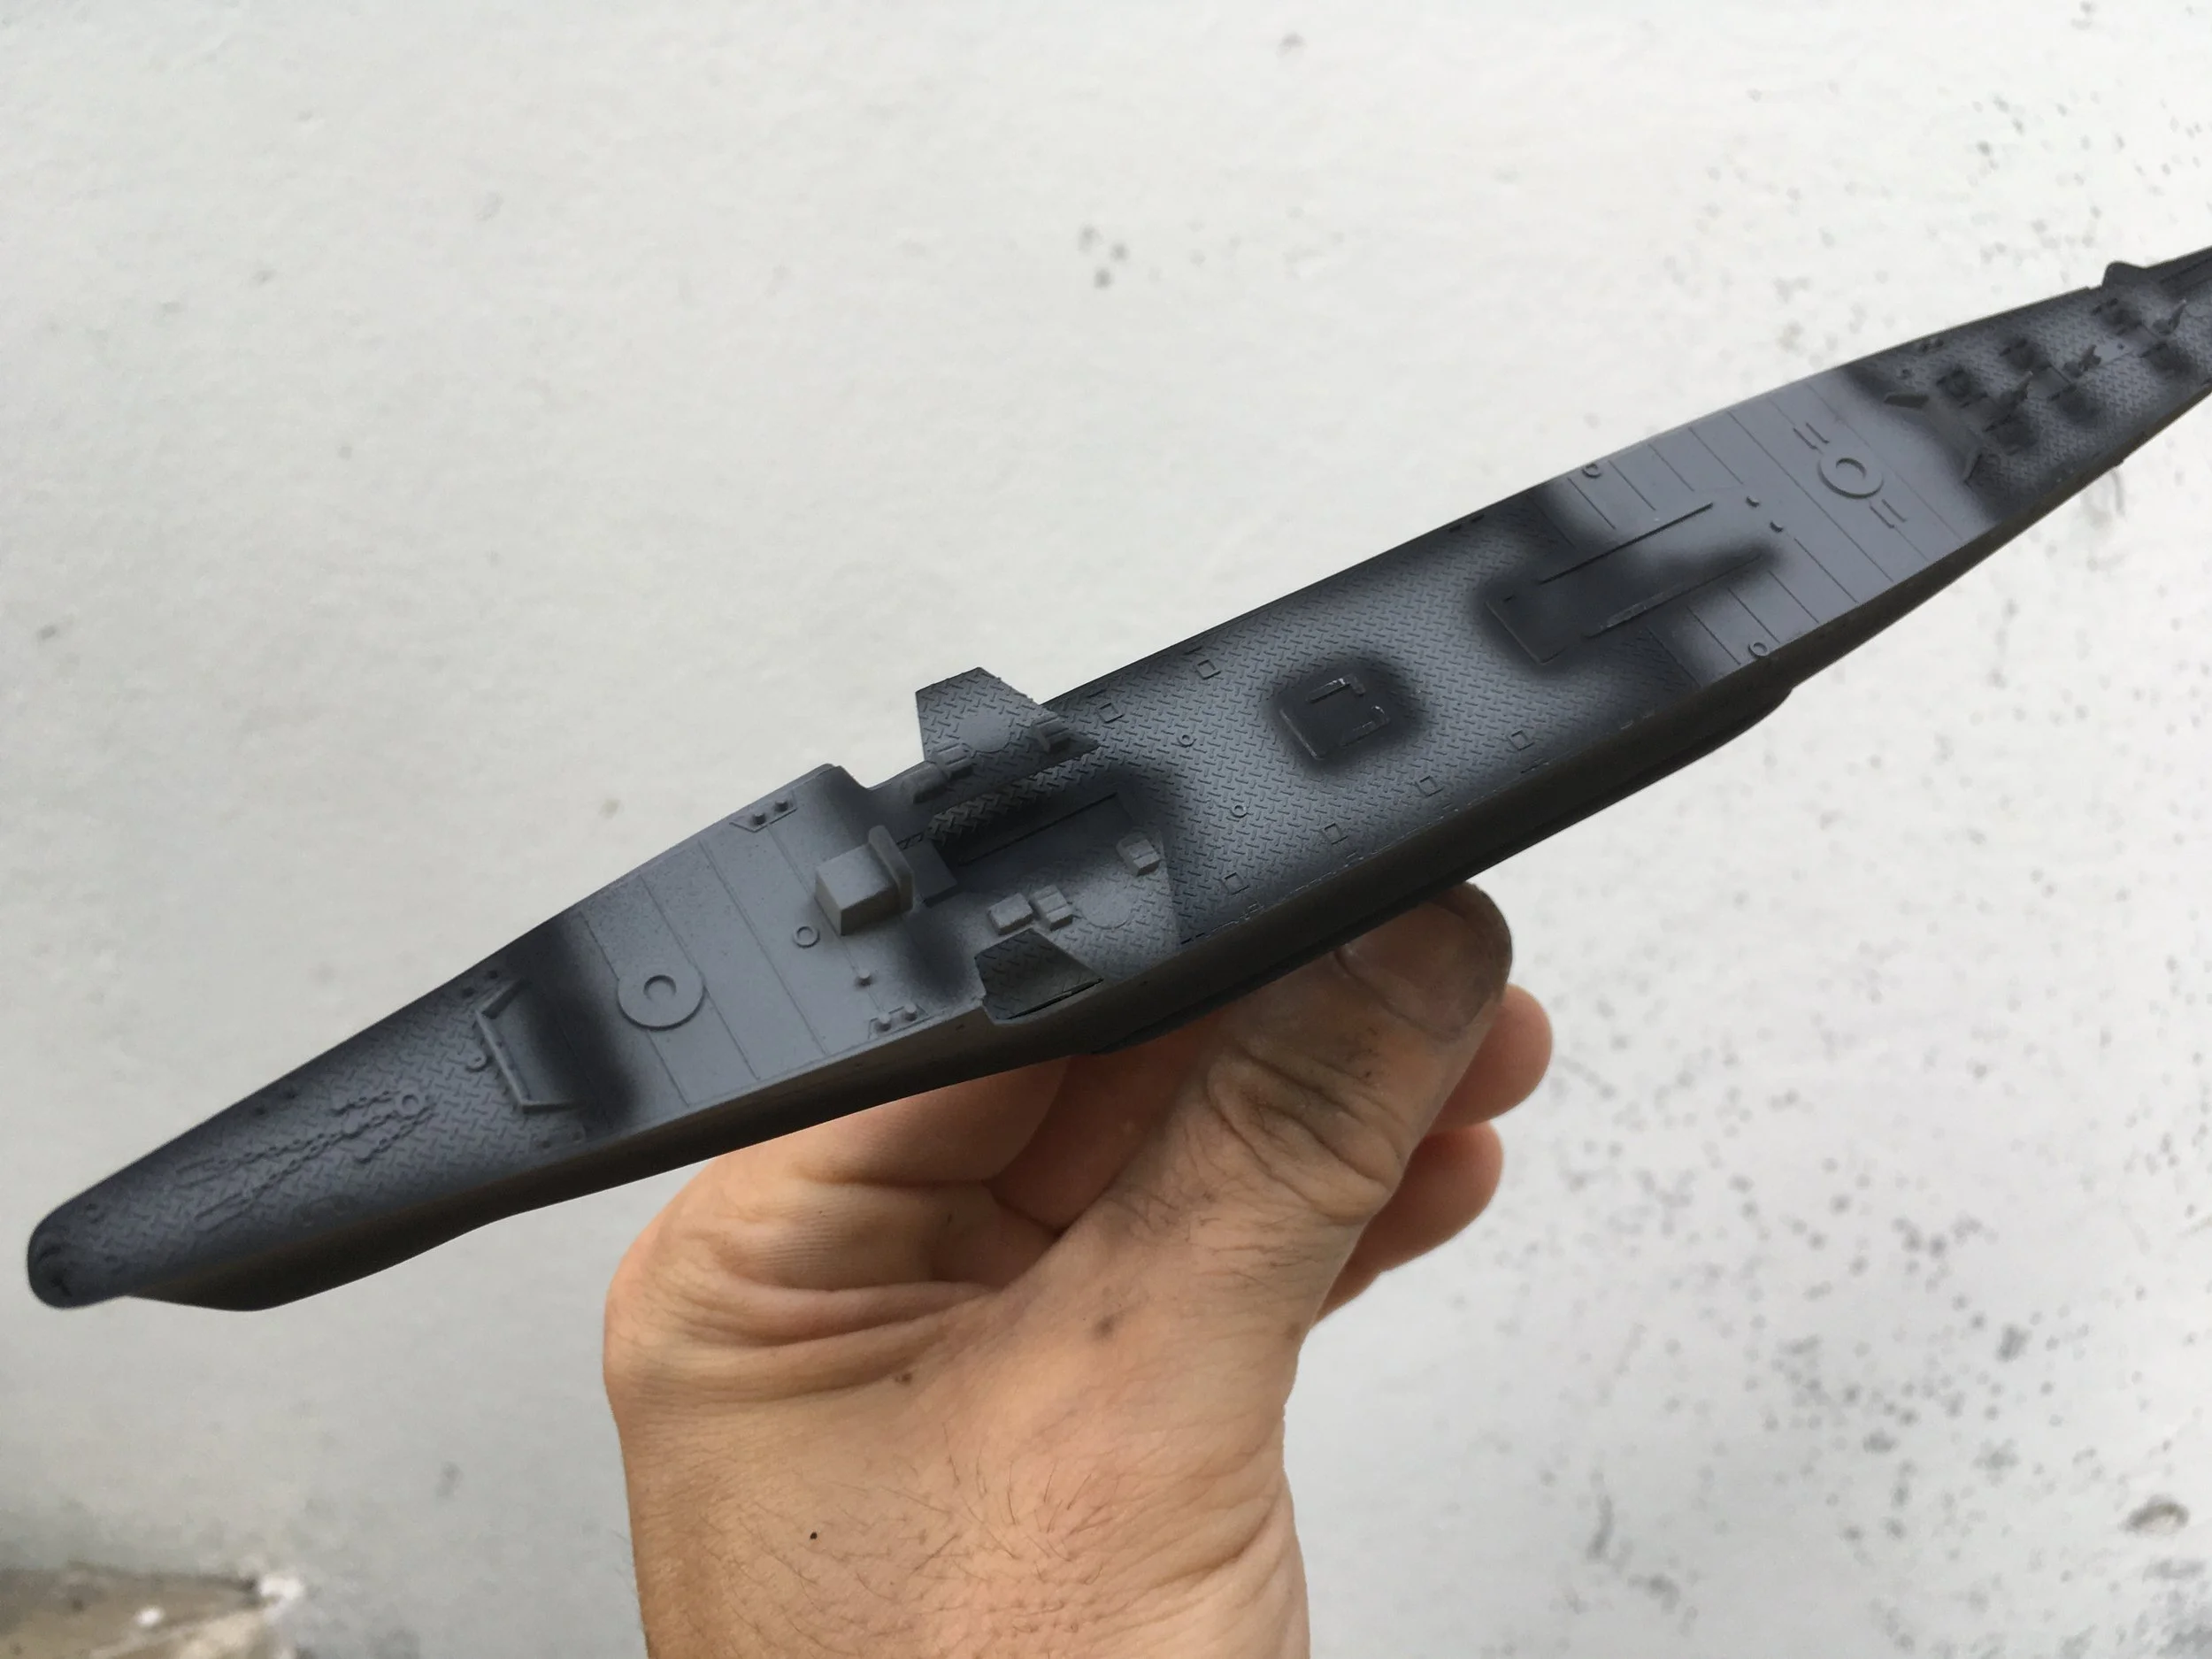
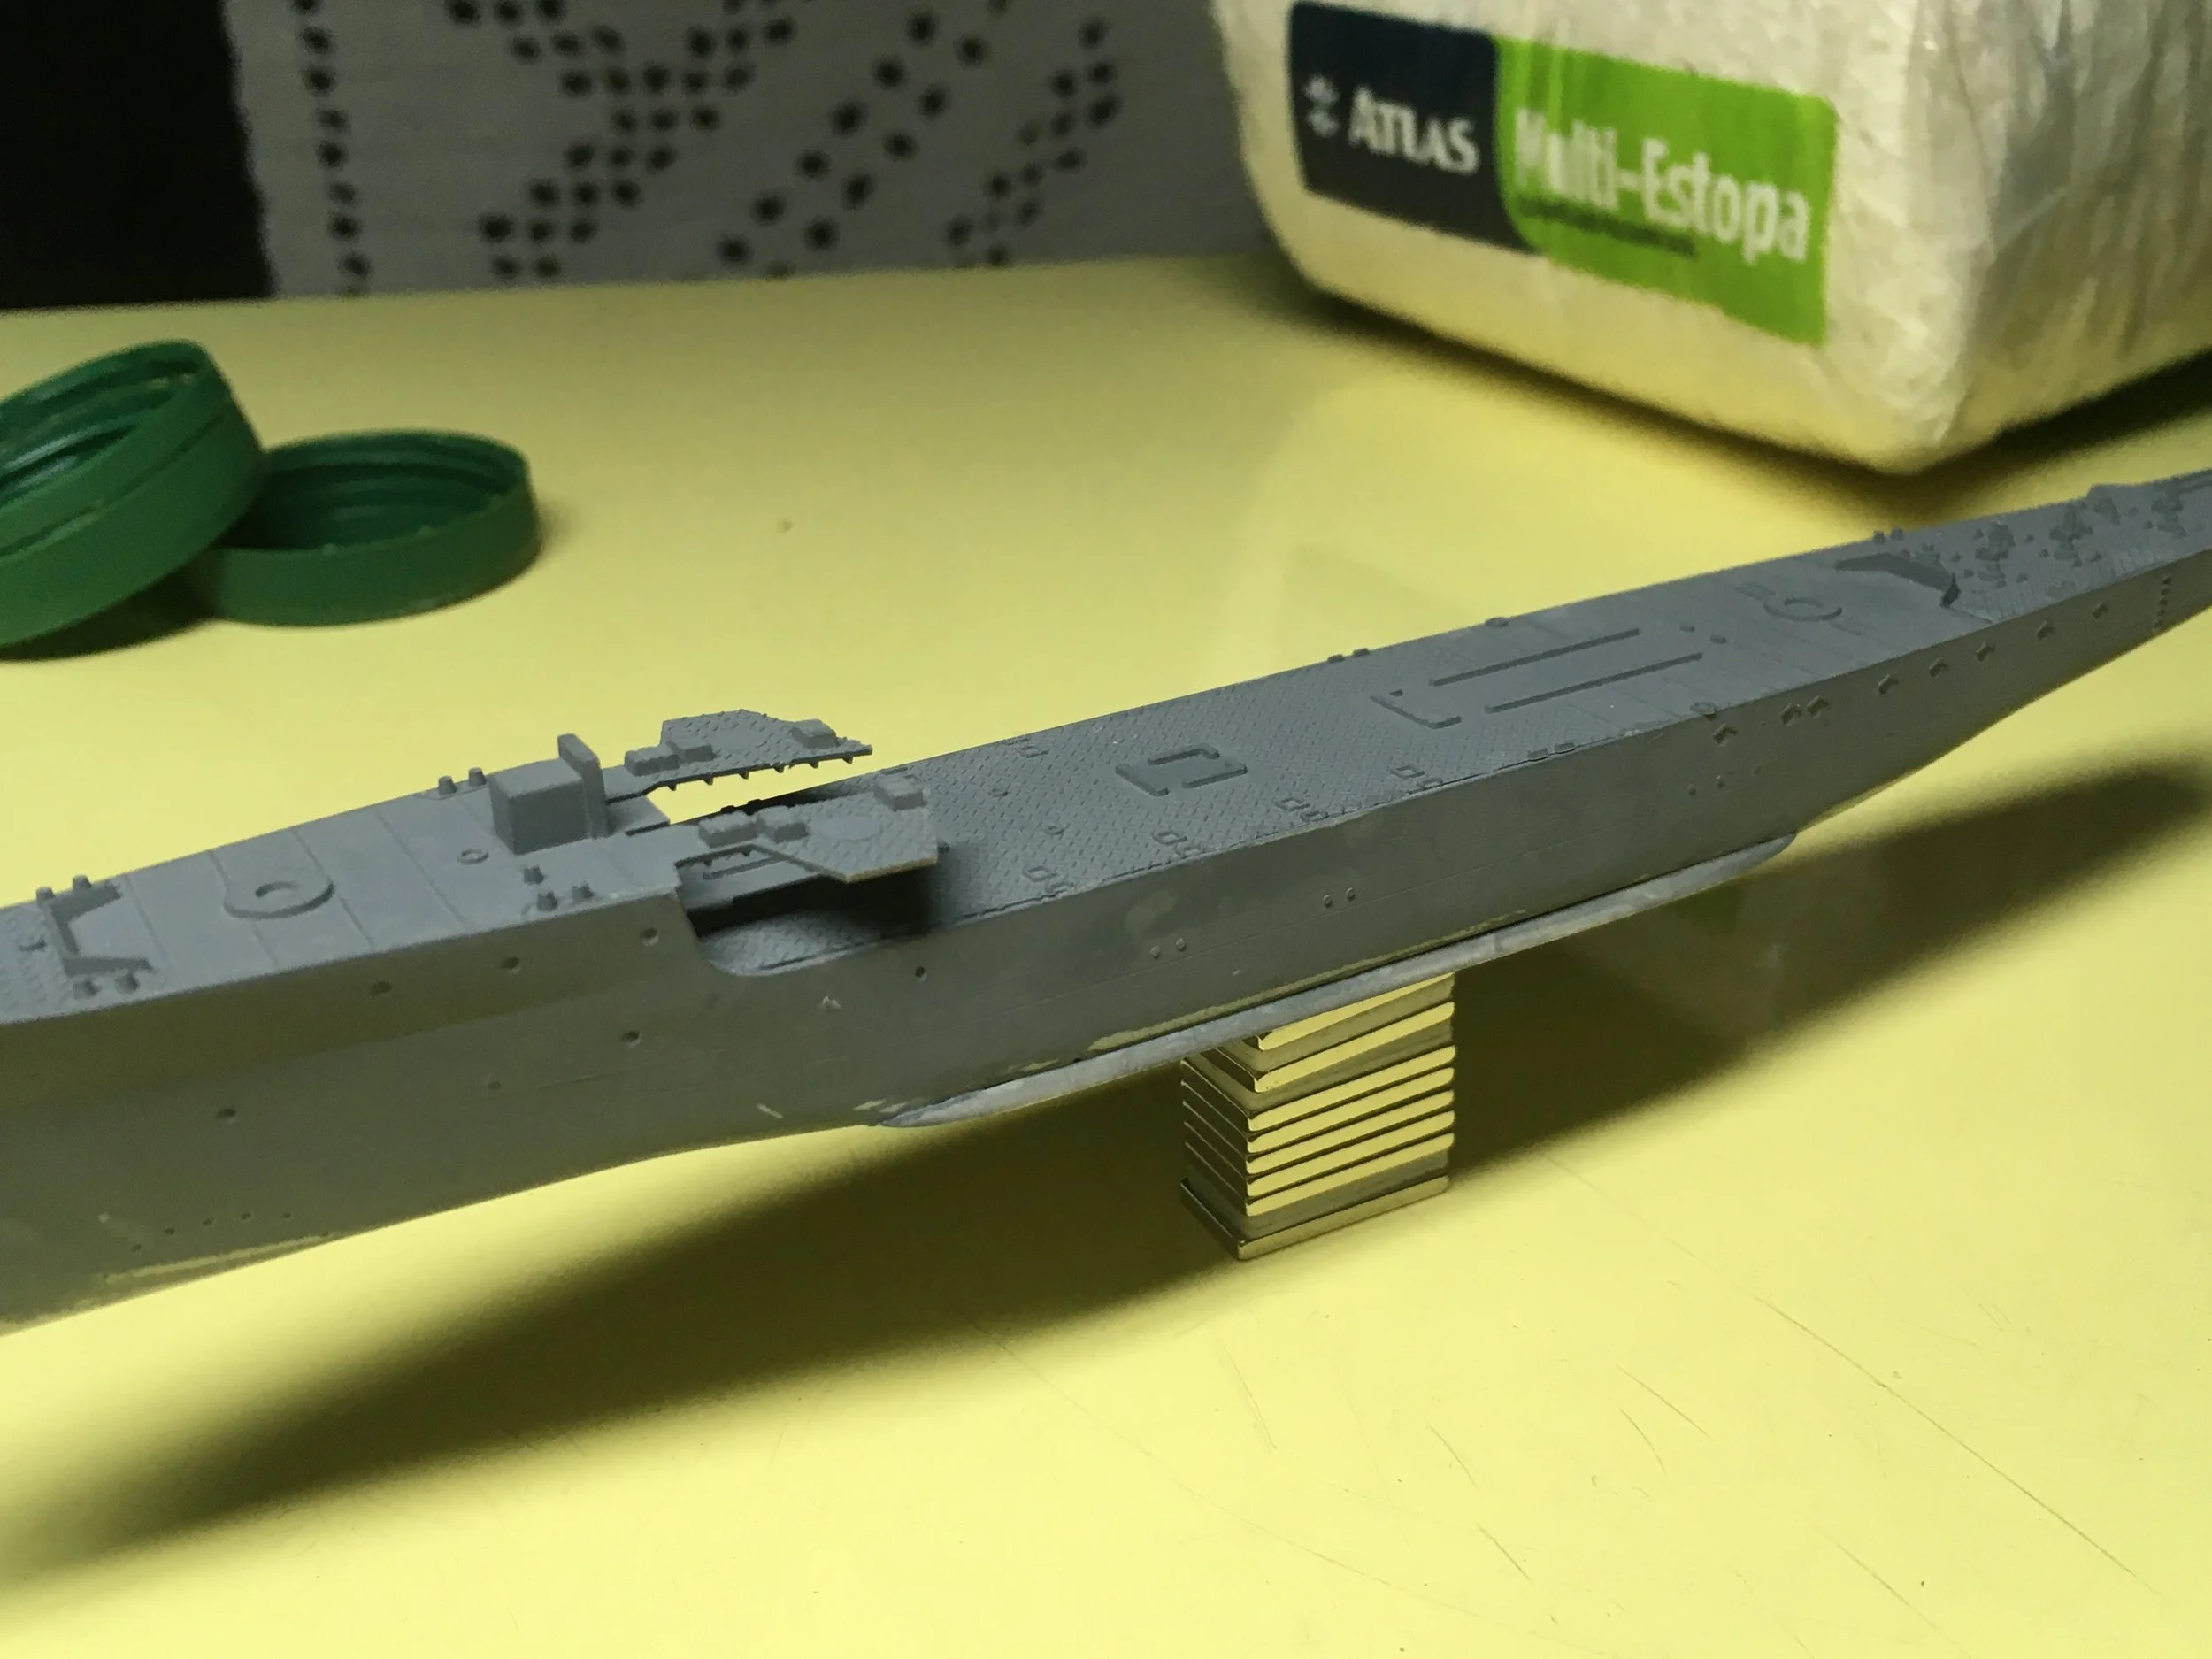
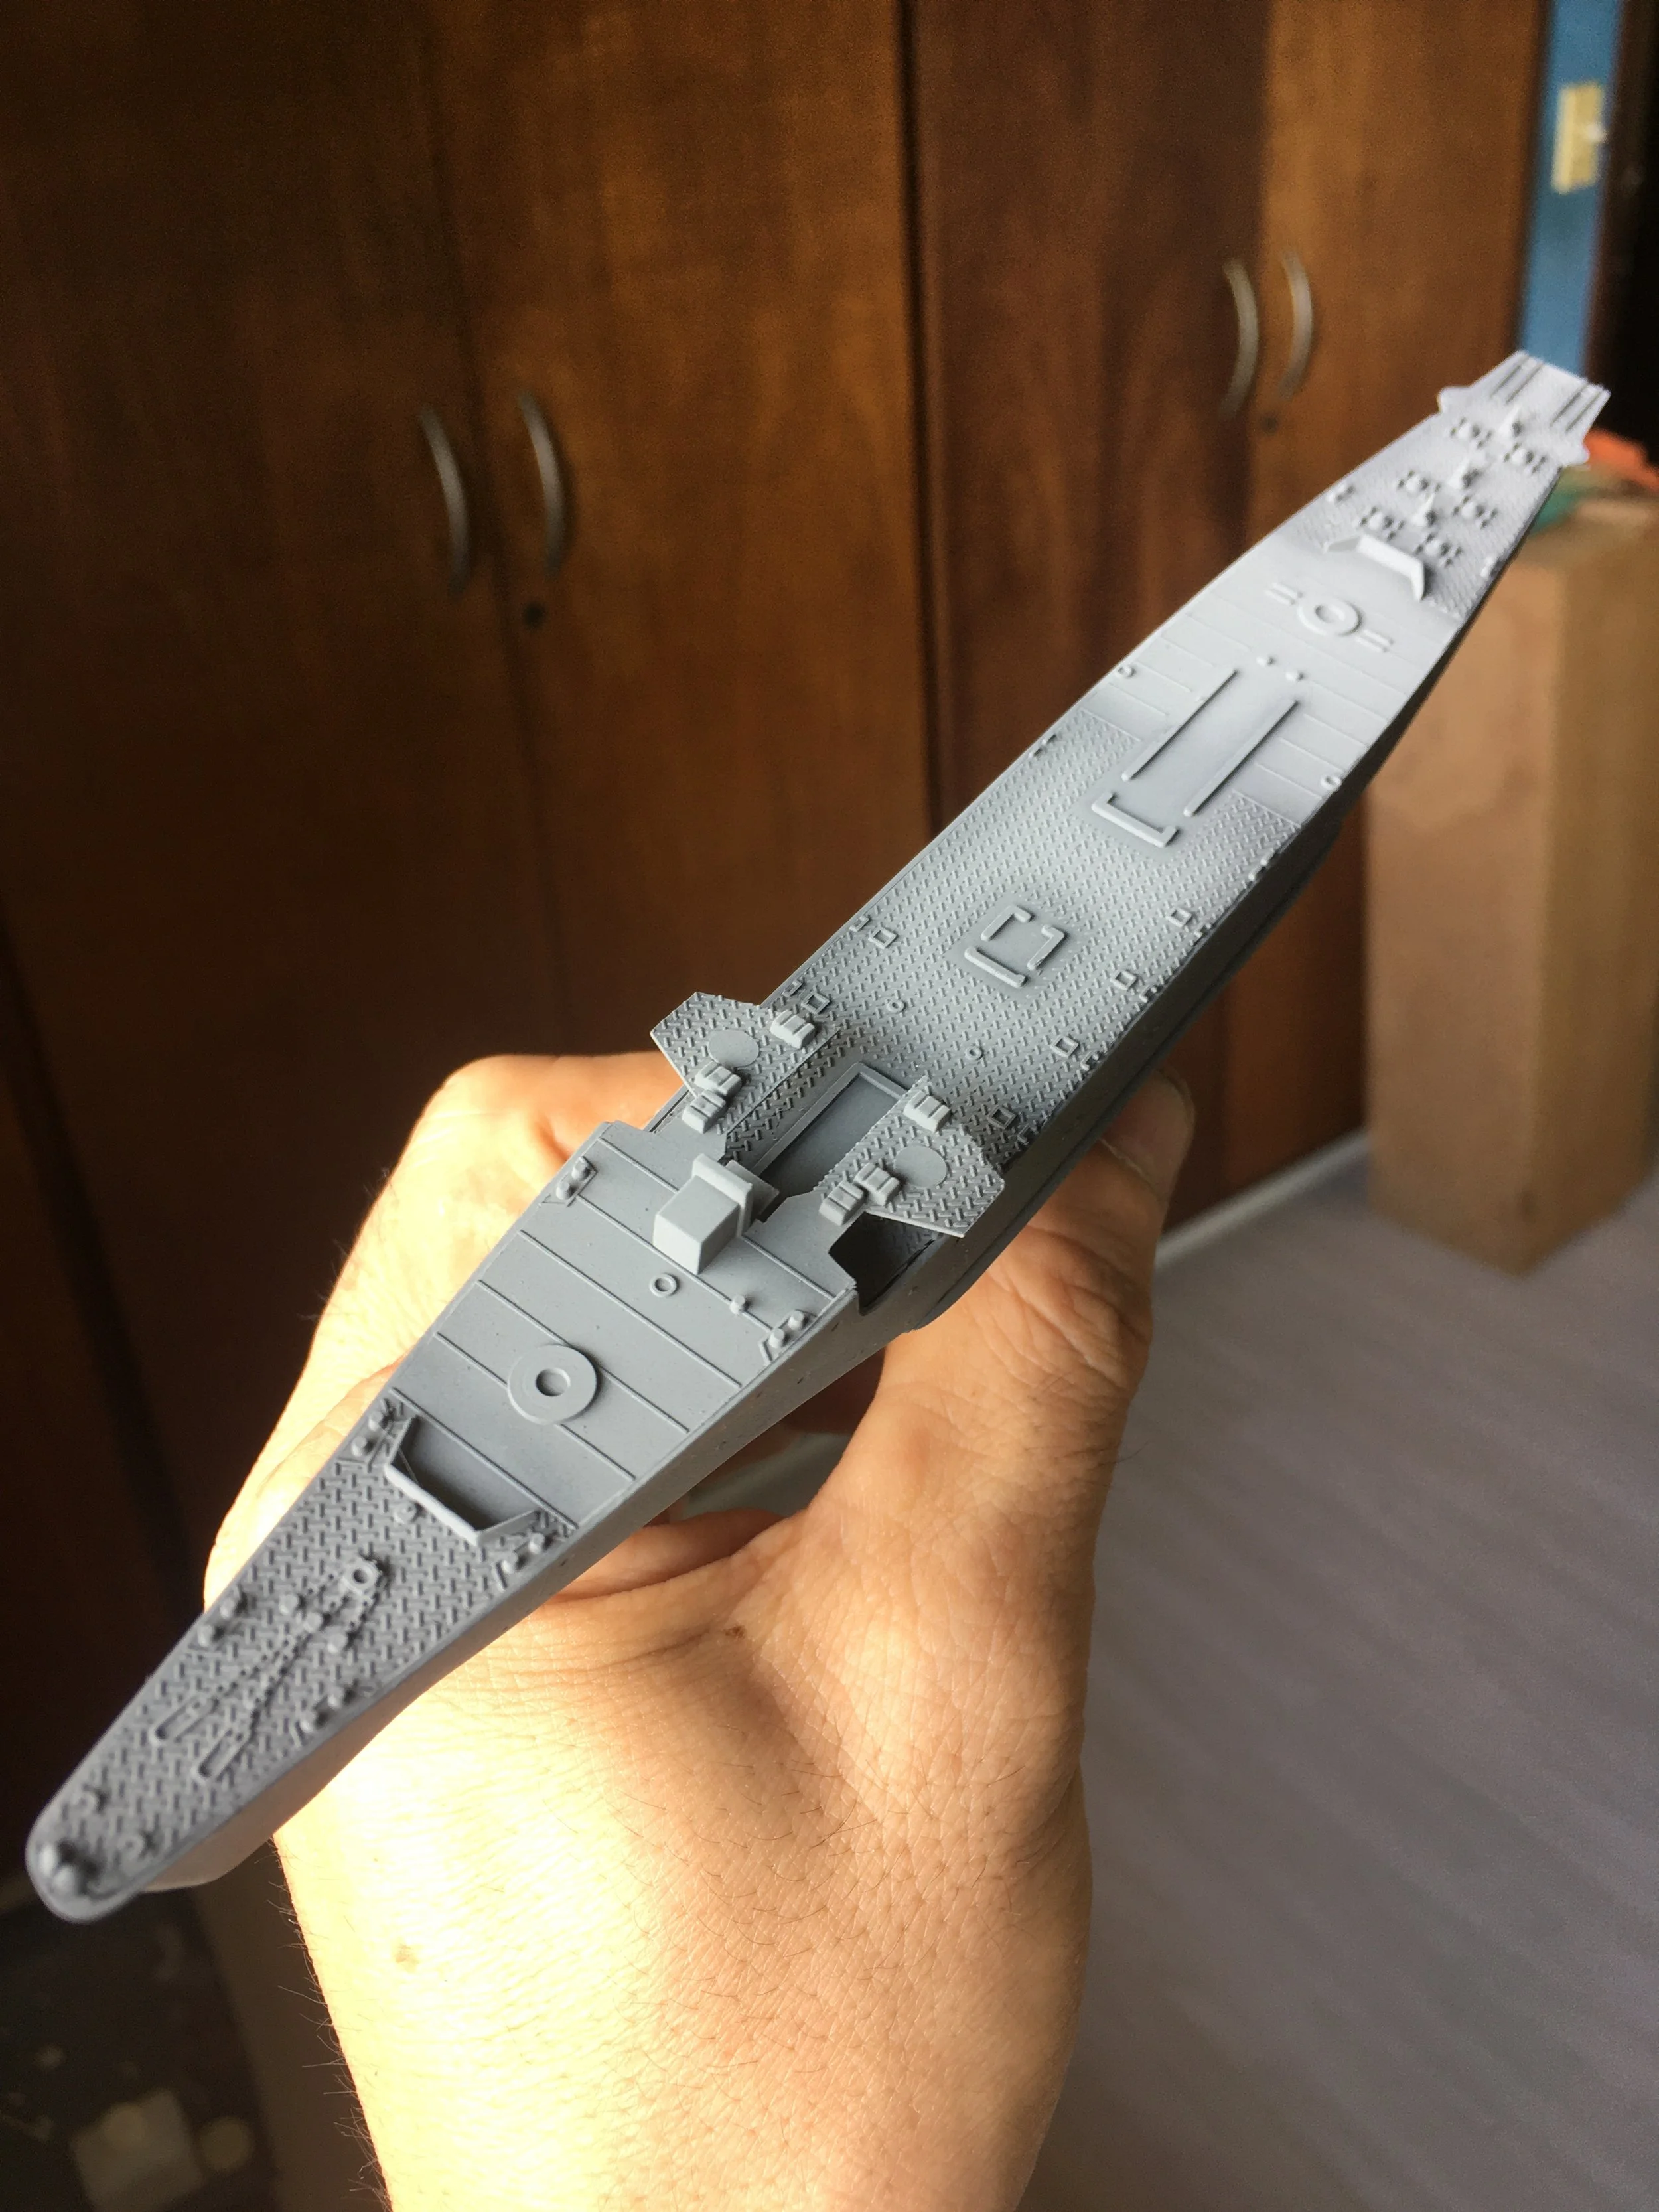
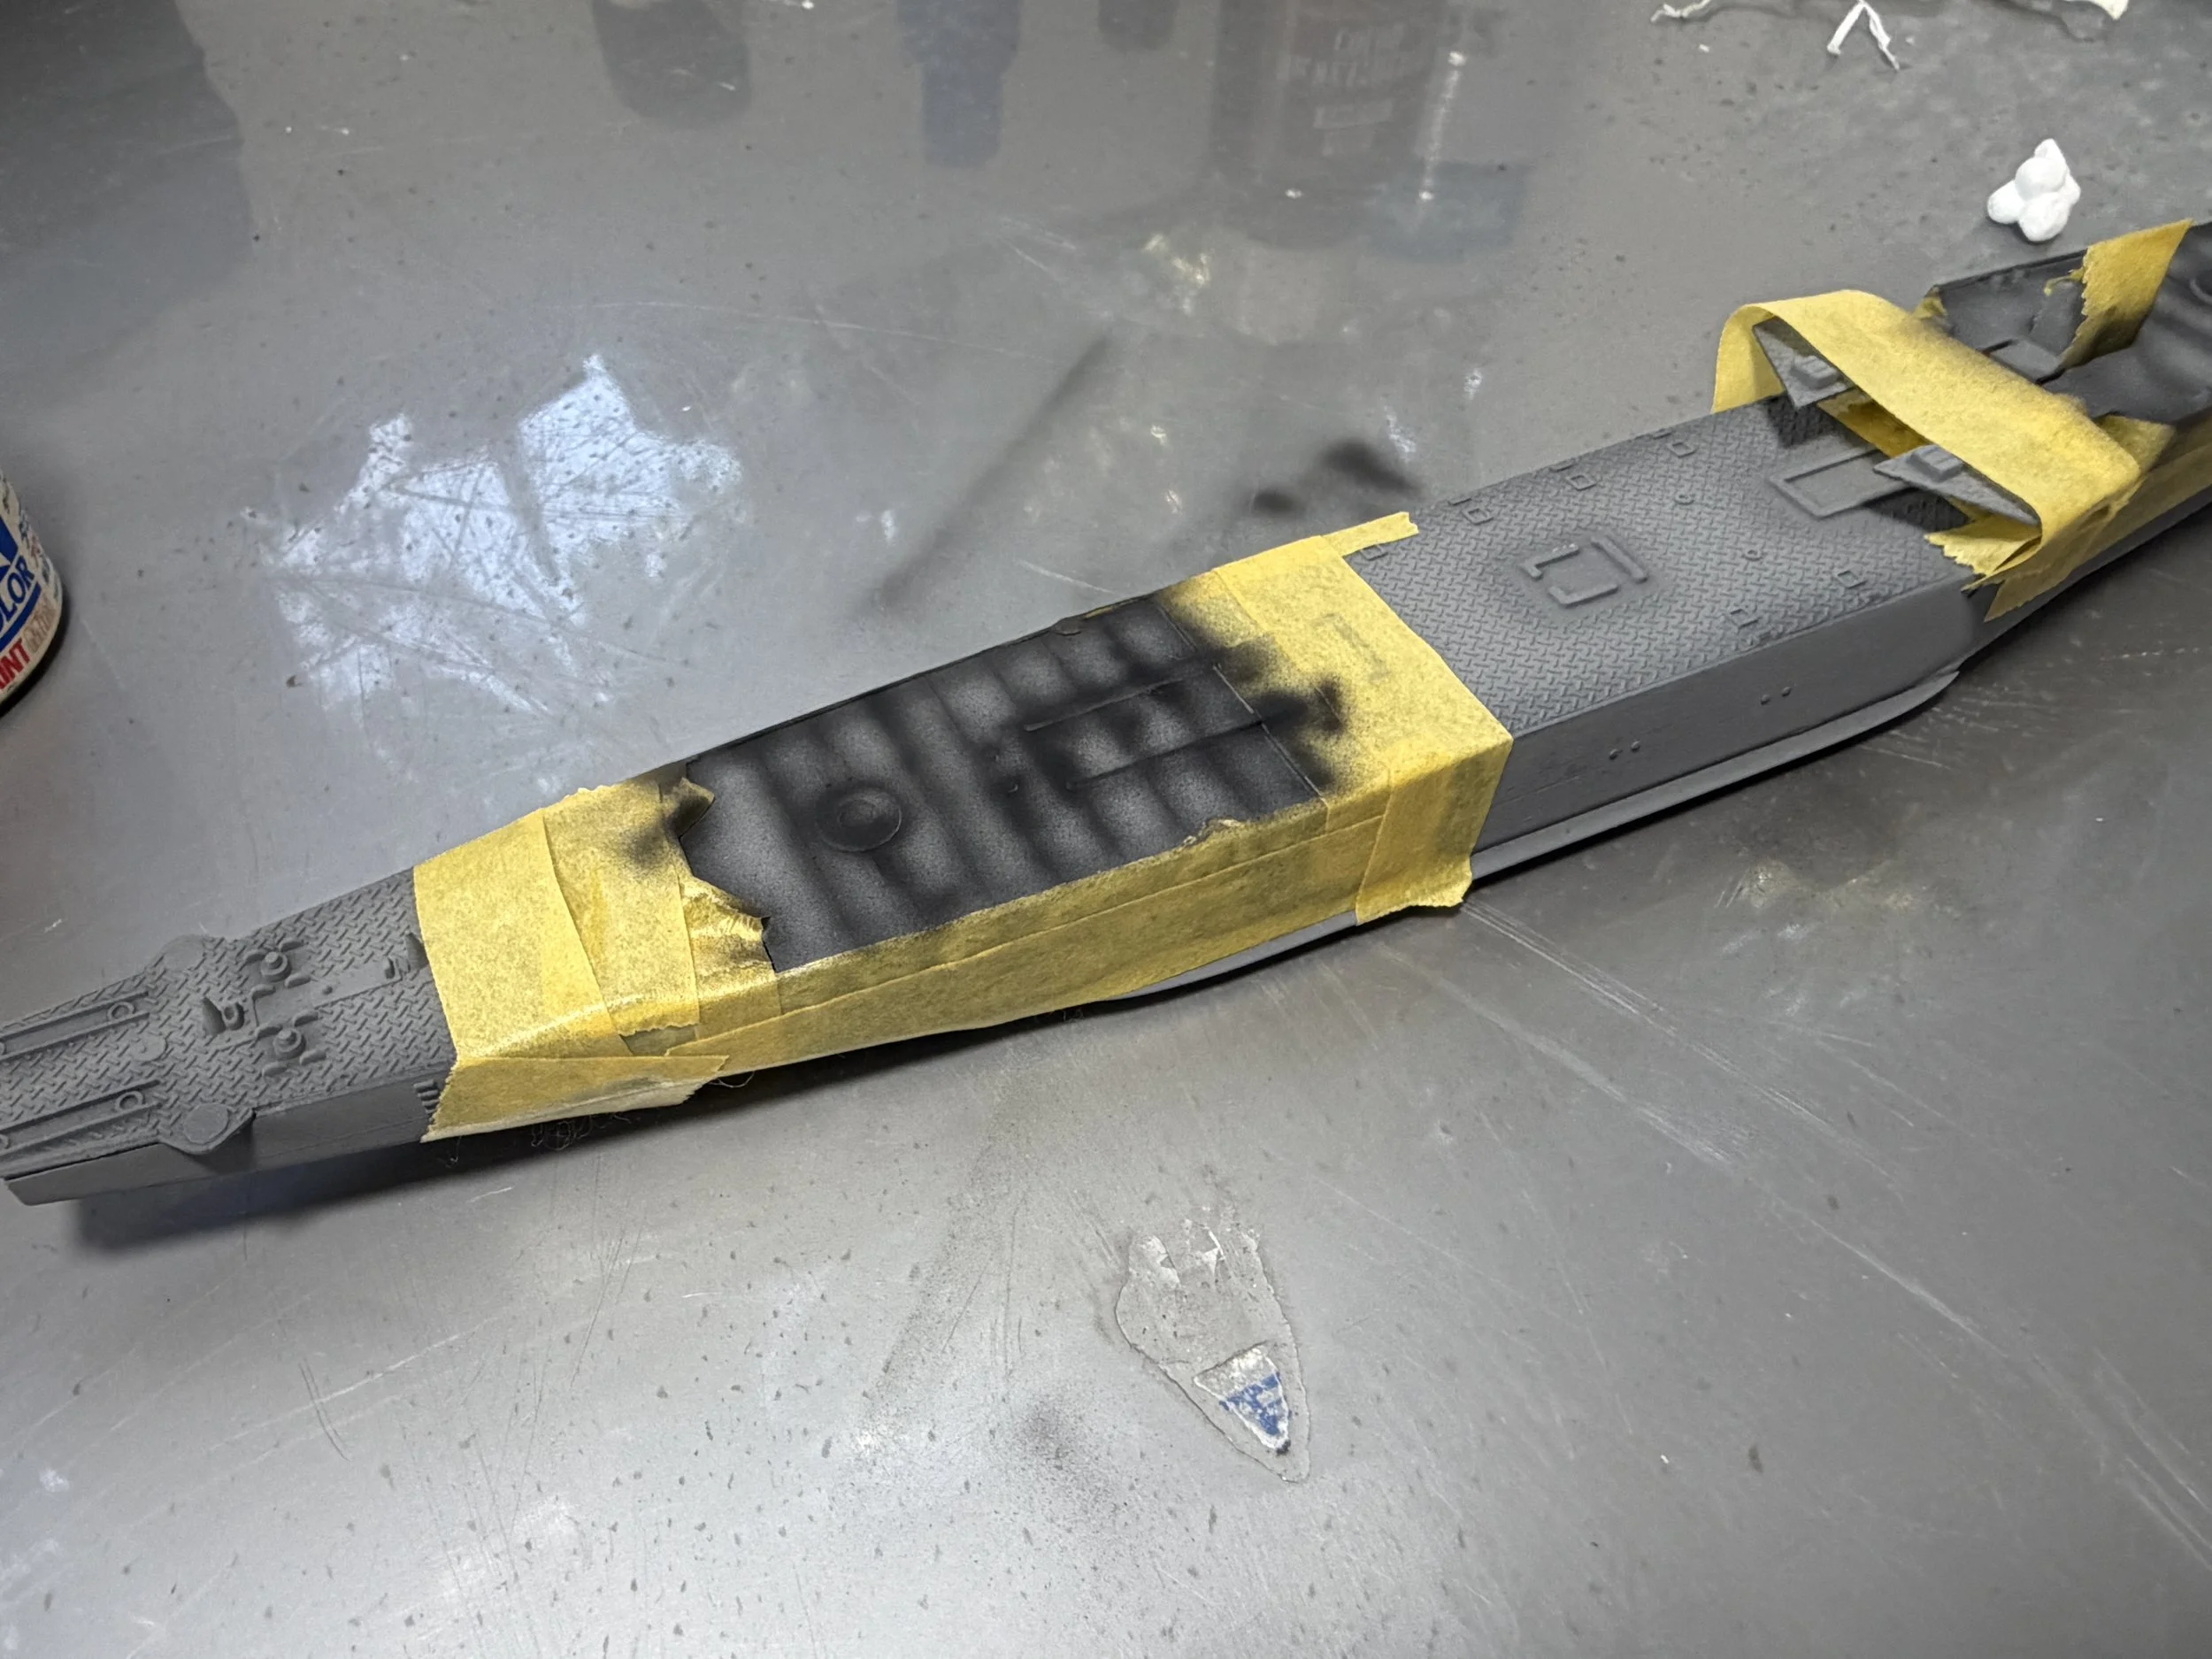
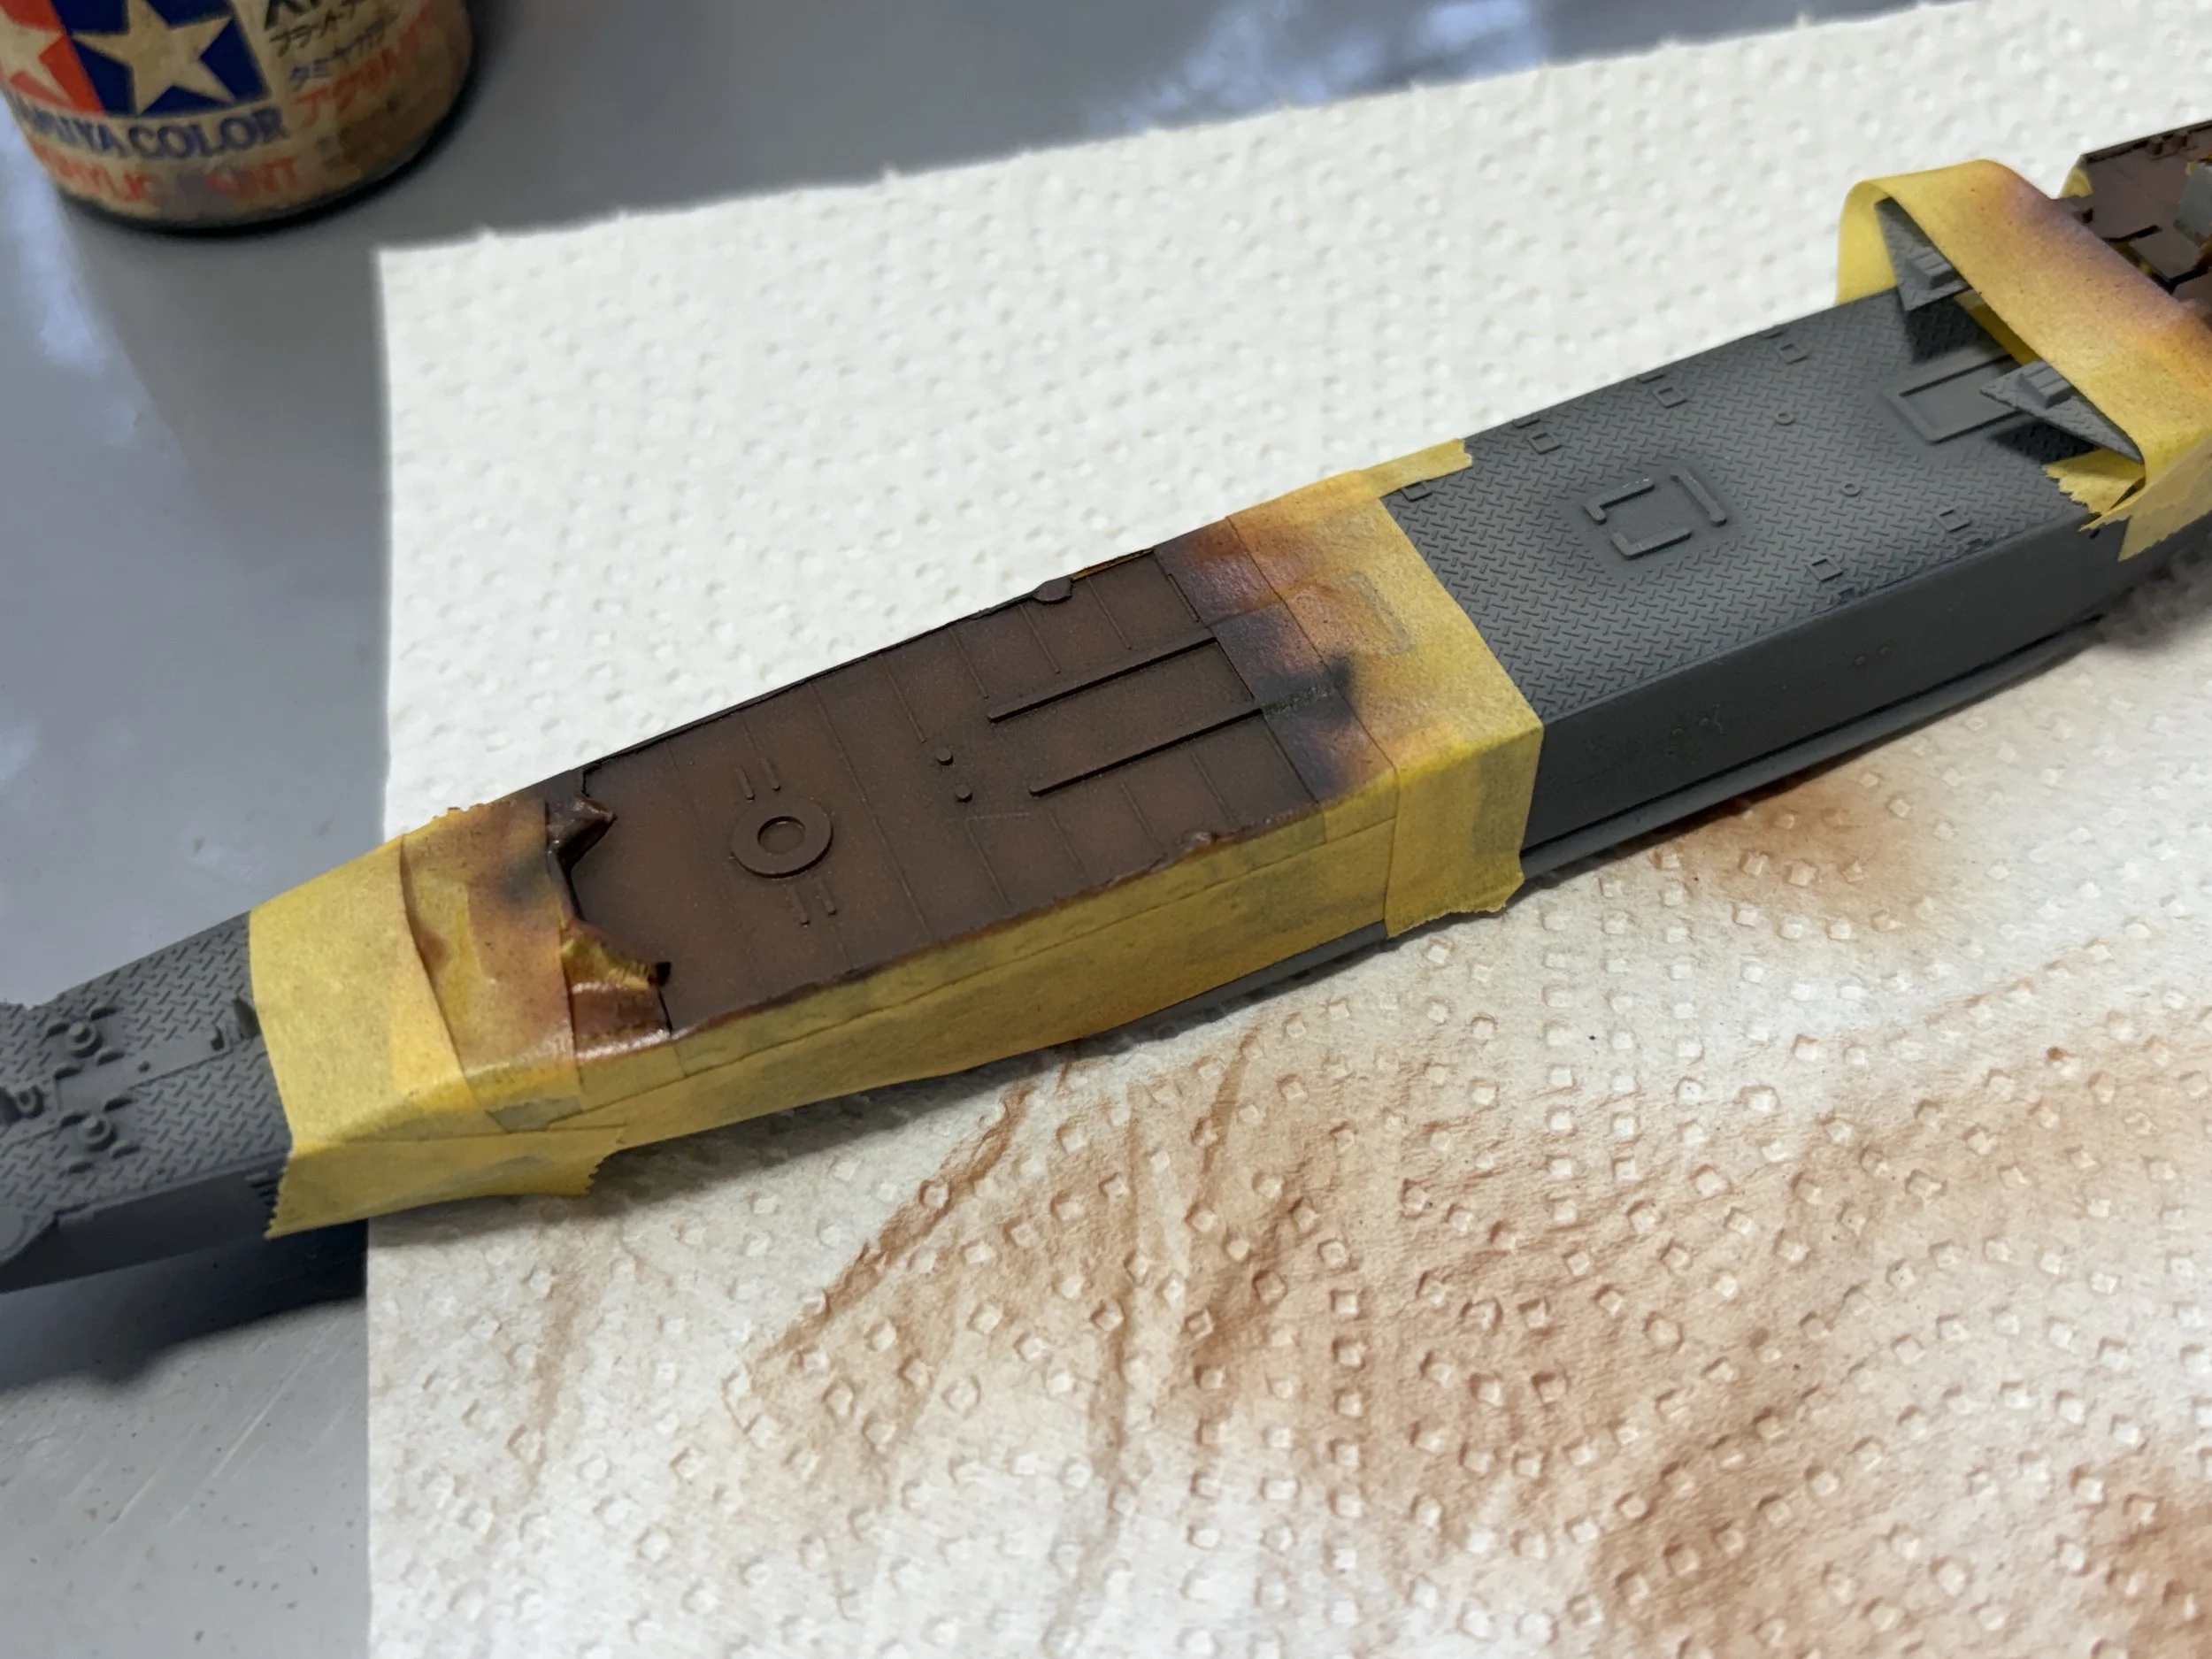
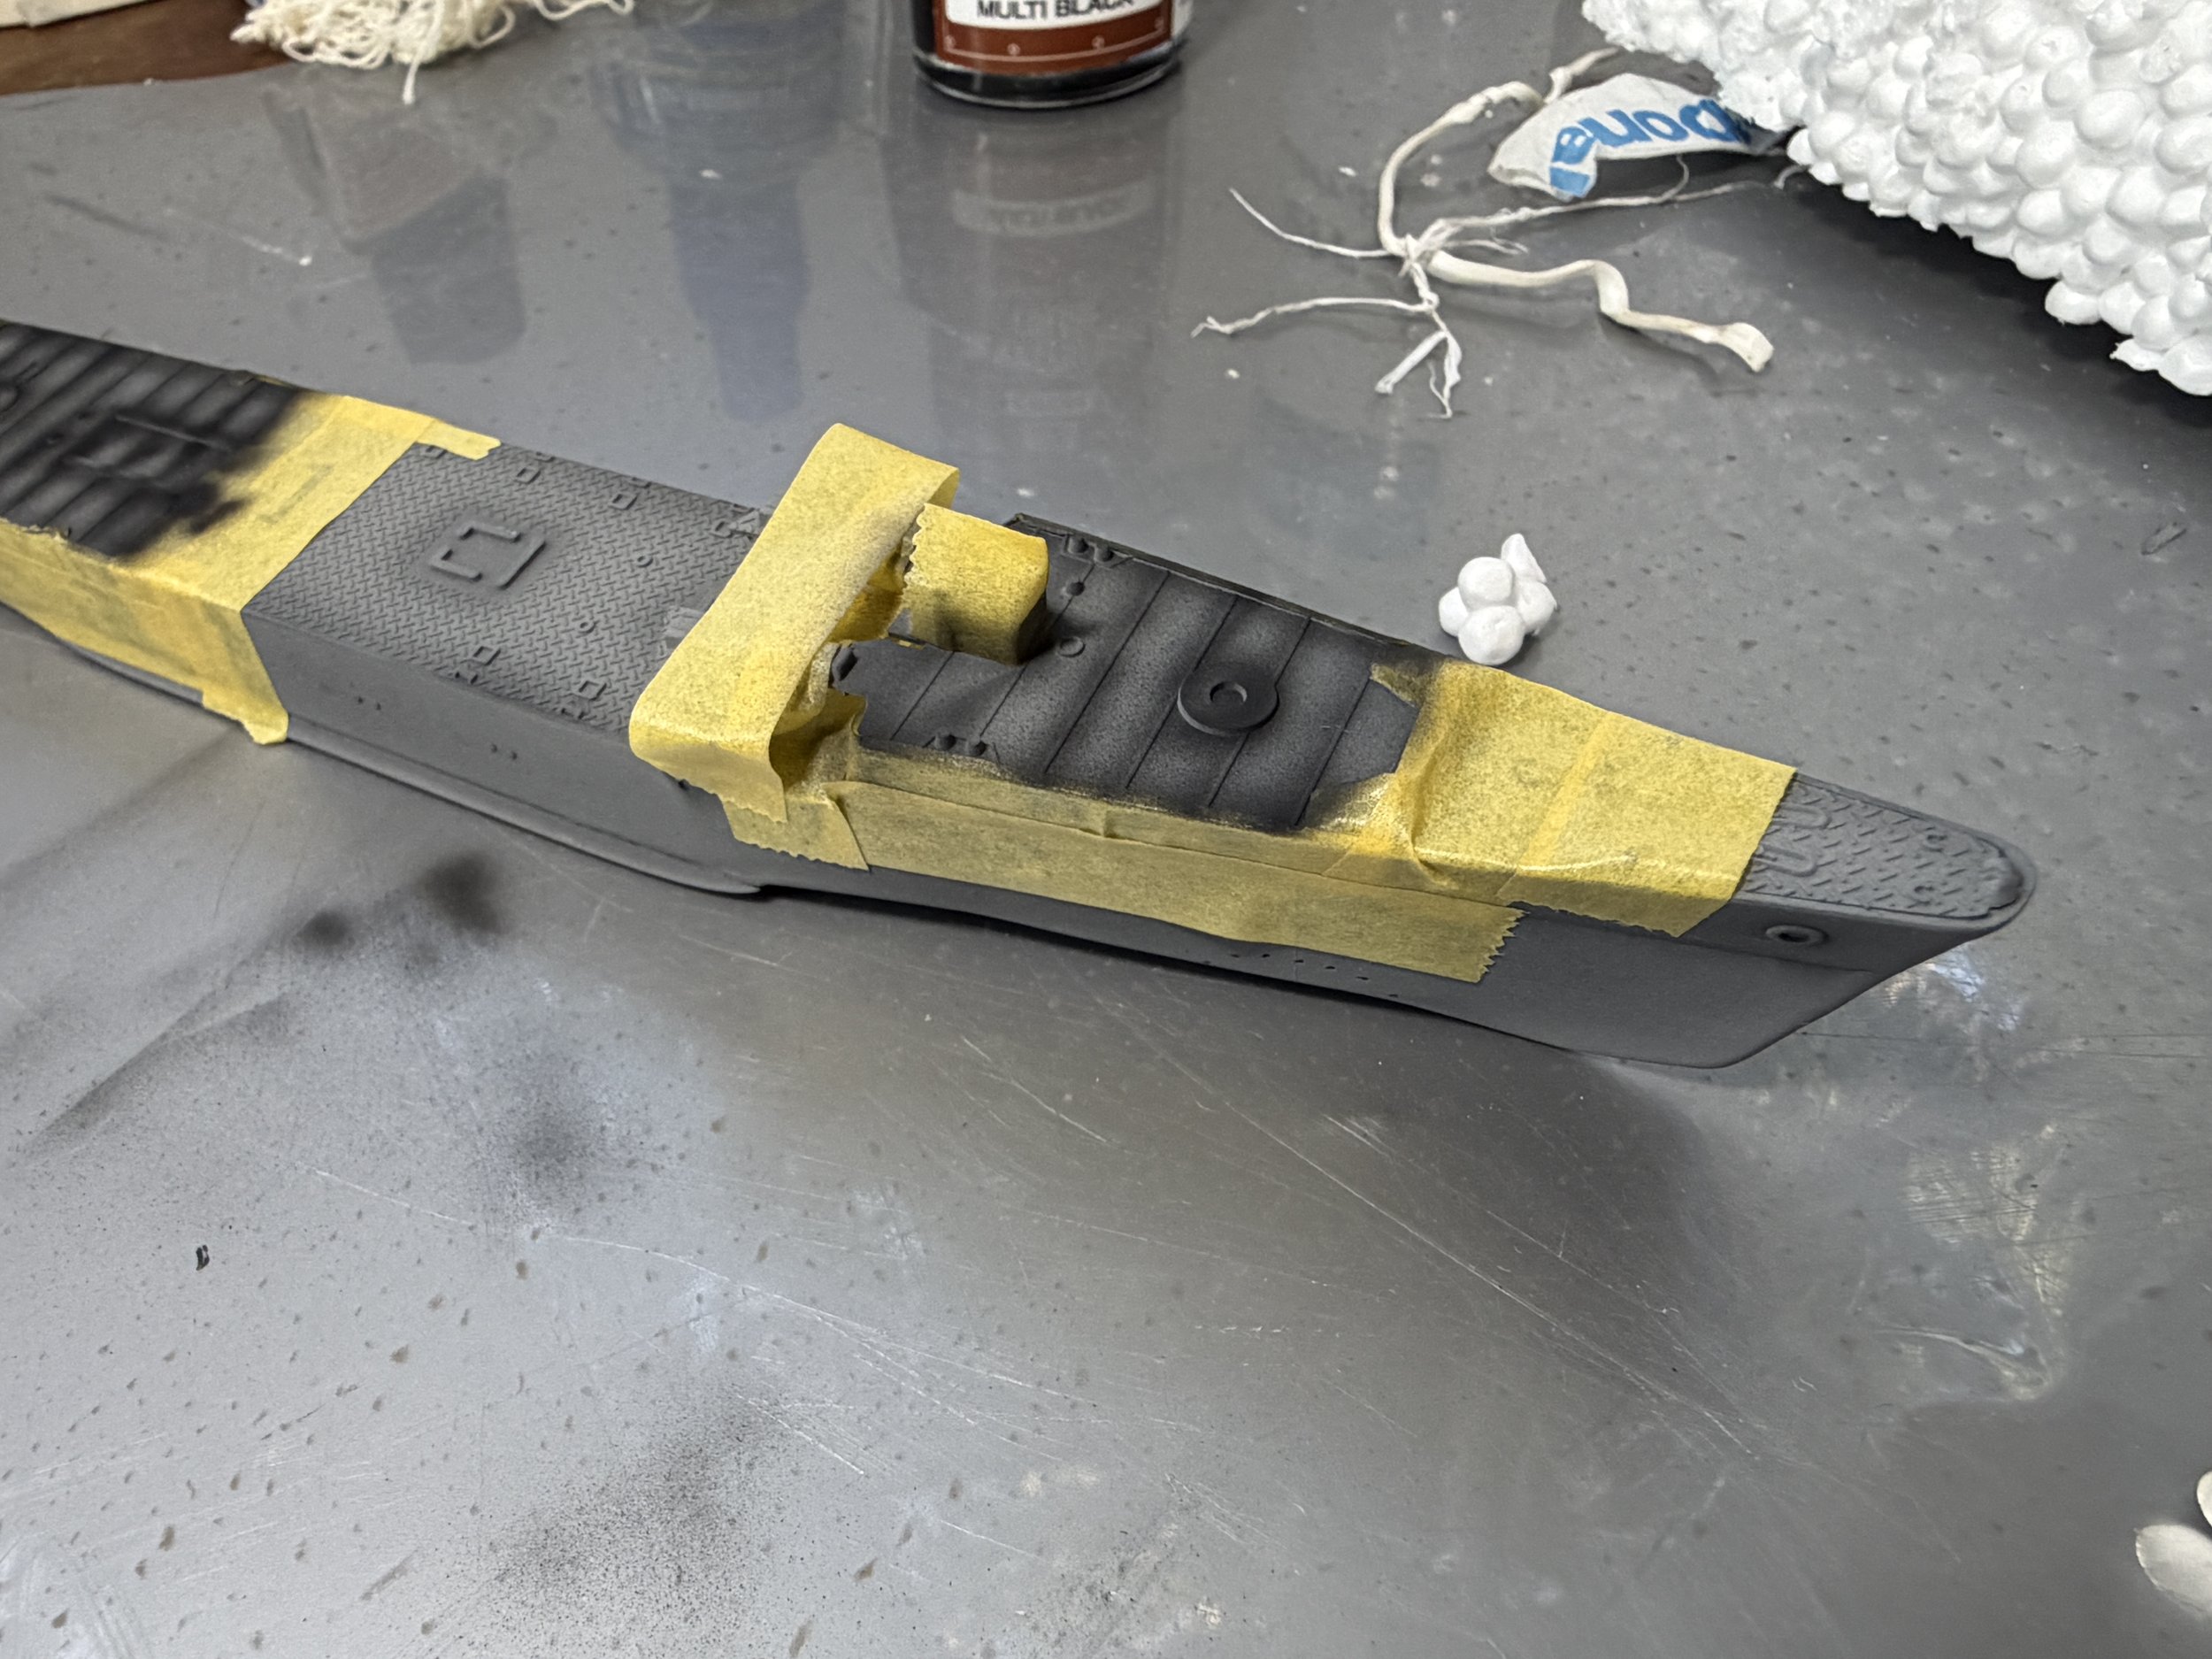
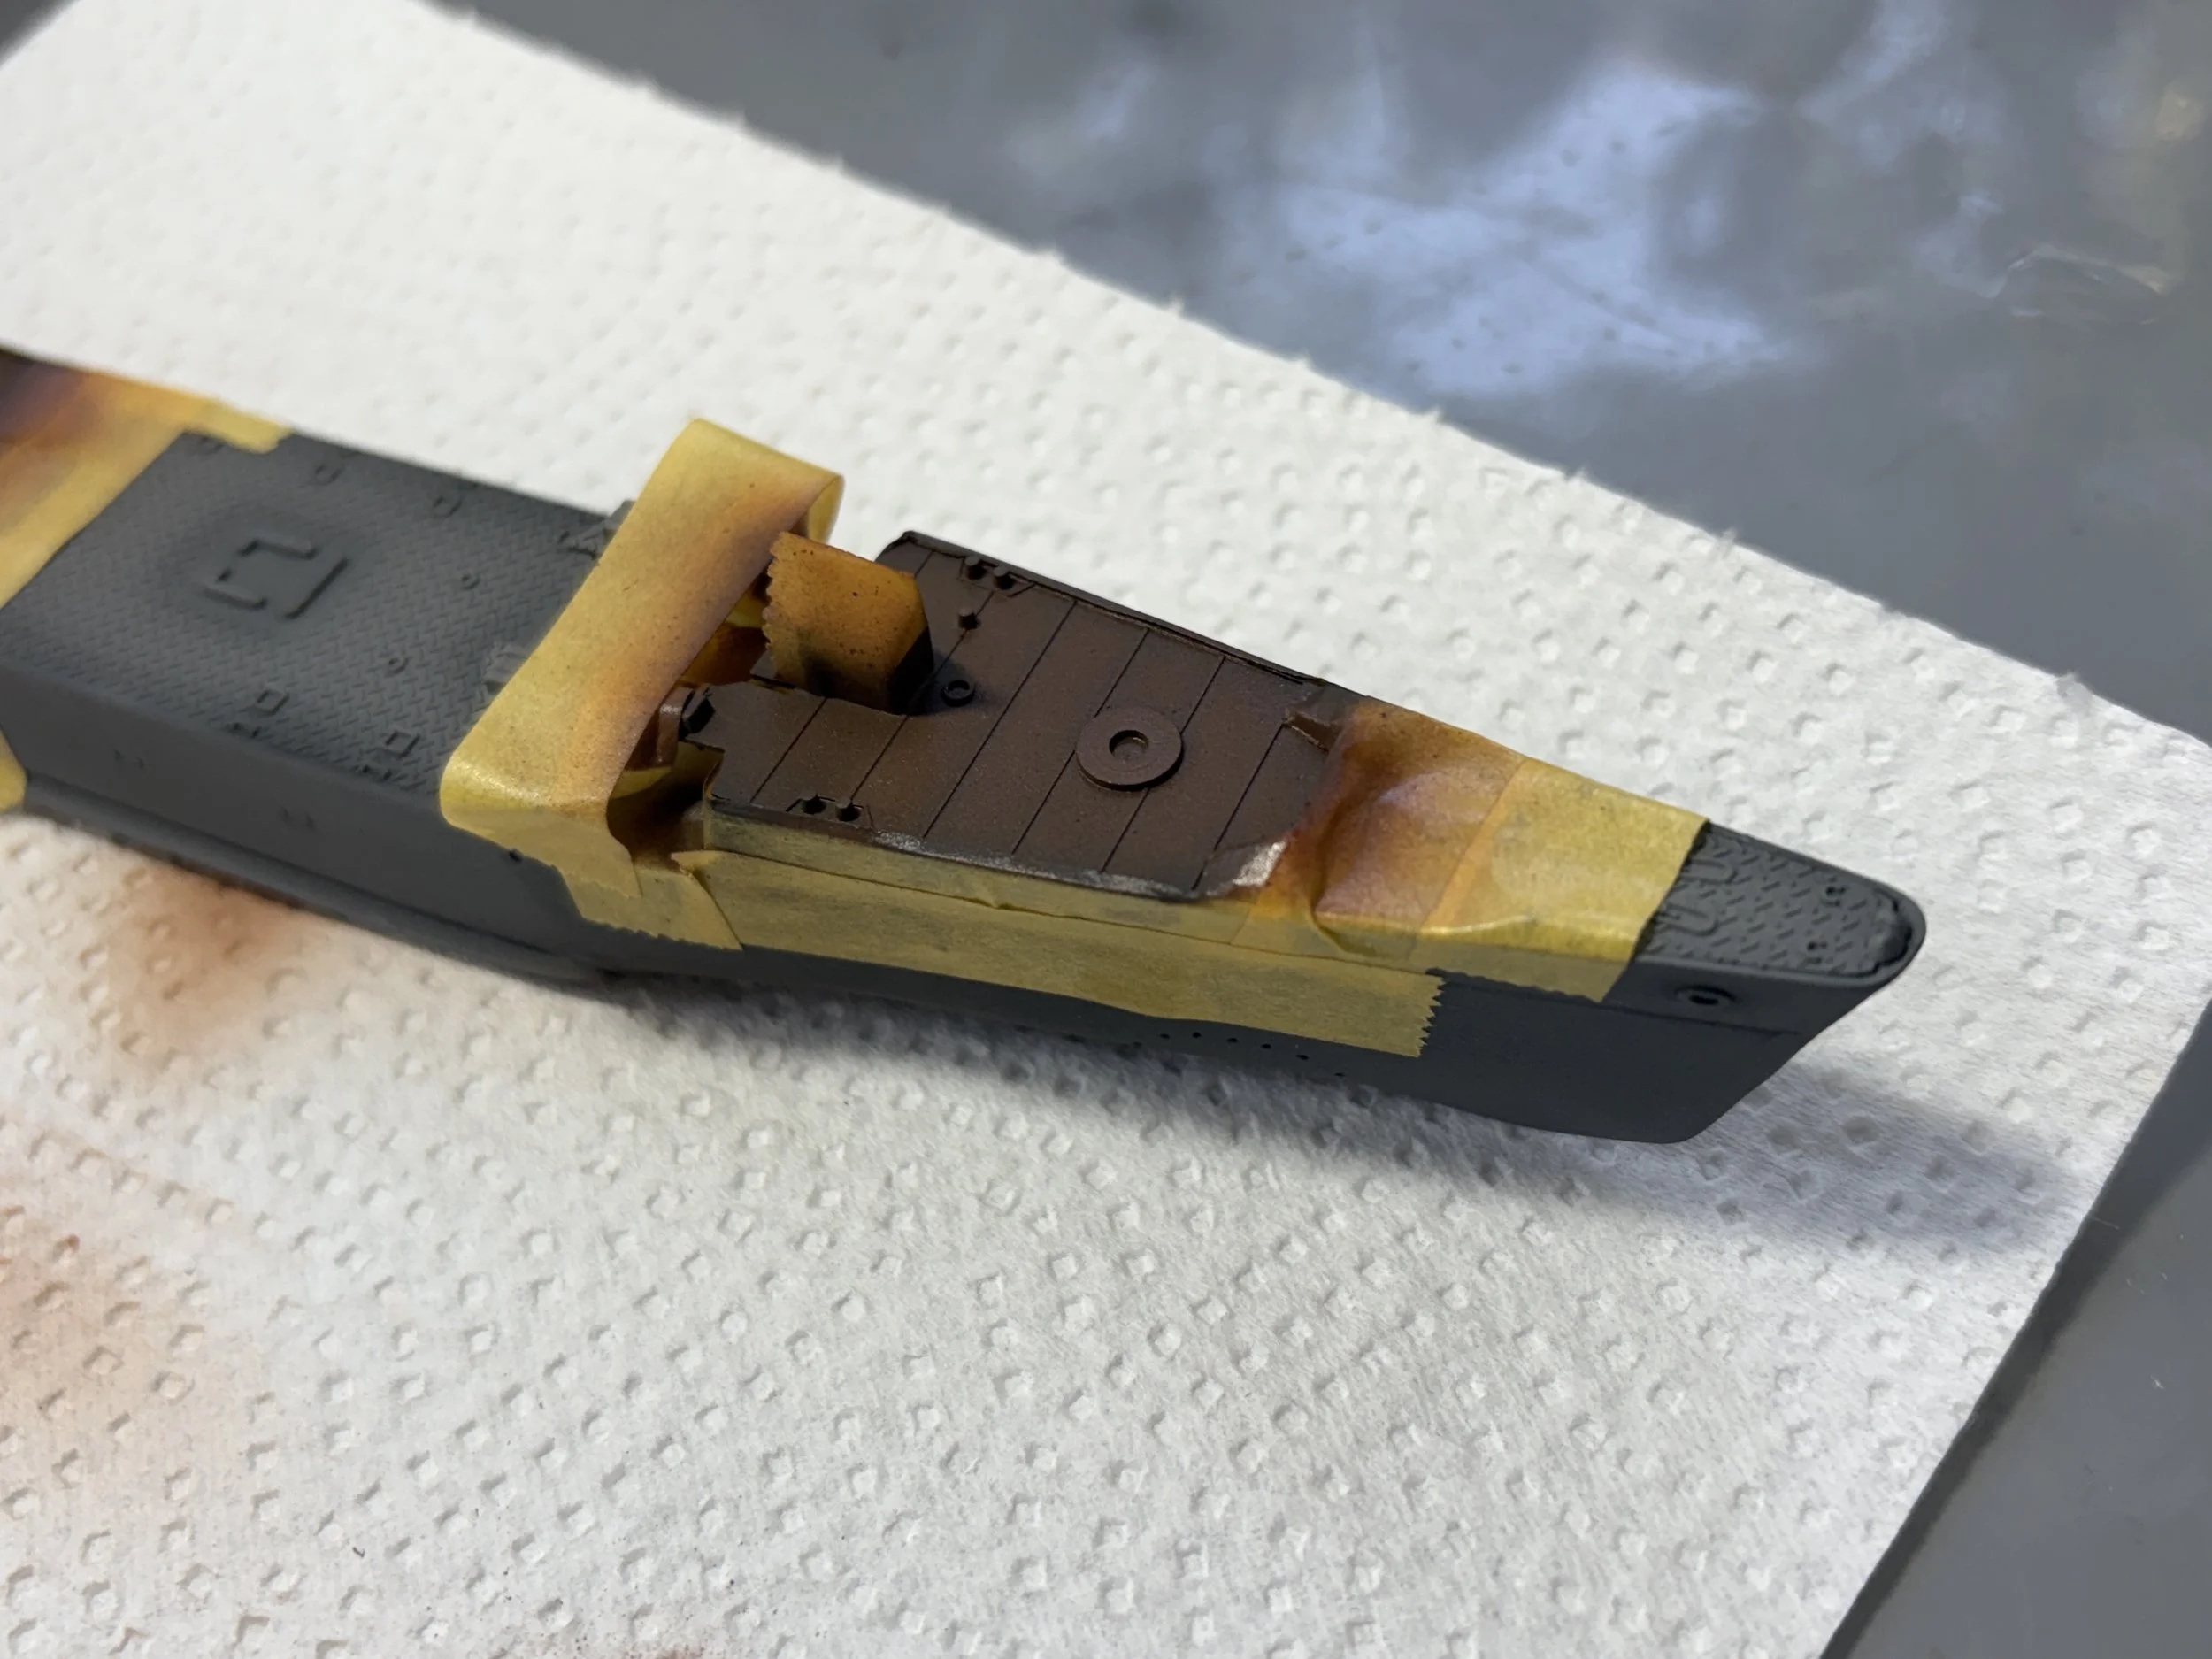
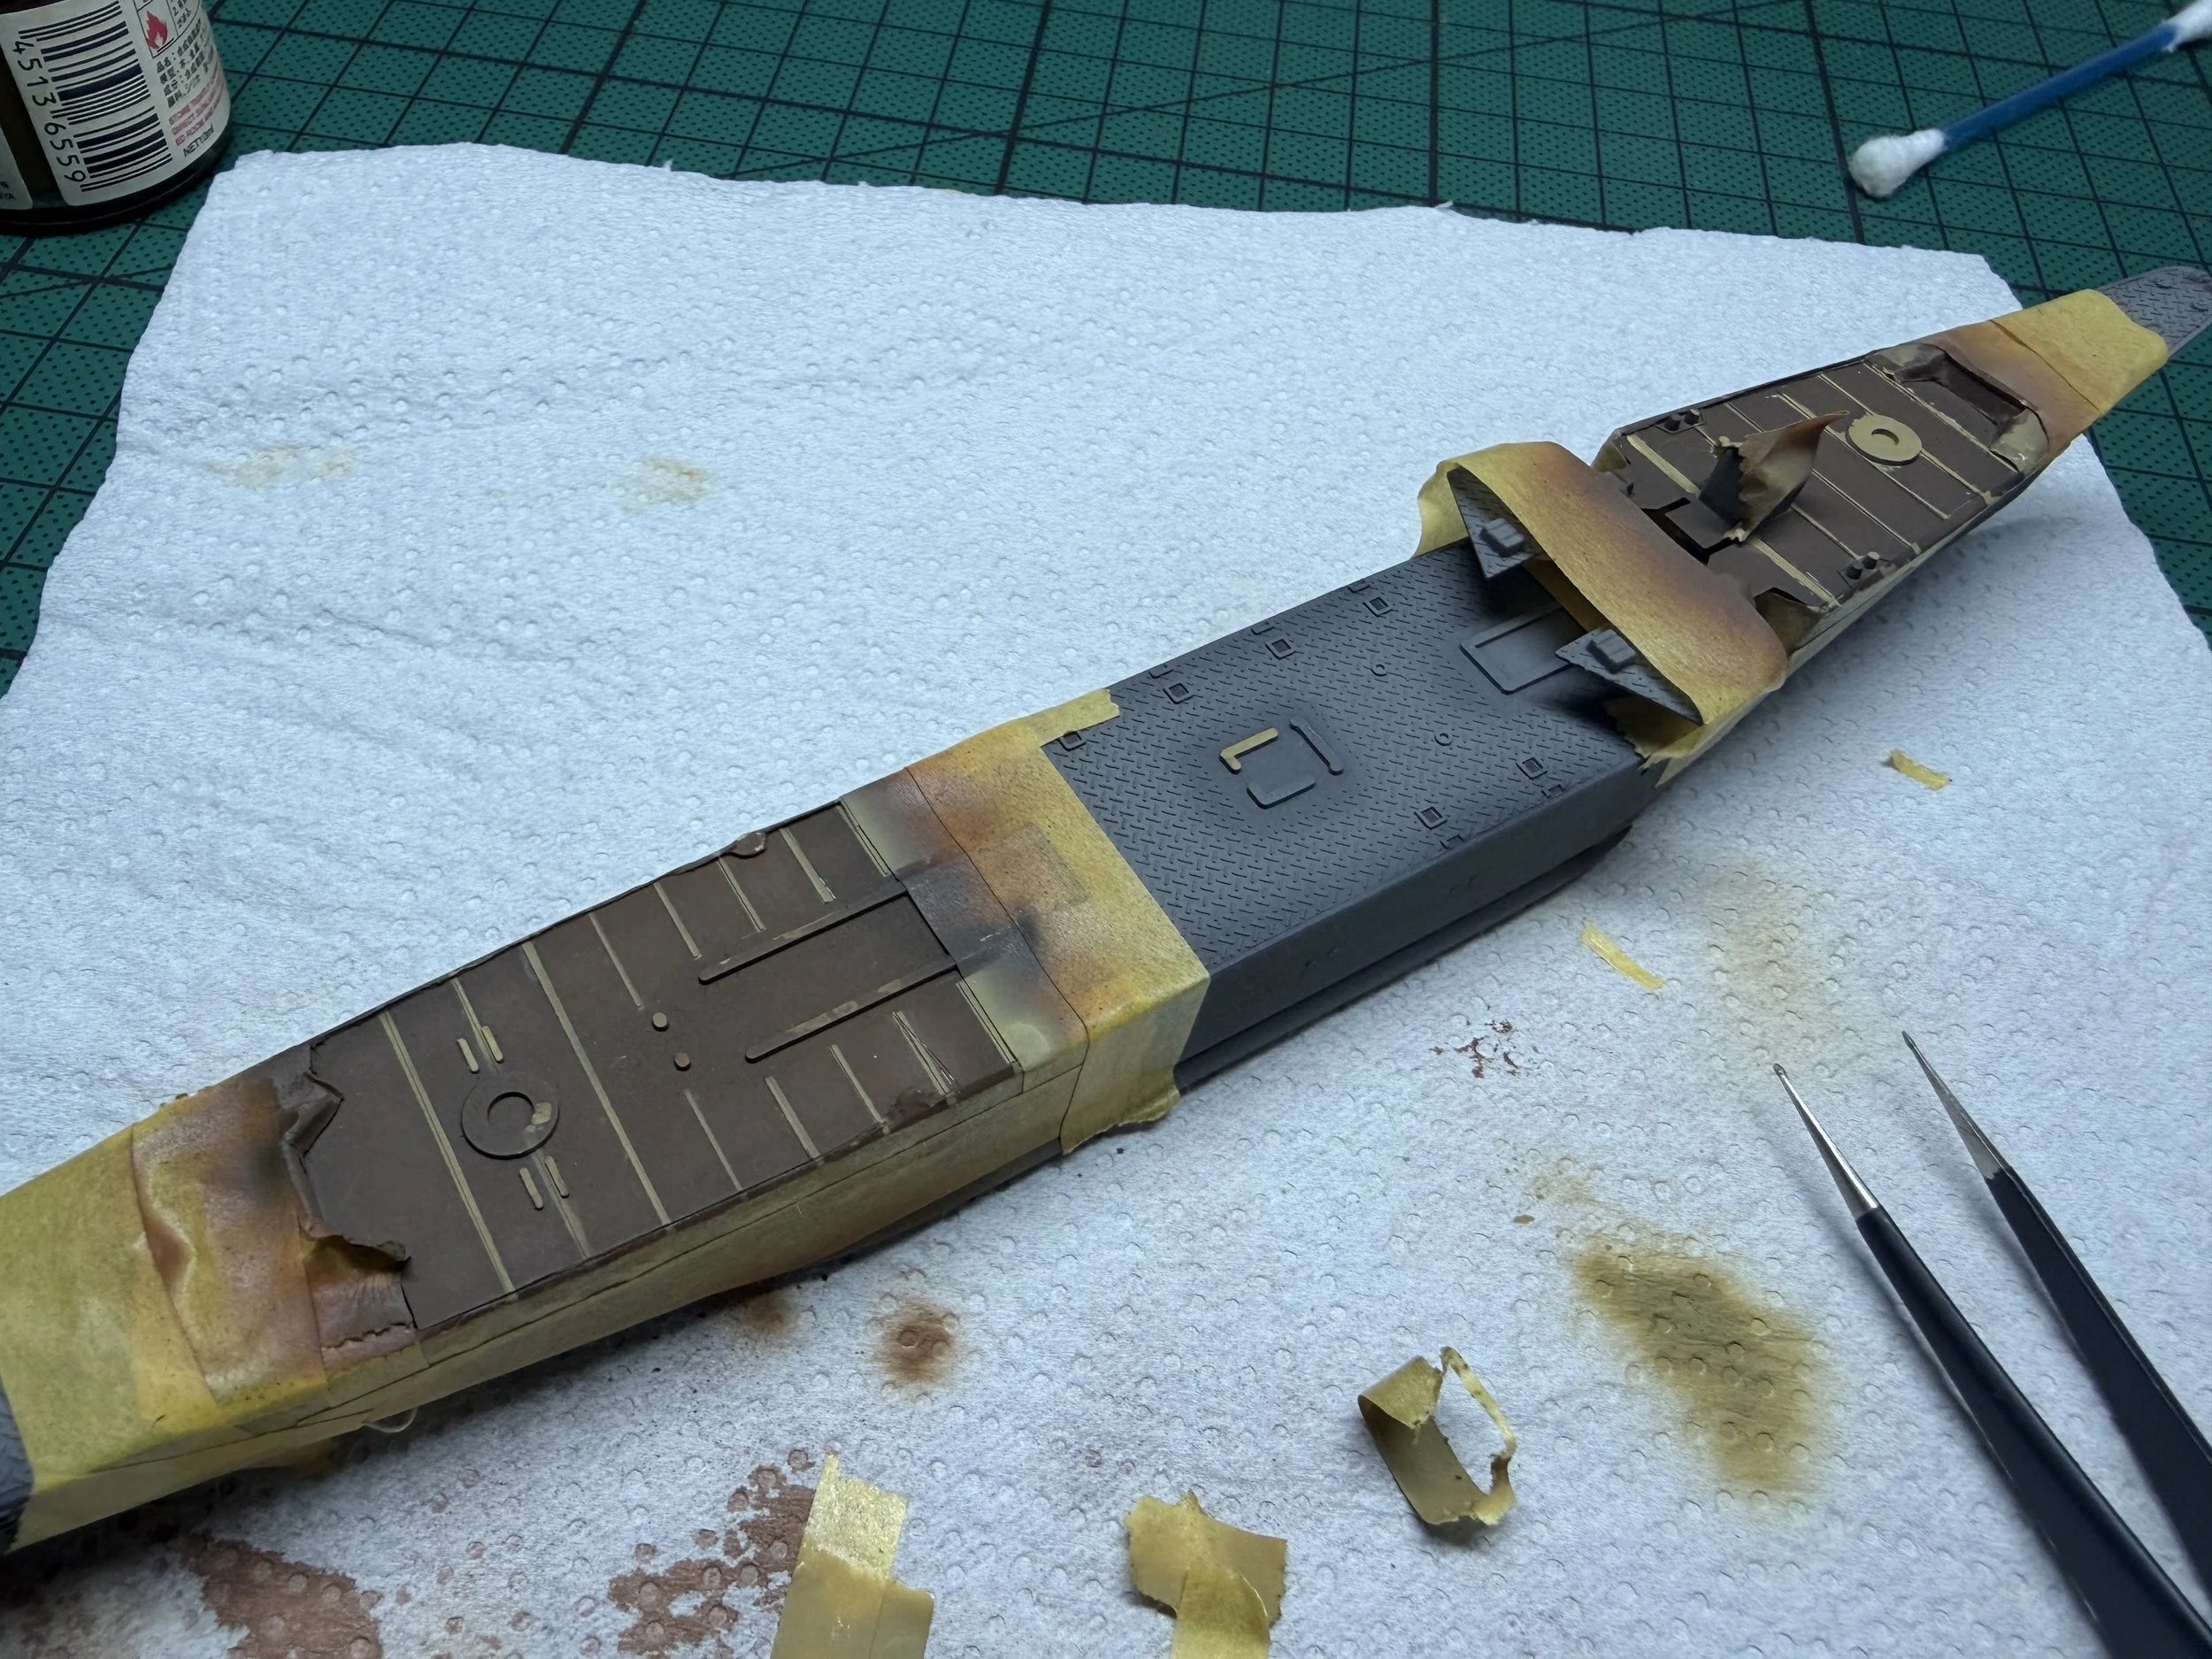
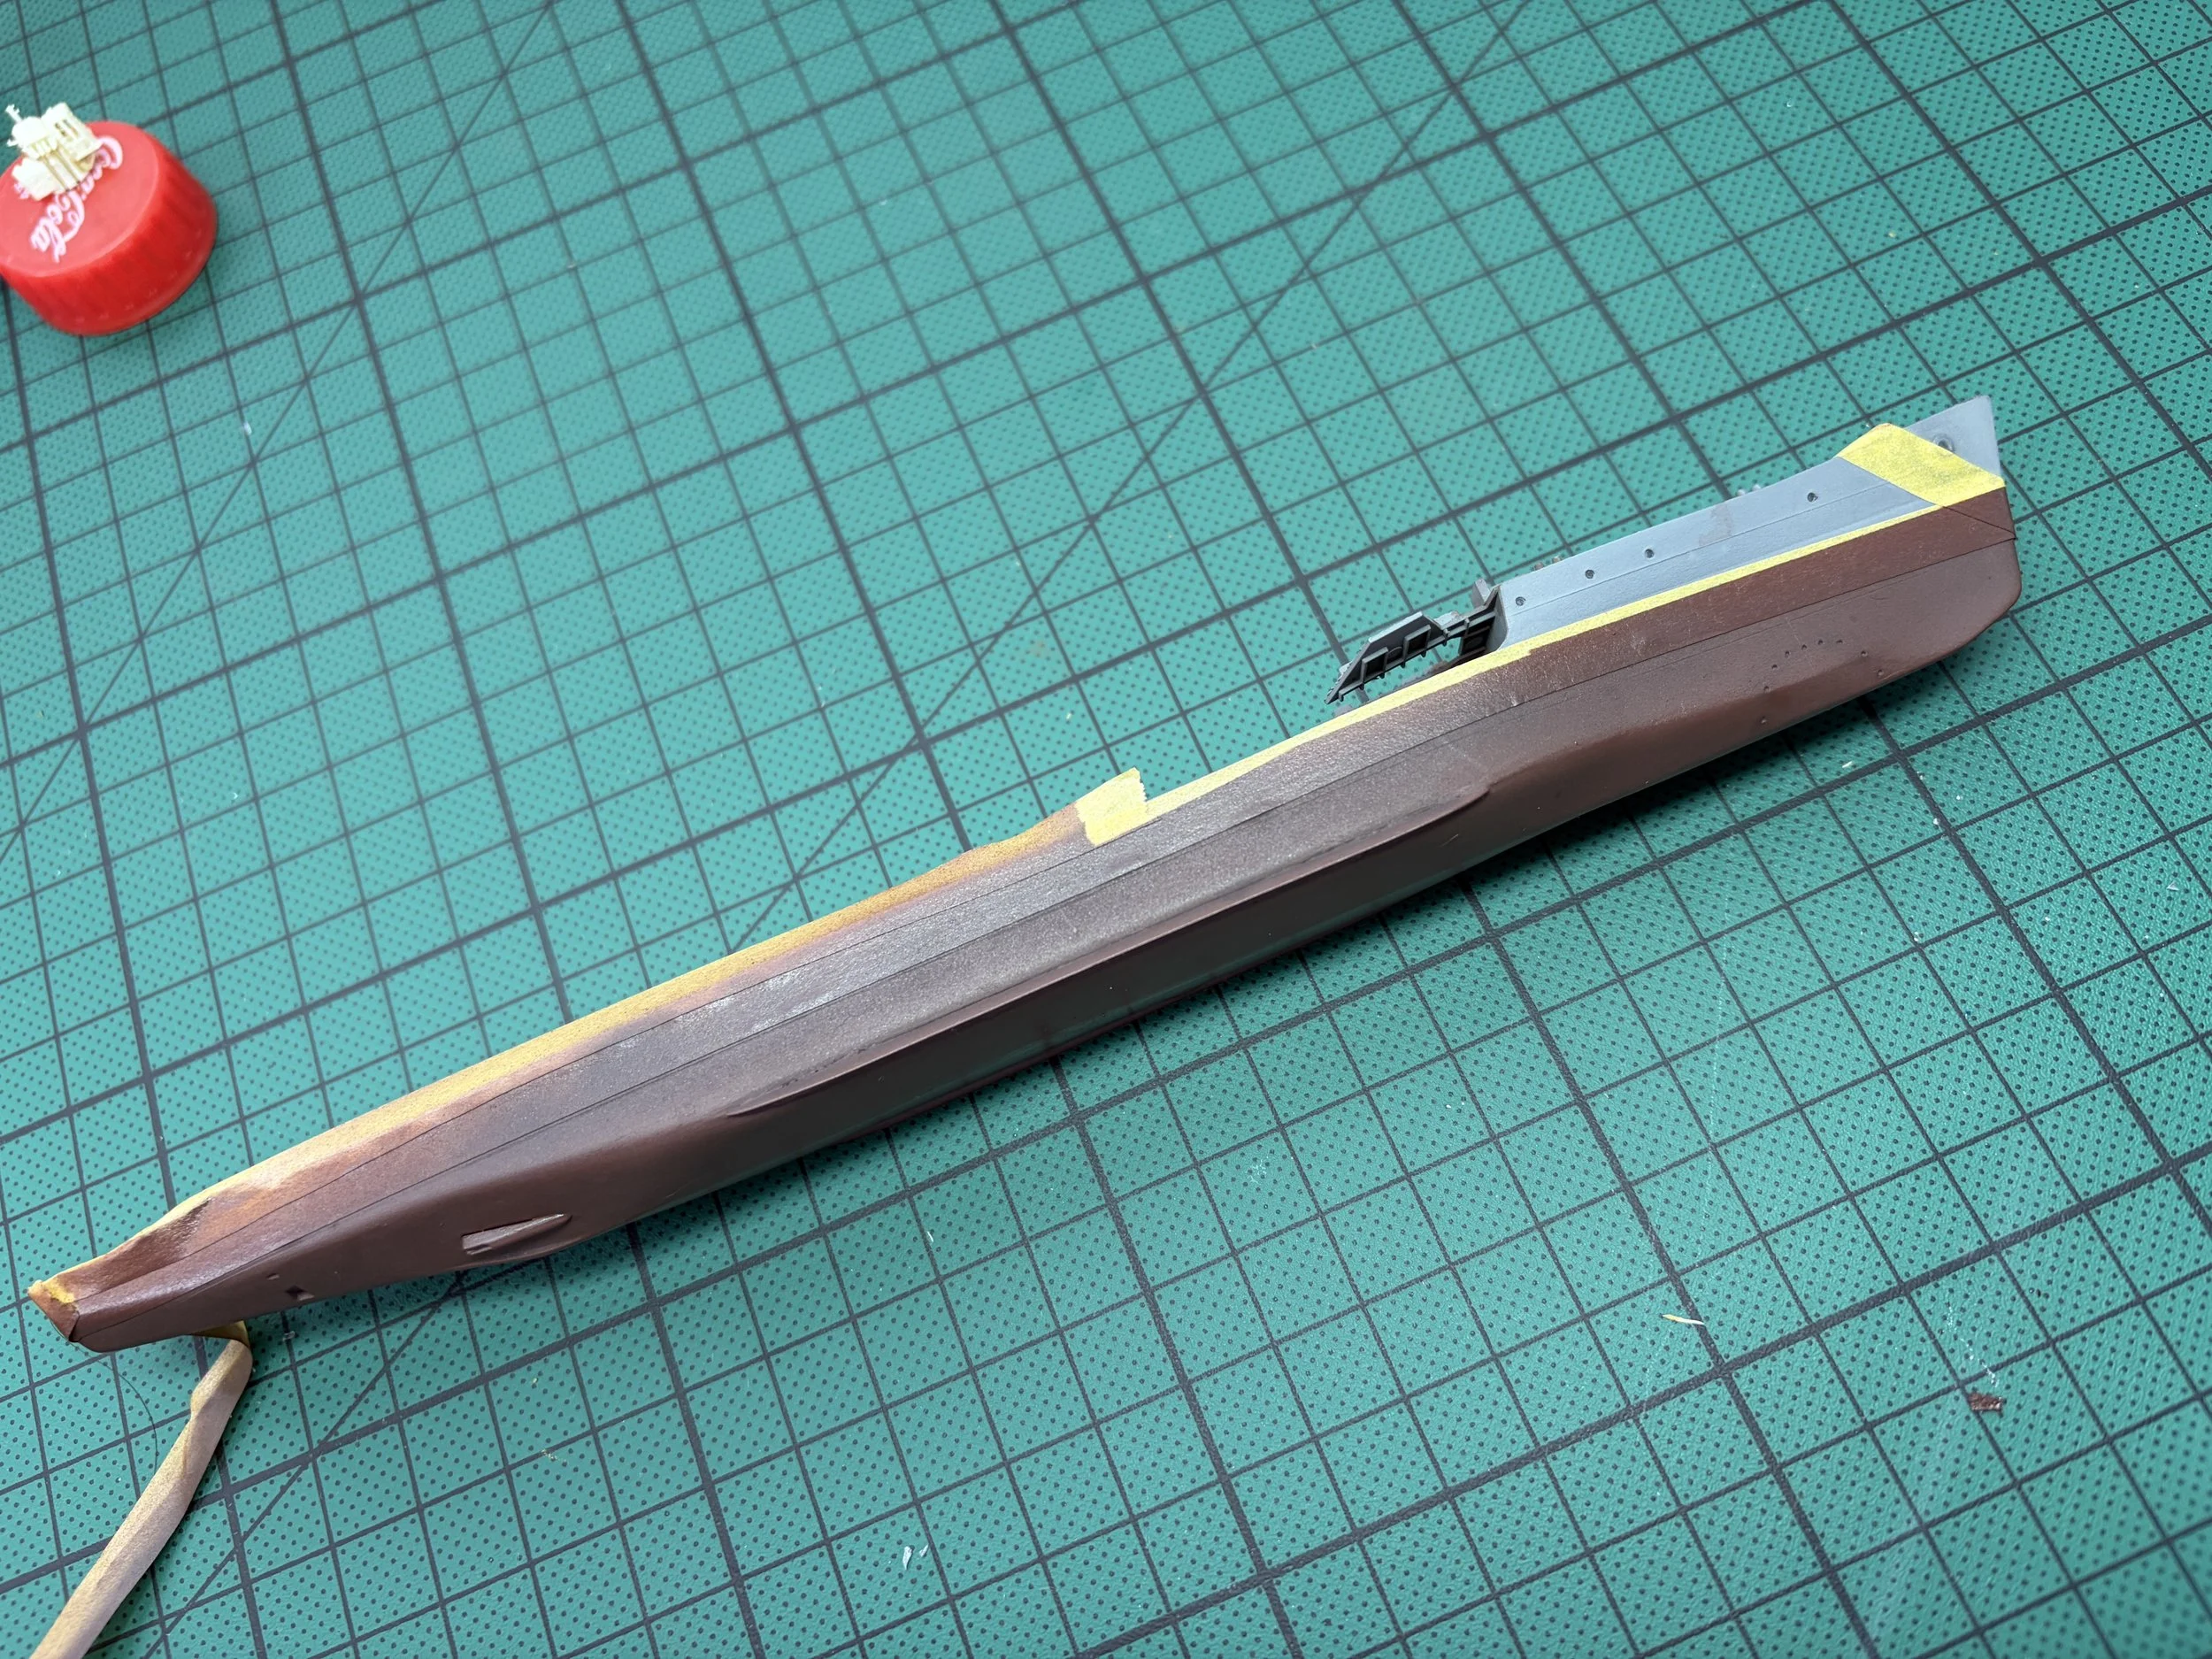
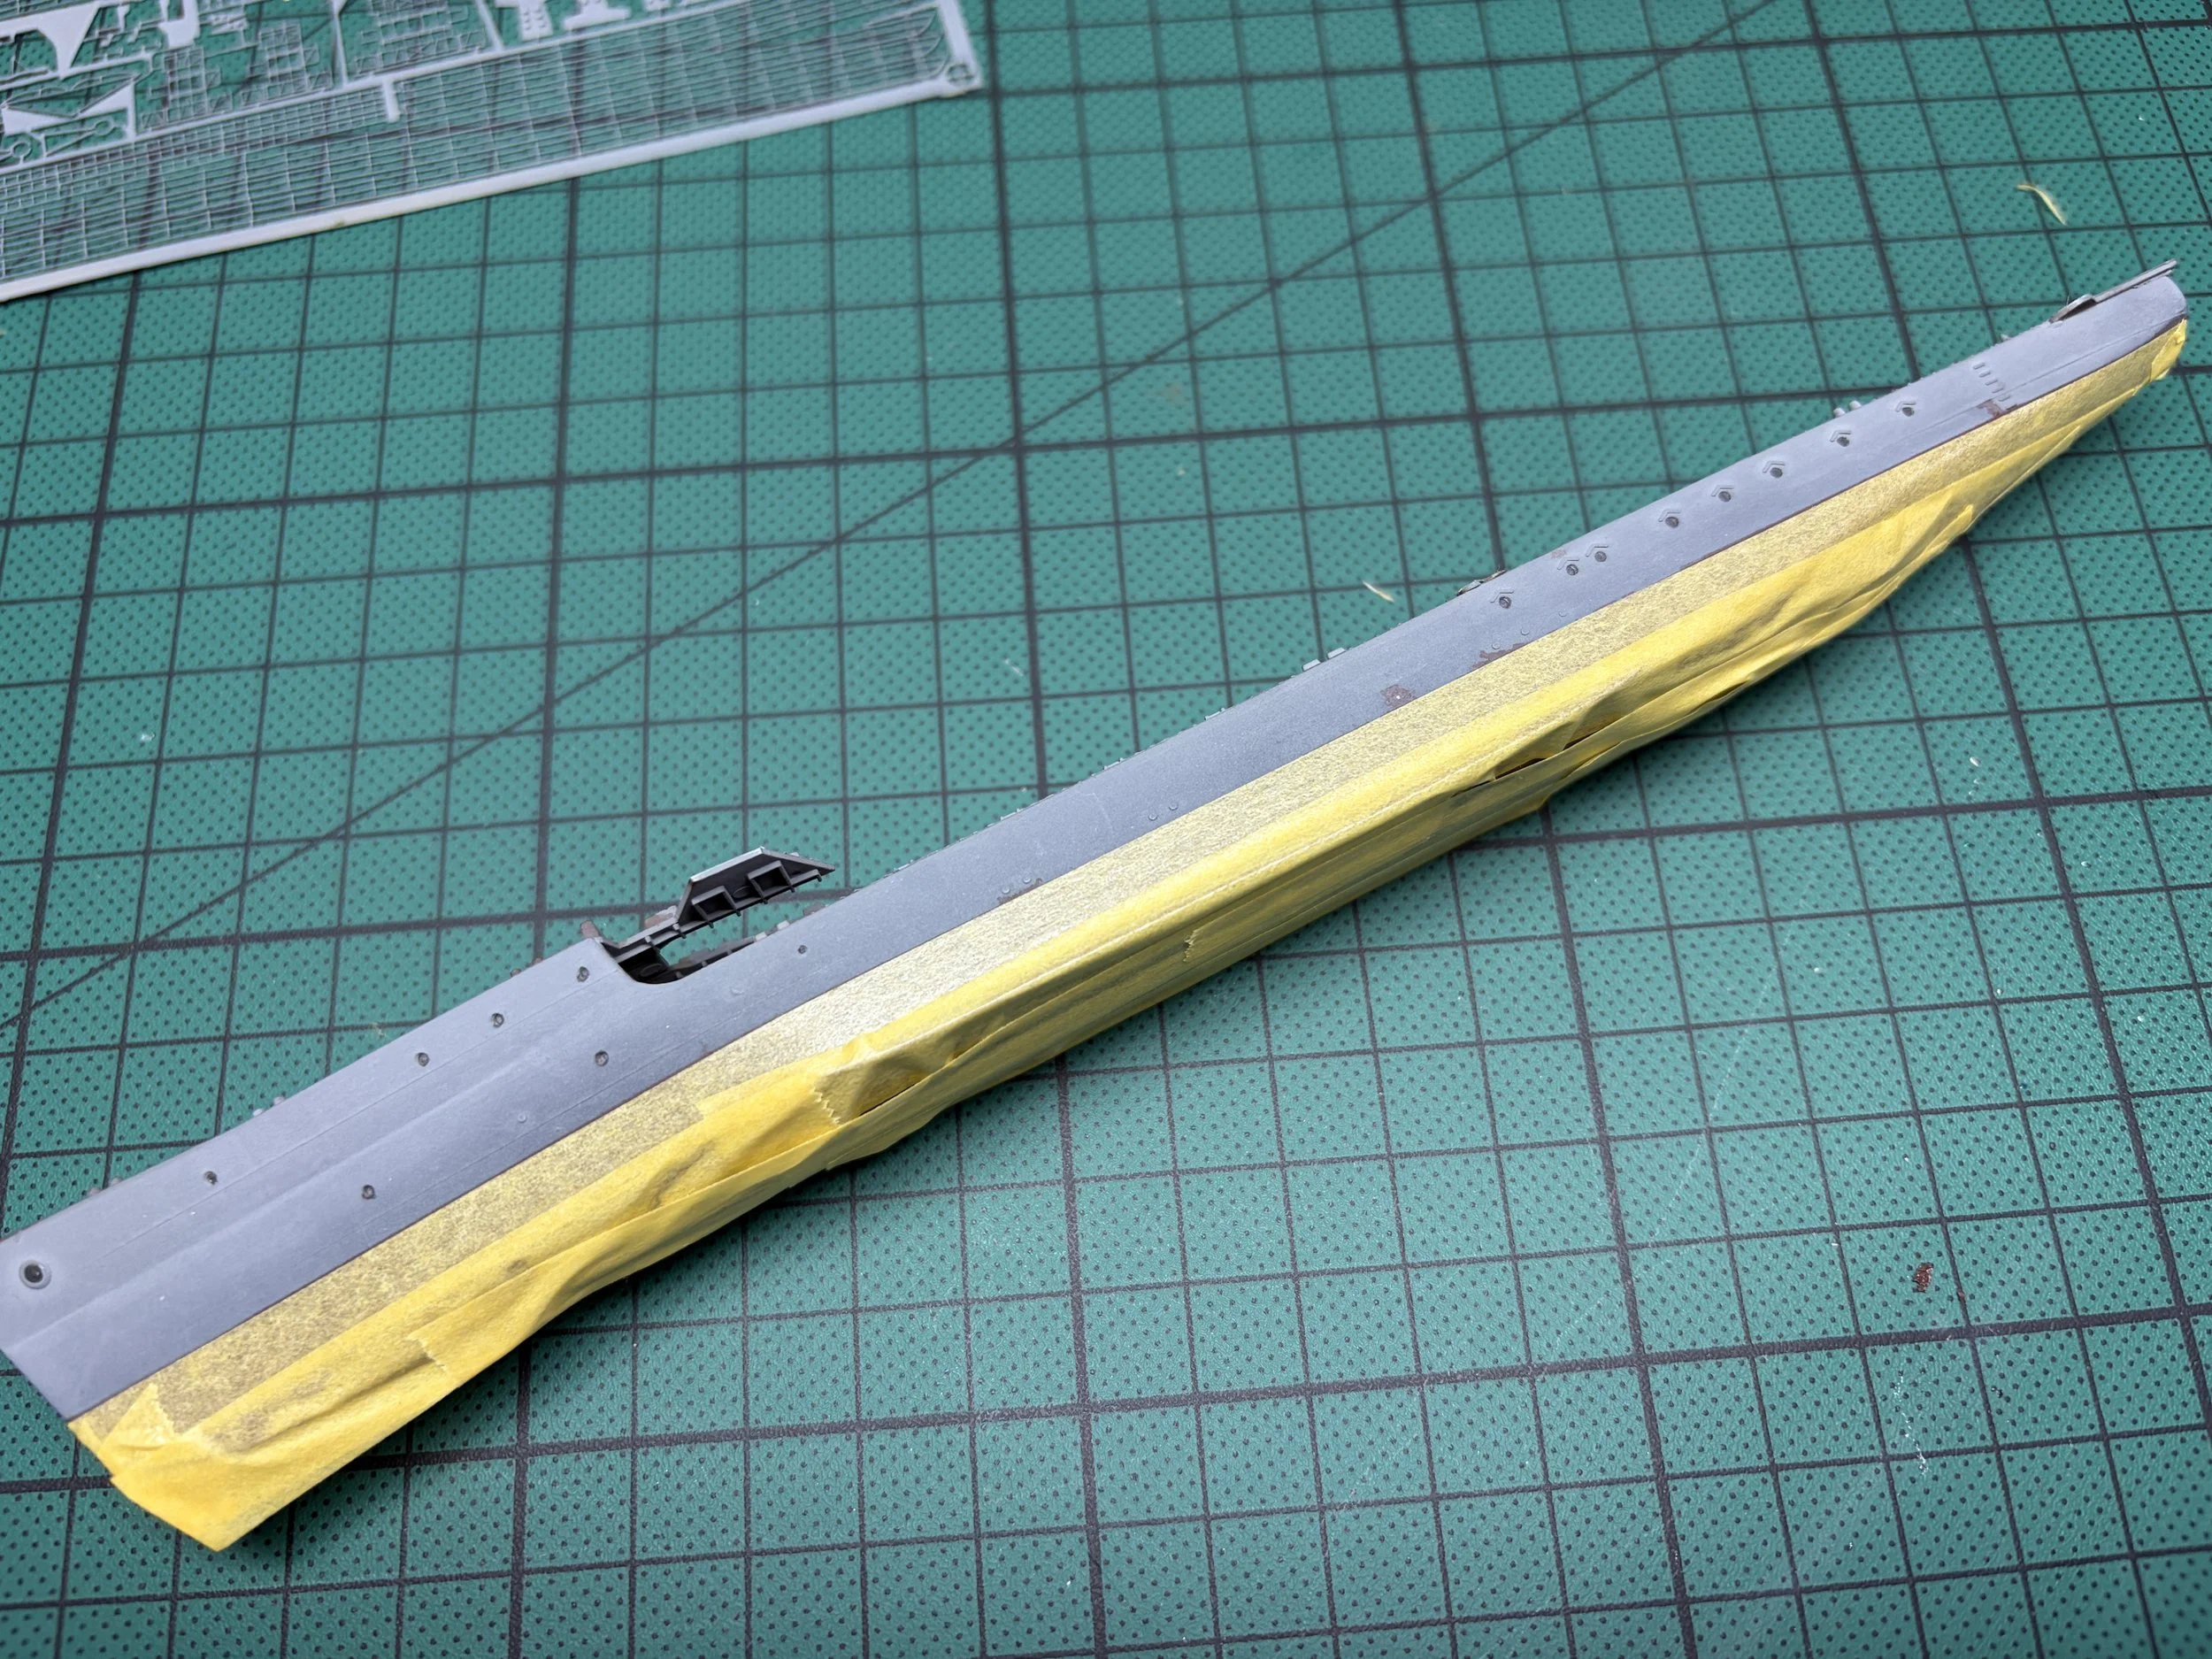
Deck and Handrails:
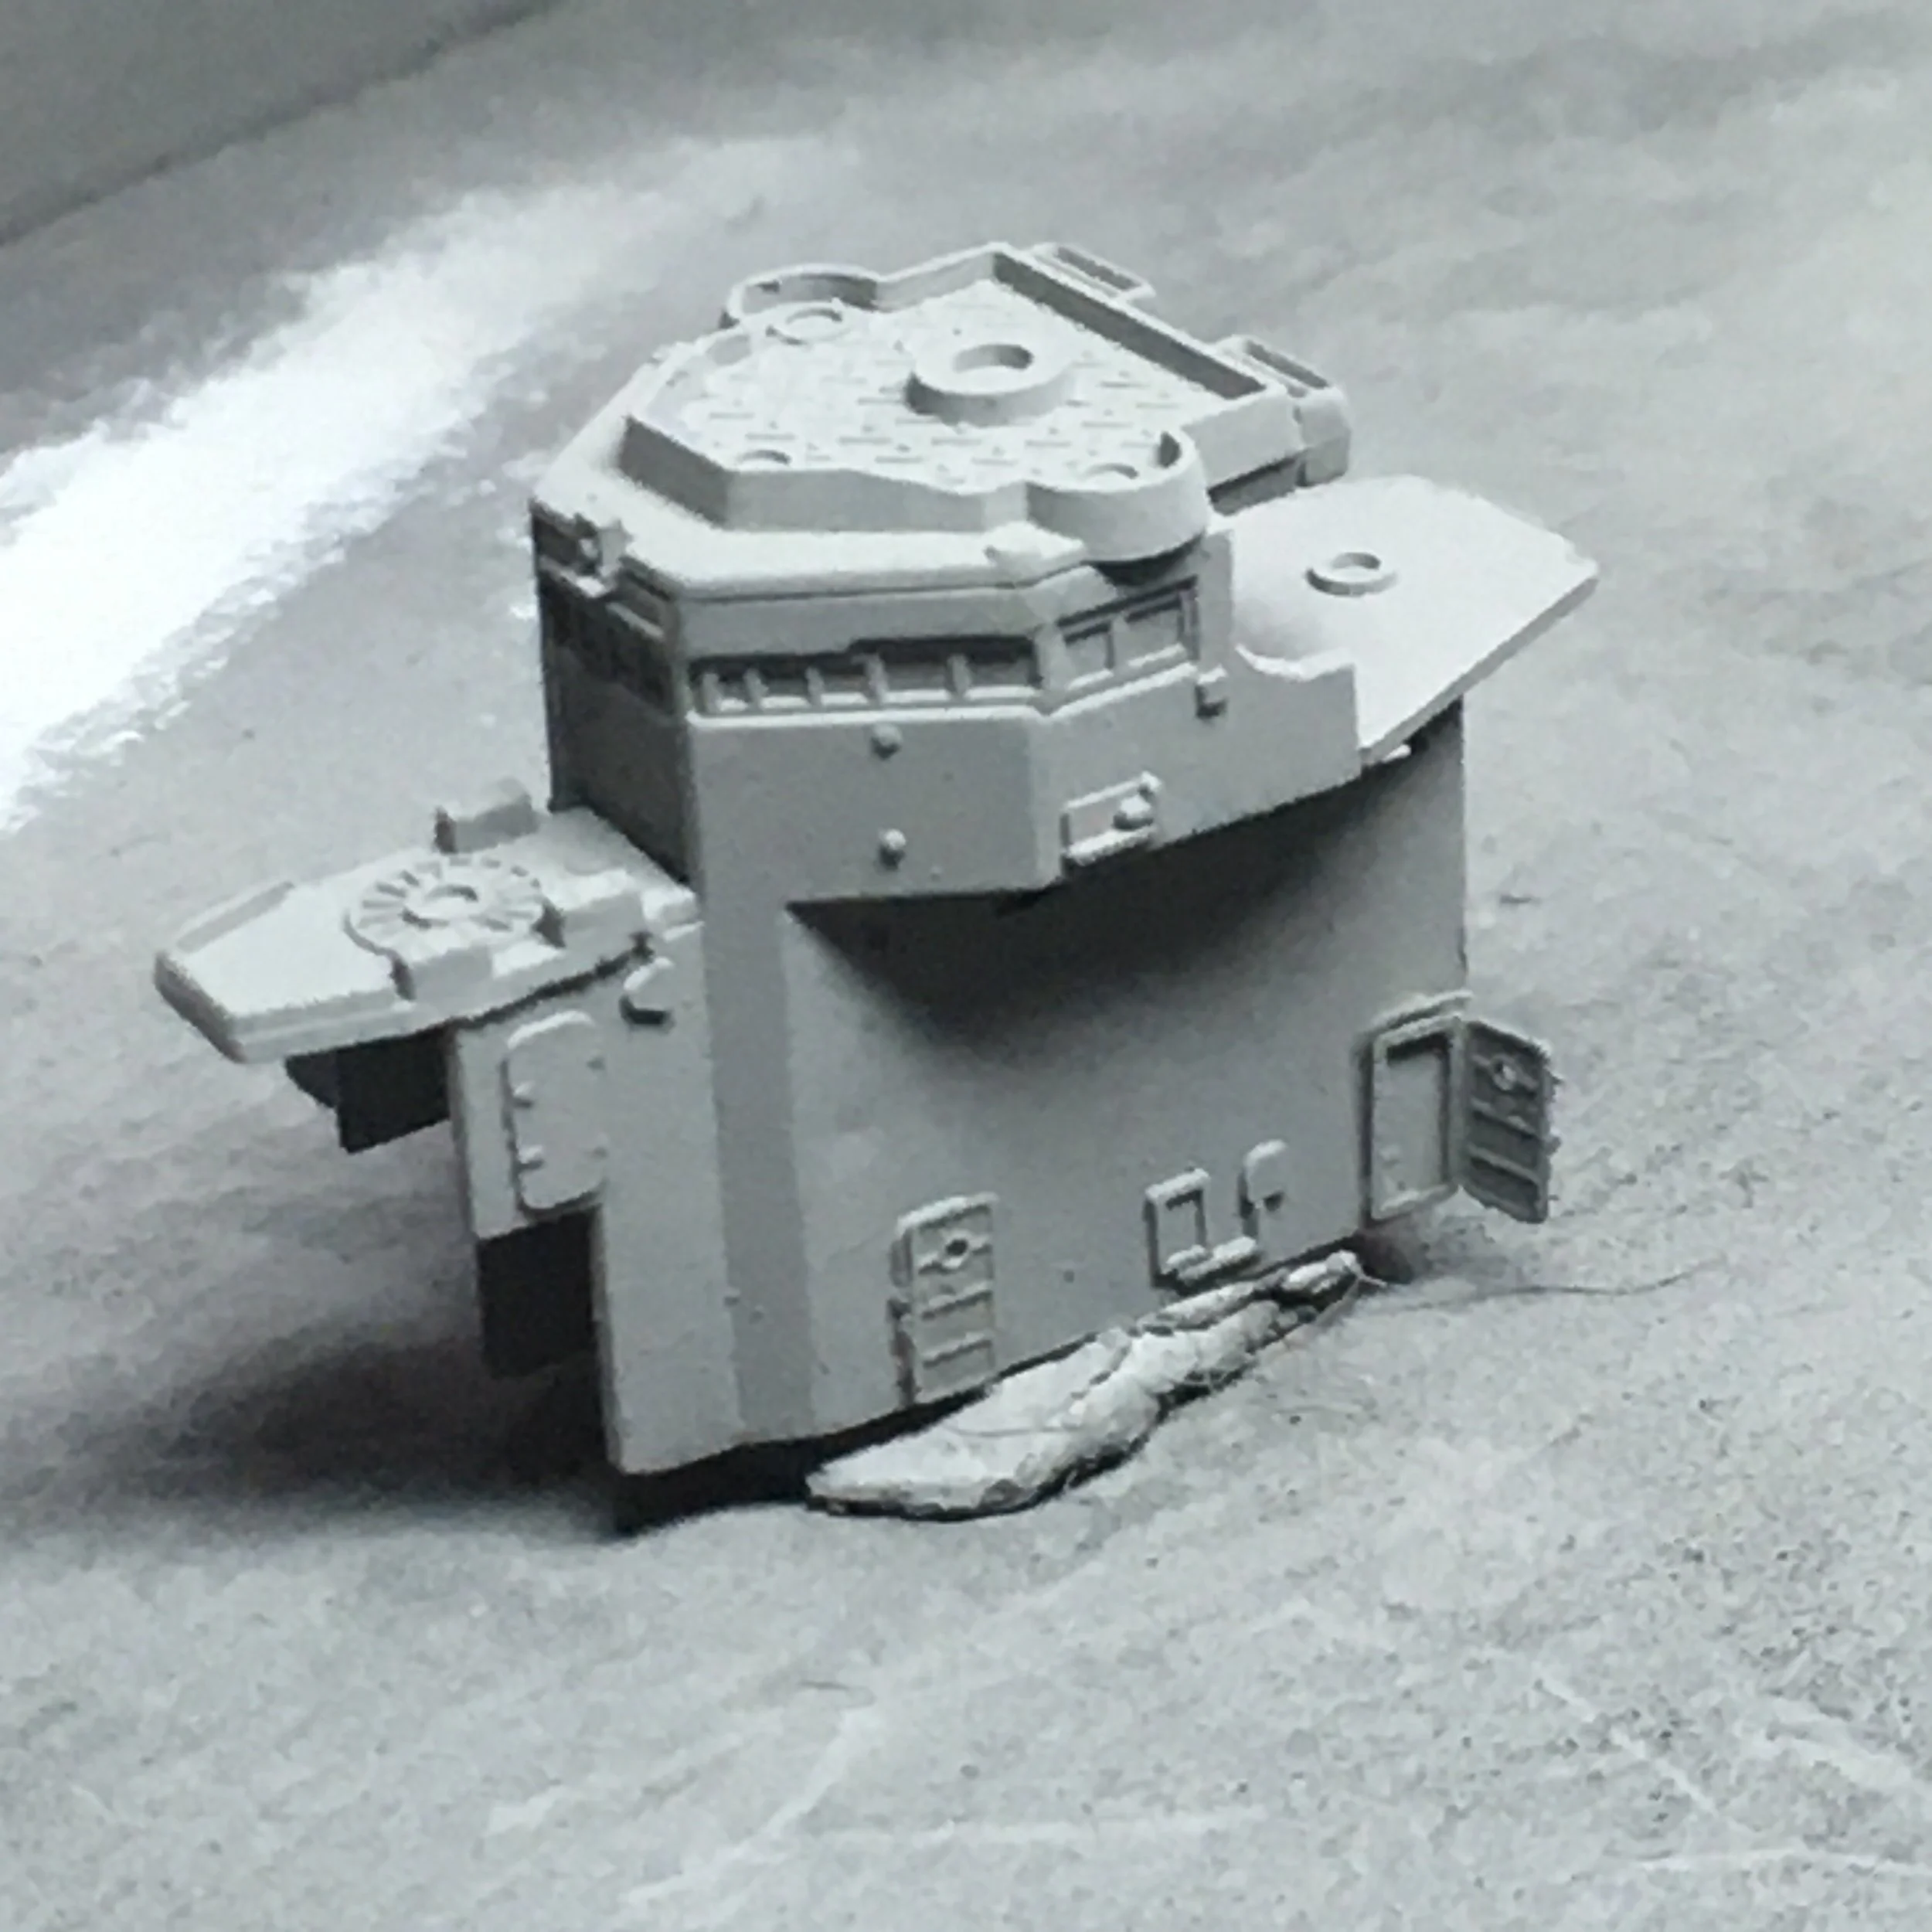
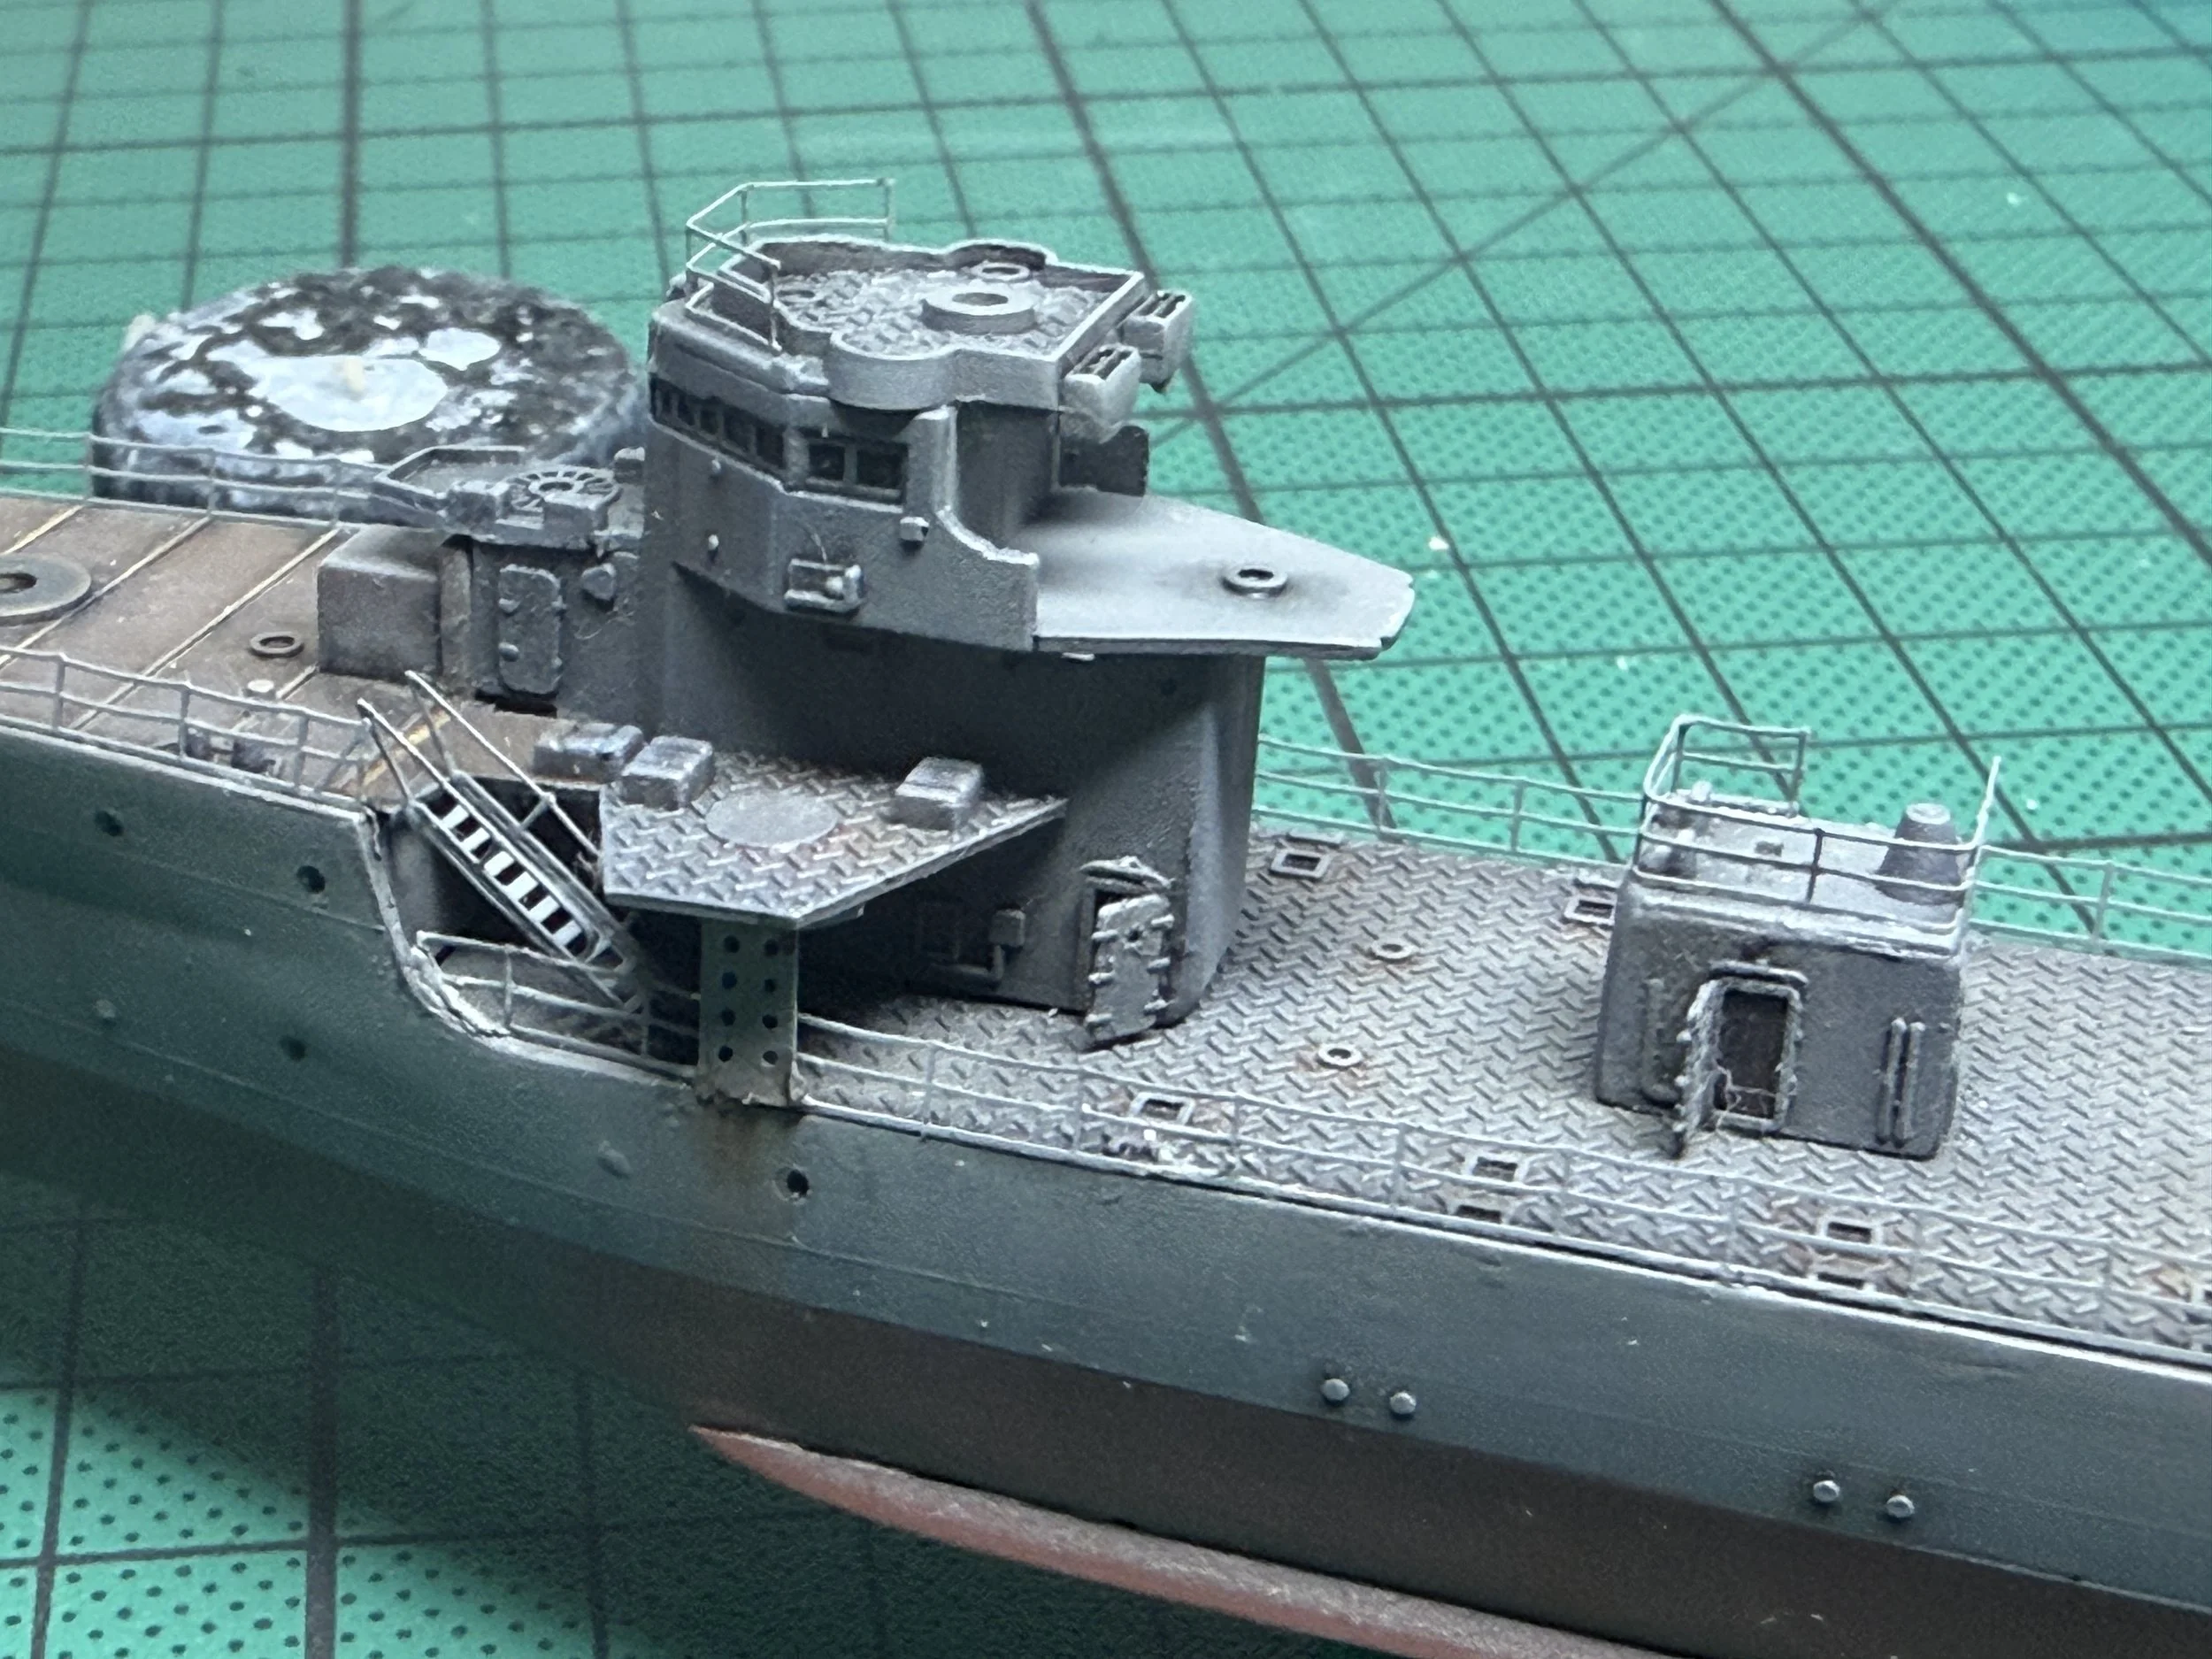
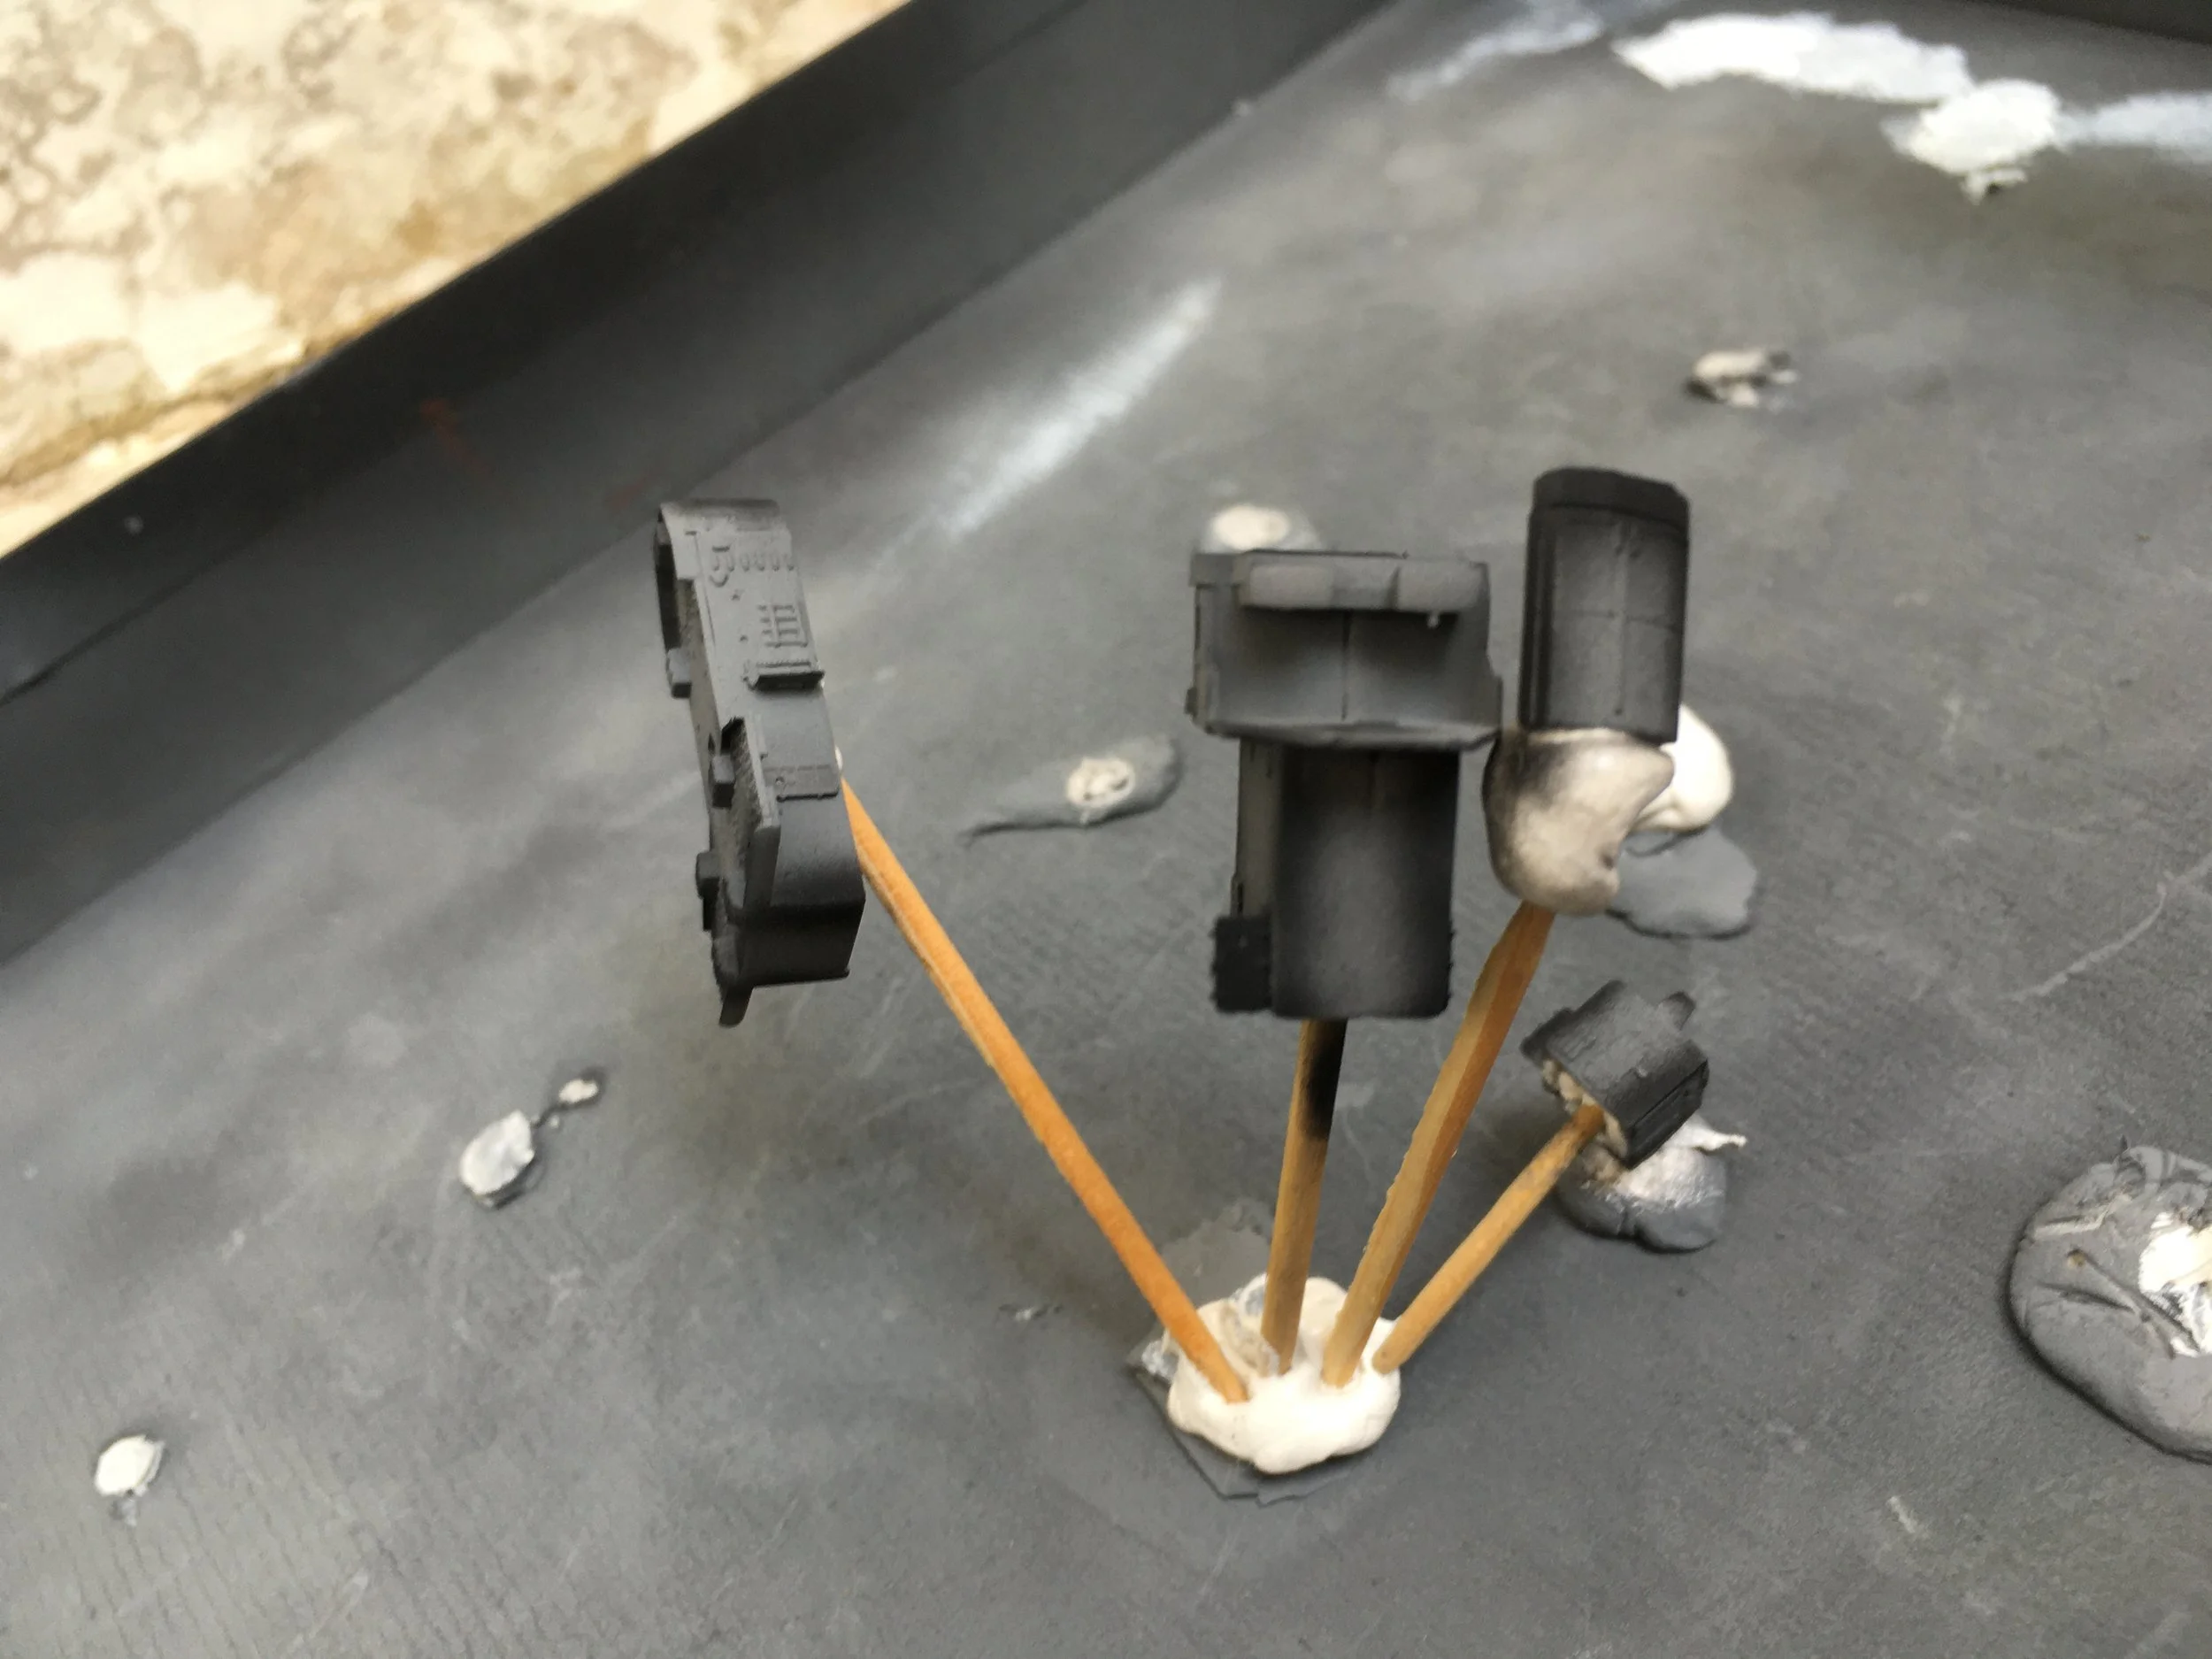
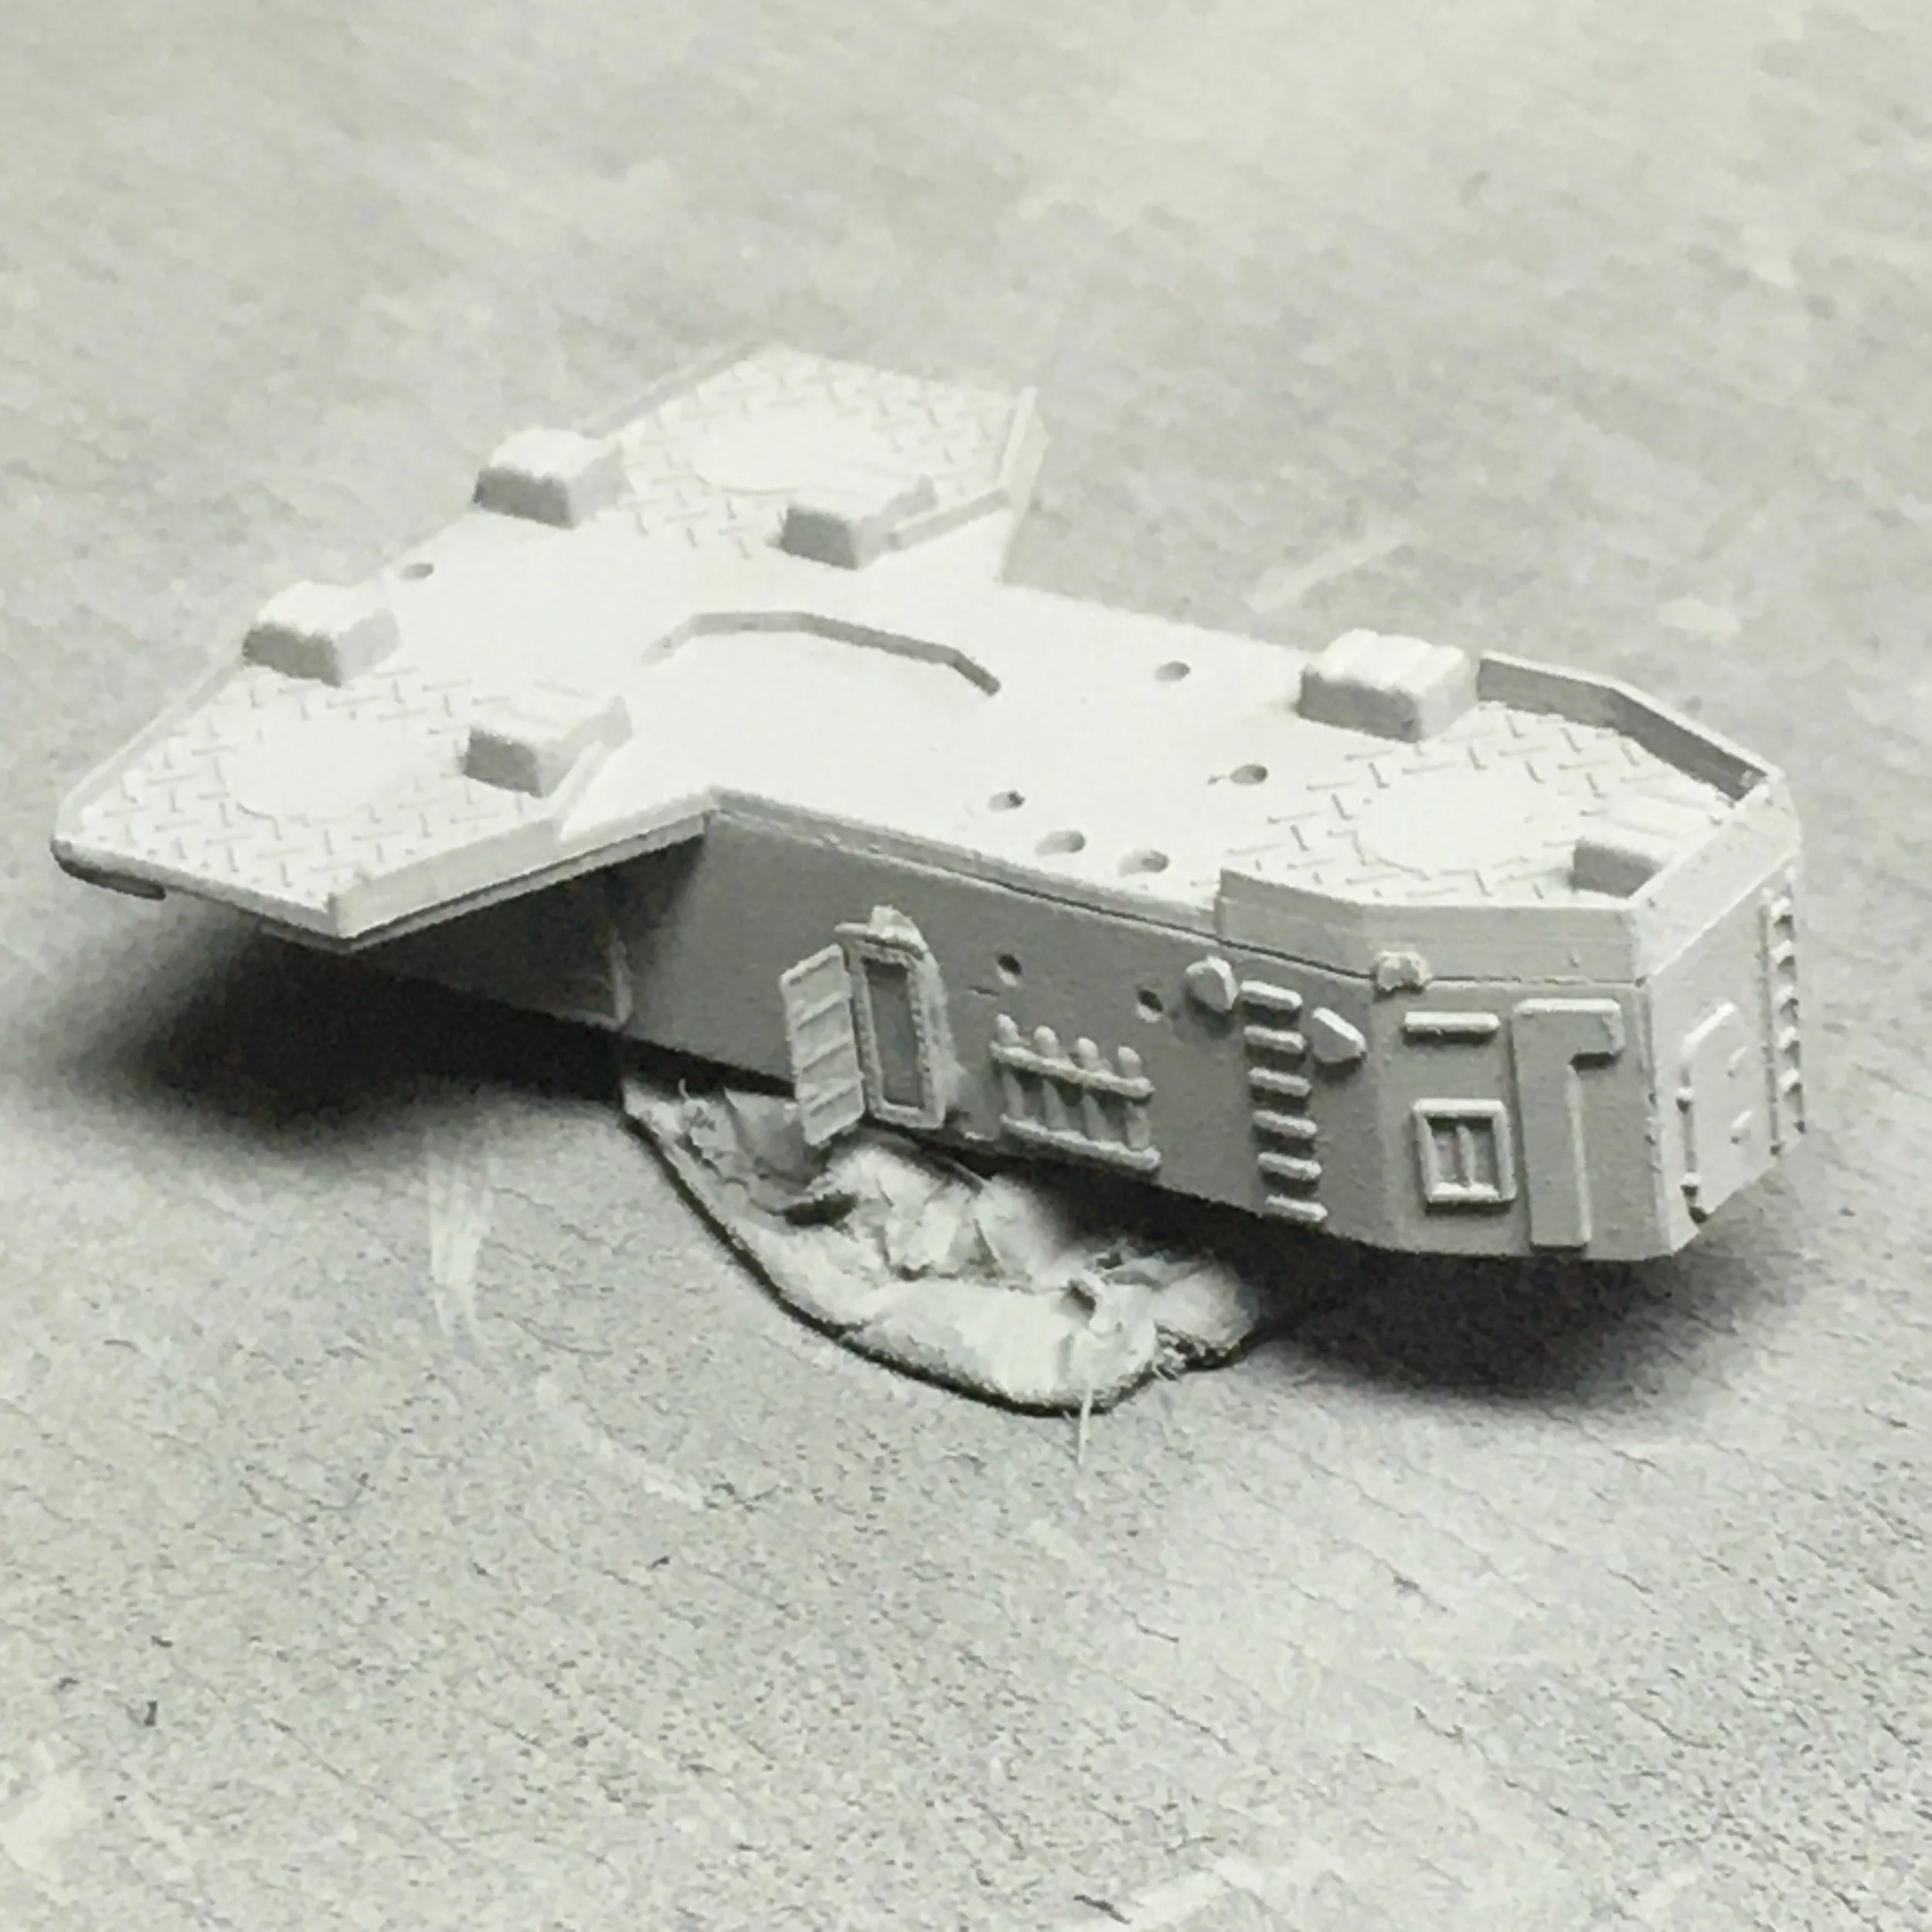
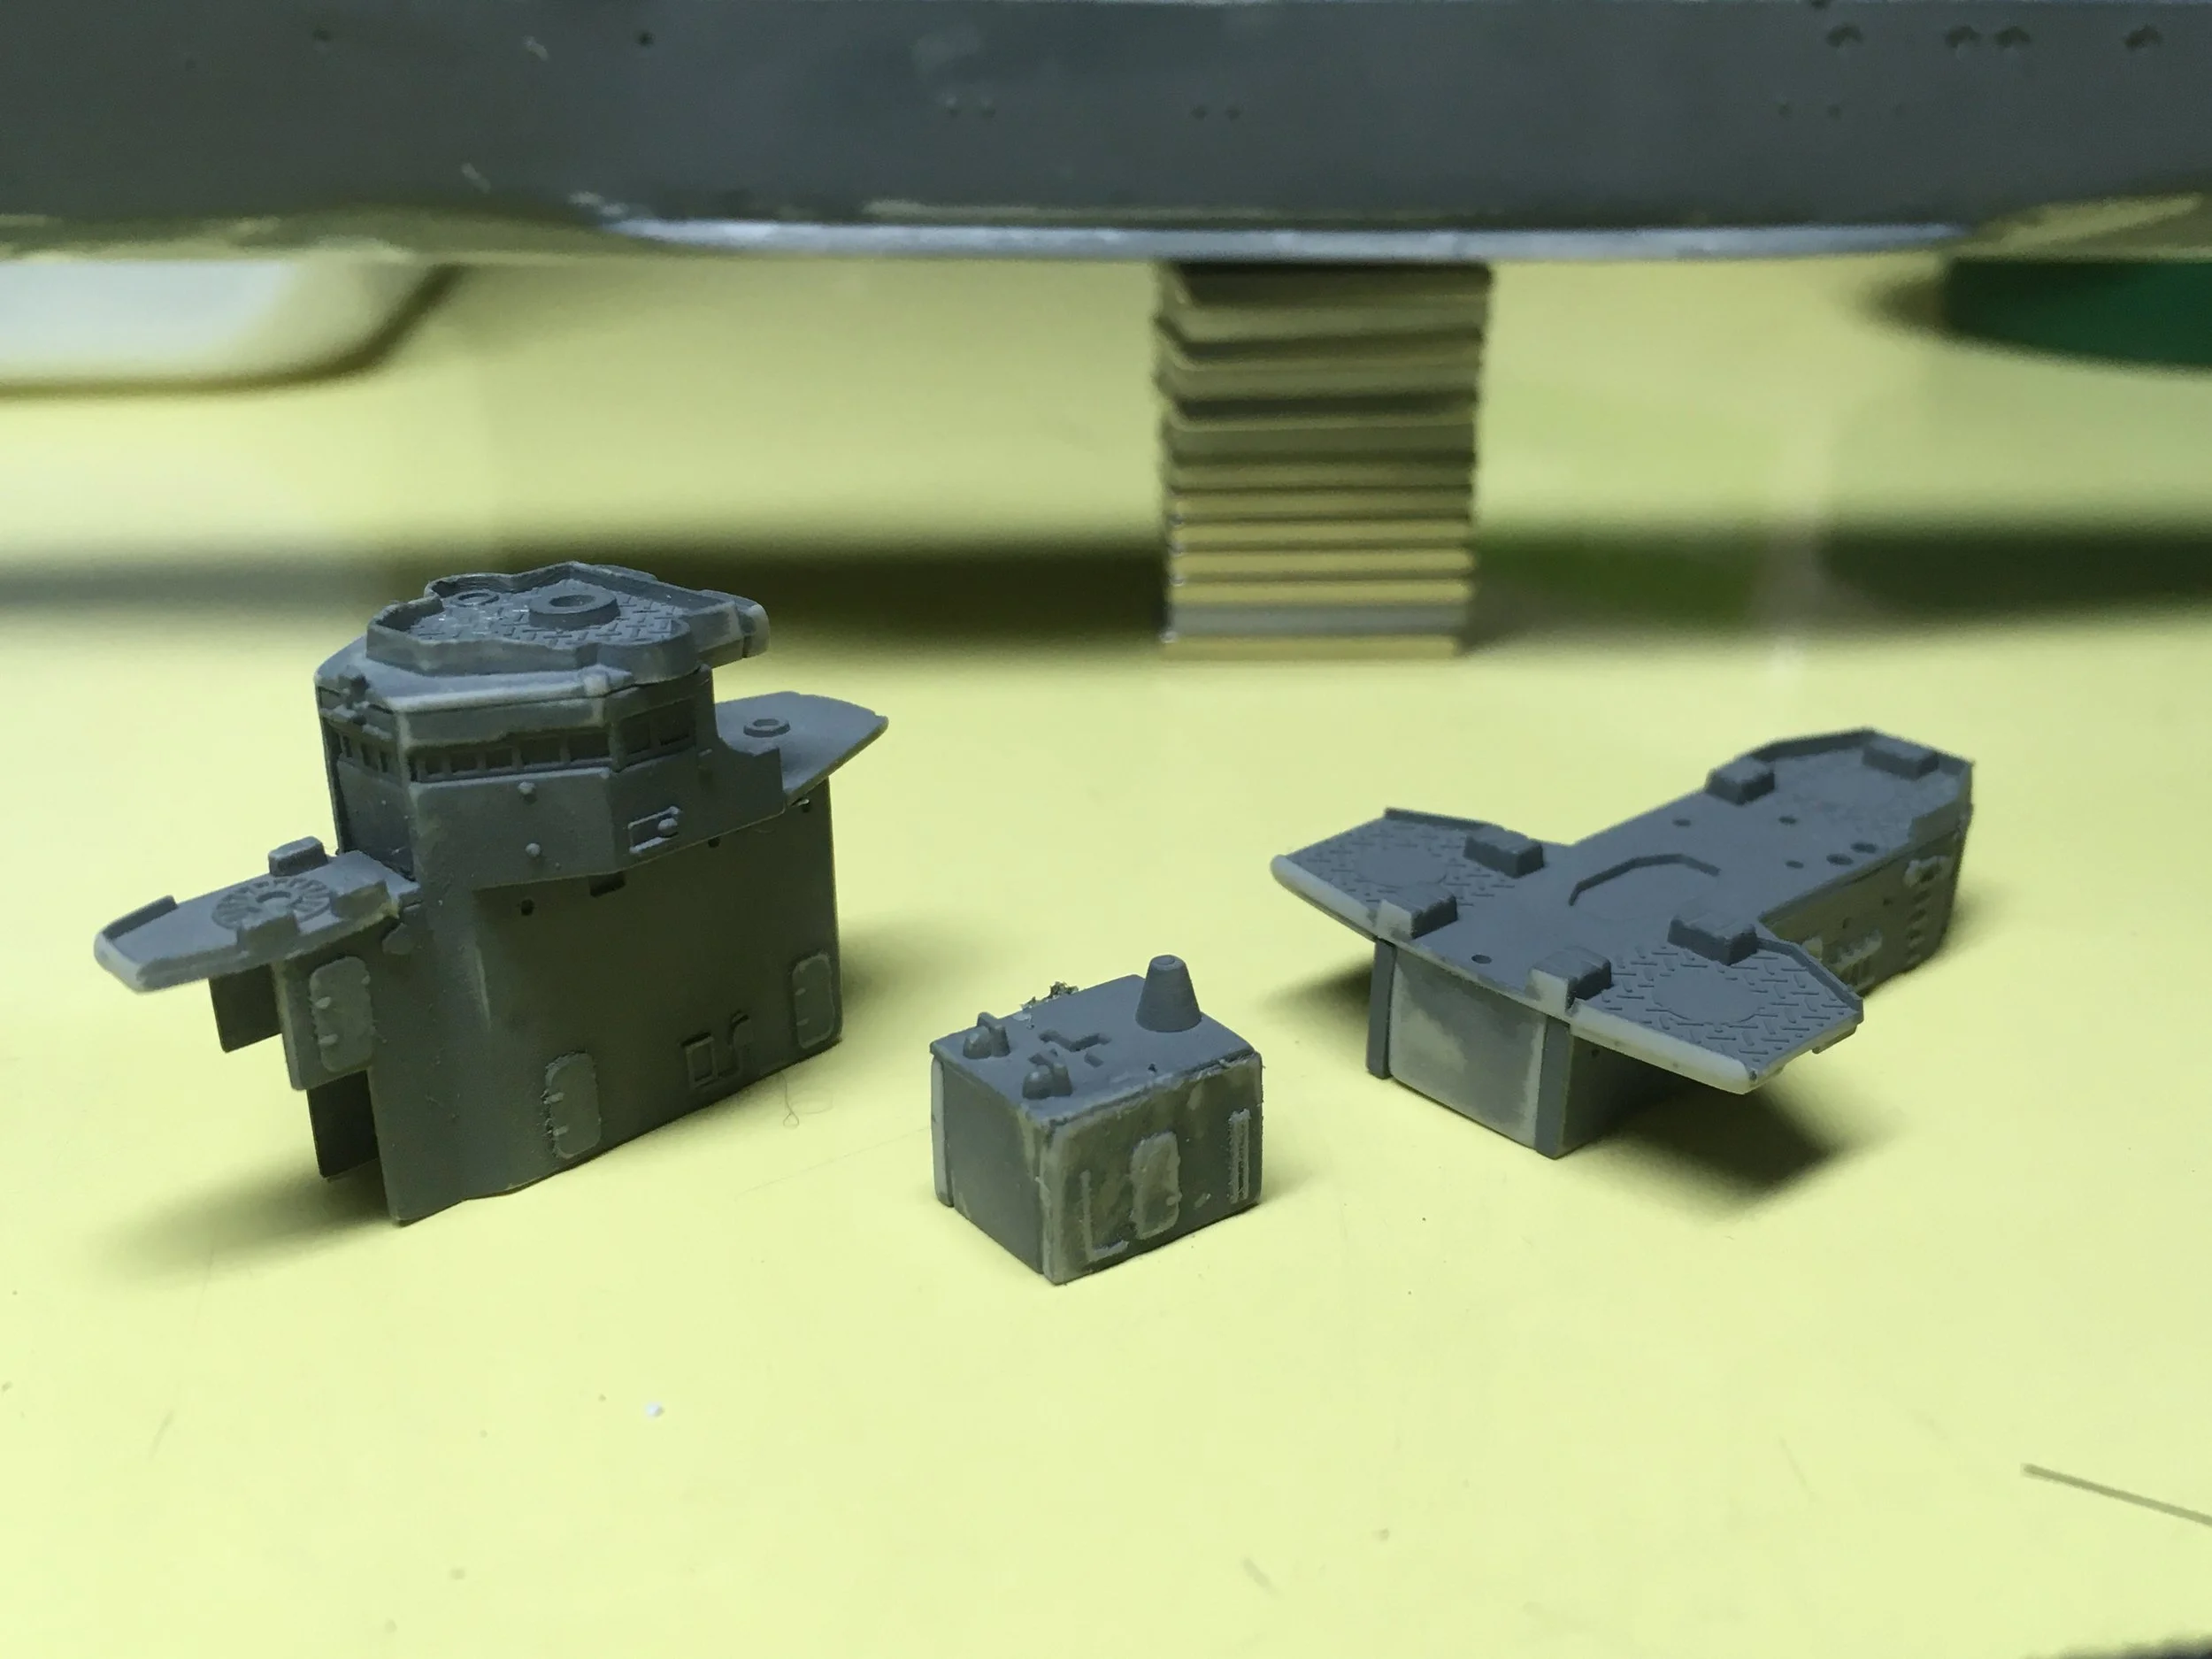
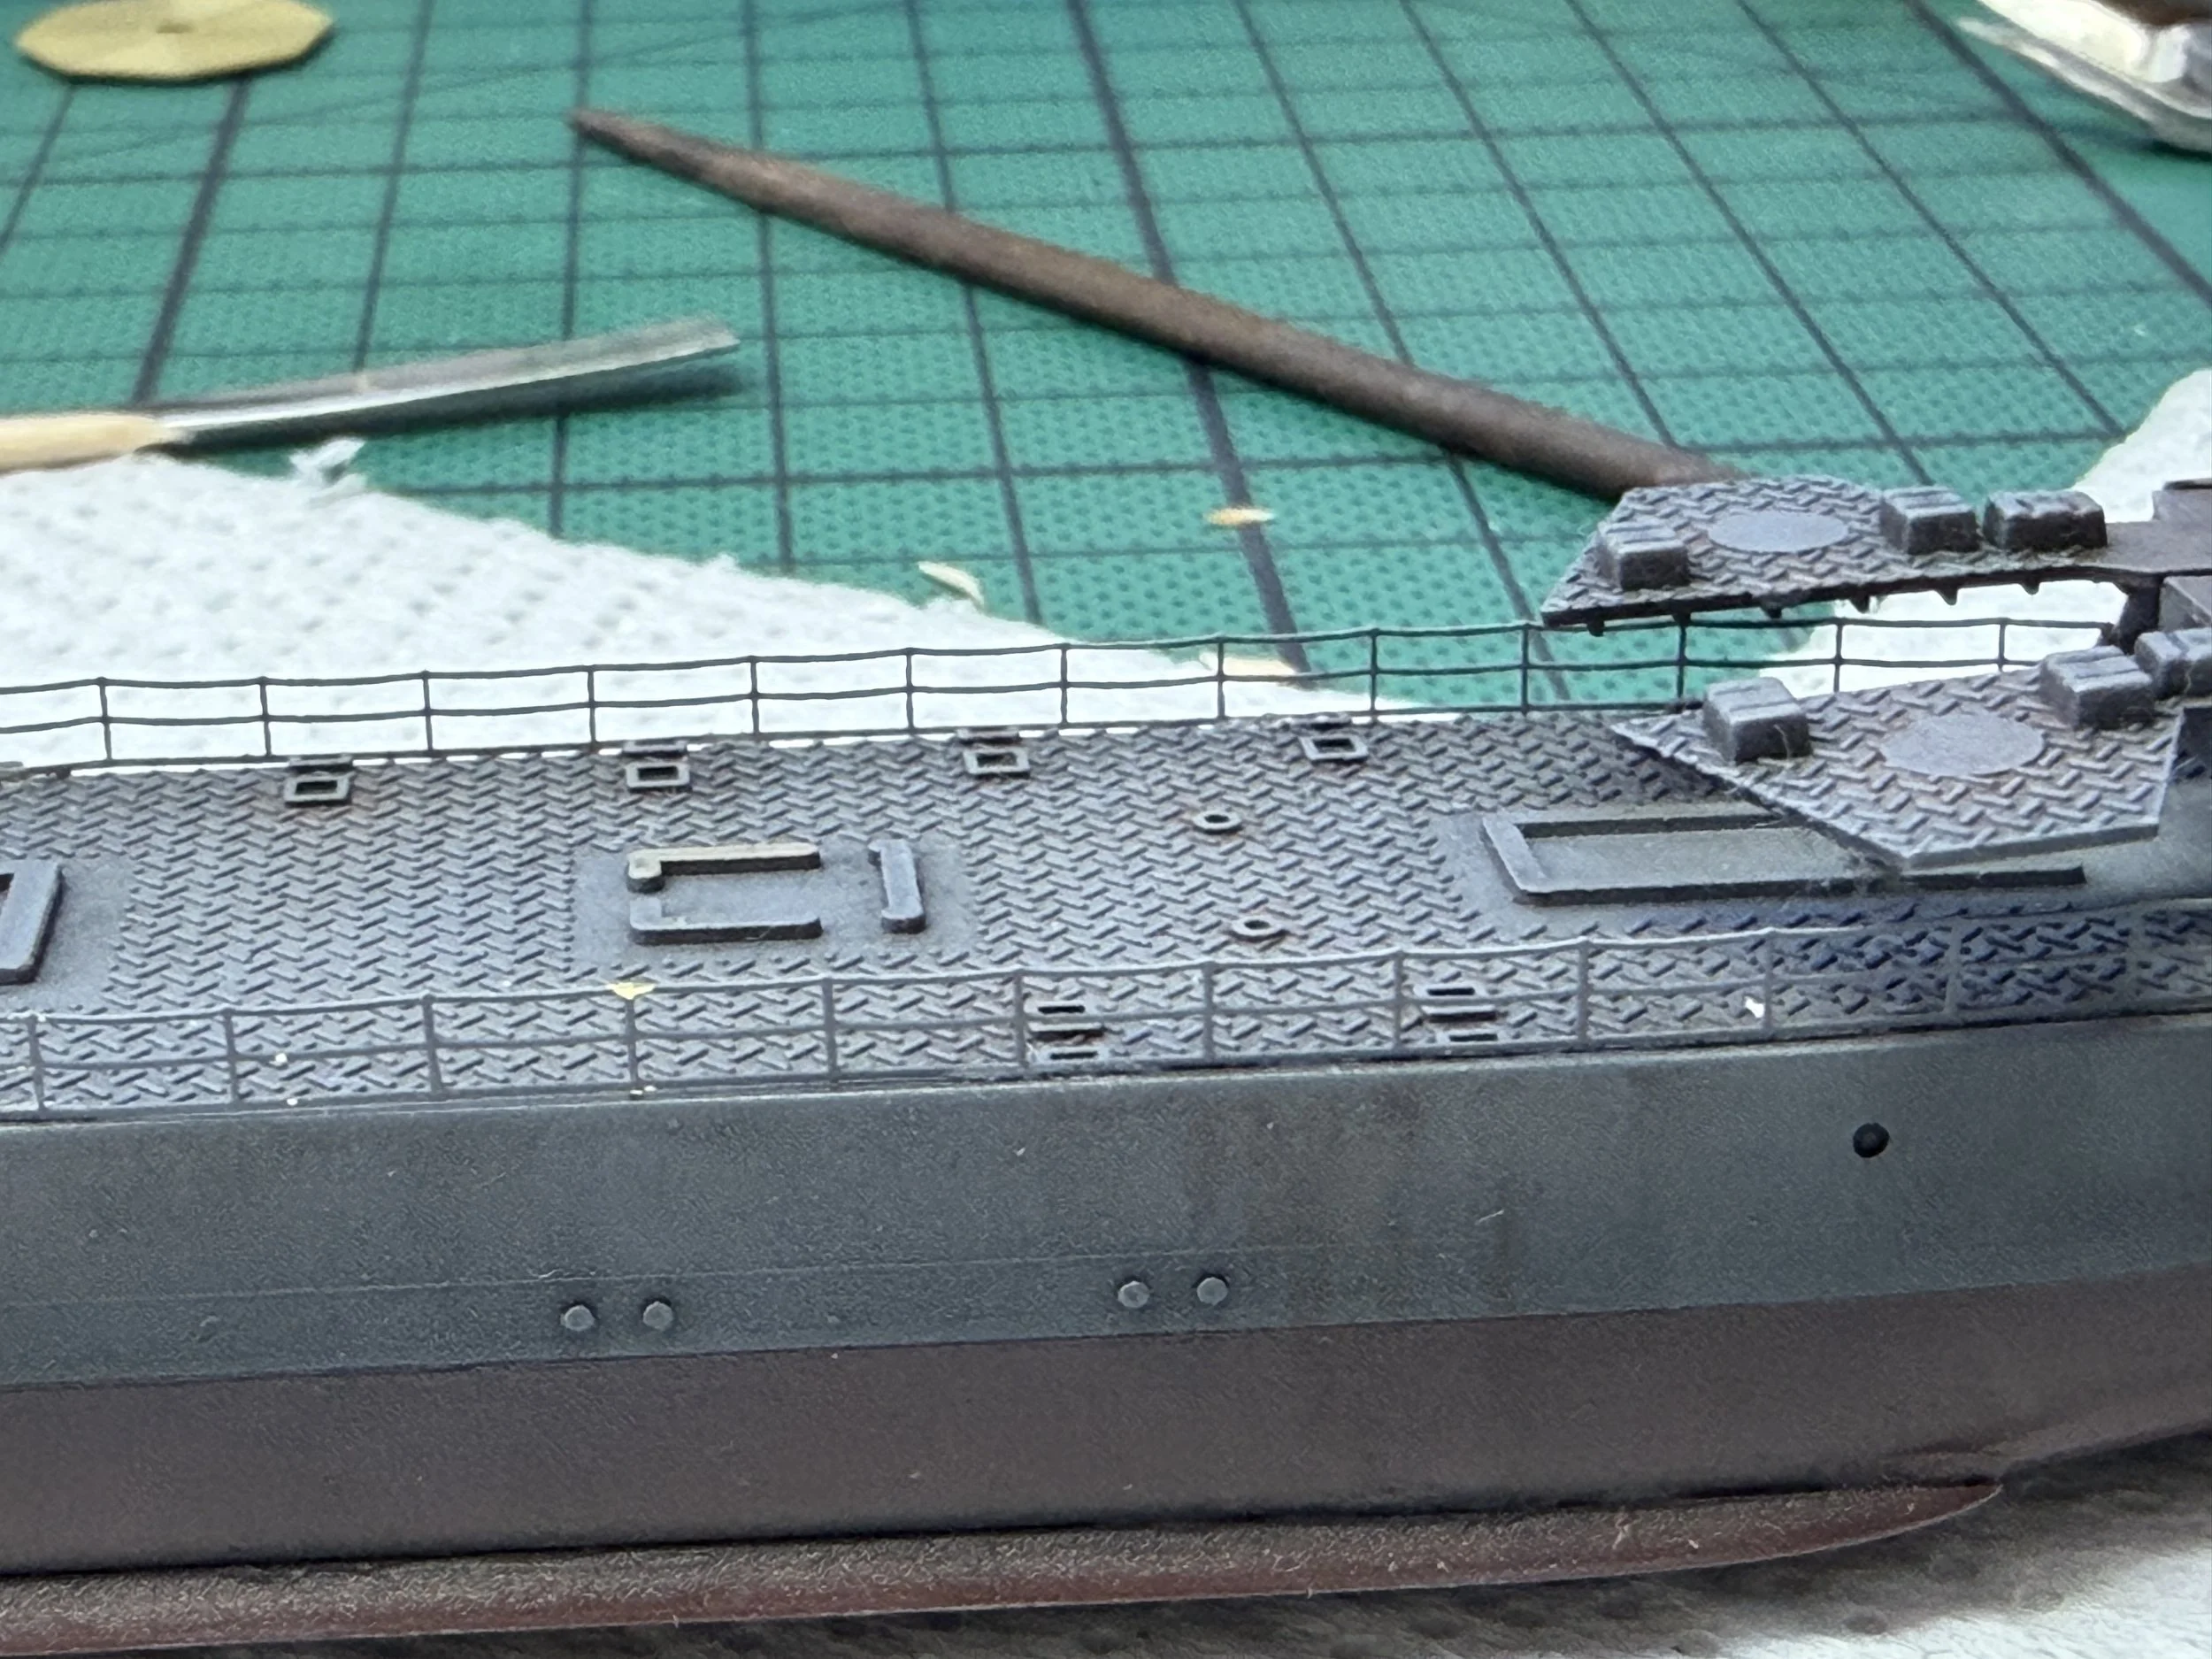
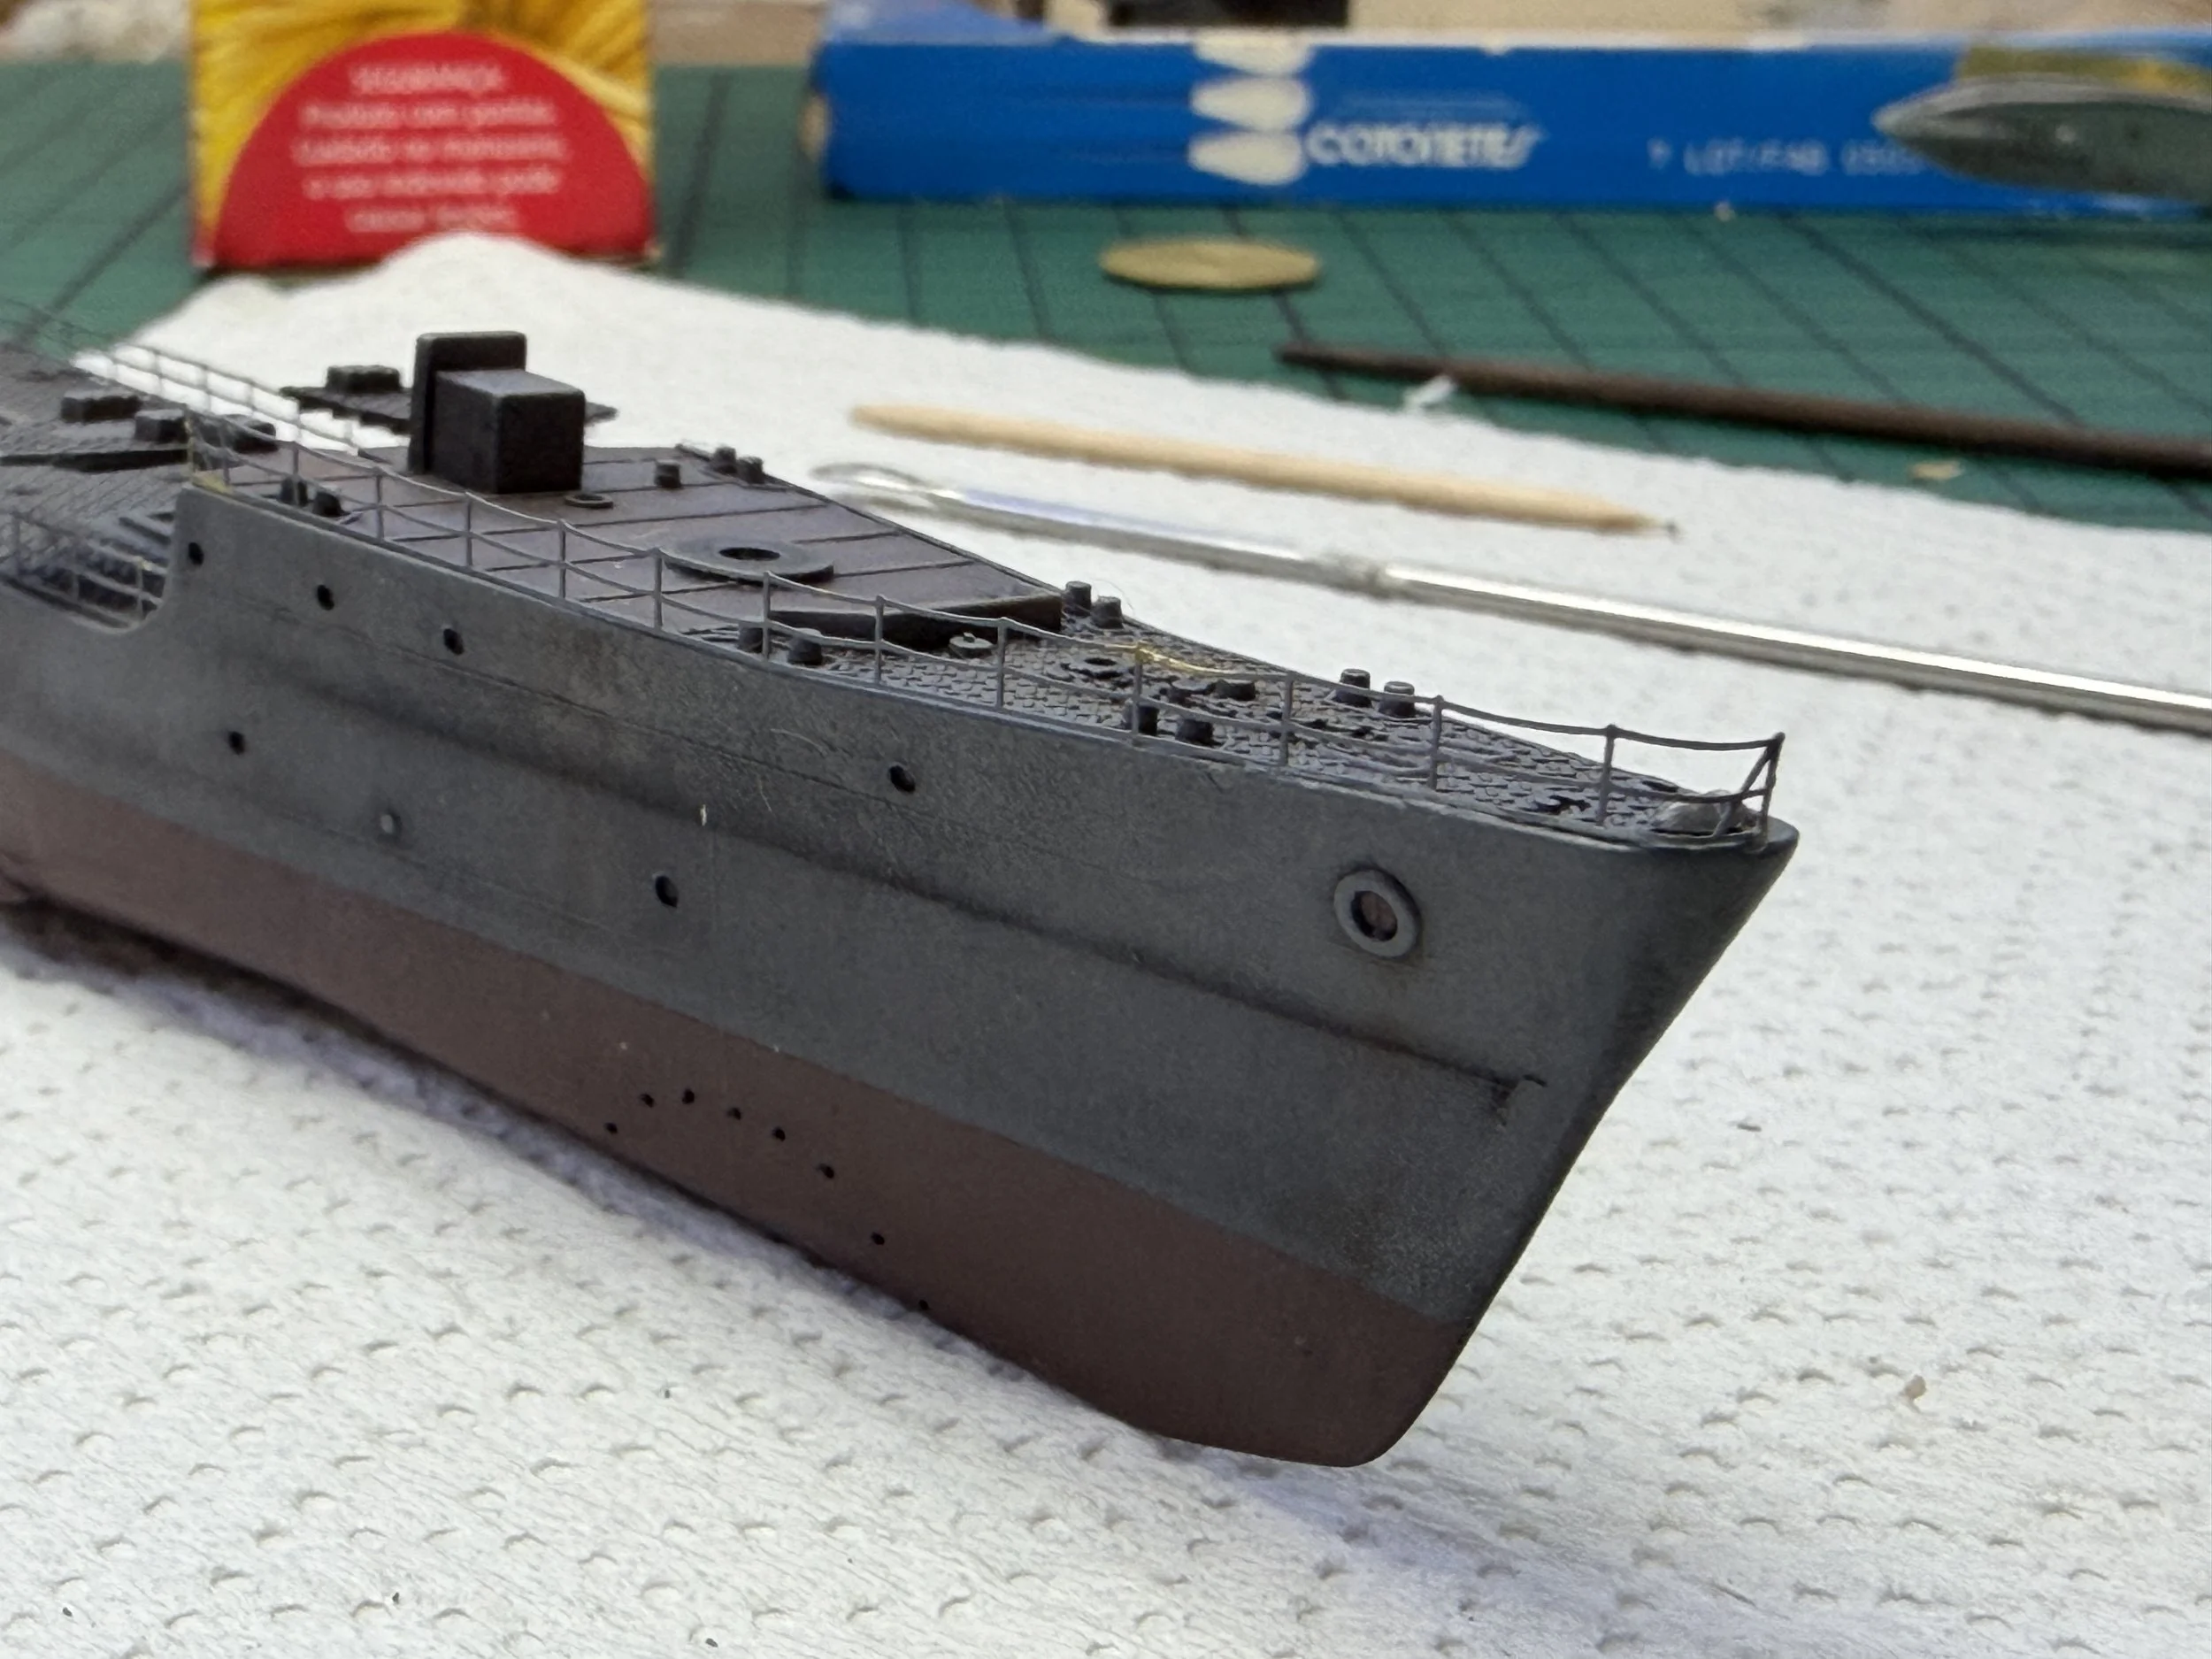
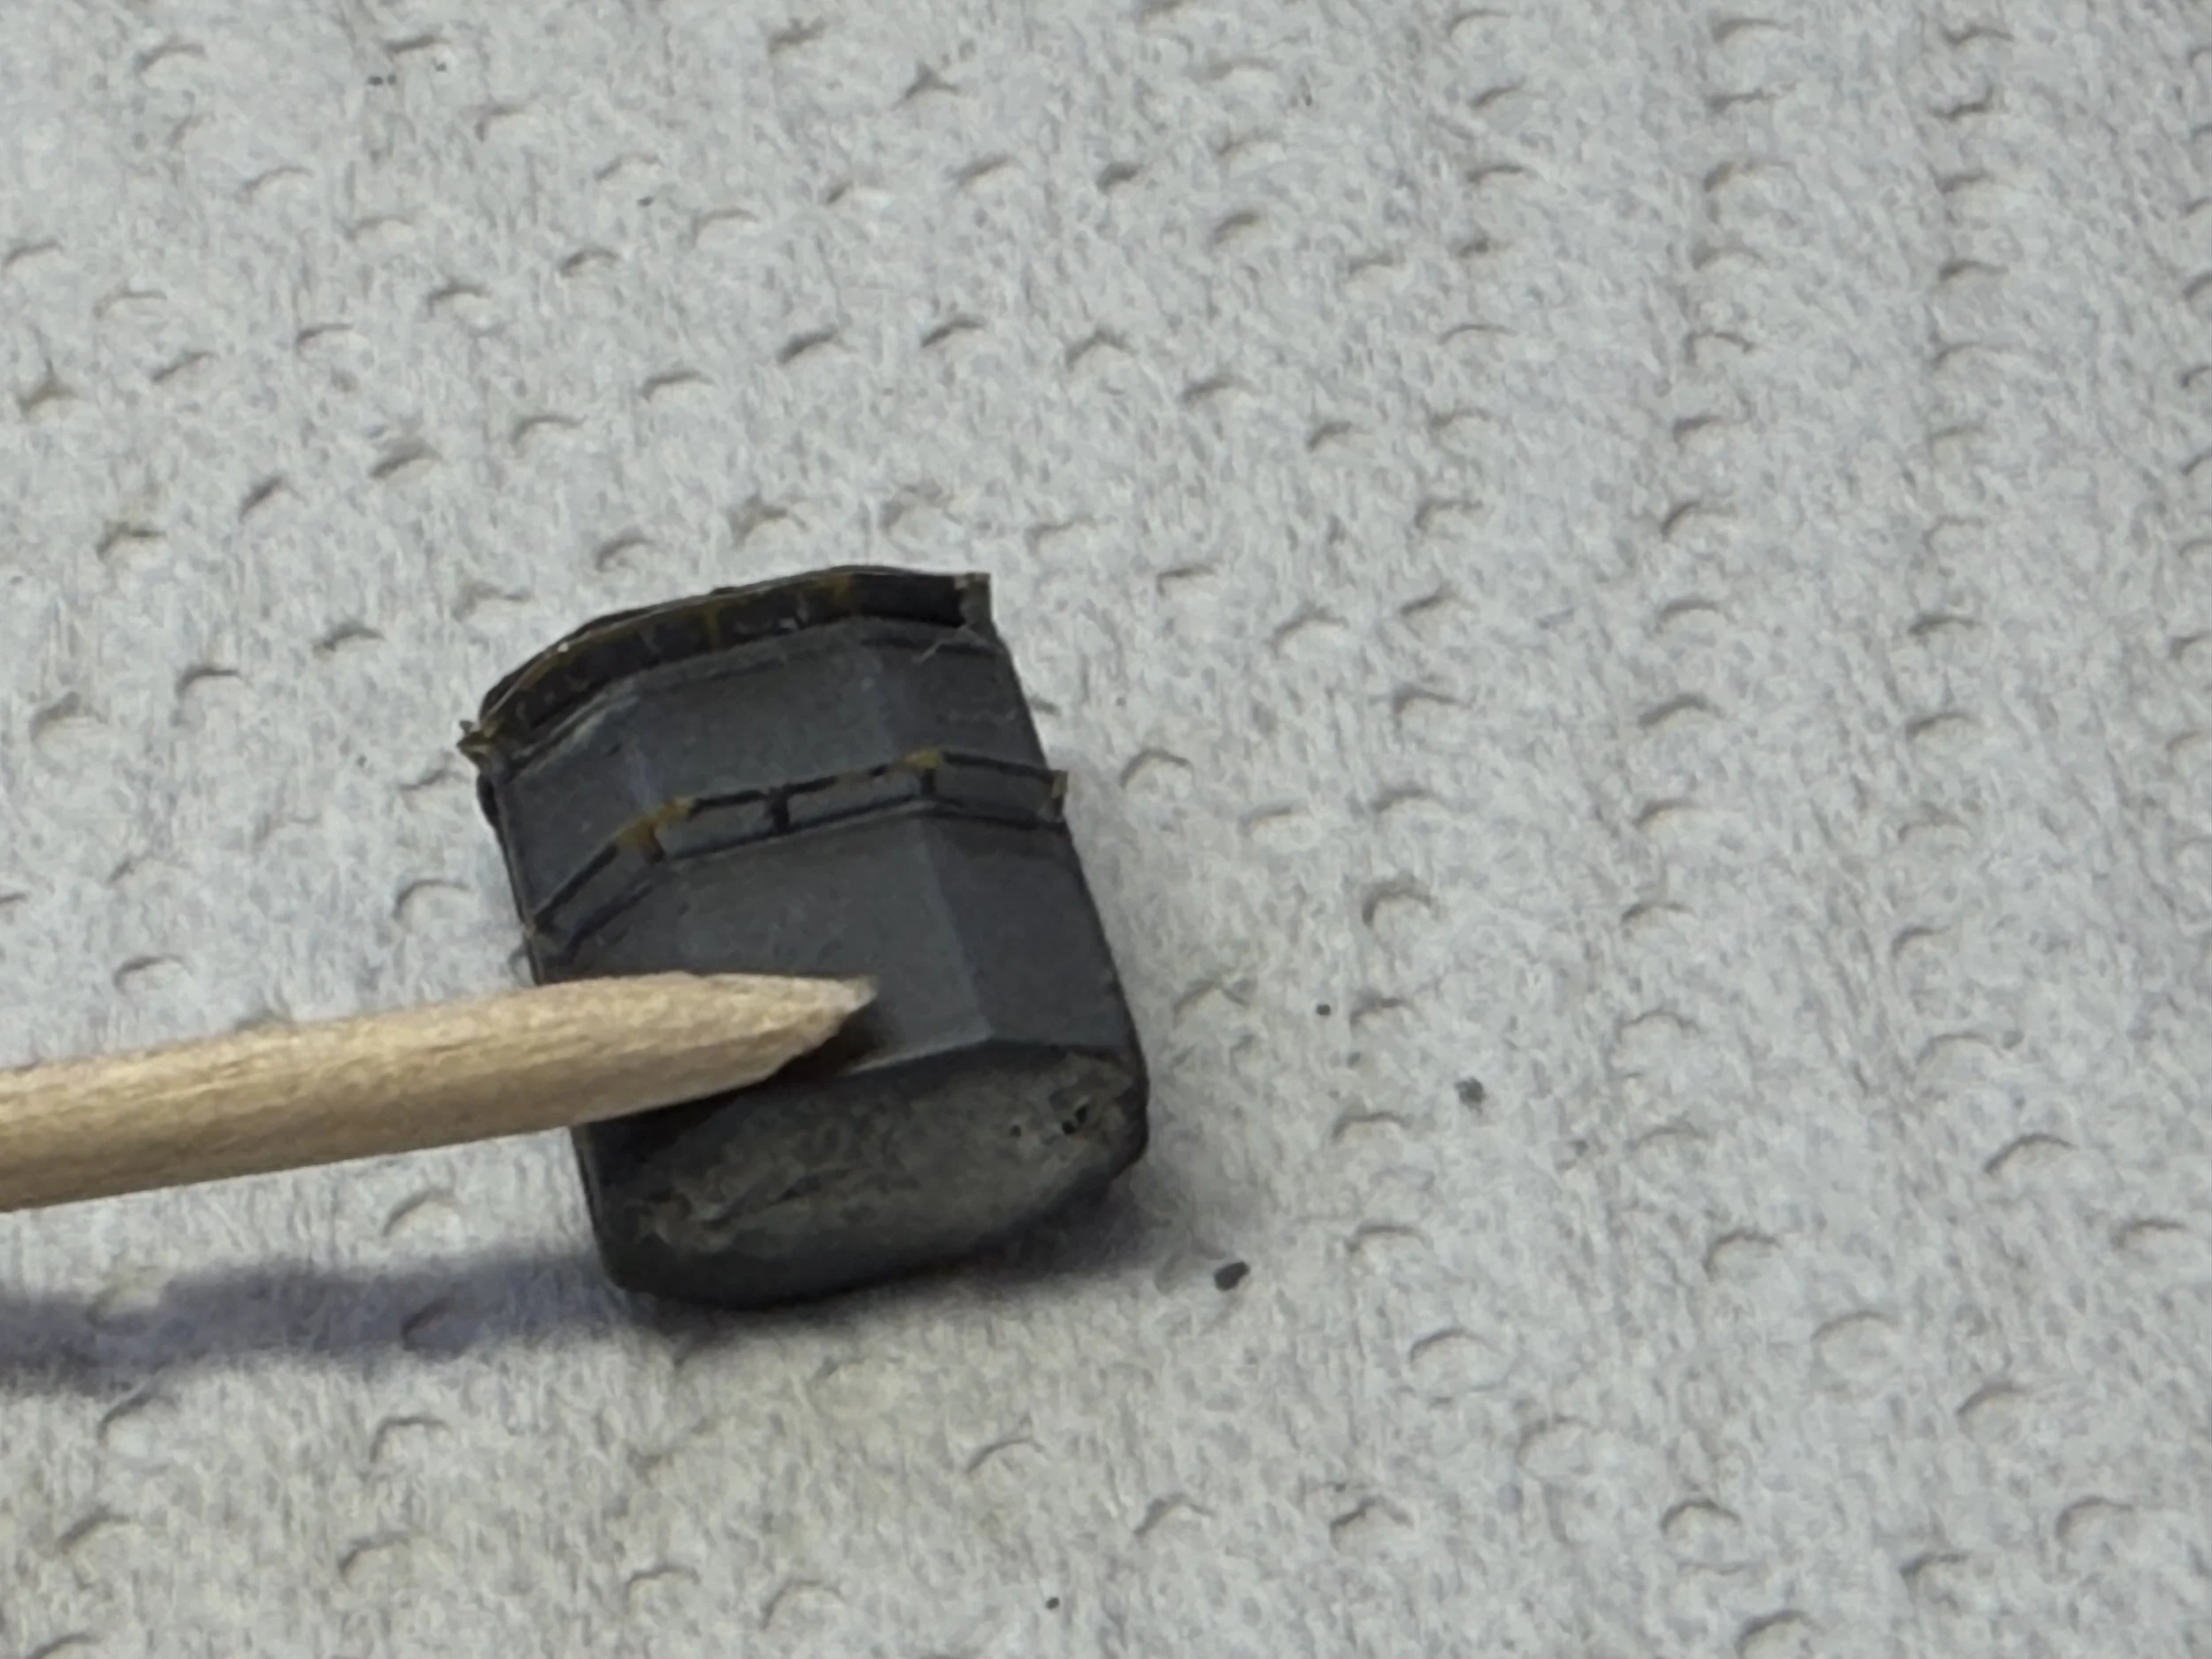
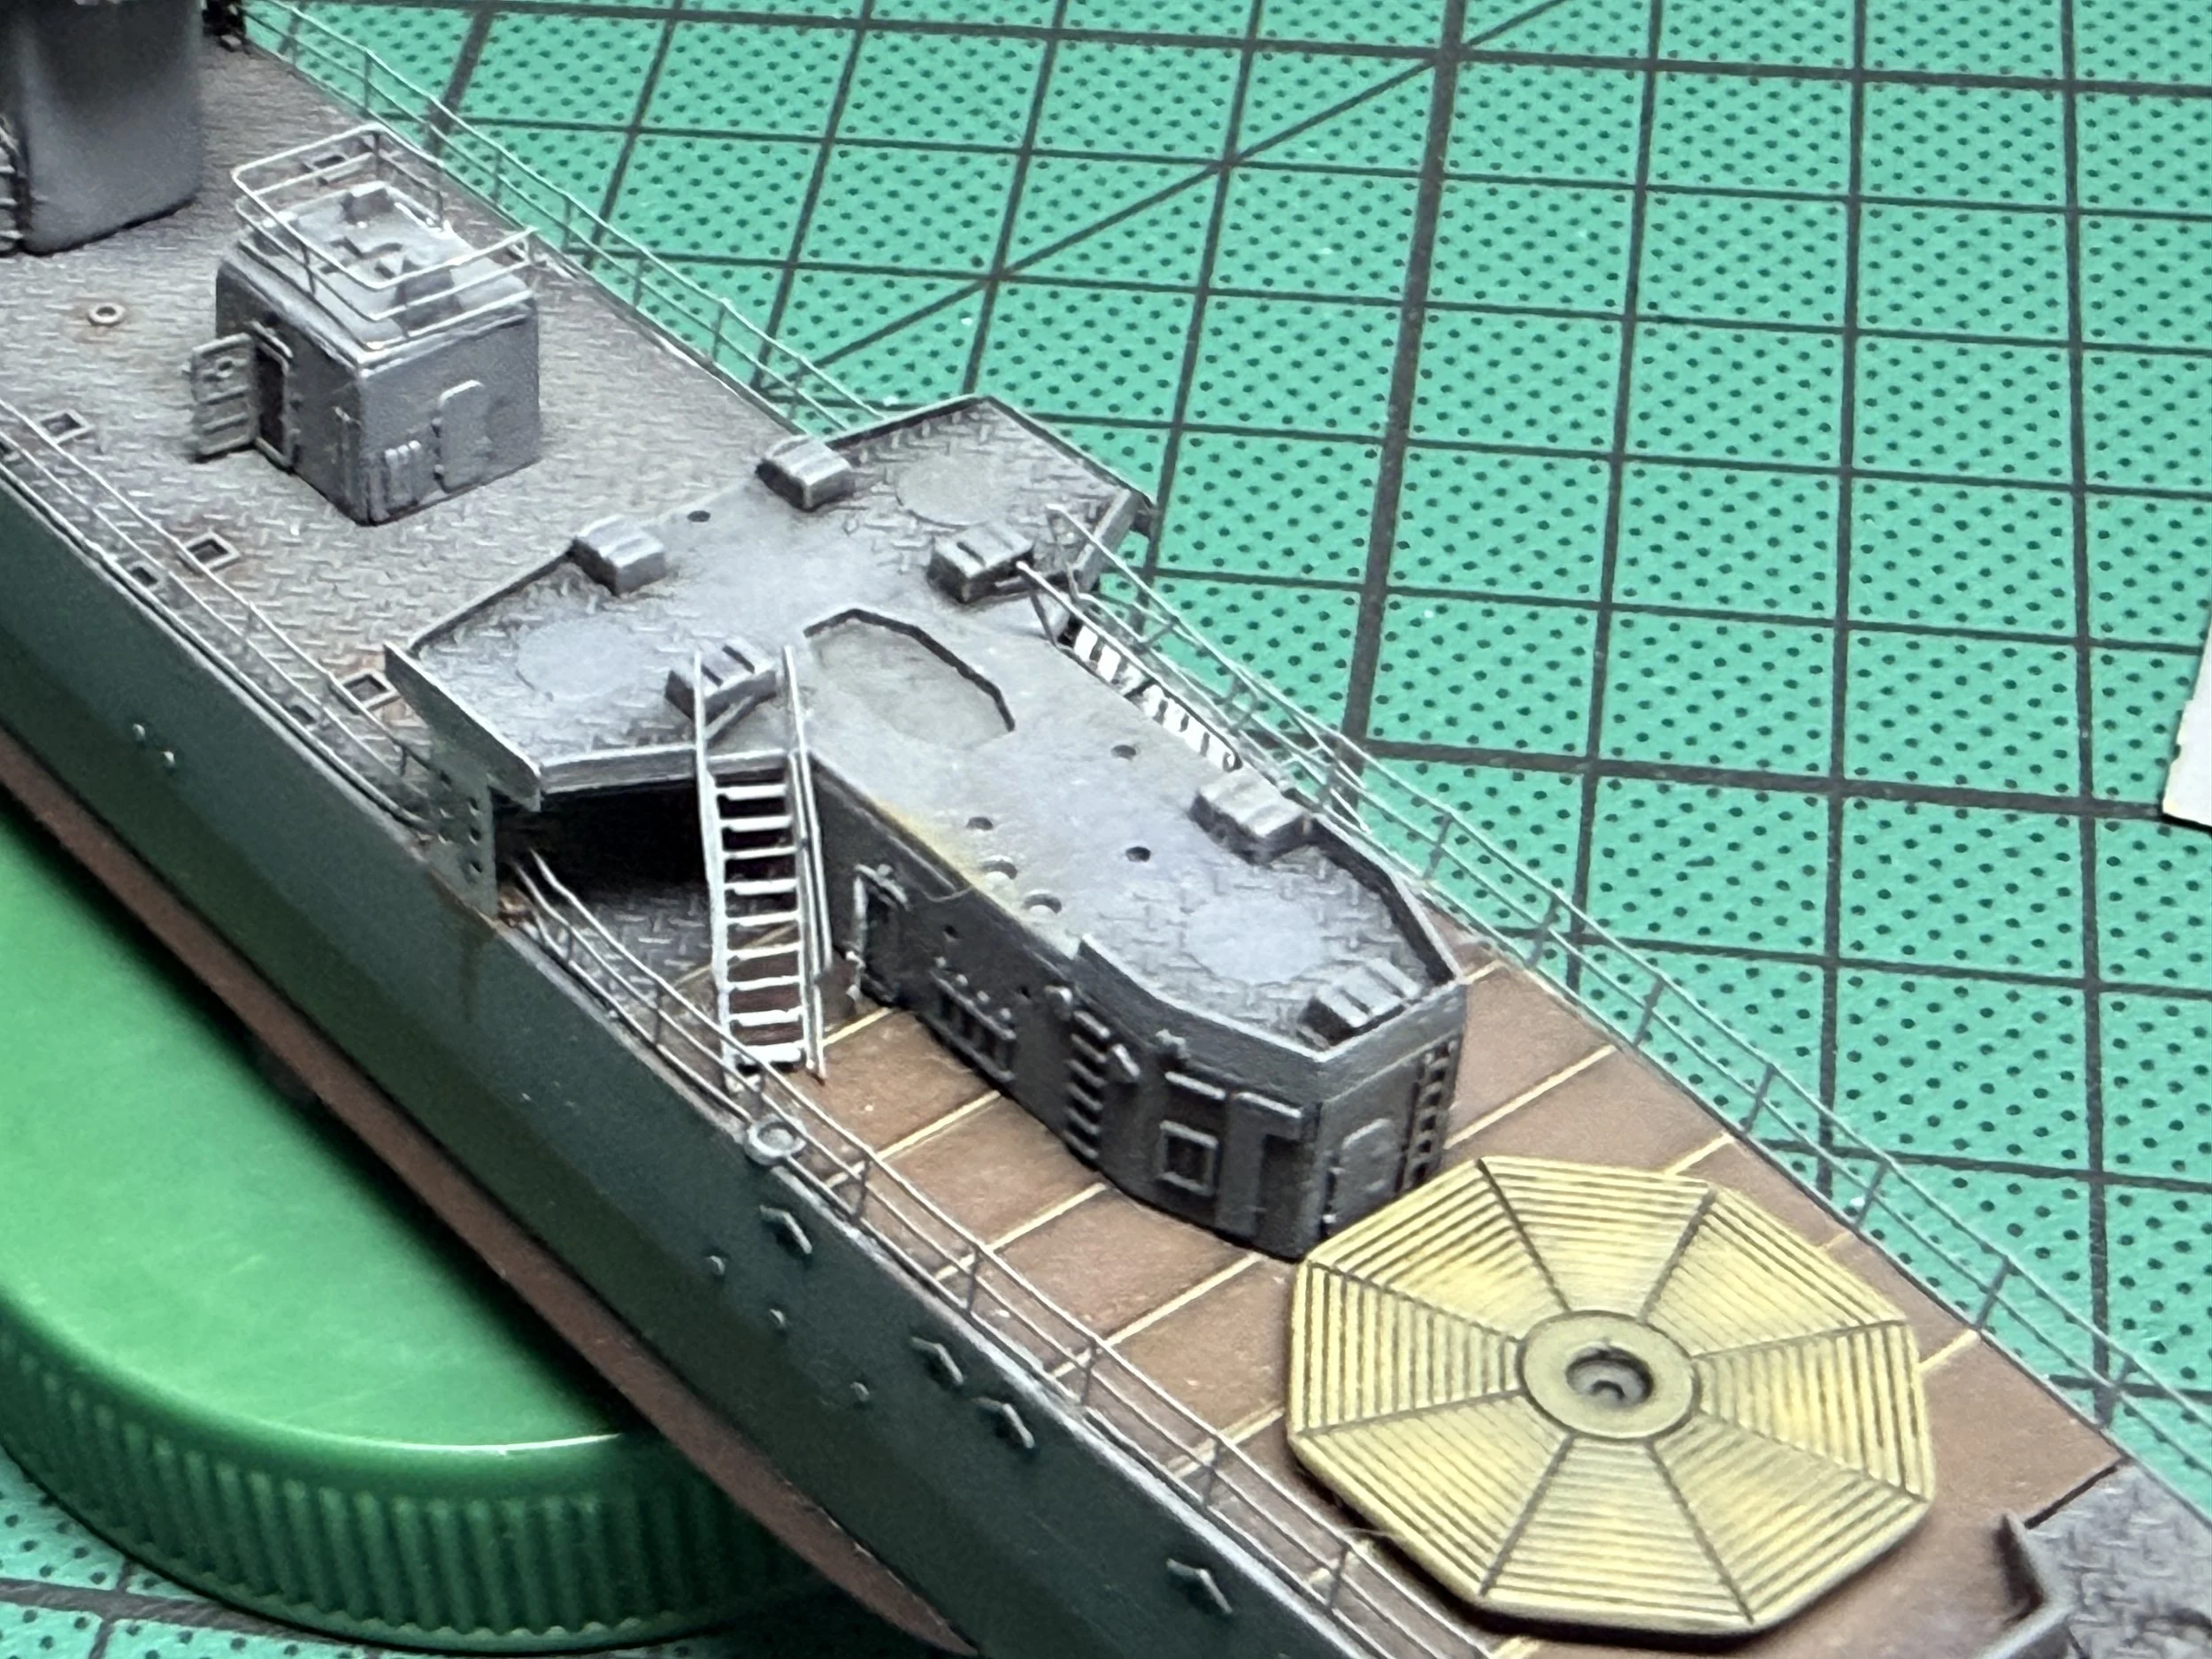
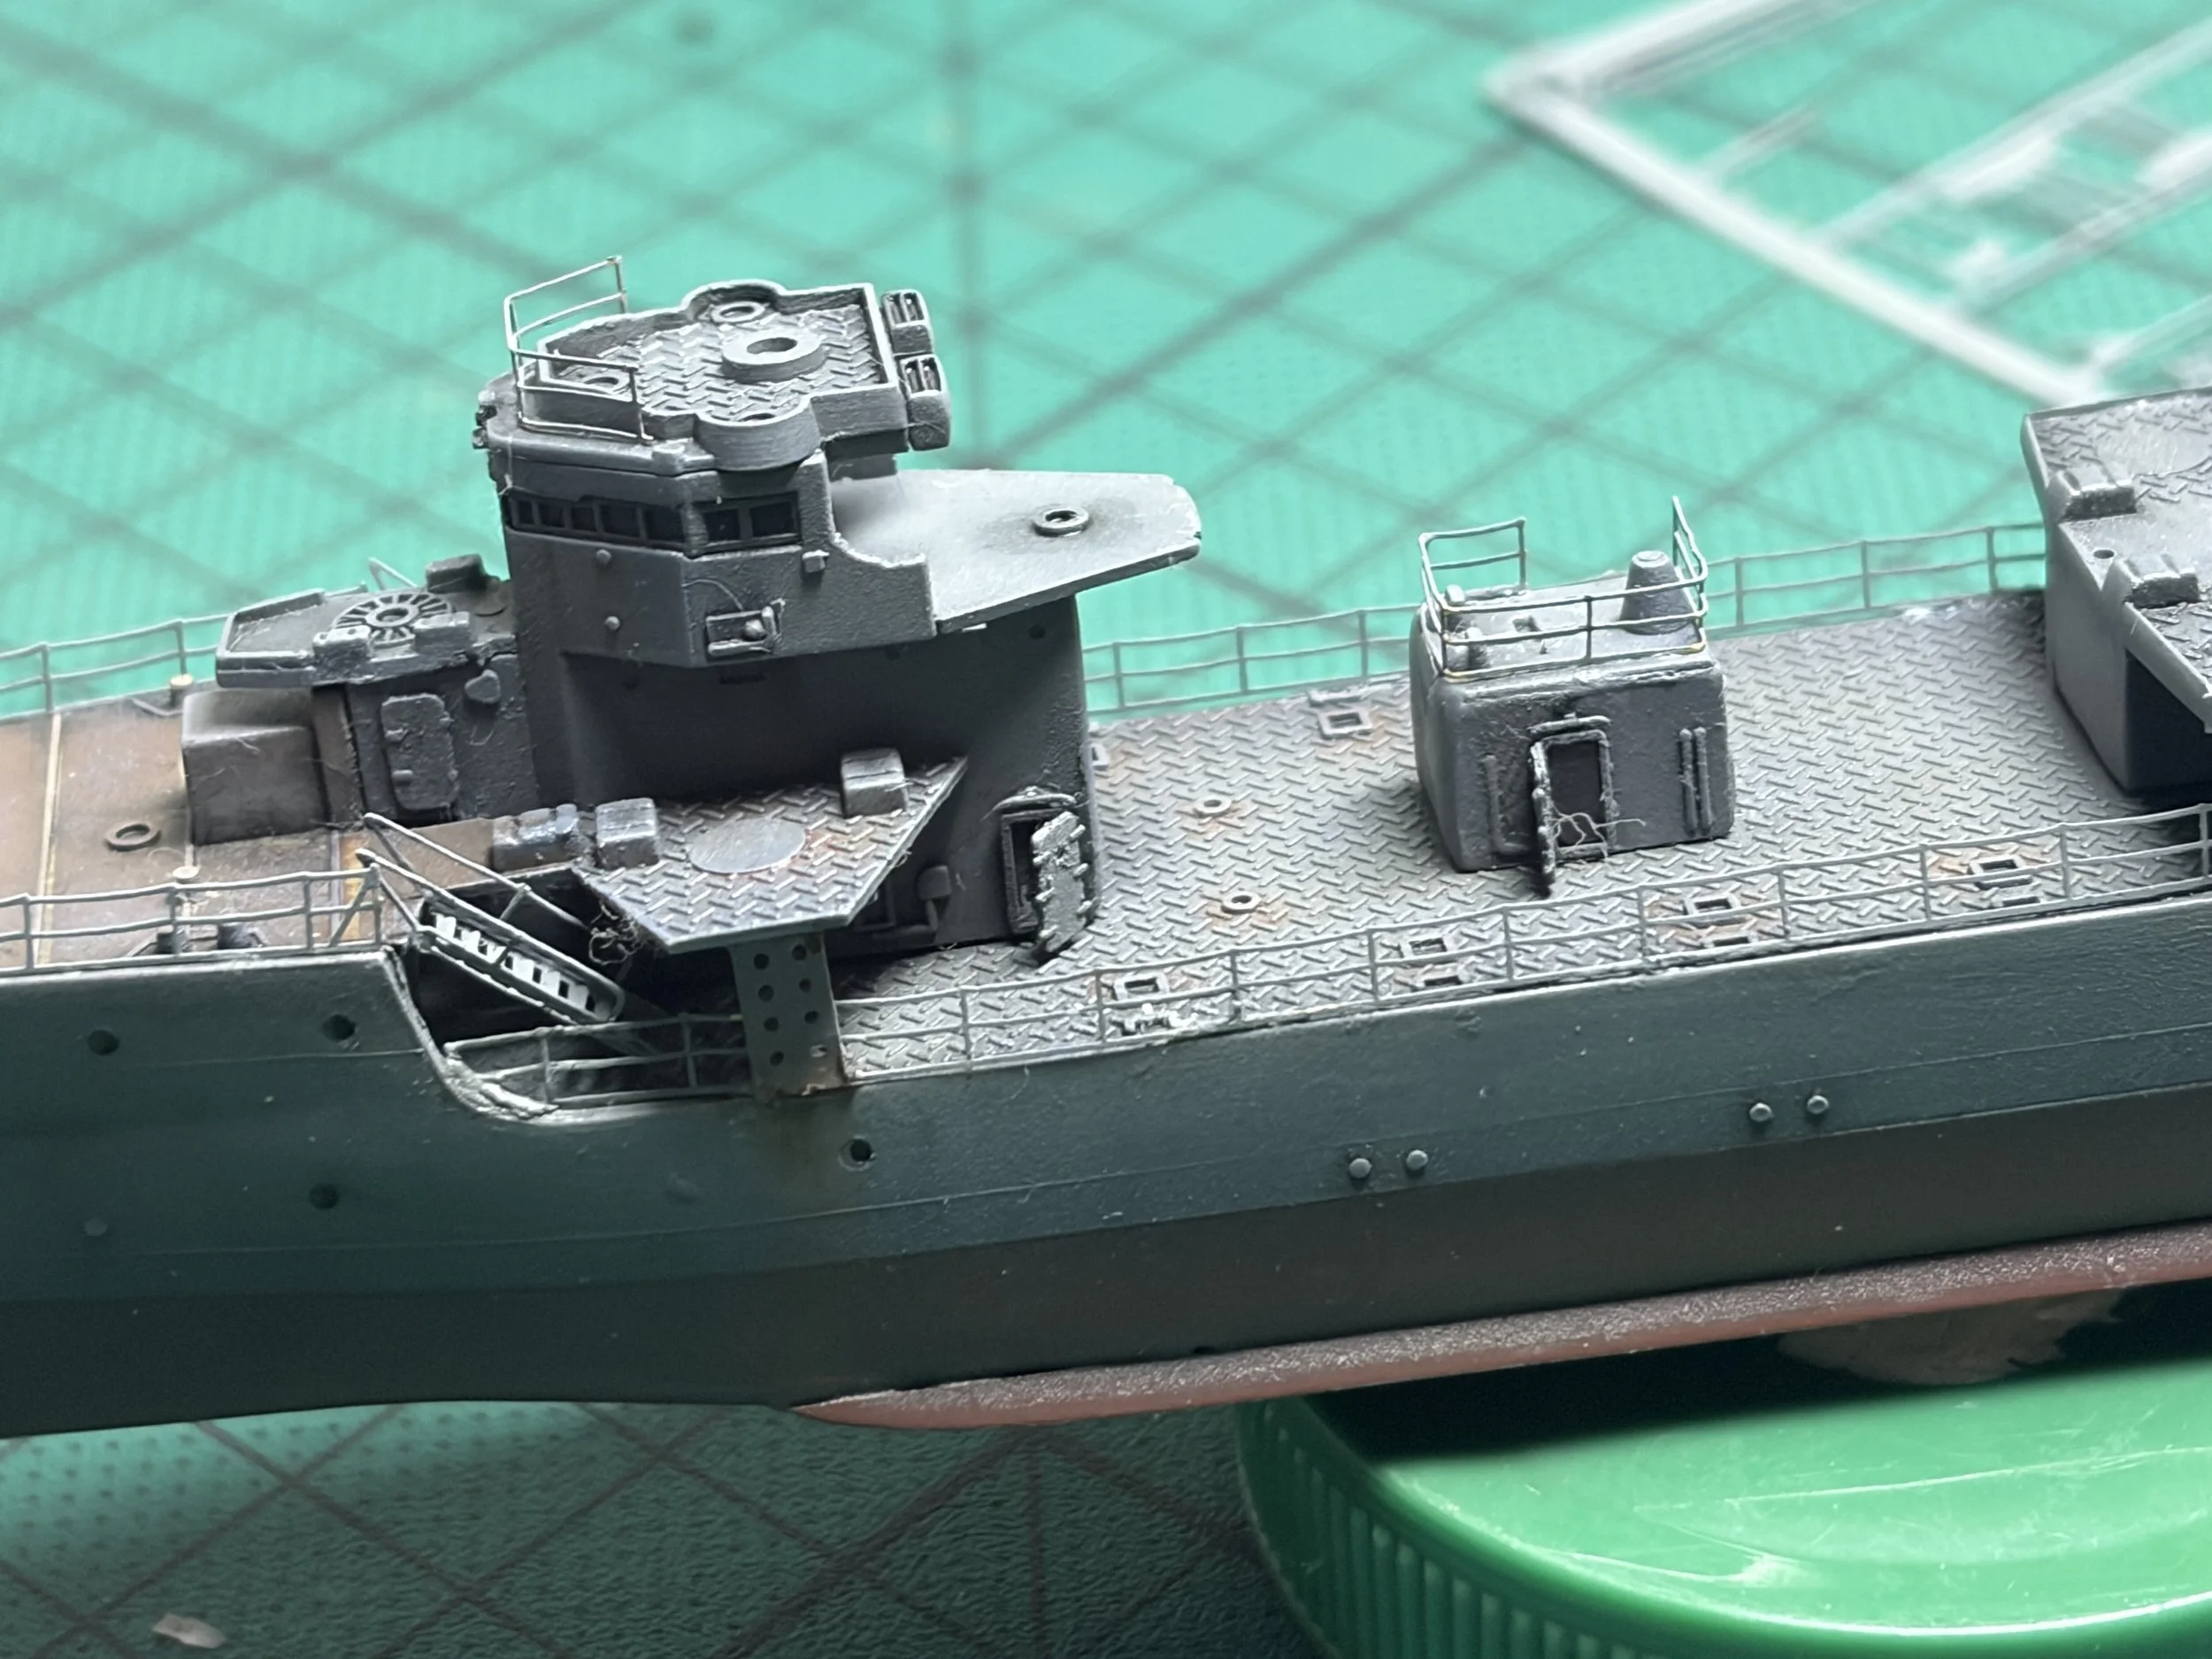
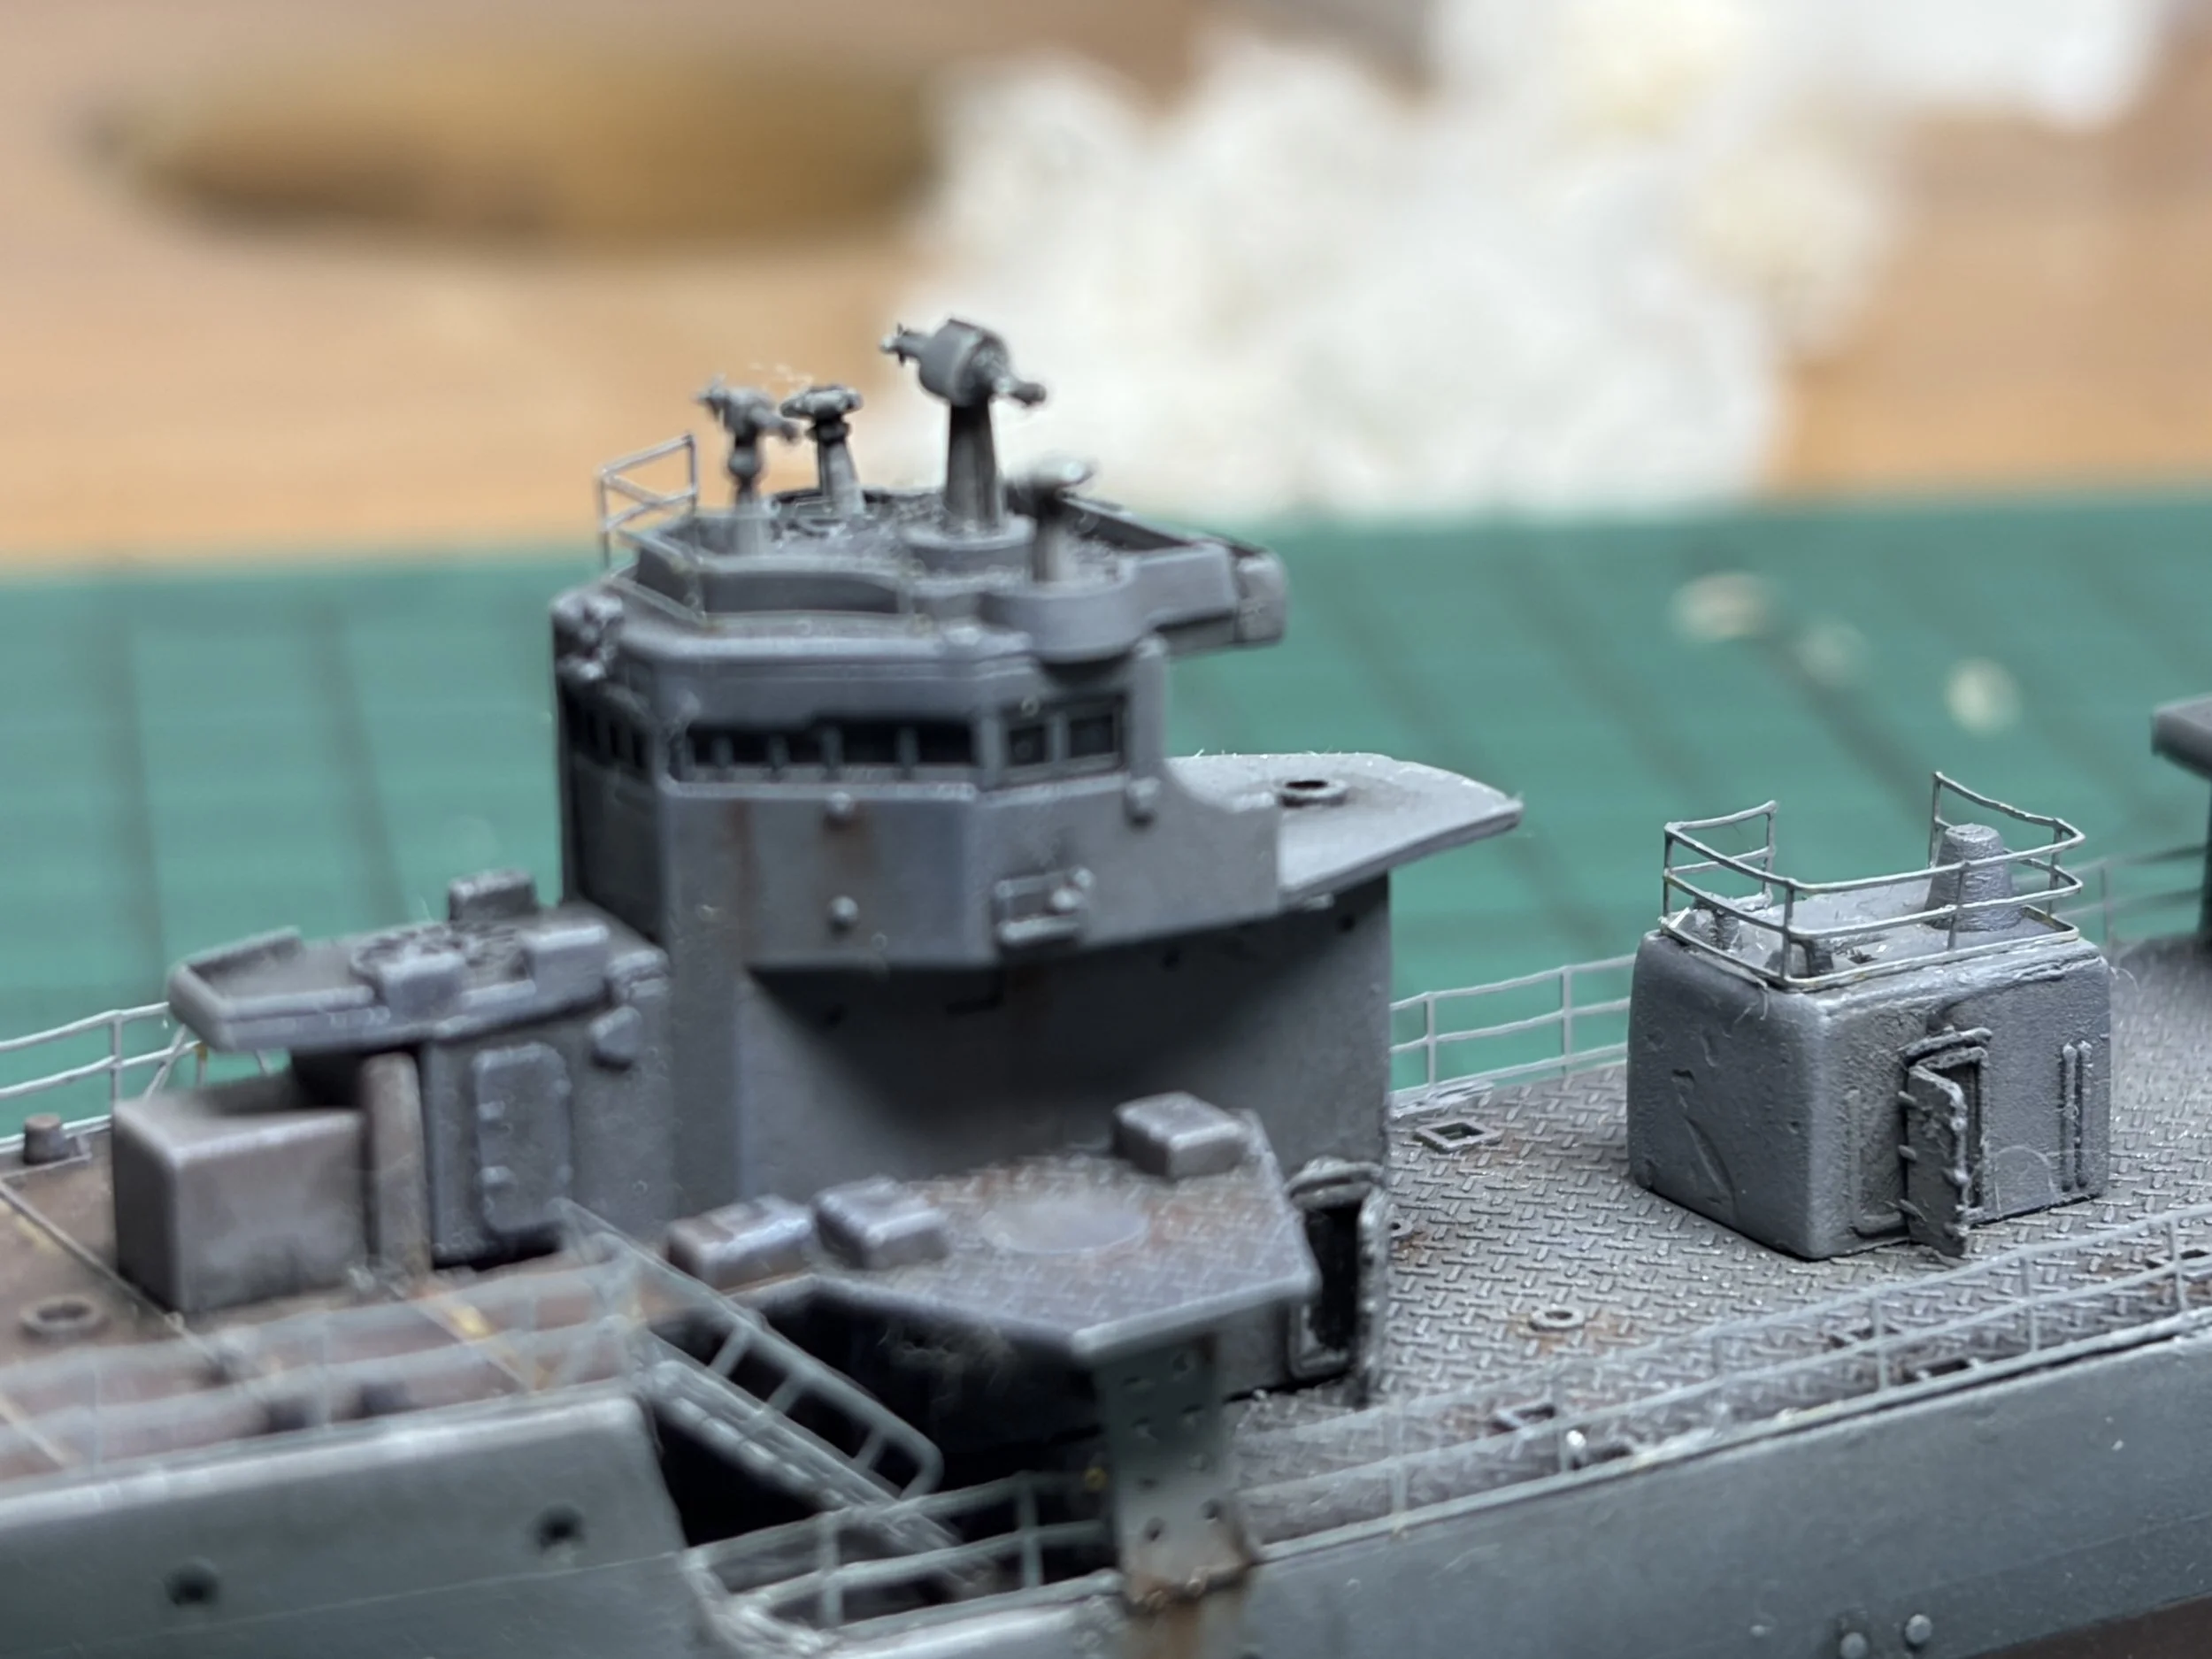
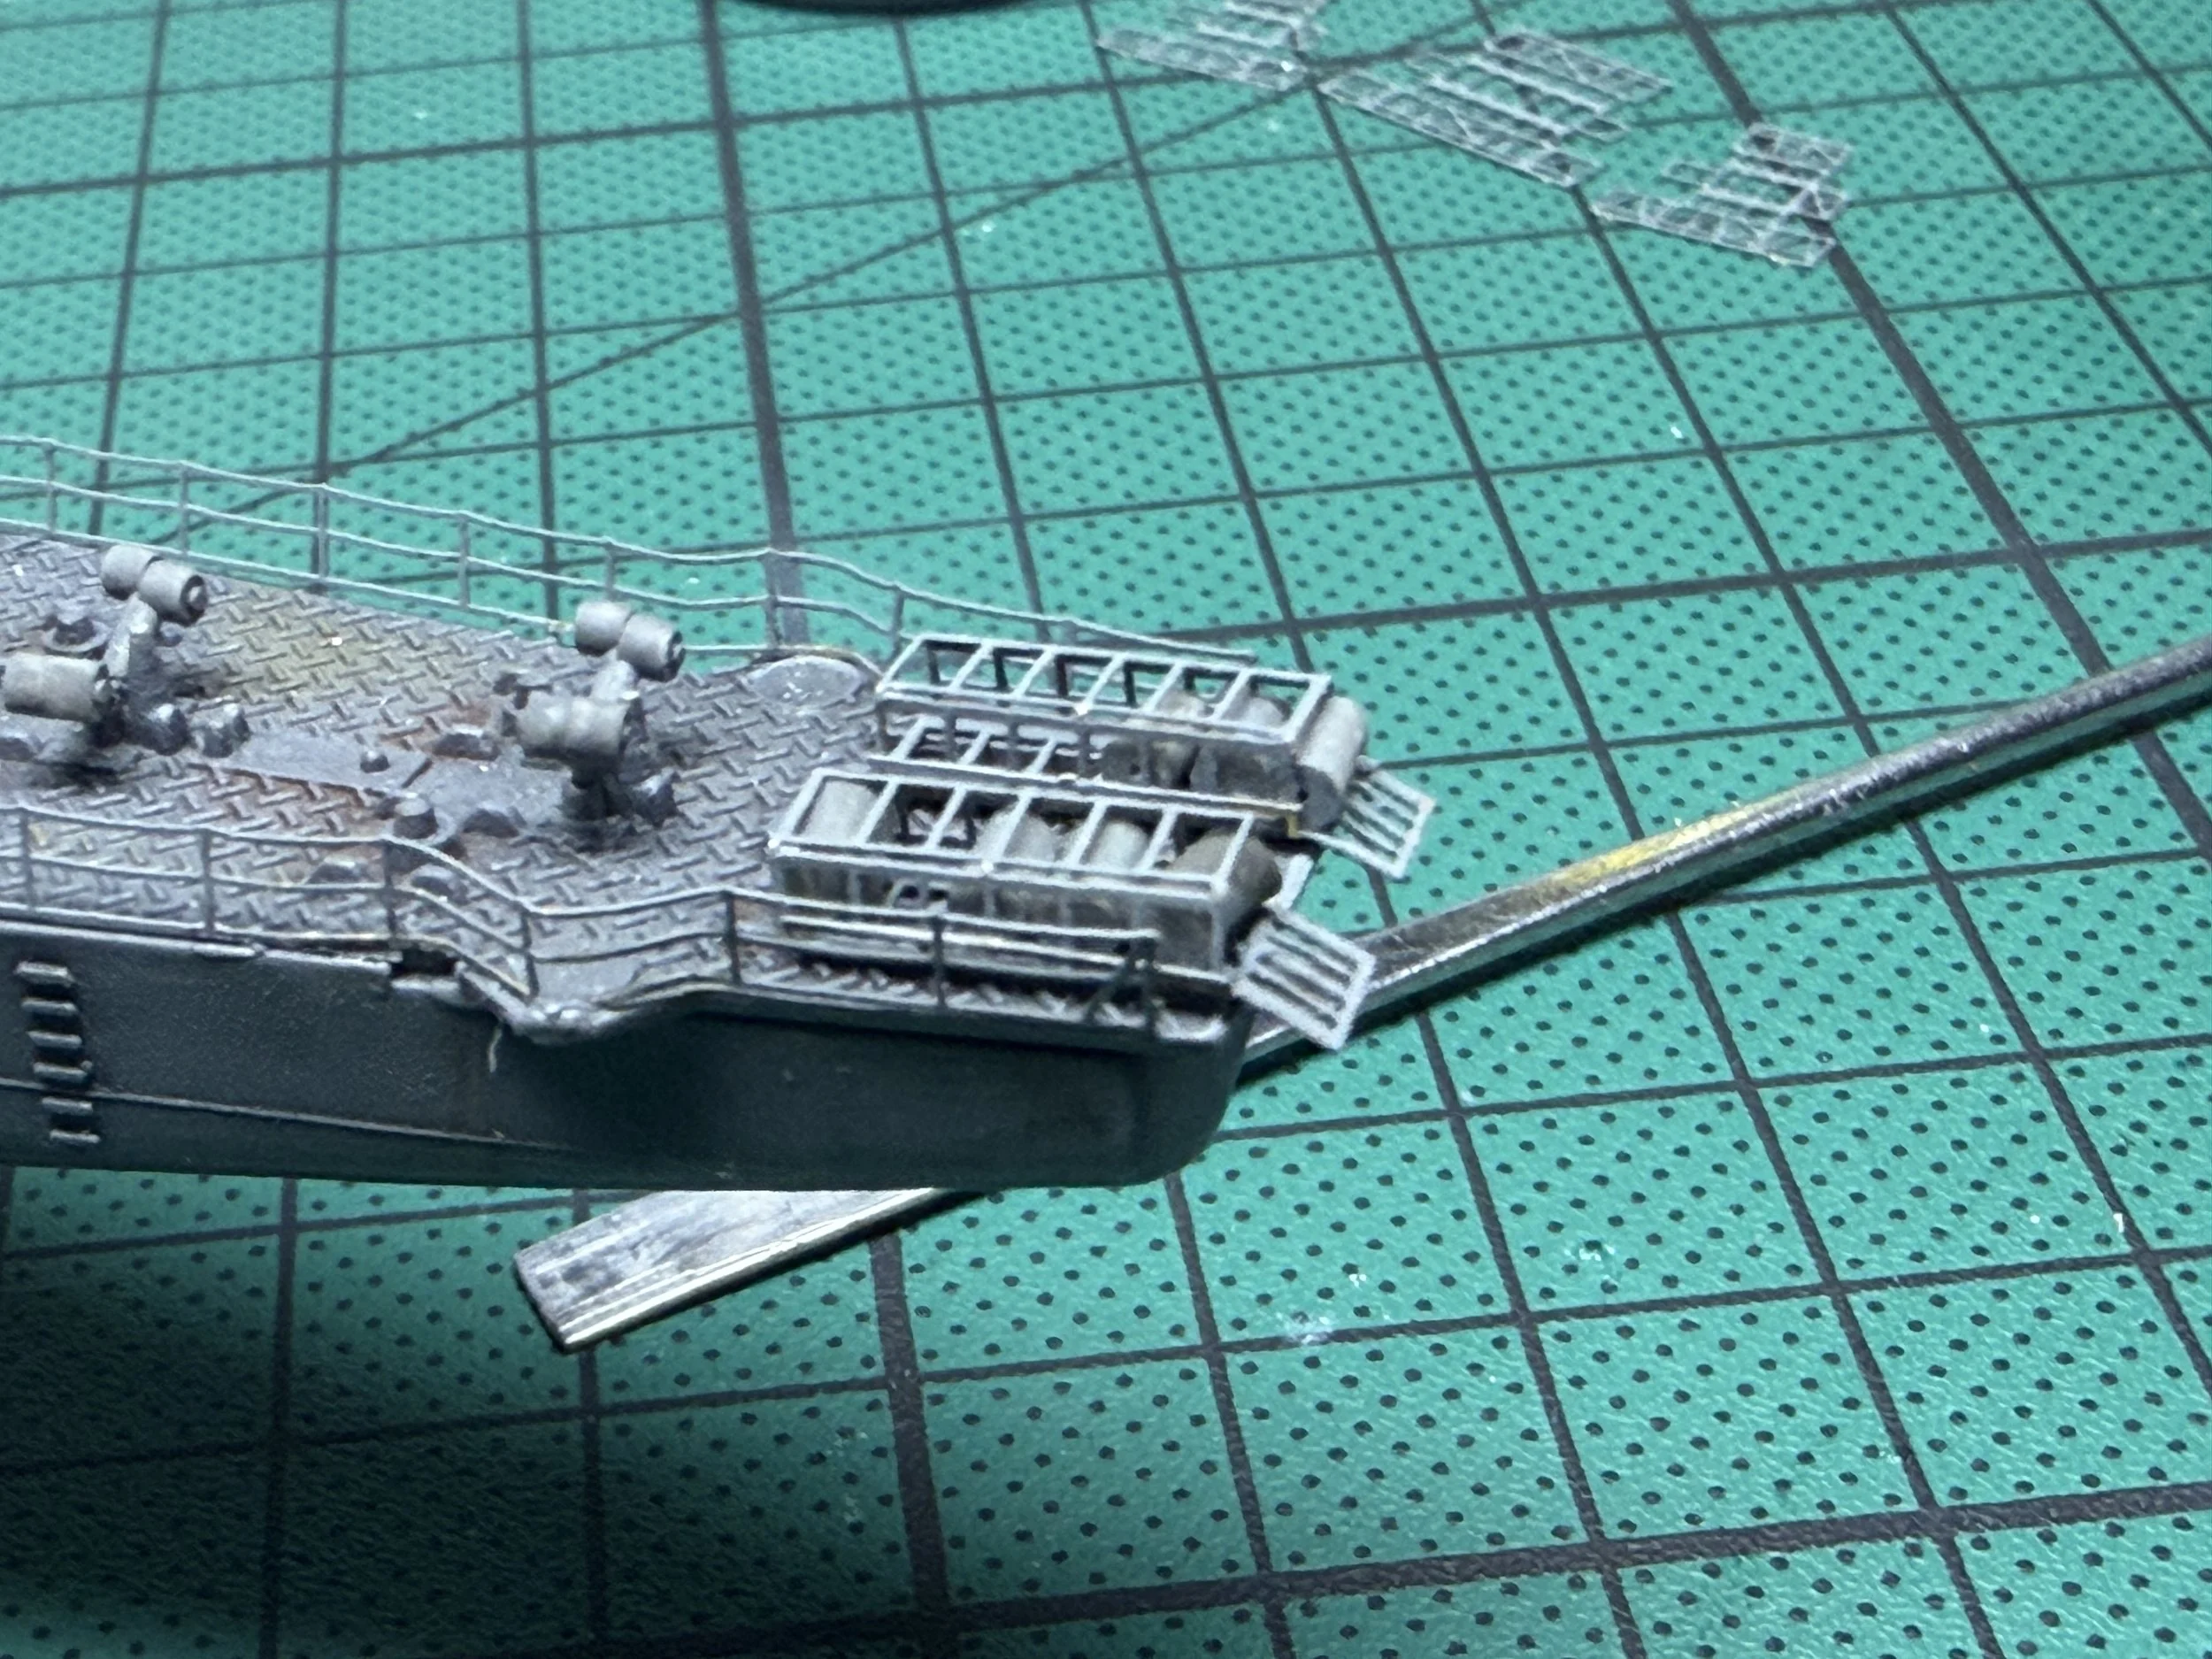
Support boats:
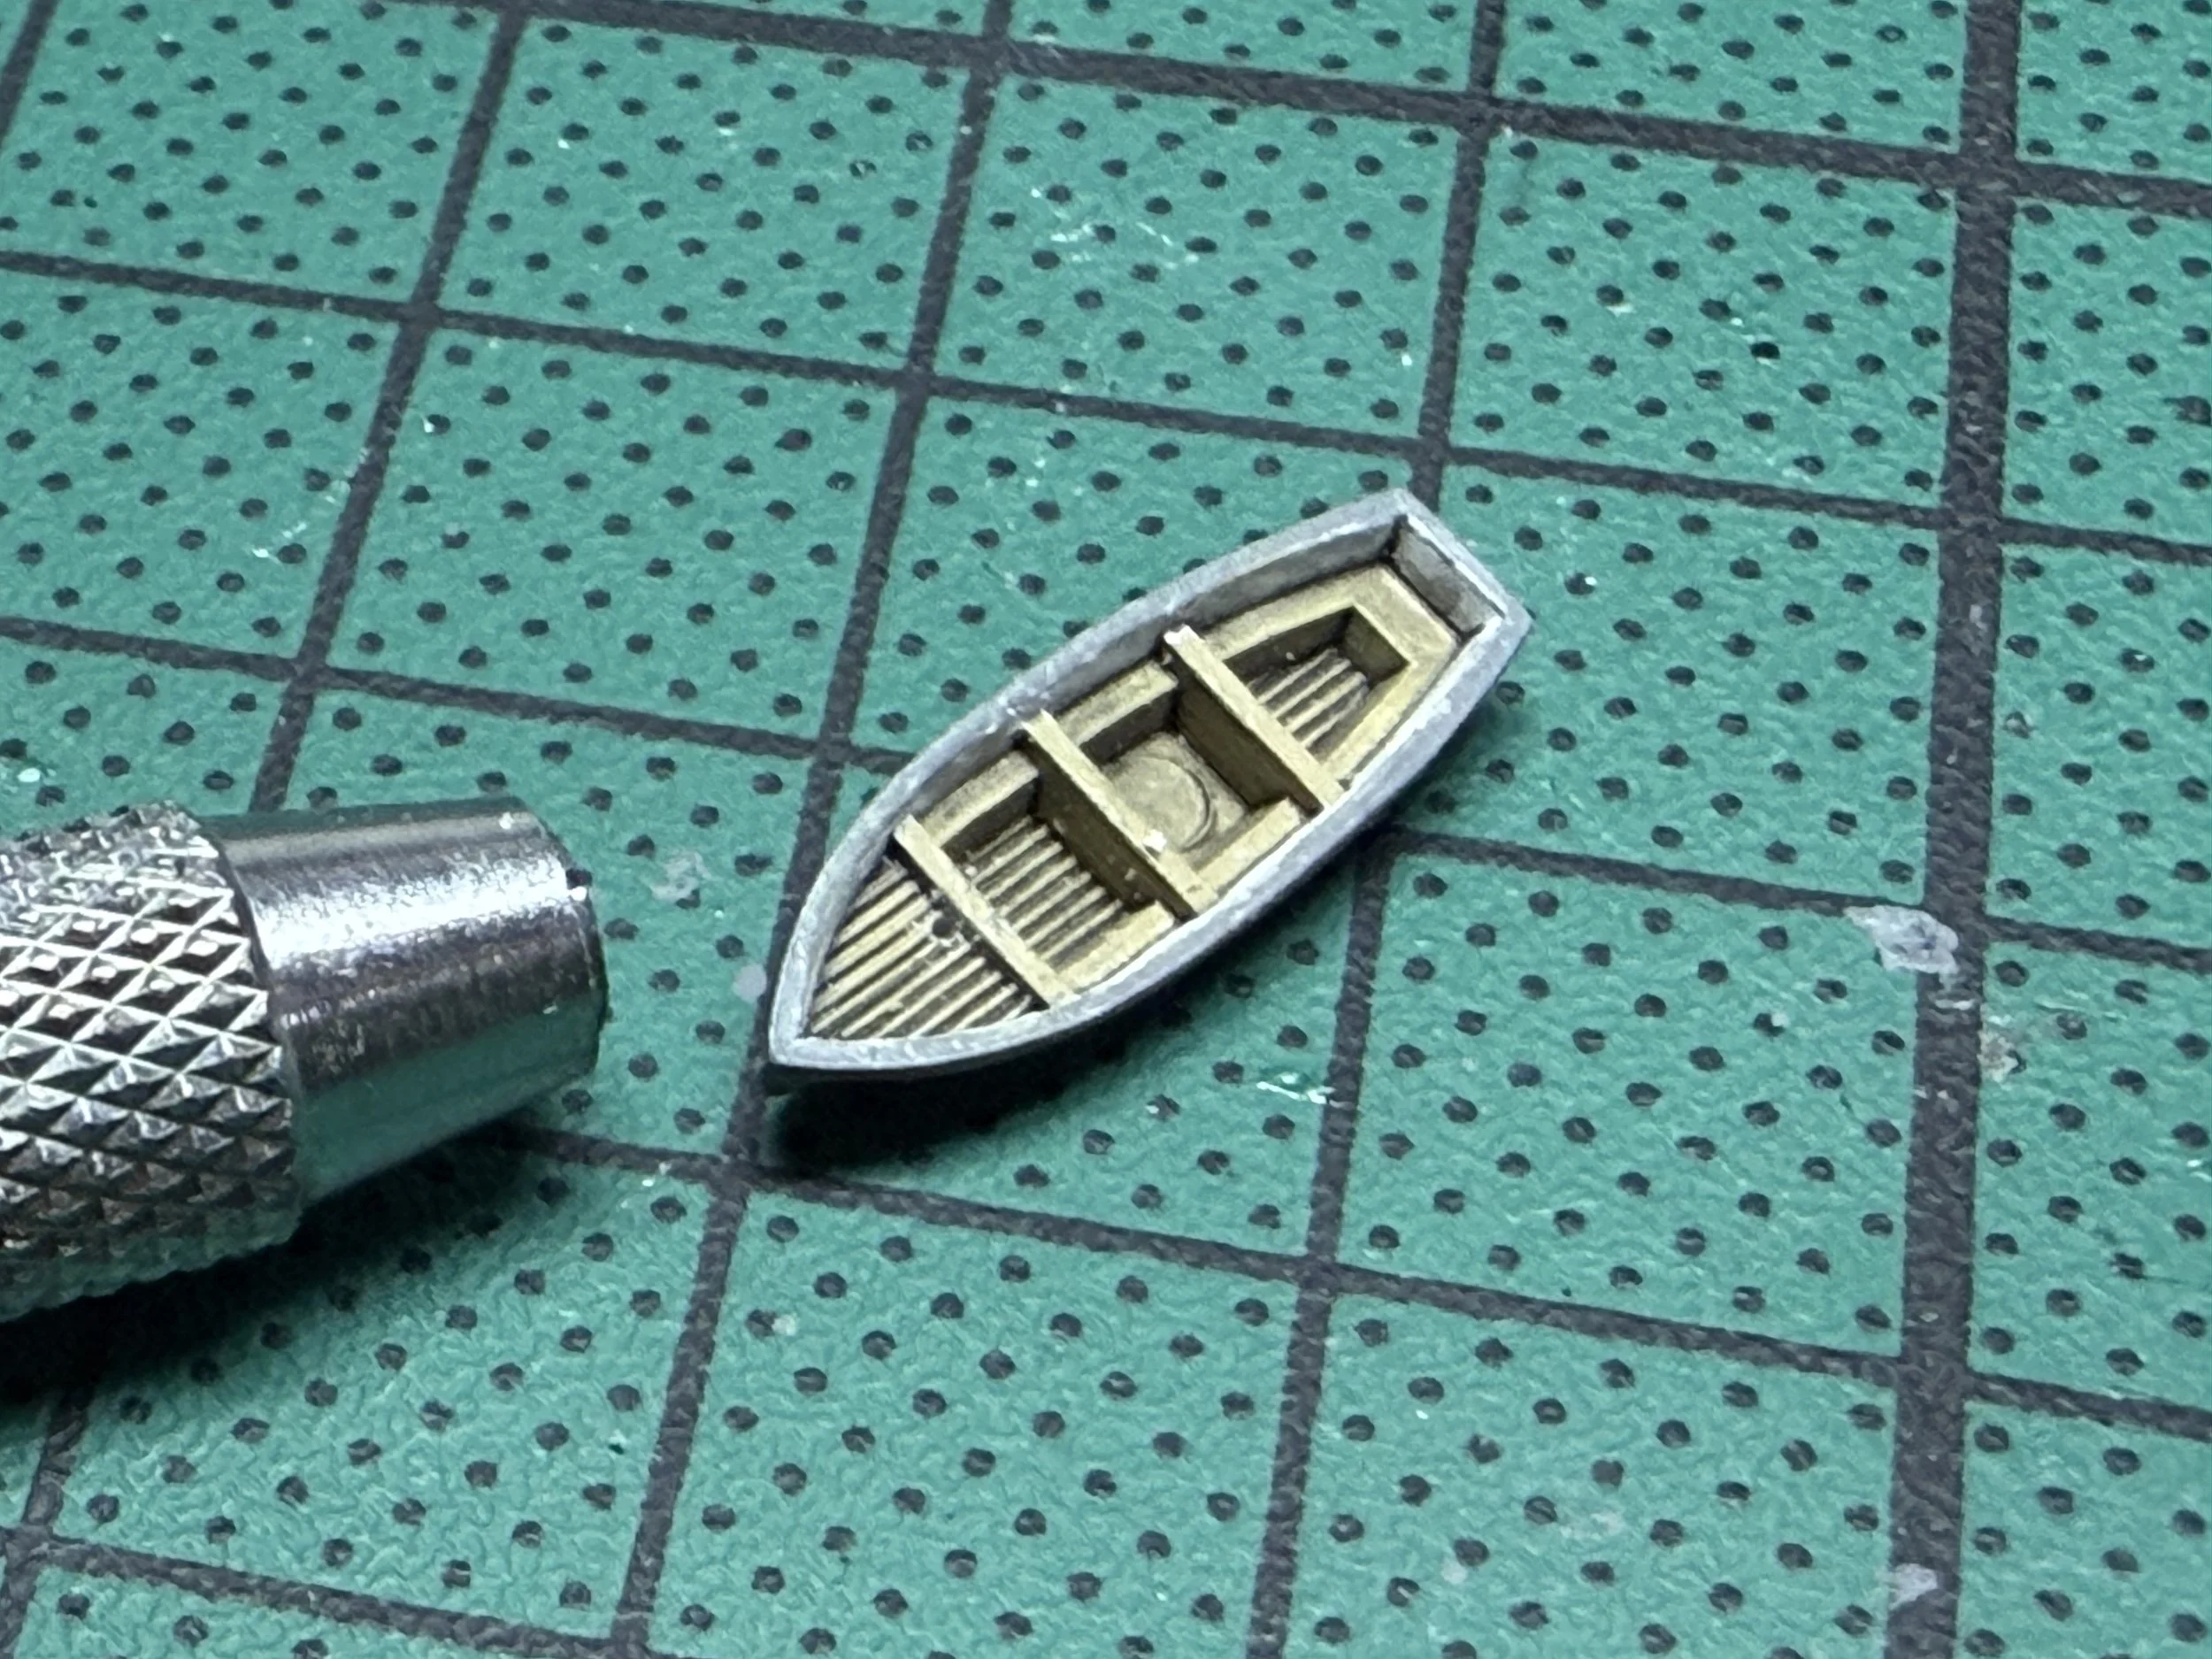
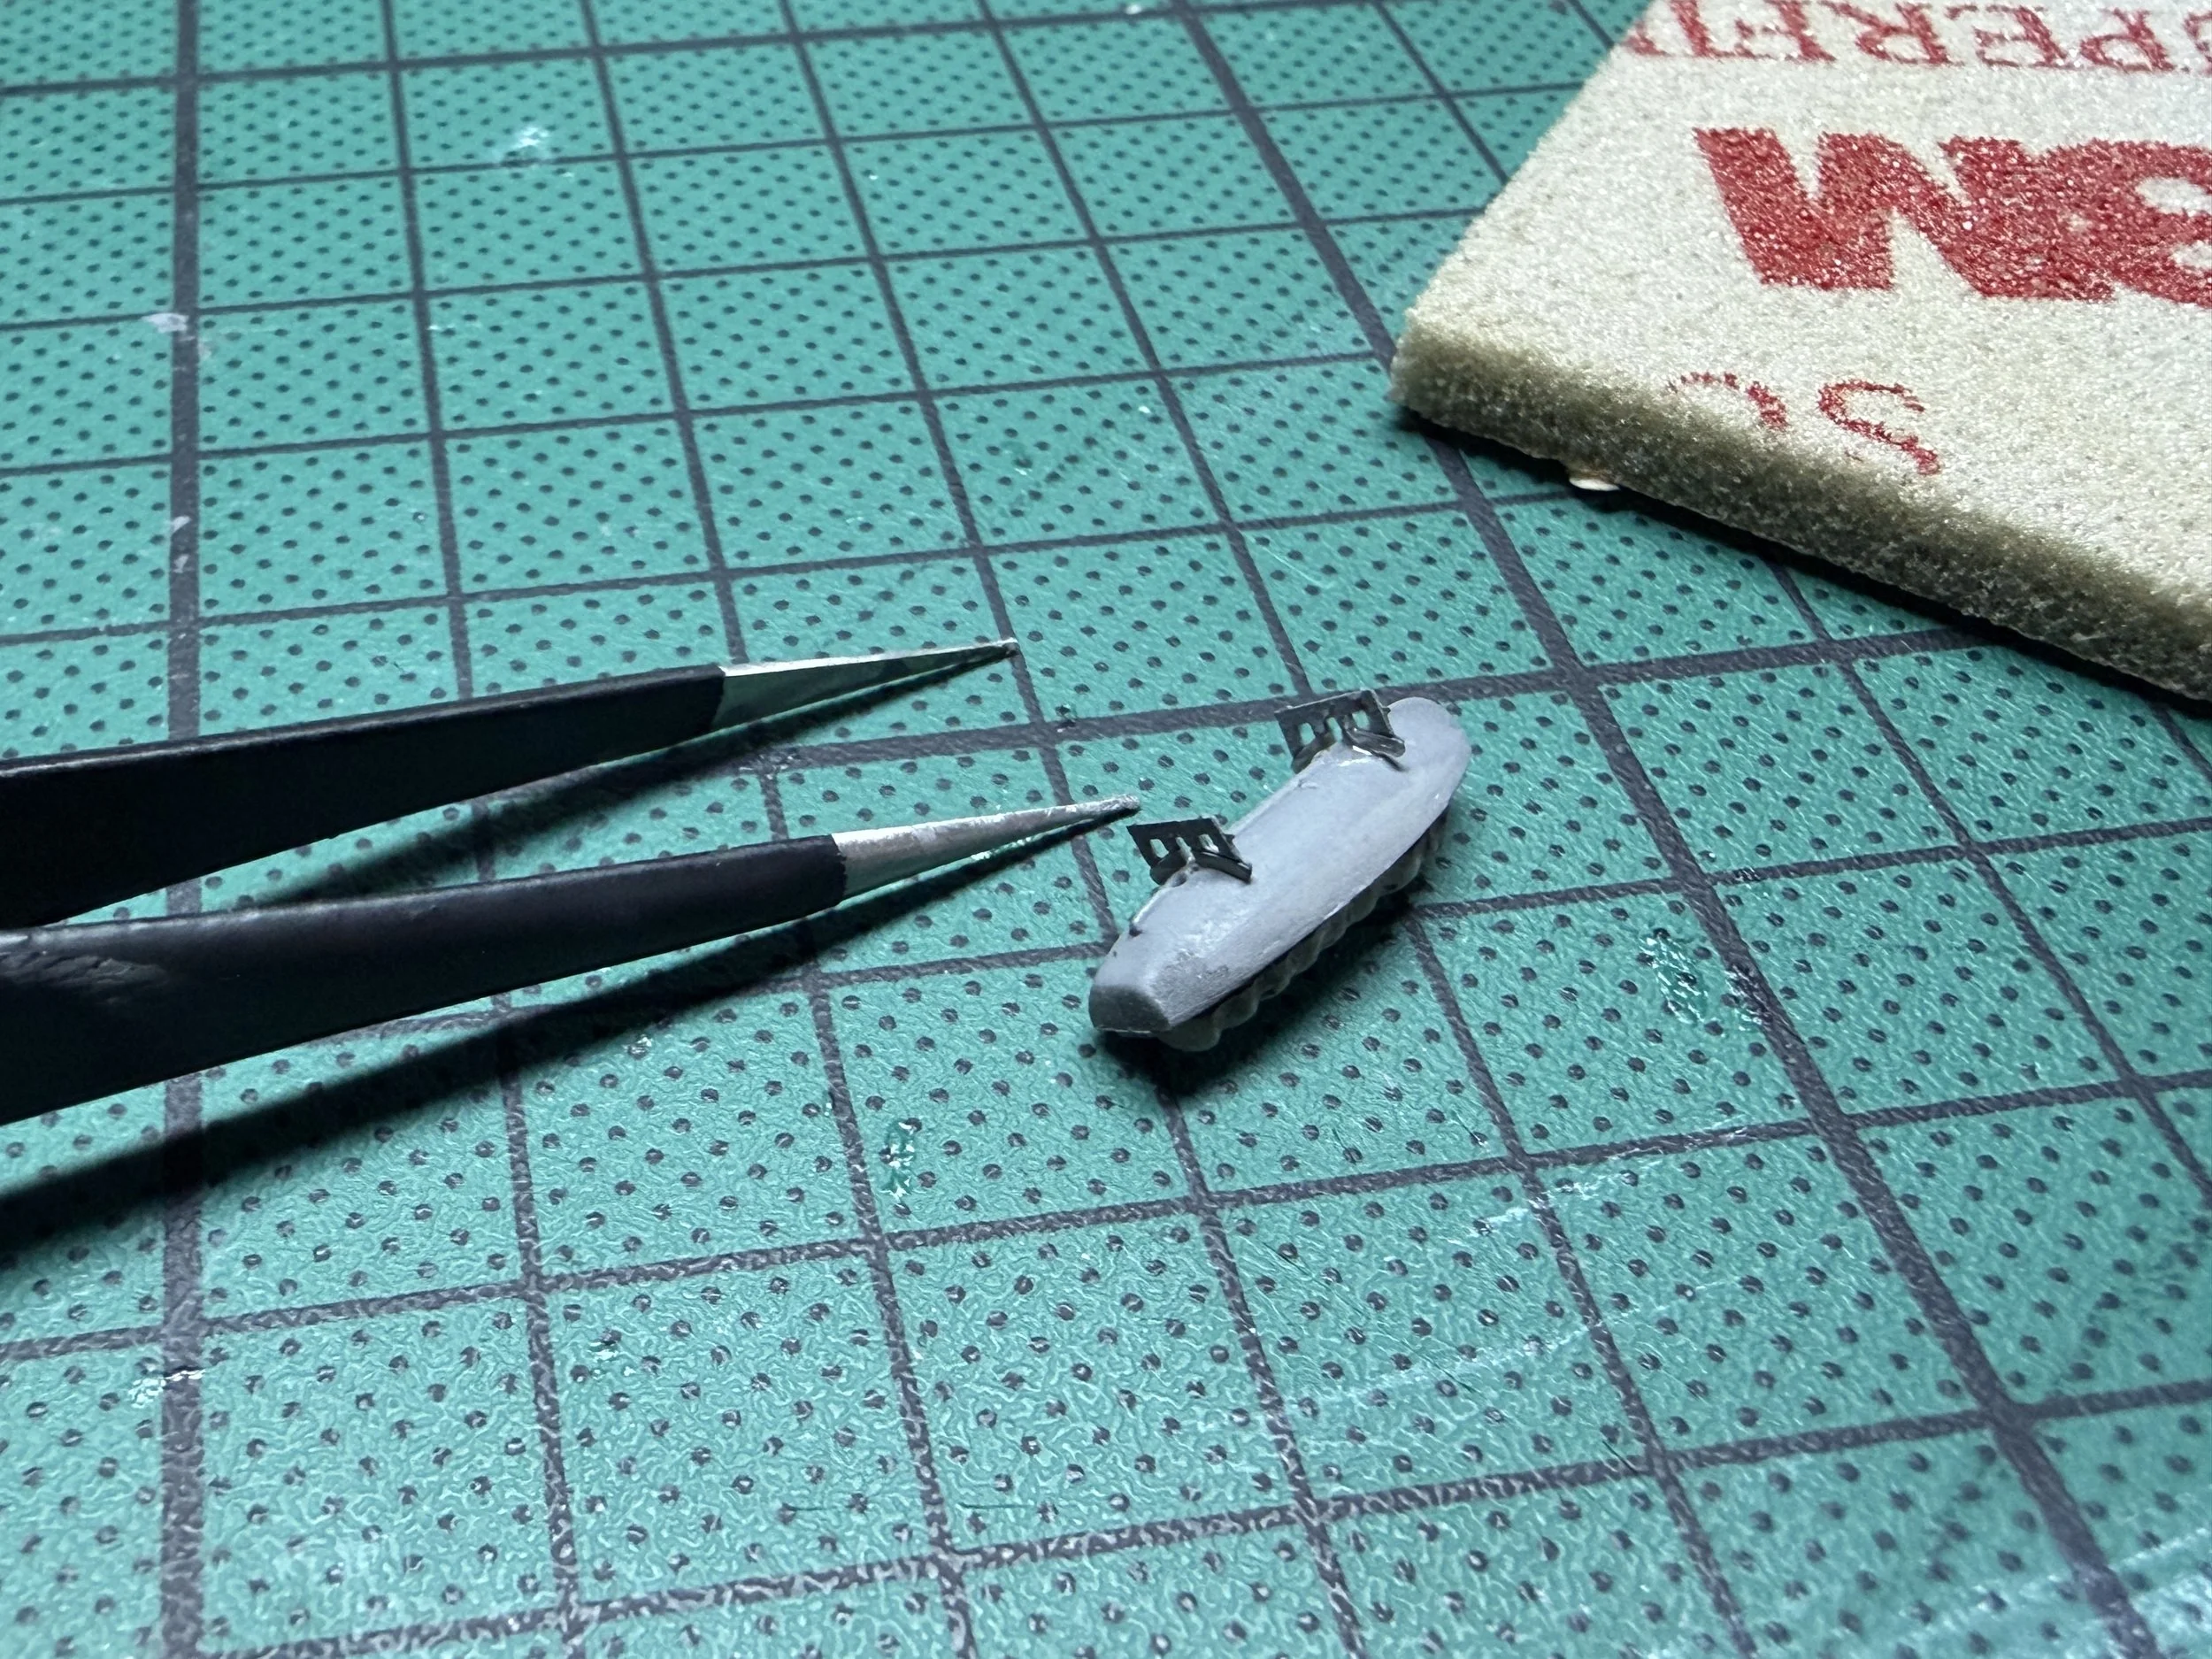
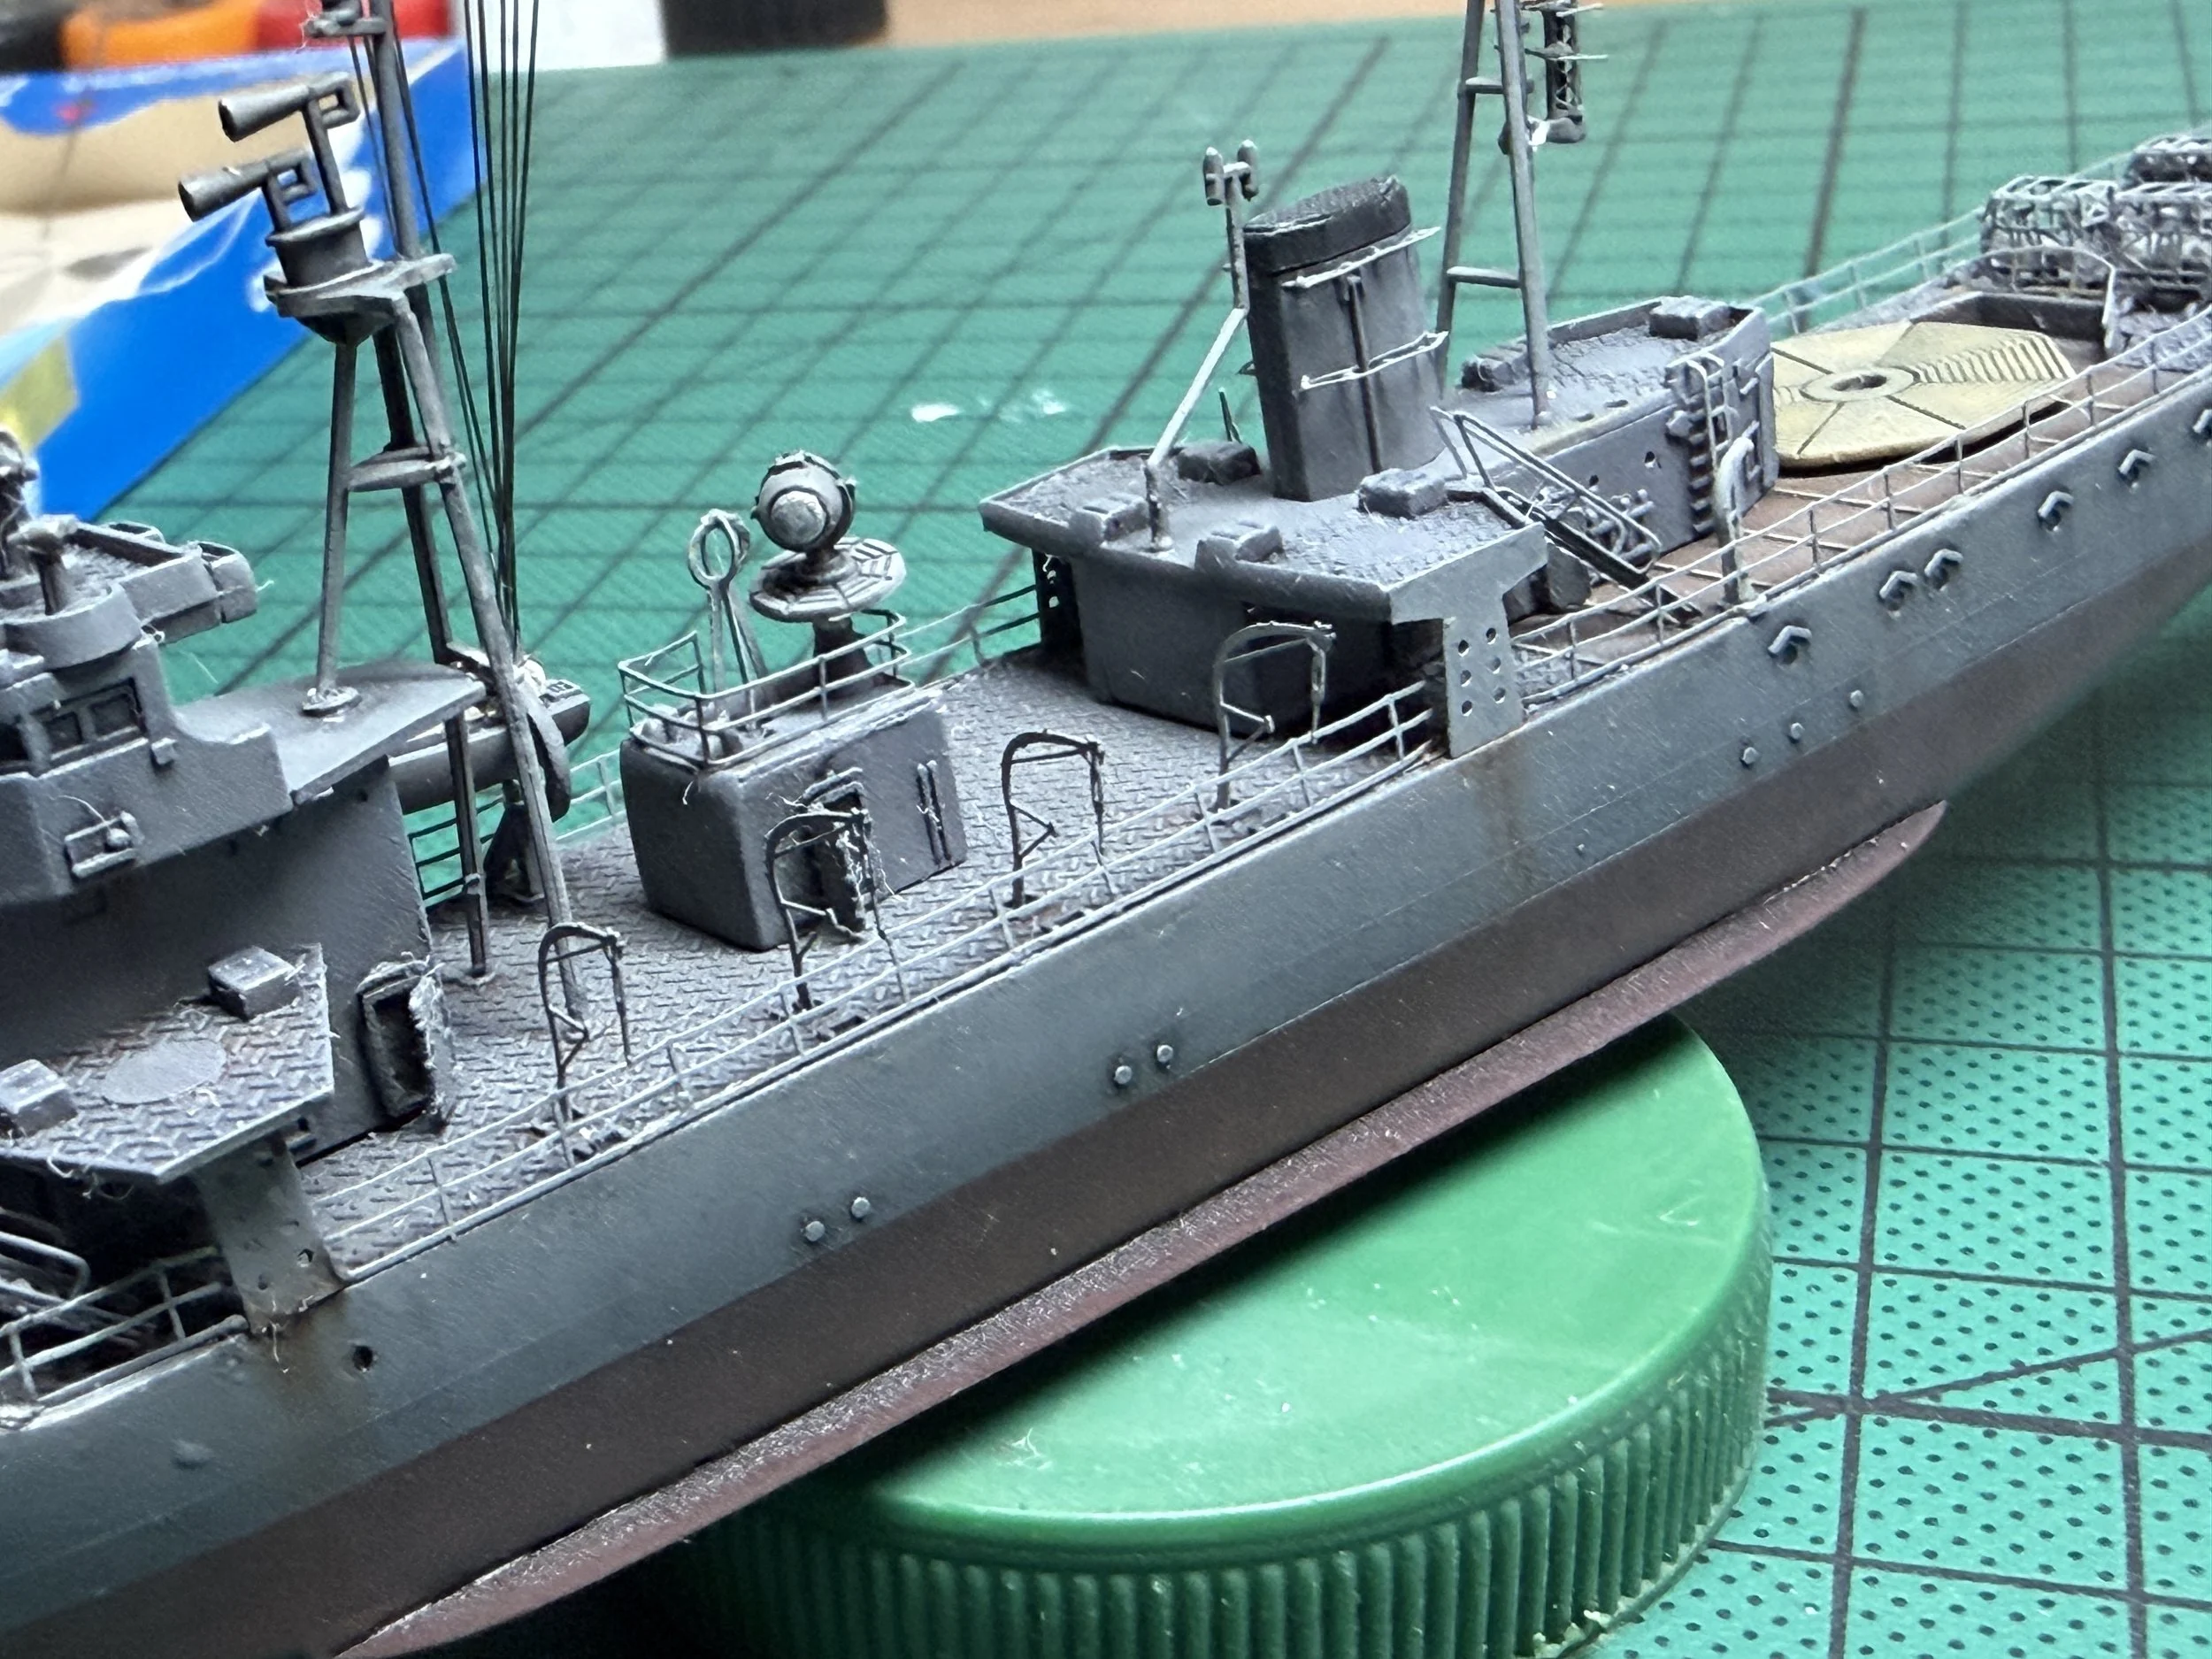
Sea bed structure.
Planning the seabed.
I wanted the finish of the seabed to stand out from the models above it in terms of technique and materials used, but at the same time, I wanted them to be harmonious. And that harmony would come from the level of complexity in the execution of the seabed.
To appreciate a diorama, we have to get very close to it, so I decided to create a seabed that, when viewed from a distance, would look like a fluid seabed, but upon closer inspection, we would realize it was a low-poly piece. So I decided to create it in 3D—something that, in the digital realm, has zero difficulty and yields results in just a few minutes, whereas in the physical realm, it would be the complete opposite.
projeção do resultado desejado
In Cinema 4D:
In the 3D program, I started with a plane that matched the model’s proportions and kept adding vertices until I reached a number that, from a distance, gave the impression of fluidity. Then I manually distorted the vertices using Cinema 4D’s own distortion and sculpting tools.
Perspective view, applying deformers.
Knowing what a nightmare it would be to rebuild this in tin, wood, or acrylic, I tried to find the sweet spot between the complexity of the build and preserving my sanity. That sweet spot turned out to be 42x11—462 polygons in the real world.
External longitudinal profiles
42 Cross-Sections